Over the last week or so the work I’ve done on the car has mostly taken the form of tinkering with the water pump and the timing belt cover to try and figure out why the one was rubbing on the other. I eventually landed on “maybe the water pump itself is somehow canted or otherwise no longer in spec”, and decided to remedy this by ordering a new, aftermarket pump.
Pump and Pulley

After unbolting the original pump, replacing it with the new one, and reinstalling the timing belt cover, pulley, and fan clutch I checked the clearance and found… no change! It obviously wasn’t a problem with the pump. Since the new one was already on the car I left it there. I’ll add the pump to the list of spare parts I have to keep, trade, or sell.
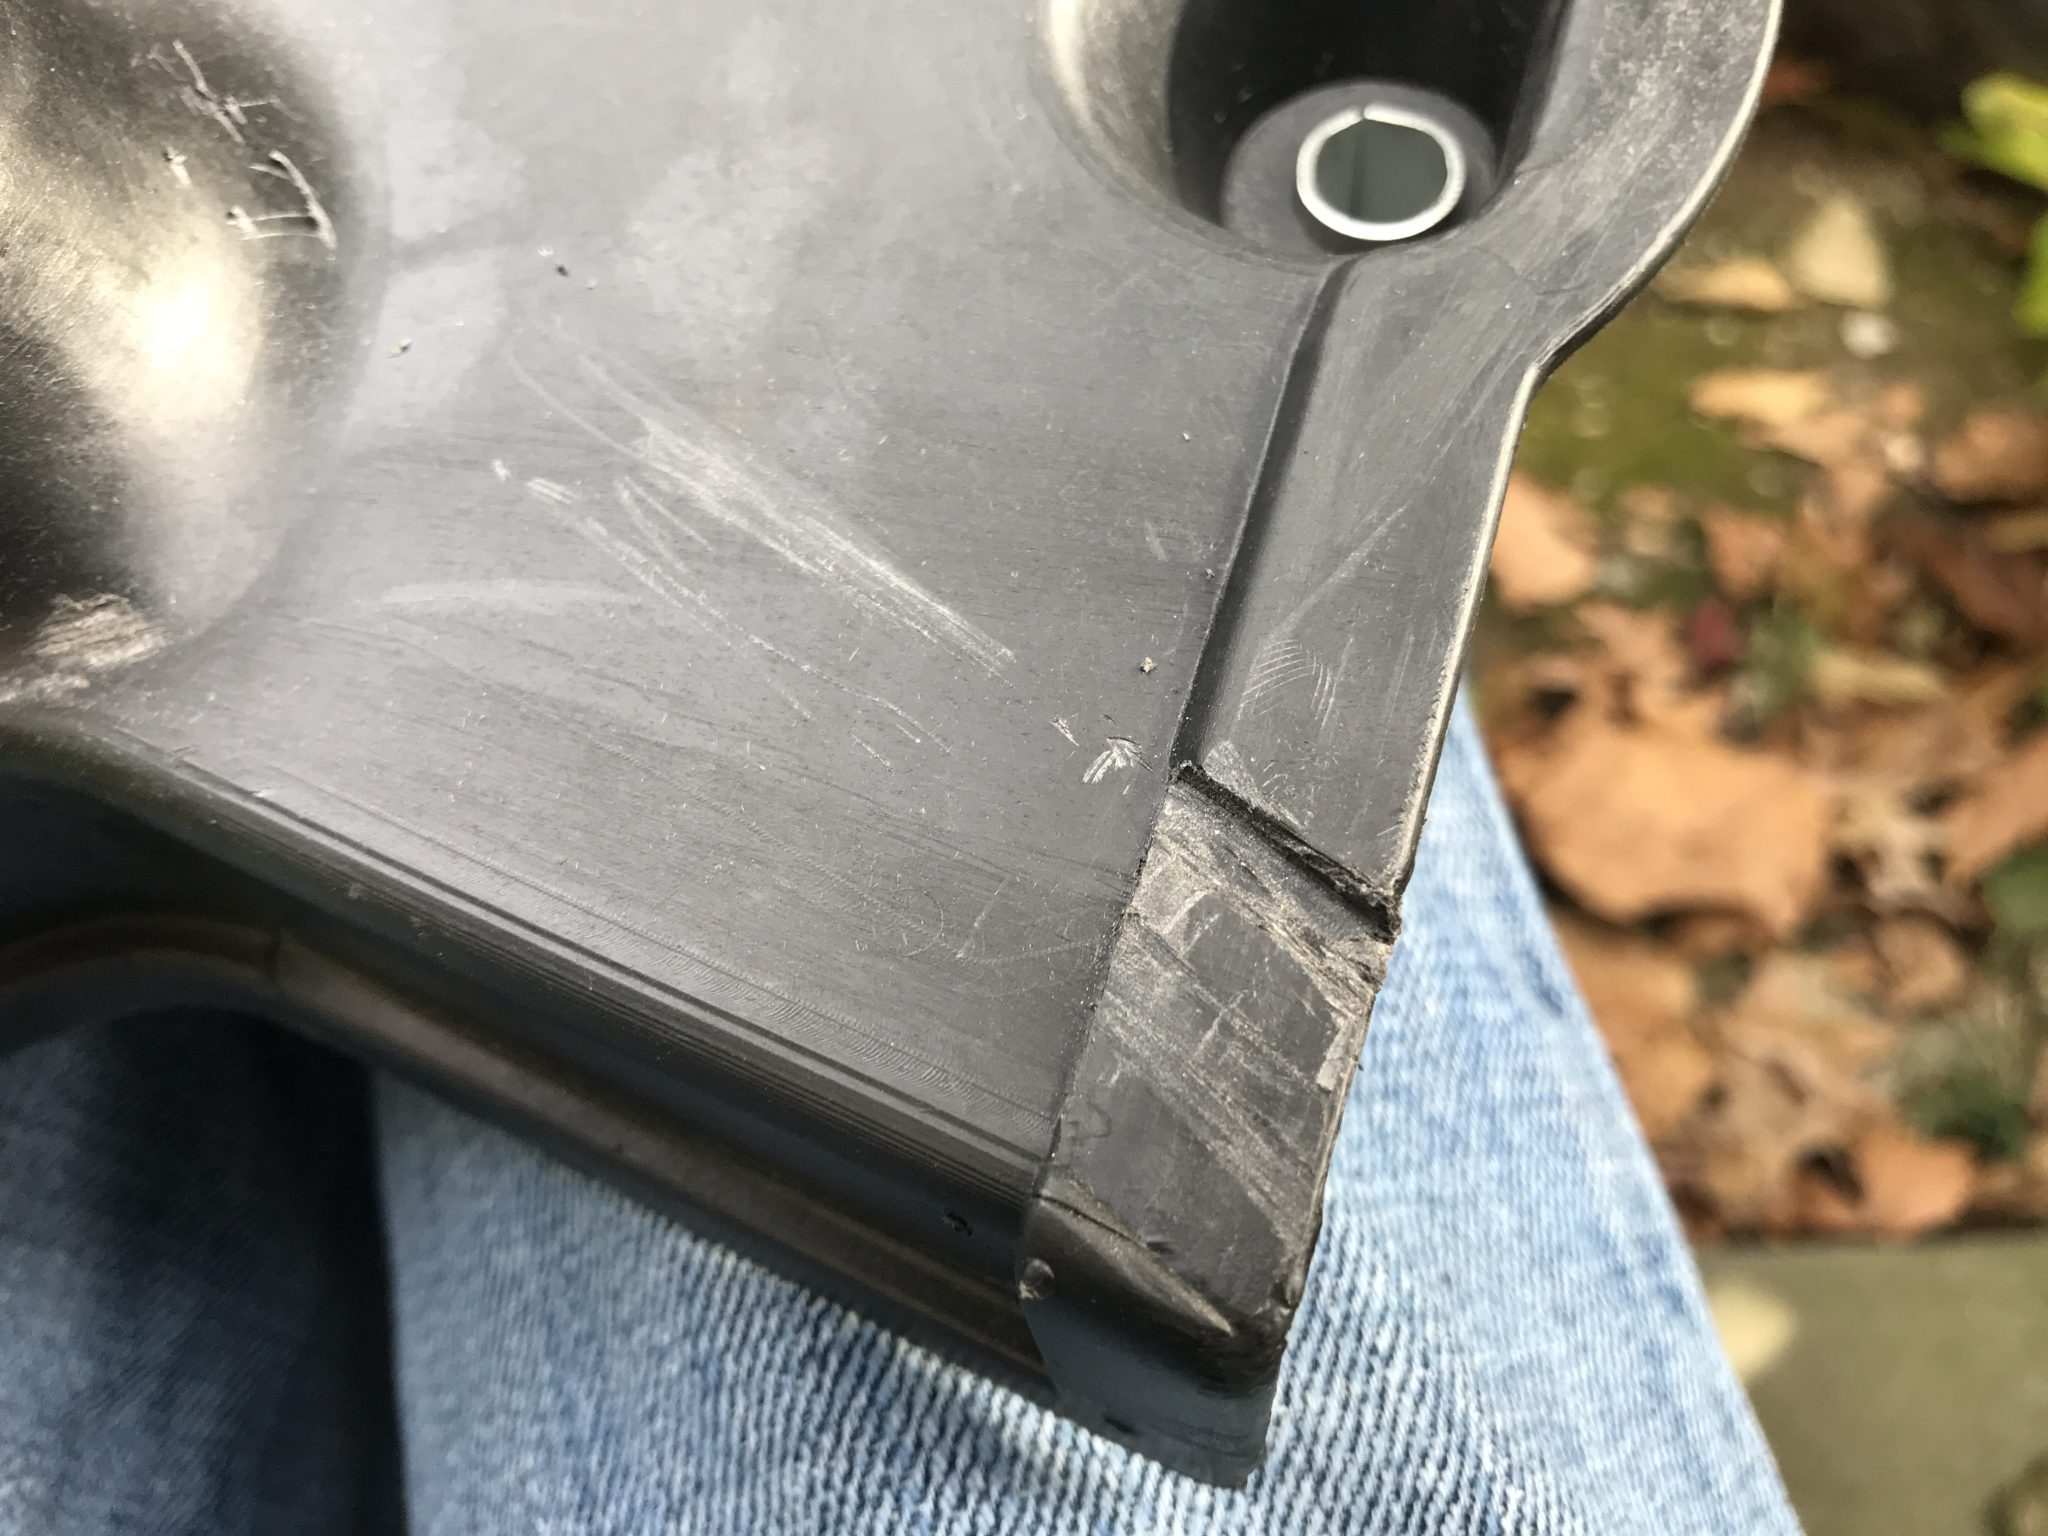
Short on solutions to stopping the rubbing I turned to Plan B: modify the belt cover. The pulley was only rubbing a little anyway. Cutting and filing off a millimeter or two of plastic from the ridge on the cover where the pulley was touching should be sufficient to stop it. I got out the utility knife and a file and carefully carved that bit off. After yet another re-installation of all the bits there was no more contact.
Water Pump and Alternator Belts
Now it was time to get all the belts back on. I started with the two belts that connected the crank, the water pump, and the alternator. They are part 973536 and are 9.5×918 in size. I put them into their grooves on the water pump pulley and the crank and then pushed the alternator up and in towards the engine far enough to slip the belts over the pulley there. This took a little effort, but they both eventually found their way into place. Next I reinstalled the alternator tensioner. This consisted of a carriage bolt that slipped through the back of a mounting hole at the top of the alternative, passed through the slotted bracket in front, and then through a small block with a threaded hole for a longer adjusting bolt which was than secured with a nut. Tension is increased by cranking down on the adjusting bolt which has the effect of levering the alternator away from the engine.

The tensioner assembly 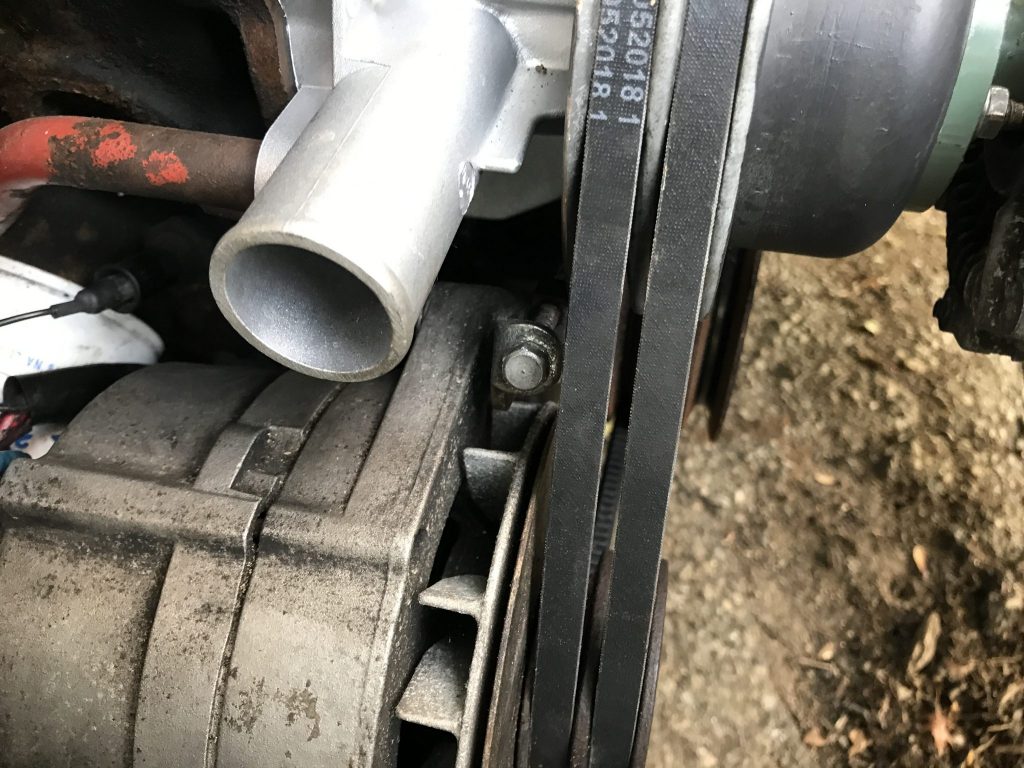
The head of the tensioning bolt 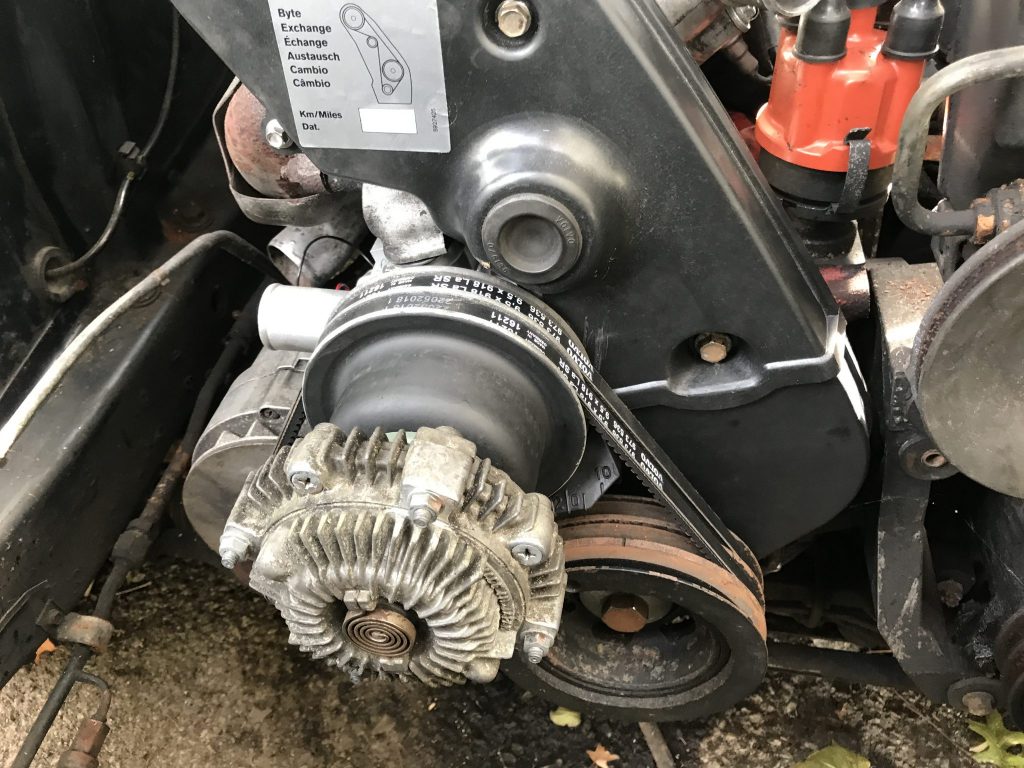
All together and tensioned
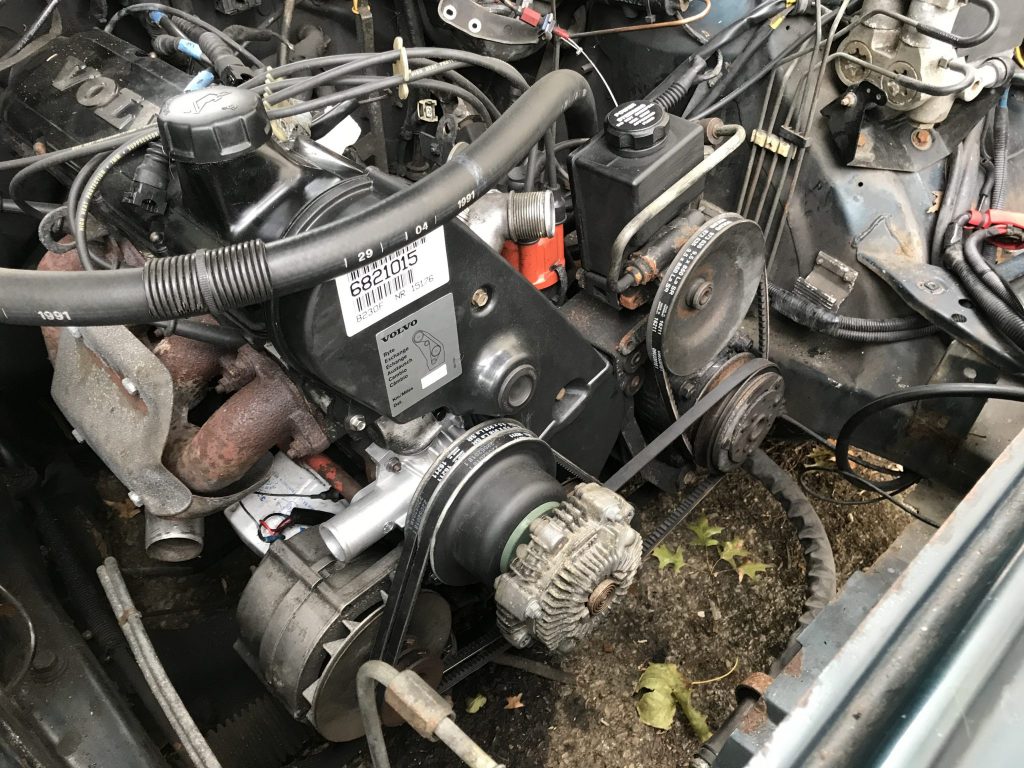
AC and Power Steering Belts
Next I moved onto the belts for the power steering pump (part 973535 – 9.5×850) and the AC compressor (part 979631 – 12.5×970). The power steering pump belt went on first. That was the easy part. The AC compressor belt was a little more difficult. I managed to get it on by putting the compressor side on first and then getting the crank side on as much as possible. Then I took a rubber mallet and wedged it between the compressor and the engine bay wall taking care to not touch the series of metal tubing (which I believe are part of the brake system) running up the wall just behind where the compressor is. I then used the mallet to carefully lever the compressor inwards towards the engine block just enough to introduce enough slack in the belt to get it the rest of the way onto the crank pulley.

That was all I had time to do for the day. The next steps will be to reinstall the tensioners for the AC compressor and steering pumps, and then I can continue on towards getting the air and fuel systems back in place.