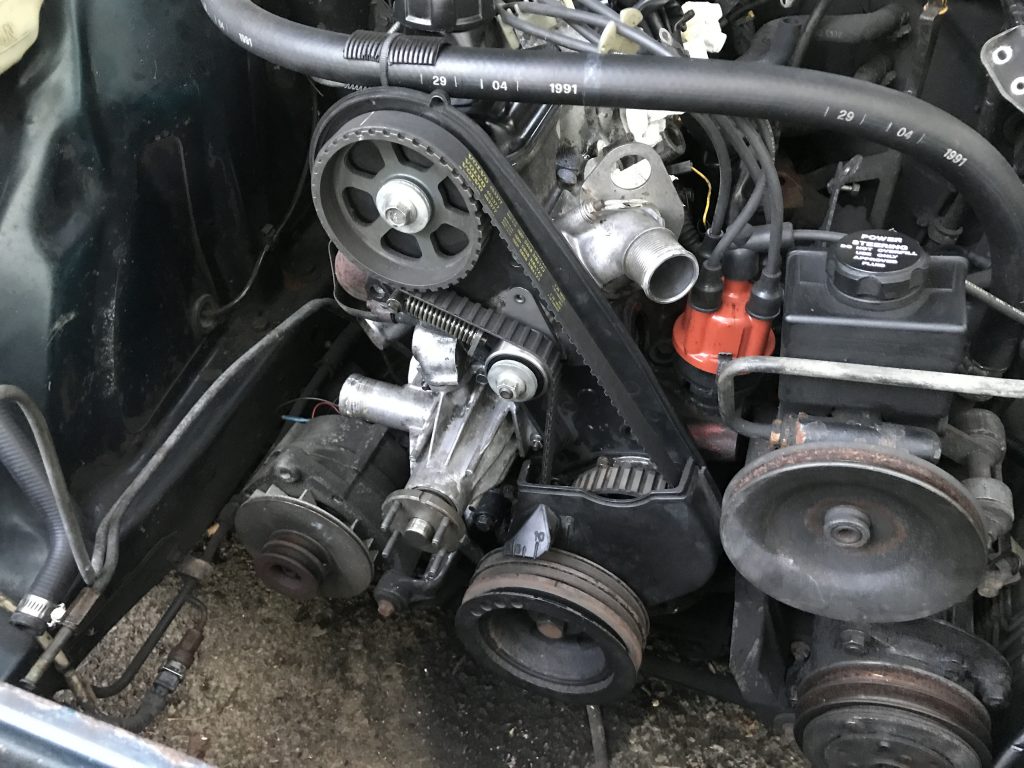
A quick bit of work after, uh… work this evening. I broke down and bought one of those crankshaft holding tools because it was on sale on Amazon. My chain-and-bracket method worked ok but I really wanted to torque the pulley on properly, and this tool really is best for doing that. It bolts to the tensioner post and holds the pulley with a set of crenelated “teeth” while you torque the bolt, in this case to 122 foot pound (164 Nm). I must admit it worked very well and was way more convenient.
The timing belt having been set, it was now the moment to seal it all back up. I applied the reproduction timing cover informational decal I had bought from Dave Barton and the belt replacement service sticker that had come with the new timing belt, bolted it on, and called it a day.
I apologize for the break in updates, but as summer wound down, and school wound up, some work was done on my house, and, oh yeah, my oak tree decided to shed yet another gigantic branch right on top of my garage that I had the remove, there never seemed time to get back to that engine. Today I break that dry spell with two things.
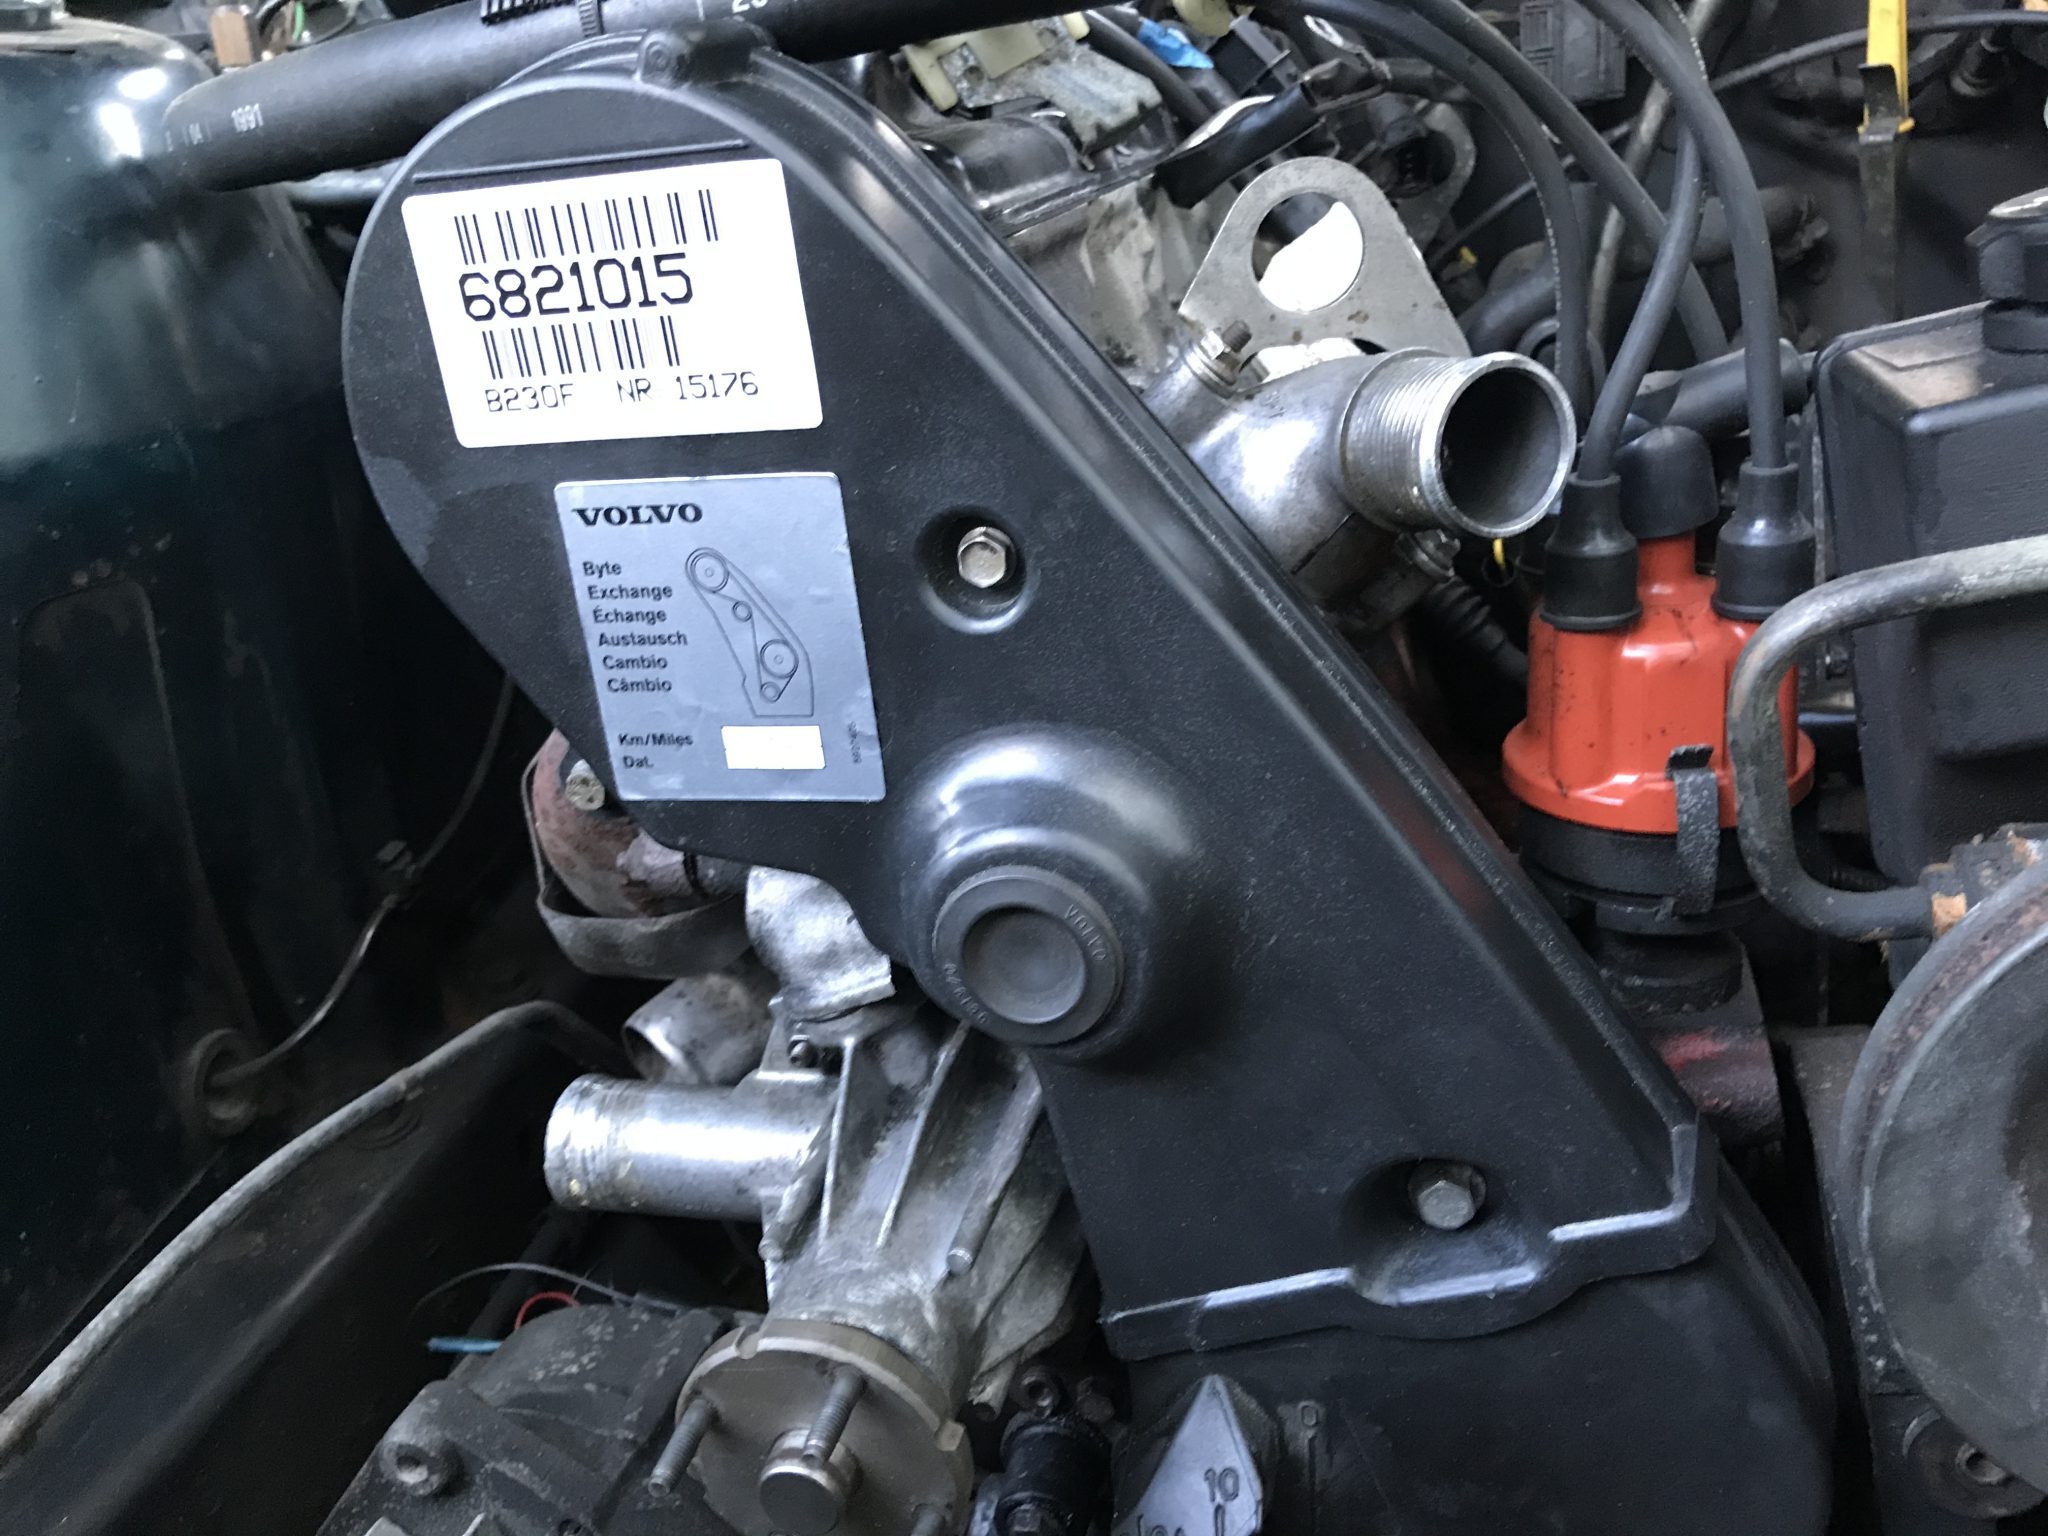
Timing Belt Tensioner
I had read somewhere that when replacing the timing belt it’s a good idea to also replace the timing belt tensioner. That’s the bit that keeps the timing belt tensioned so it won’t run off the gears. They’re not expensive and I had the timing cover off, so I figured I should do it.
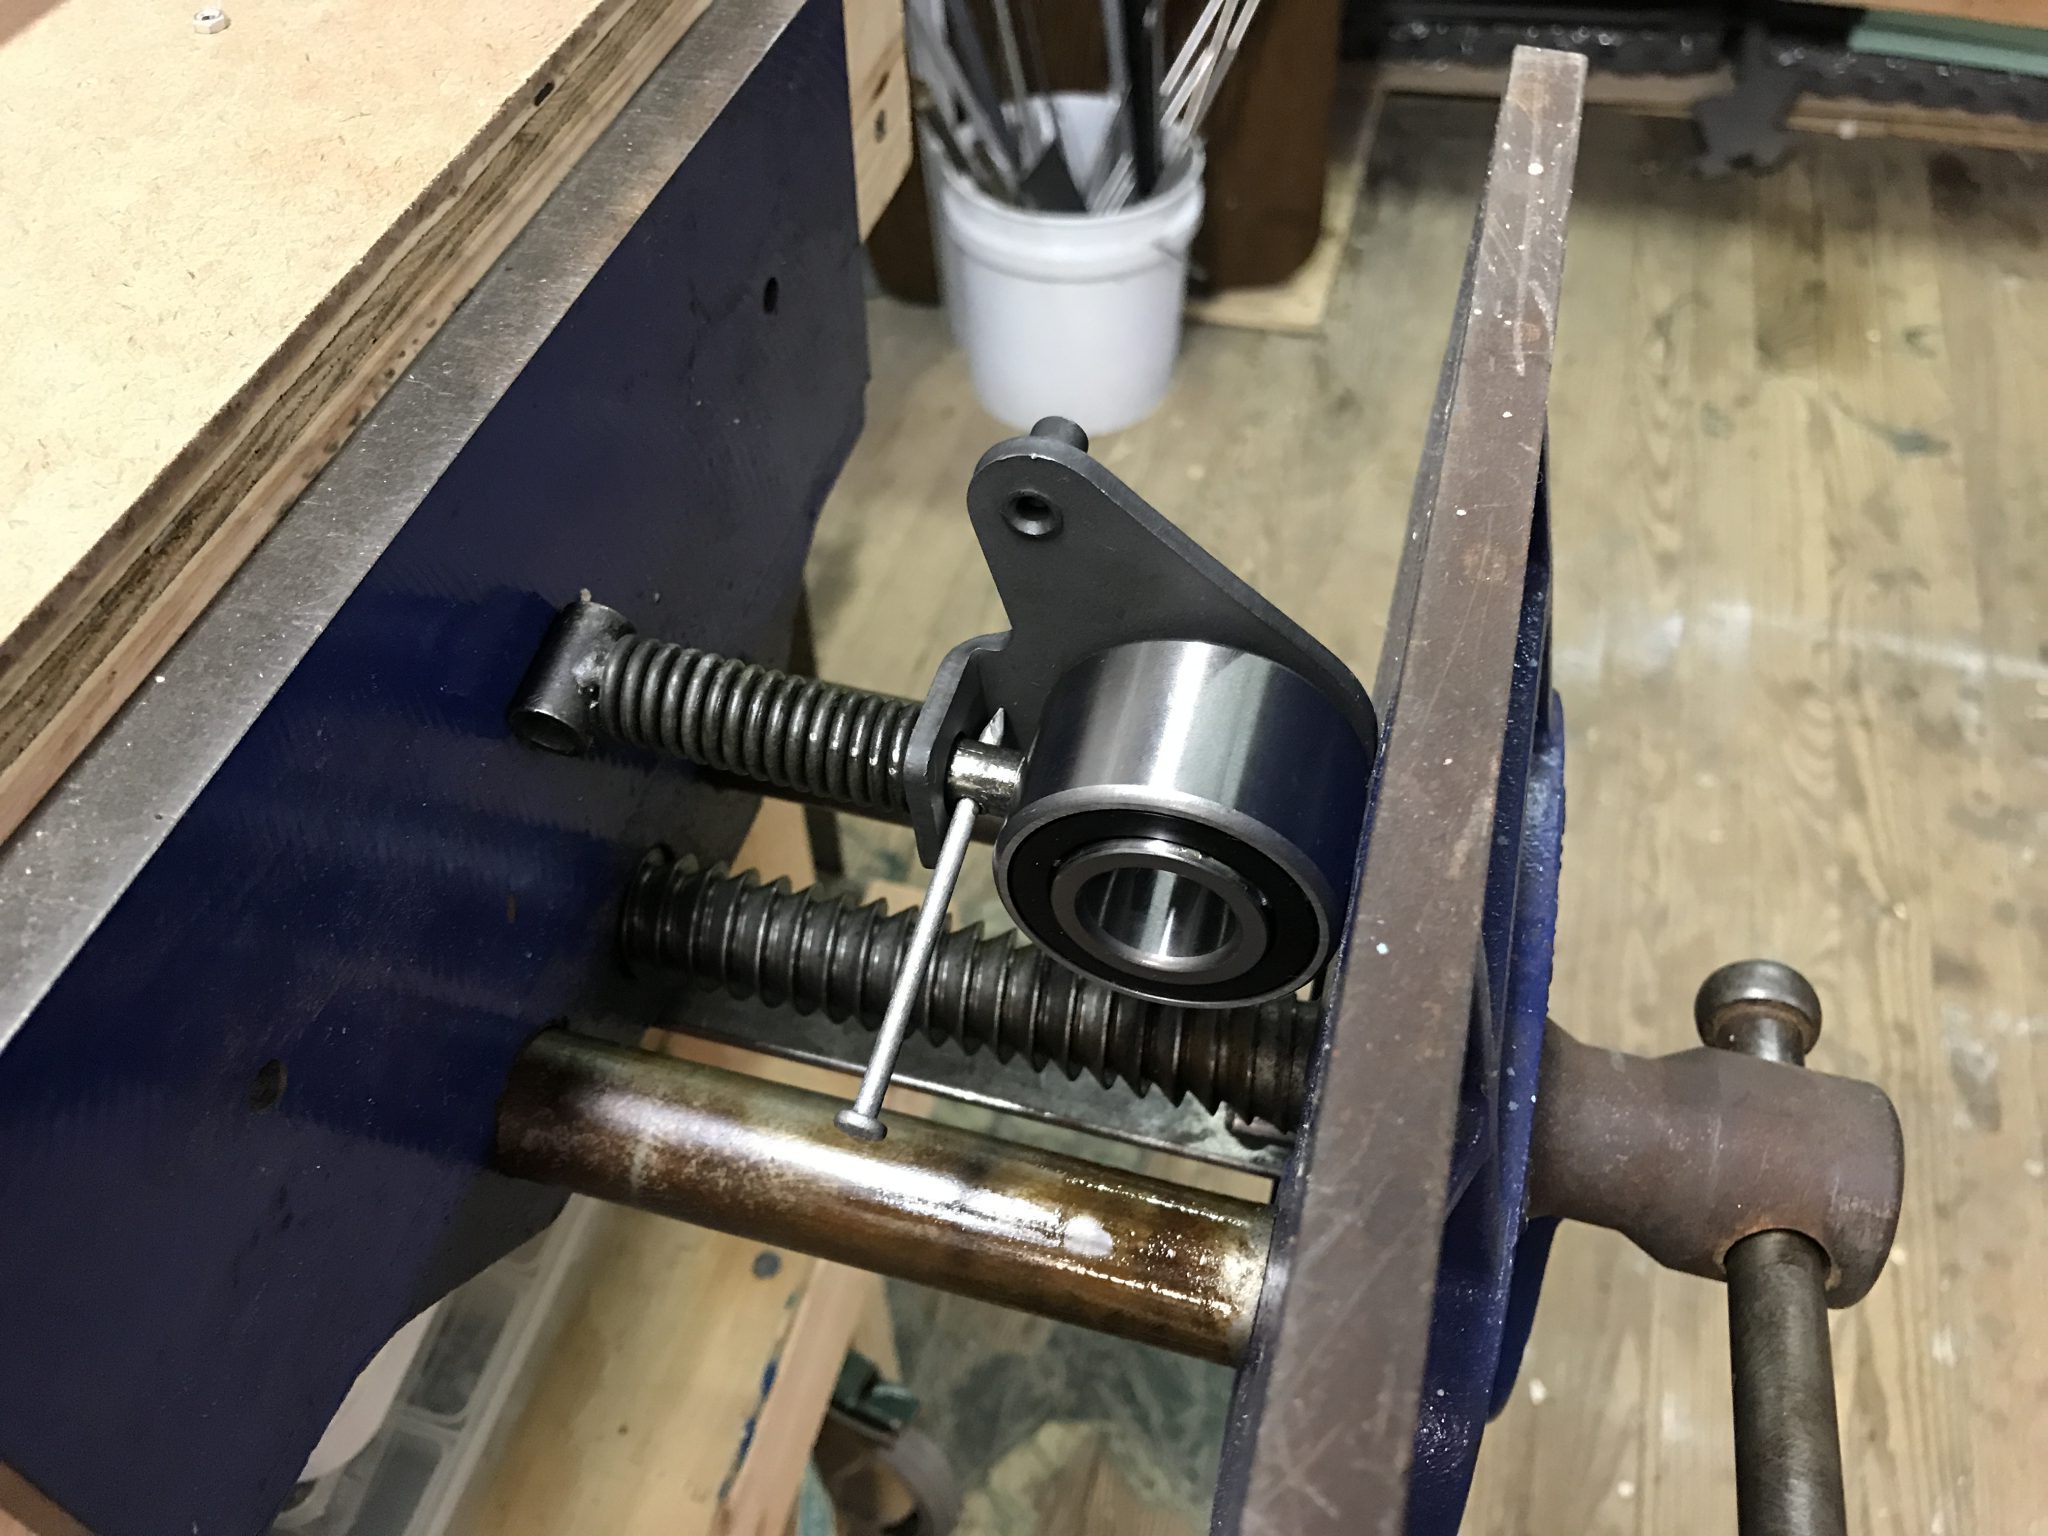
The tensioner is actually two parts. The first is the roller bit that the belt rides on and the other is the spring tensioner that actually gives the assembly the ability to tension the belt. After taking it off the block, I compressed the spring in a bench vice, removed the nail I had inserted into the detent hole, and slowly opened the vice. The whole thing should pretty easily come apart, but I’d recommend wearing eye protection as the spring is pretty stout. 240s are awesome but probably not worth losing an eye. Reassembly was done in the opposite order and the whole thing reattached to the engine.
New Roller
Water Pump
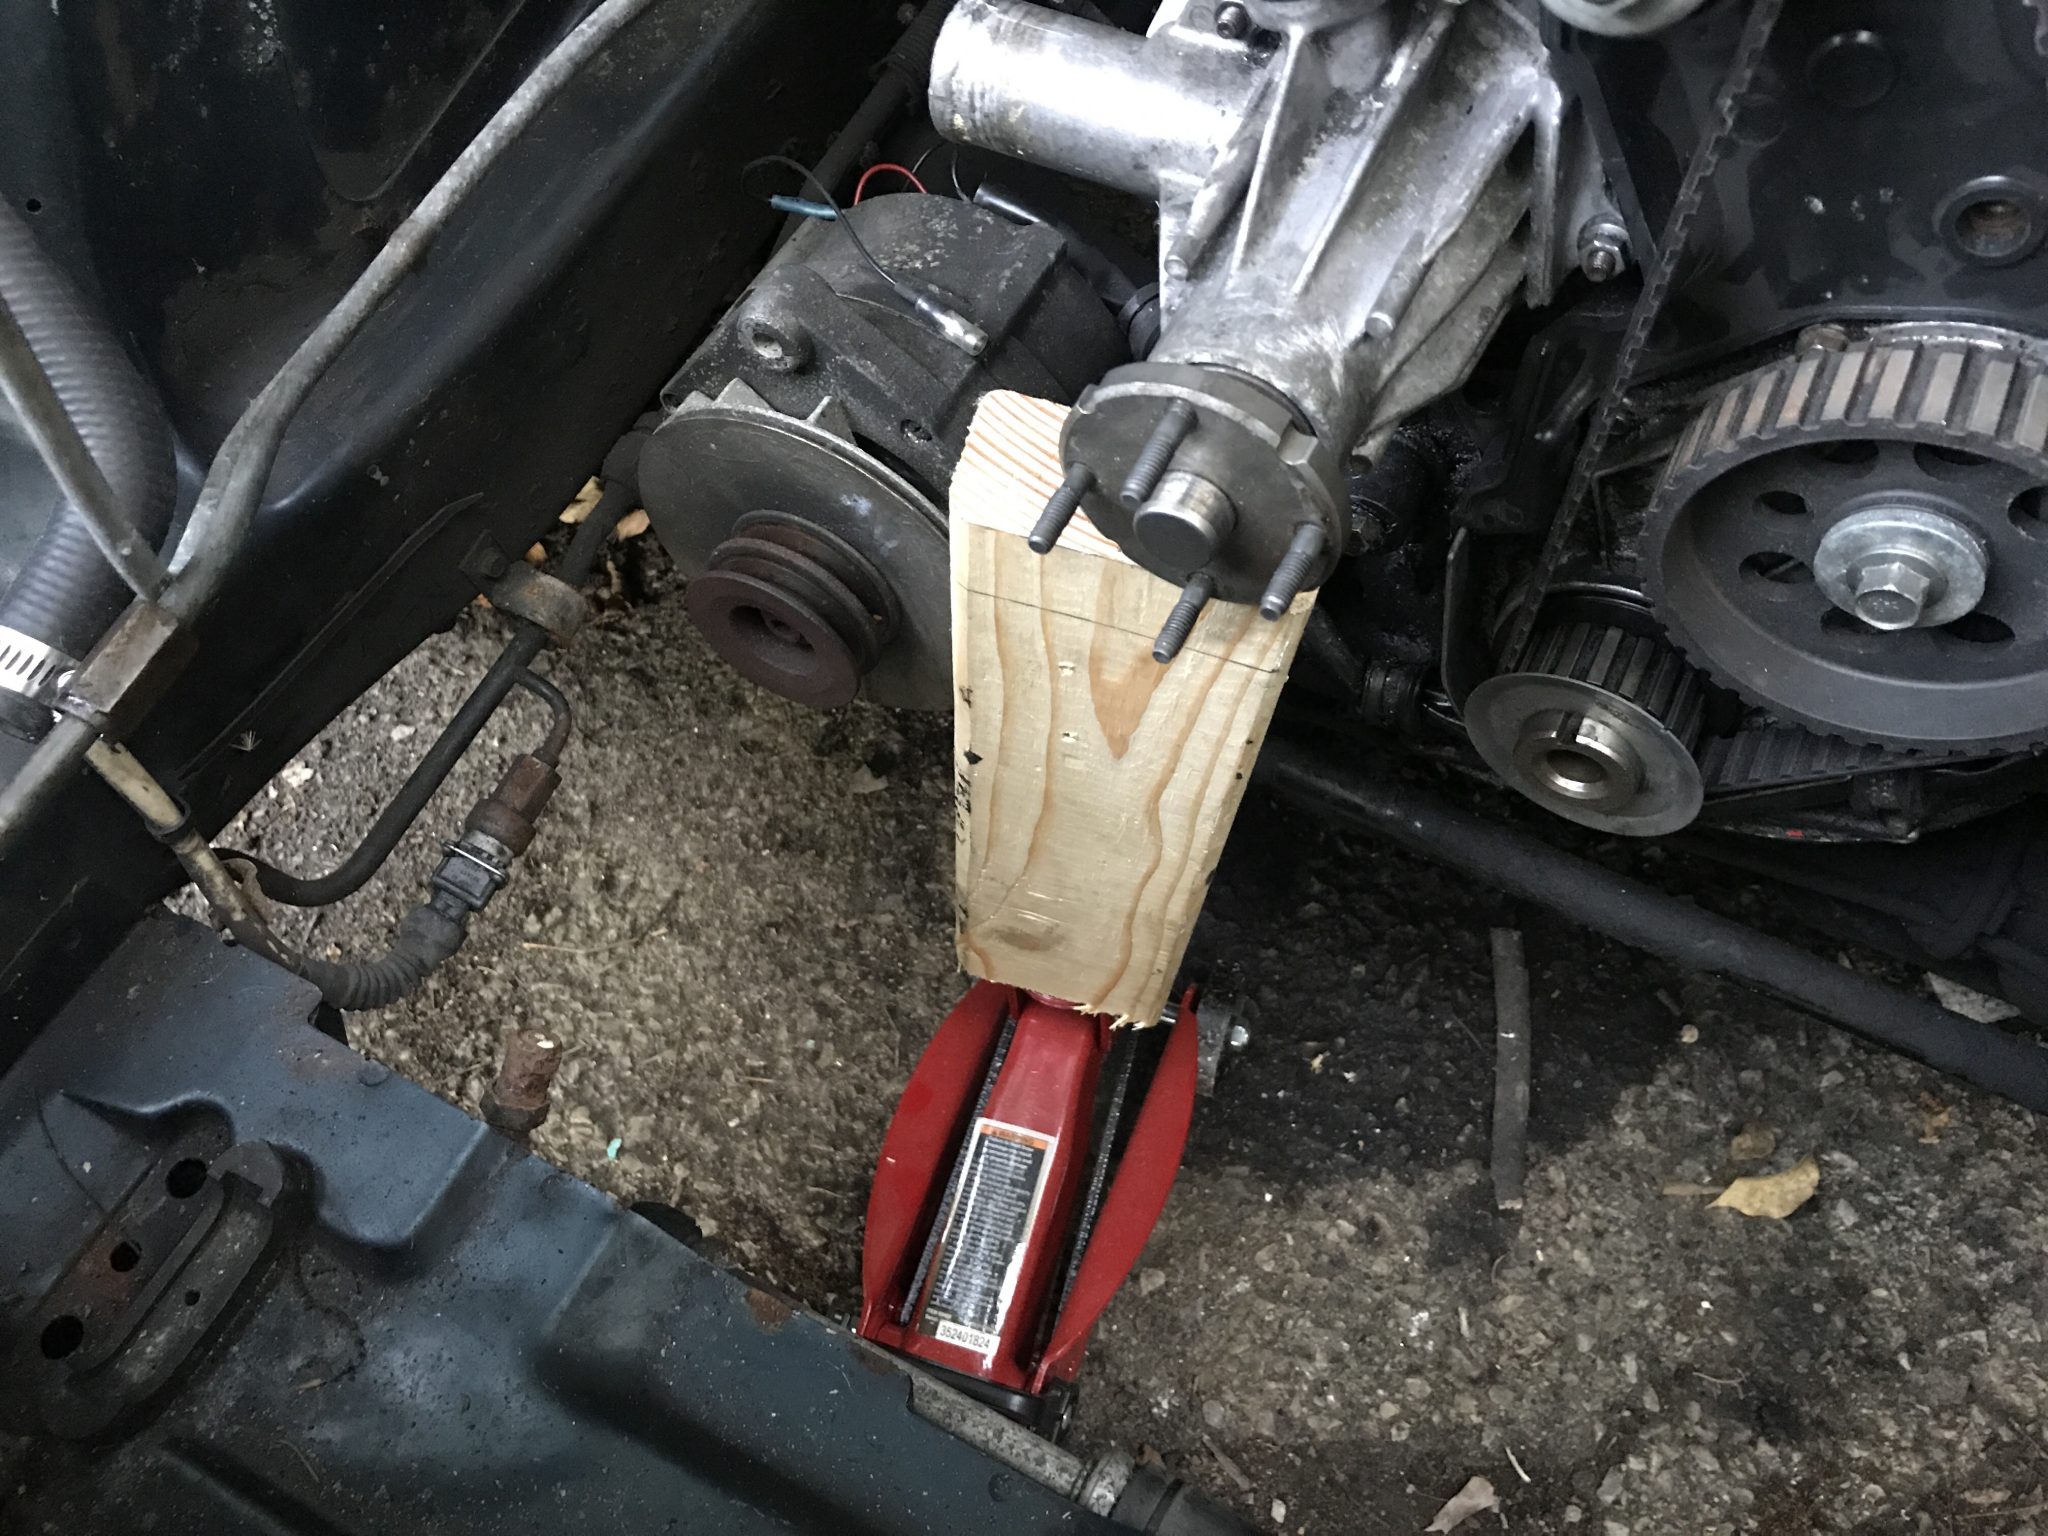
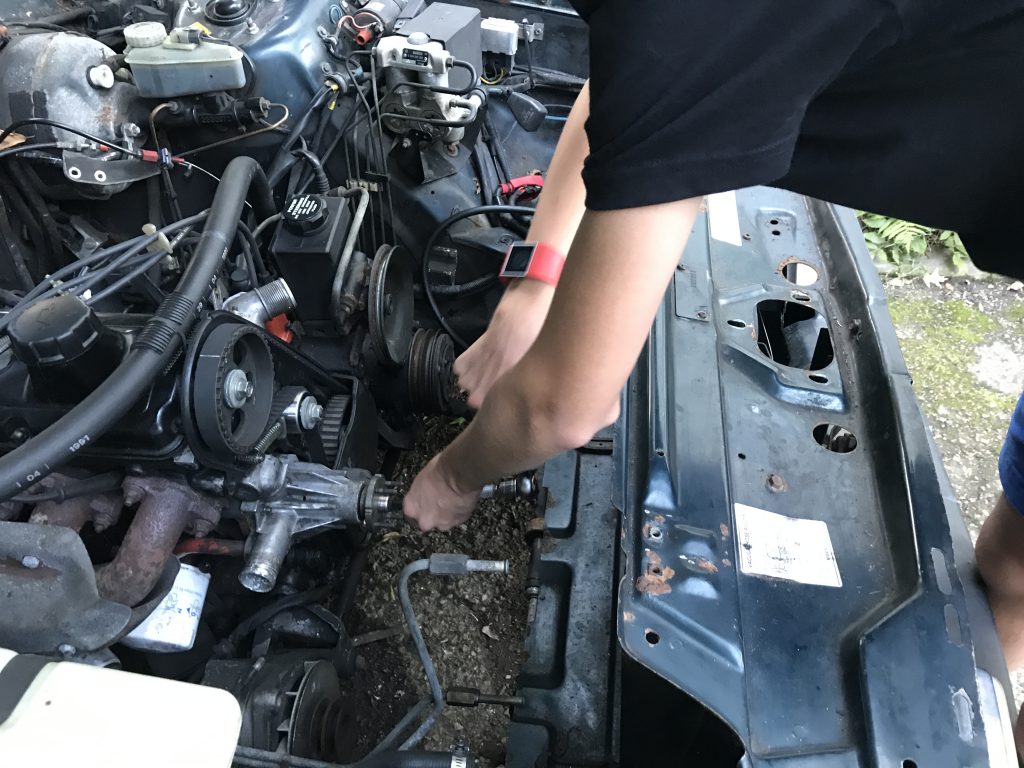
The other major part I’ve yet to reinstall on the face of the engine block is the water pump. It was in filthy condition when I took it off but otherwise in good mechanical condition. I have since cleaned it a bit and got a new gasket as well as rubber seals, all of which were on the edge of disintegration. Installation was straightforward with one catch. In order to get the bolts into their respective holes, upward pressure needs to be applied to the pump to compress the top rubber seal enough to get everything line up. Otherwise the bolt threads just won’t “bite.” I’ve seen this demonstrated by fitting the pump over the studs on the block then grasping the pump with one hand and pulling up while you fumble with the bolts with the other hand. I tried this, both alone and with the help of my son, but it never seemed to work. I eventually solved this issue with a small floor jack and a short length of 2×4.
Work smarter…
This eventually gave me enough force to line things up and get a bolt into one of the bottom holes. The rest of them followed, and the pump was back on.