Backorder Limbo

My efforts on the car have recently been stymied by the fact that certain parts for this car are forever on backorder. A number of things I’ve ordered have been sitting with a status of “PROCESSING” for several weeks, and while I’ve been in contact with the vendor and know they will indeed one day arrive that day is still at least a week in the future. So until then all I can do is search for things to fix. One such thing is the hole through which the radio antenna will emerge. I have the parts for that one, but a previous owner just butchered this hole.

I have little experience with fixing cars and even less with body work. Turning to a much more knowledgable friend, I asked for suggestions and he explained “dolly spoons” to me. Of course neither he nor I have a dolly spoon, so I’m going to have to get creative with how to get something of substantial mass behind that hole against which I can then hammer the edges flat. That would have been easier this past long weekend except for the fact that it rained like the dickens. So until some new parts come in and the weather improves I’m stuck just looking longingly at my car out on the curb.

Fixing yellow headlight lenses

My oldest son is a very visually-oriented kid, and one of his primary complaints about the Volvo is that the headlight lens are “all yellow and gross looking.” A superficial analysis, sure, but also very true. 26 years of sun exposure has left the lenses cloudy and yellowed with oxidization. I looked around and found lots of information on how to clear them up. It’ll require a bunch of elbow grease so I think I found a project for the kids!


One month in

I’ve had the car for a little over a month now. It’s time for a status update!

Of all the originally identified issues, the following have been addressed and fixed:

  1. Odometer fixed
  2. Hood release handle works
  3. Front driver side door’s latch works on the inside
  4. Rear driver side door’s latch works from the outside (replaced handle)
  5. Interior got some cleaning (still needs more though)
  6. Front doors missing panel pockets purchased and will install when doors are sorted out
  7. Broken radio antenna mast removed and and proper new one purchased
  8. Front driver side door speaker cover replaced
  9. Glove box hinges replaced (still need to source a better latch)

Almost to double digits. Not too shabby. In addition I also have accomplished the following:

  1. Headlights now match and are the car’s original type
  2. New grille
  3. Replaced some of the missing plastic body hardware
  4. Fixed the rear seat release latch
  5. Water damaged door panels fixed and ready for installation

My focus is currently on getting the headlights going and the doors all back together. The final door will be the rear hatch, but that’s a whole other challenge.

Time to get those headlights working

Even though it now boasted a shiny new grille, my one-eyed, wiper-less car was starting to get side eyes from the neighbors. The time to fix the missing headlight was nigh. The new American light was in my basement shop ready for refurbishment. Primarily the lens needed sealing and cementing with silicone. I washed the greasy dirt that had accumulated in on the surface and scraped the old sealer from around the edges. This was in preparation for a bead of Lexel clear silicone in the groove where the lens would sit. In the meantime the 9004 socket had arrived in the mail so I was now ready to fix the car side of the equation.

Finally Time To Work

Unfortunately the weather was not cooperating. Over the past week it had already been raining steadily, but thankfully on Saturday morning there was a short pause. I took that opportunity to attach the 9004 socket to the wires that used to connect to the old H4 socket I had removed. I had previously considered soldering the wires together, but given that these wires would be next to a running engine in a bouncing car this probably would not have been durable enough. Instead I decided to use water-proof butt splice connectors attached using a crimping tool. That would, as the name suggests, make the join water proof and provide an amount of physical strength. The biggest problem I had was that I wasn’t sure which wire was for the high beams and which for the low. Looking at the existing left-hand light was no help as its 9004 socket was very hastily assembled from a H4 socket like the one I had taken out from the other side and some spade terminals. The whole deal was then bound together with some purple electrical tape. I sighed, removed it, and mentally filed another entry on the to-do list. Anyway, given how the rain was slowly starting back up, I decided quickly that the red wire was the high beam and spliced it all up. I cut out the spade terminals on the 9004 connector for the other light and spliced them in the same way. The result? The headlights worked, but since it was still sort of light out I wasn’t sure if the high beam setting was really producing more light. I’d have to wait until dark to see.


I also put the reconditioned windshield wiper arms back on too.

The Next Day

Next my oldest son and I decided to take the other light out so we could clean it up. It was then that I noticed the connector for the blinker and running lights was half way missing. The “sleeve” side that made contact with the pins from the light was missing its housing and had just sort of been stuck on and taped up along with the headlight wires. Also the grounding wire was just sort of wedged under the battery. Was it actually grounding anything? I have no idea, but it came out with the light assembly. I’ll have to order a new connector and, in the meantime, clean up this light as I had done with the other.

I also tested the lights the proper way by using a multimeter to measure the voltage Sure enough I had the wires backwards. I undid the crimps, pulled the splices off and redid them properly.

Next up: get the other light back in and make sure the blinkers all work as expected.

Adam Savage’s First Car

Adam Savage has long been a hero of mine. I used to watch him and Jamie on Mythbusters do all sorts of cool building, problem solving, trouble shooting, and blowing up of various things and would exclaim to my wife “These guys have the best job in the world!” I stand by that statement and wish that I could do something like that for a living, but fate being what it is, my main talents lay in the world of computers so I guess for now that’ll have to do.

Adam recently posted a short piece on his first car. Given his handy nature and seemingly limitless curiosity,  it is unsurprising that he went with a ’78 Volvo 245. As he says in his article, his precarious financial situation at the time more or less required him to learn how to maintain and repair it, and eventually he learned a new skills. This is very similar to what I’m trying to accomplish here. Go ahead and read Adam’s take on the subject. He offers some nice insight into the act of throwing yourself in somewhat over your head.

Trim and handle

Now that the new grille had been installed and I had found a replacement for the missing corner trim piece I decided it was time to clear those bits from out of the trunk area and actually get them on the car. This time my daughter assisted me by gently tapping slightly misshaped parts into place.

I also finally received my replacement handle from Tasca parts. It has been a little rainy here for the last couple of days and I was concerned about water getting into the hole where the old handle had been, so when the handle arrived I was eager to reinstall. However I wasn’t entirely sure how the handle worked. There was a spring involved, that much I could figure out by looking at the old parts. My initial thought was that this spring attached directly to the handle but the parts just didn’t line up in any way that would make that either effective or even possible. I looked at the opposite door for wn example, and it showed that the little doodad that was connected to the threaded rod that actuated the latch was supposed to sit in between the hook part if the handle. The spring was actually attached from that to the door. Here’s what it looks like all put together.


Note the black screw. The old handle was missing one so I had to fabricate a new one (using a hacksaw) from a longer screw I already had.

And here is the handle installed!


Four of the five doors on my car have functional handles both inside and out. Fancy, no? I’m also progressing on the interior door trim but until I source some guide casings for the latch handles It’ll have to wait.

Up in my new grille

I won this grille from eBay for a relative steal, so now my car doesn’t look quite as decrepit as it once did. Tomorrow the 9004 plug should arrive and I’ll try to get the new headlight in. as well as the newly complete set of front trim pieces.


Removing the E Code headlight

My son and I took a few minutes yesterday evening to remove the right hand “E Code” headlight. It wasn’t a difficult task, but it did require us to unbolt the retaining strap of the radiator overflow tank and move it out of the way so that we could move the windshield wiper fluid reservoir out of the way to get to the bolt that the turn signal light ground wire was connected to with a ring terminal.

After that it was just a matter of removing the three bolts that kept the assembly attached to the frame. As I suspected the E Code light had an H4 bulb connector that had handy spring locks for the wire leads, so removal in anticipation of replacing it with the 9004 style connector used on American headlights was easy and required no wire cutting. Once that new one comes in I will probably solder it together and then cover it with shrink tube for the sake of durability.

I also have a new grille and a few other bits and bobs coming. Once I get the handle guide casings (they’re all pretty much broken) and a few other things the car will almost be in drivable shape. There are still many, many things that need doing, but having functional lights and a method of getting in and out of the car from all seats is a big deal to me.

A few new parts and door panel progress

I recently saw an ad on Craigslist from a local Volvo enthusiast who was getting out of the “hobby” and had all sorts of parts to sell. I finally connected with him and set up a time to come over and rummage through his various attics and hidey-holes for parts. While I didn’t get everything I wanted I did manage to score several important bits.

That’s the missing piece of bumper trim (a hard to find bit), a right-hand American style headlamp assembly, and a couple of HT-204 stereo speaker covers. Obviously I’ve decided to go with the American market headlights, so if you are looking for a right hand Euro style I have one I’ll be selling soon.

I also cut the replacement piece of the driver’s side door panel and will be drilling holes and gluing it in soon.


Fixing door handles and a little painting

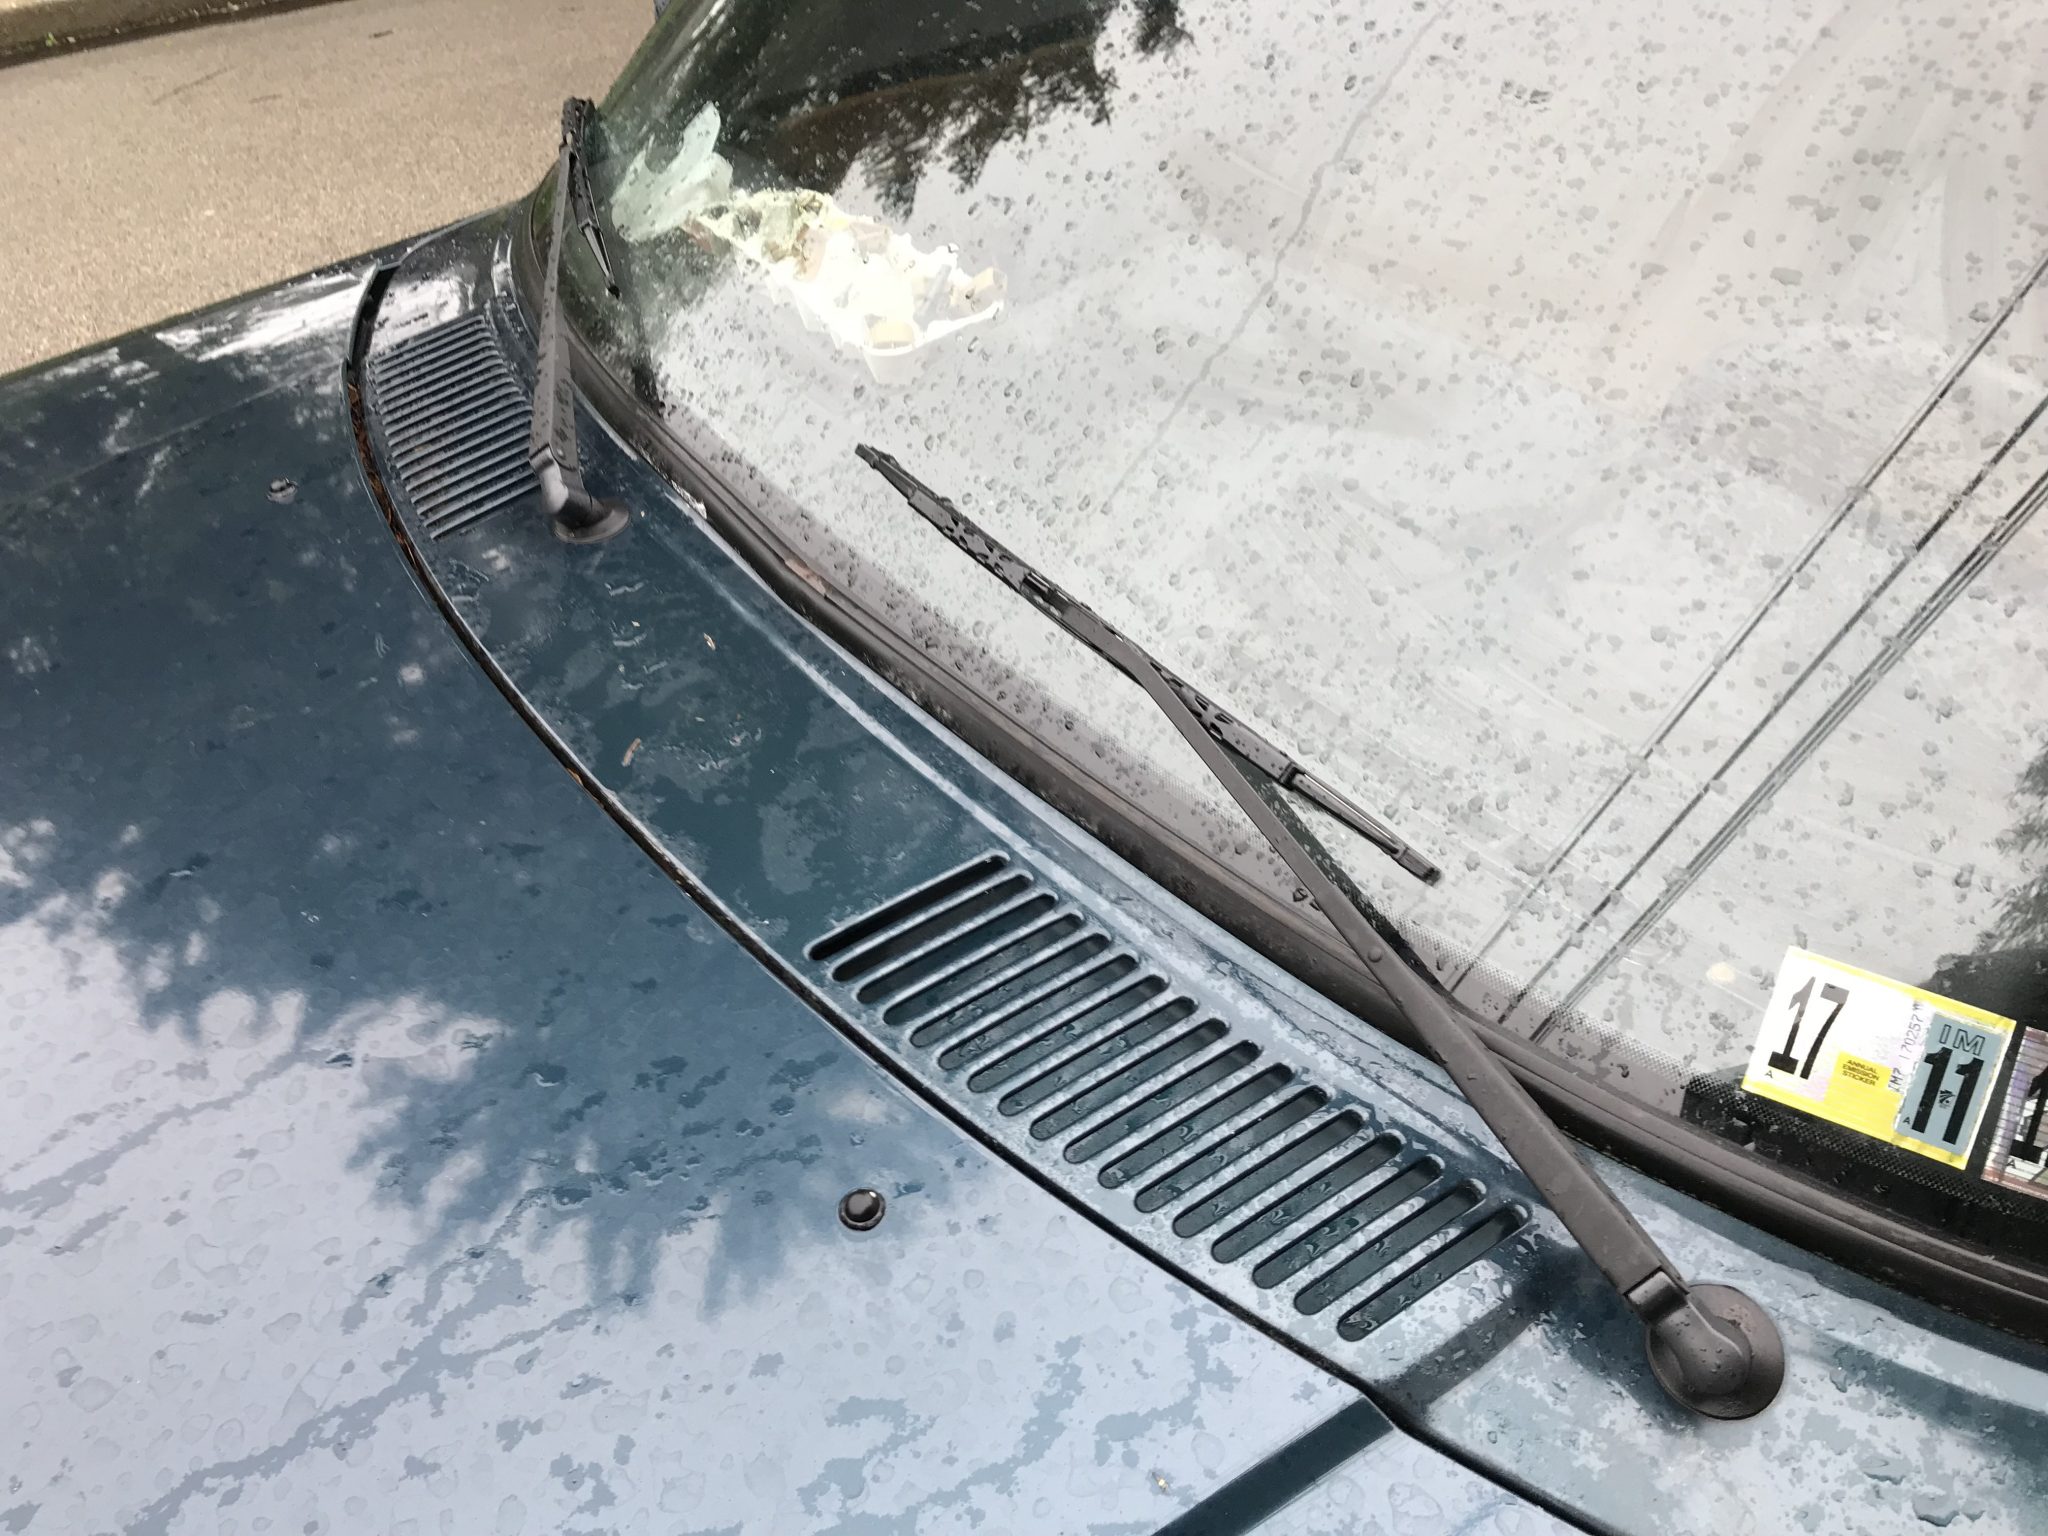
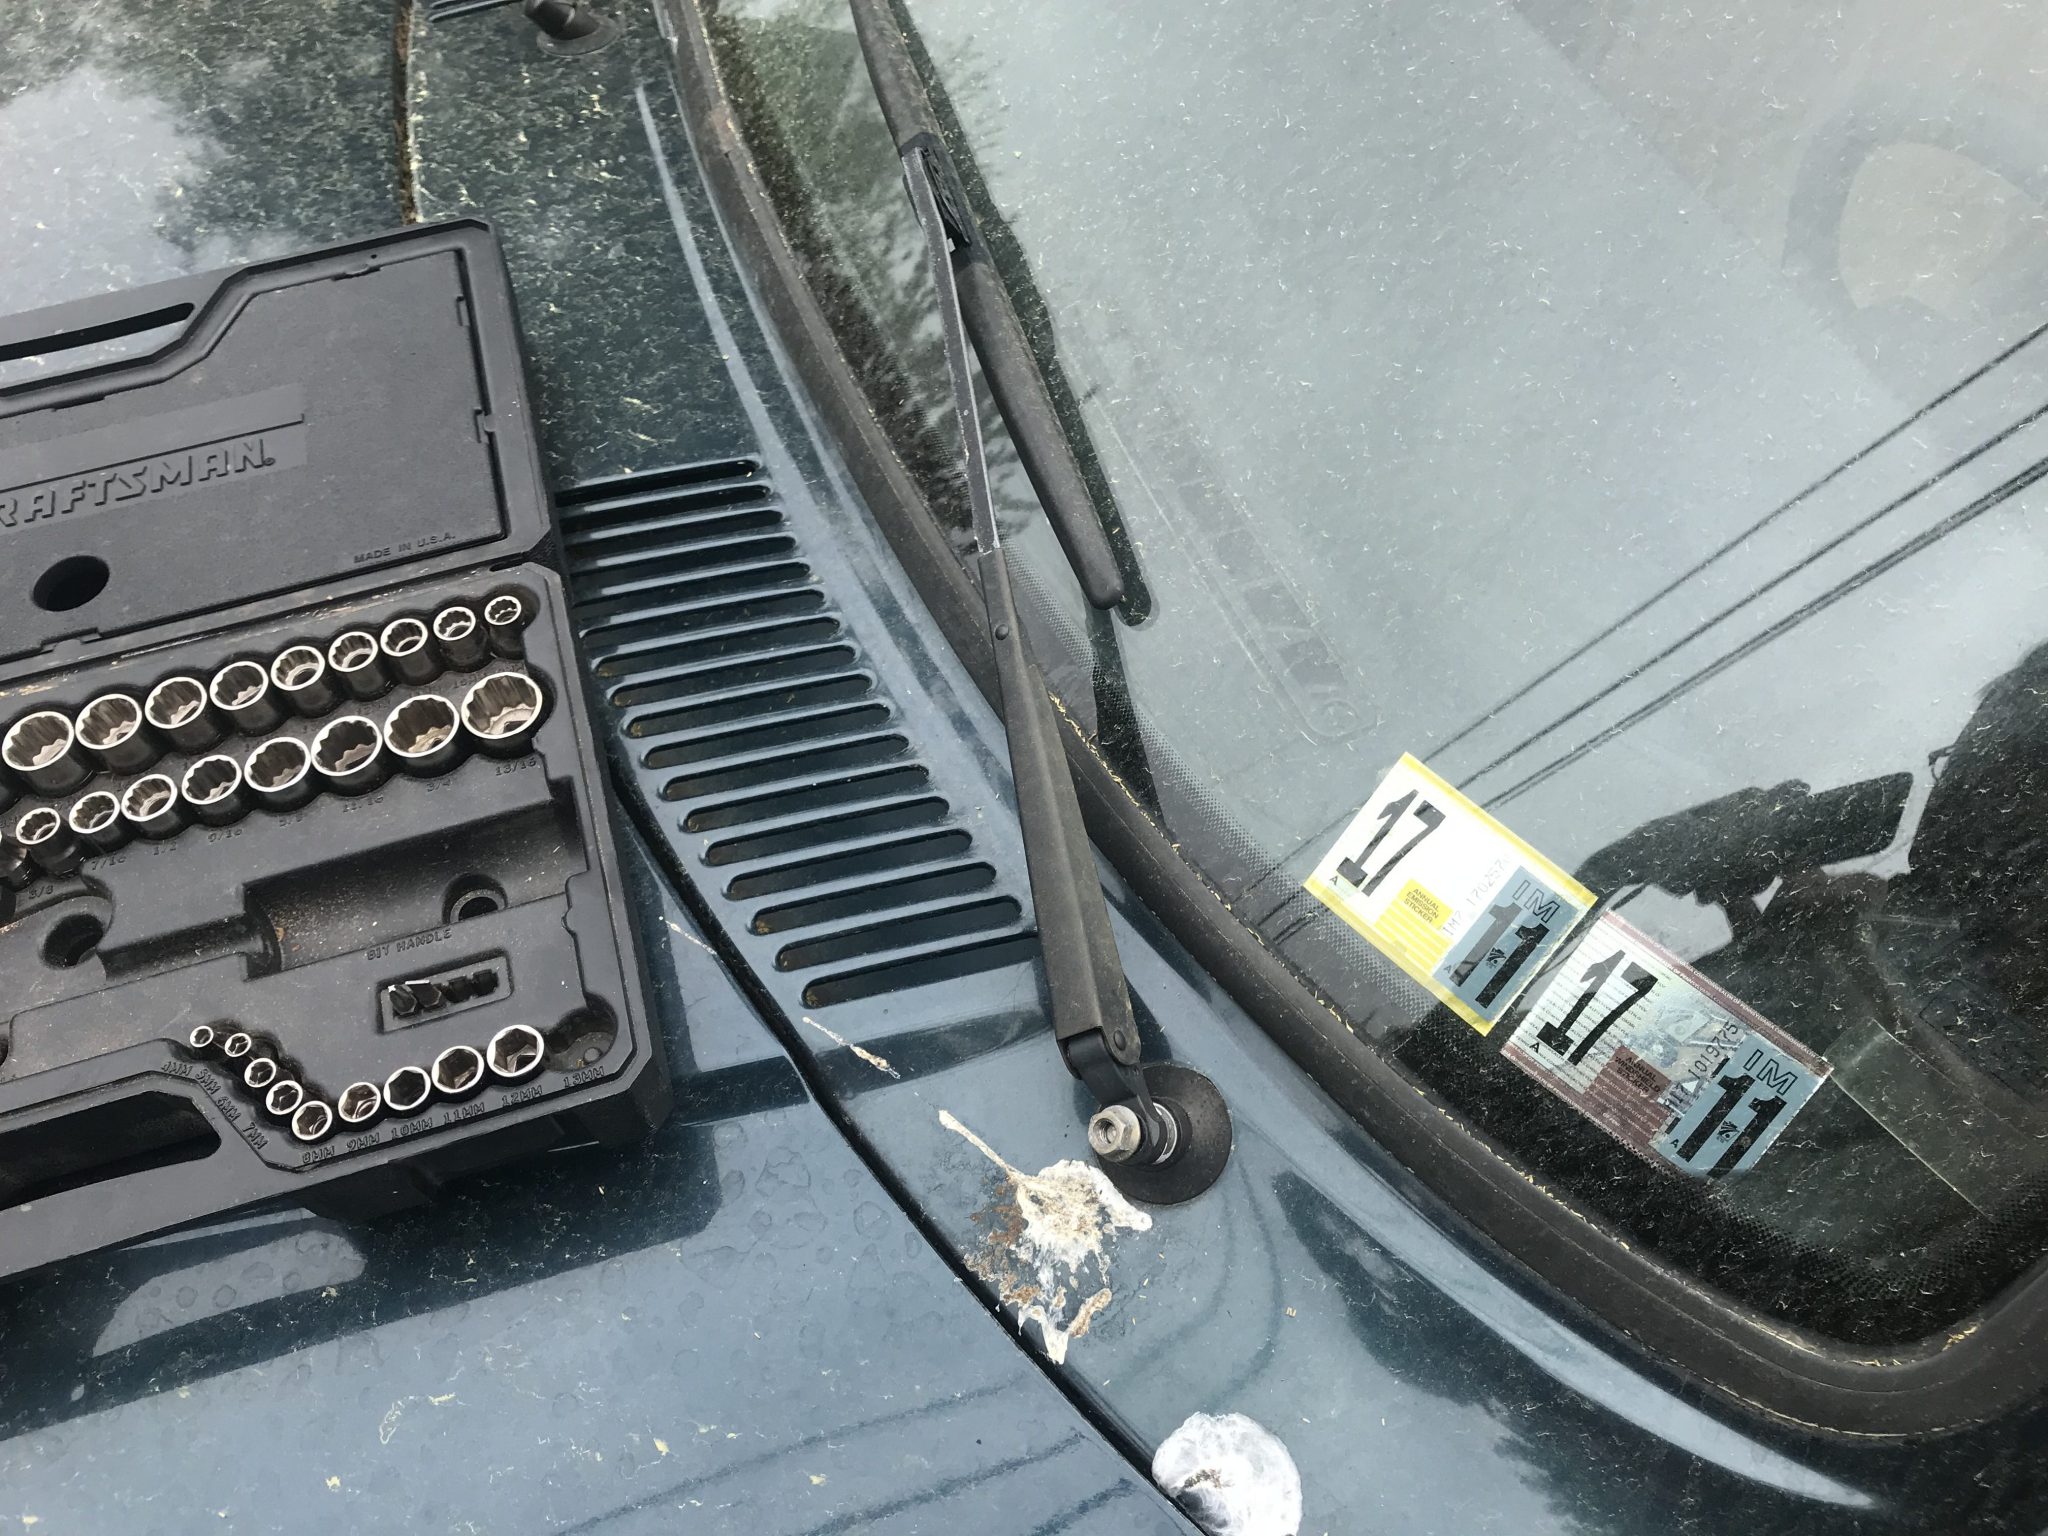
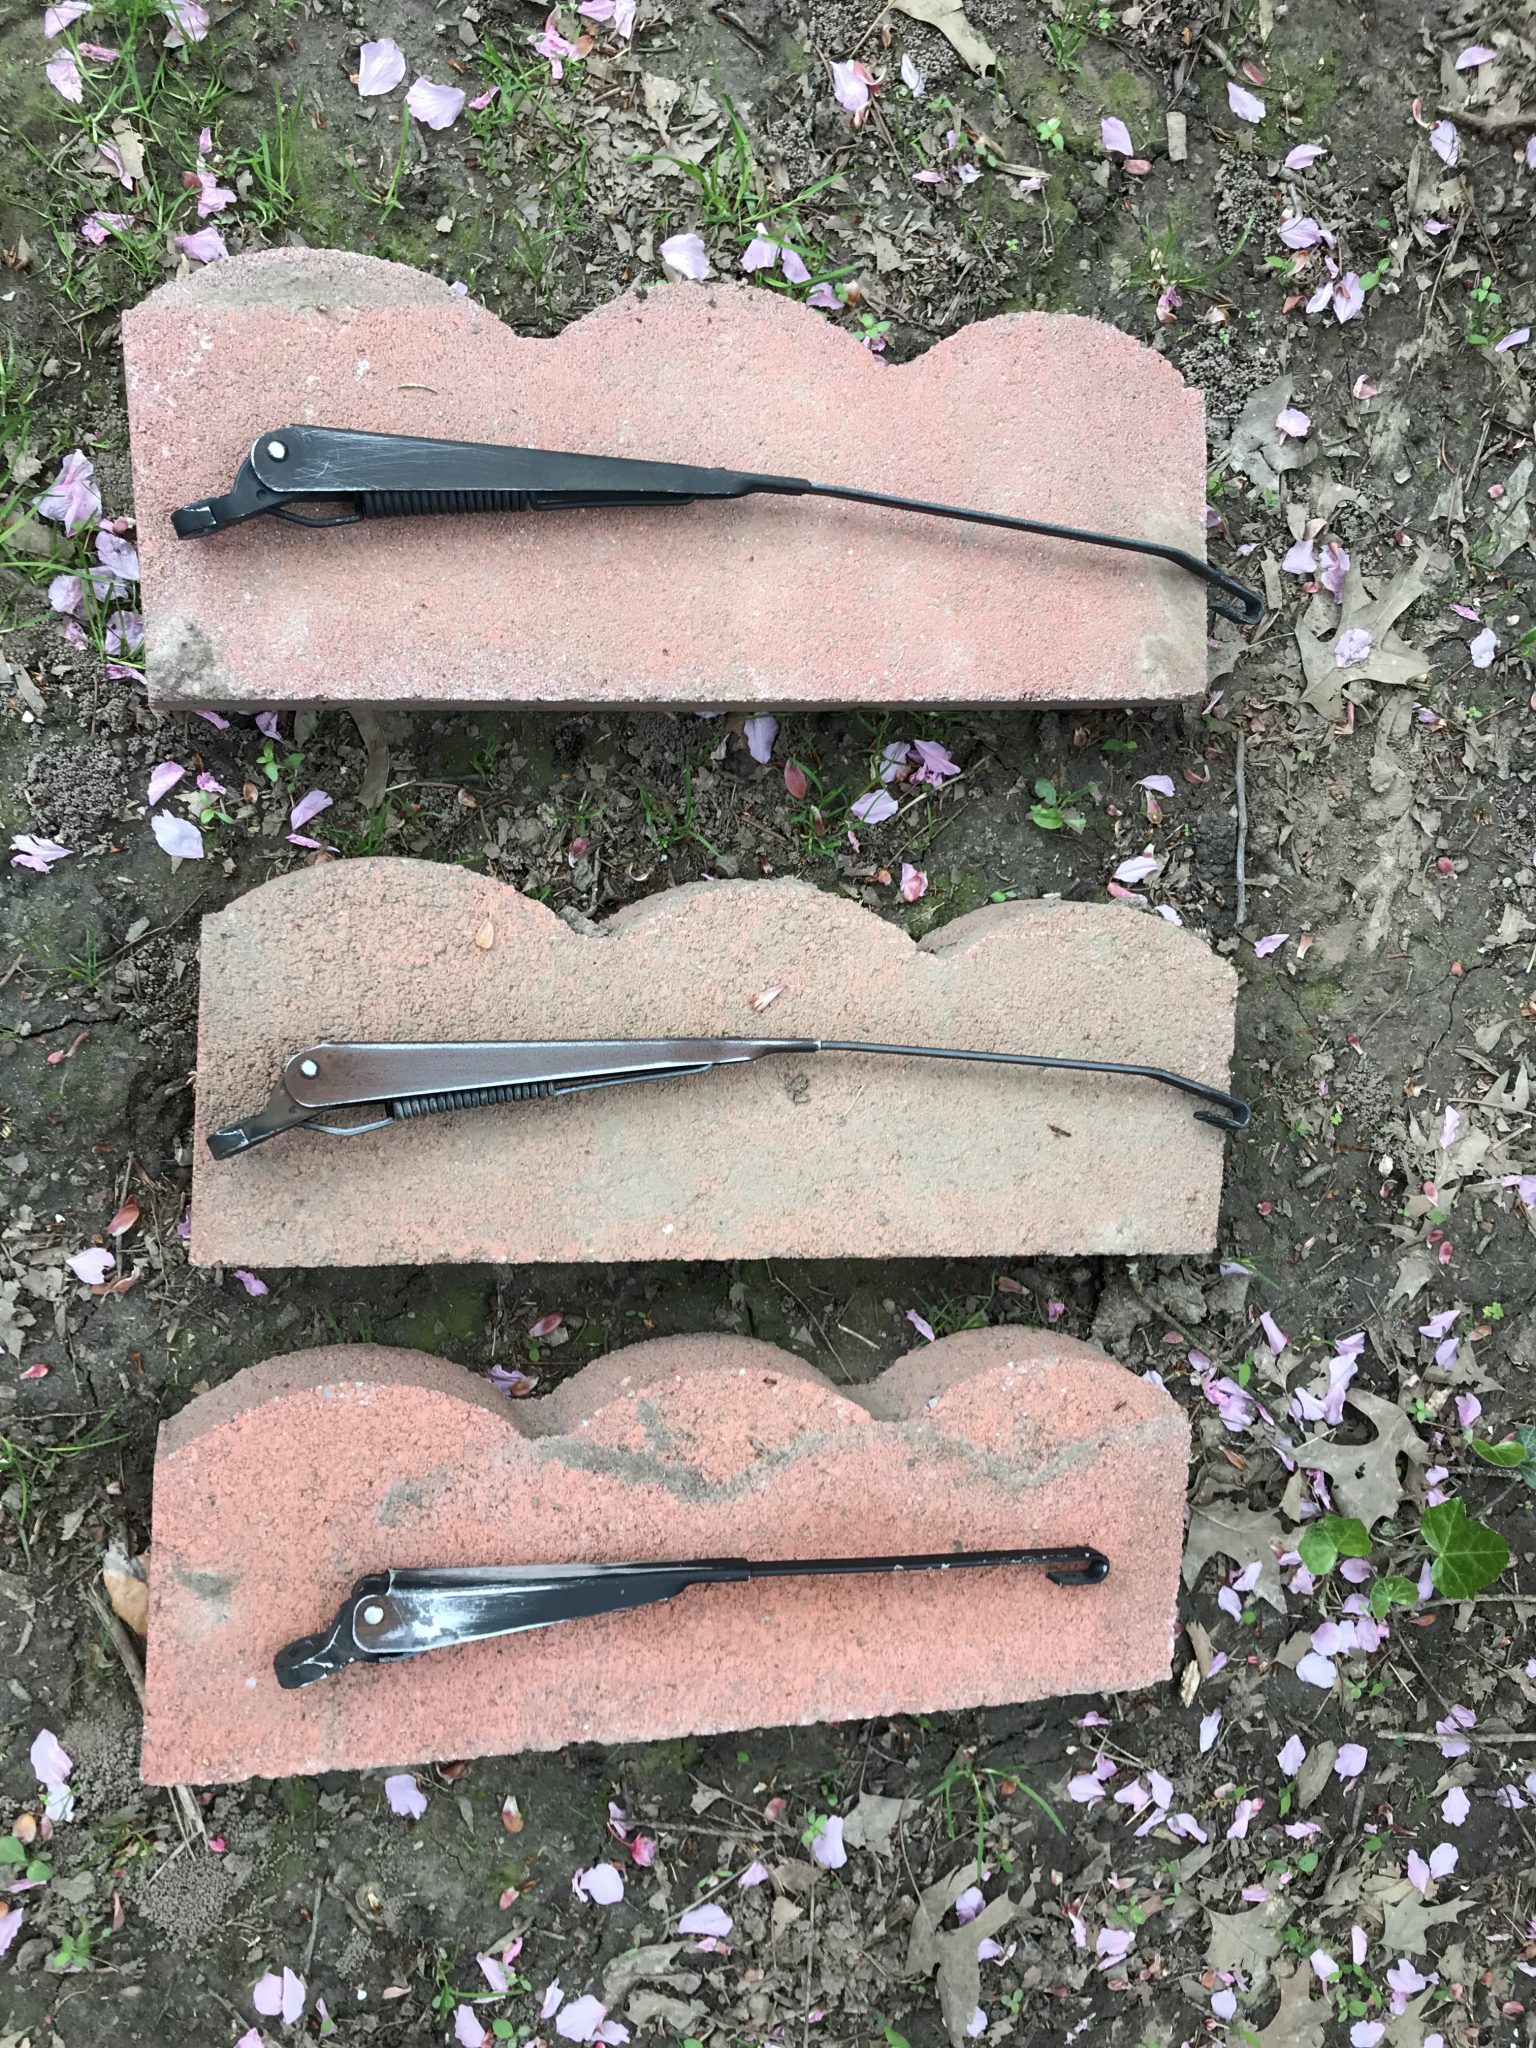
Today’s car work started out with something a bit superficial. The windshield wiper arms had a bit of rust on them, and that would not do. I removed them all and let my younger son pitch in with the sand paper to try and smooth out the finish a little in preparation for painting. The idea was to get the surface even and ready for some shots of flat black spray paint

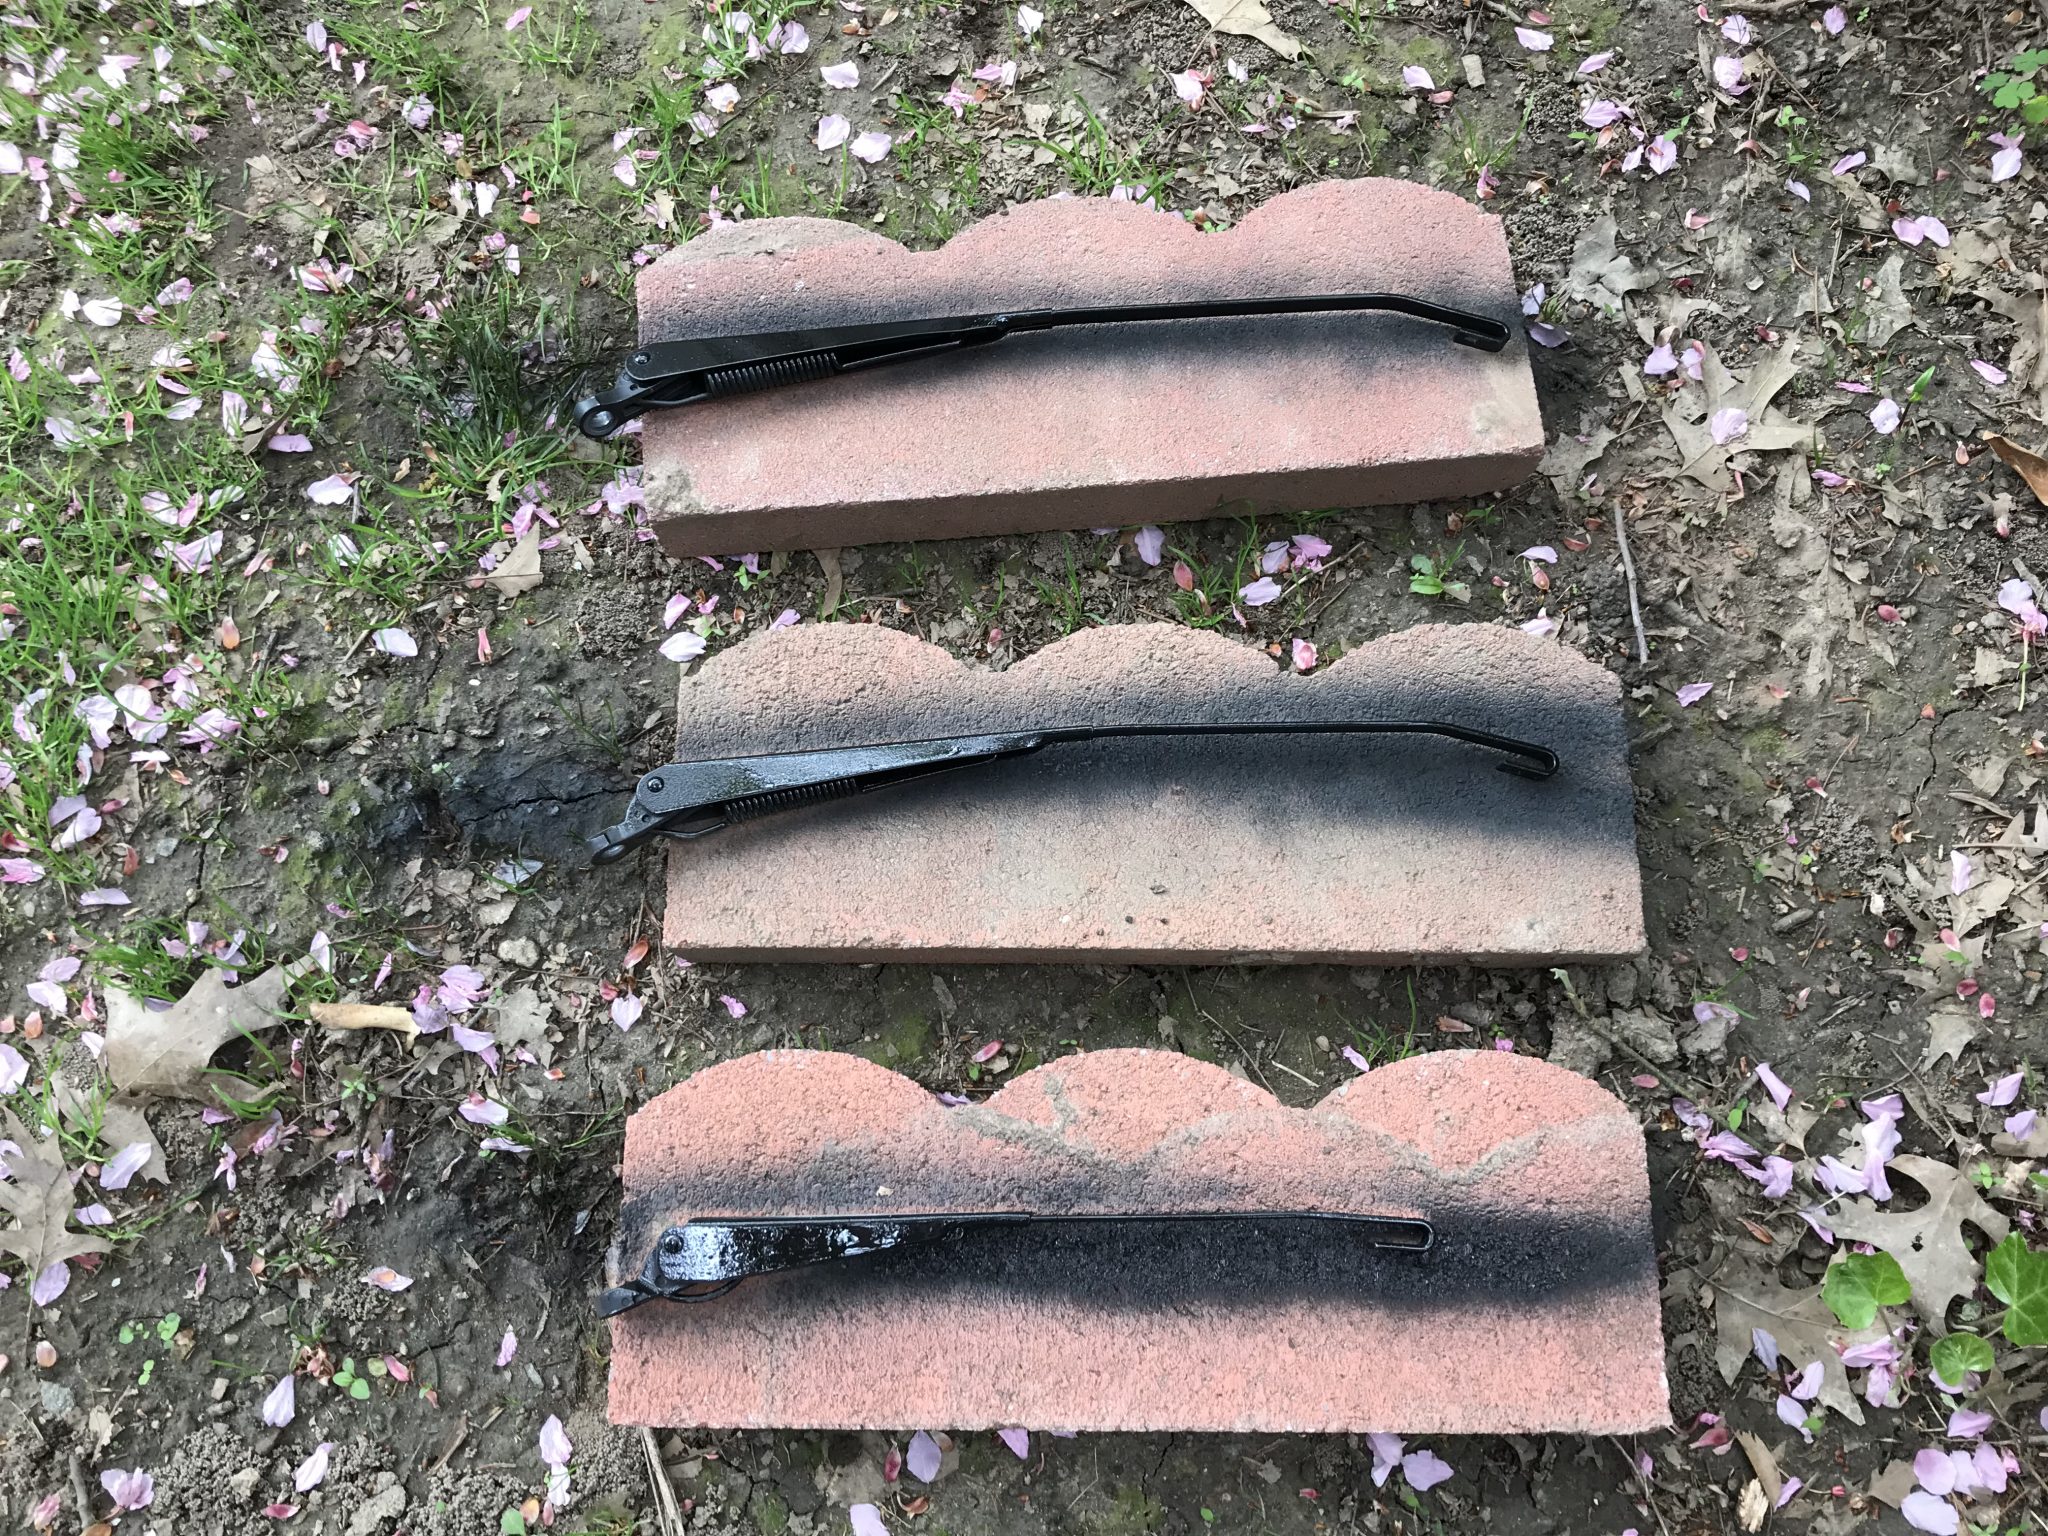
I took them over to my “painting bricks” in the back yard where I do all my spray painting and hit them all with Rust-Oleum flat black enamel.

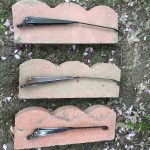
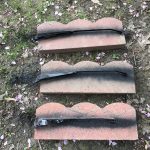
The initial results look promising. The rust on one of the arms was more than just surface level and that is still a little visible, but that can be hidden by putting the ugly side downwards.
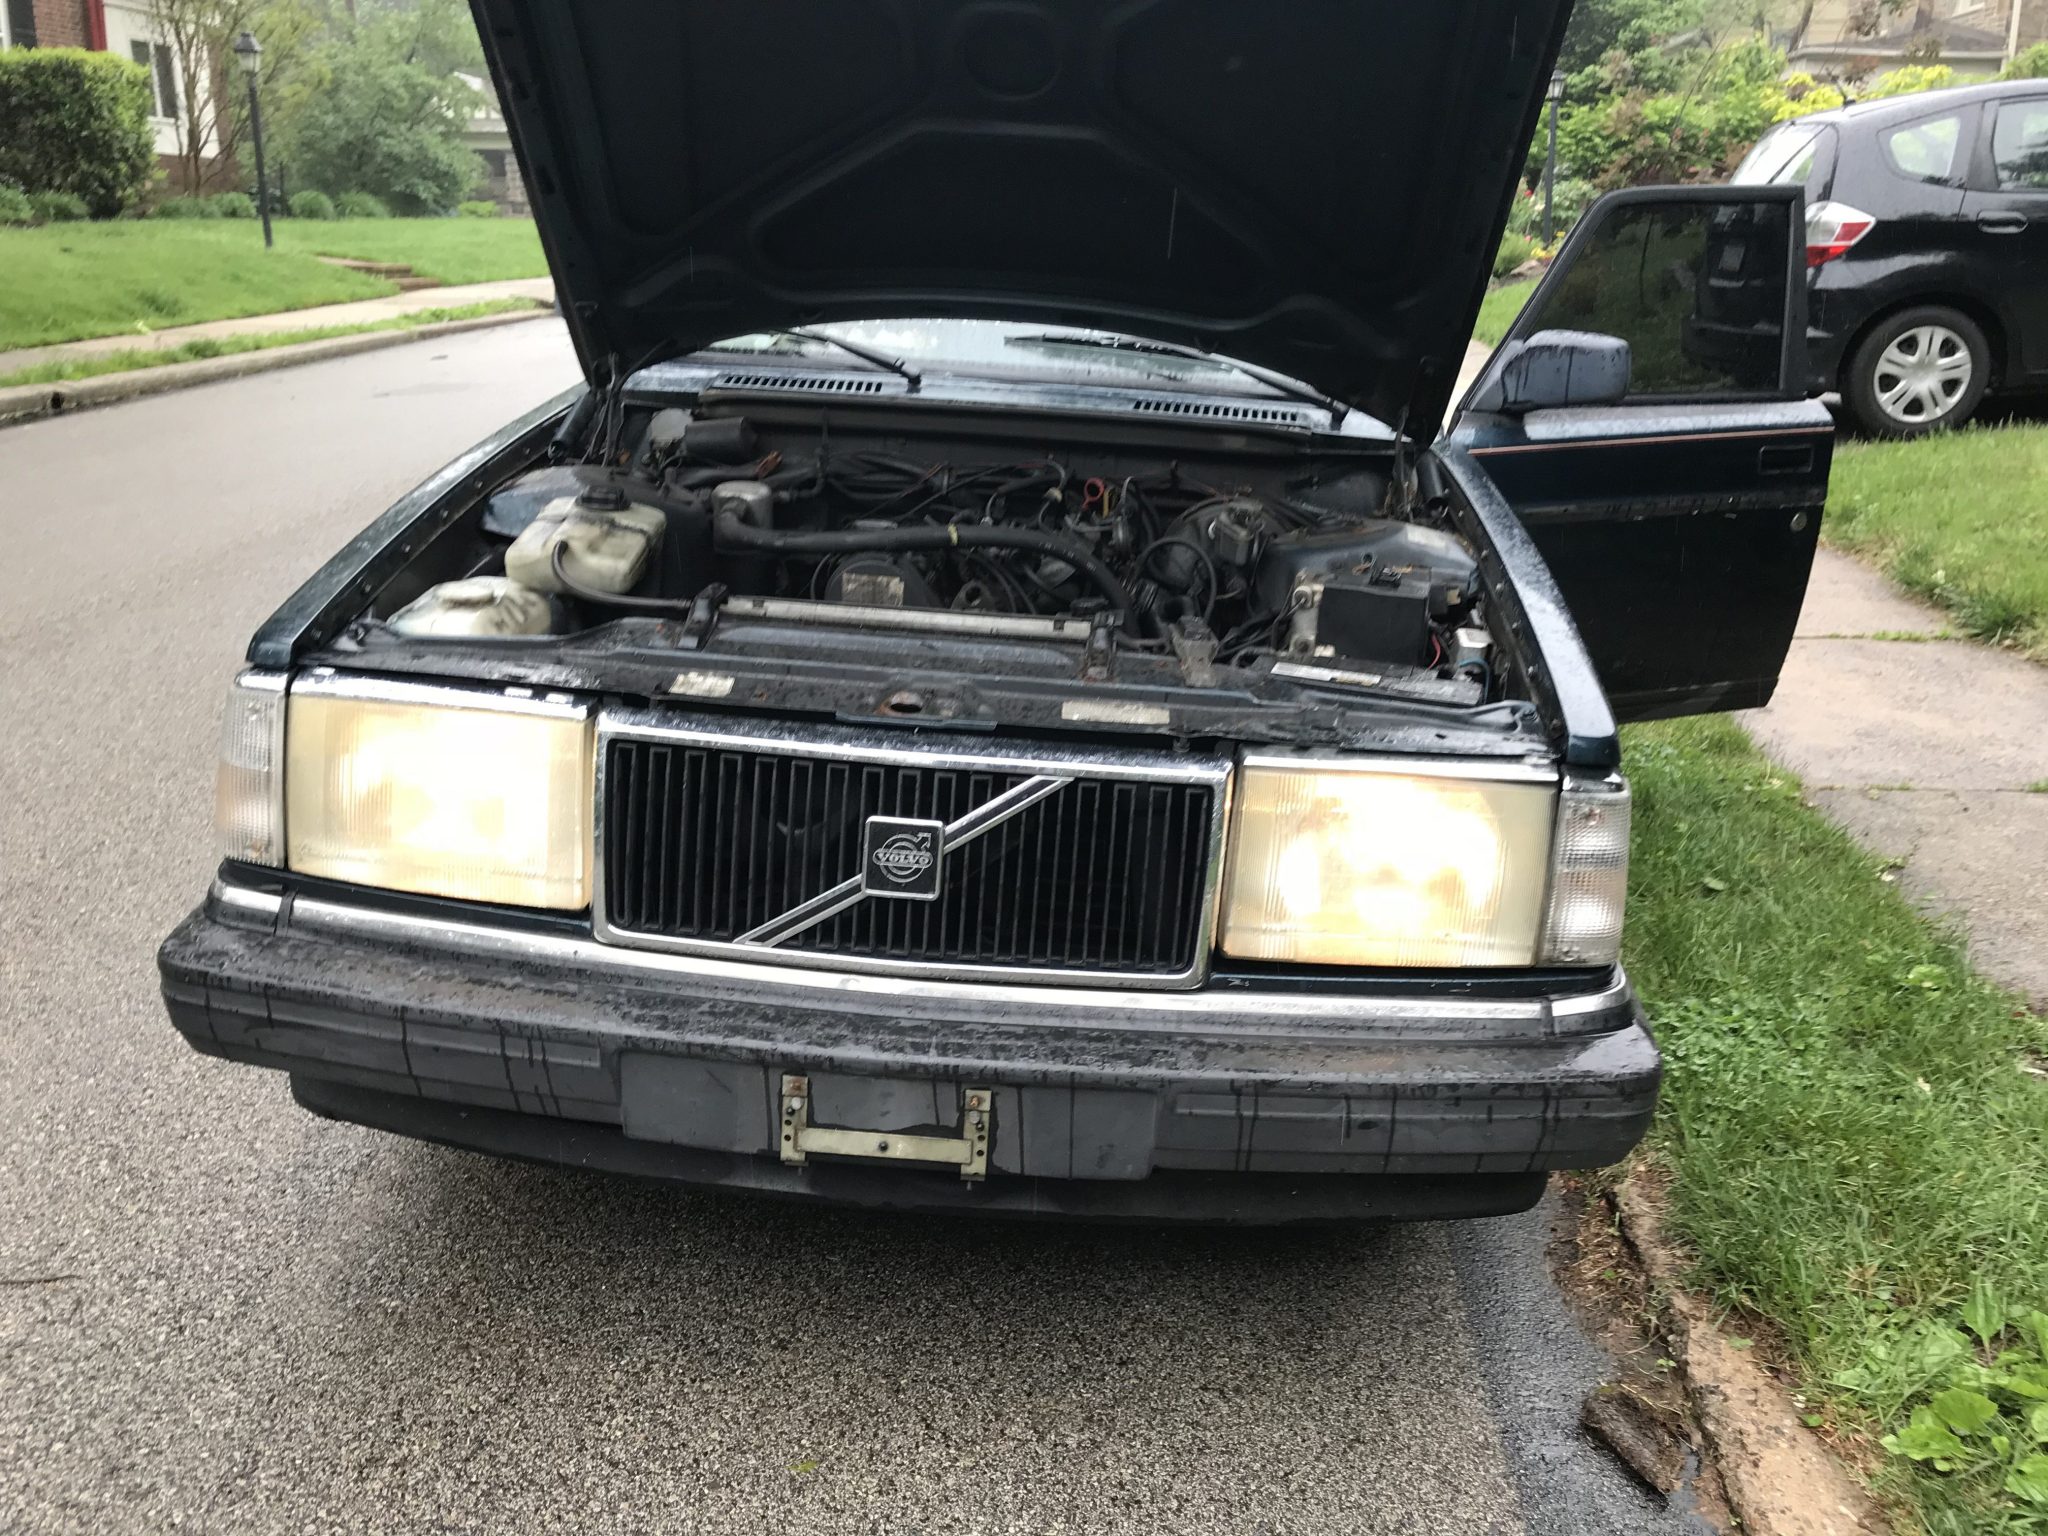
Latch Work

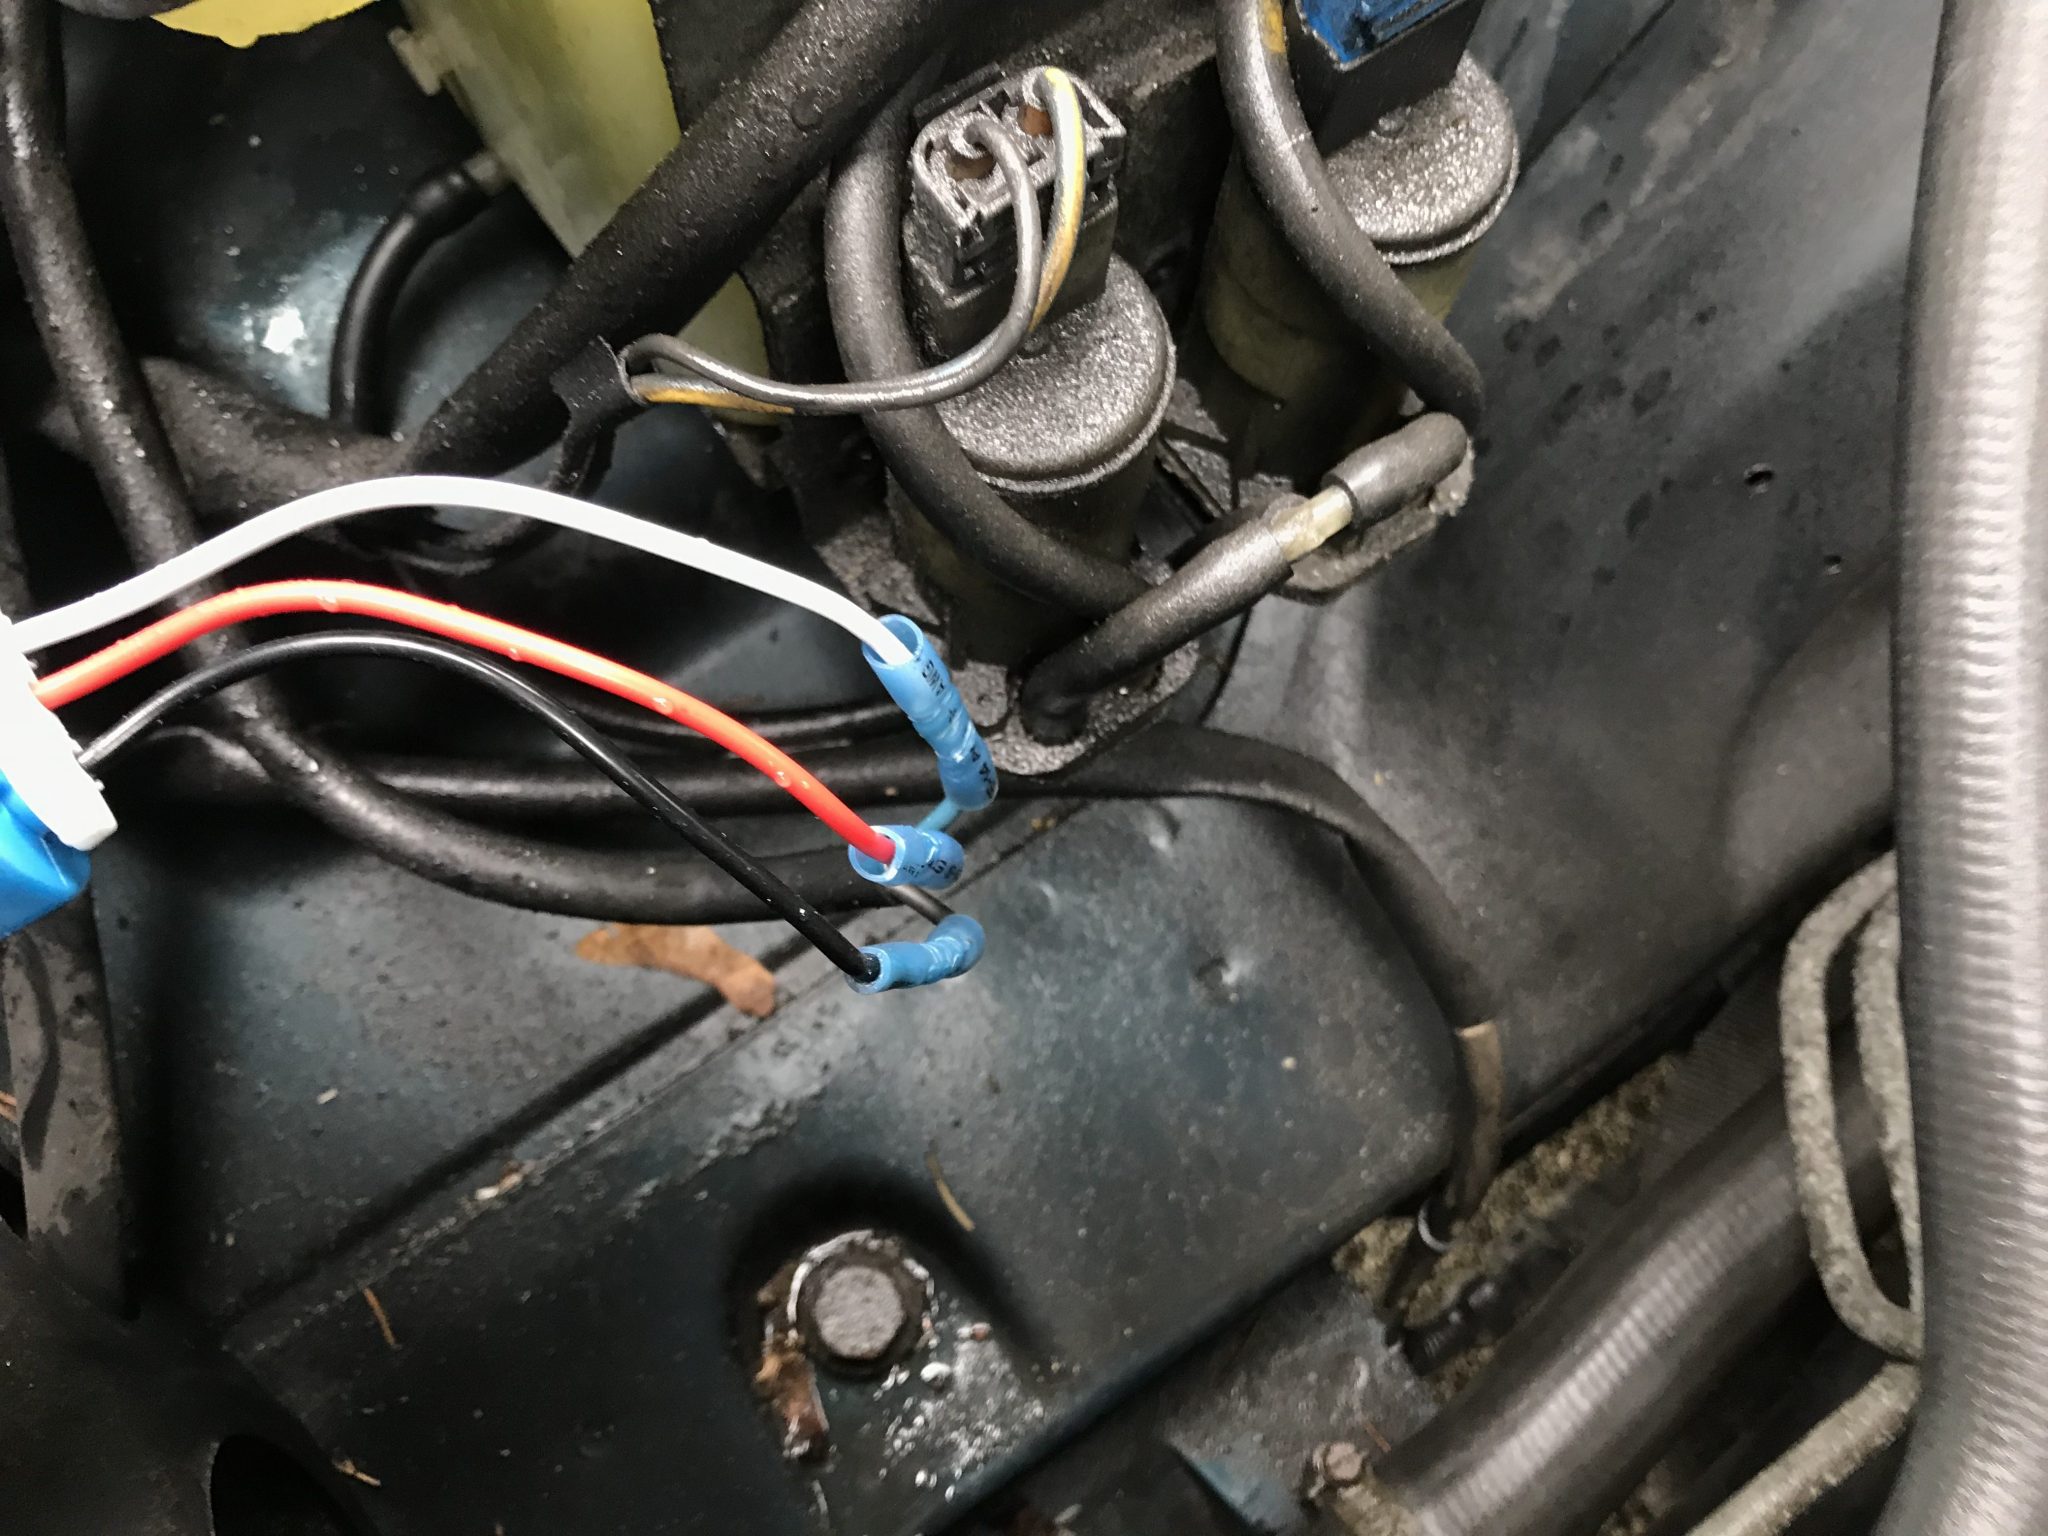
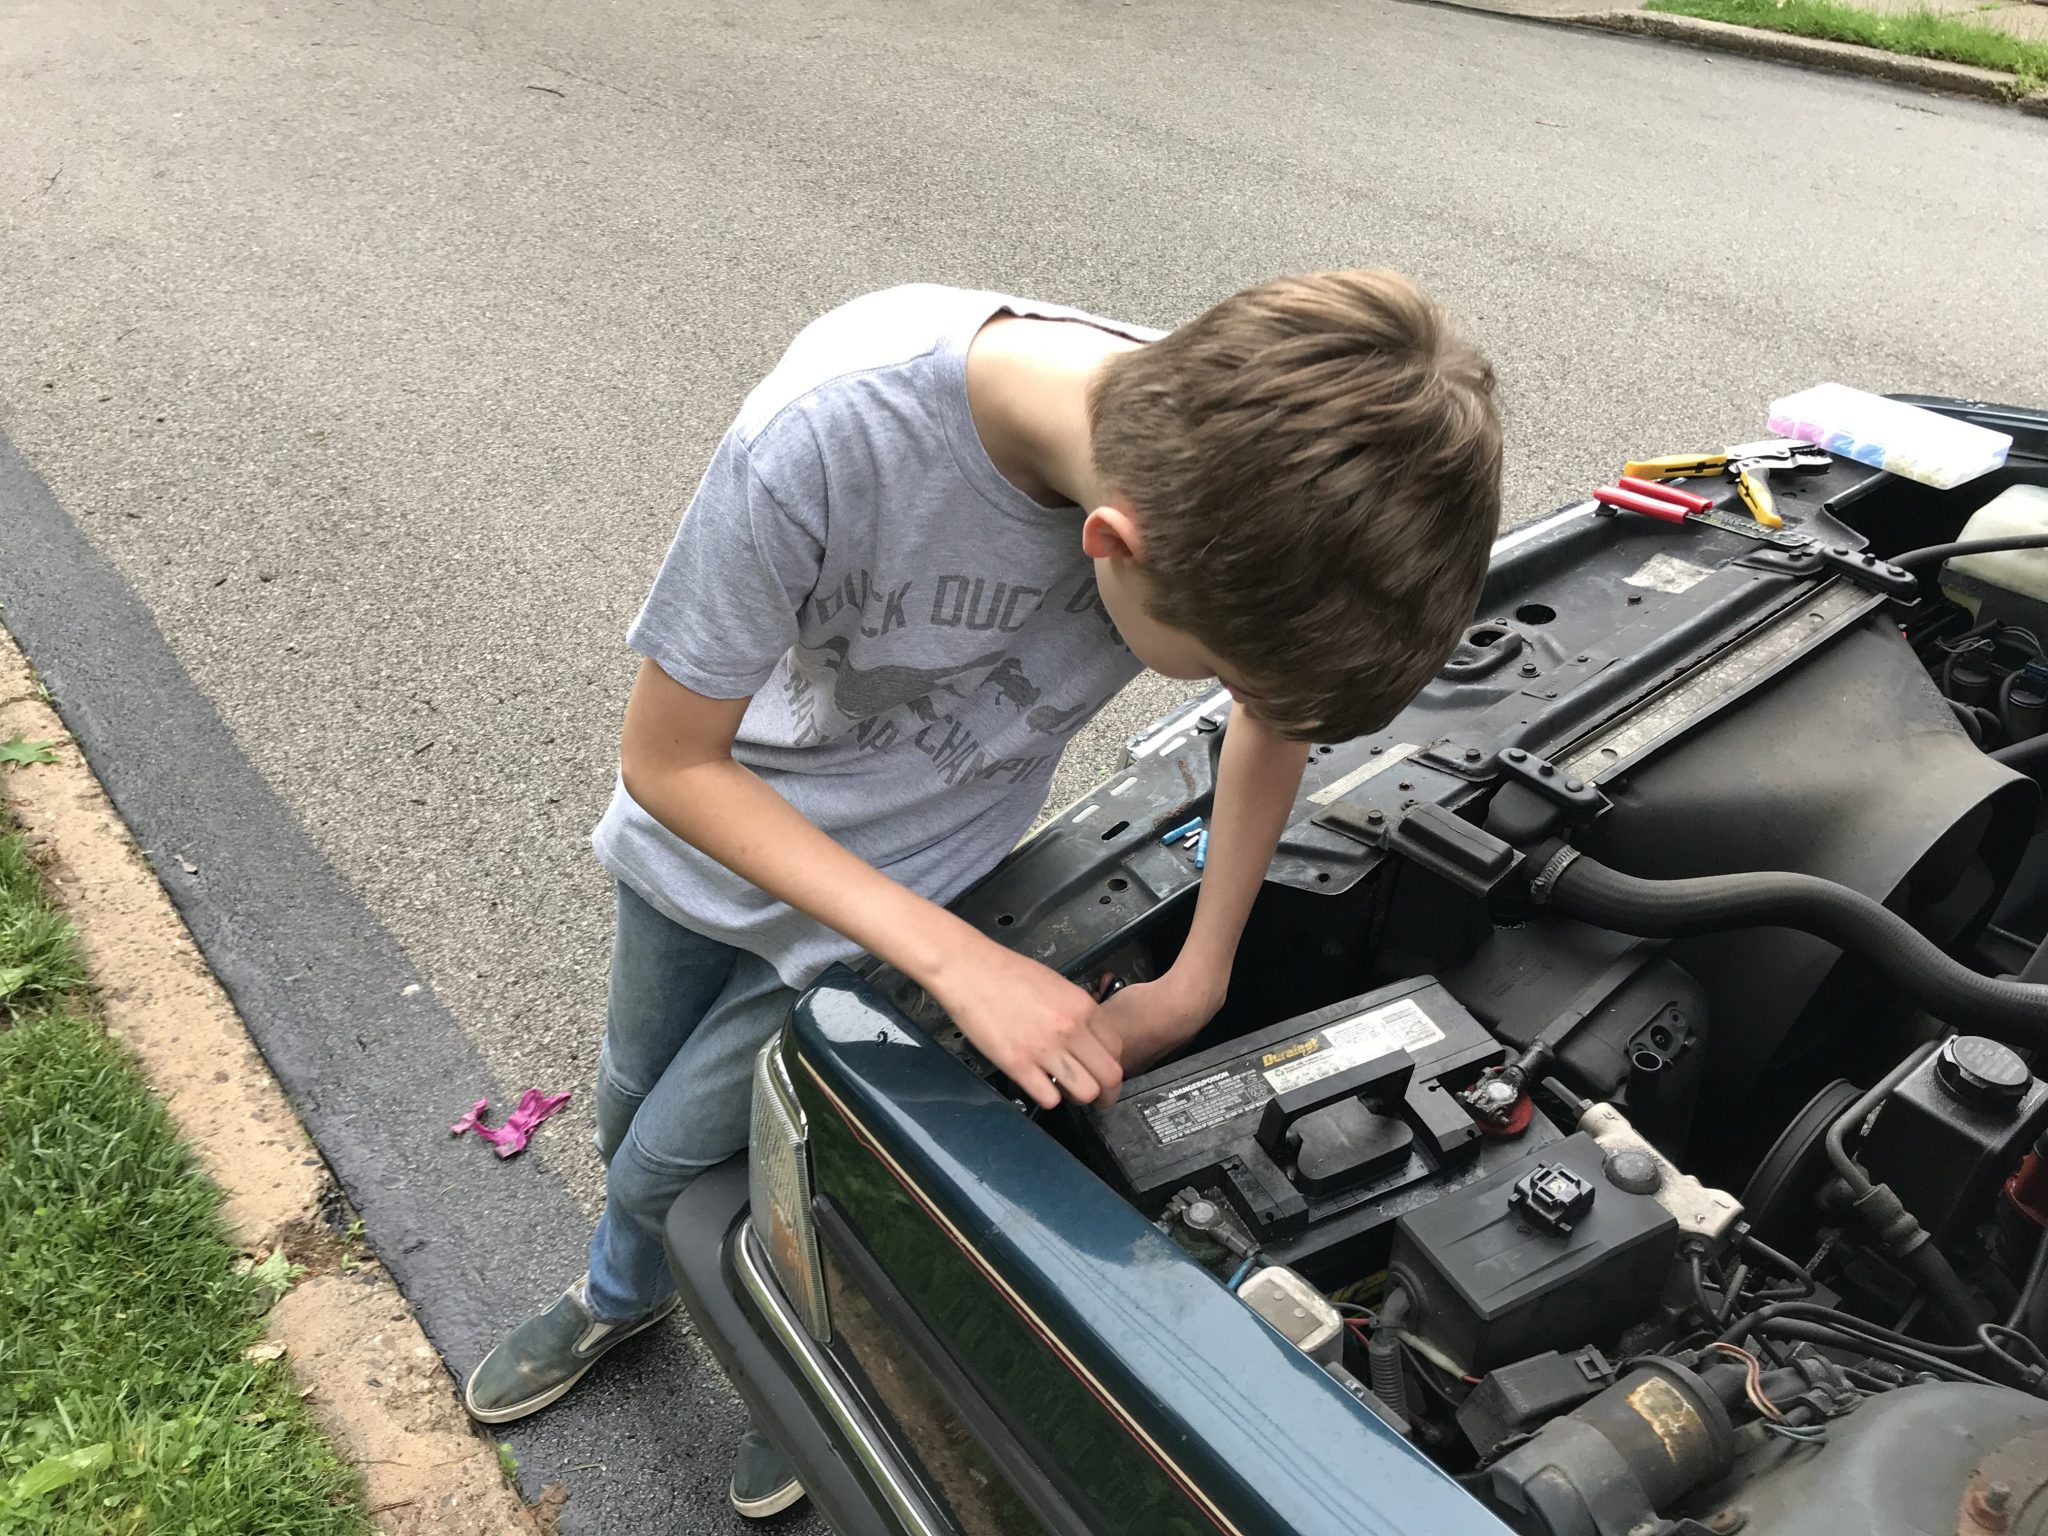
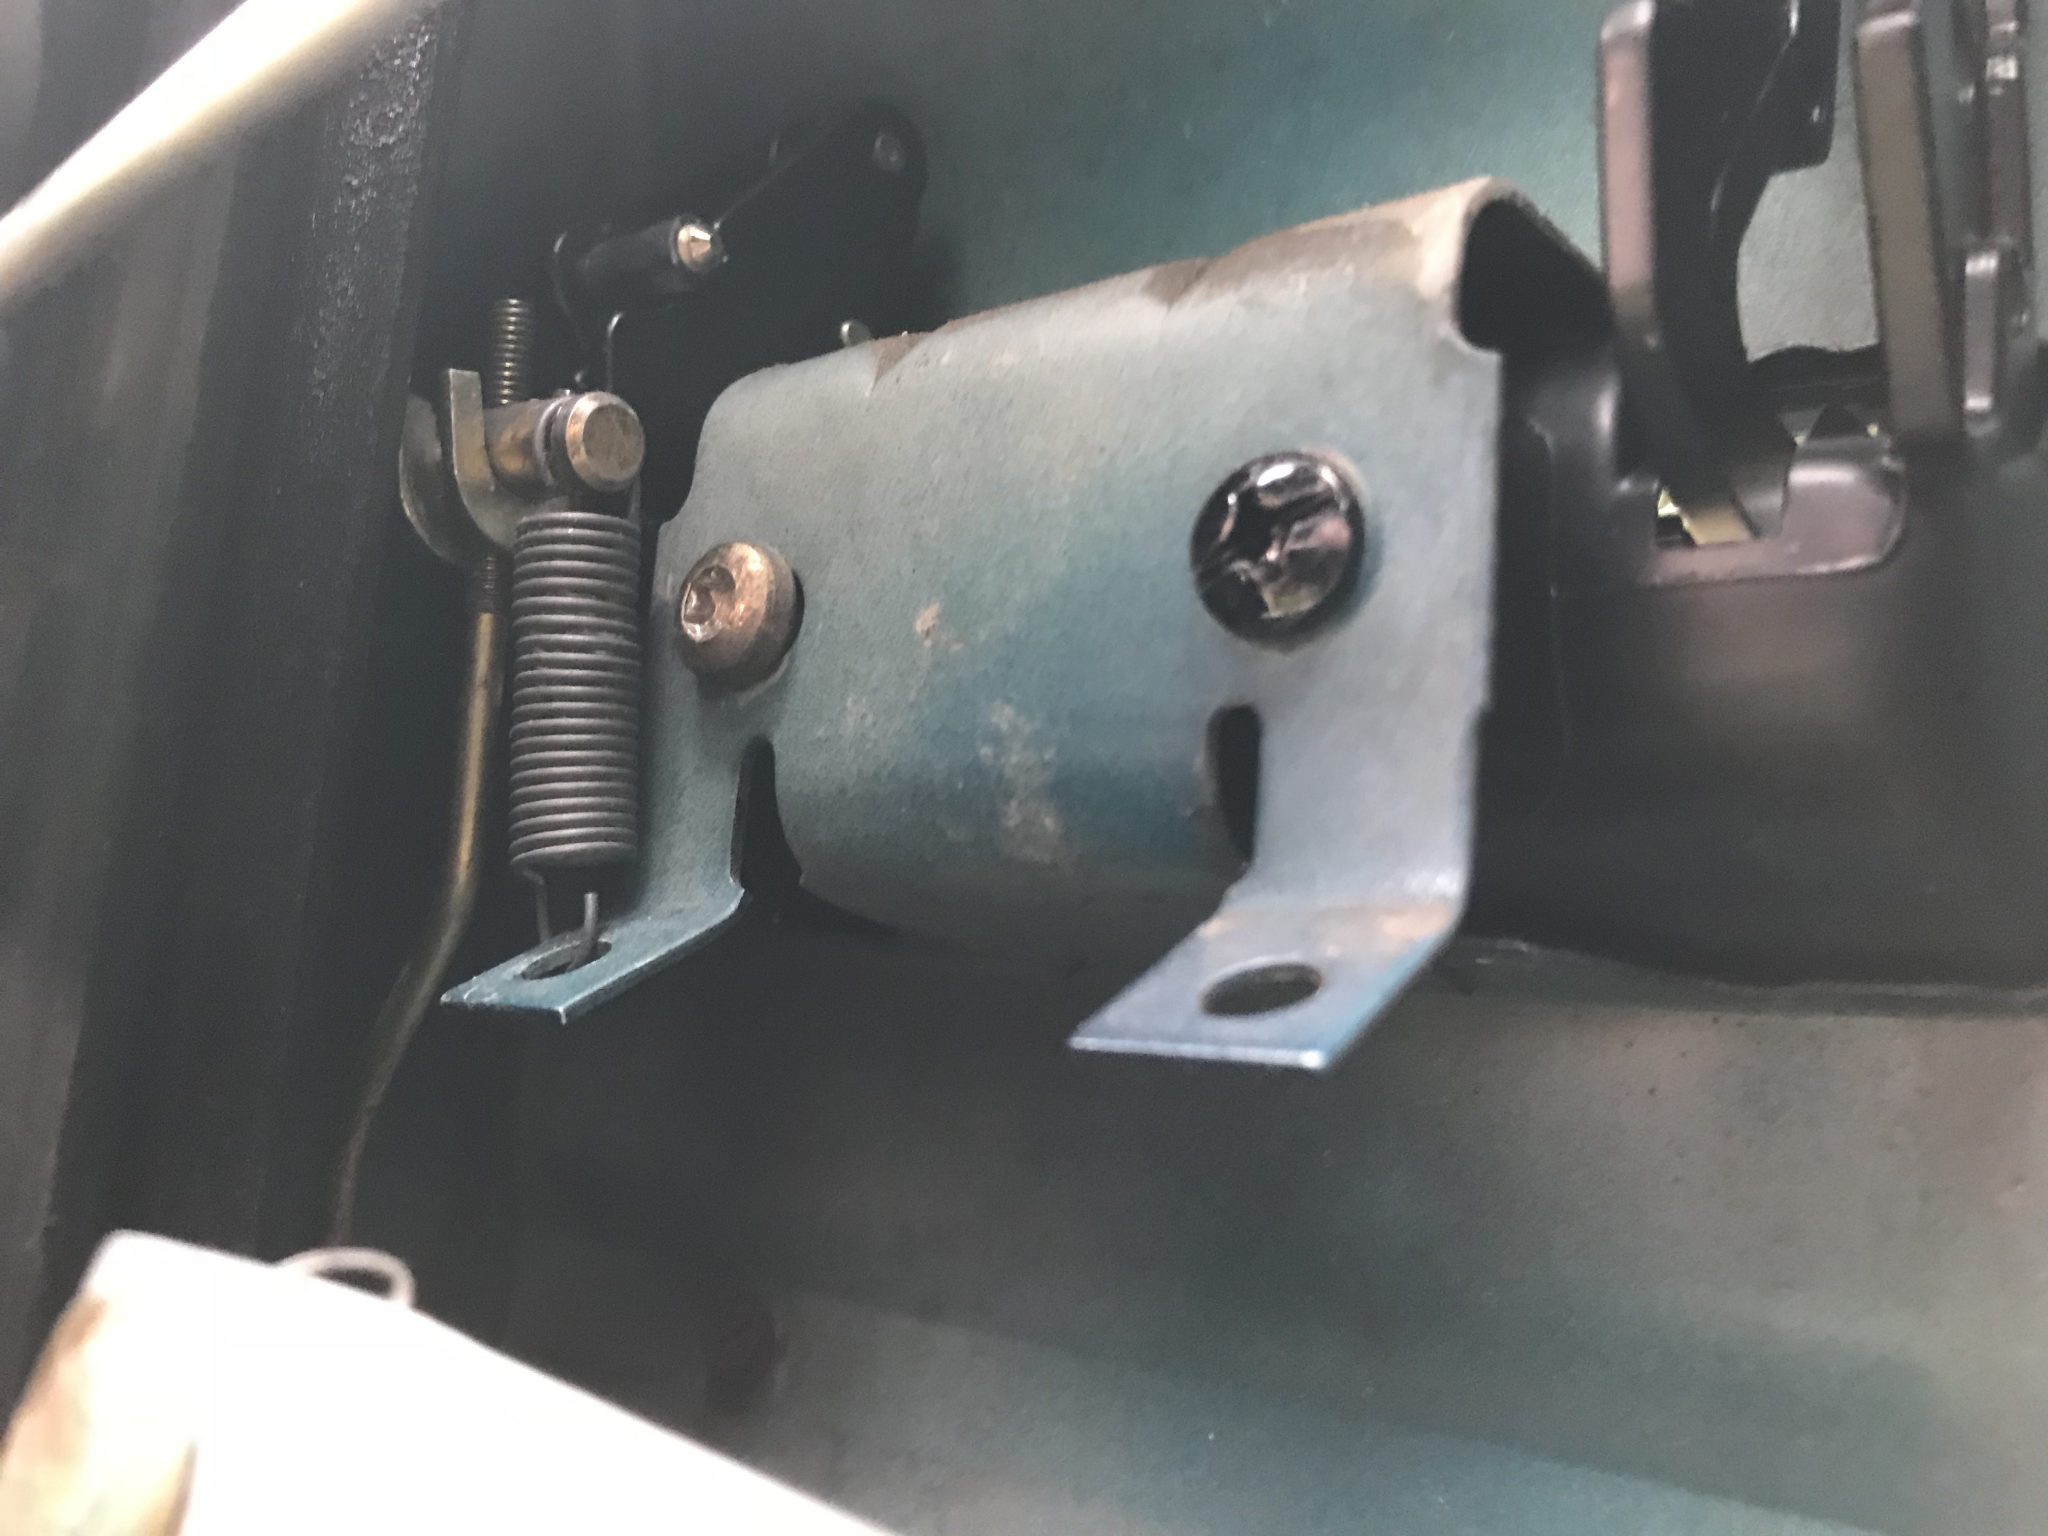
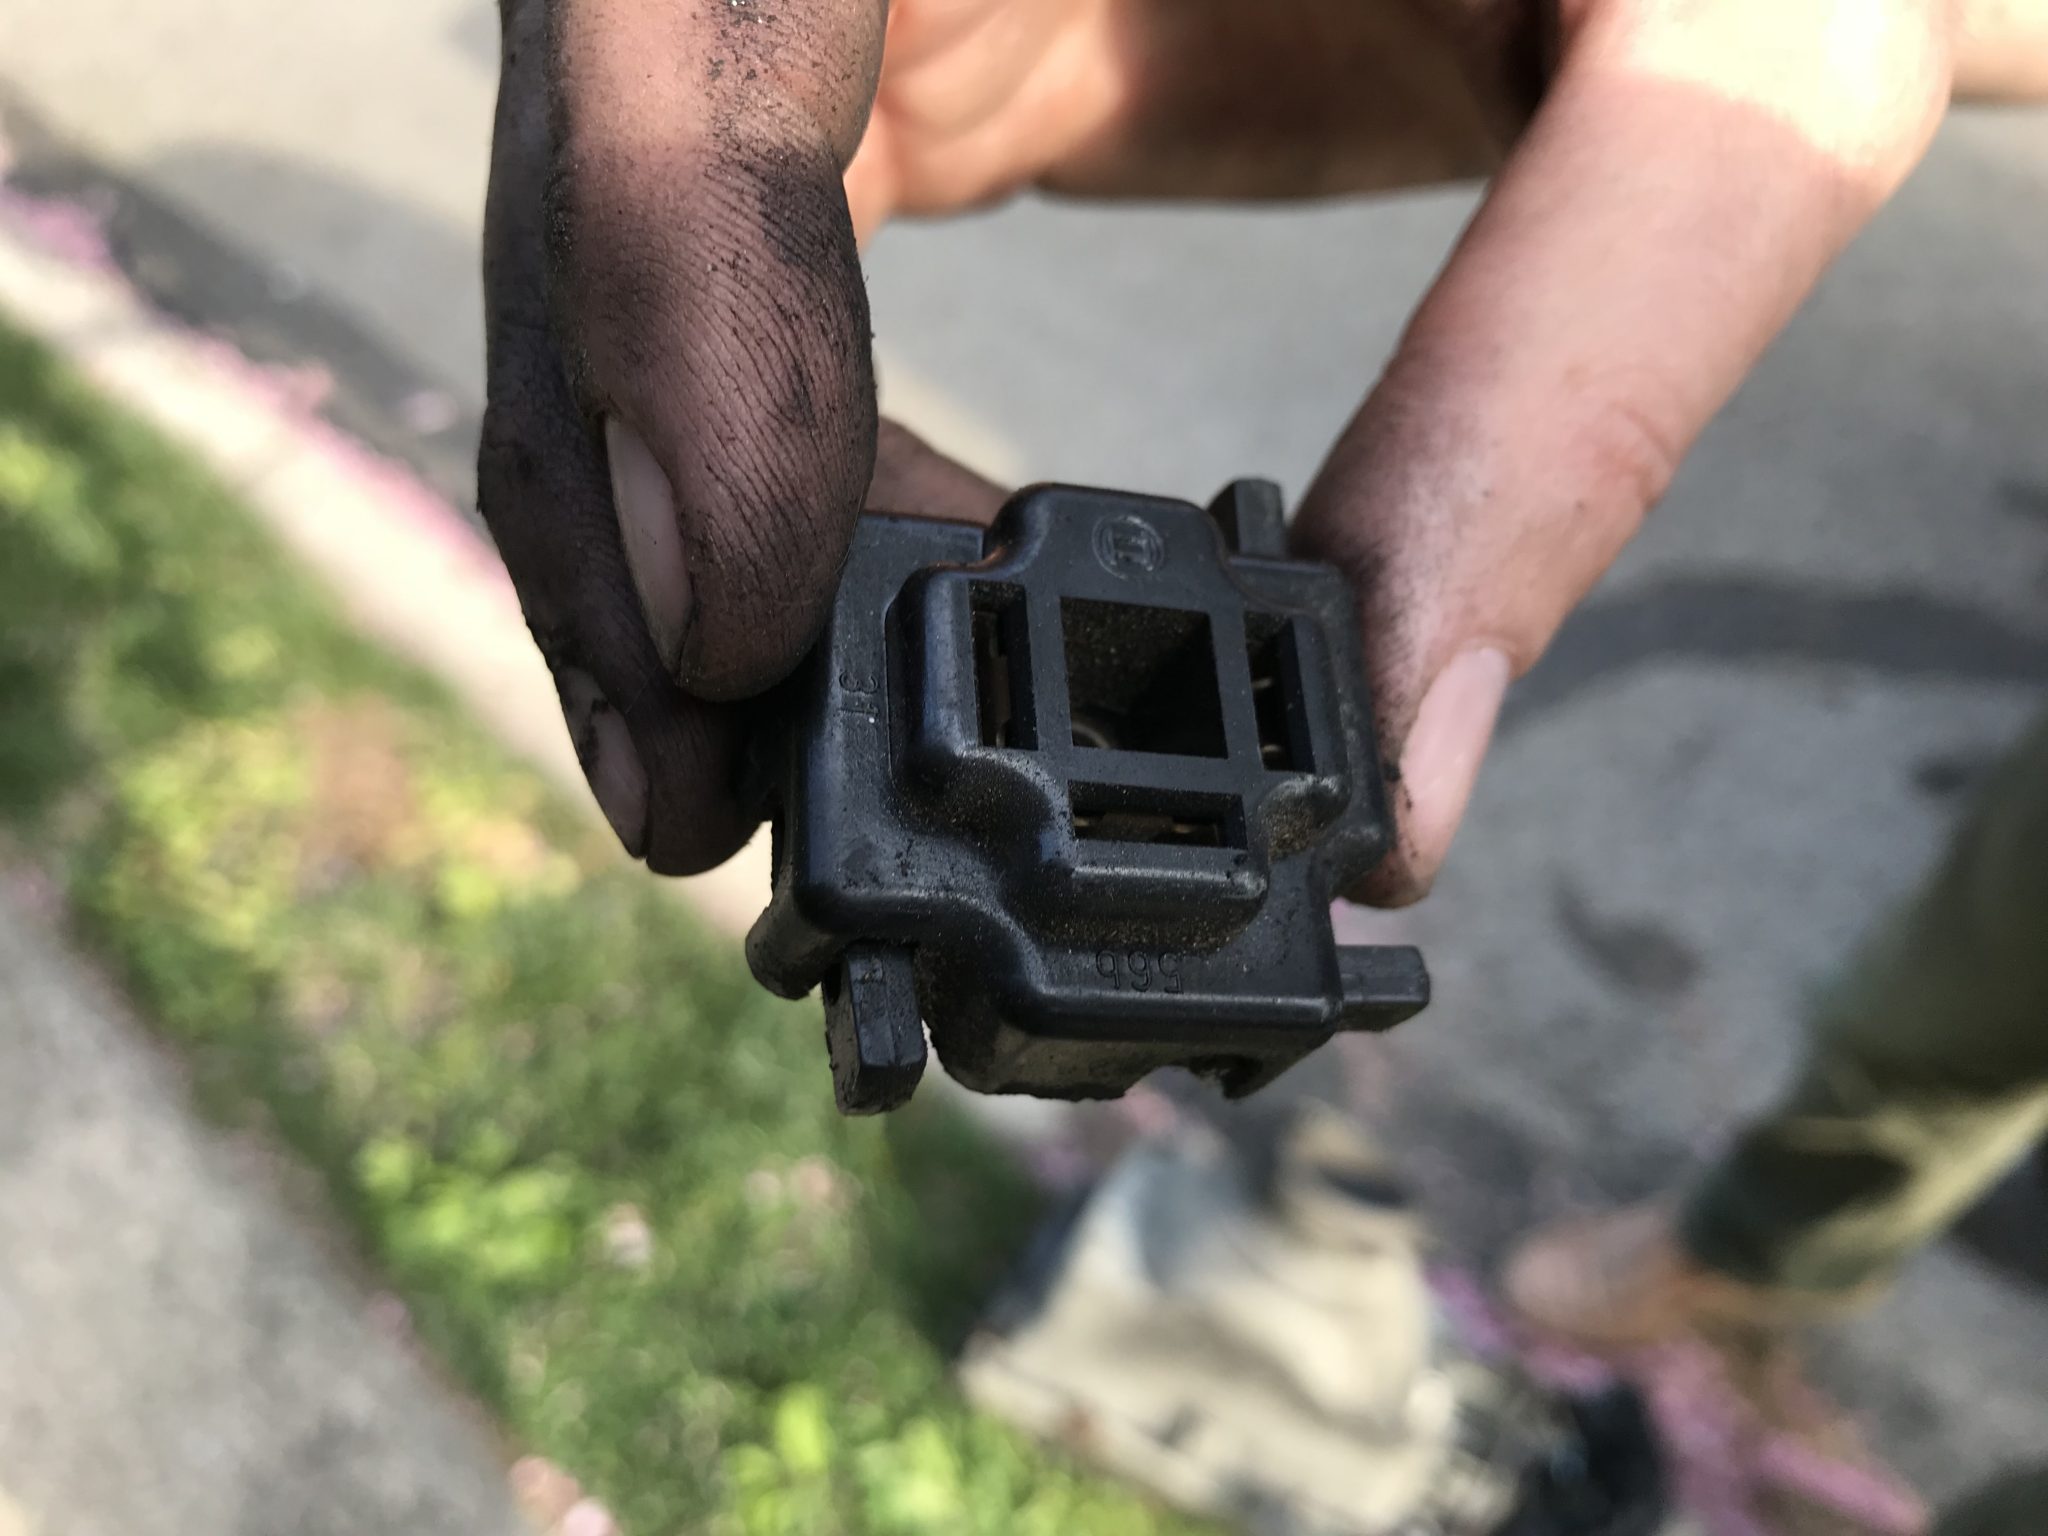
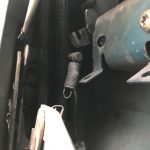
I then moved on to the nagging problem of driver’s side door latch not working from the inside. I have a strong belief that when leaving a car one should not have to roll down the window and reach outside to open the door. Call me old fashioned, but it’s just a conviction I hold close to my heart. I fiddled with the latch a bit, and after comparing it to the functional latch on the passenger side I saw that the mechanism just wasn’t moving up to engage enough. Mechanically it all looked sound so I guessed at there being some gumming-up going on, hit the whole thing with some of that sweet, sweet Aerokroil. A few minutes later I had a functional latch!

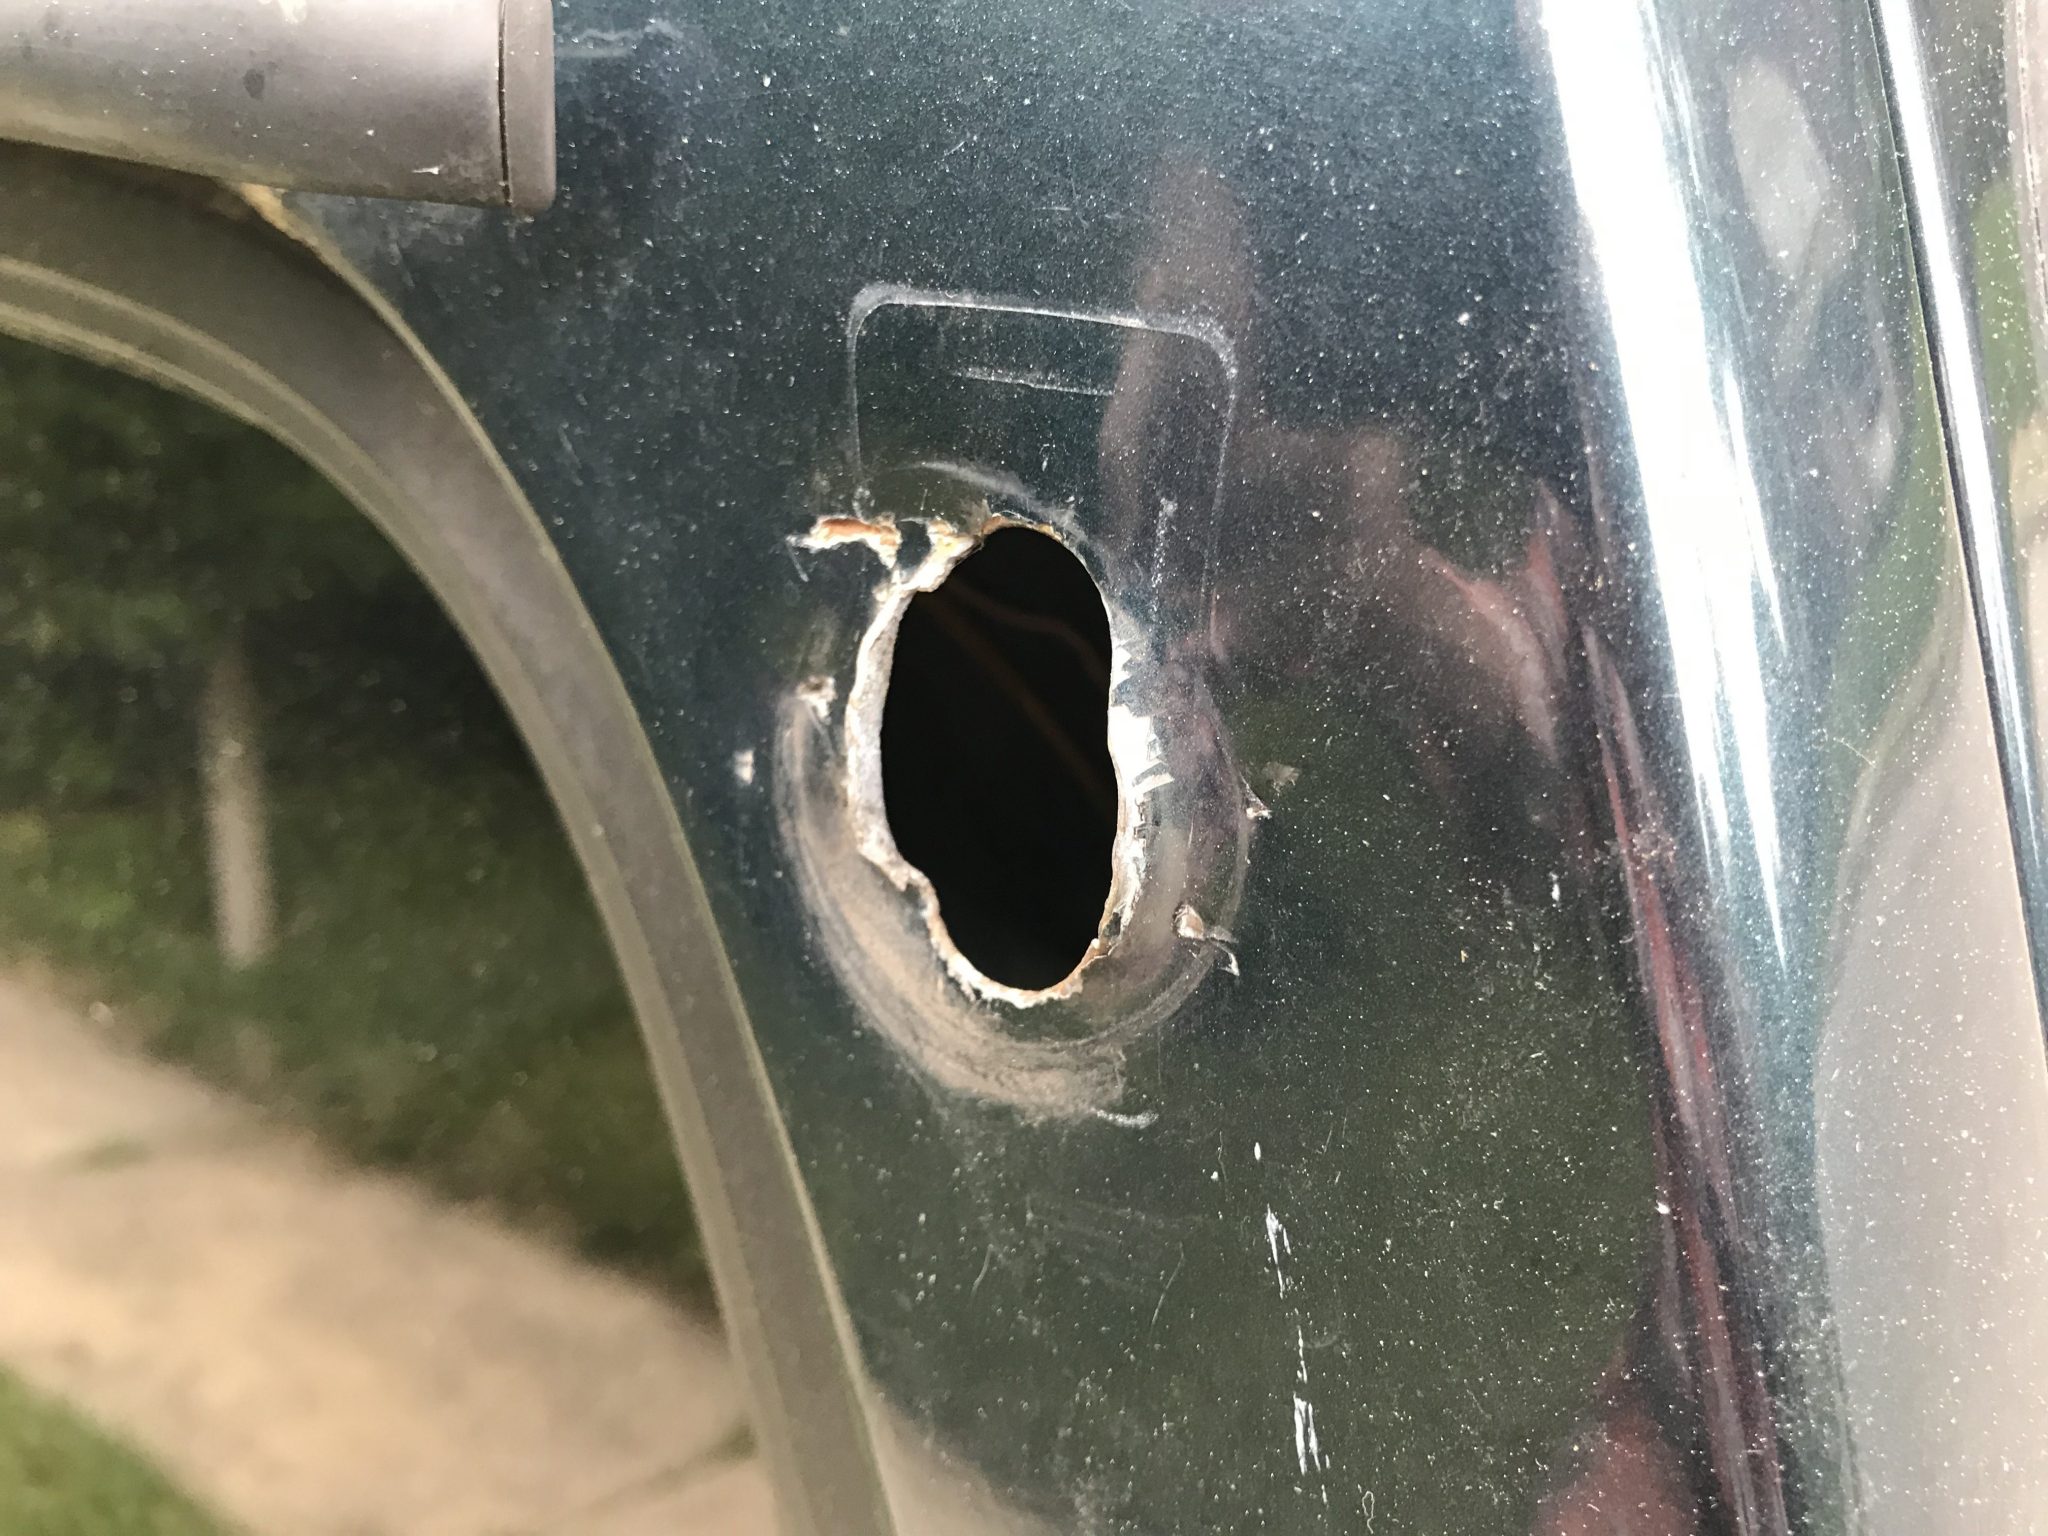
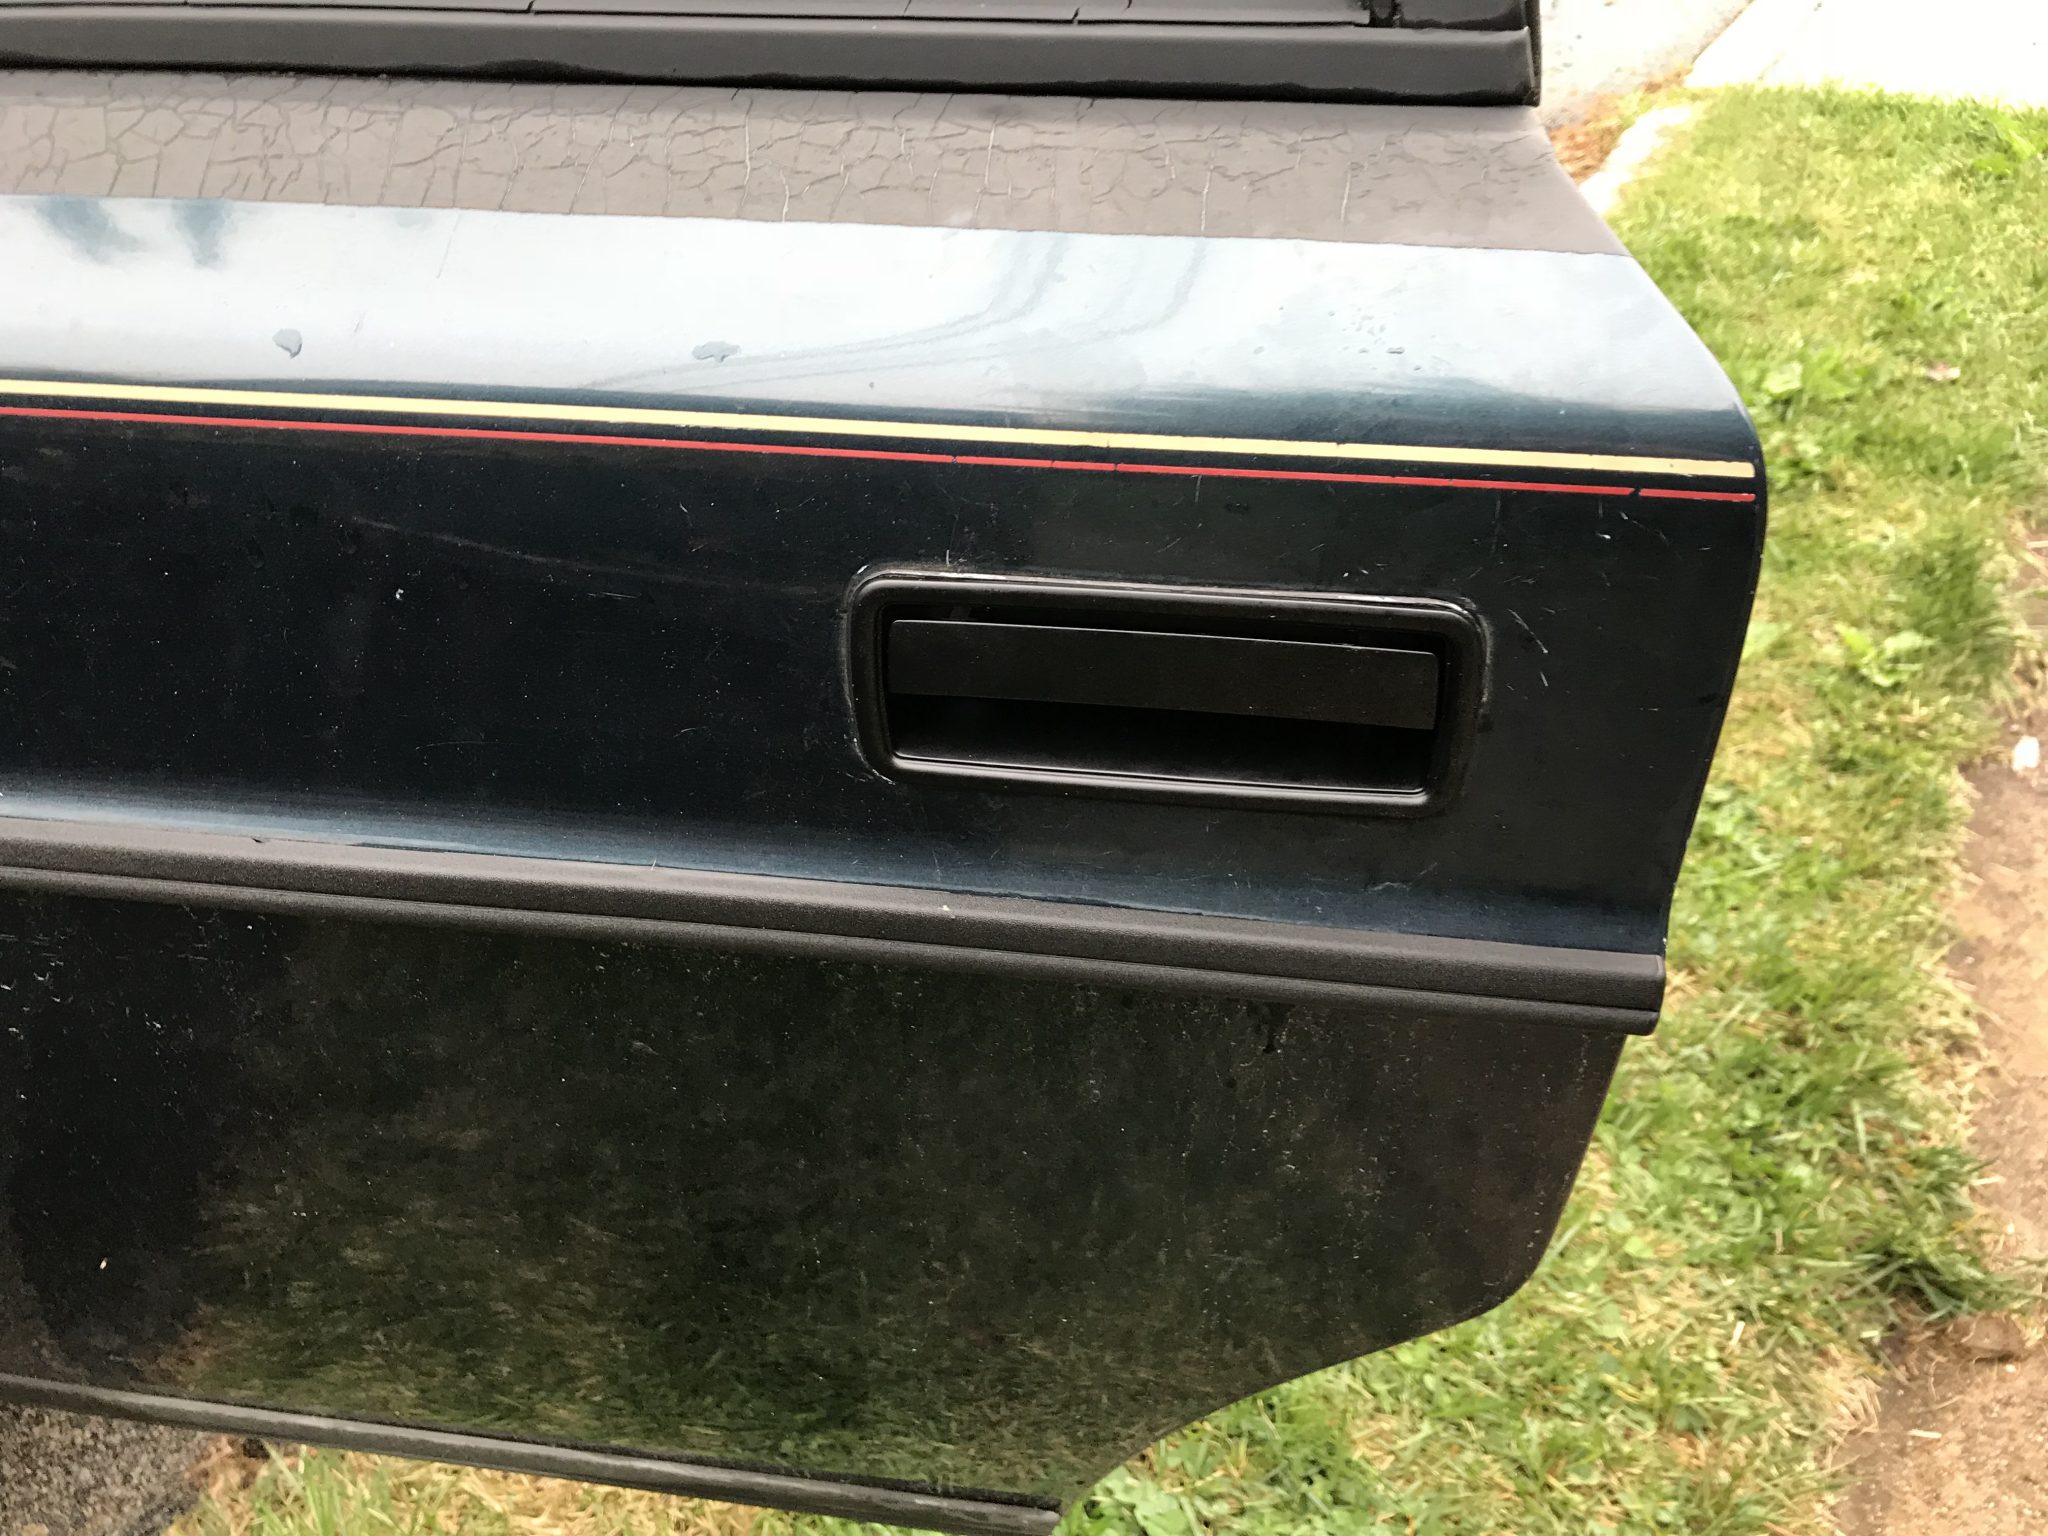
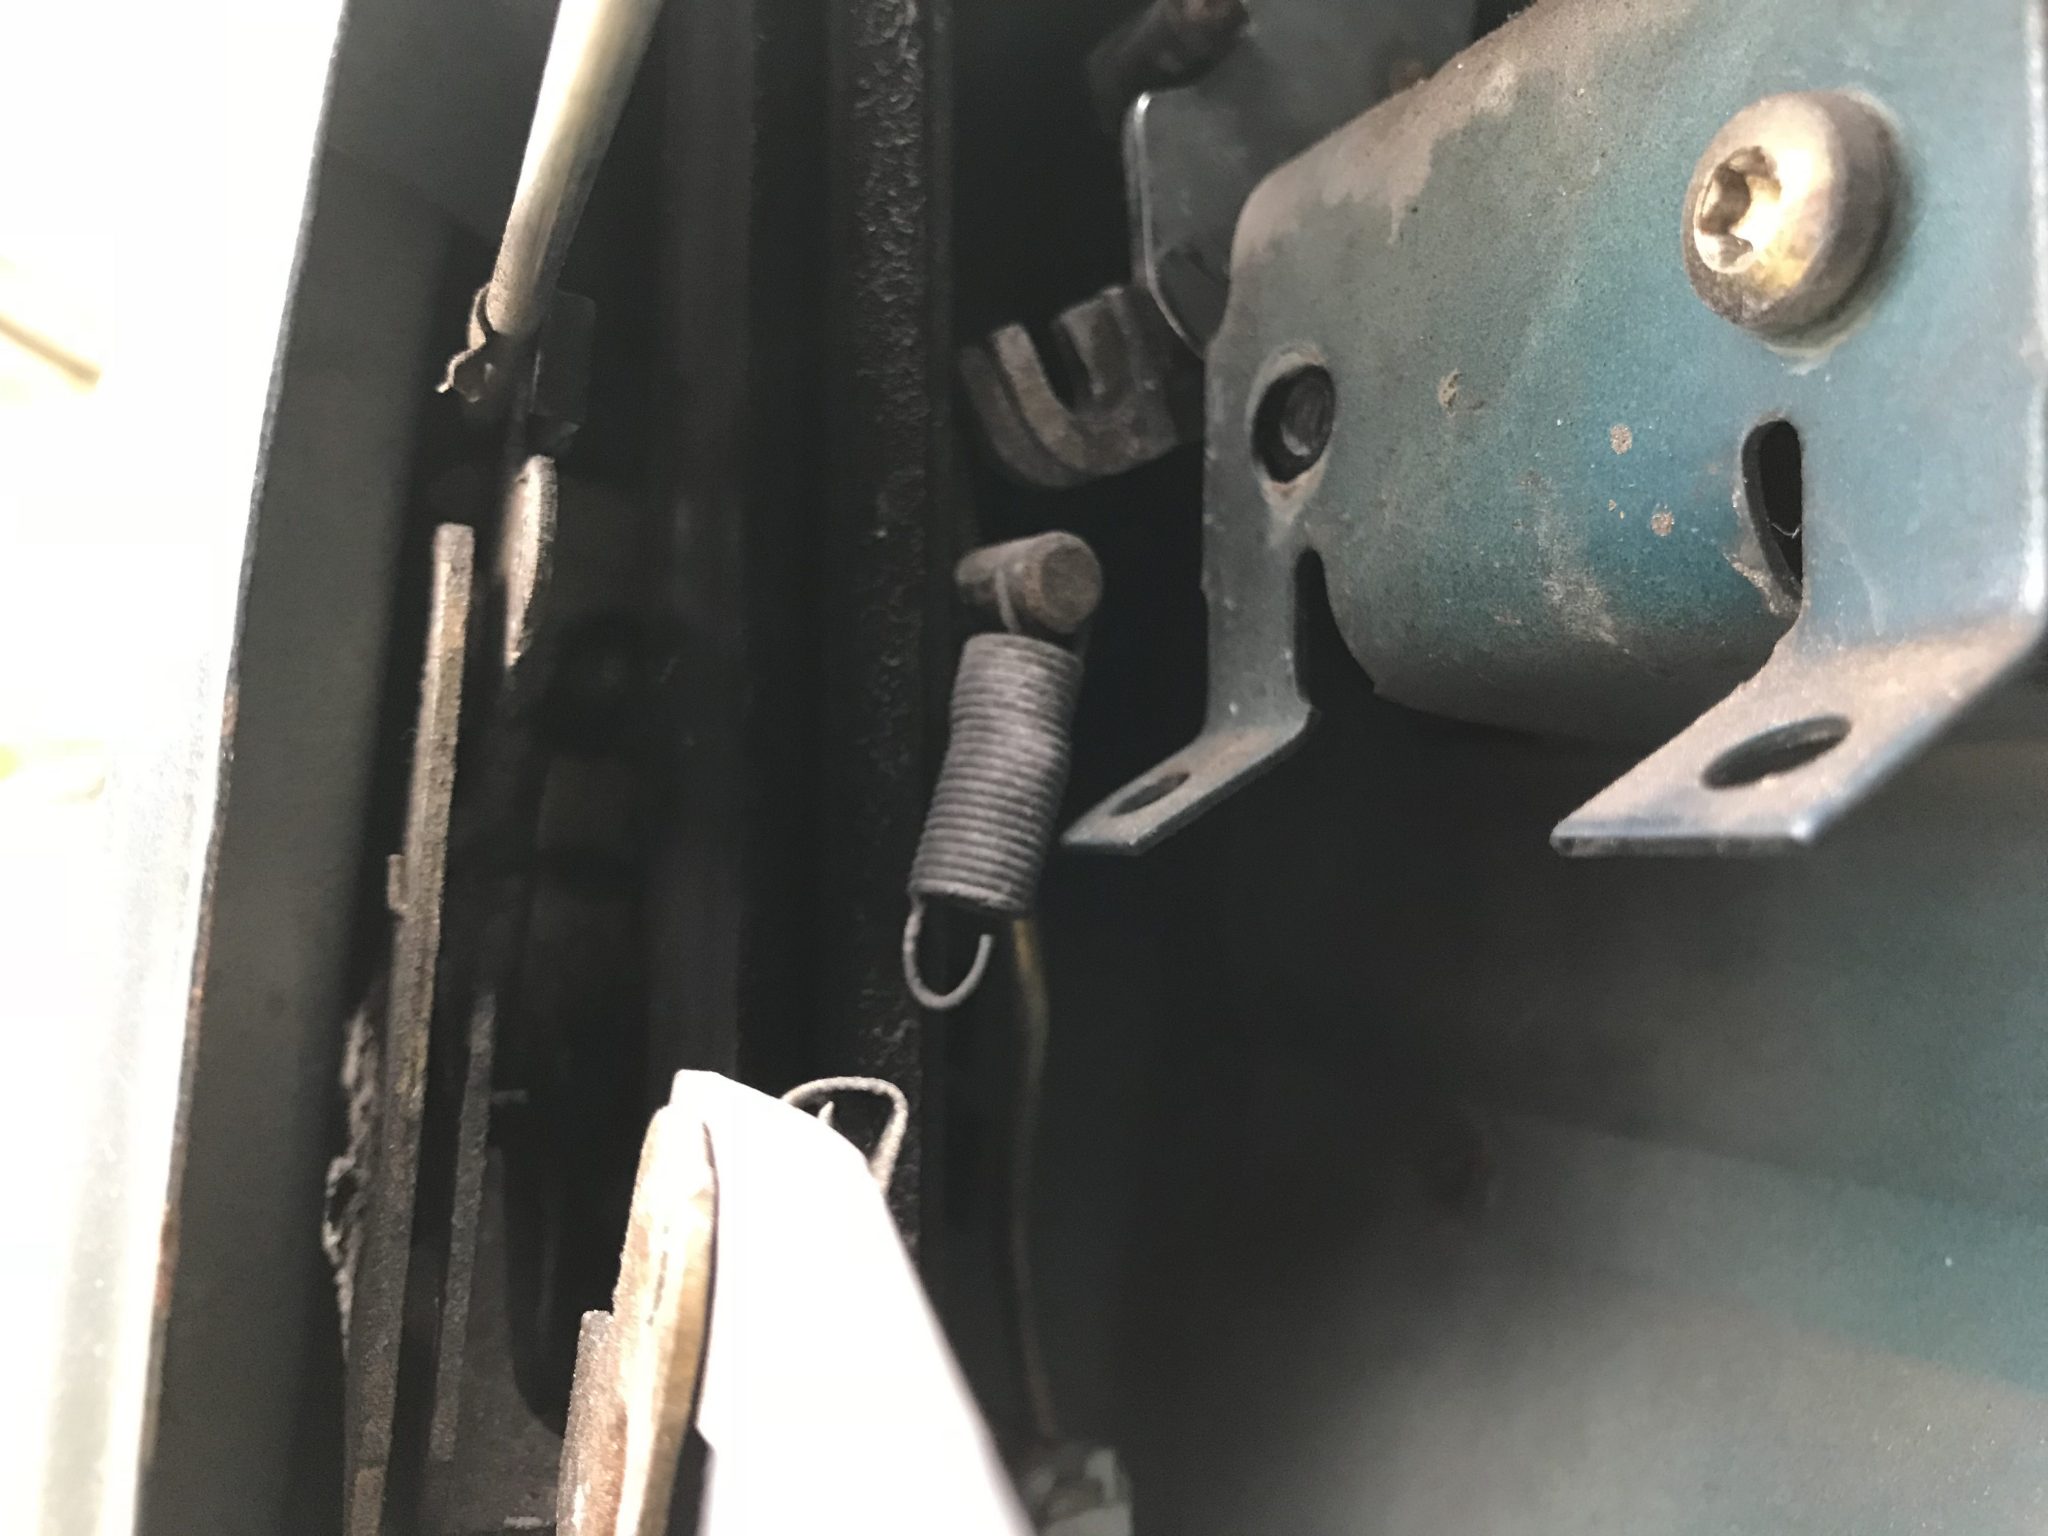
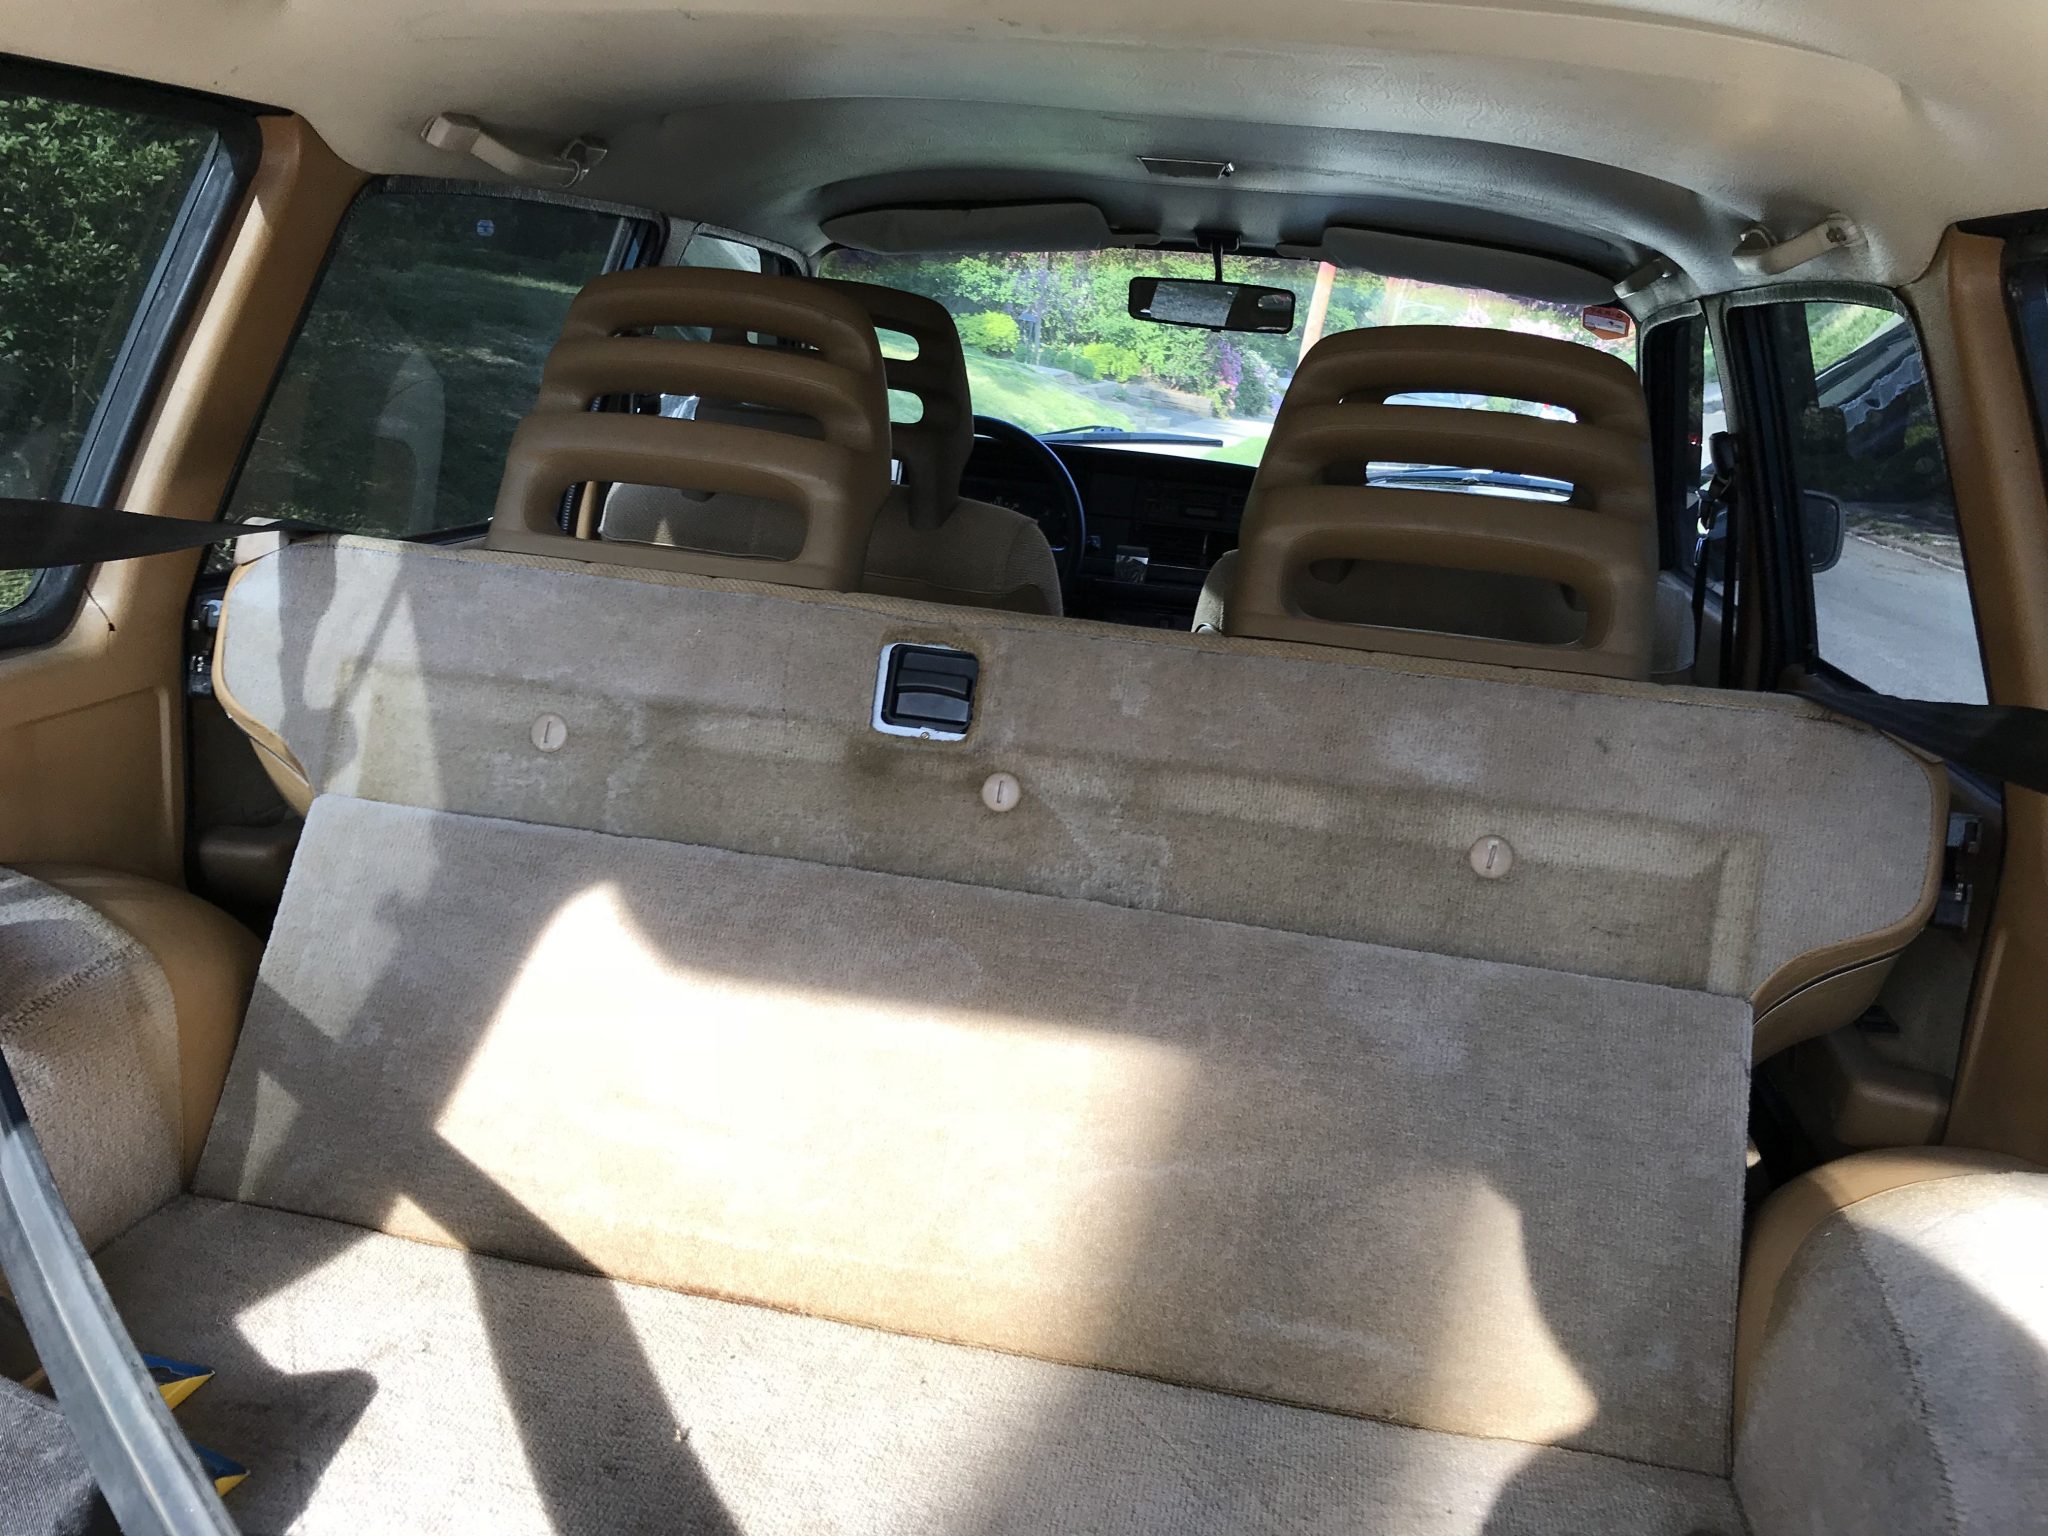
Next was the completely non-functional rear left hand door handle. I once again took the inside door panel off so I could see the mechanism and saw that when pulled the handle was supposed to pull on a spring that actuates the latch mechanism using a metal rod, but that spring had slipped off.

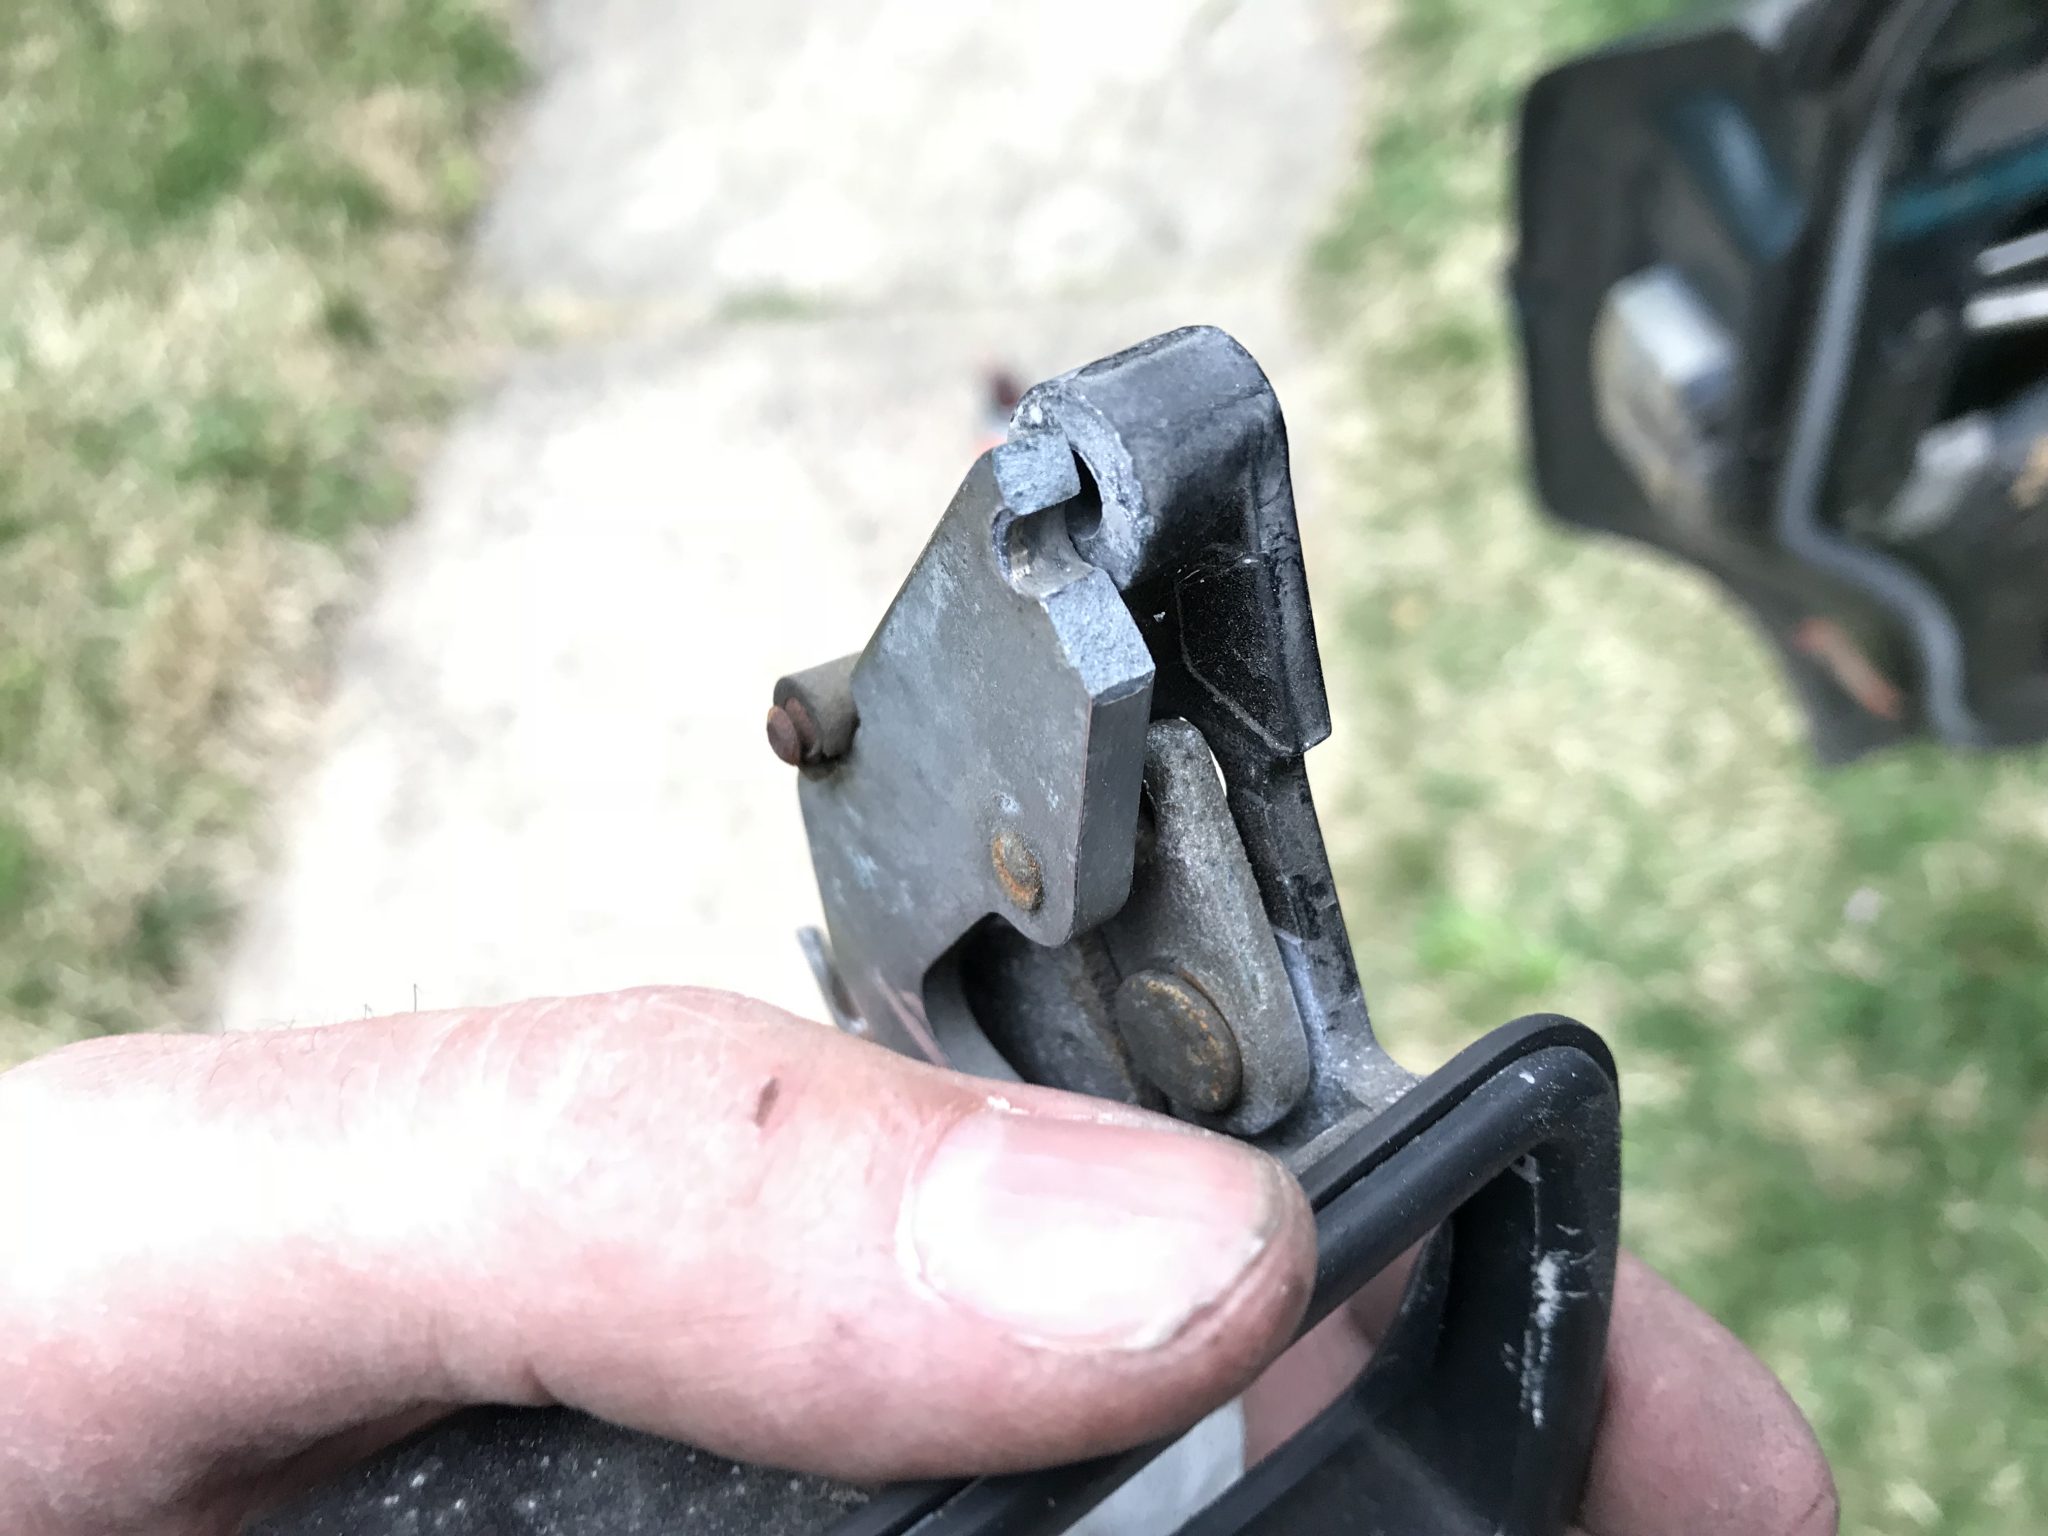
Easy fix, right? I got it back on pretty easily but the handle still didn’t work. Only then I noticed that one of the screws holding the handle to the door wasn’t actually there, and when I removed the other one and took the handle off I quickly saw that the handle itself was completely broken. The metal “ear” where the handle hinged had sheared off!

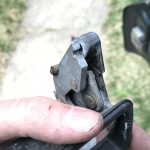
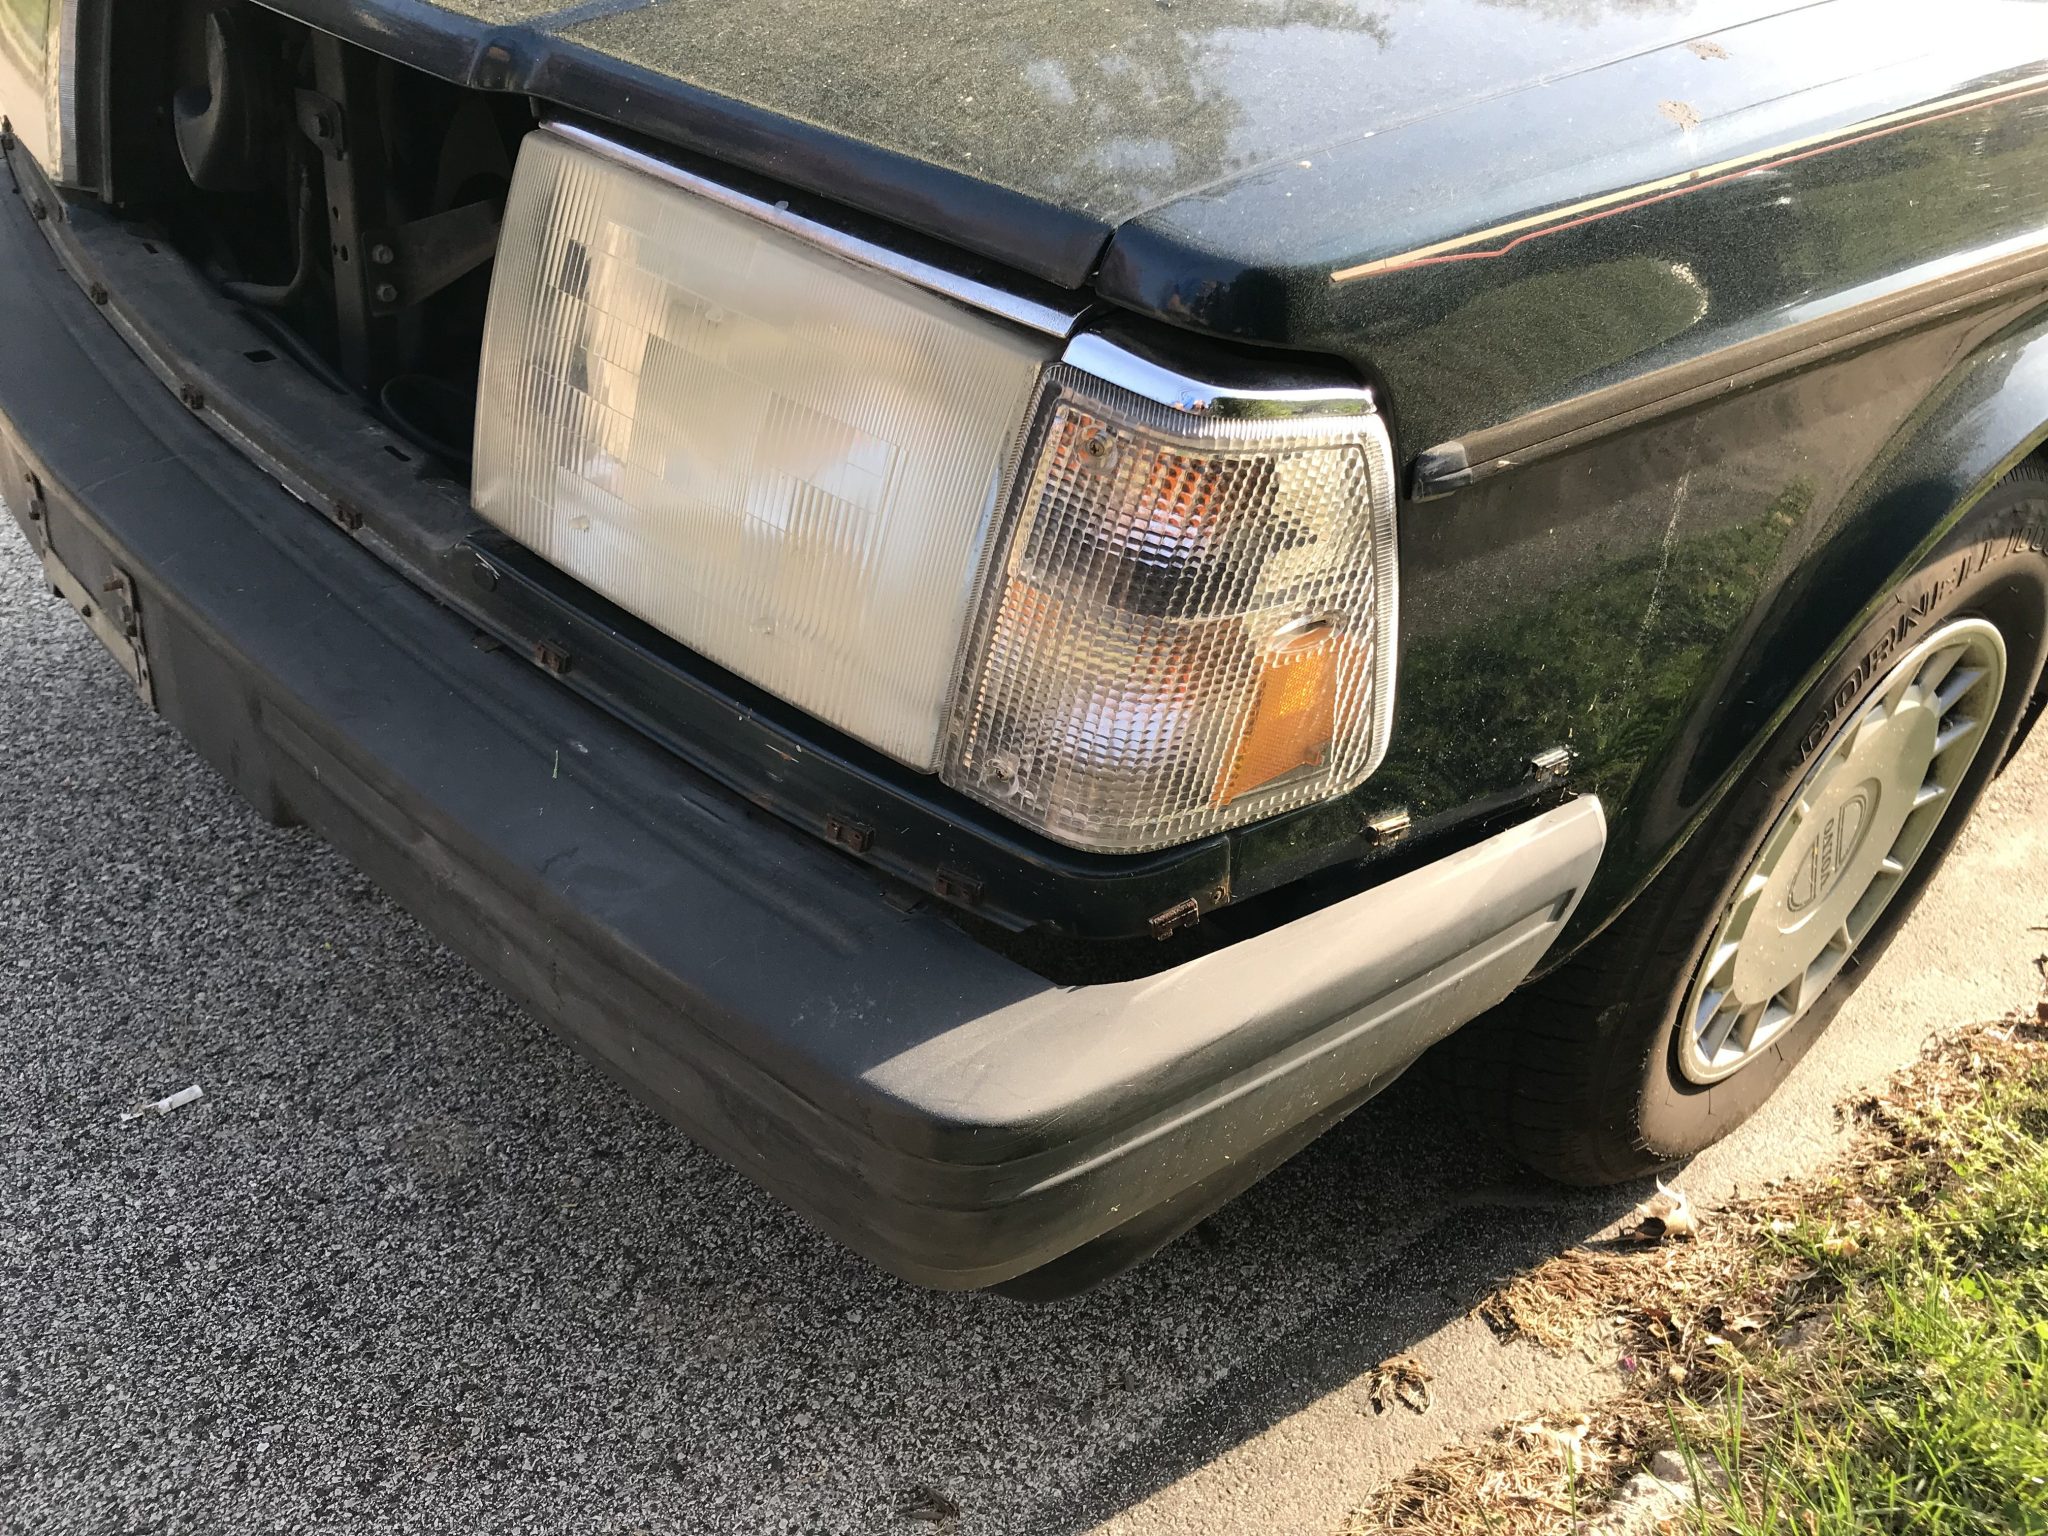
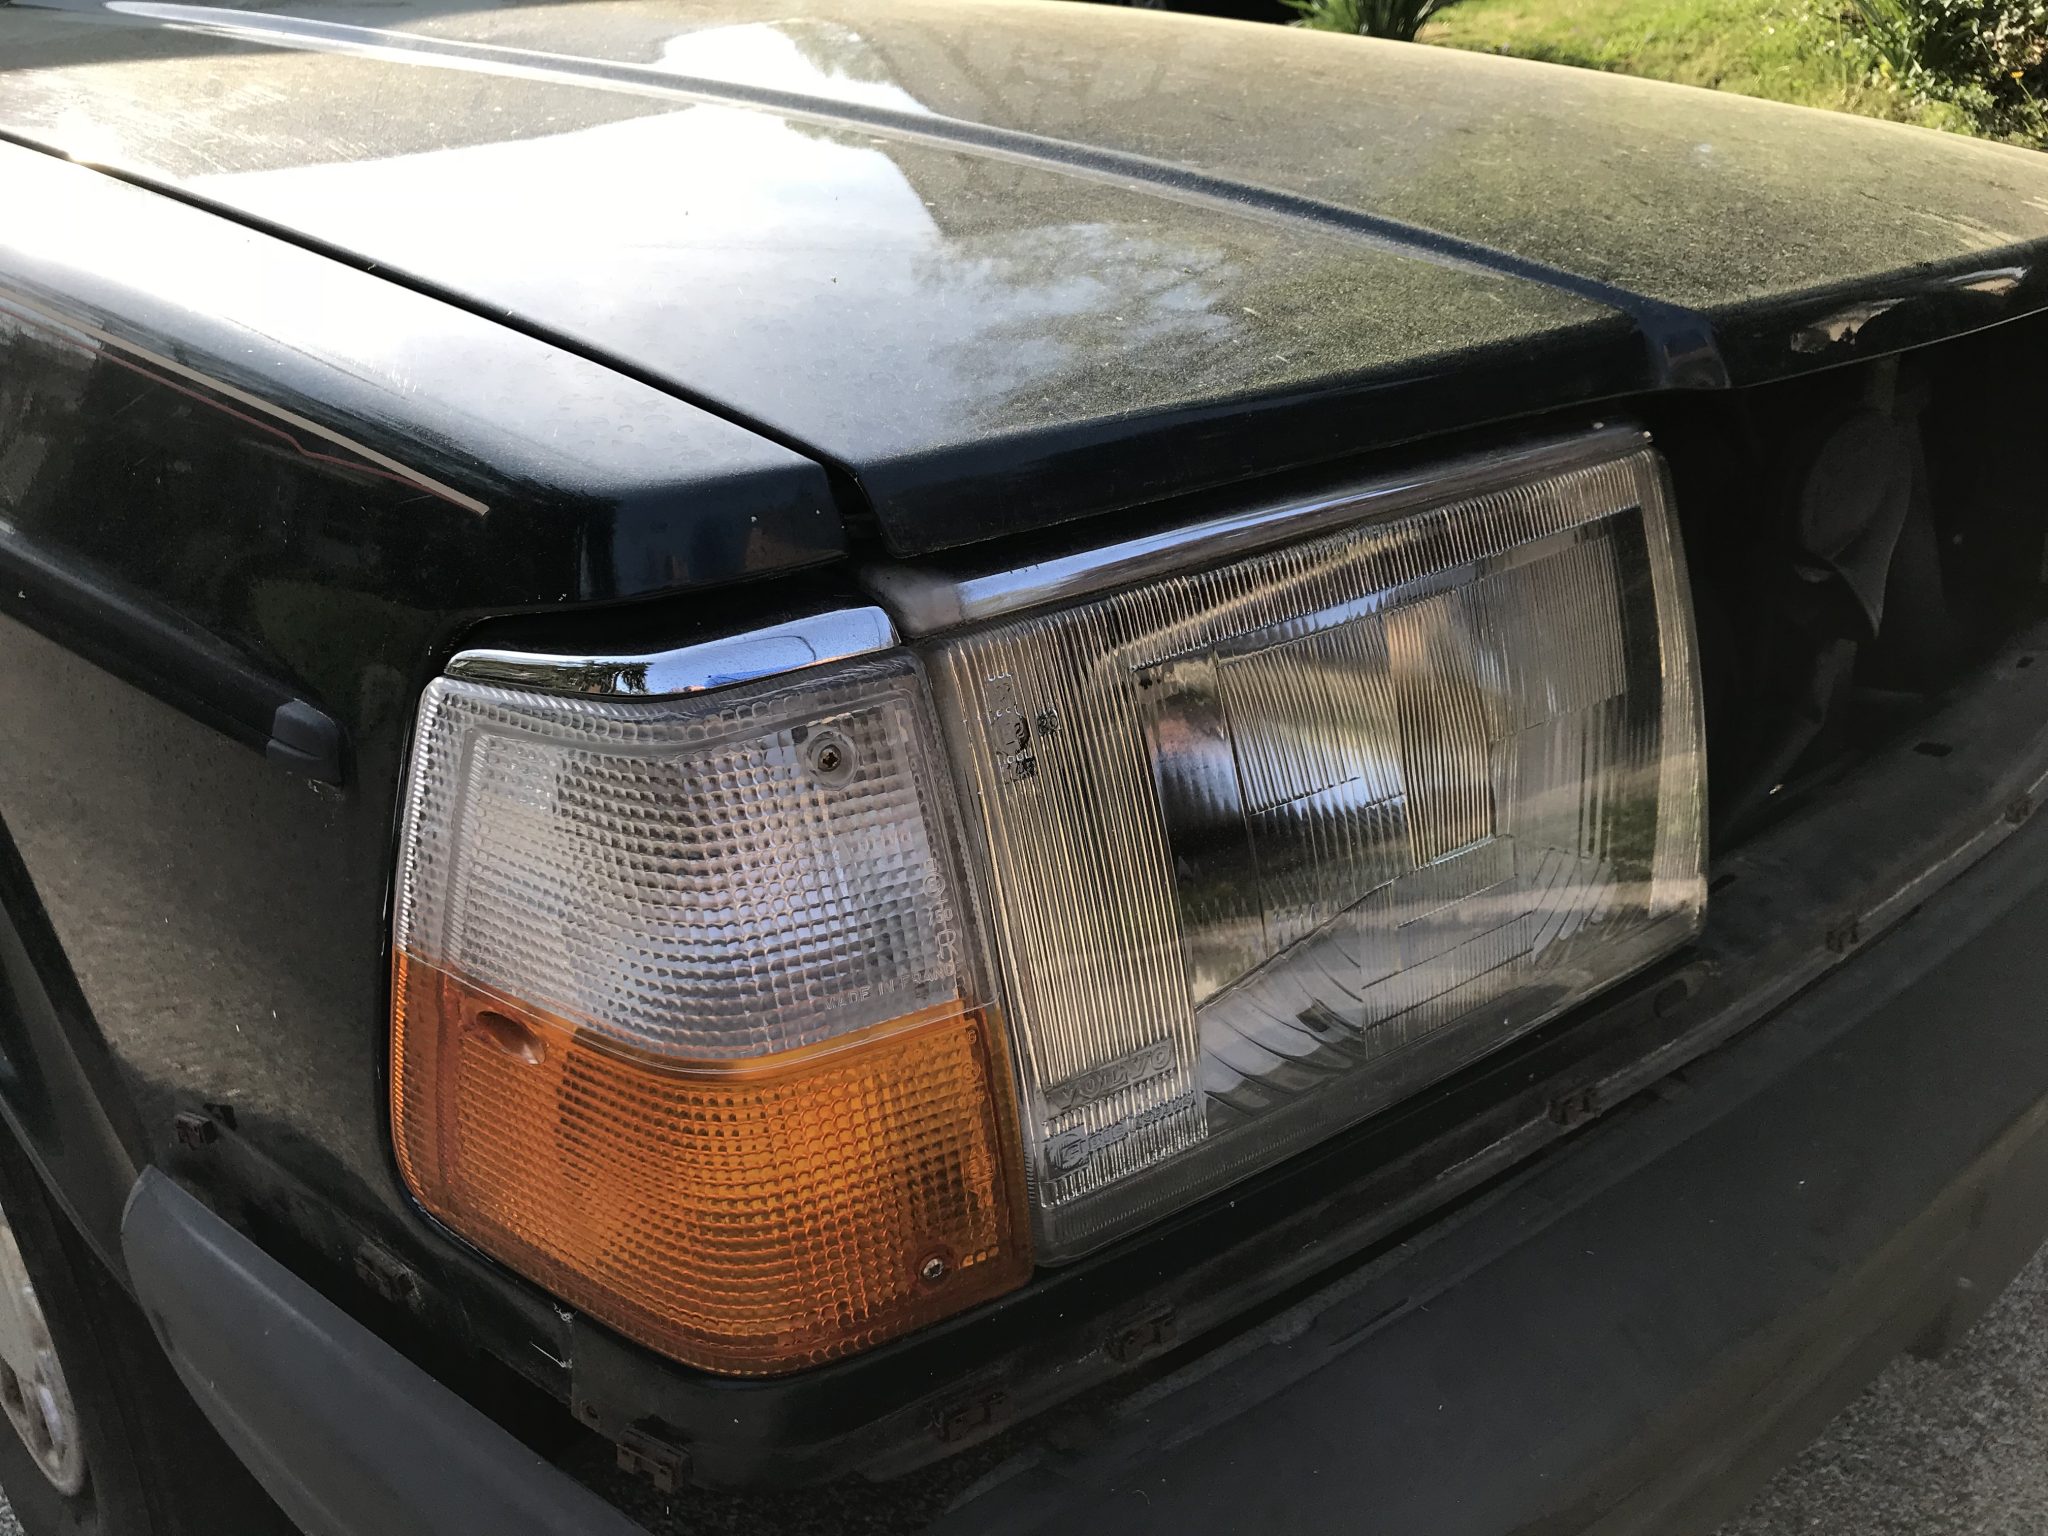
That’ll have to be replaced. I looked around on the web and learned that 1992 240 had a different style of handle than the model years before it. Instead of a shiny handle a matte-black one was used. But my broken handle was not matte-black. When I looked at the other three handles on my car, sure enough they were the expected black color. After seeing the prices of the genuine 1992 style handle it became apparent quite quickly. A previous owner had broken the original handle and, seeing how expensive they were to replace, decided to buy a much cheaper after market pre-92 handle with the shiny finish. They fit, but a common complaint about these after market handles was that the metal was cheap and often times broke within a few years of installation – exactly what had happened to mine. Remembering the old adage “buy cheap, buy twice” I decided the just shell out for the proper handle. When it arrives in about a week I’ll re-install it and finally have a car that all passengers can enter and exit at will.

Euro/American headlight lens decision

I noticed recently that my car seems to have two different styles of headlight lens. I looked it up and found that one is a version for the American market and the other for Europe. The two territories have somewhat different rules about headlights so they needed different equipment. The first is the American and the second European.


Since I have one of each I find myself in the fun position of getting choose the one I like better.

Unstuck the rear seats

After getting the broken latch handle off the rear seat the other day I was stuck (no pun intended) on actual getting the latches to disengage. No matter how hard I yanked on the bit of wire that was poking out nothing would happen. Not wanting to break anything, I backed off and took a little time to think. Last night while sitting on my porch enjoying the (long overdue) nice weather I tried to picture how the latches worked. It was obvious that the wire was attached to the latches and that they ran inside the seat, so I thought that perhaps if I pulled on those wires a little closer to the latch I’d get better leverage on them. From the back seat I lowered the center arm rest there and worked my arms through the slits in the seat fabric inside and was just able to grab onto either wire near to where it connected to the lock. A bit of semi-gentle tugging and voilà – the latches spring and the seat folded down. That allowed me to get some of that magic Aerokroil into the latches to free things up and almost immediately I could lock and unlock the seat just by pulling up on the wires from where they meet by the latch handle hole. Now to reinstall that part and I’ll call that done.

Update:

I got it in!

And the seat forward to prove it