Having replaced the front suspension and control arm-related hardware it was time to take the car to get inspected. I didn’t anticipate any issues, and I thought I’d take the opportunity of having the car in the shop to get the alignment done. On a whim I also asked them to change the transmission fluid. This is something that I could have done myself, but it’s sort of a pain in the ass and I didn’t want to have to worry about disposing of the old fluid, so I figured I’d pay someone else to do at least this one thing. My mileage was pretty low for the year, so I didn’t even have to get my emissions done. I dropped the car off expecting to get it back later that day.
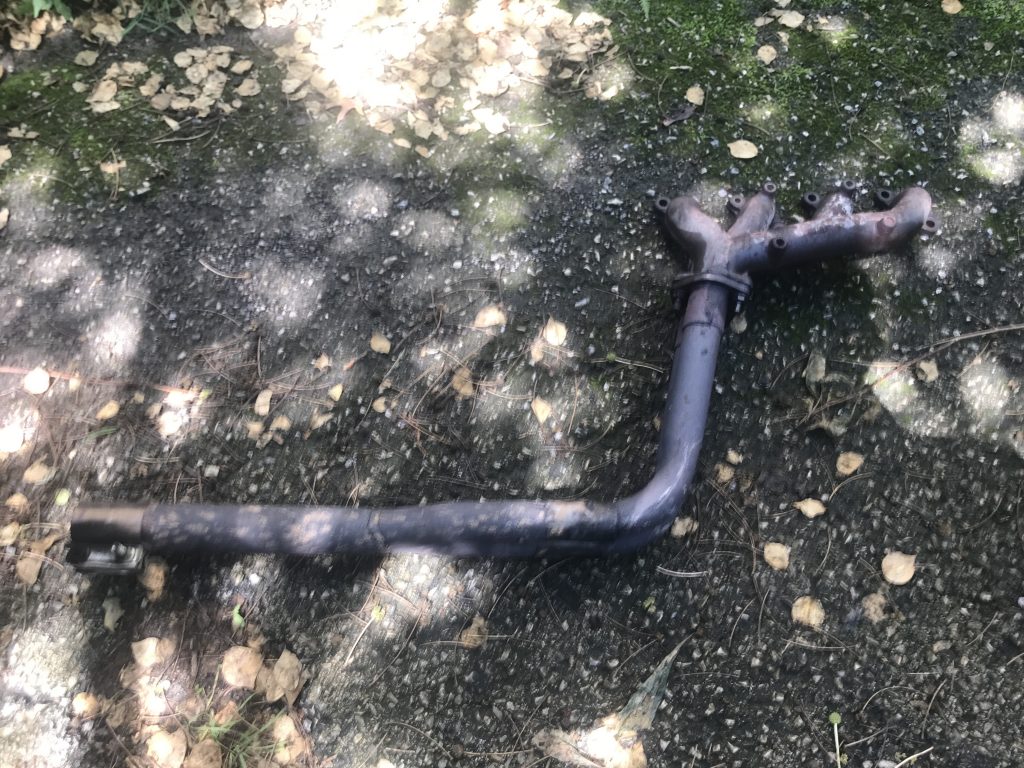
When I did get the call I was told that everything was good… except that my exhaust had fallen apart. For those not familiar, when I had originally replaced the original rusty exhaust system the end of the downpipe attached to the catalytic converter broke in half. I fixed it by binding it back up with muffler tape and a stainless steel clamp. That stopgap measure was obviously no longer stopping that gap.
Since the inspection place is like half a mile from my house, I took the car home to address this. I had anticipated eventually having to replace this pipe, and obviously the time to do it had arrived. As always, the first step was to get the broken part, and, as always, on my car these parts were basically 99% rust at this point. Given where the exhaust manifold met the downpipe in the engine bay and the position of the nuts and bolts on that juncture, I quickly figured that it will ultimately be easier to just take the whole assembly off the engine. This was much easier as the manifold nuts were in better locations although I must admit that I was nervous the entire time that I’d snap a header stud and have to deal with that. Thankfully that scenario didn’t occur.
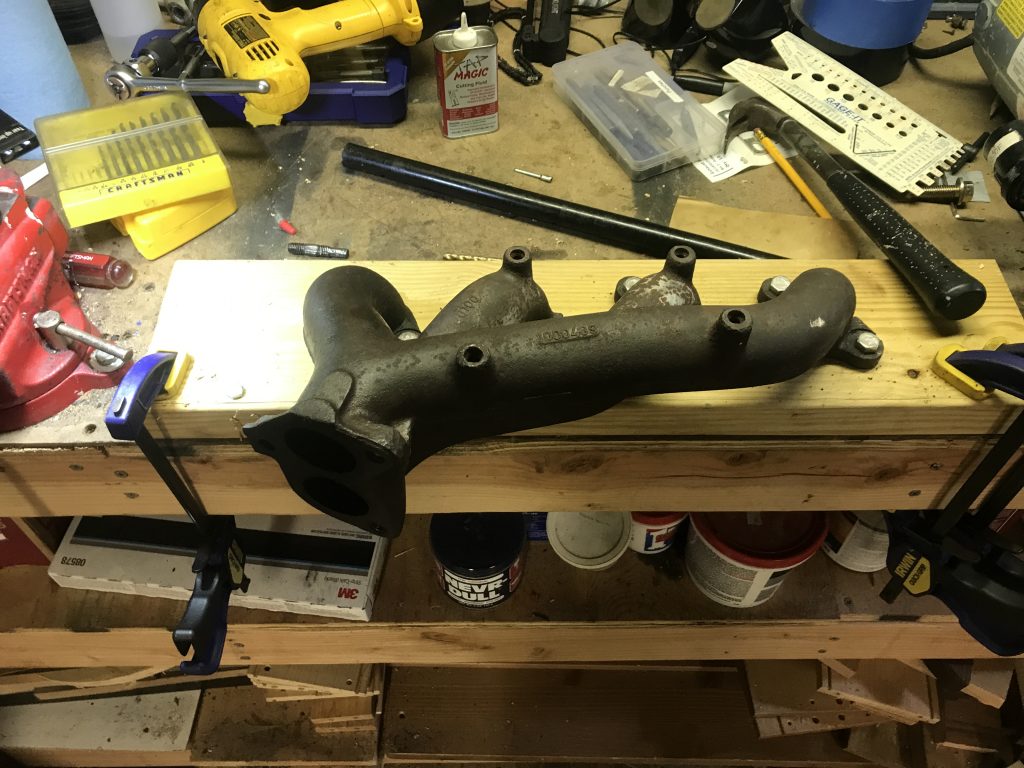
I brought the assembled header/half downpipe into my shop. To give myself better leverage I bolted the manifold to a board and clamped it to the bench, and after a bunch of penetrating oil and a little heat I got the old downpipe off… sort of.
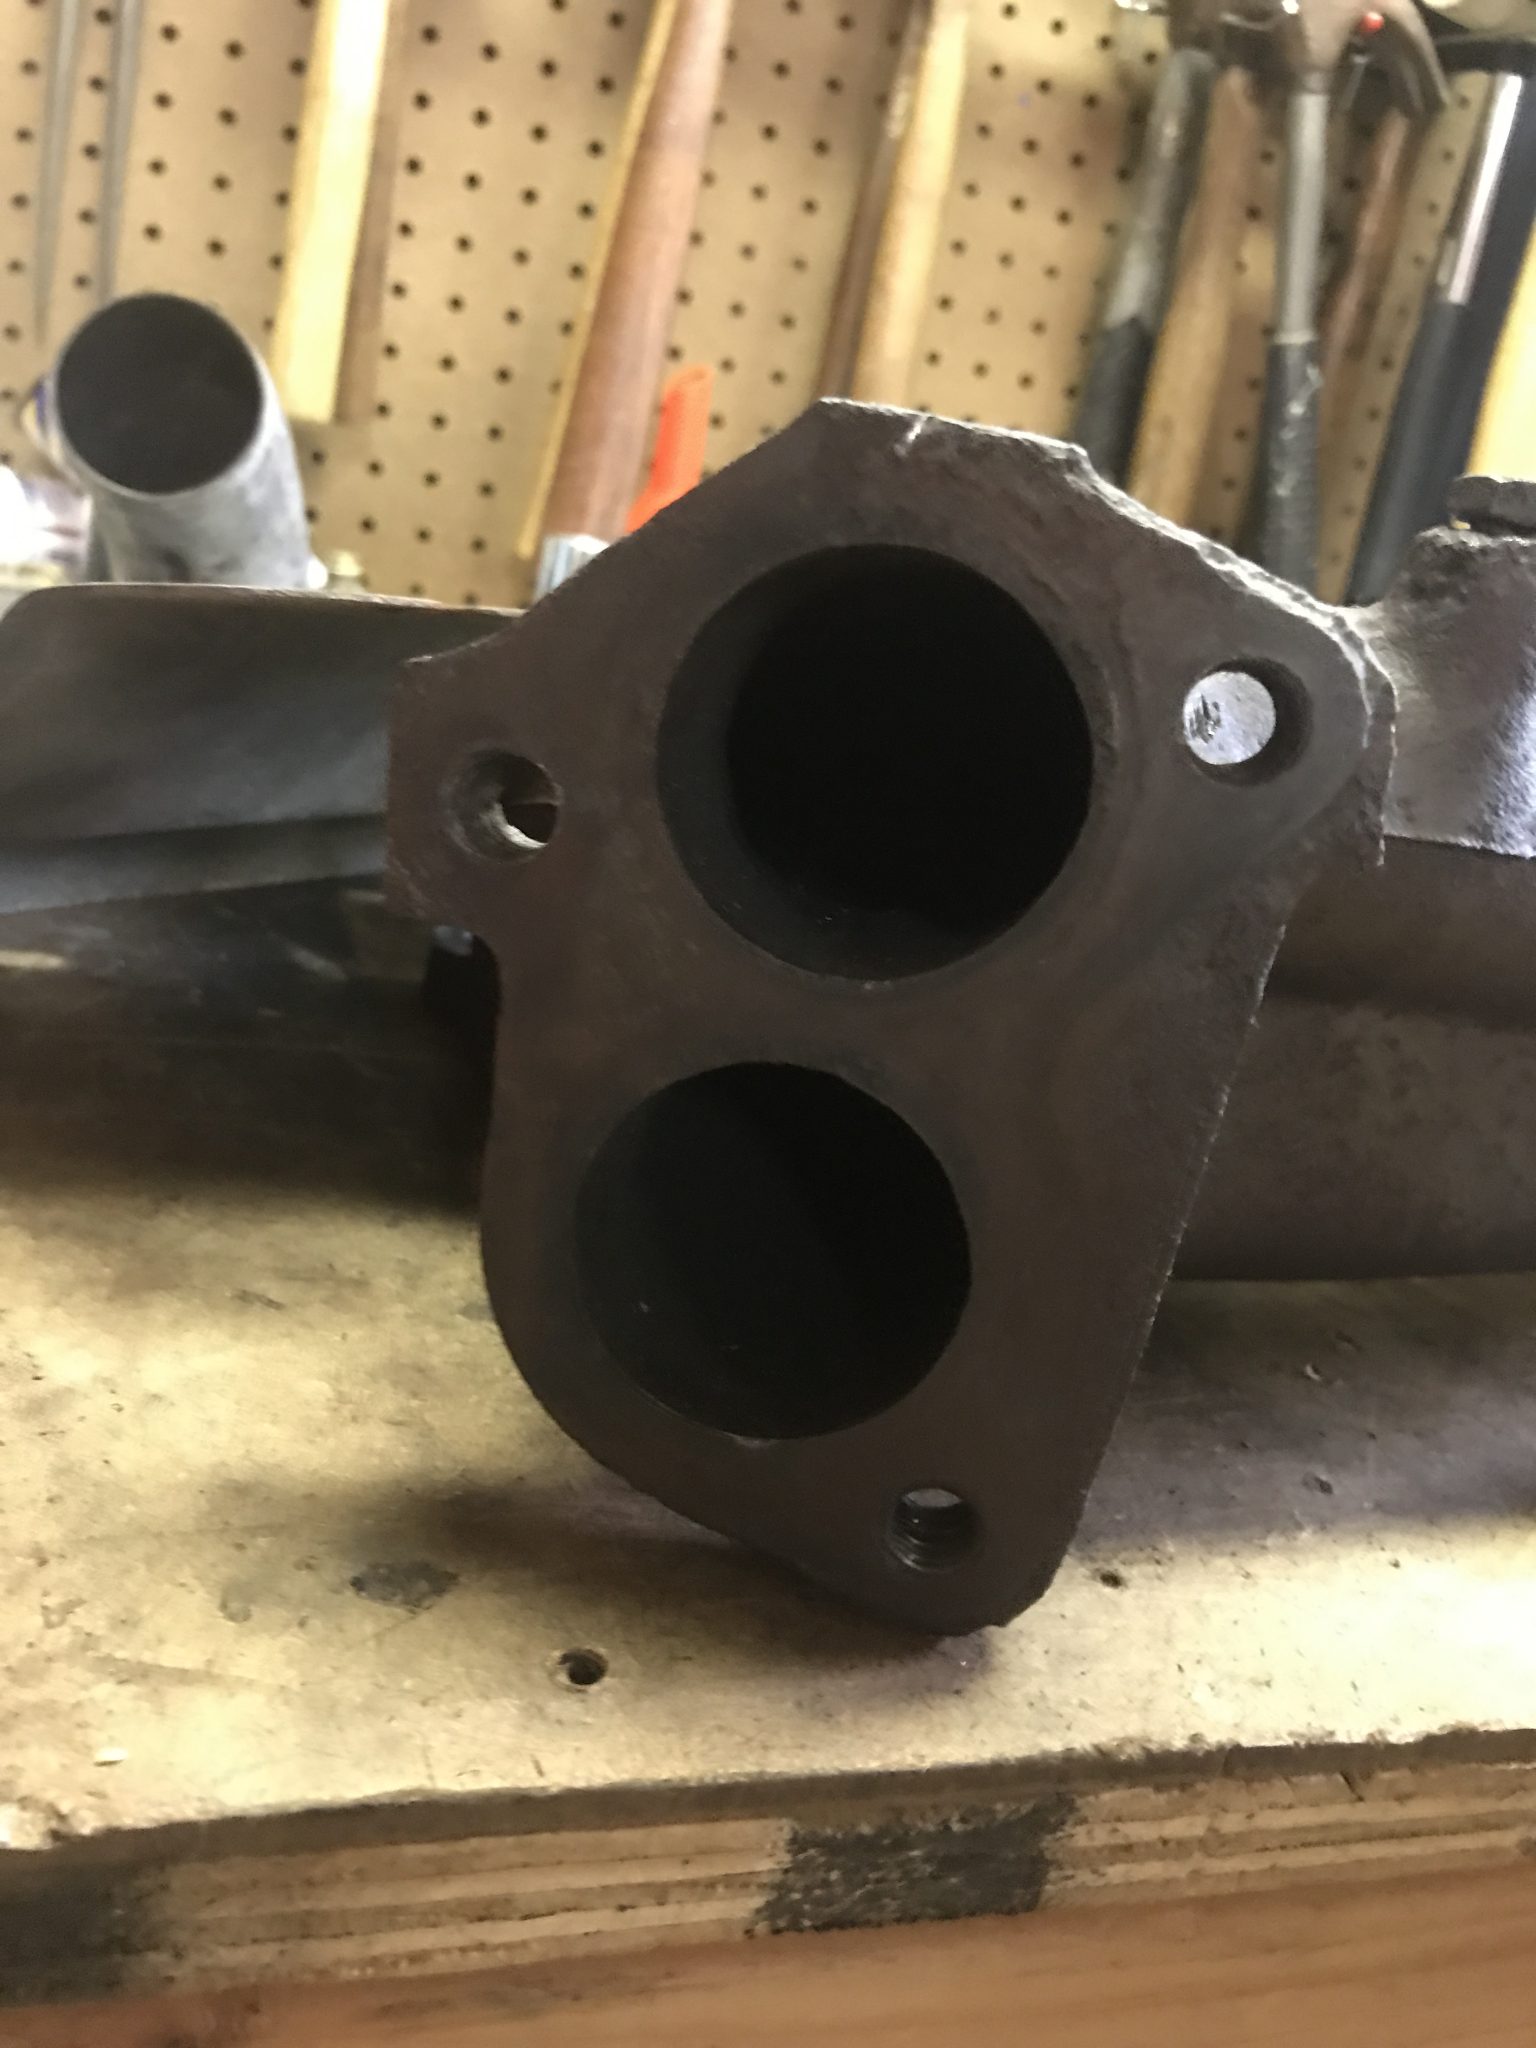
Unfortunately, (see?) after removing the bolt from the first stud and then removing that rusty, semi-stripped stud from the manifold, numbers two and three decided they were ok with life as-is and snapped in half. Thus began a long process of first trying to get the snapped studs out with a stud removal tool. When that didn’t work I turned to trying to use an extractor bit. When that too failed I just got a drill bit that was slightly smaller in diameter than the studs and drilled them out. Of course that left the threads in the manifold’s stud holes munged so I had to re-tap them, but naturally those threads weren’t perfect so the new studs, which were not terribly easy to source in the first place, were a touch wobbly in those holes. That’s fine, right? But long story short, I got the old studs out and put the new ones in. In an attempt to reduce the wobble, they got a little high temperature Loctite which didn’t seem to do all that much, but at least I tried! I also ordered a new downpipe which, much like Spider-Man, arrived just in time.

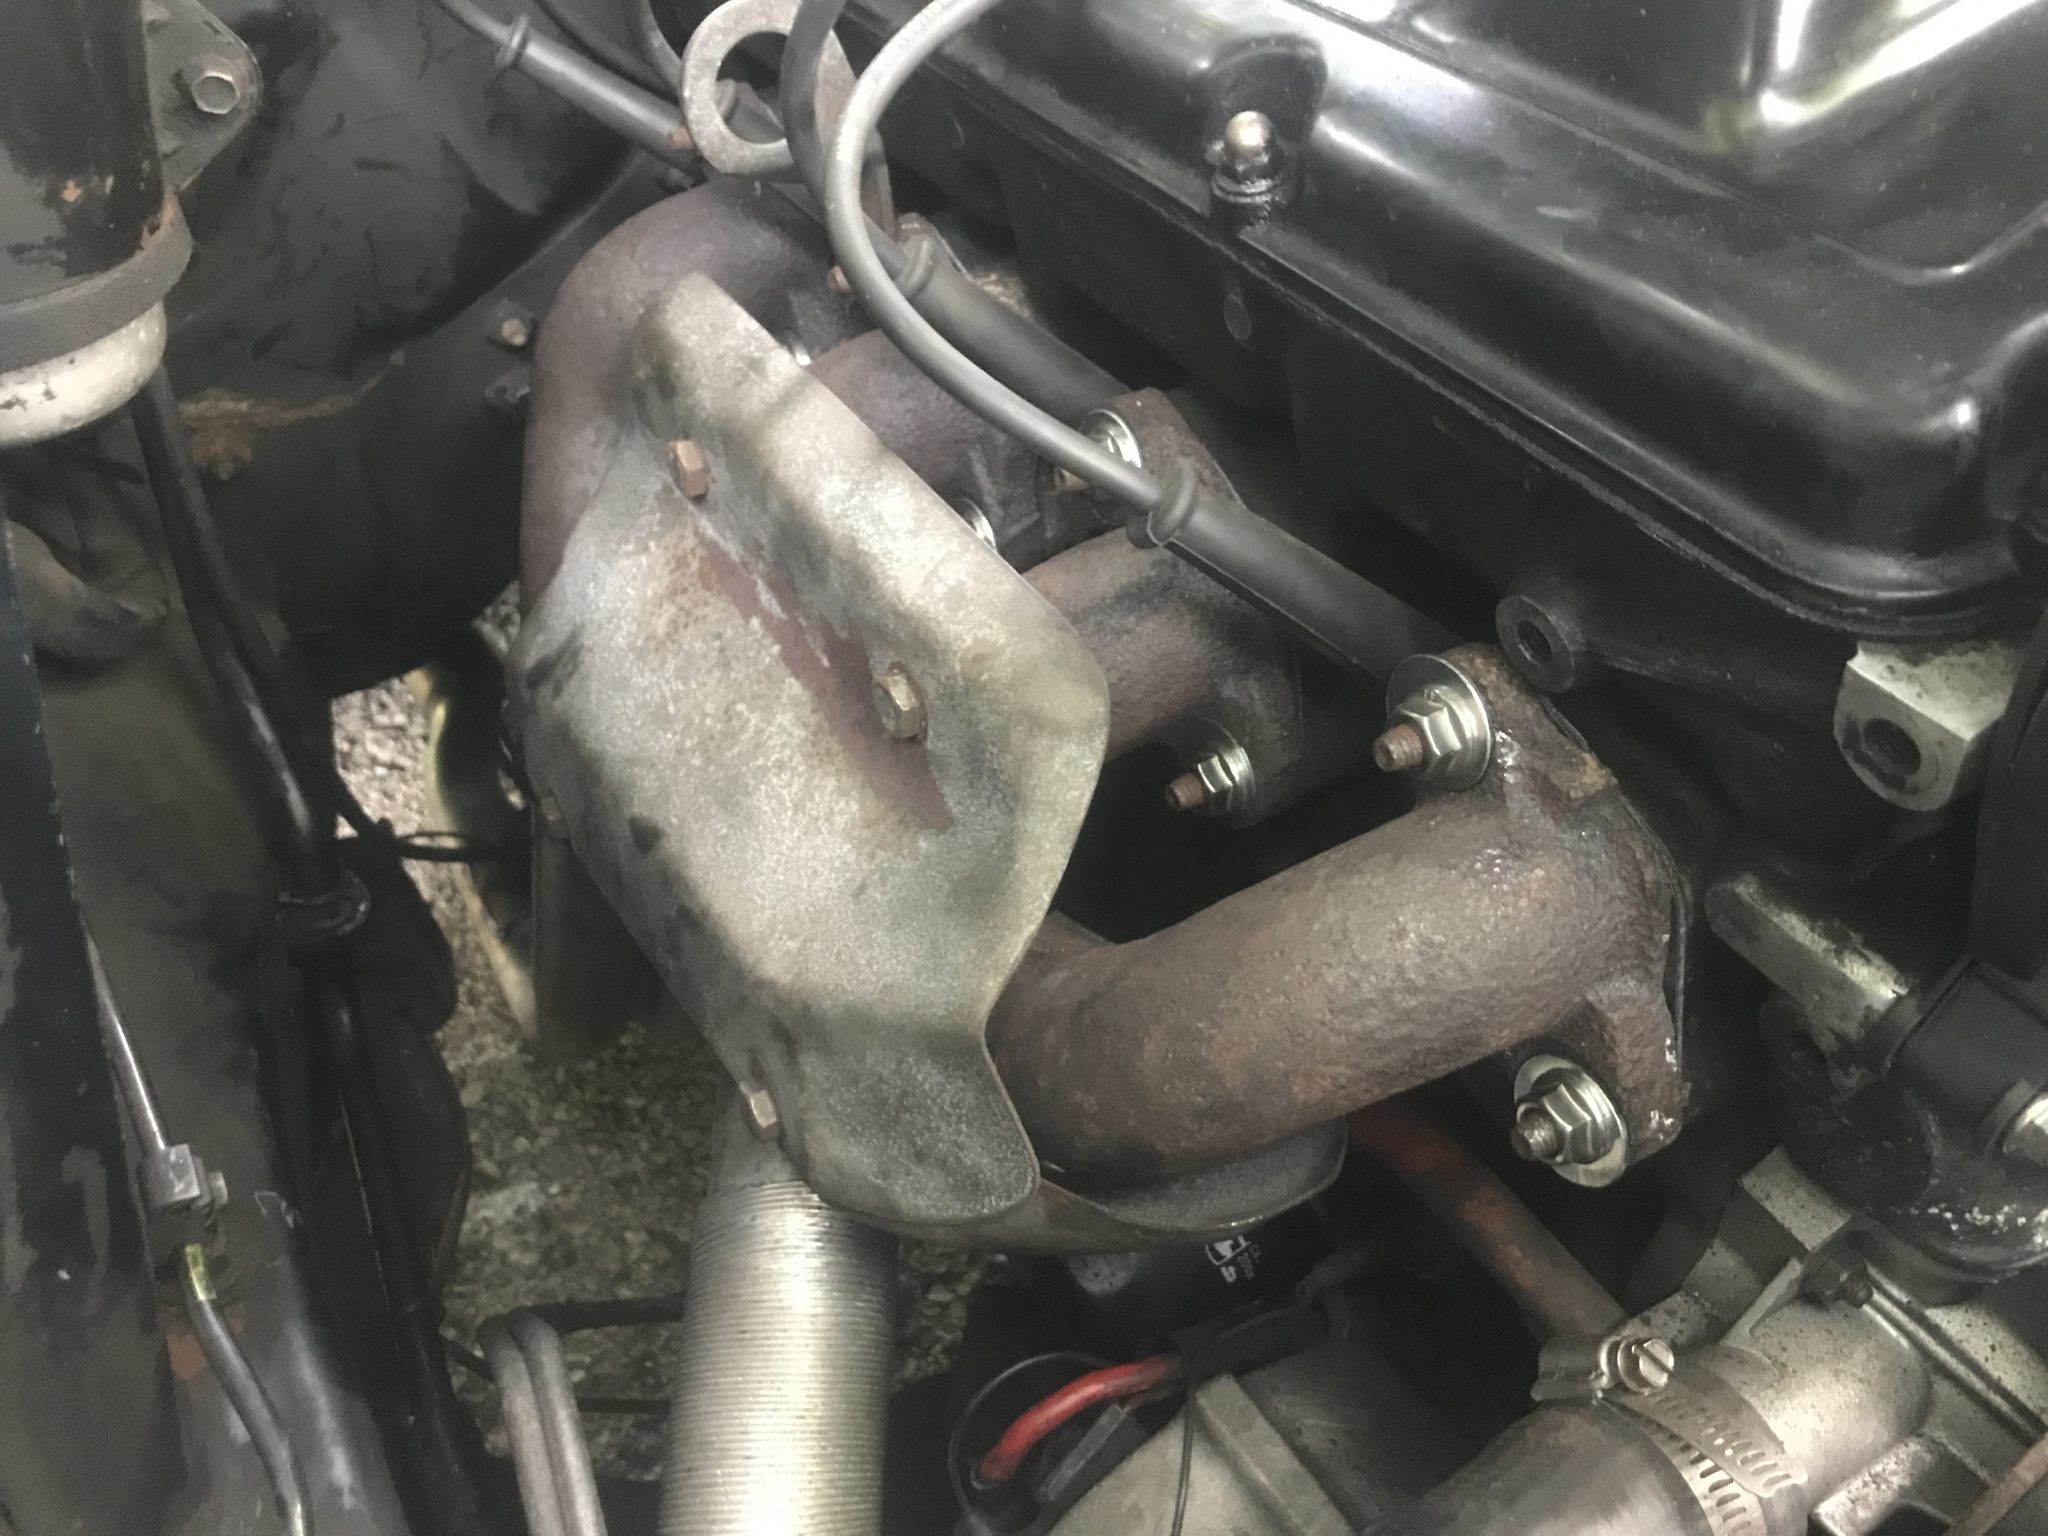
First the manifold was bolted back onto the engine with new washers and nuts. Then I threaded the downpipe down and under the car where it met the cat. Unlike my old pipe, this new one had a threaded hole meant to allow it to be anchored to the transmission for extra support. I had to order part 1357002, a special bracket made just for this, to take advantage of this feature. Obviously it’s not a required part but it did make joining the two parts and sealing the gasket a bit easier. The other end bolted onto the manifold where I had applied a liberal amount of high temperature thread locker to help de-wobble the studs. With a bit of finesse I was able to get everything locked up tight on that end.

And that was that. I took it back to the garage, showed them what I had done, and got my sticker. See you next year!