Headlight Rewire

I’m a big fan of modular connectors. Nothing bugs me more than having to desolder or otherwise put in a bunch of extra work to undo a permanent wiring connection before I can even start to fix something. In the case of my headlights, over two years ago I used crimp connectors to wire up the bulb sockets.

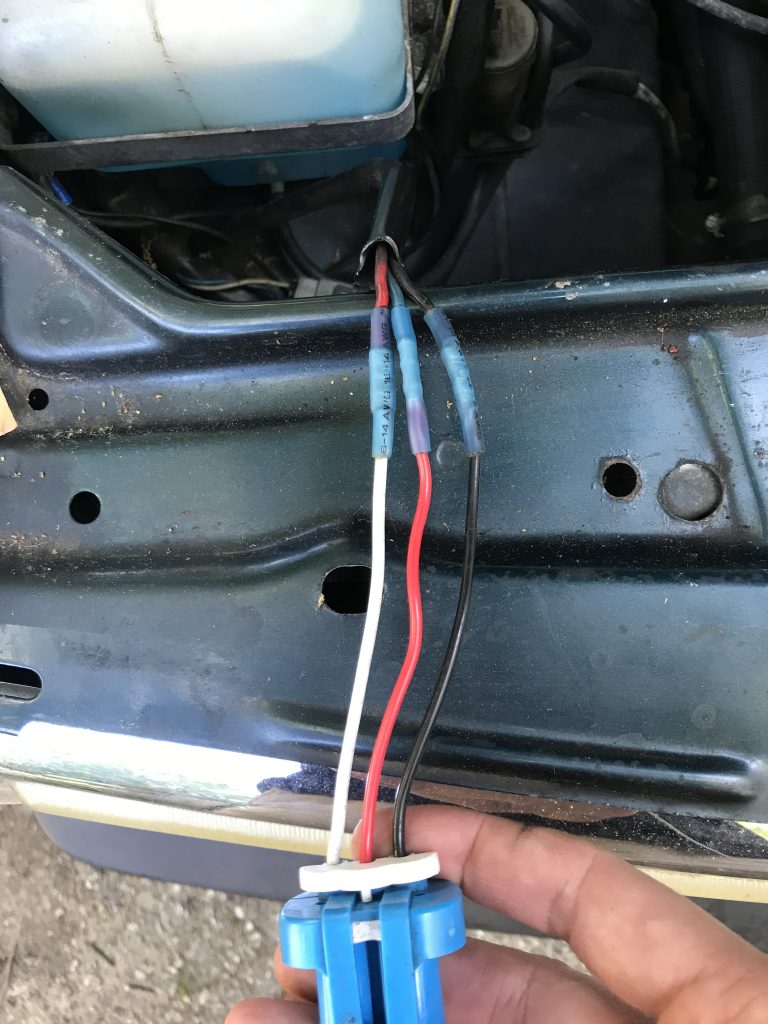
This worked pretty well for awhile but I found that perhaps the crimps weren’t 100%. Road vibration would occasionally cause a bulb to loose contact. Obviously this was not ideal, so I decided to ditch the crimps and just solder the wires together. But that brought me back to the whole “I don’t like permanent connections” thing. So I got an idea.

Continue reading

Small Touches

This past weekend was mostly one for yard work, but I did do a couple of smallish things on the car. The most significant one was the replacement of the belly pan. The original pan was long gone with only a couple of small bits still held on by the few remaining original bolts. I reused those and supplemented the rest with new 20mm long M6x1.0 bolts. This pan was a Uro brand replacement part, and like many after market trim the fitment was not perfect. The eagle-eyed amongst you might notice that one of the bolt holes (out of the seven) in the photo below is empty. This is because I just could not get the hole in the plastic to line up sufficiently with the threads to get a bolt to “bite”. Instead of drilling out the hole a little to make this happen I decided that six out of seven bolts was good enough for now and called it done.

Continue reading

New O2 Sensor

About a week ago I noticed that I was getting a 1-1-3 code from the computer which indicated a rich mixture condition. More recently I got the code 2-1-2 which suggested the computer wasn’t getting readings from the O2 sensor at all. Doing some research on these codes will take one down a rabbit hole of “maybe it’s THIS or perhaps THAT or maybe even THESE!” so I decided to skip all that and just replace the O2 sensor. The model I went with was a Bosch 13034 which I believe is the OEM component.

Continue reading

Engine Bay Before and After

Recently I was inspecting my engine after I had gone for a drive. I wanted to know if any new leaks or other issues had developed. Thankfully there has been nothing like that so far, but my mind was cast back to when I first got the car and just how filthy the engine and bay were. I too a few new photos and present them here in contrast to the initial state to illustrate how far it has come along in both function and cleanliness.

Old

New

Not showroom clean, but I’m quite happy with the results.

Edit: I’m glad I made this post because it helped me realize that I had the check valve between the intake manifold and vacuum tank inside the dash backwards. Remember: it’s black side towards the manifold,  white side towards the firewall.

Back to Her Roots

Gudrun made her first run as a proverbial “Grocery Getter” and performed the task with style and grace.

Cargo space for DAYS!

Plus I’ve noticed that I’ve been getting a lot of admiring looks from people I pass. I guess I’m not the only one nostalgic for these cars.