Slipped in a few minutes of work

I usually only have time to work on the car on the weekends. This past weekend was quite busy which, sadly, meant no work got done. I have on hand a few parts that I’ve been itching to get them installed, so after I got home today I took a few minutes to see what I could get done. First, and easiest, was to put the dash back together. That was just a matter of four screws and some snap-in panels.

Tada! I noticed that the headlight/parking light control knob had a weird yellowish tint to it, and I tried to clean it as best as I can but it’s still got that weird color. It looks pretty grody so it’ll get replaced at some point.

I also started working on the rear seat latch. The original was broken when I got the car and got even more broken when I messed with it trying to put the seat down. So I removed the old one, mostly to get a look at the wires that connect to the seat locks. Even after prying it off I still couldn’t get the wires to move, so something must be stuck somewhere. That will require further probing when I have time.

Of course, the frame around the latch broke the moment I tried to pry it off. You can see bits of it in the top part of this photo showing the old latch next to the new.

I got two lefties!

I recently ordered replacement door pockets from eEuroparts but was surprised today when I unwrapped them to see I had been sent two driver side pockets instead of one for each side!

I called their customer support line, which is very conveniently open on Saturday, and got the issue sorted immediately. The new pockets will arrive on Tuesday, so shout out to eEuroparts. They’re solid.

A note on wiring an instrument cluster

When I first uninstalled the instrument cluster in my car a combination of inexperience, carelessness, and difficultly seeing behind the cluster resulted in me not really paying attention to which wire went where. When it came to putting it back in I was at a bit of a loss. After some question asking in forums and YouTube video watching I was able to figure it out. I thought I’d show what I did here to perhaps help others in my situation.

First, here are the wires we’re working with

Because my car has an AW70 automatic transmission there will be a couple of unused wires that should be pushed out of the way before installation.

What Are We Looking At Here?

This is the back of my cluster which includes an electronic speedometer and a clock rather than a tachometer.

Two things to note here. First, when I first removed the cluster I was pretty much pulling out anything that seemed to be connected to anything. This included the semi-transparent connector on the back of the clock to the right in this photo. I have added an arrow to indicate that this should be plugged into the spade terminal. Second, the thing hidden by the skull and bones is not a connector you should worry about. It was used during manufacture to calibrate the speedometer, and if you do anything to you will destroy the instrument. As you can see here, Volvo began wrapping it in foam at some point to ward against accidentally connecting it. Be aware and don’t touch it either, dear reader.

The rest is self explanatory. The round and half moon connectors (1 and 2) only fit in one place. 5 slots onto the edge connector on the back of the speedometer. 6 is power for the overdrive indicator.

I hope this helps.

Update: the instruments work!

I drove around my neighborhood a bunch this evening to test the speedometer and odometer and I’m super hyped to report that everything was in working order!

The new bulbs work well too, and what one is telling me is that the overdrive relay is probably broken. That’s the system that either allows or prevents the car from shifting into 4th gear depending on if a button on the side of the gear selector is pushed. Thankfully this part (previously mentioned as the white thing that needed to be pushed out of the way so the glove box could be closed) is cheap so it’s not a big deal.

Another new parts day!

This time the arrival of parts was a bit unexpected. I knew they were coming, but because of the 20th century-based vagueness of the USPS’s tracking capabilities I didn’t know they’d come today. So it was a fun surprise.

What Did I Get?

Most of the parts were small – clips and such – and the big box had the door pockets I had ordered. Those will have to wait til the weekend for installation. In the meantime I put the other things were they belonged. Namely as replacement for the numerous lost or broken clips that came with the car.

The first photo is the driver’s side of the cargo area and the two clips shown keep the cover on over the spire tire. The second photo is the passenger seat’s foot space under the glove box. Note two of the mystery wires that run the length of the car. I have no idea what they are connected to, but give the apparent condition of the wiring that runs through the tailgate hinges to things like the defroster and wiper I can only guess that they’re jury-rigging something important. Obviously, we will find out in due time.

My son helped me replace the retaining clips for the sun shades, and I took the opportunity to reconnect the instrument cluster. All seemed good there although I should really drive around the block a few times to make sure things truly work.

A Small Related Project

The trip reset button had broken at some point, so instead of paying nearly $40 for a NOS replacement I decided to repair mine. The clip has a long, thing, somewhat flexible rod onto which snaps the button part you press in to reset the trip counter under the odometer. That broke off and refused to be securely glued back together, so instead I drilled a small hole in the clip part slightly smaller than the diameter of the rod itself, wedged the rod in there, and then cemented it with plastic weld.


Worked like a charm, and farm preferable to spending money.

Tach/Clock Kit

I just learned that Volvo once sold a kit where you could replace your big clock in the instrument cluster with a tachometer that also came with a little clock that you would mount on one of the removable dash panels. My car has an automatic transmission (currently) so I don’t really need a tachometer and since everything nowadays has a clock on it I don’t really need one of those either, but man do I want this thing!

They’re relatively rare and therefore expensive, so it’ll have to wait for another day for now. On a brighter note, I got a bunch more part today! I’ll be posting about them soon.

New parts day!

Today was one of those great days I’m coming to know as a “parts via post day.” I had gotten an email earlier in the morning telling me that my instrument cluster parts were on their way. I got that antsy feeling you get when you see that “OUT FOR DELIVERY” notification on the UPS tracking site. Around 5:30 the parts finally arrived.

That’s the odometer gear and light bulbs for the dash in those bags. I took them to the workbench where the instrument cluster has been waiting. I very quickly installed the gear with no issues and observed the gear engaging and turning the odometer numbers a little. The odometer drive was then re-attached to the odometer/speedometer body and that to the cluster itself.

I then tasked my son with putting the new bulbs into their plugs on the cluster .


FLÖSSER! Lights were screwed in, instruments reinstalled, and plastic screen cleaned up a little. I would have loved to put the whole thing back into the car, but it was getting late and the light was dim so I’ll have to do that a different day.

Aspirational Photos

In my searches for parts and info I came across someone in New York selling the same model, year and color (321 – dark green metallic) of my car. Whoever kept this car did a fantastic job of either taking care of all the little details or in restoring them. I thought I’d post a couple of them as an example of what one day my car might look like. Enjoy.


More broken things!

Glove Box Hinge

So far every session with this car has brought revelations of more broken things. For example, I received the new hinge for the glove box in the mail yesterday. After picking the broken bits of the previous hinge out of the box’s door I was able to install the new one easily. However the hinge kept banging into something when closing. I got nervous that this seemingly simple fix was going to be more complicated that I anticipated. The glovebox is a single unit, so I removed a few screws and slide it out of the dashboard to check what was going on. Thankfully it was just some easily repositioned component causing the obstruction, but now that I had the box out and could see it from a different angle I noticed that the not only was the latch striker not original to the car but was also attached with two random wood screws that had been screwed into the plastic housing of the glovebox. Obviously not acceptable, so now I have to find a replacement. I think a pick-and-pull yard might be the best bet for something like that. For now the box will have to hang open.

Tailgate Latch

The gate opens and closes but doesn’t catch, nor does the exterior latch actually actuate the mechanism. I removed the entire assembly, latch, handle, and all, and everything seemed to be in order, but I couldn’t figure out how the exterior latch was linked to the mechanism itself. I looked at the diagrams in my manual and they seemed to suggest there was some part missing, but what that part was wasn’t evident. And to top it off I noticed that the trim piece where the interior handle is was broken. Boo.

Incidentally, I’m sending a special shout-out to Kano for Aerokroil Penetrating Oil. If you have two pieces of metal that are rusted together Kroil will sort you out. It’s almost like magic.

Odometer

As the old saying goes “the third issue with your decades old Volvo’ a charm.” In my workshop, deep in the bowels of my house (aka the basement), I removed the odometer from the cluster and the drive from the odometer. Sure enough the 25 tooth gear inside was missing a tooth, so I ordered a replacement plus a new set of lightbulbs for good measure.

Once those parts arrive and I get them into the cluster and the cluster back into the dashboard I’ll call that one done.

First work day

Today was the first work day! First on the list…

Vacuum

Brittle Plastic

I put my son on that detail and moved on to trying to get the driver side inside latch working. It’s funny how once you start taking things apart how many more broken things you find! The first thing I learned is that 26 year old plastic is very, very brittle.

This was the trim around a door handle. Now it is just bits. Oh well.

Door Cards

I got the arm rests off and then the interior door panel only to find that most of the clips had long ago broken and that the panel’s cardboard-like backing material was… not in good shape.

There was no vapor barrier and obviously at some point it got wet. Parts of it flaked off and disintegrated when touched. The panel is still useable but I’m wondering if I’ll eventually have to buy a replacement. I won’t be surprised of the rest of the doors are the same.

Instrument Cluster And Oil

I monkeyed with the latch but couldn’t see anything obvious. Not wanting to remove the latch completely quite yet, I put that aside and instead removed the instrument cluster in preparation for repairing the odometer.

I then noticed that the pin holding the upper hinge of the door together was half way out, so I set it back into its hole and hammered it in.

And for good measure I hit the hinges of all the doors with some grease. That made a big difference. No more rusty, clacking sound when they opened and closed. I also hit the hood lock with some Kroil and got that unstuck so now I could finally open the hood AT WILL!

However I also found that the grill, although more or less intact-looking, was actually broken once you get the hood open and are able to examine it. It will definitely need to be replaced at some point, but it’s non-critical.

Tomorrow, time allowing, I’ll probably take a look at the instruments and get that odometer figured out. I’ve ready that a single gear in there has a tendency to fail over time and it may just be a matter of buying a new one.

Task List

Having owned the car for a few days I’ve really only had the chance to give it a mostly visual once over. From that I’ve gathered a task list of issues that I know will need to be addresses before the car will be able to pass a legal state inspection. A quick list includes:

  1. Odometer broken (apparently it stopped working about two years ago)
  2. Left turn signal bulb is failing
  3. Windshield wipers only work on high and don’t return to bottom when turned off
  4. Hood release handle only works occasionally
  5. Front driver side door’s latch doesn’t work from the inside
  6. Rear driver side door’s latch doesn’t work from the outside
  7. Rear door hatch non-functional
  8. Brake pads need replacing
  9. All fluids will need to be flushed and changed

In terms of purely visual problems, the obvious ones include:

  1. Interior needs serious cleaning
  2. Emergency brake cover is destroyed
  3. Front doors missing panel pockets
  4. Front driver side door’s latch plastic casing is broken
  5. Radio antenna mast is broken (also not original)
  6. Front driver side door speaker is broken and missing cover
  7. Glove box is missing a hinge
  8. Rubber seals for the door windows are cracking and need to be replaced
  9. Window tint film needs to be removed

I actually already ordered a hinge from the glove box from eBay so that problem is on its way to being crossed off the list already. Most of the rest I will need to source from existing cars or also buy only as I come across them.

In the beginning…

After a lifetime of admiring people with with mechanical ability, the so-called “car guys”, I finally decided that maybe, just maybe, I could join their oil-stained ranks. I’m vaguely handy. I’m an adult. I have a house and a driveway and some tools. I could do this! All that was left was to buy a car. But which one?

Choosing a Project Car

Every car-guy (or gal) I’ve ever met has had a “thing” when it came to what sort of cars they liked to work on. Some liked muscle. Others preferred performance. Some just liked the look of certain types of cars. I didn’t have a huge predilection in any of those directions. My initial thoughts went back to my own first car – a 1981 Chrysler LeBaron sedan – that I had bought when I was merely 17. It was a bloated, inefficient pile of carbureted garbage on wheels, but I loved it and thought it would be neat to have one like it again. However I seemed to be one of the only people who felt that way towards these cars  it because I couldn’t find one anywhere, at least not one that hadn’t already been souped up and/or customized. Ditto for my other long-time car love, the Ford Galaxie 500.

Next I looked at some of the more interesting compact cars of the 60s and 70s. Think the Ford Falcon and Dodge Dart. They looked cool in a mid-century kind of way, all swept lines and chrome. I figured that since the technology was relative old and computer-less it might be easier to work with. Mind you, I had (and still have) no idea if this is actually true but it seemed a reasonable assumption at the time. In the end it didn’t really matter as those sorts of cars turned out to be relatively rare yet popular enough to make them both hard to find and expensive.

What To Do?

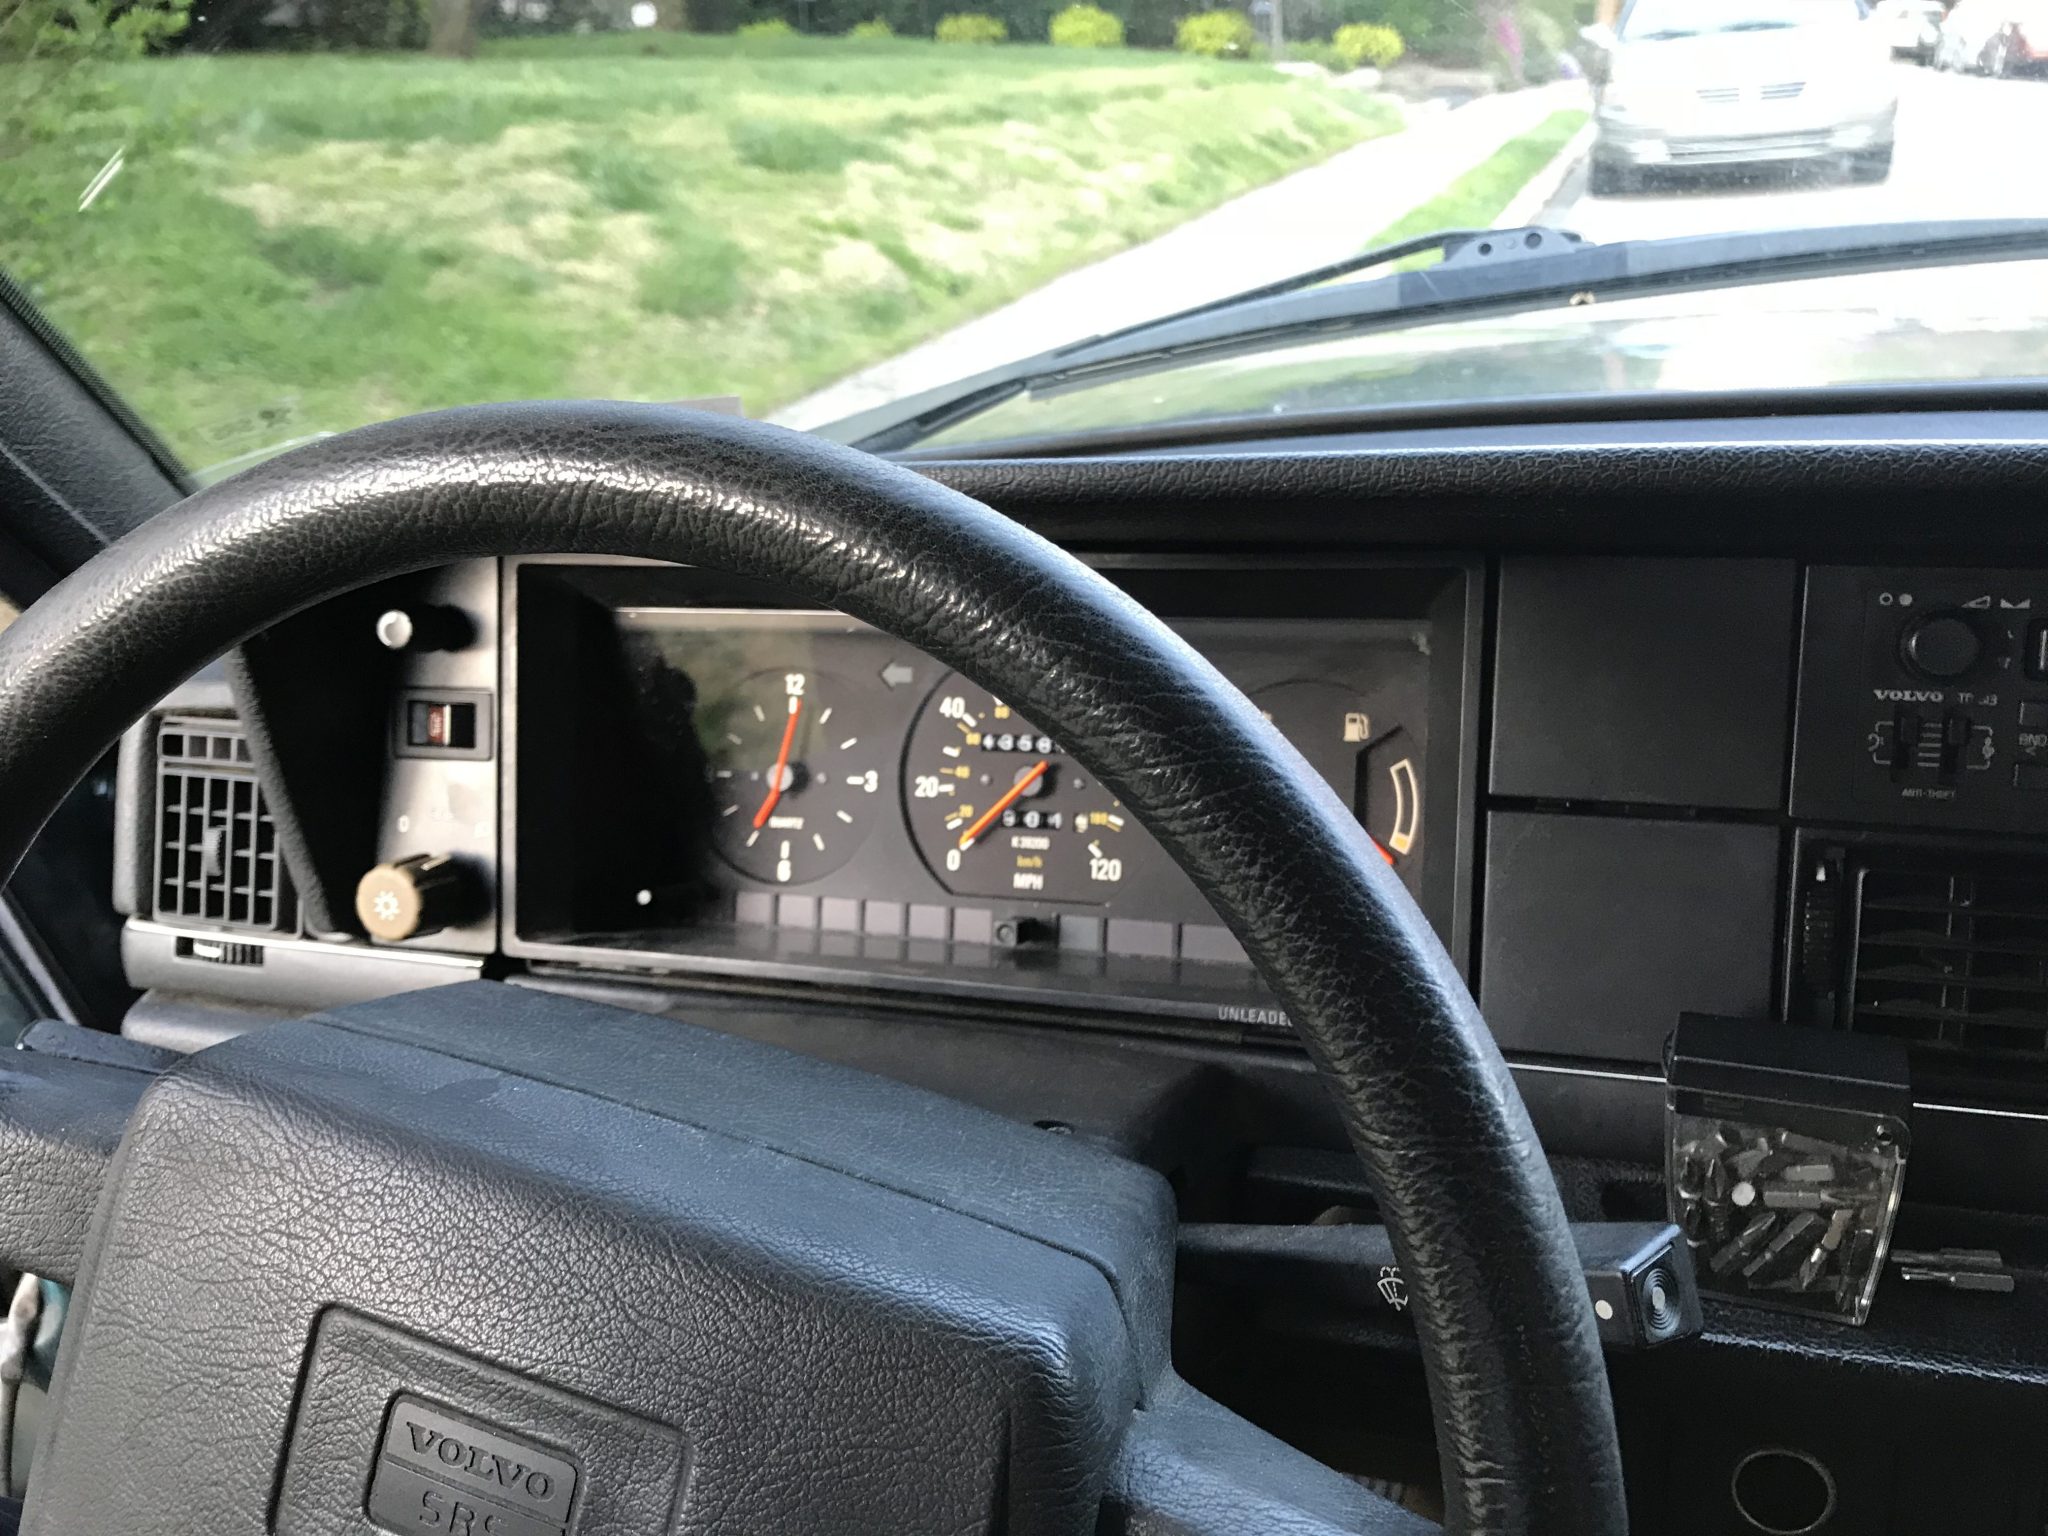
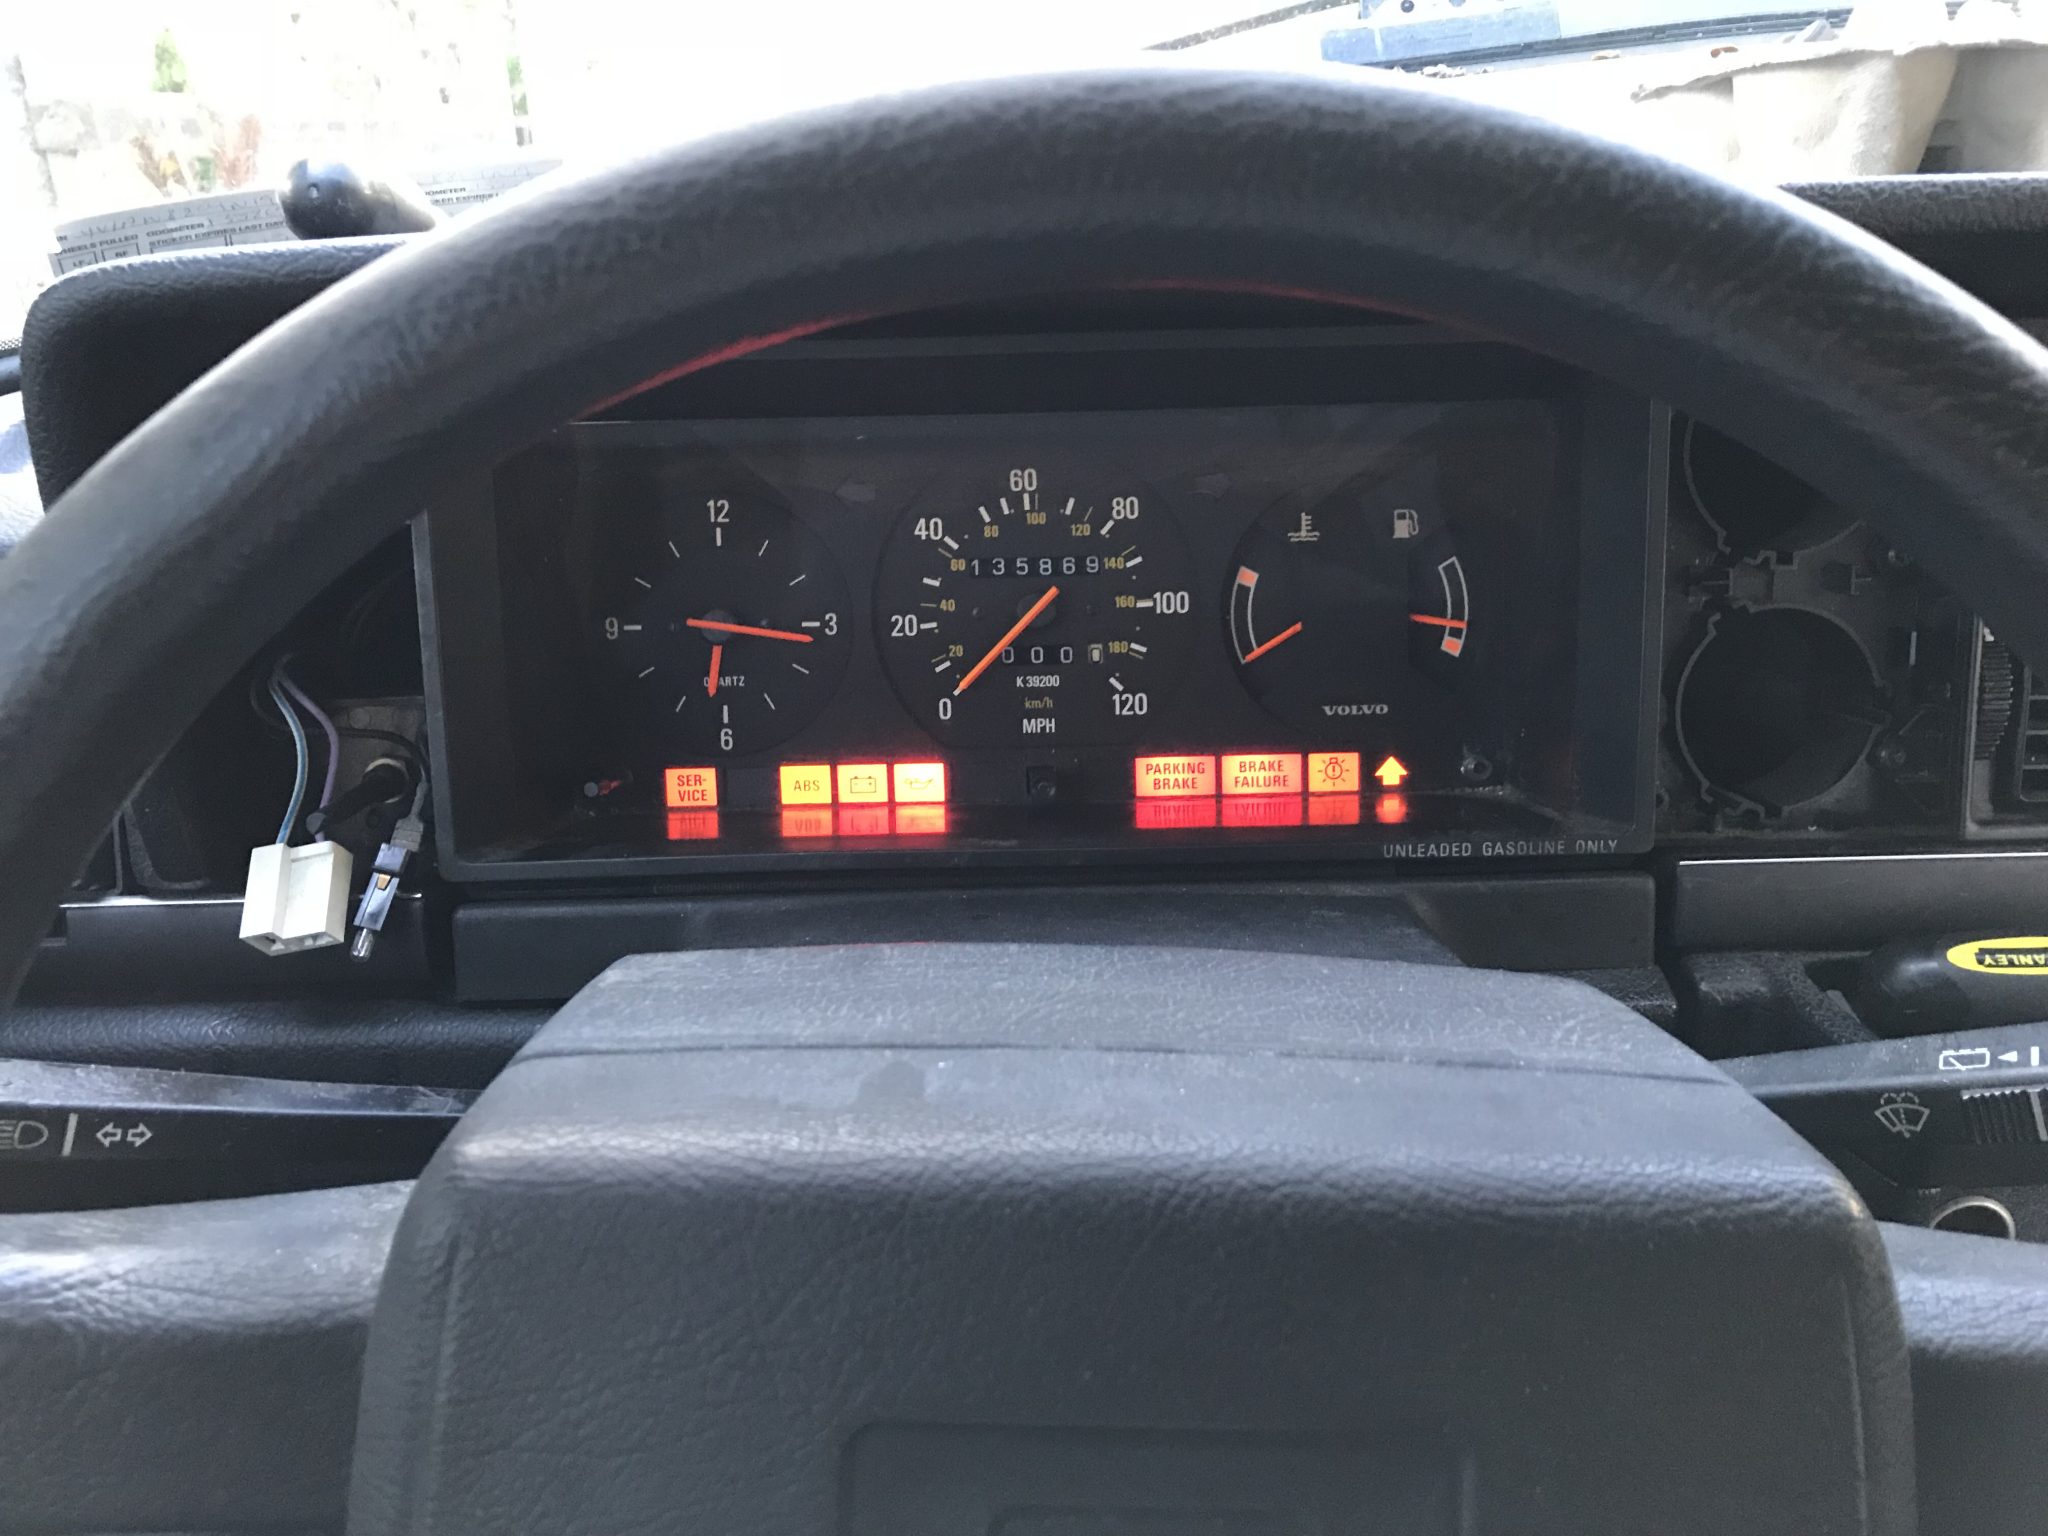
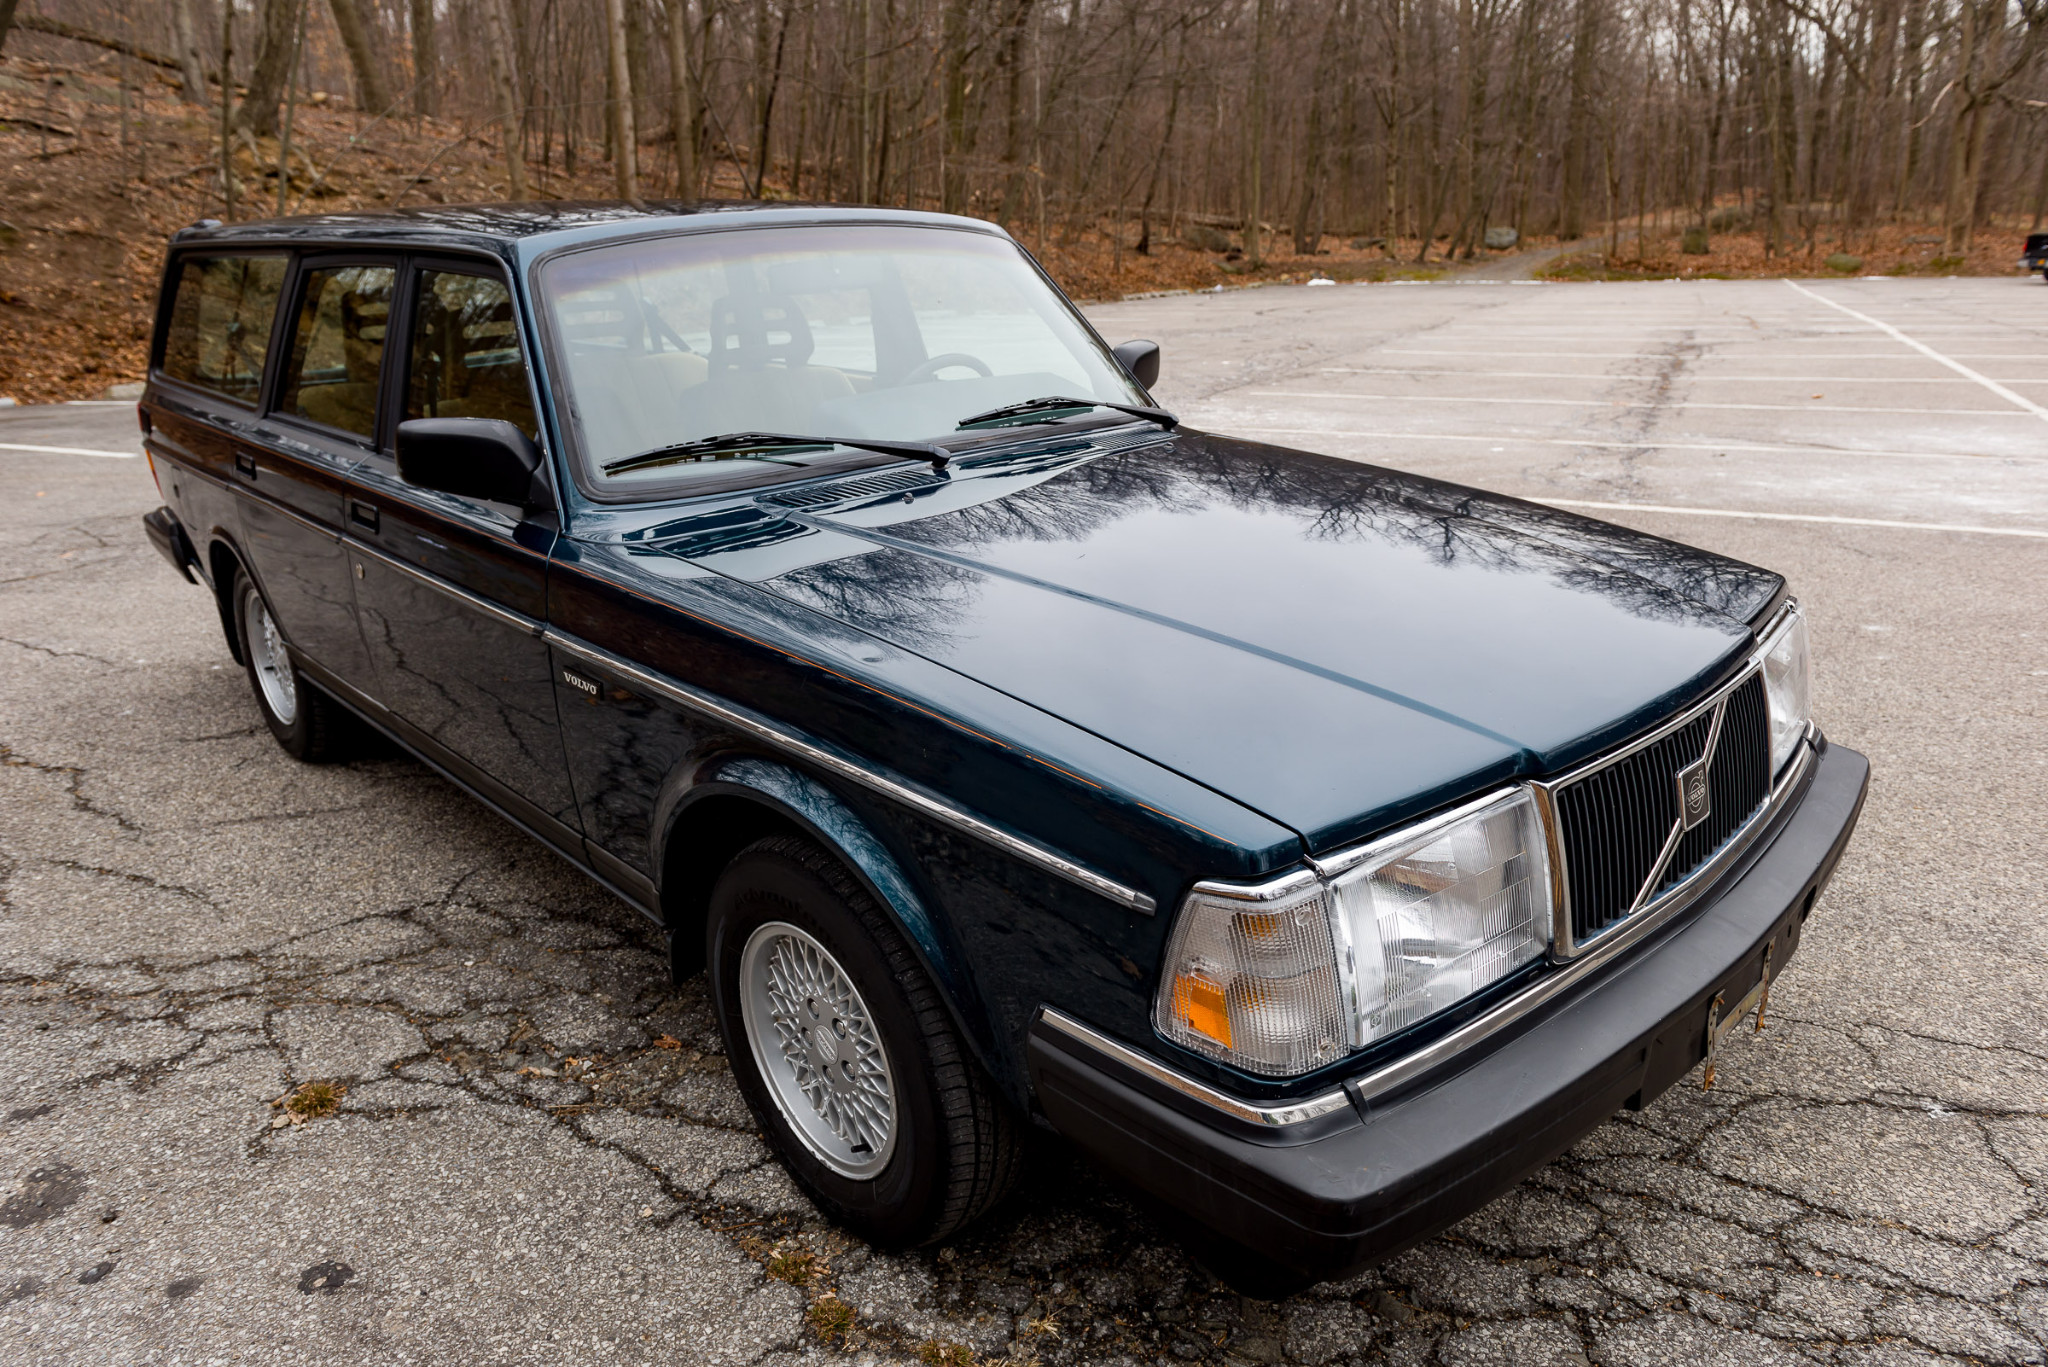
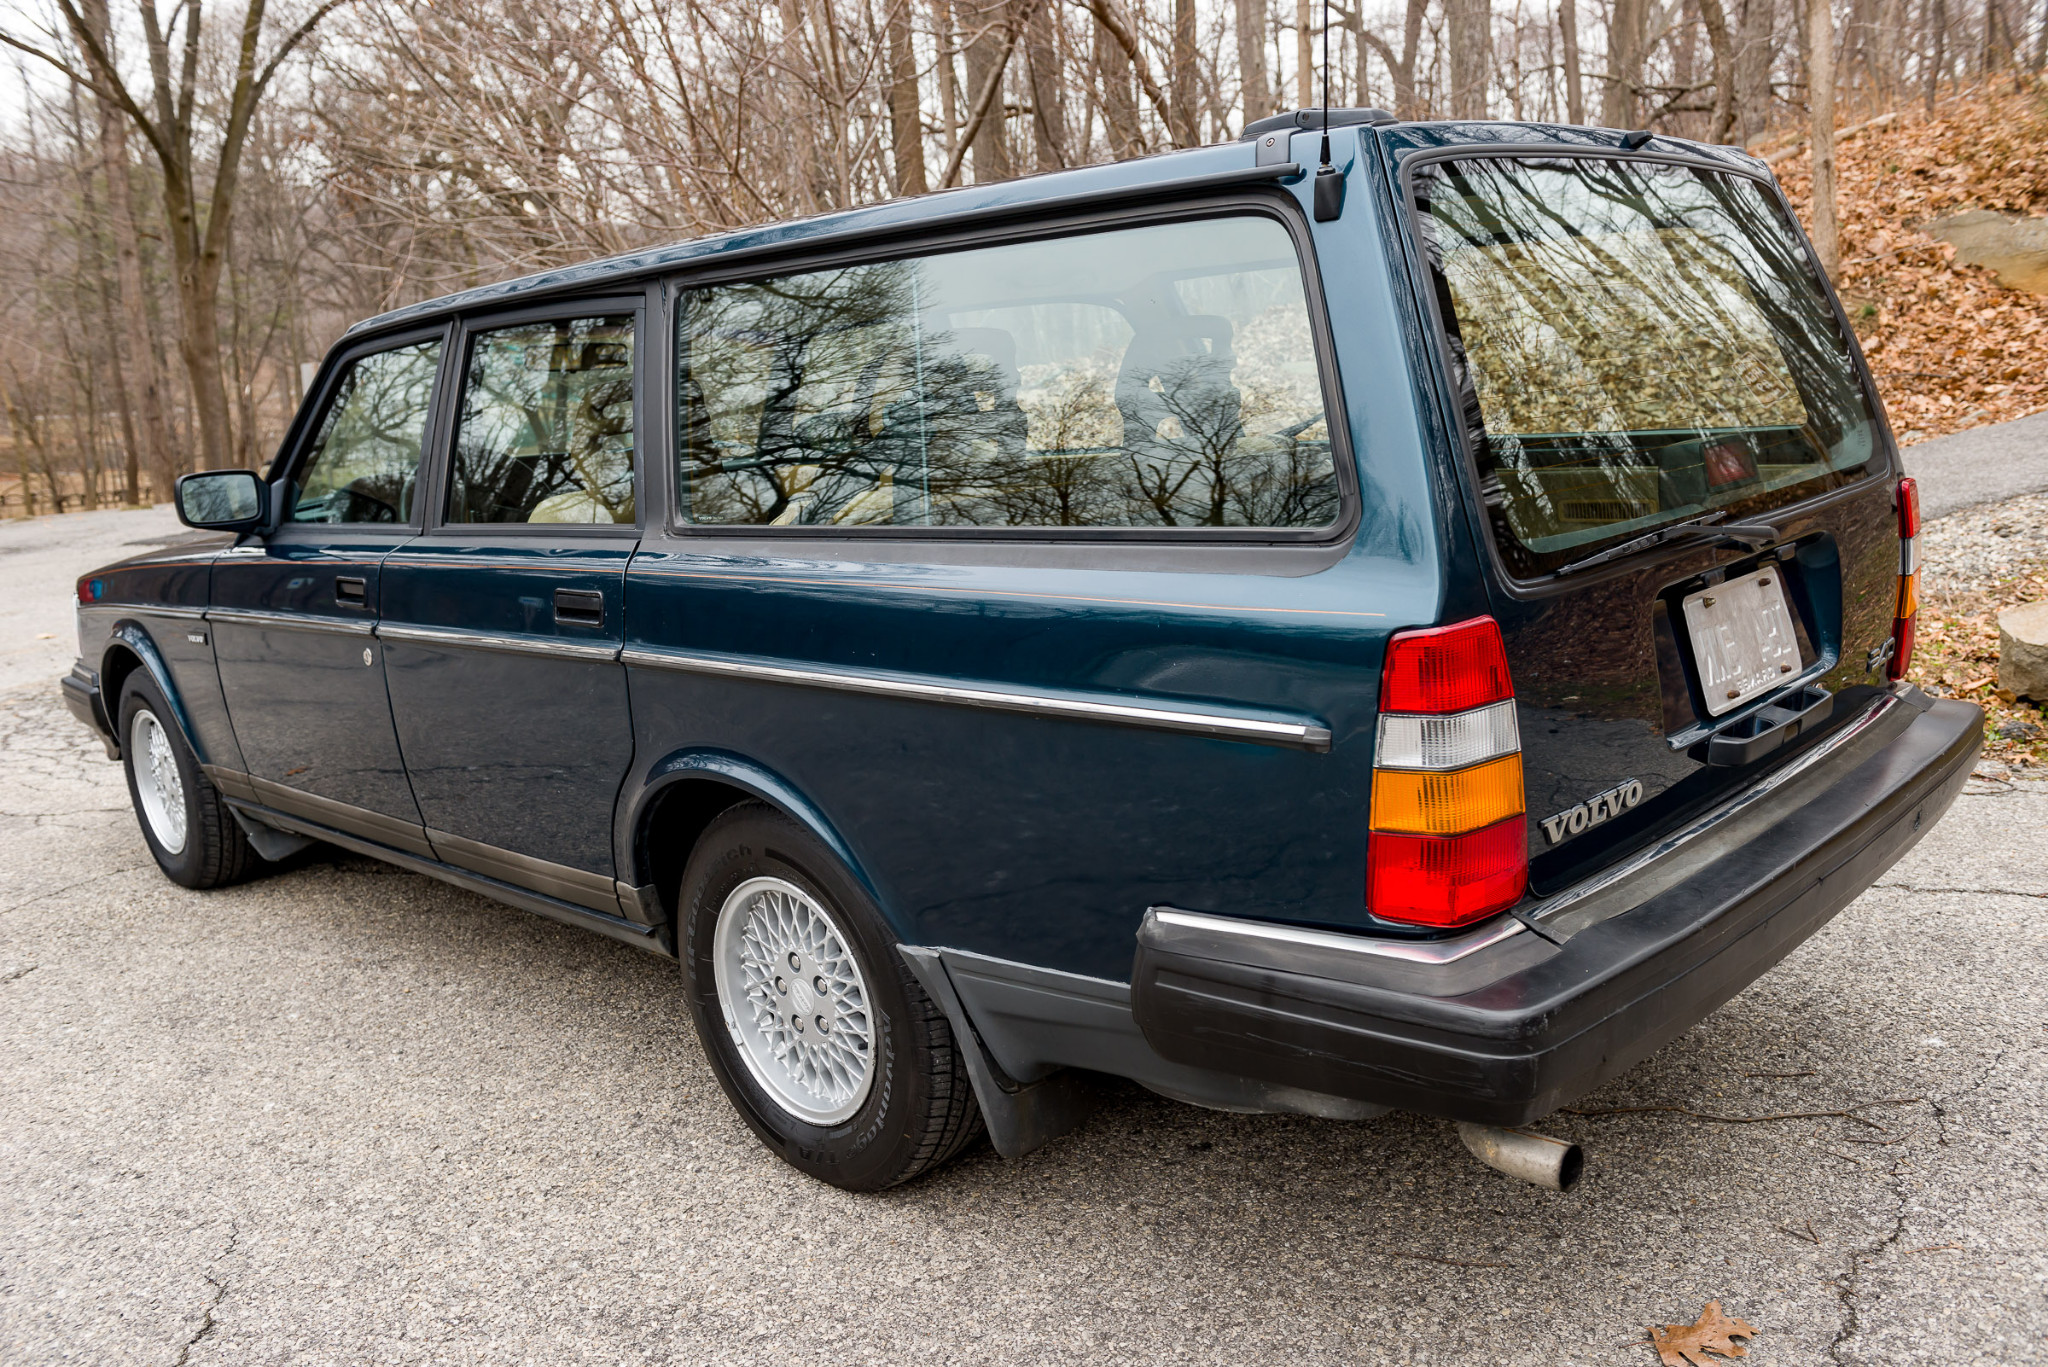
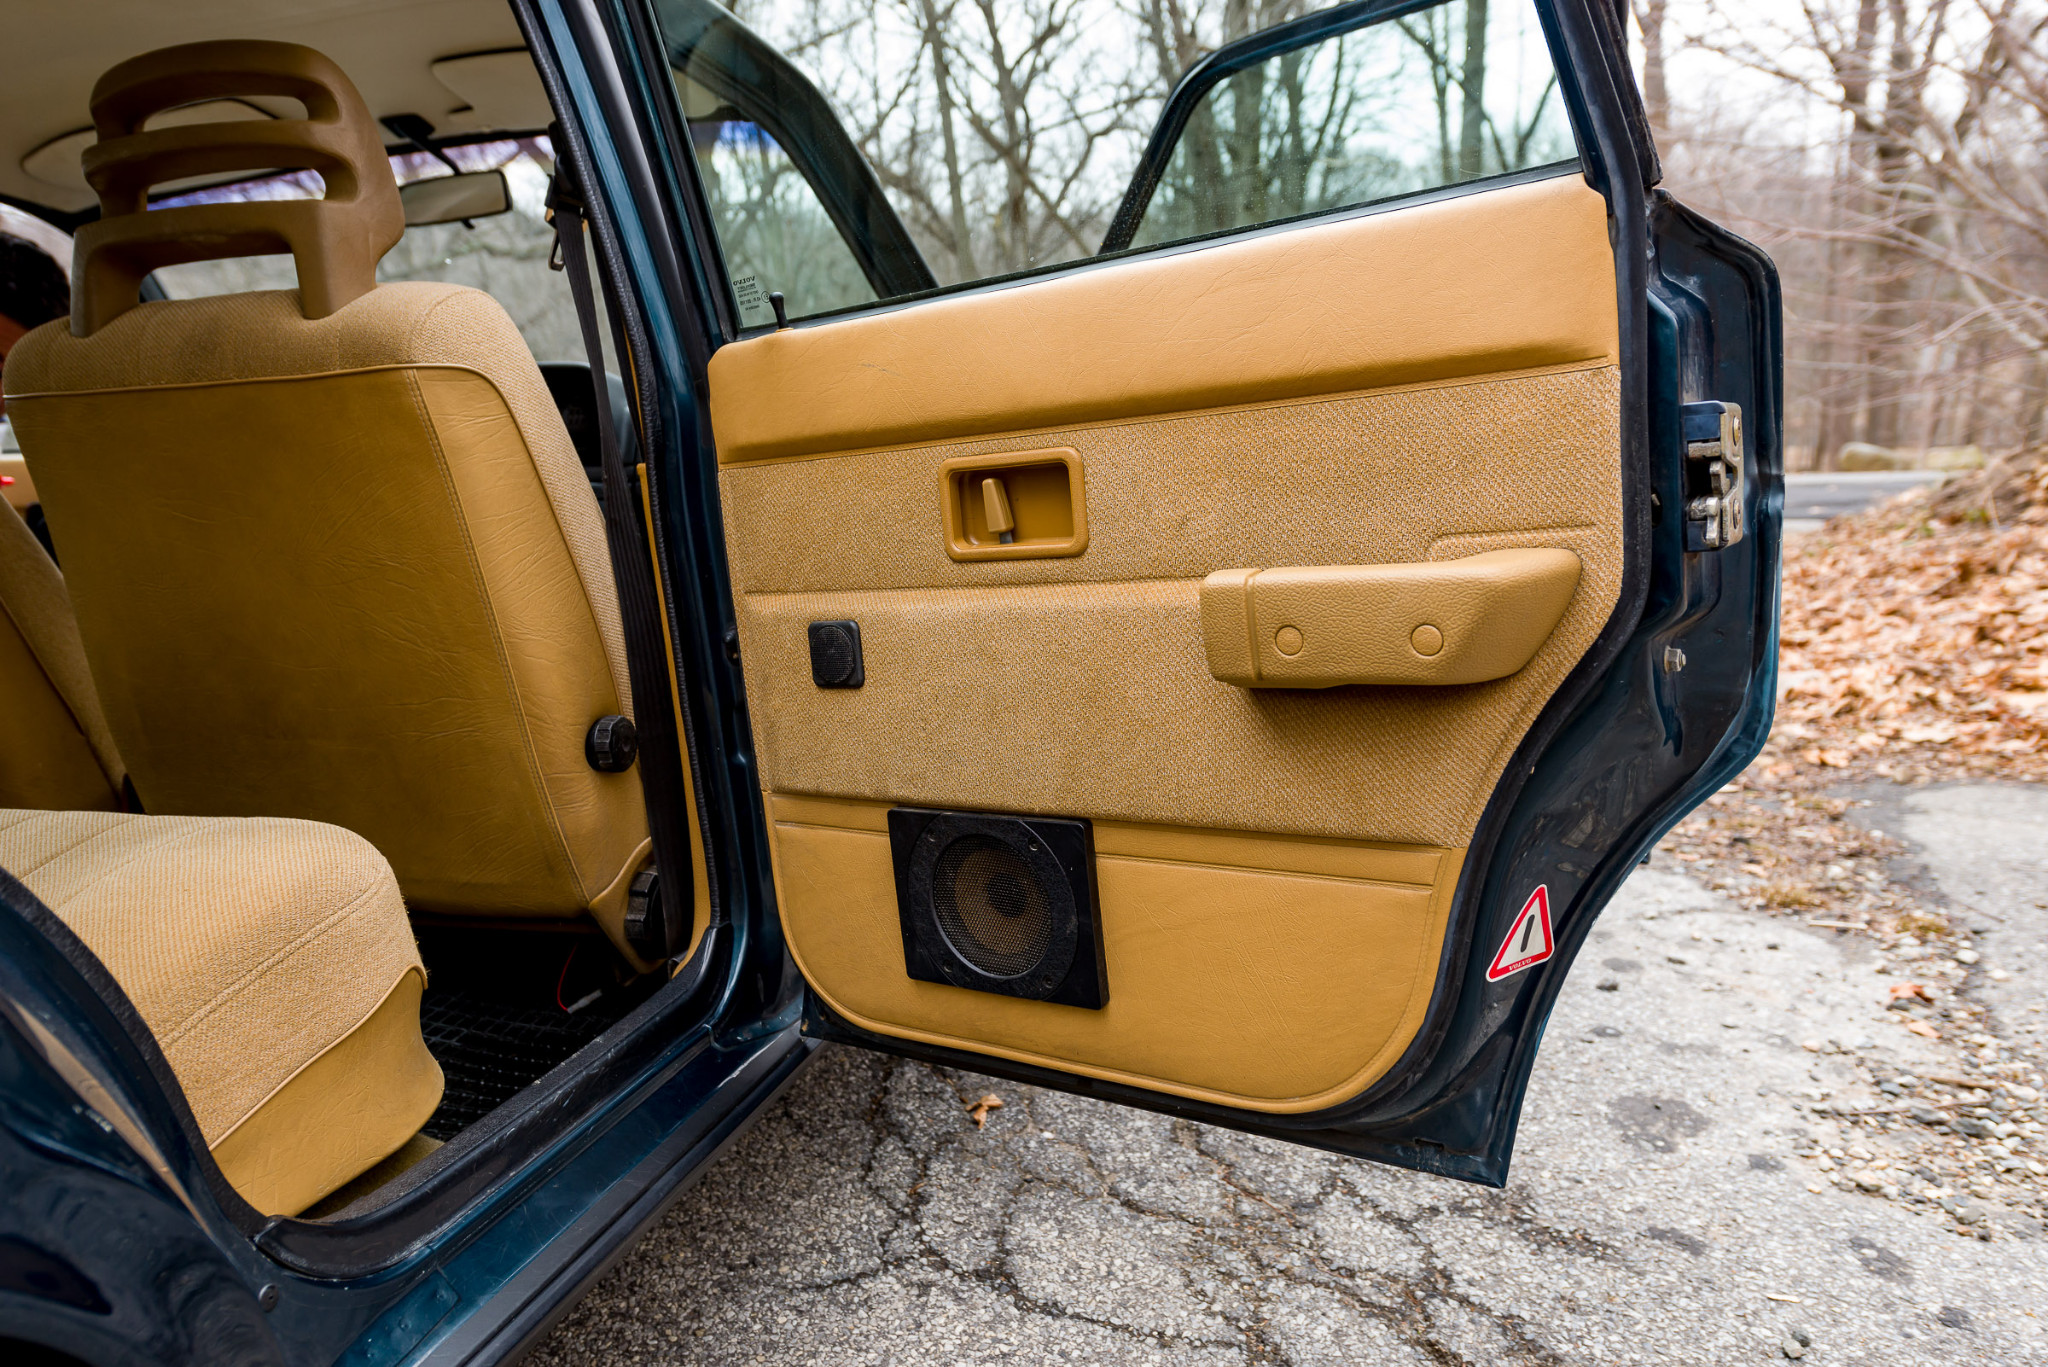
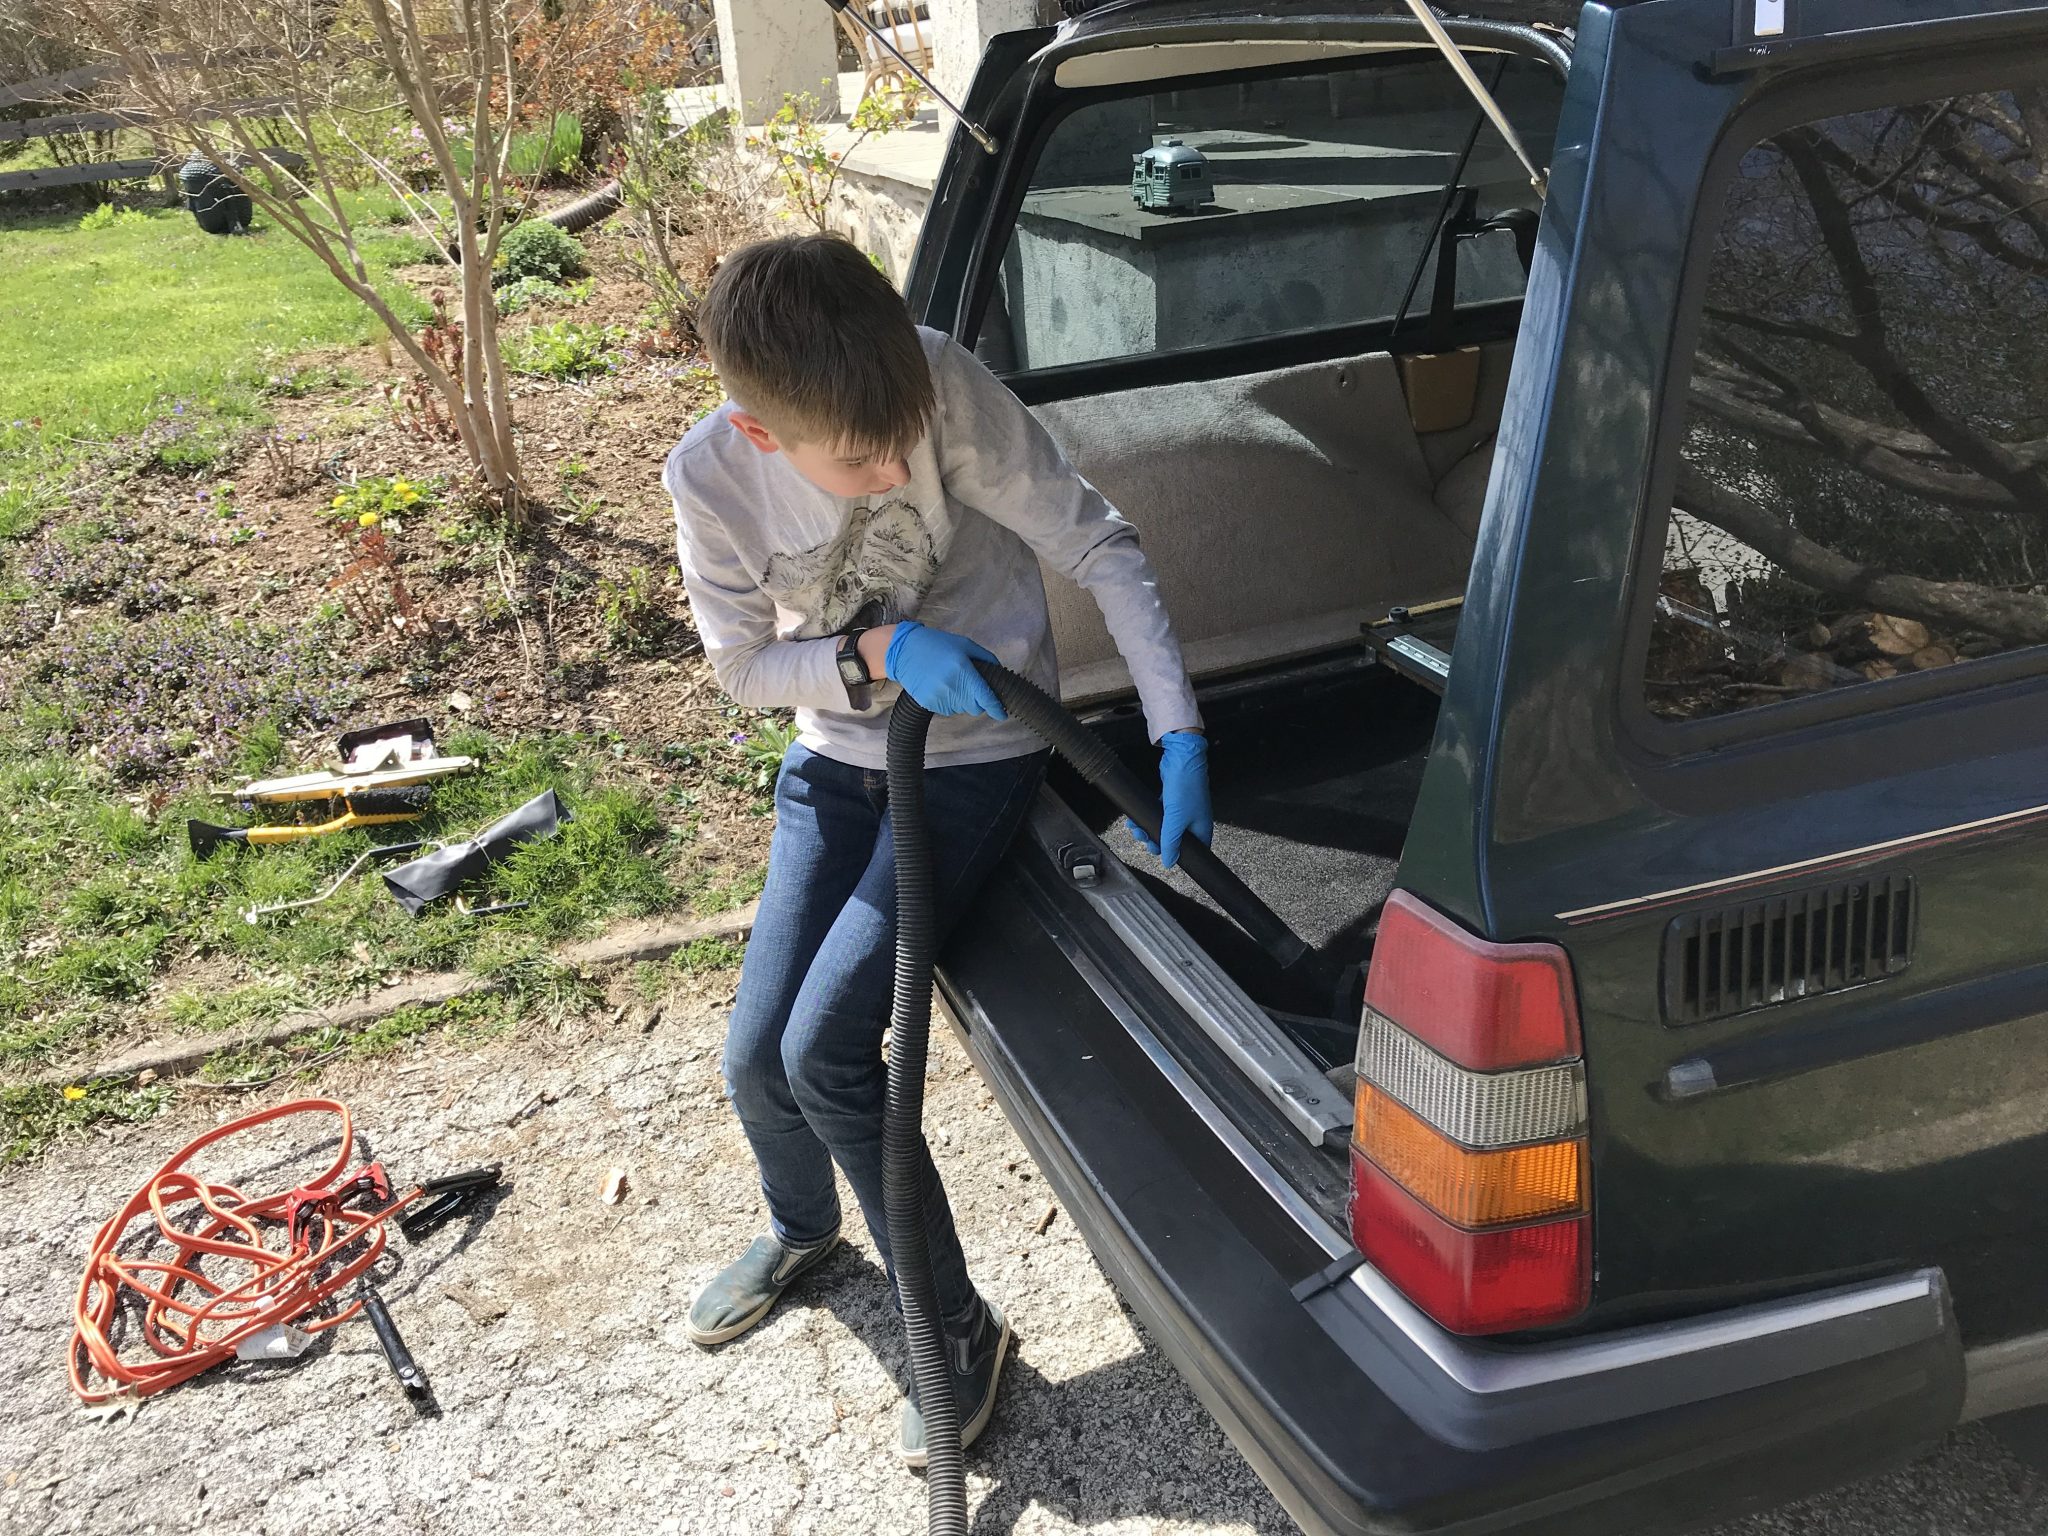
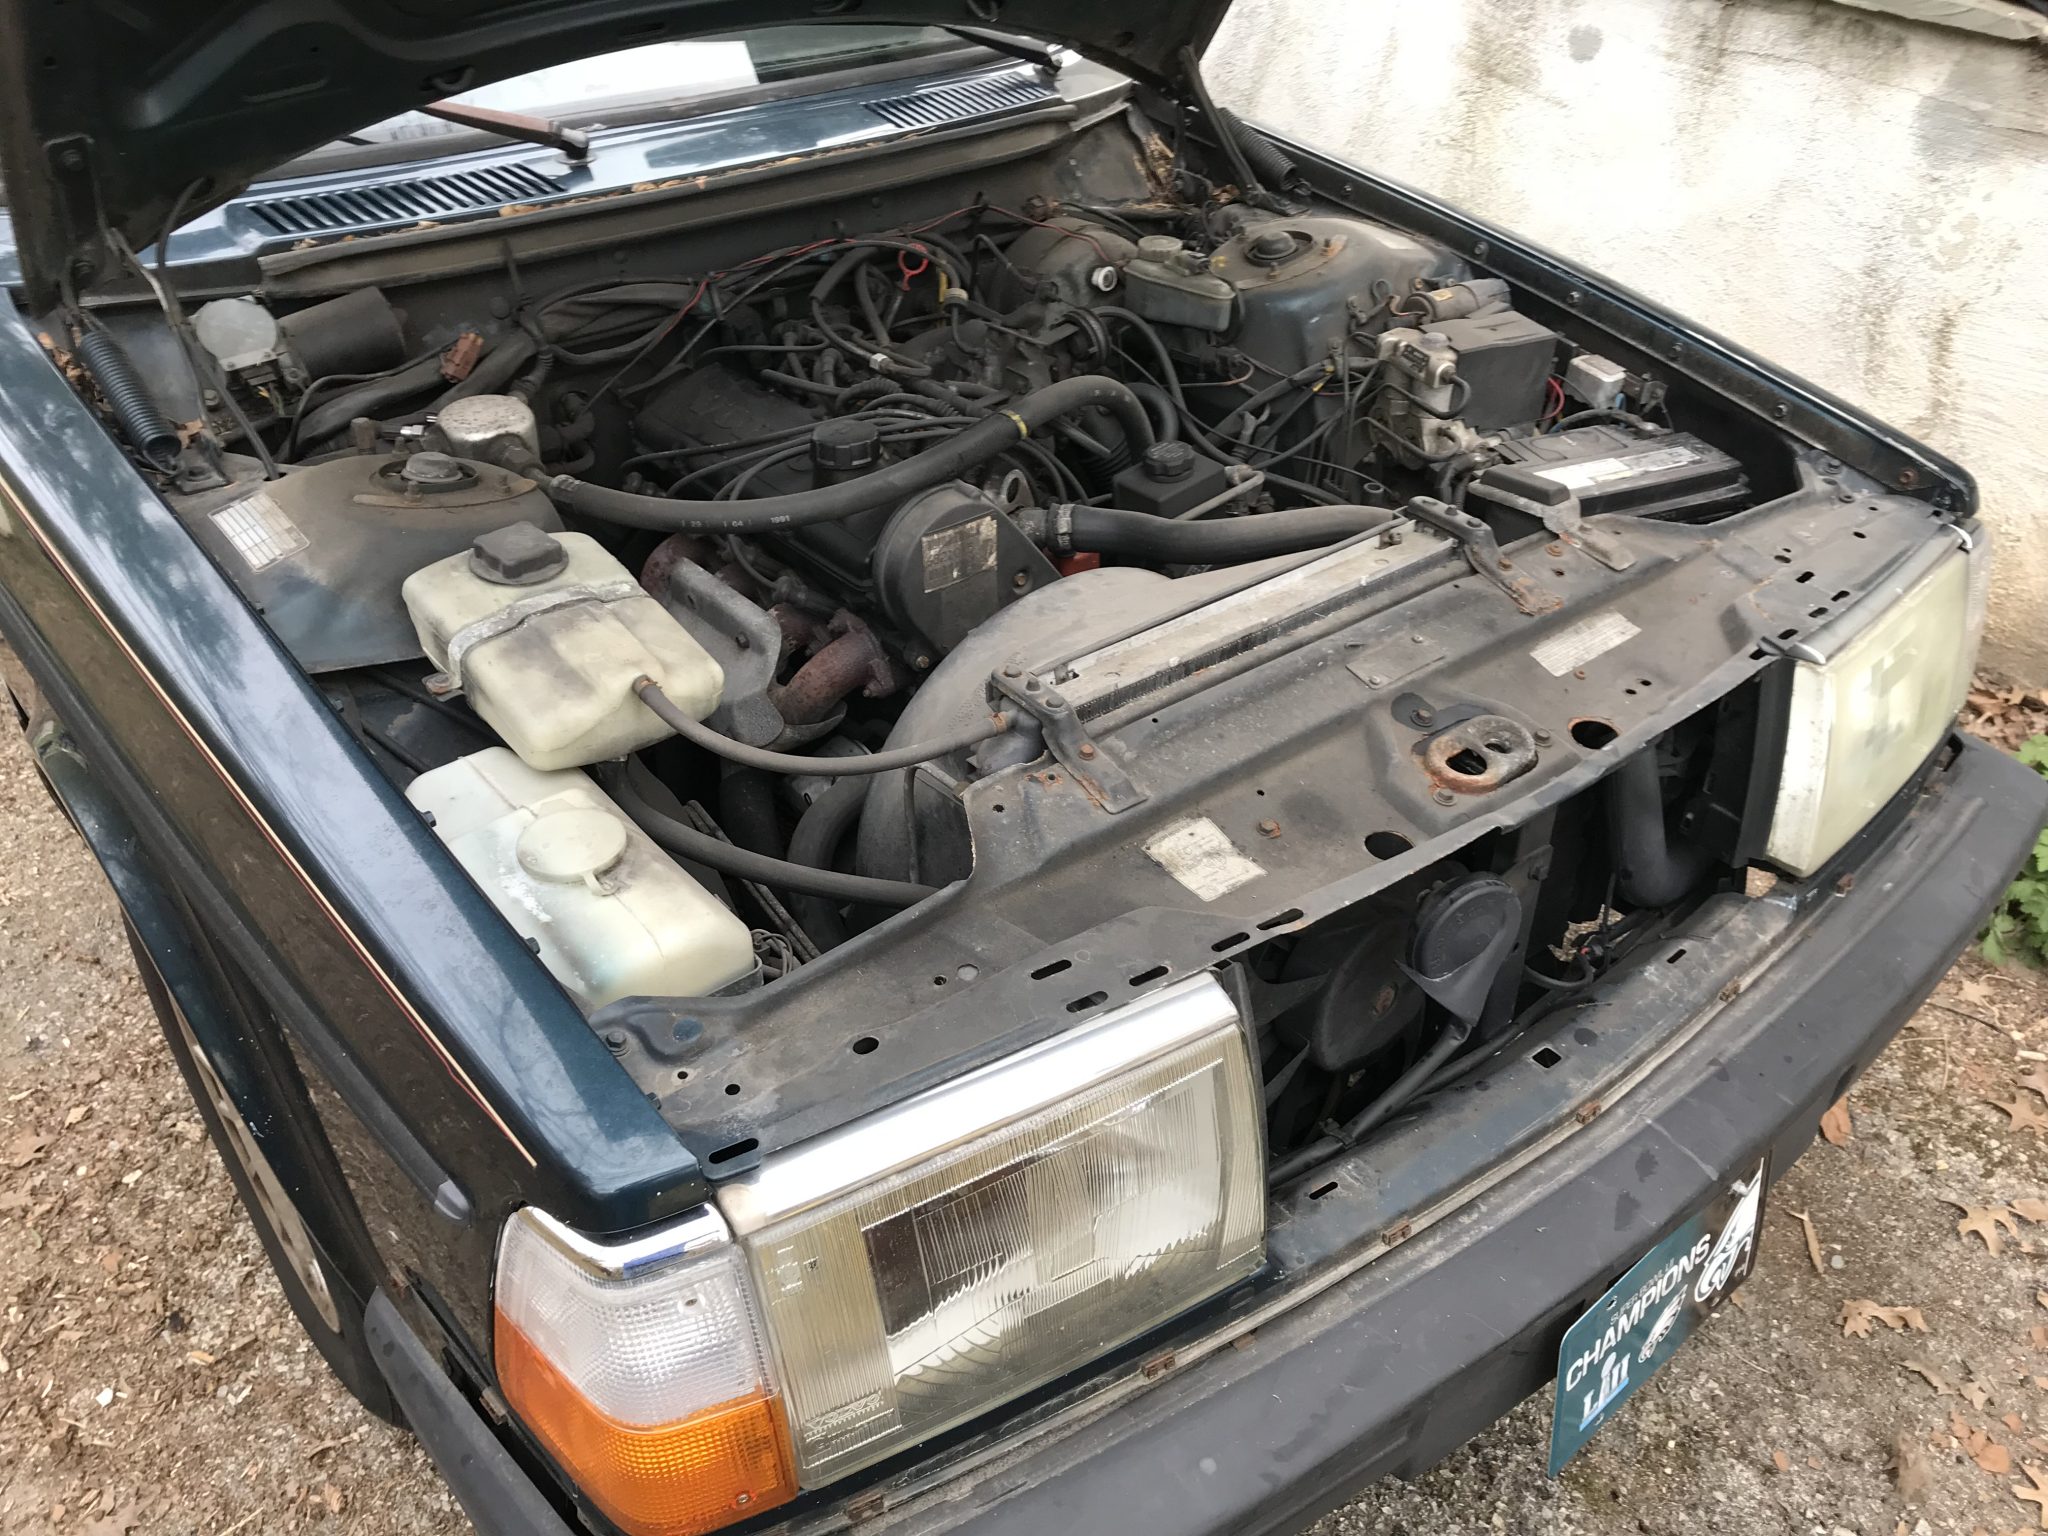
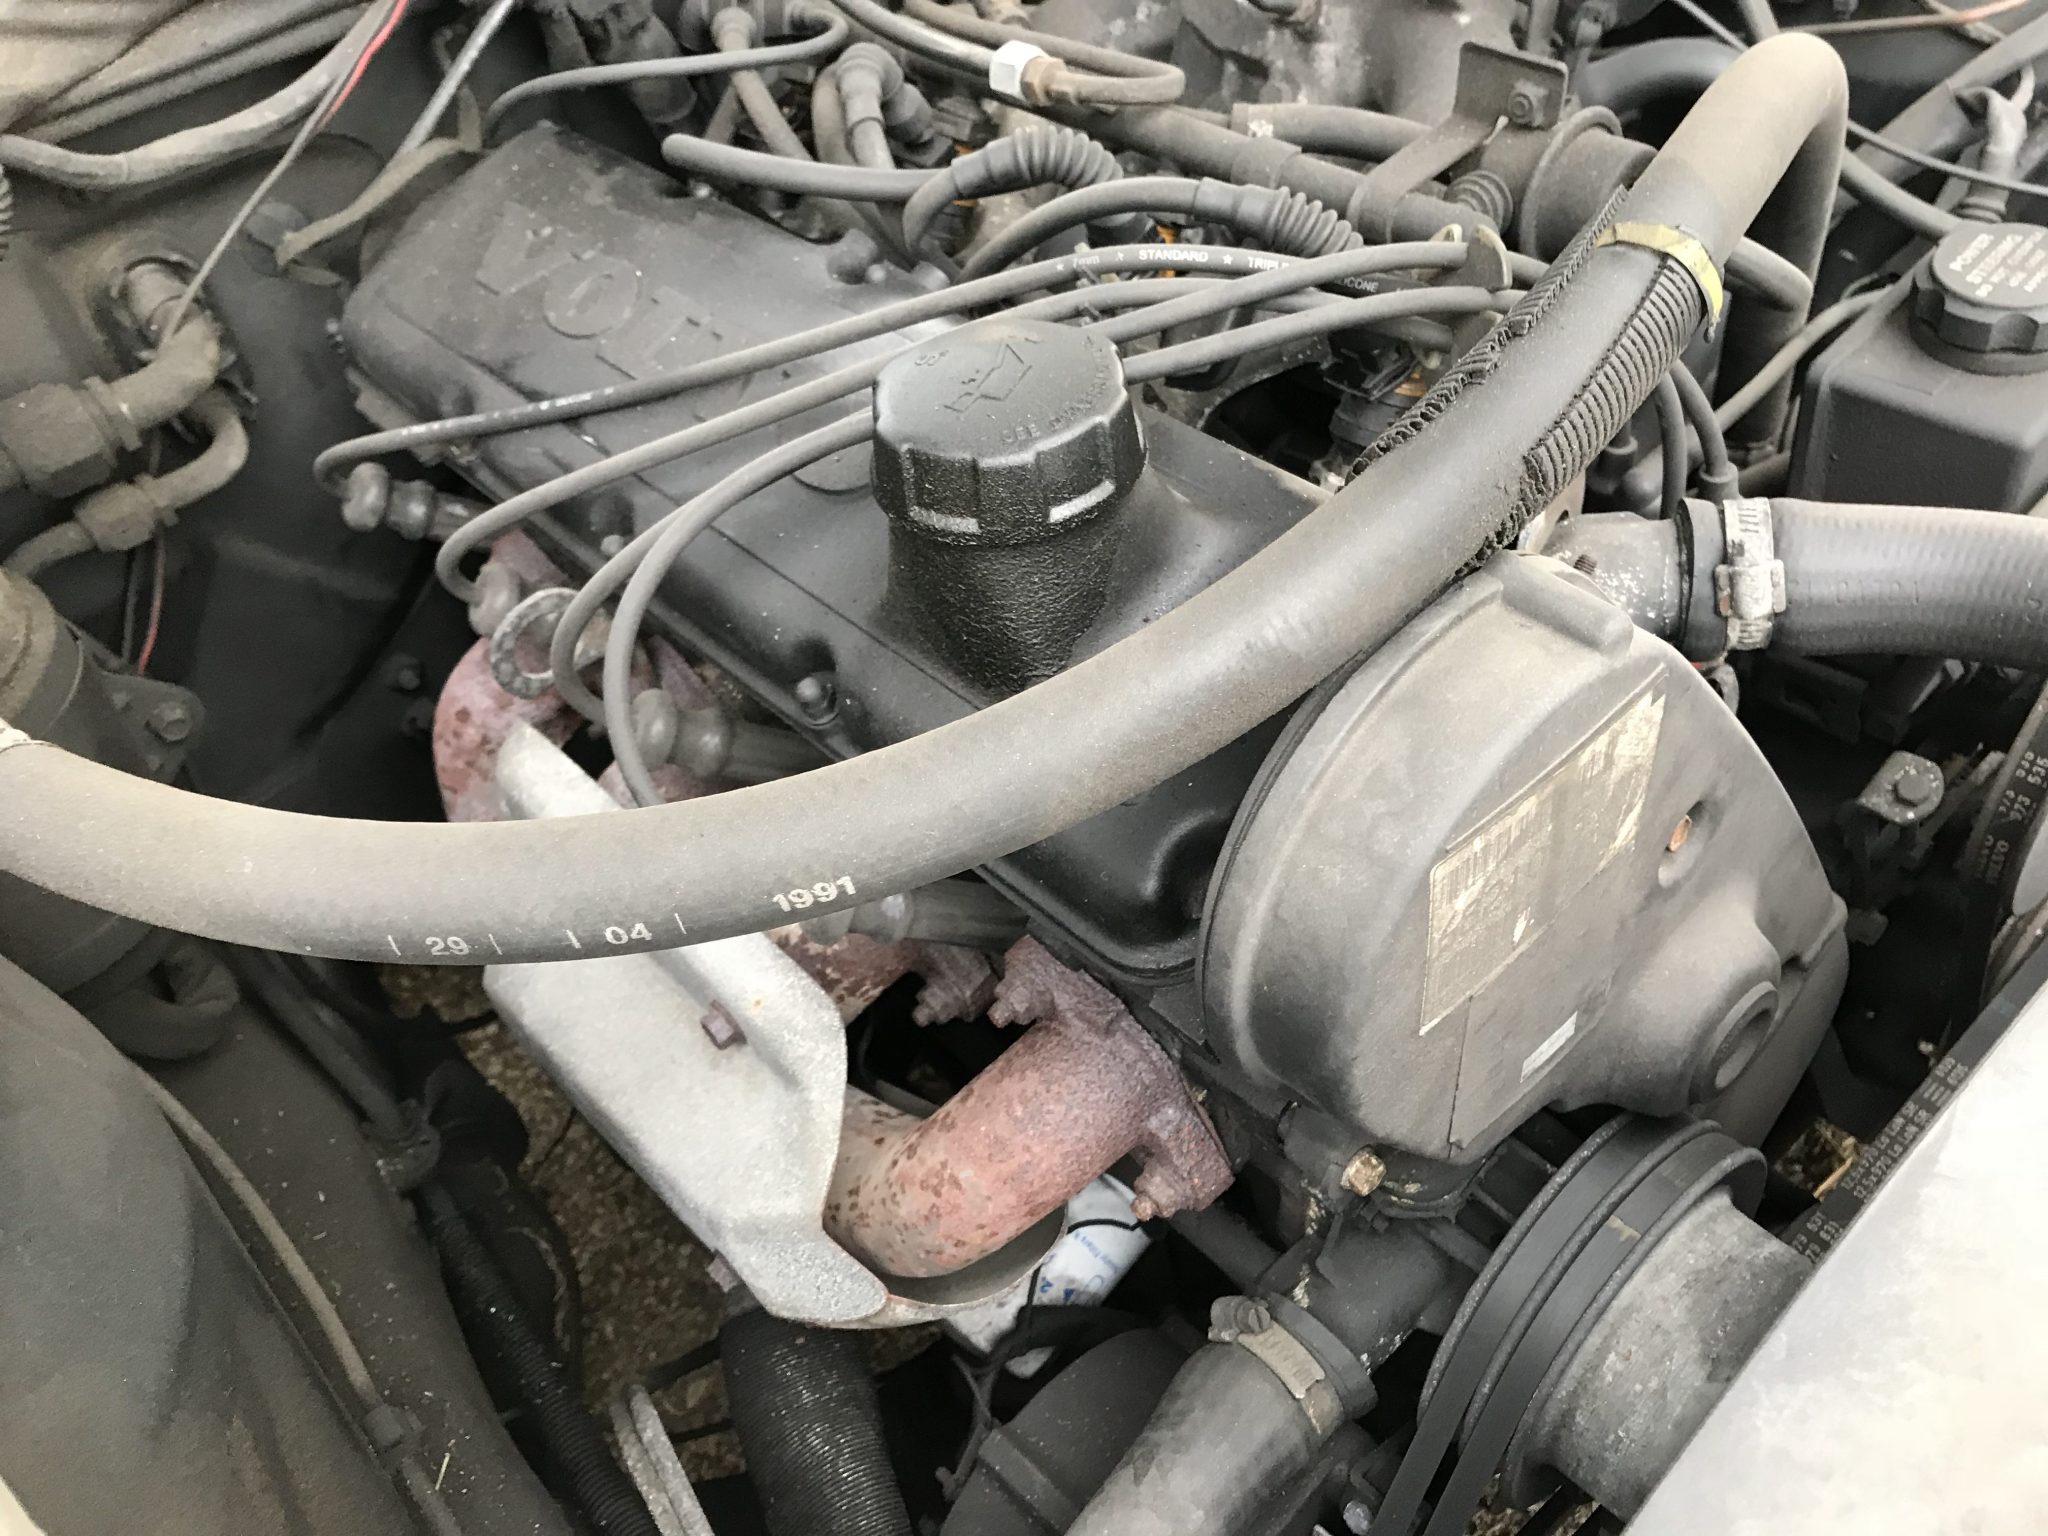
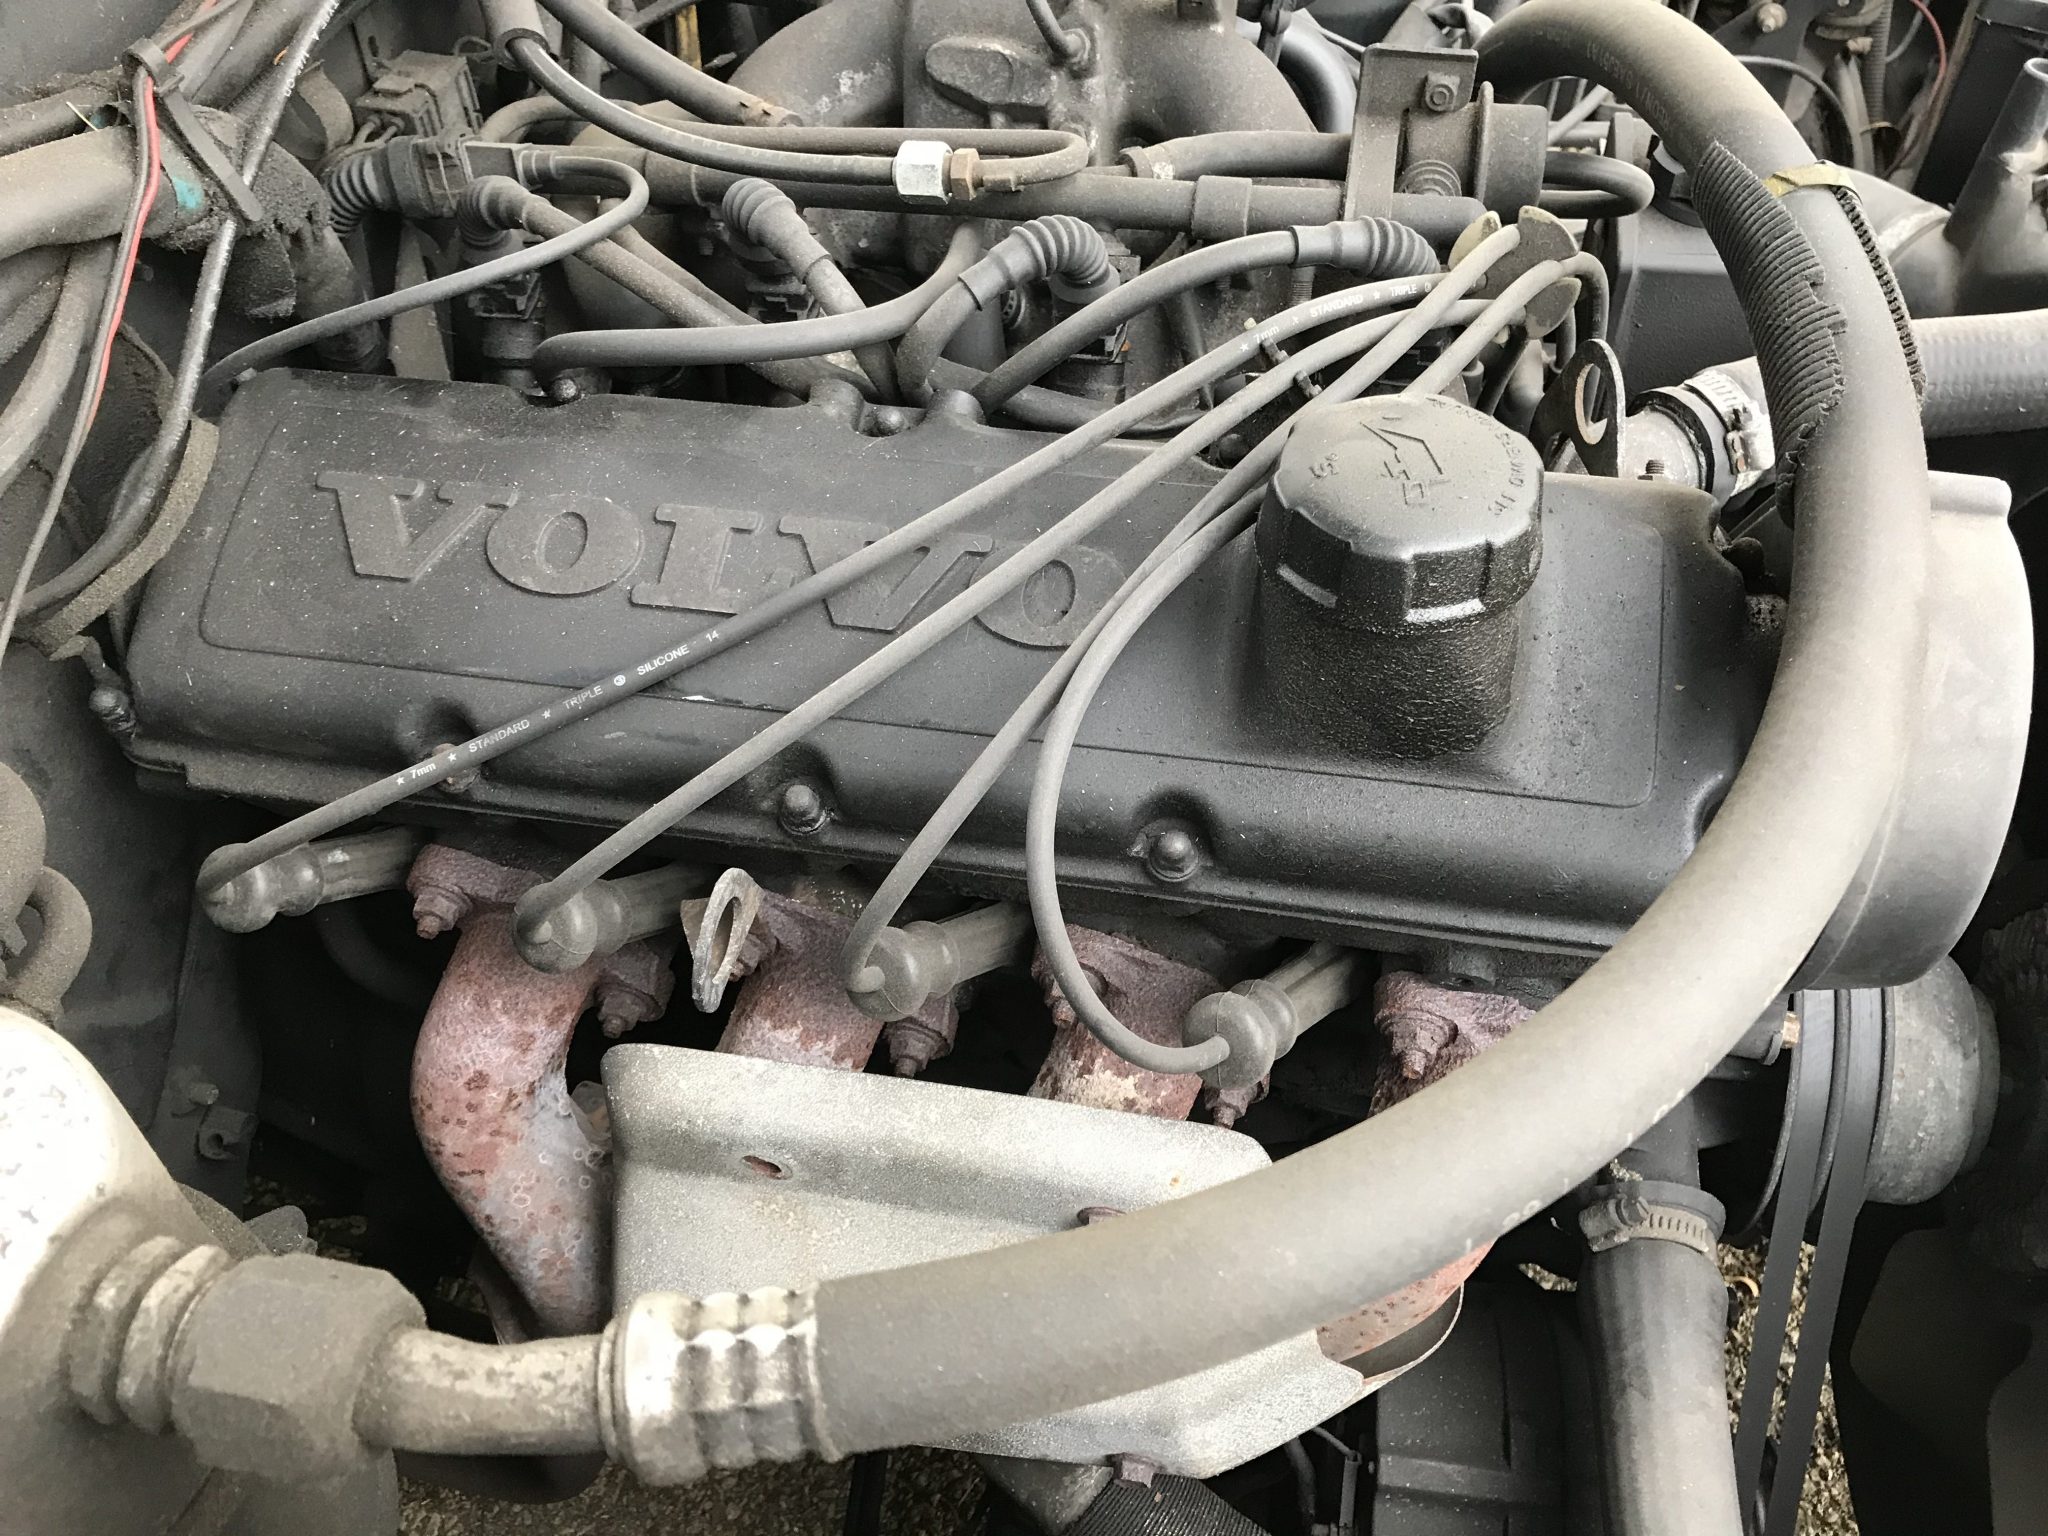
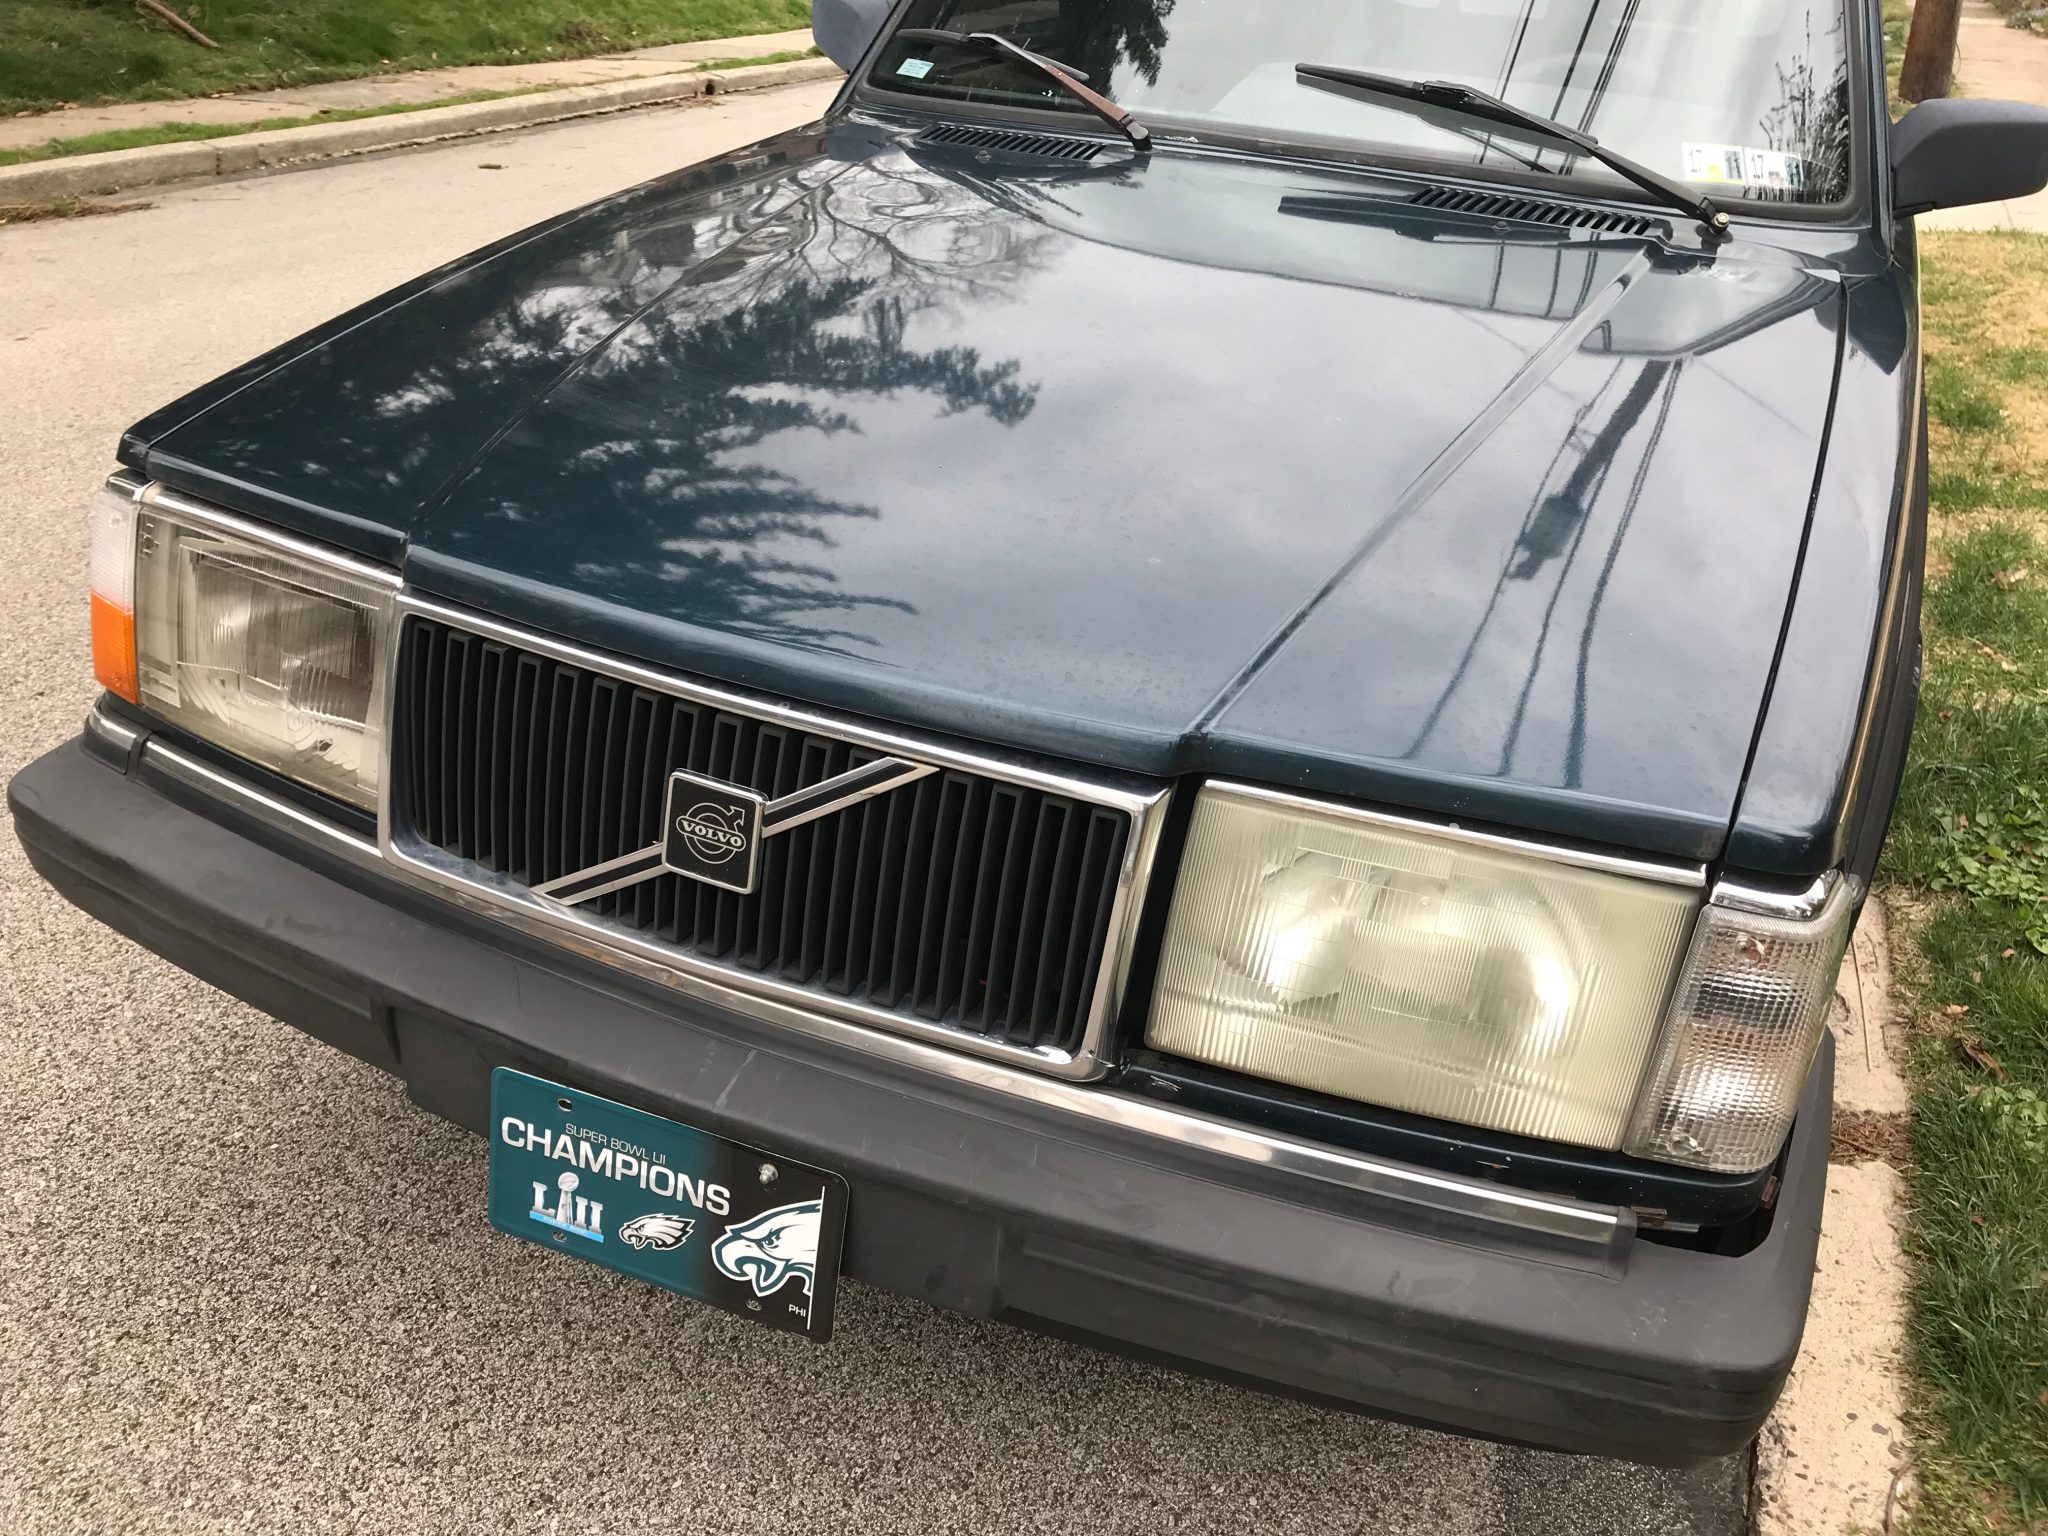
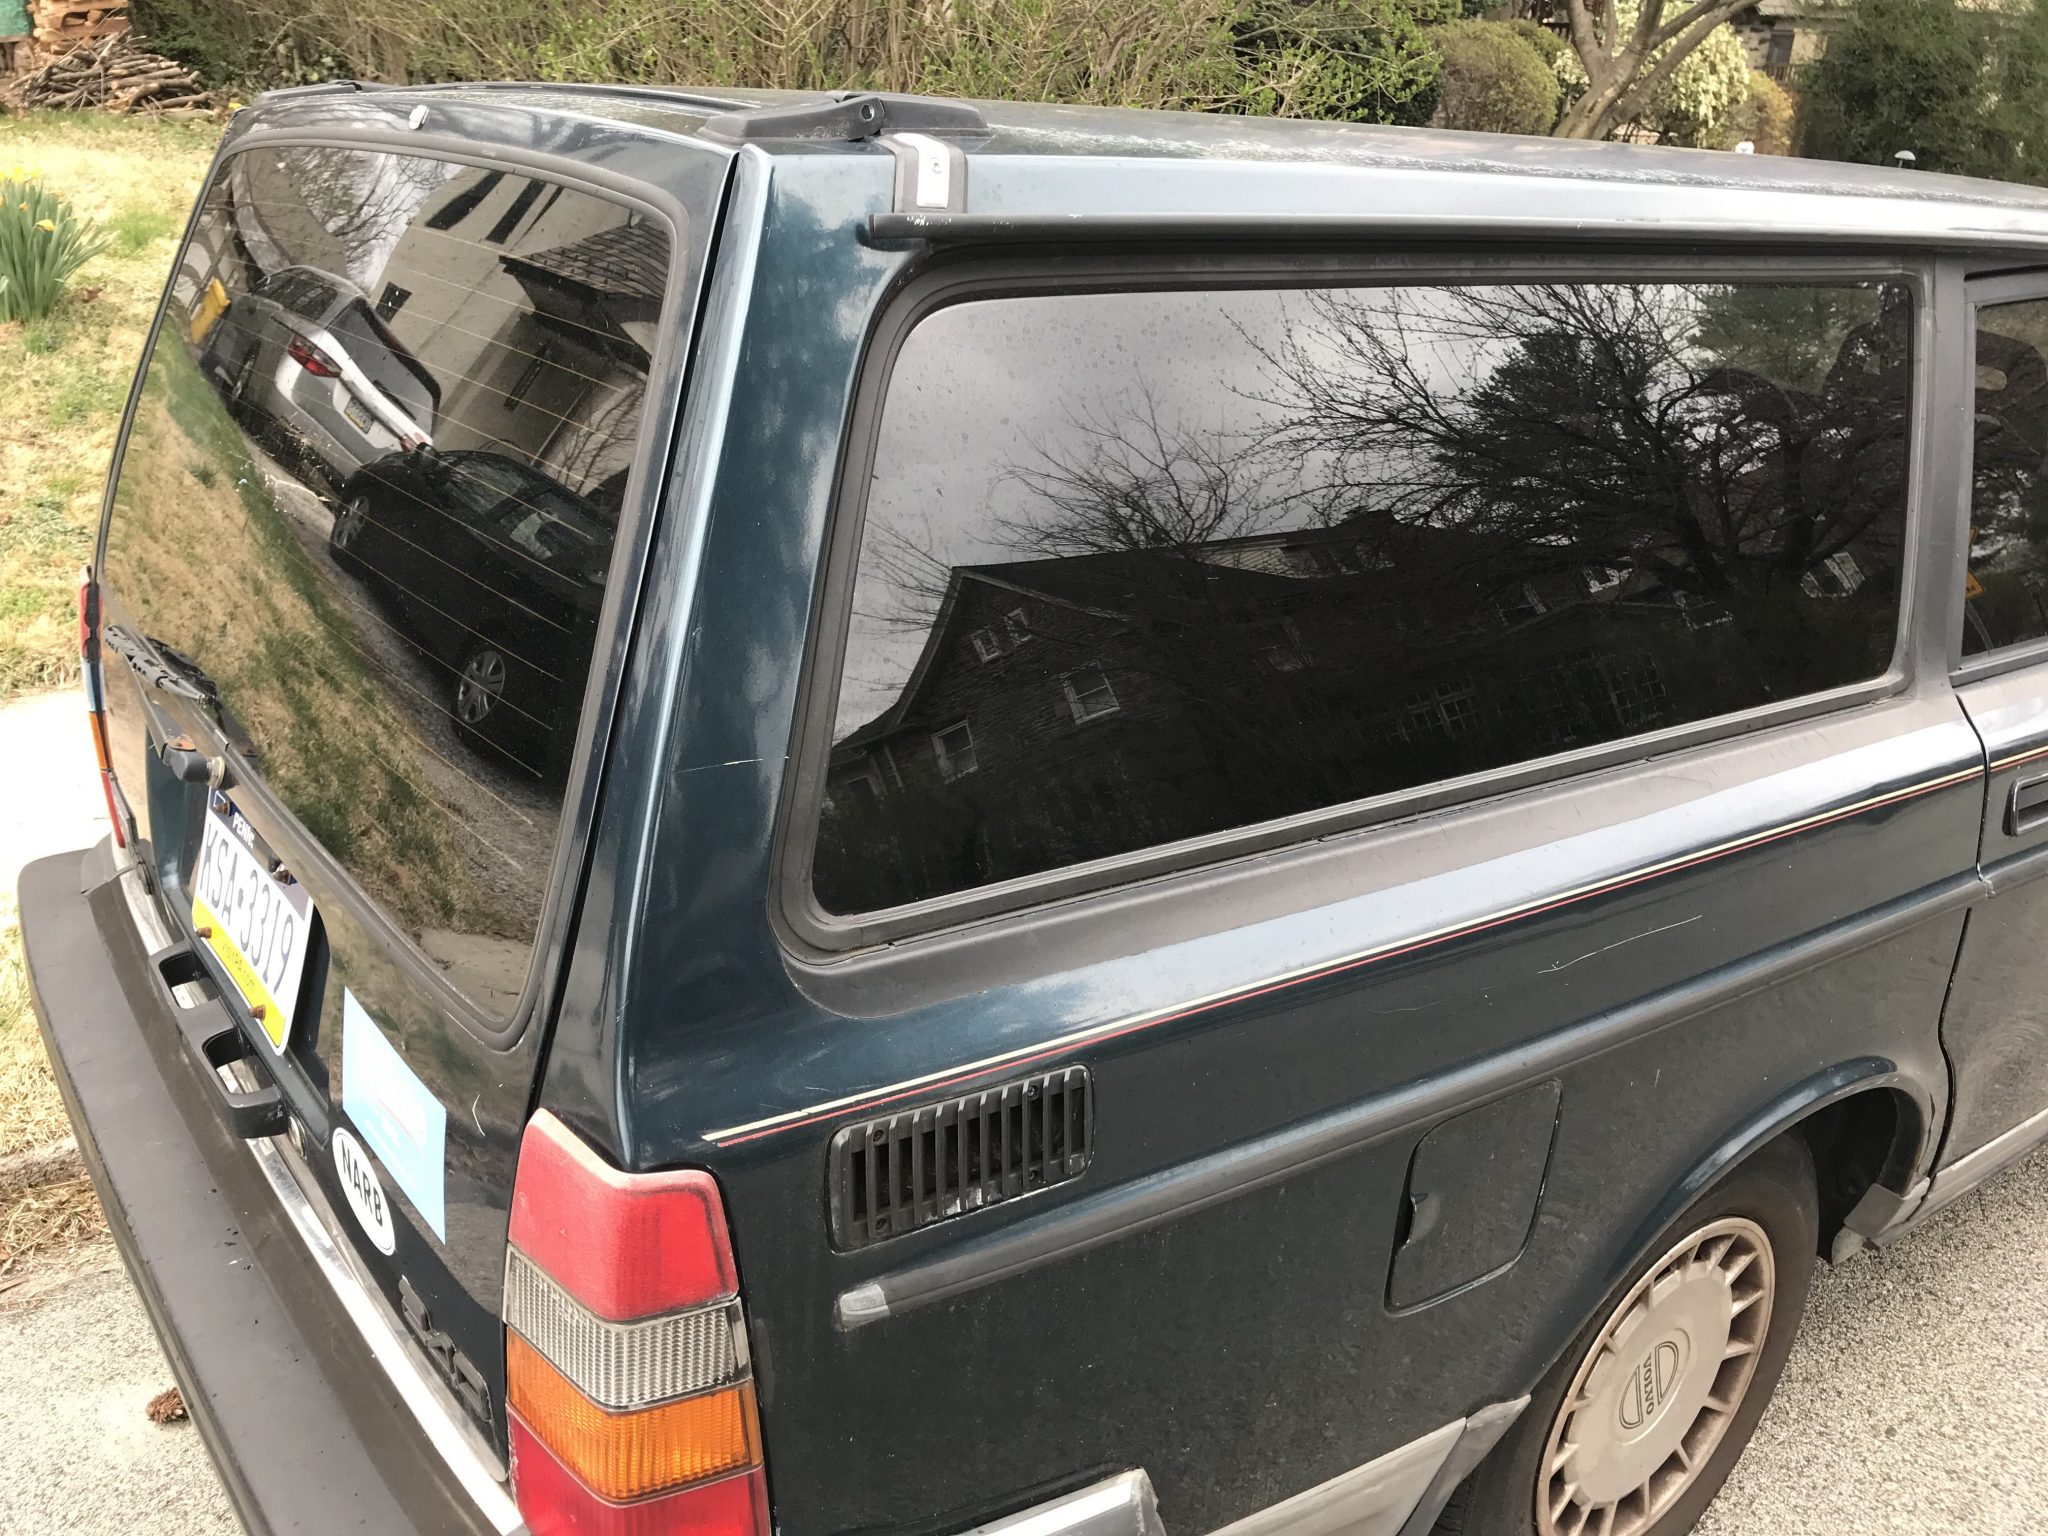
I was starting to realize that I needed to find a car that wasn’t too old, rare, or popular, or at least a good balance of those things. Then it hit me… a Volvo 240! It punched all my important buttons. It was aesthetically distinct, well engineered, relatively easy to find, and had a big community of enthusiasts to join. Much has been written about the legend of the Volvo 200 series of cars, so I won’t bother to repeat it here. I was very aware of how well known the 200s (especially the 240s) were for dependability and functionality, and for a dork like me those two attributes are sheer poetry. I knew immediately that a Volvo 240 wagon had been the answer I was looking for all along. So on to Craigslist I went. Luck was on my finally on my side for at that exact moment there was a 1992 240 wagon for sale just a few miles away. I contacted the seller and, long story short, after some negotiation over the course of a week I managed to reach a deal for under $1000! I now had a busted old car in need of some love and was officially on my way to being an amateur mechanic.

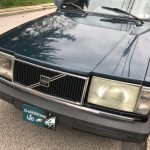
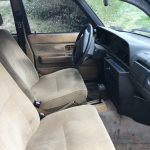
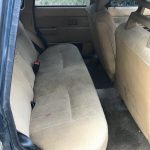
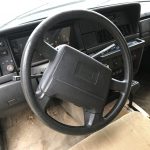
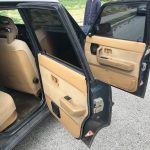
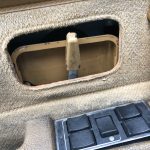
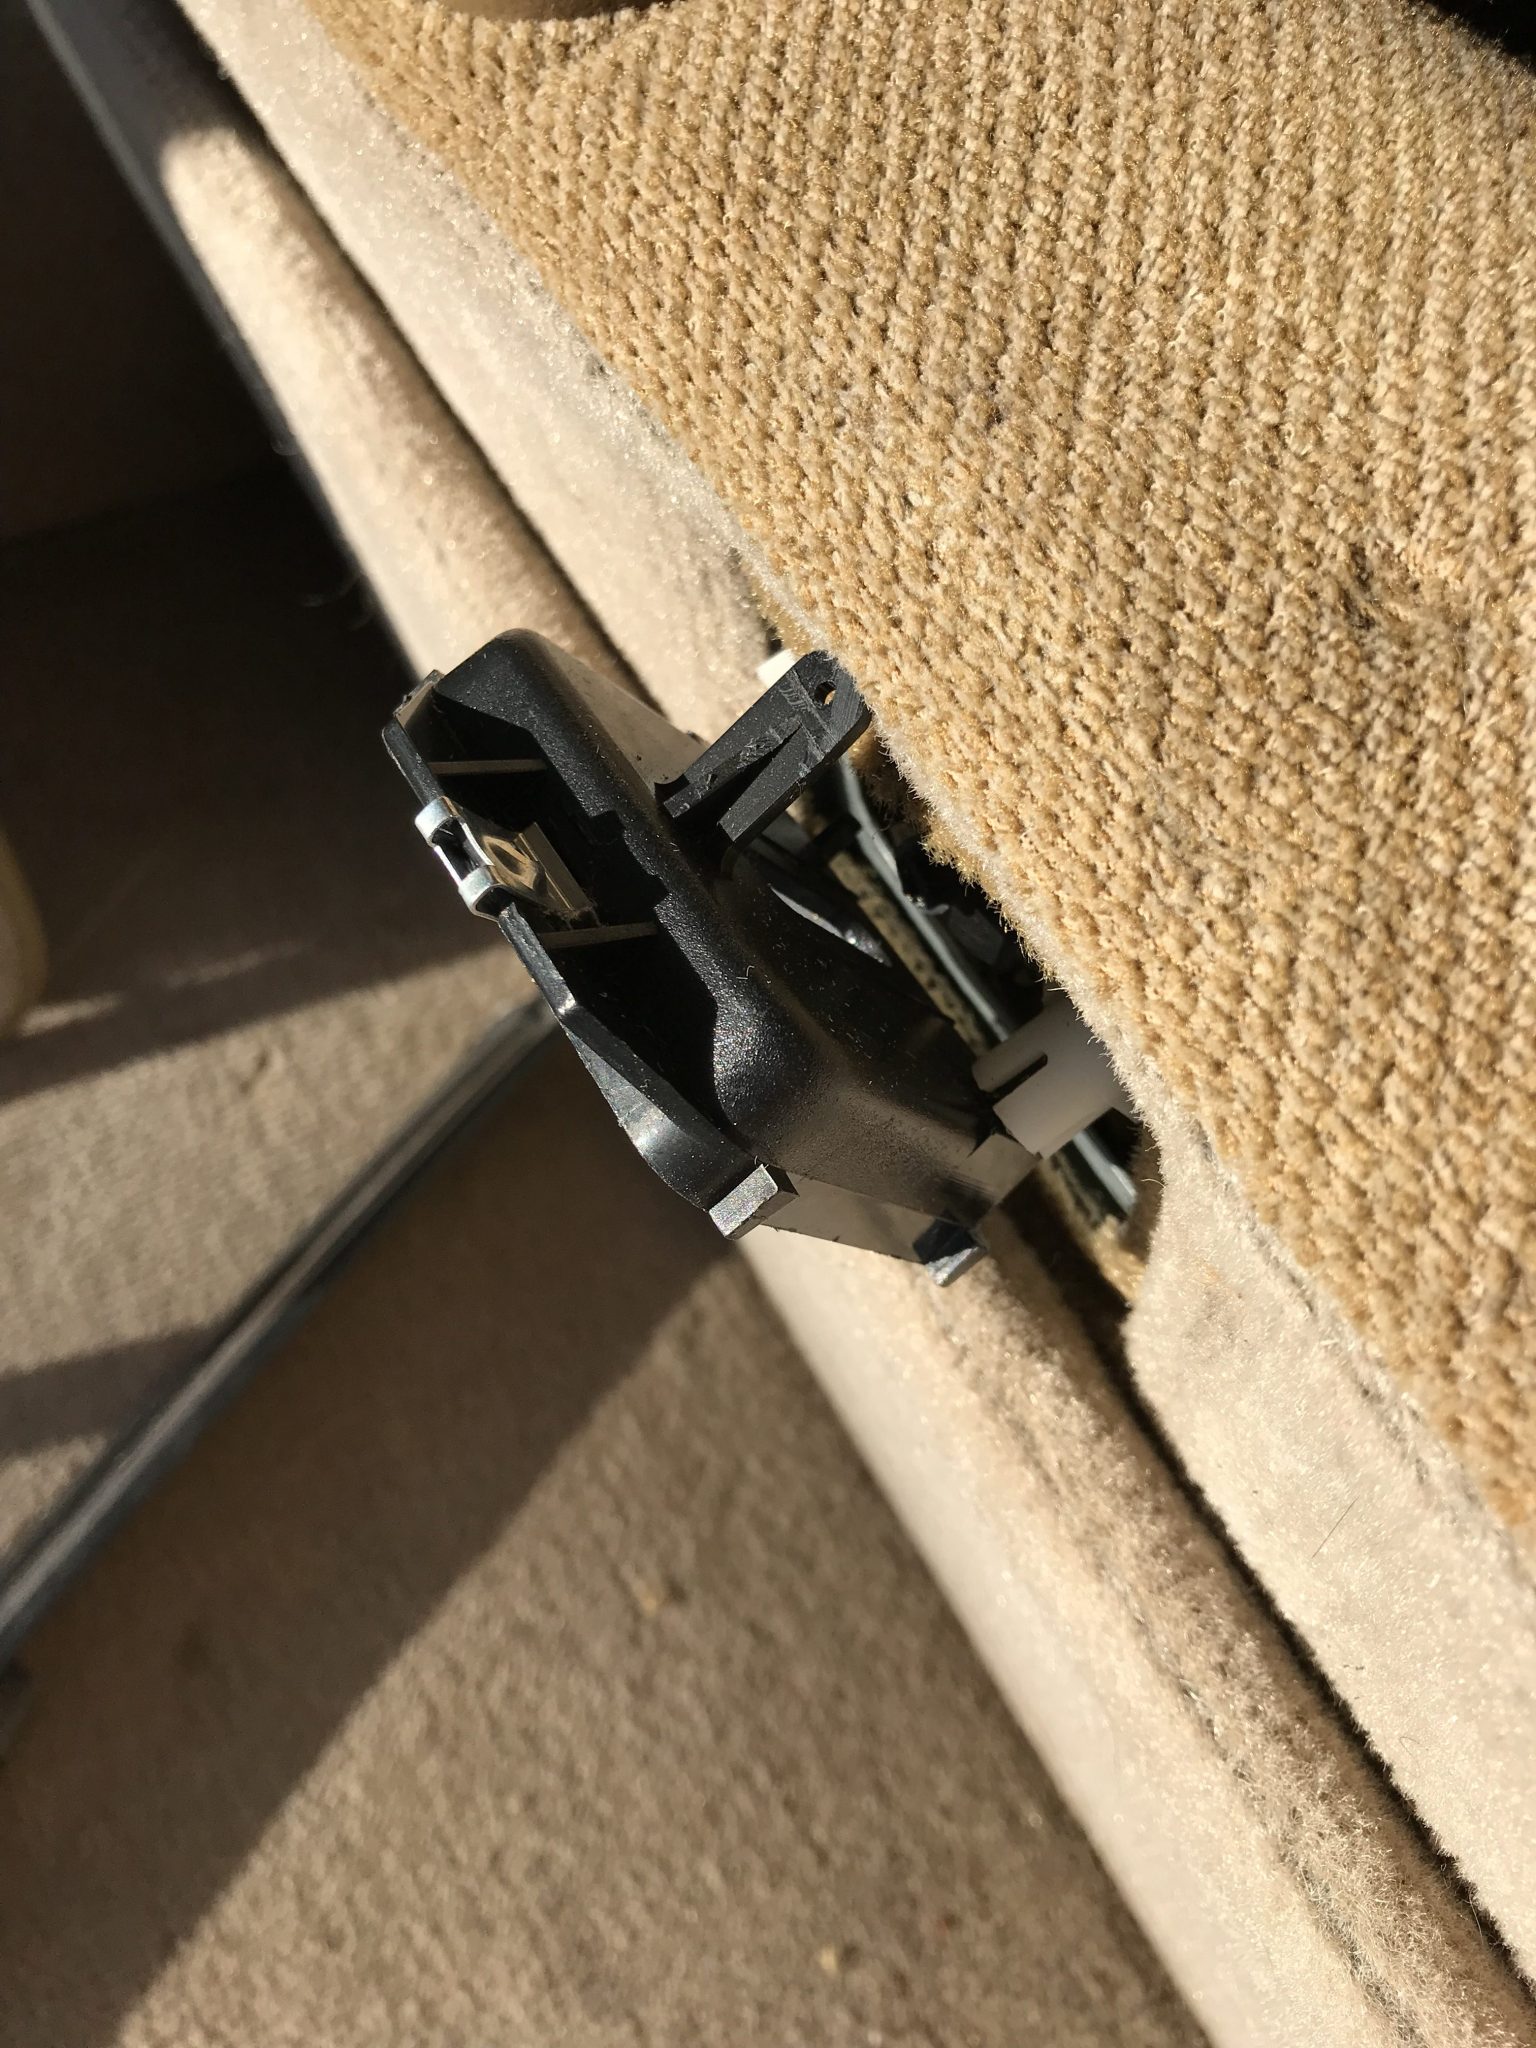
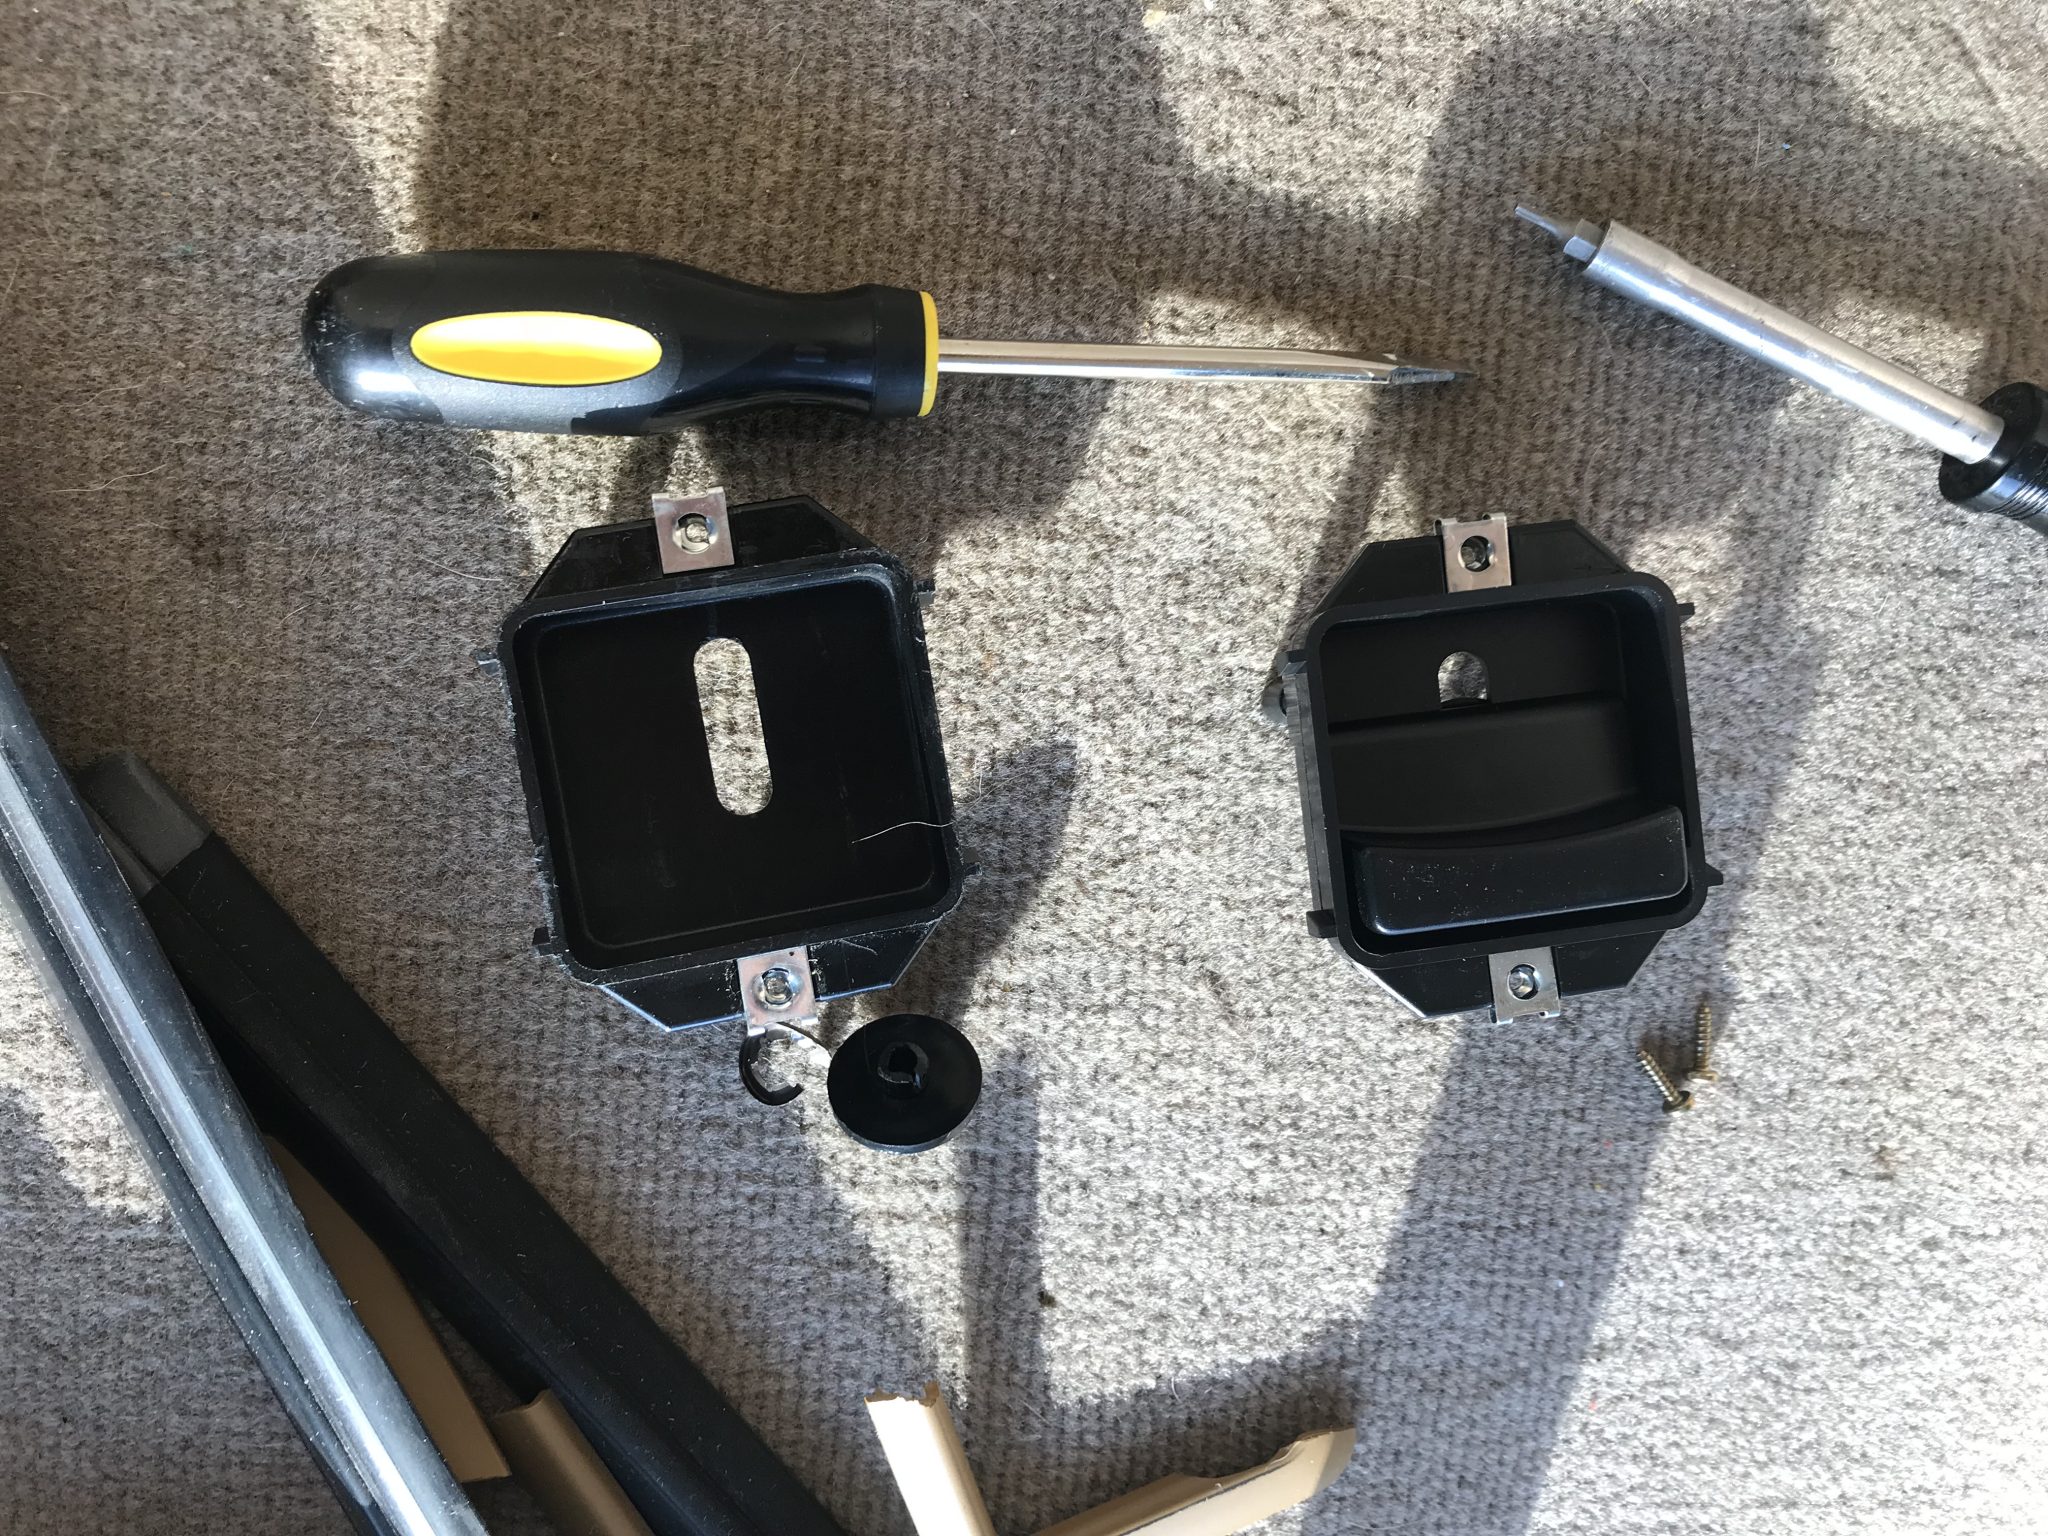
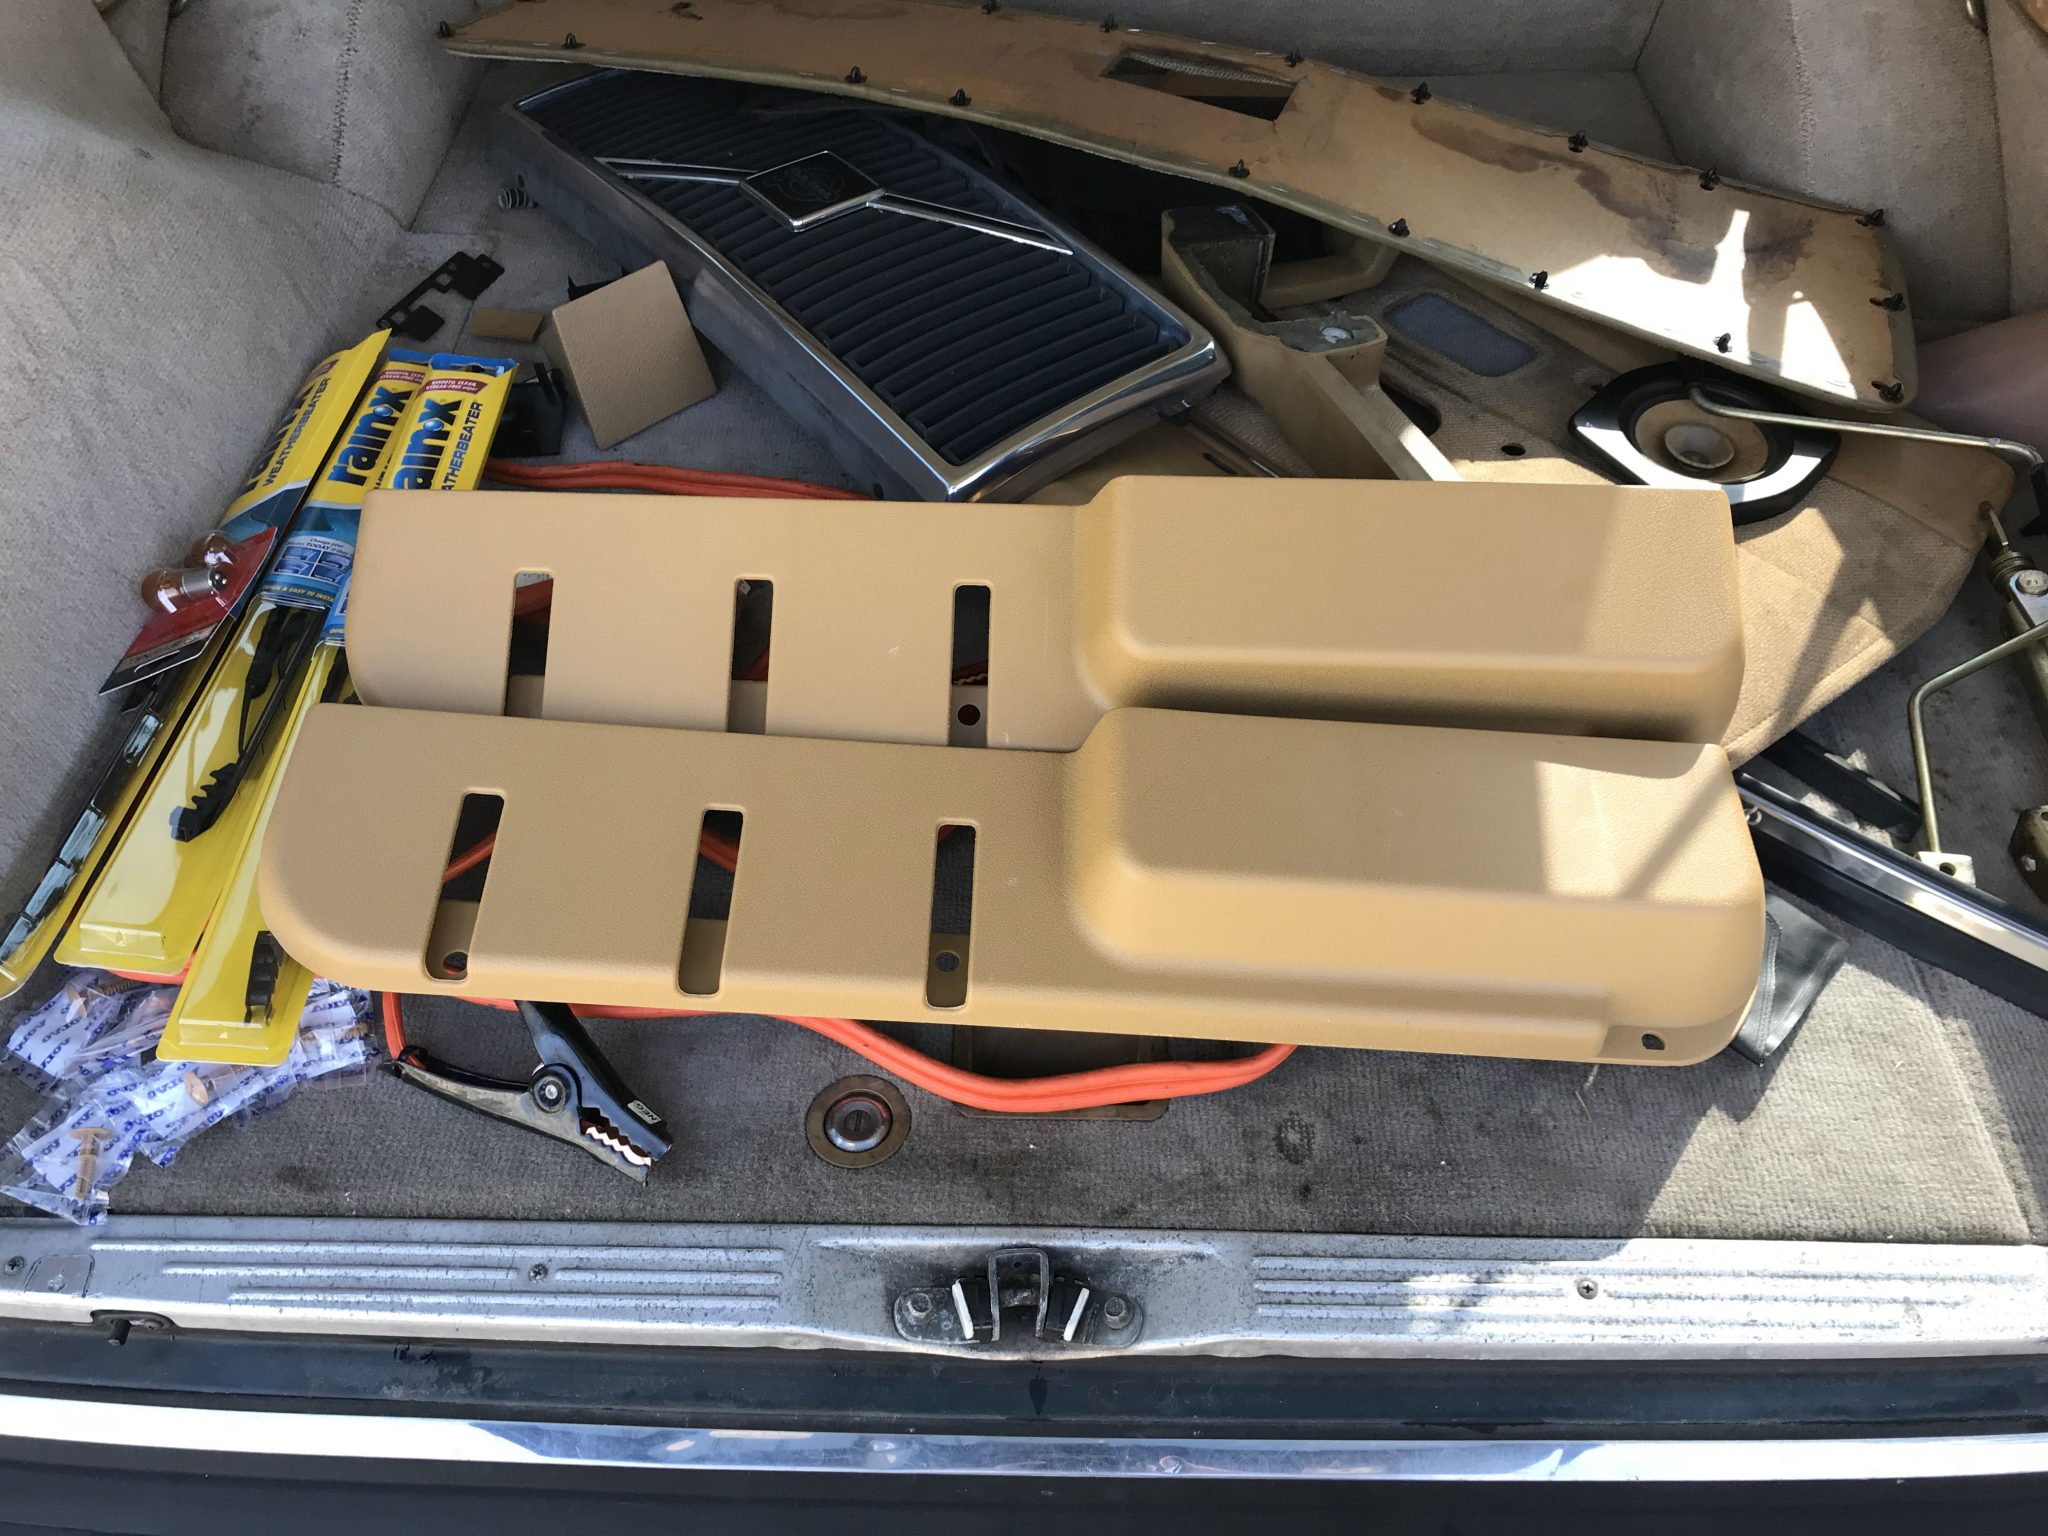
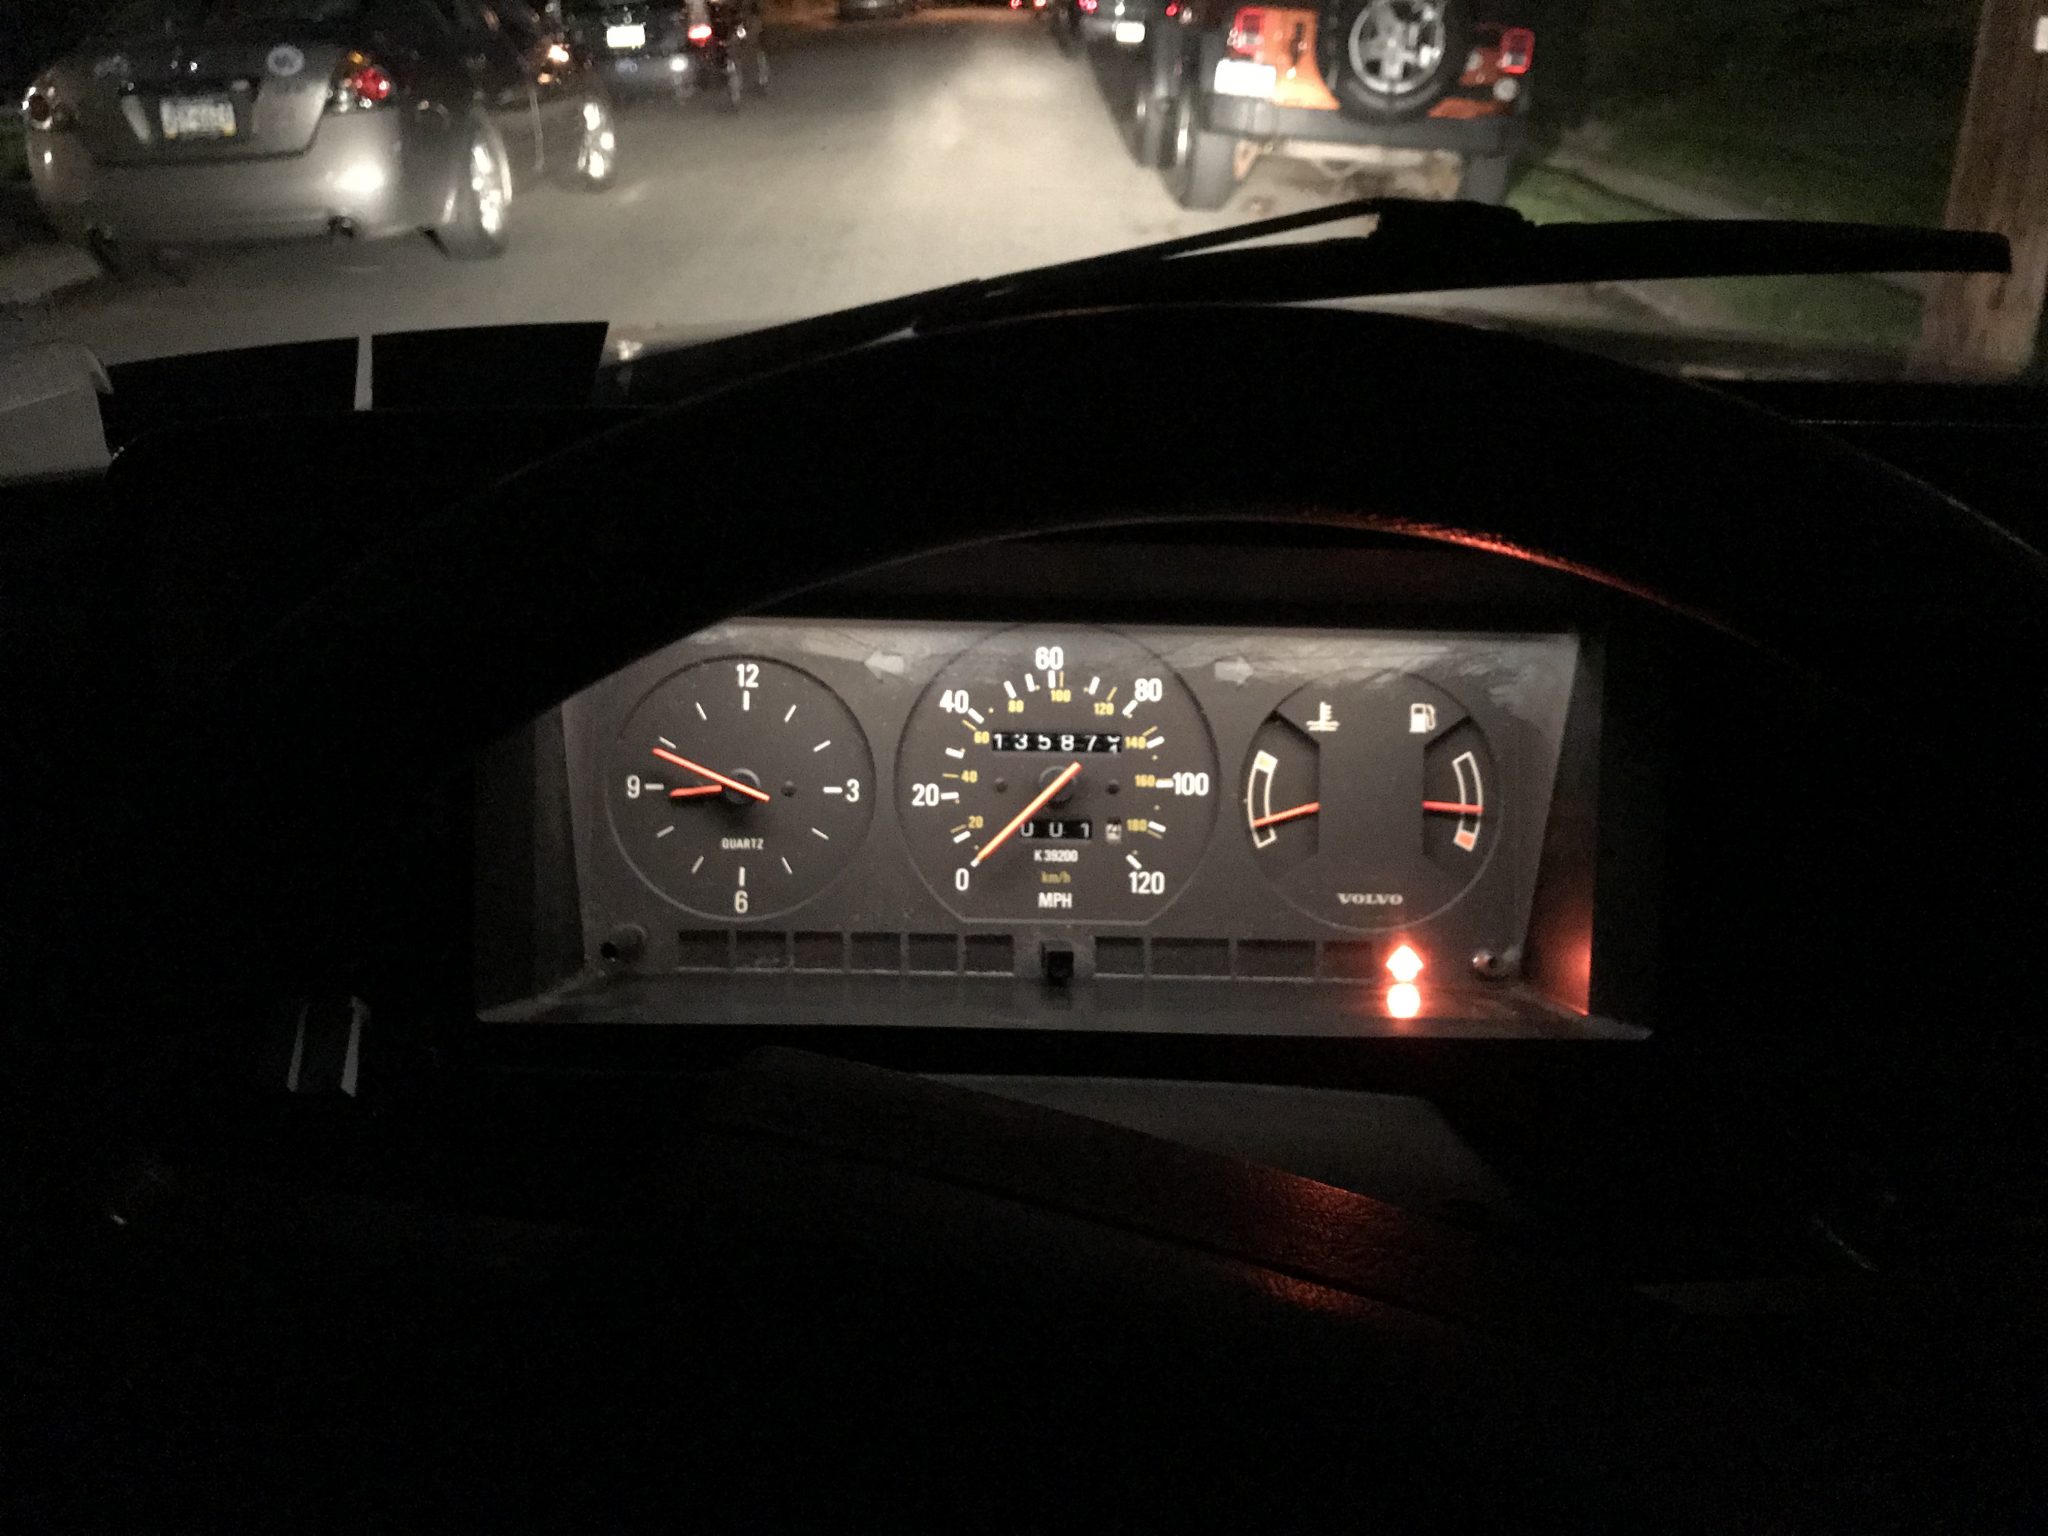
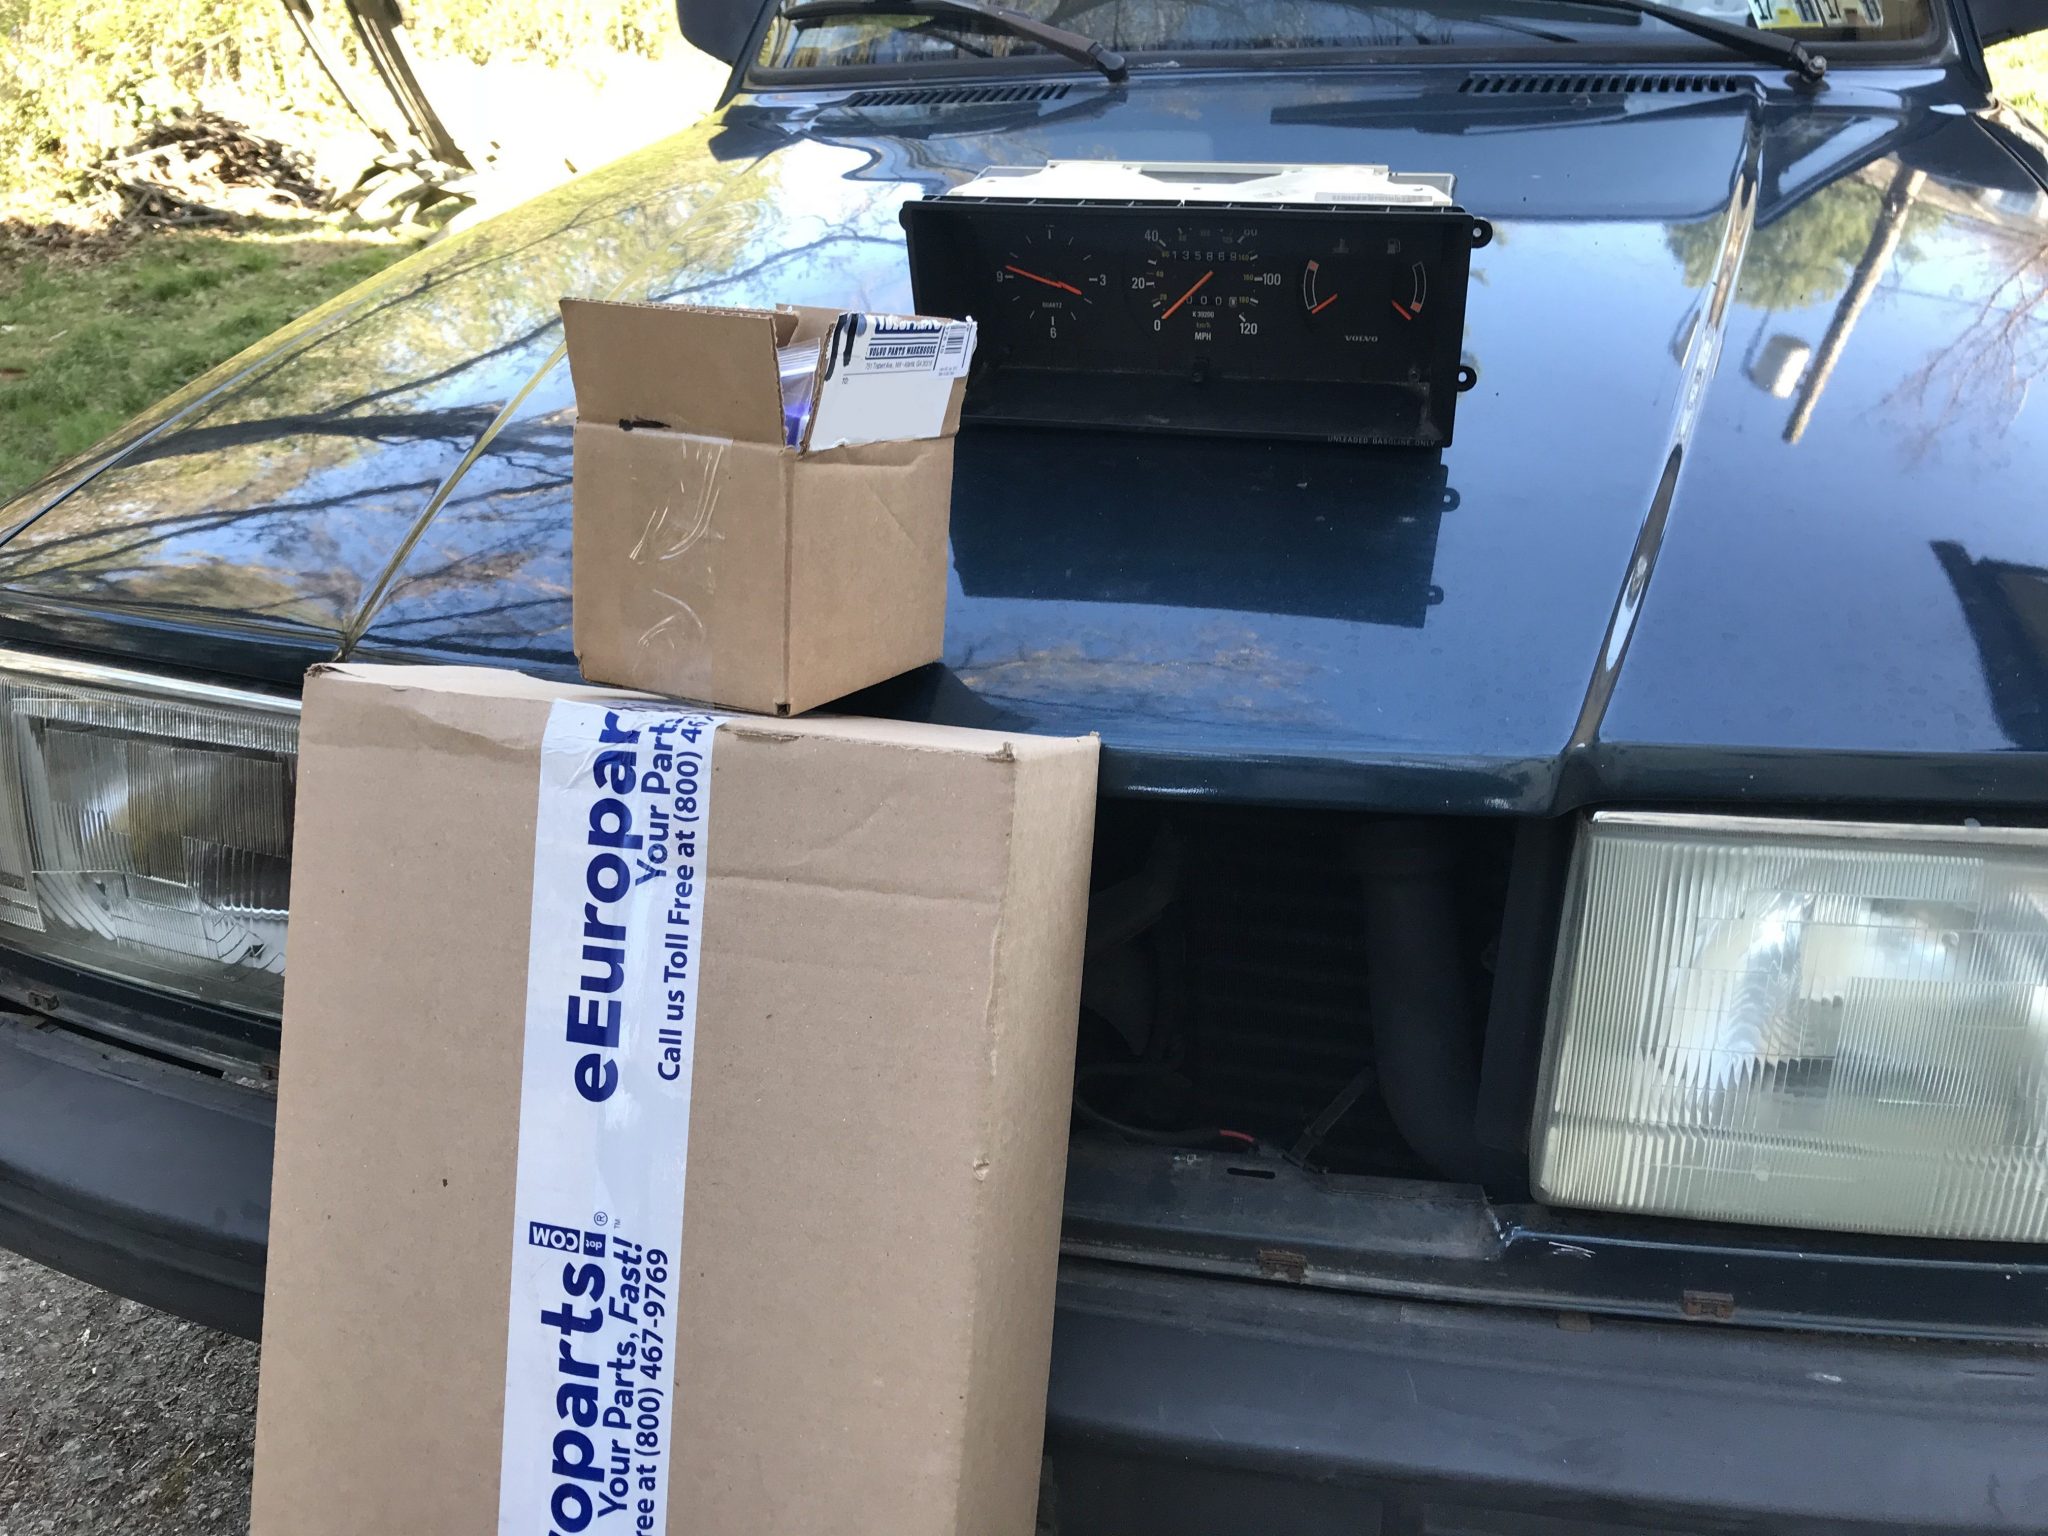
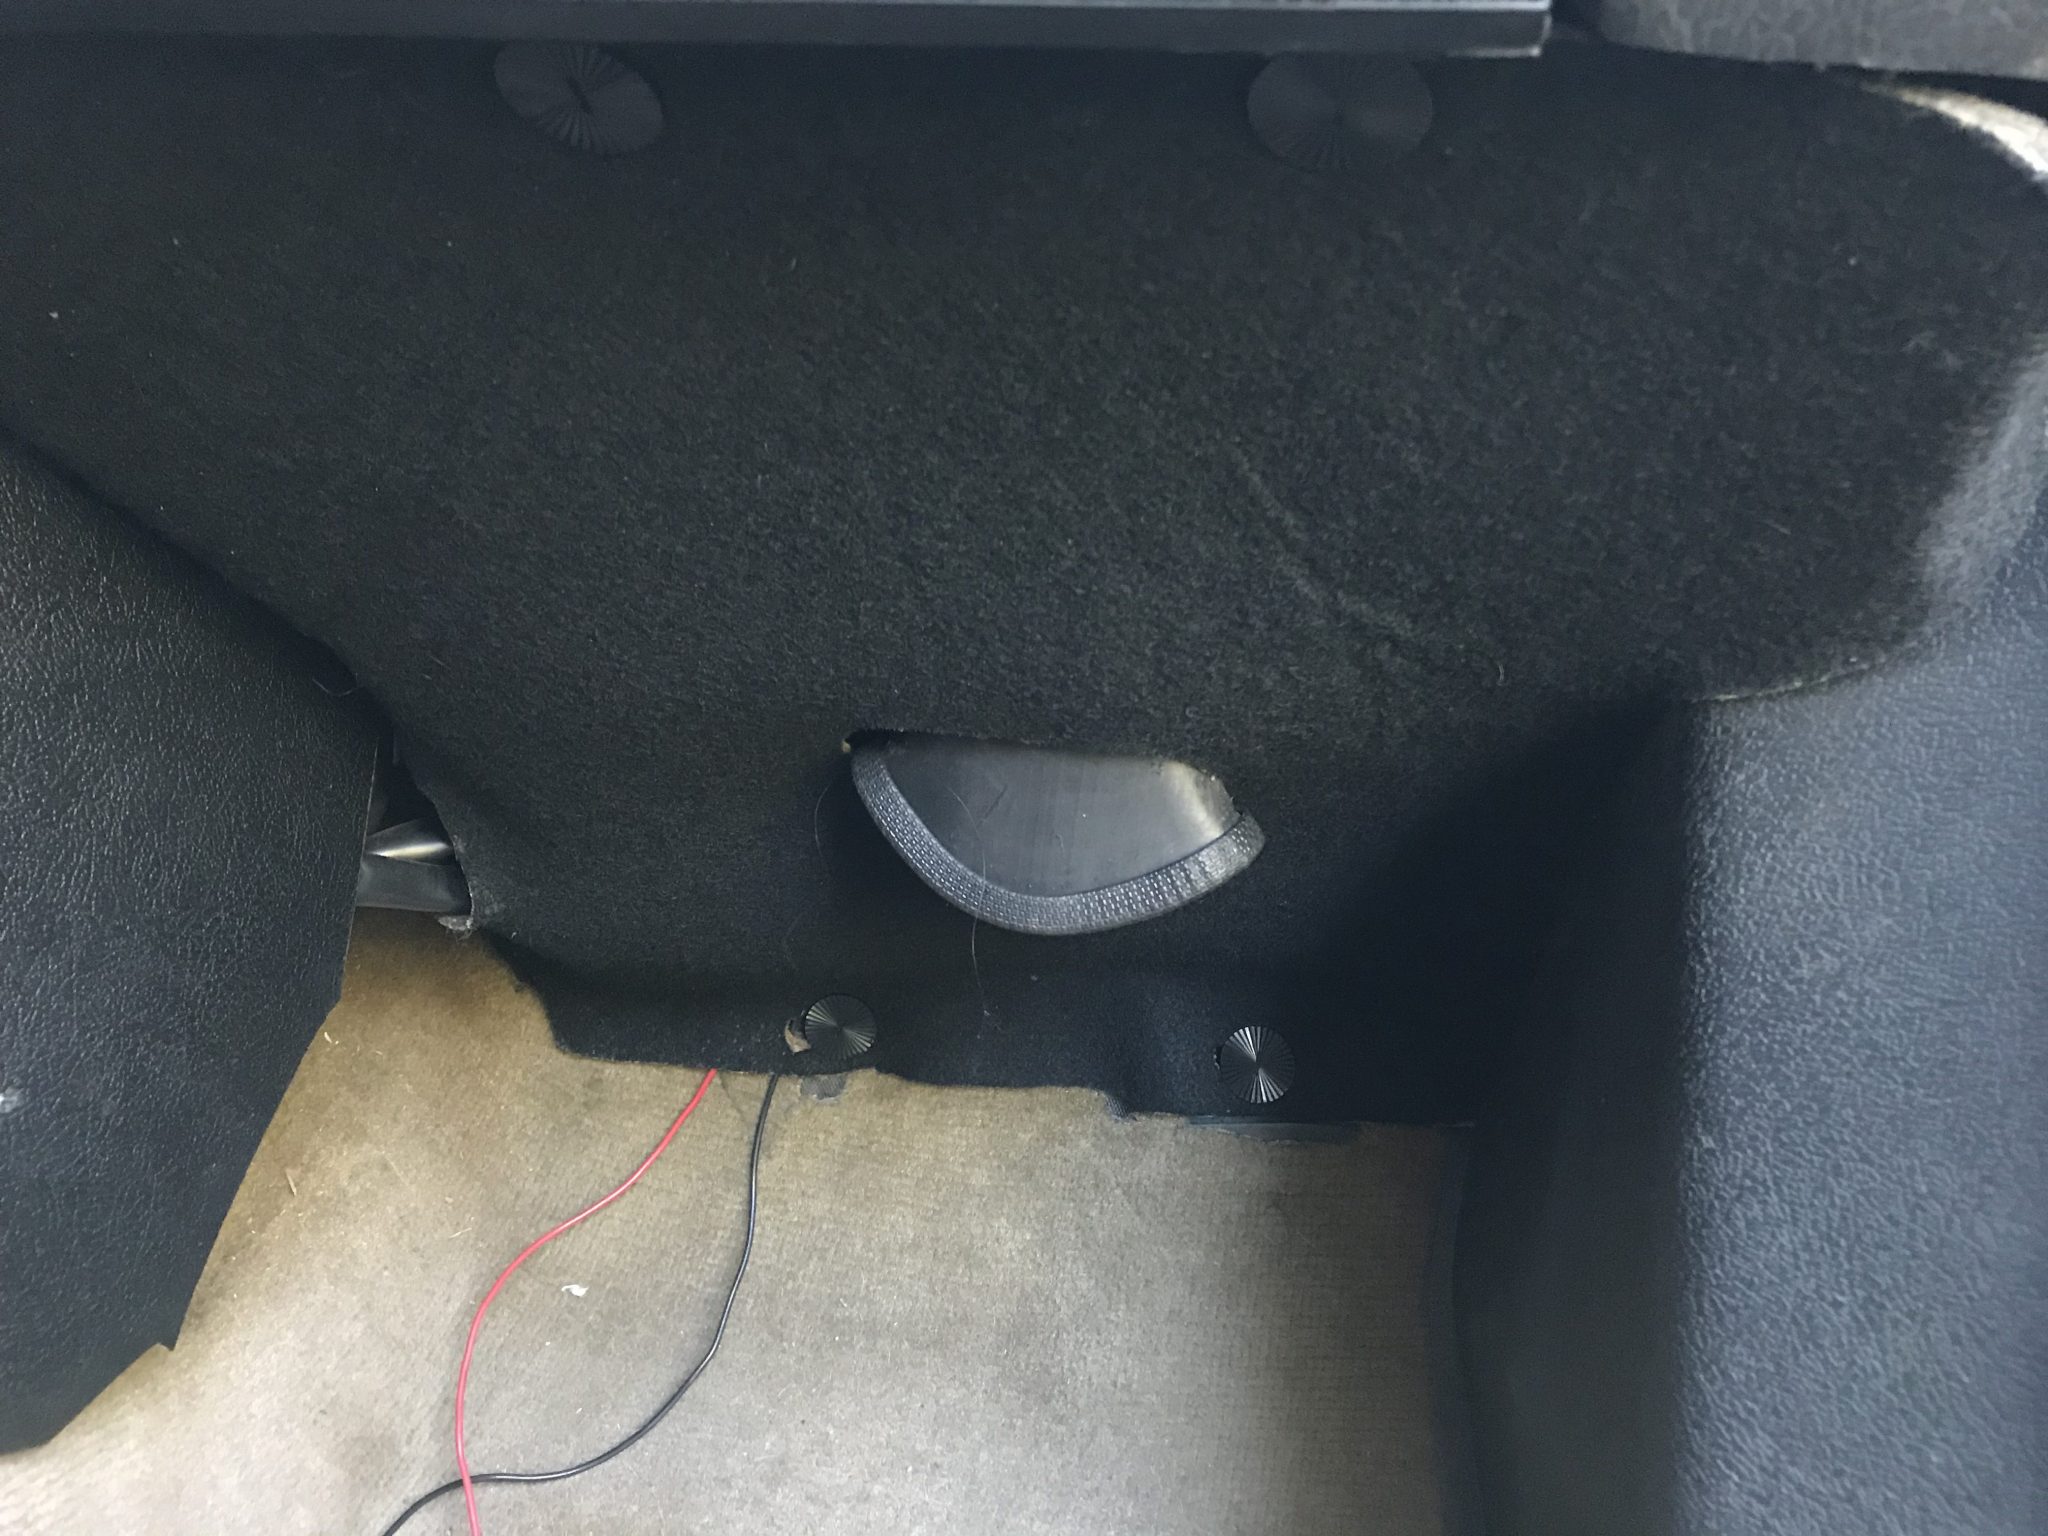
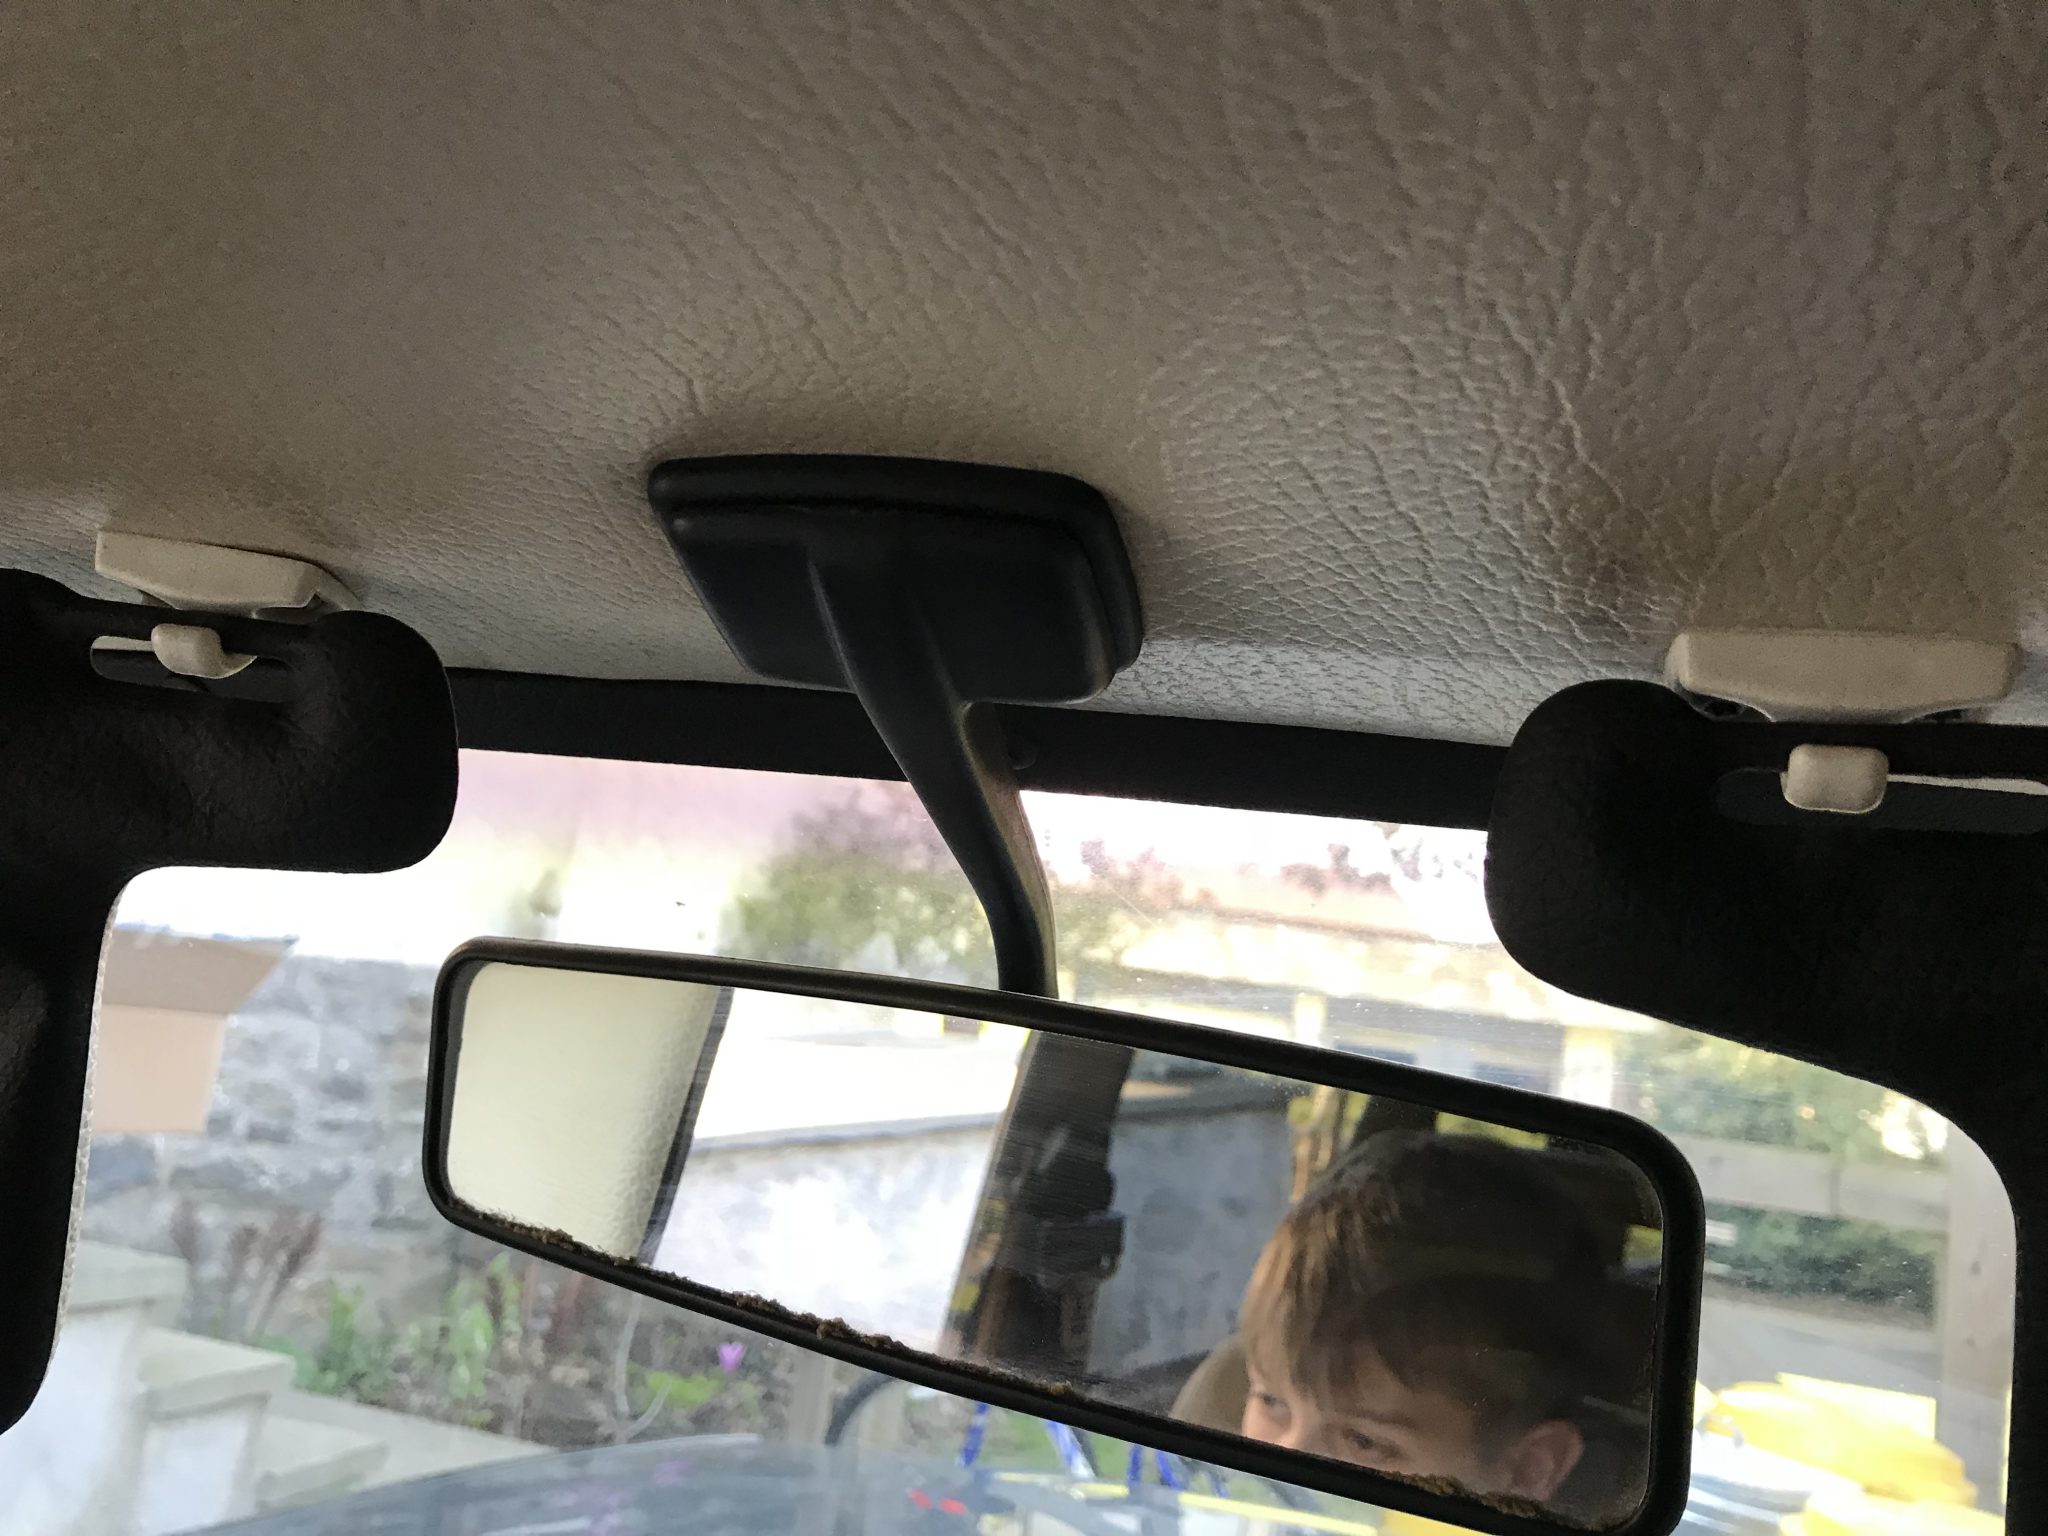
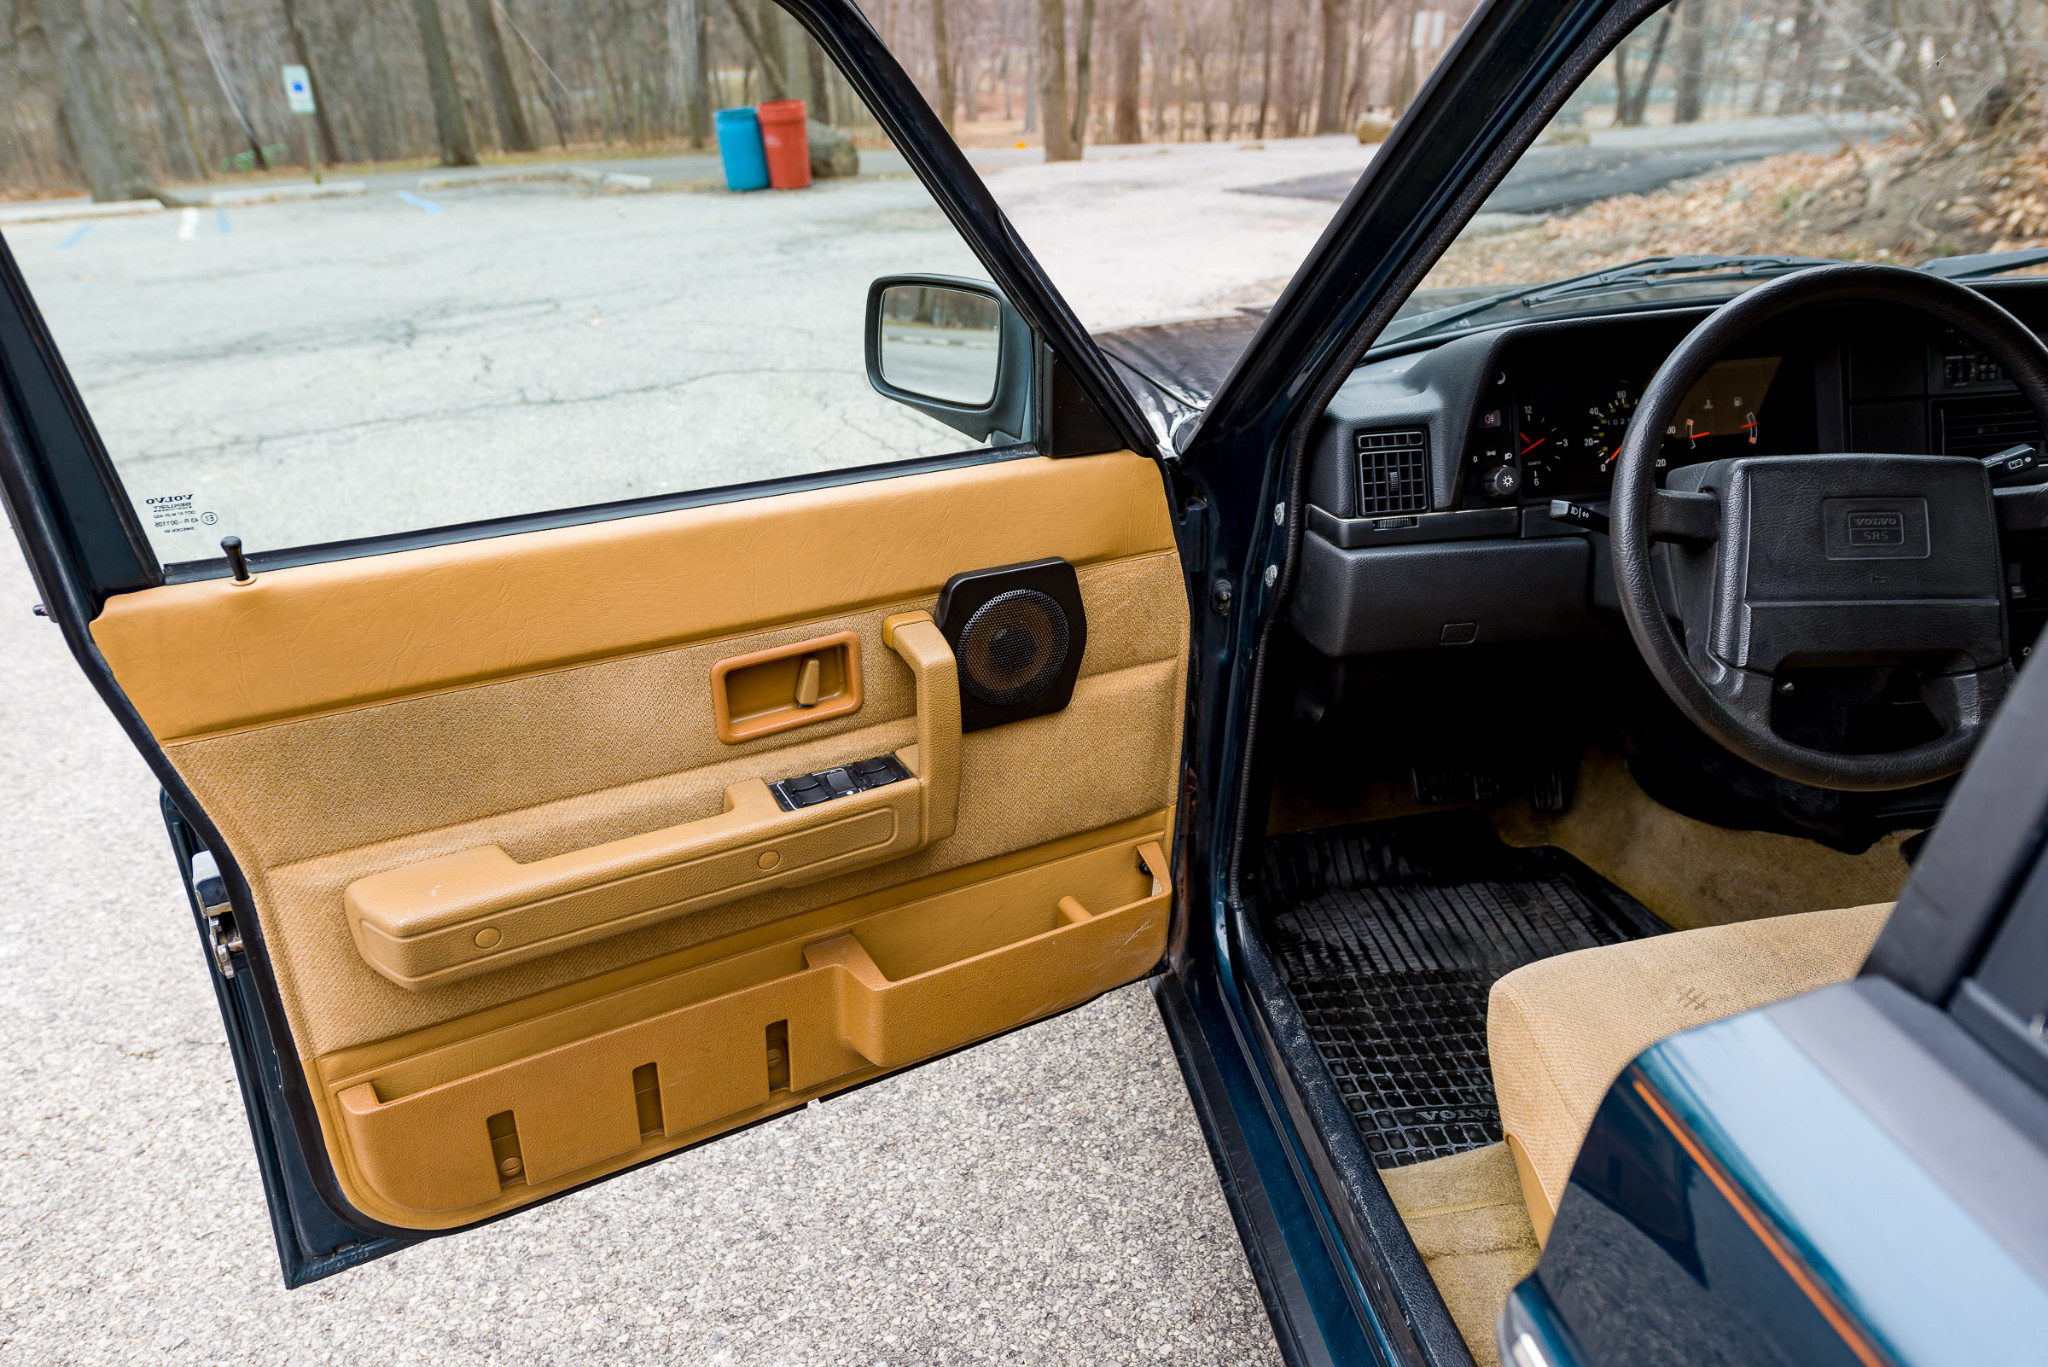
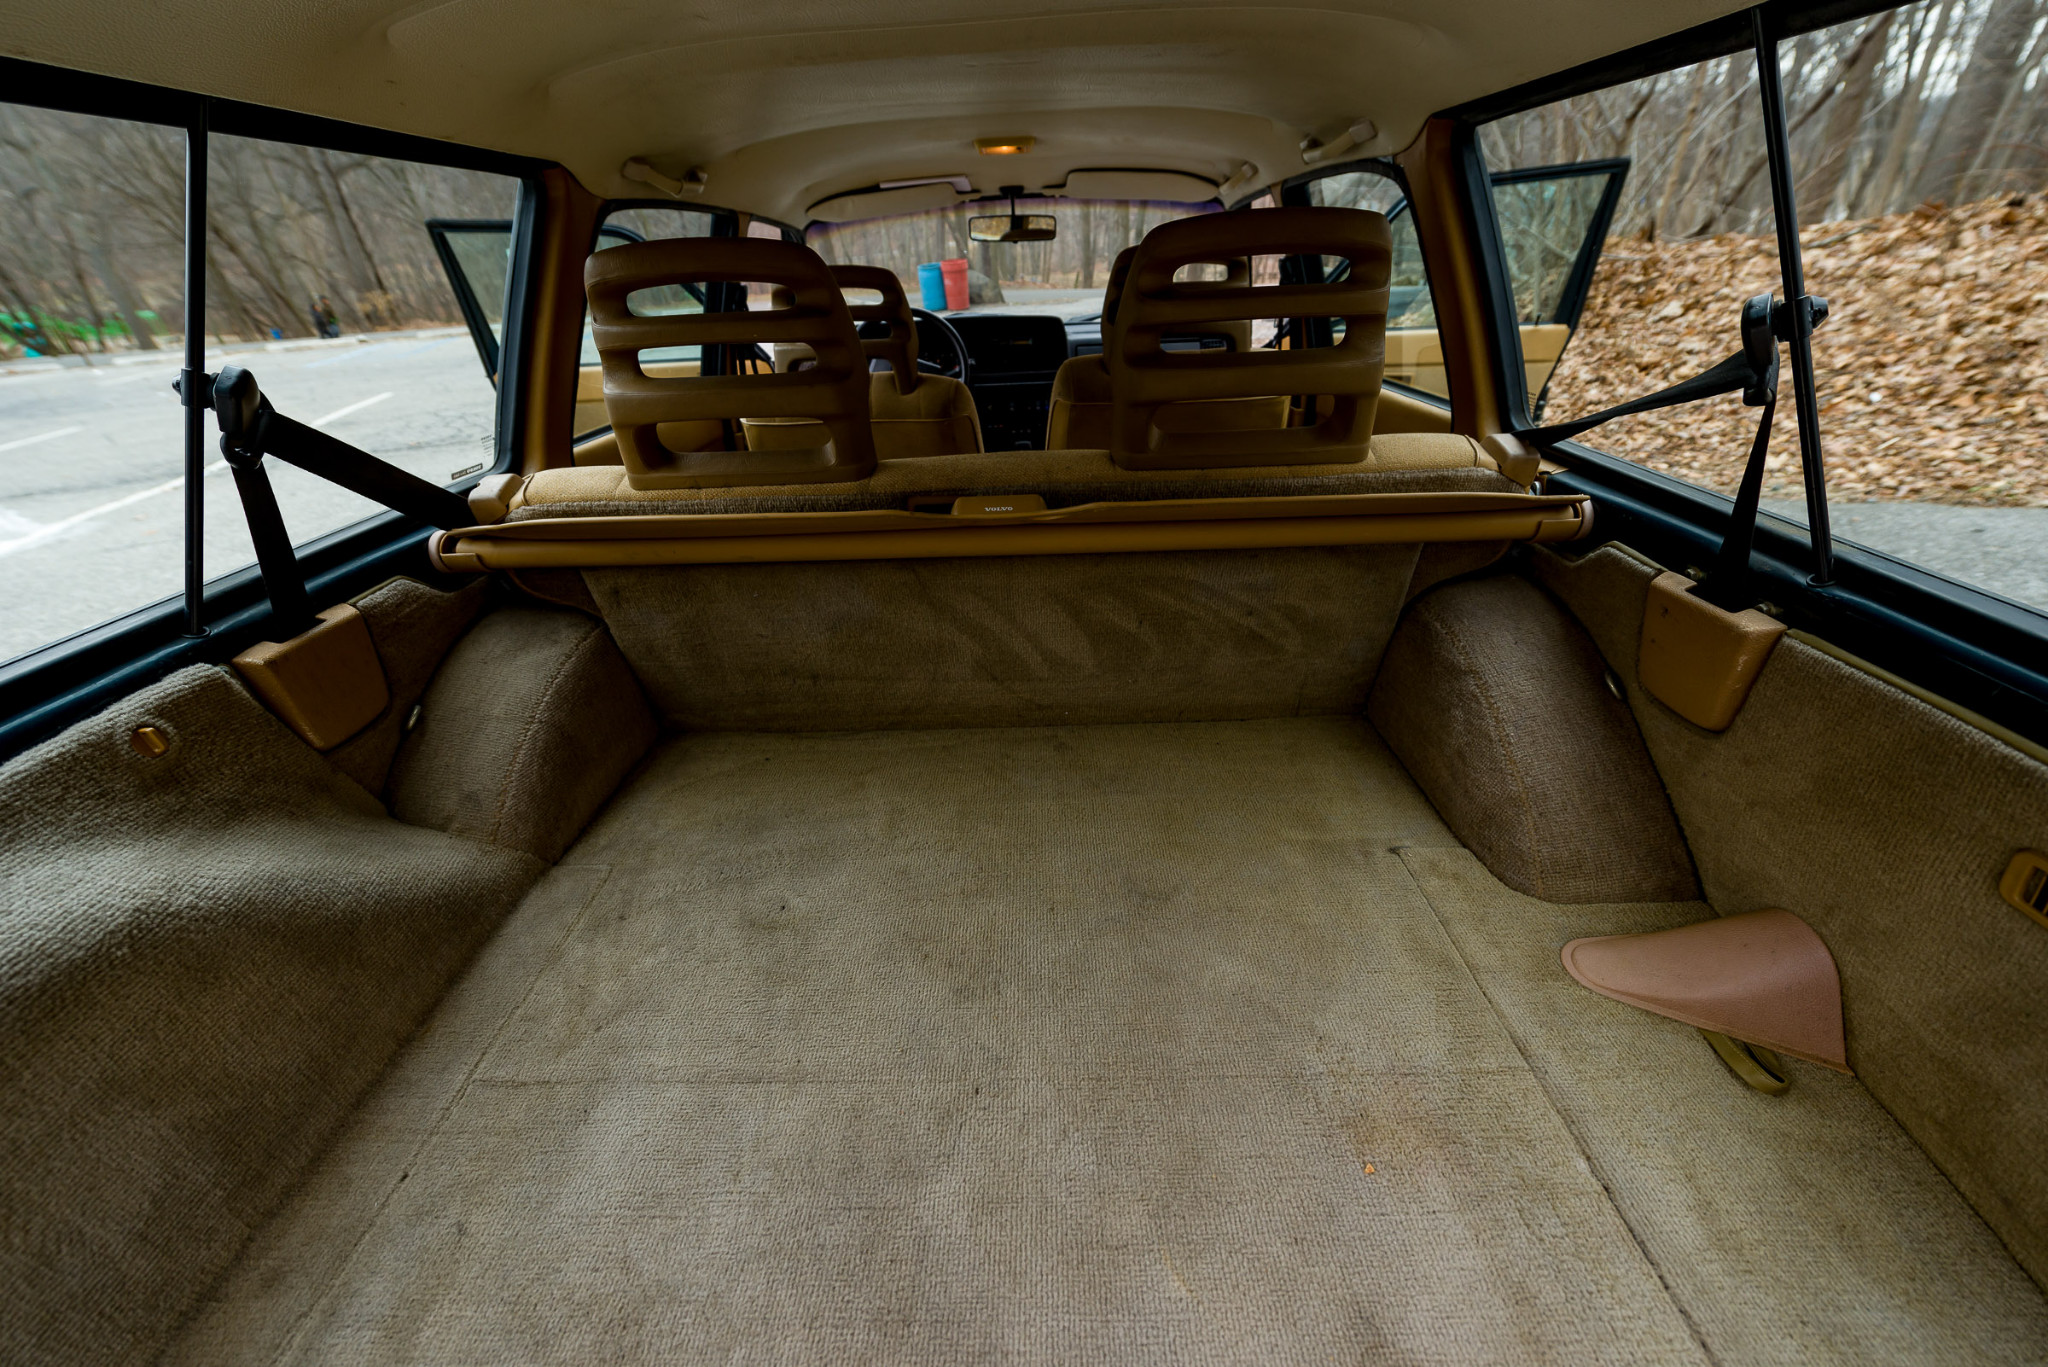
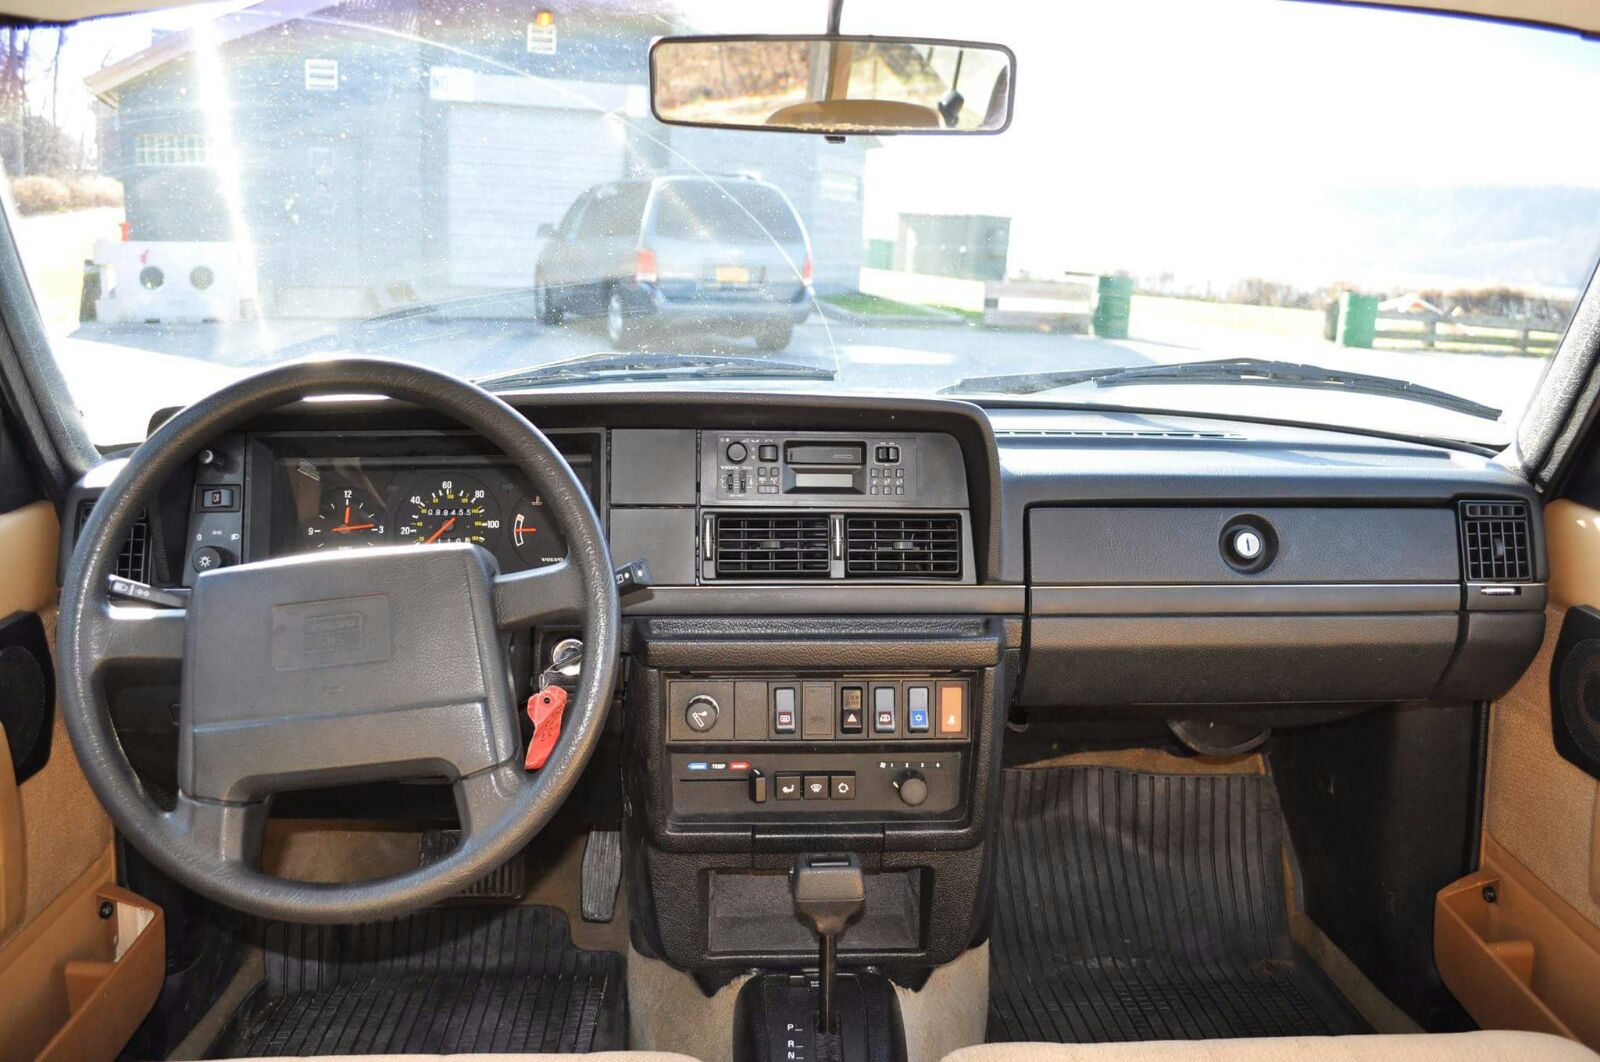
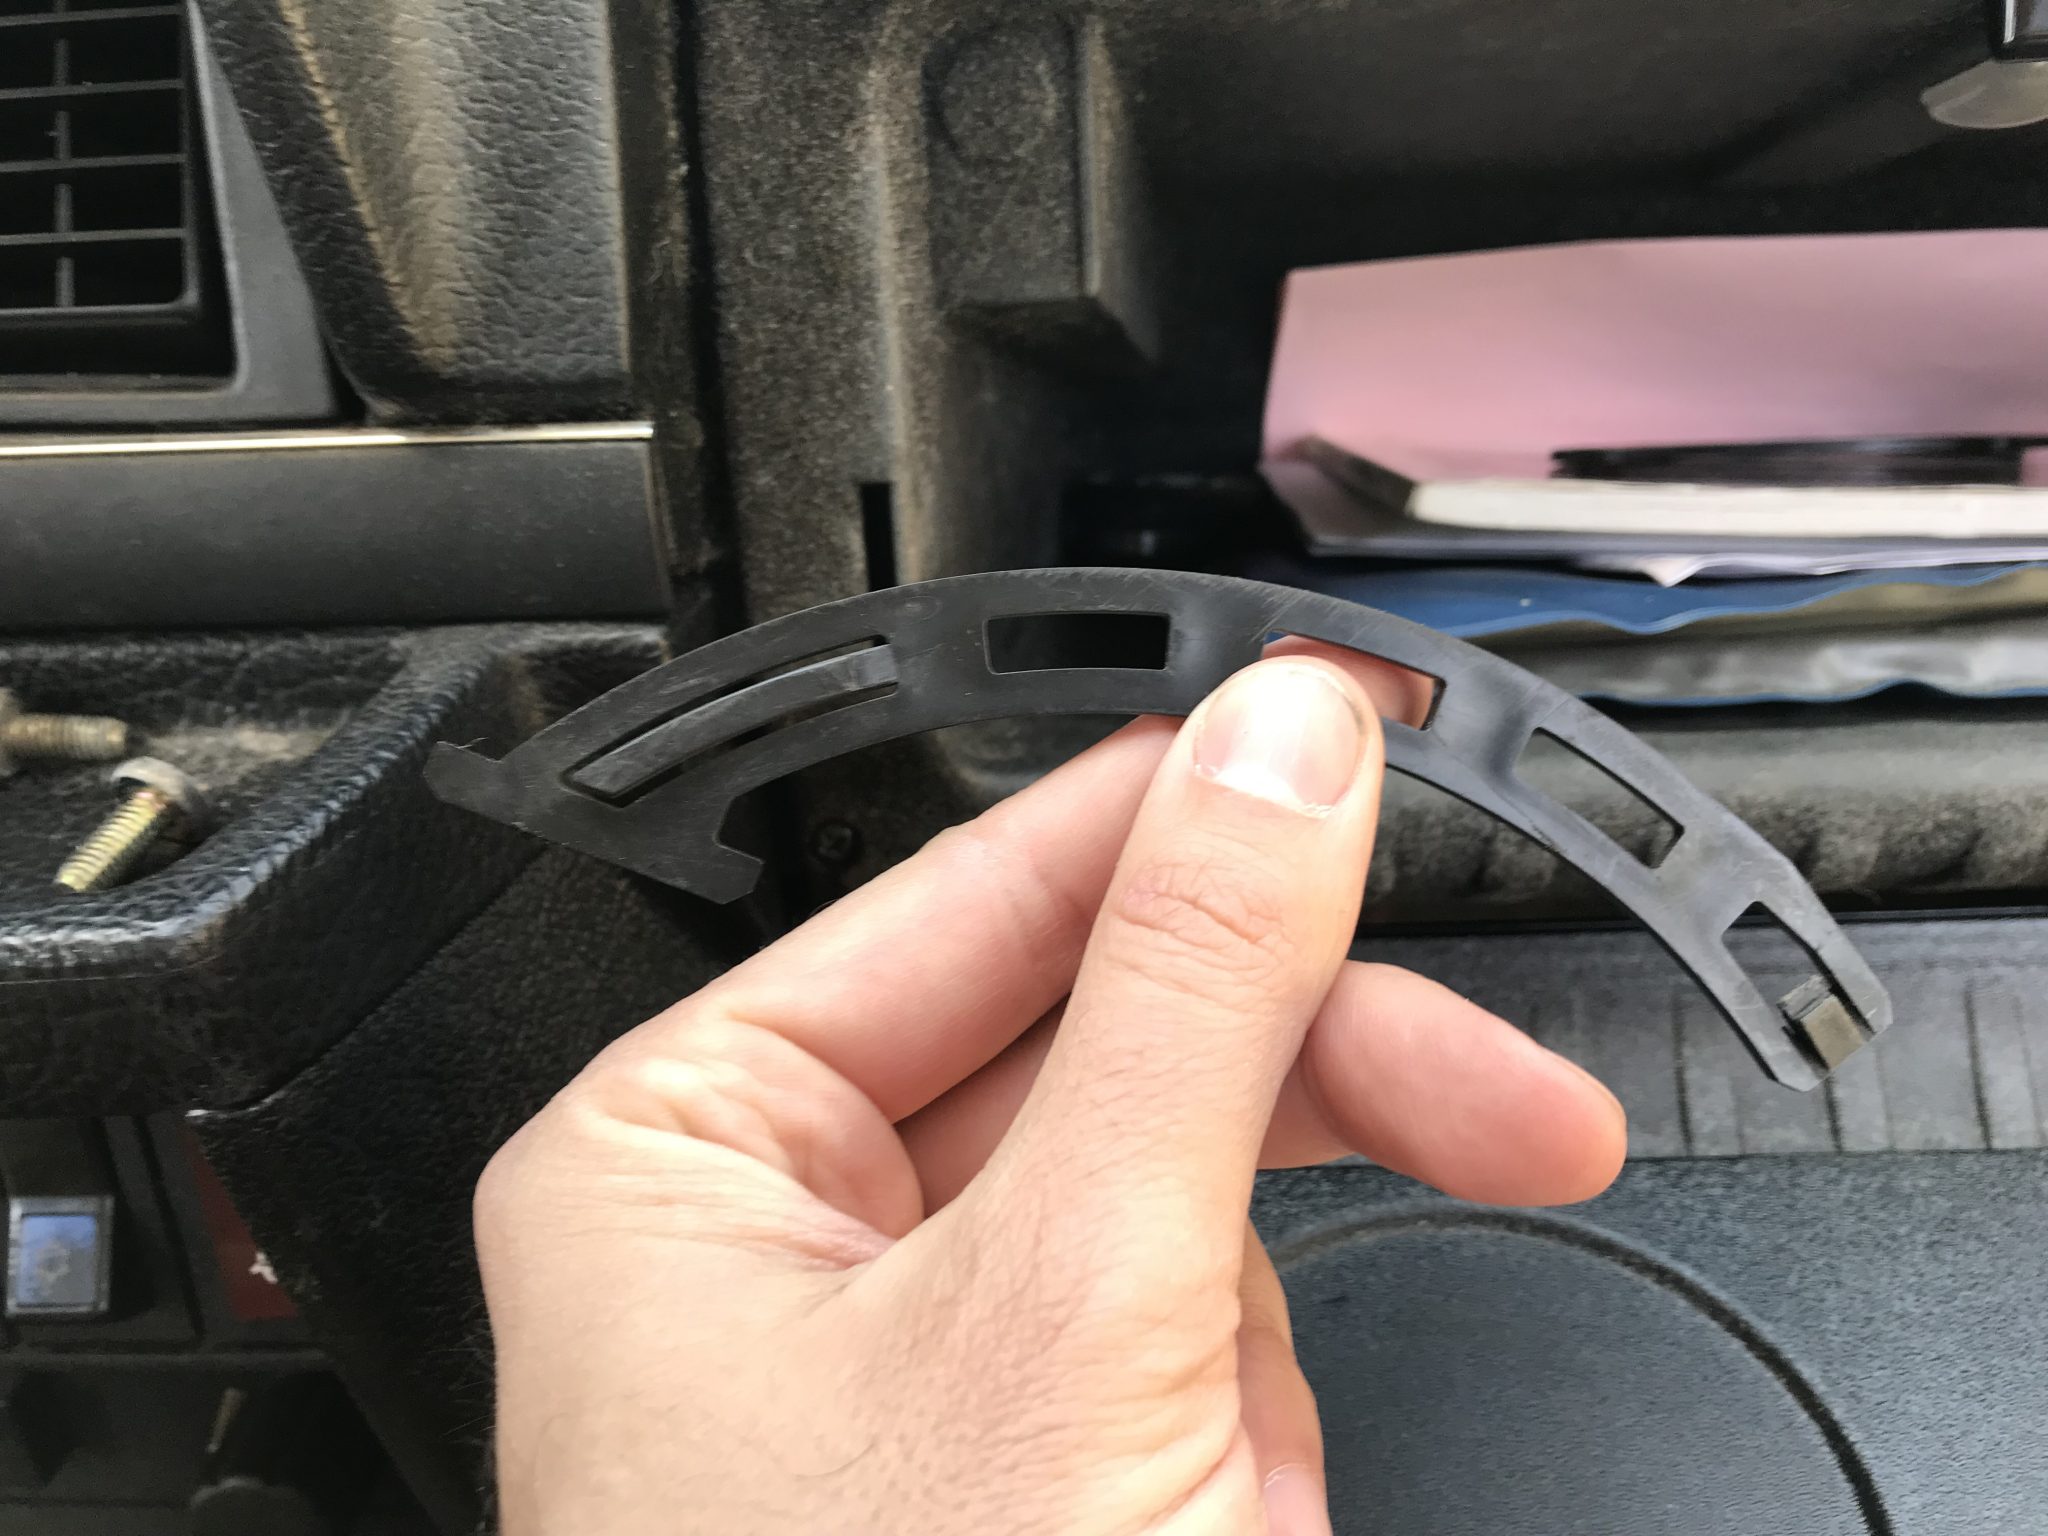
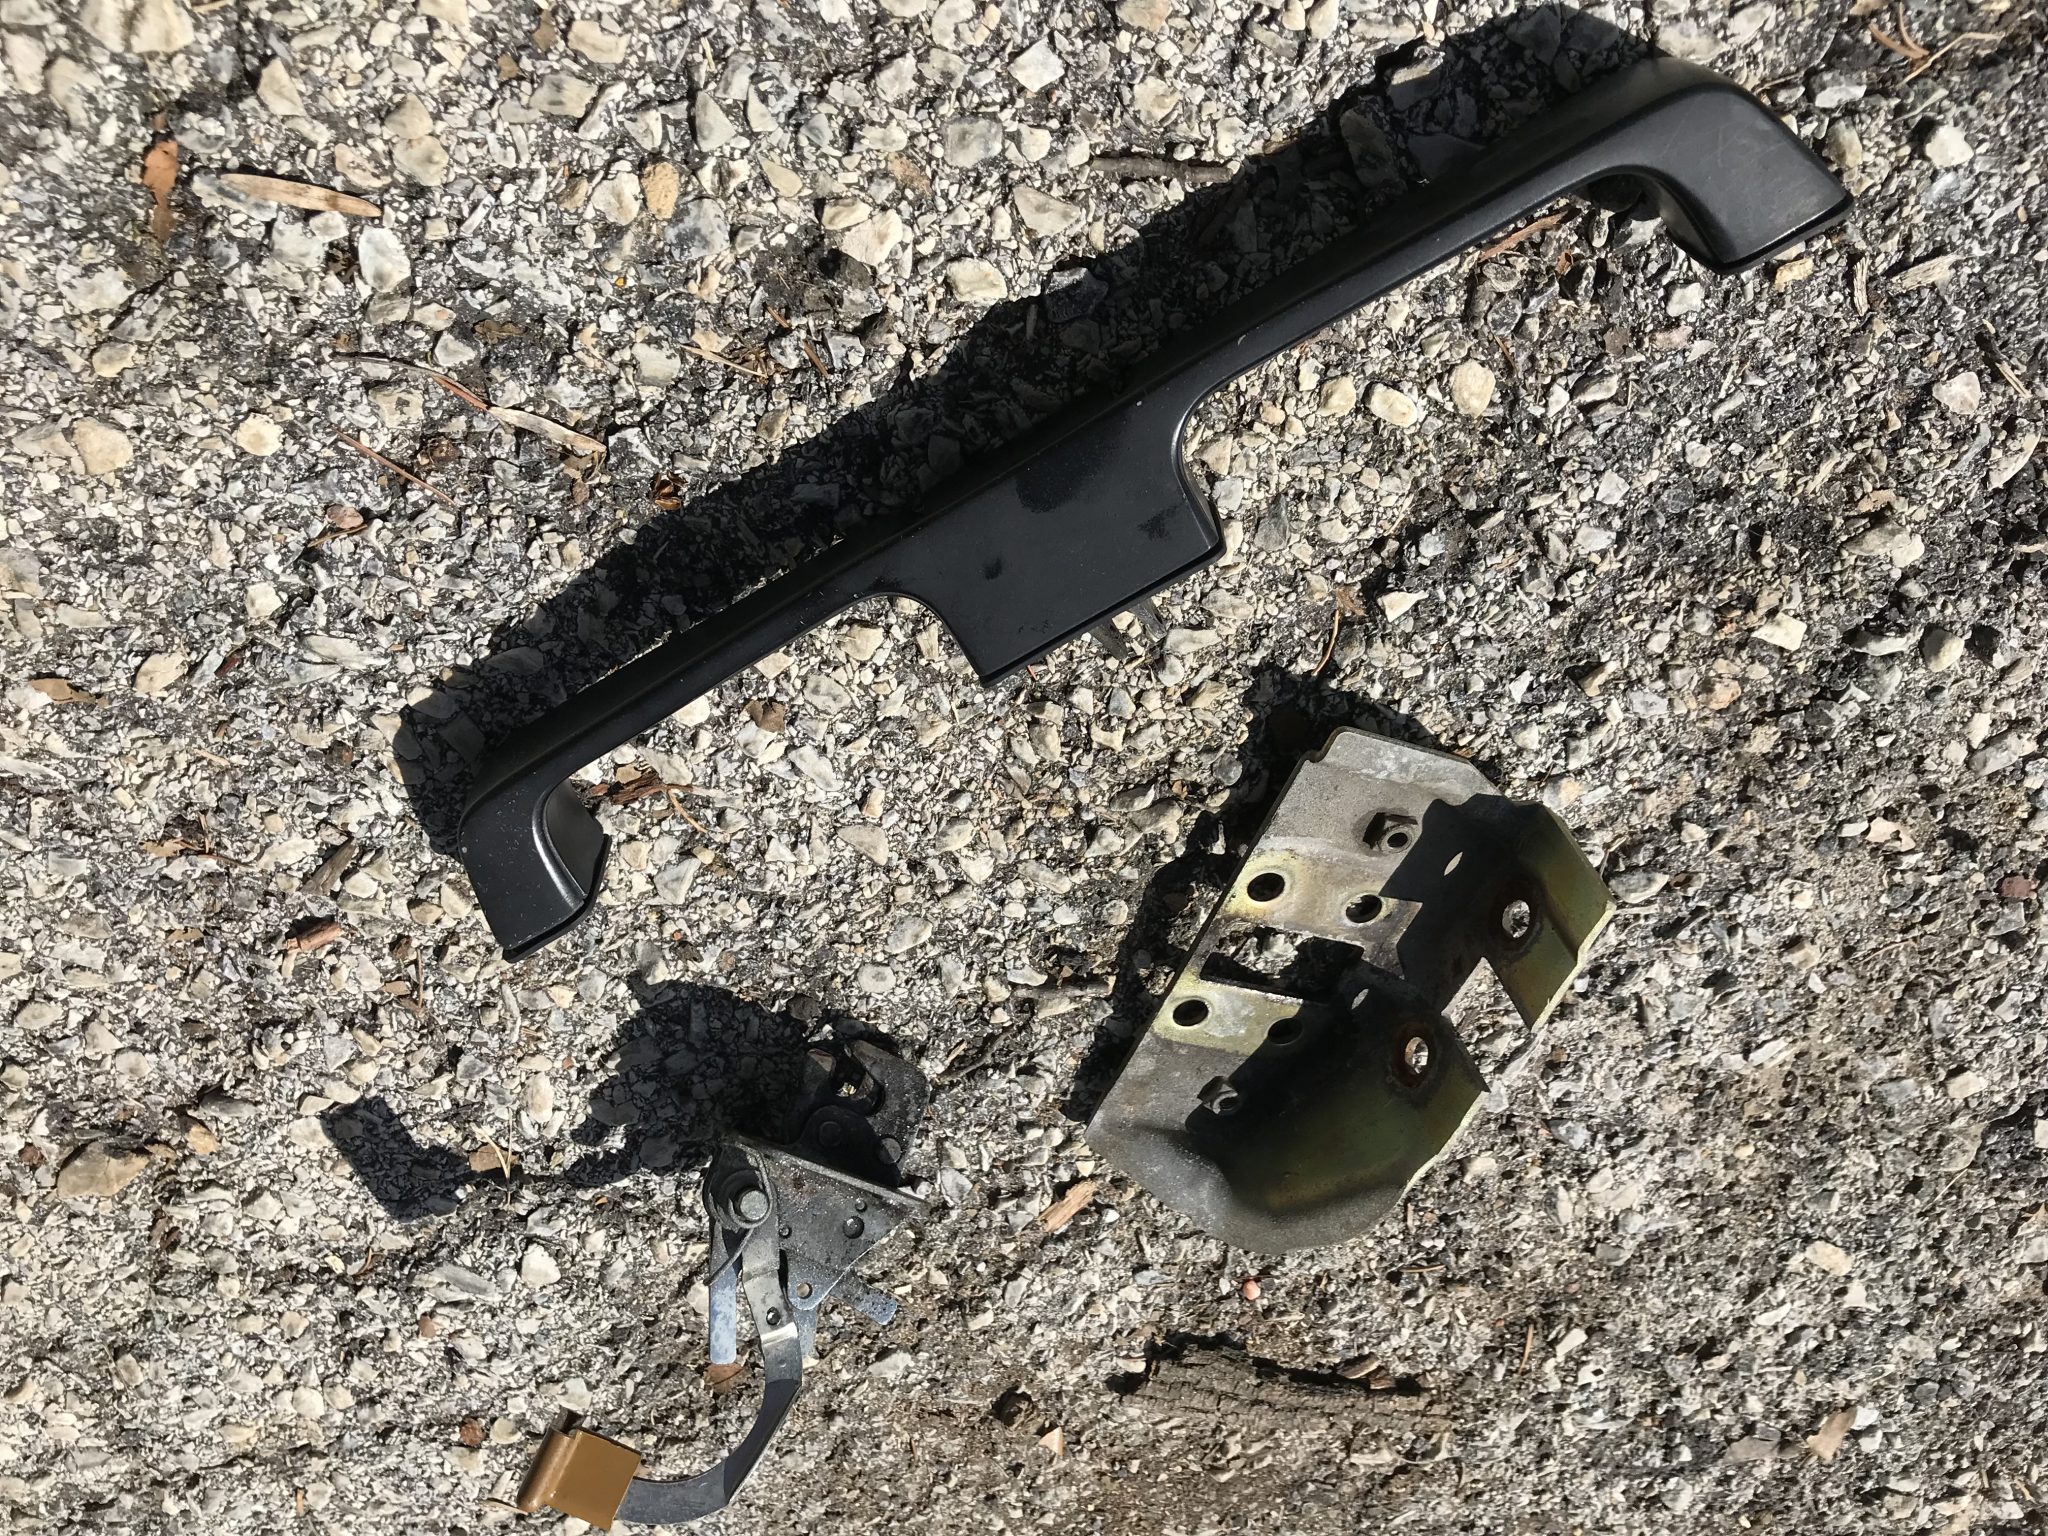
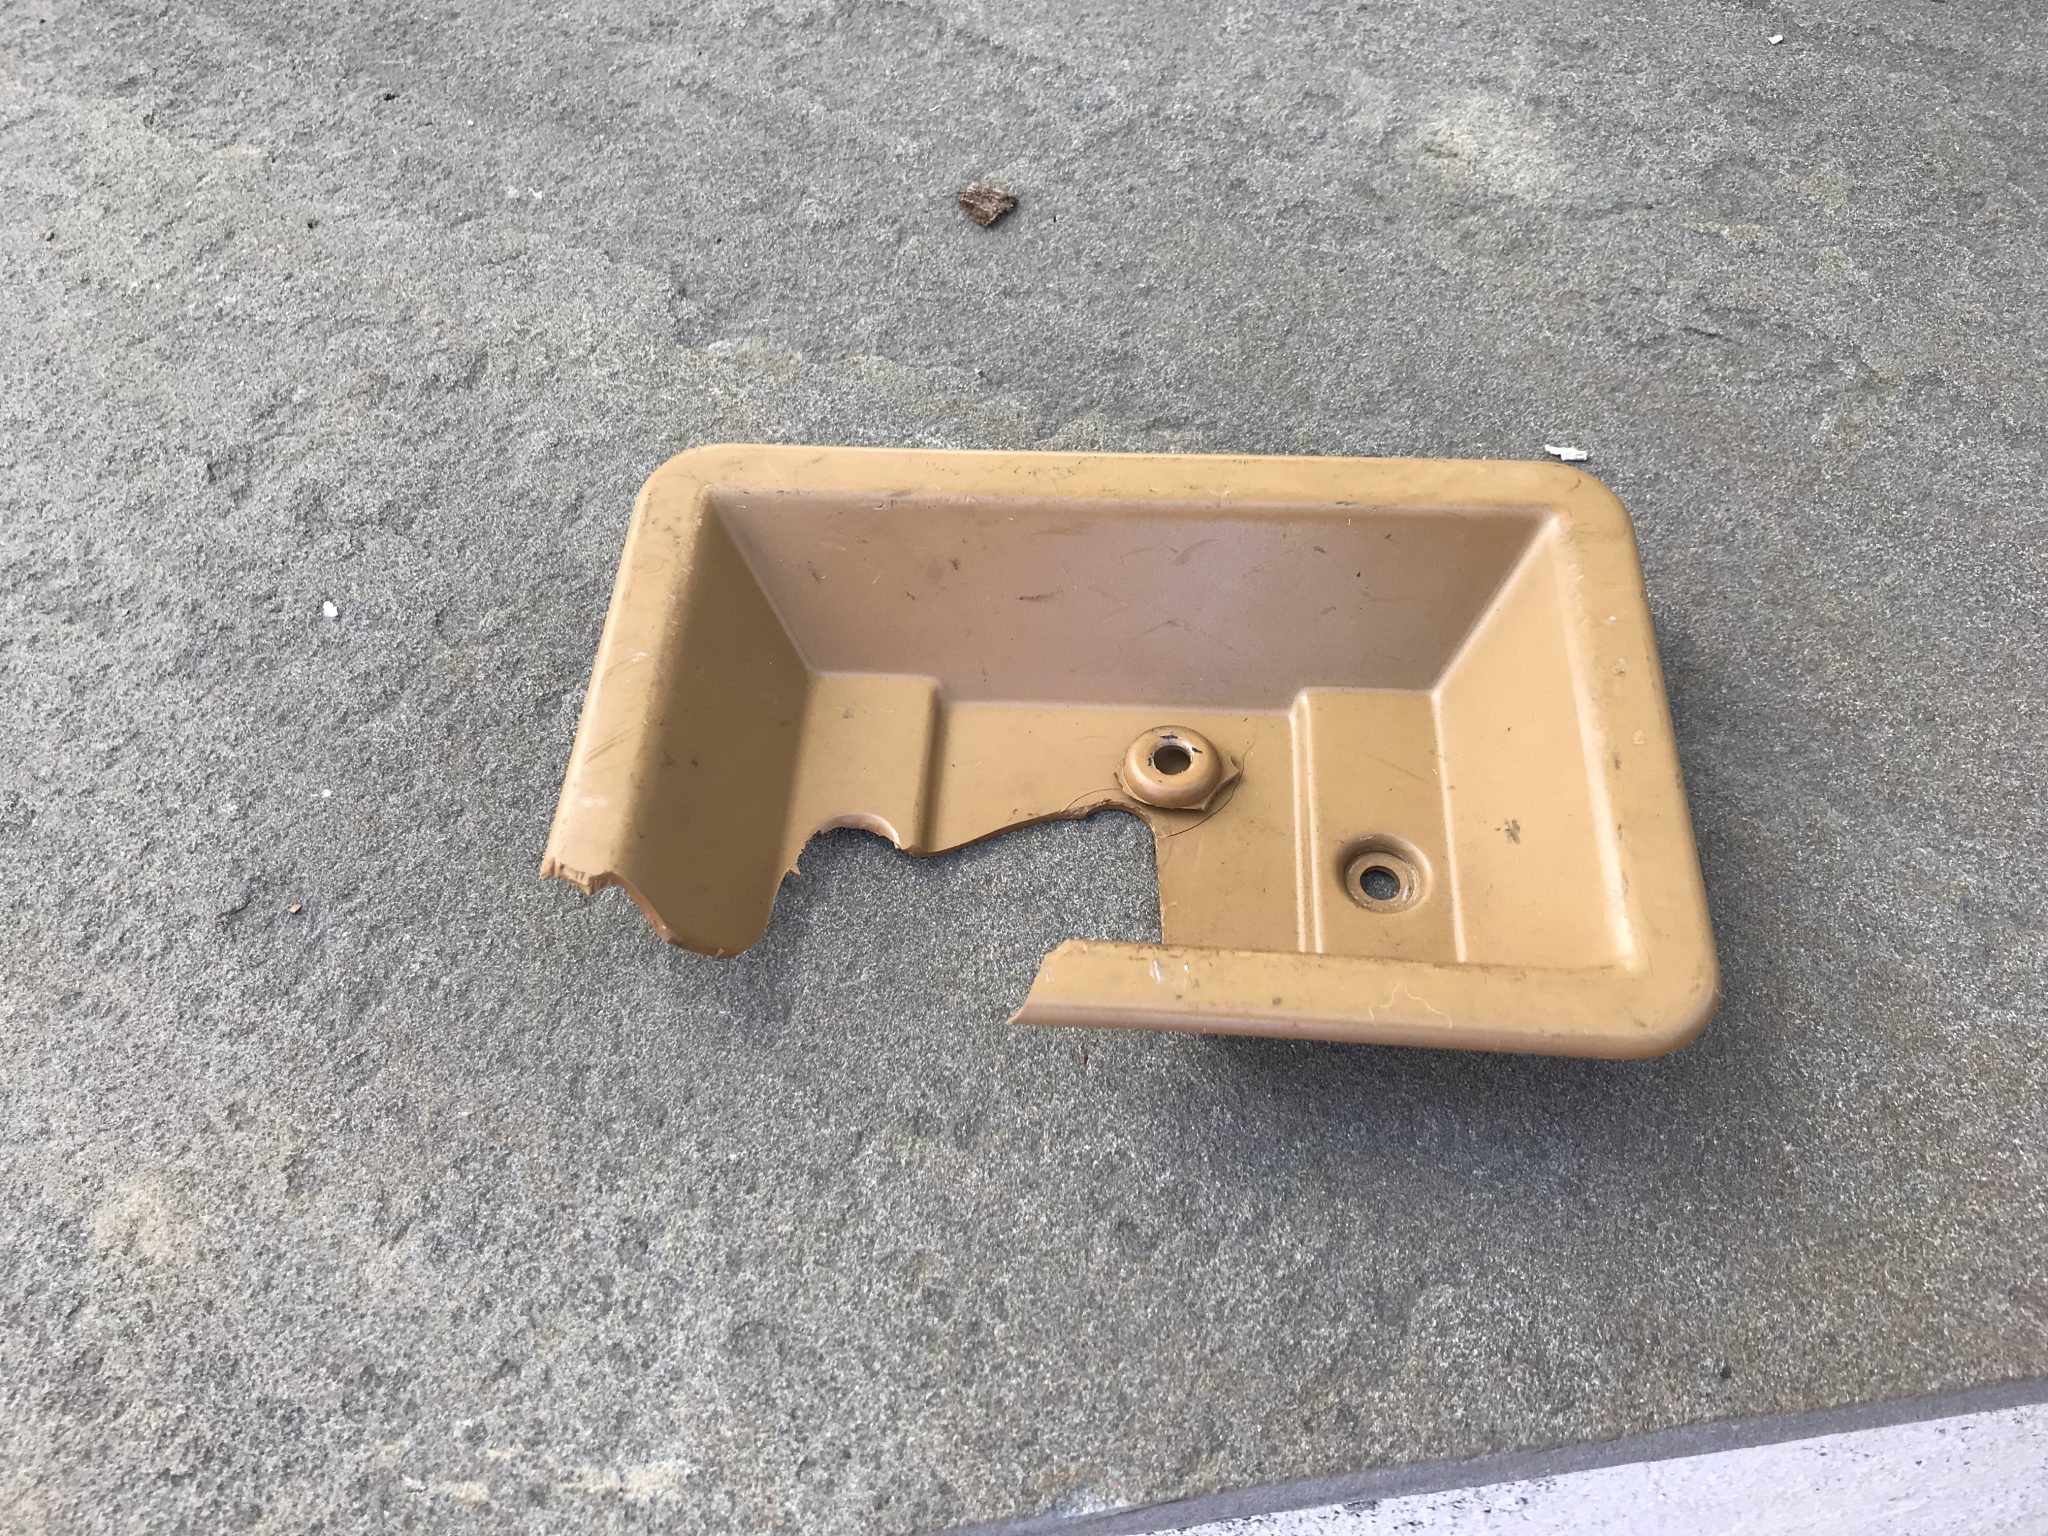
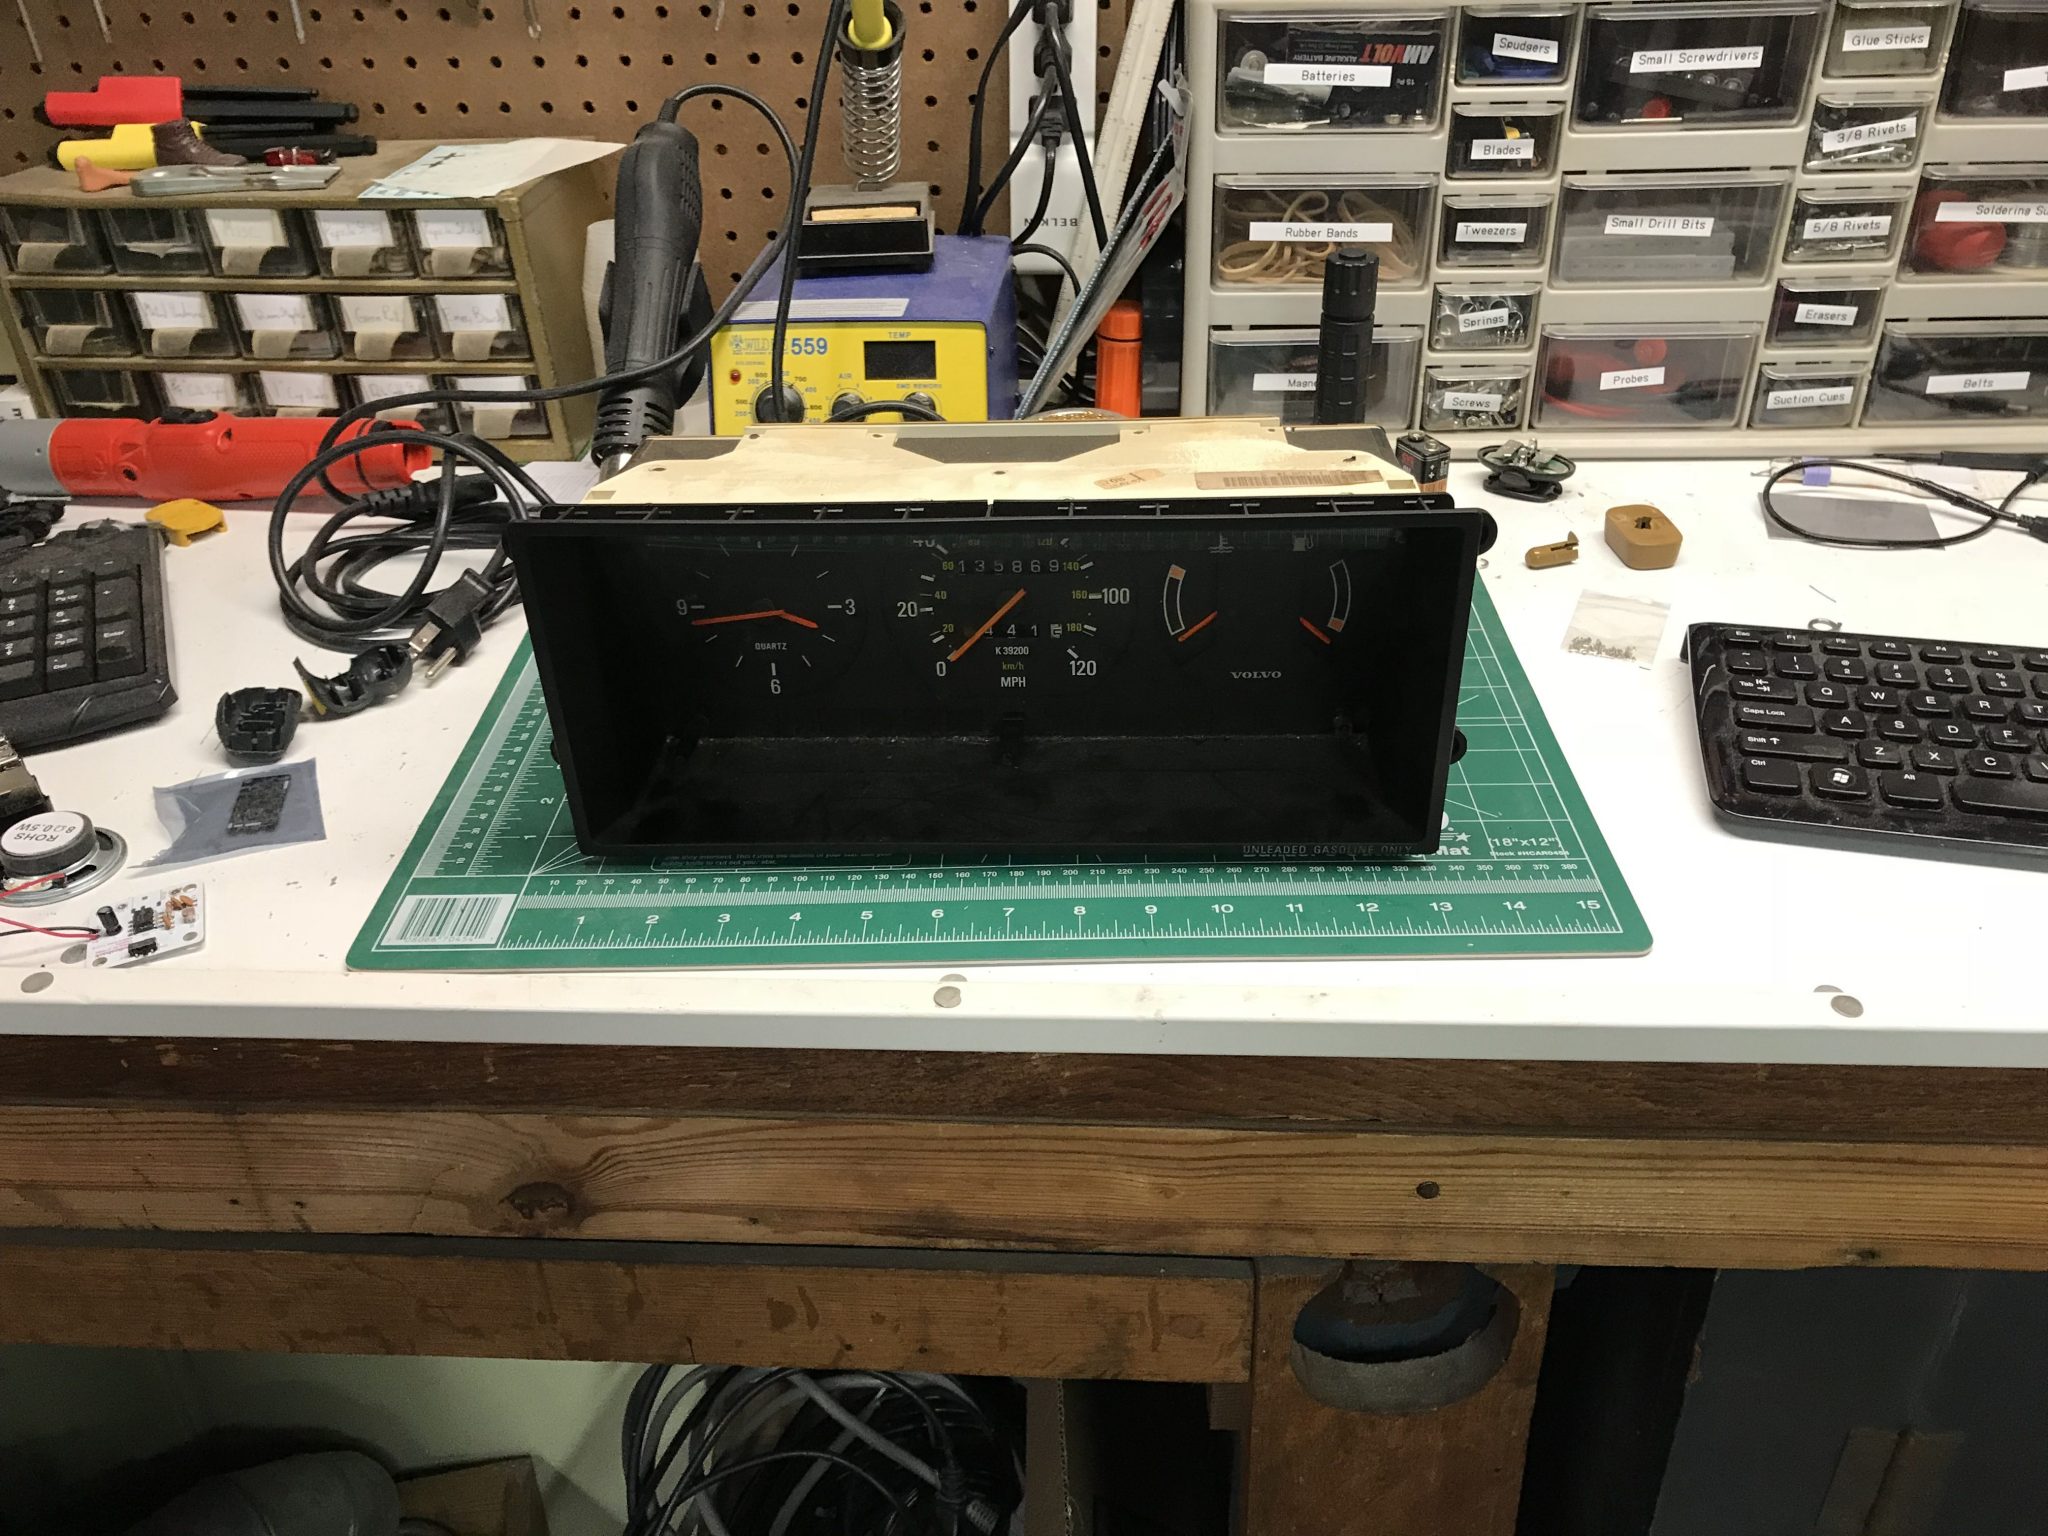
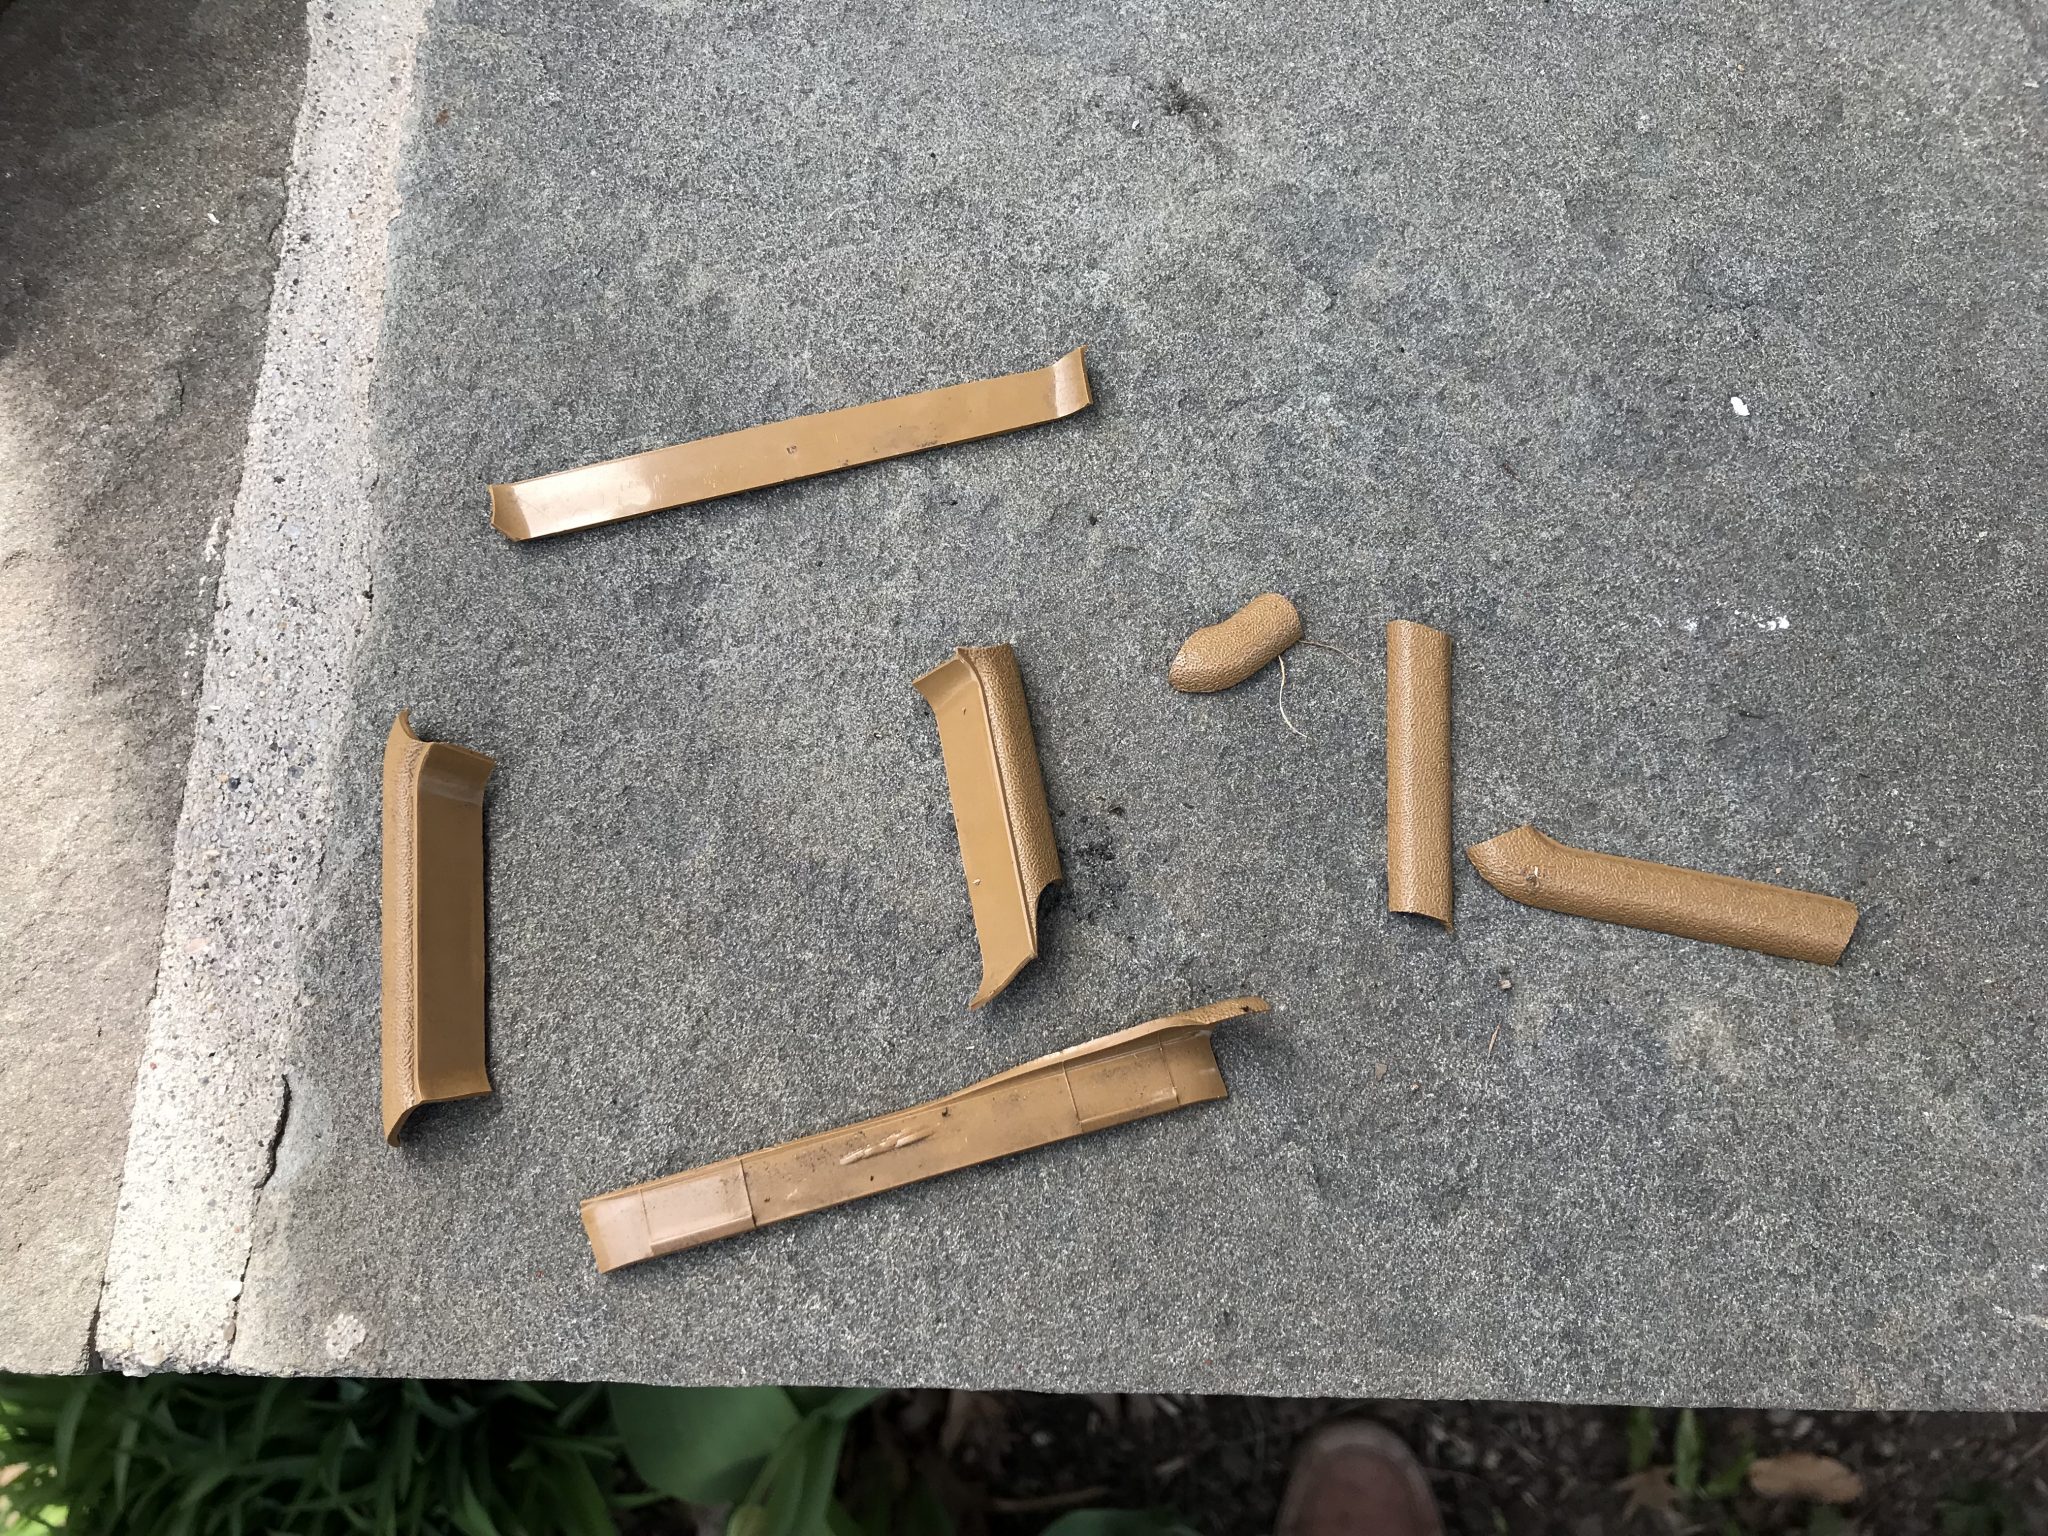
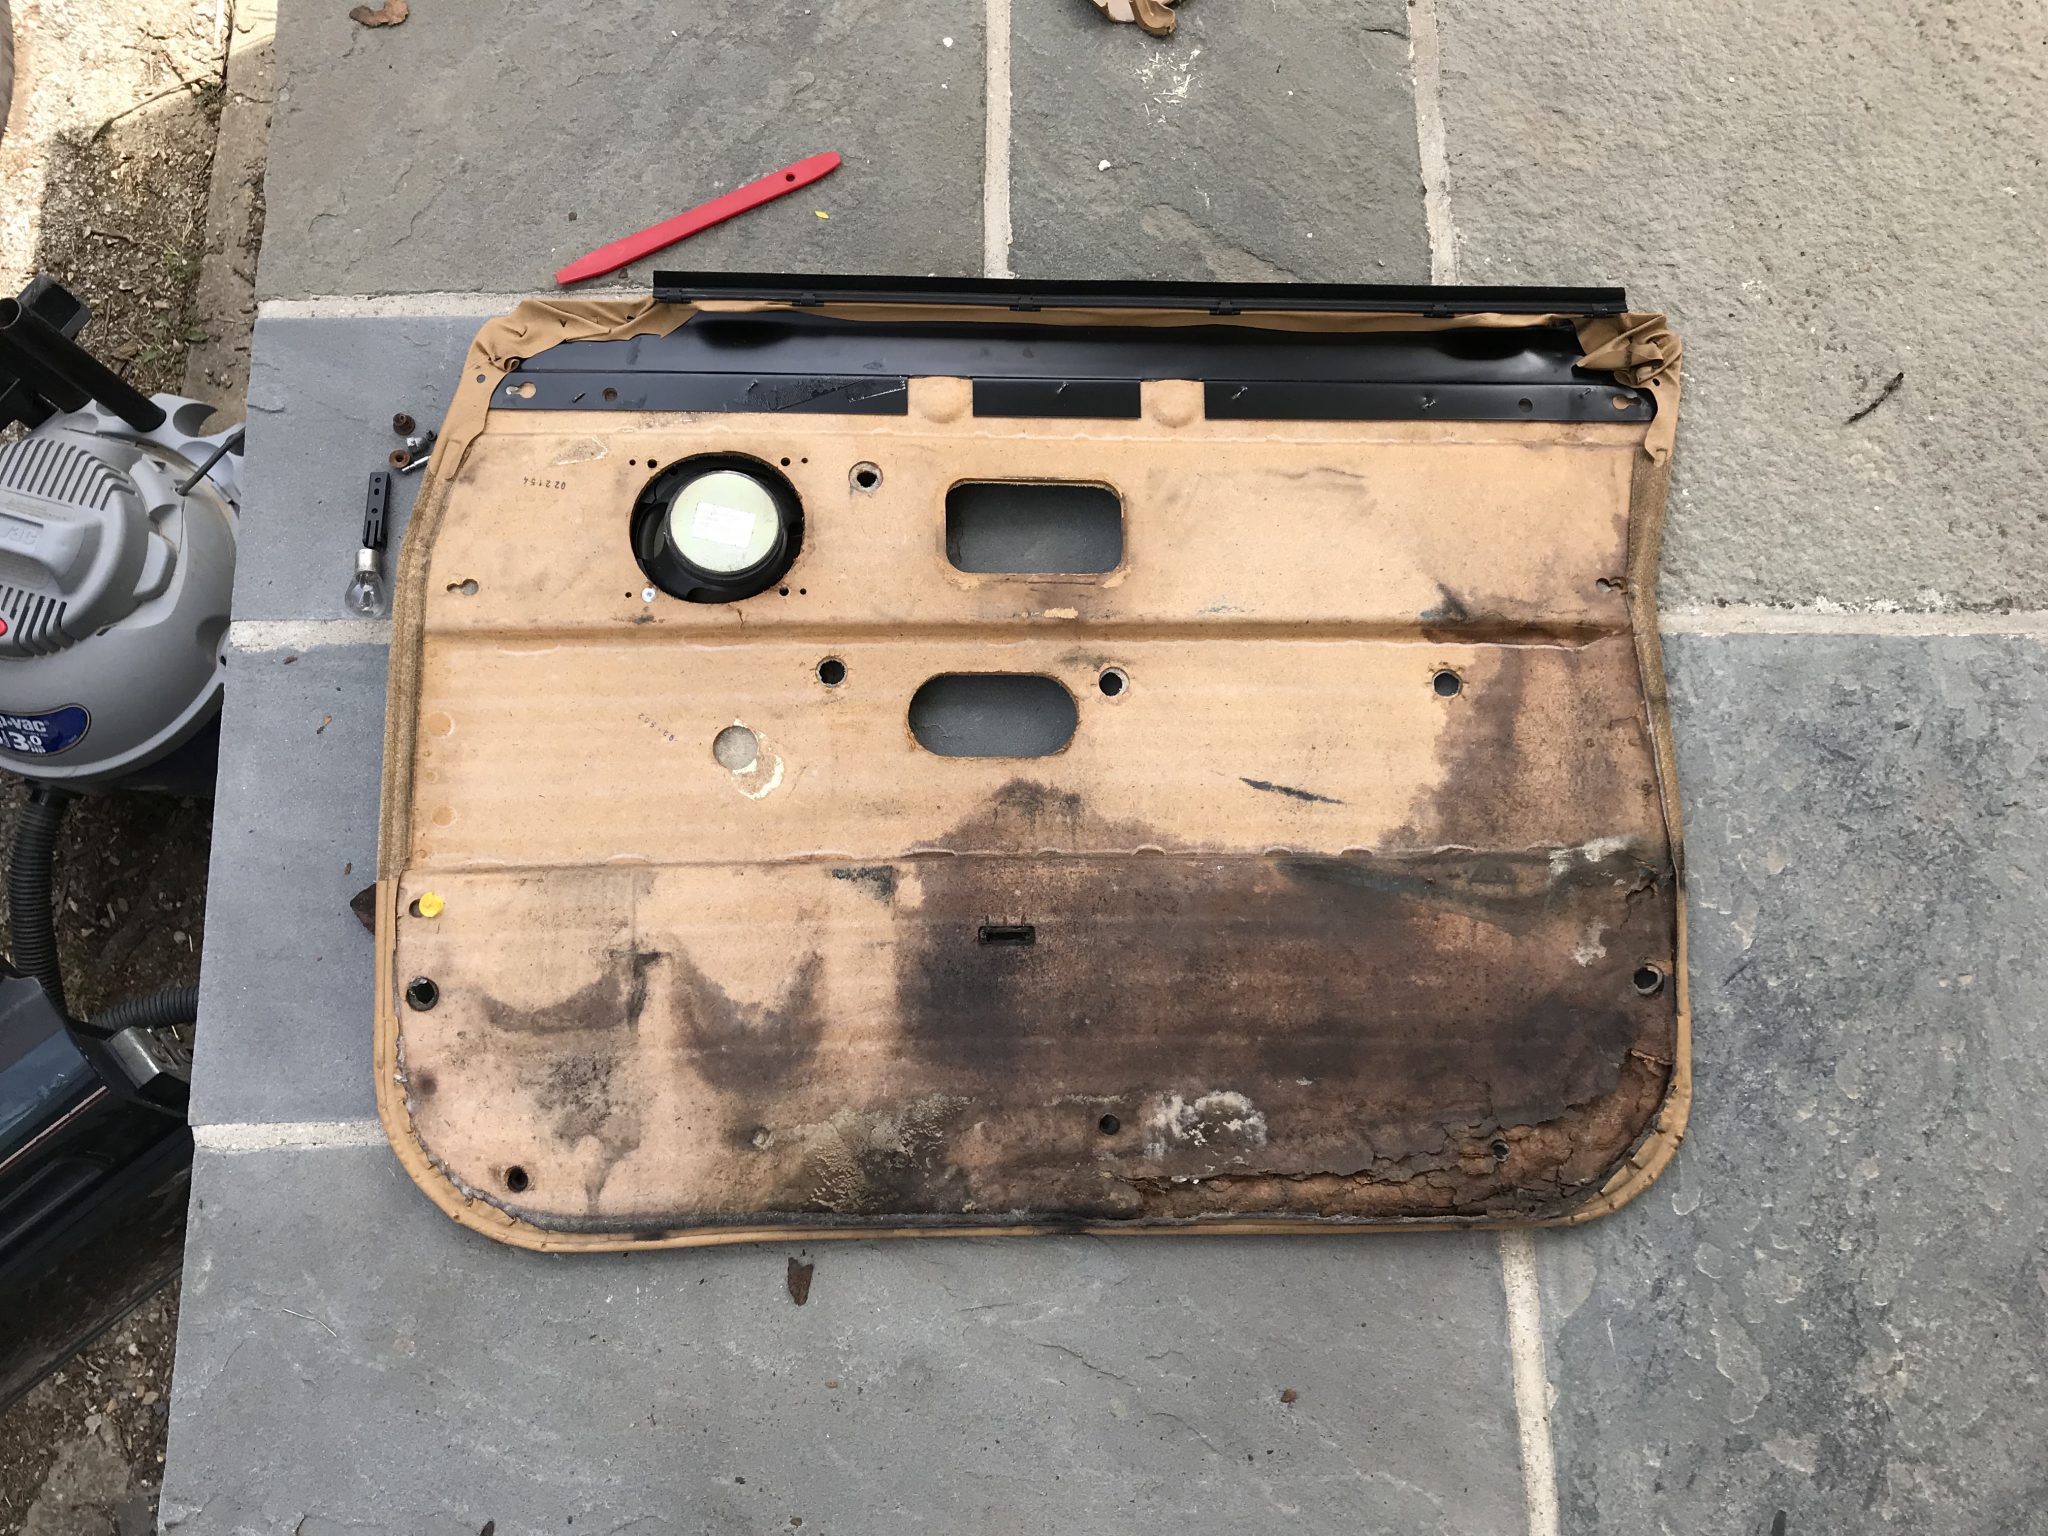
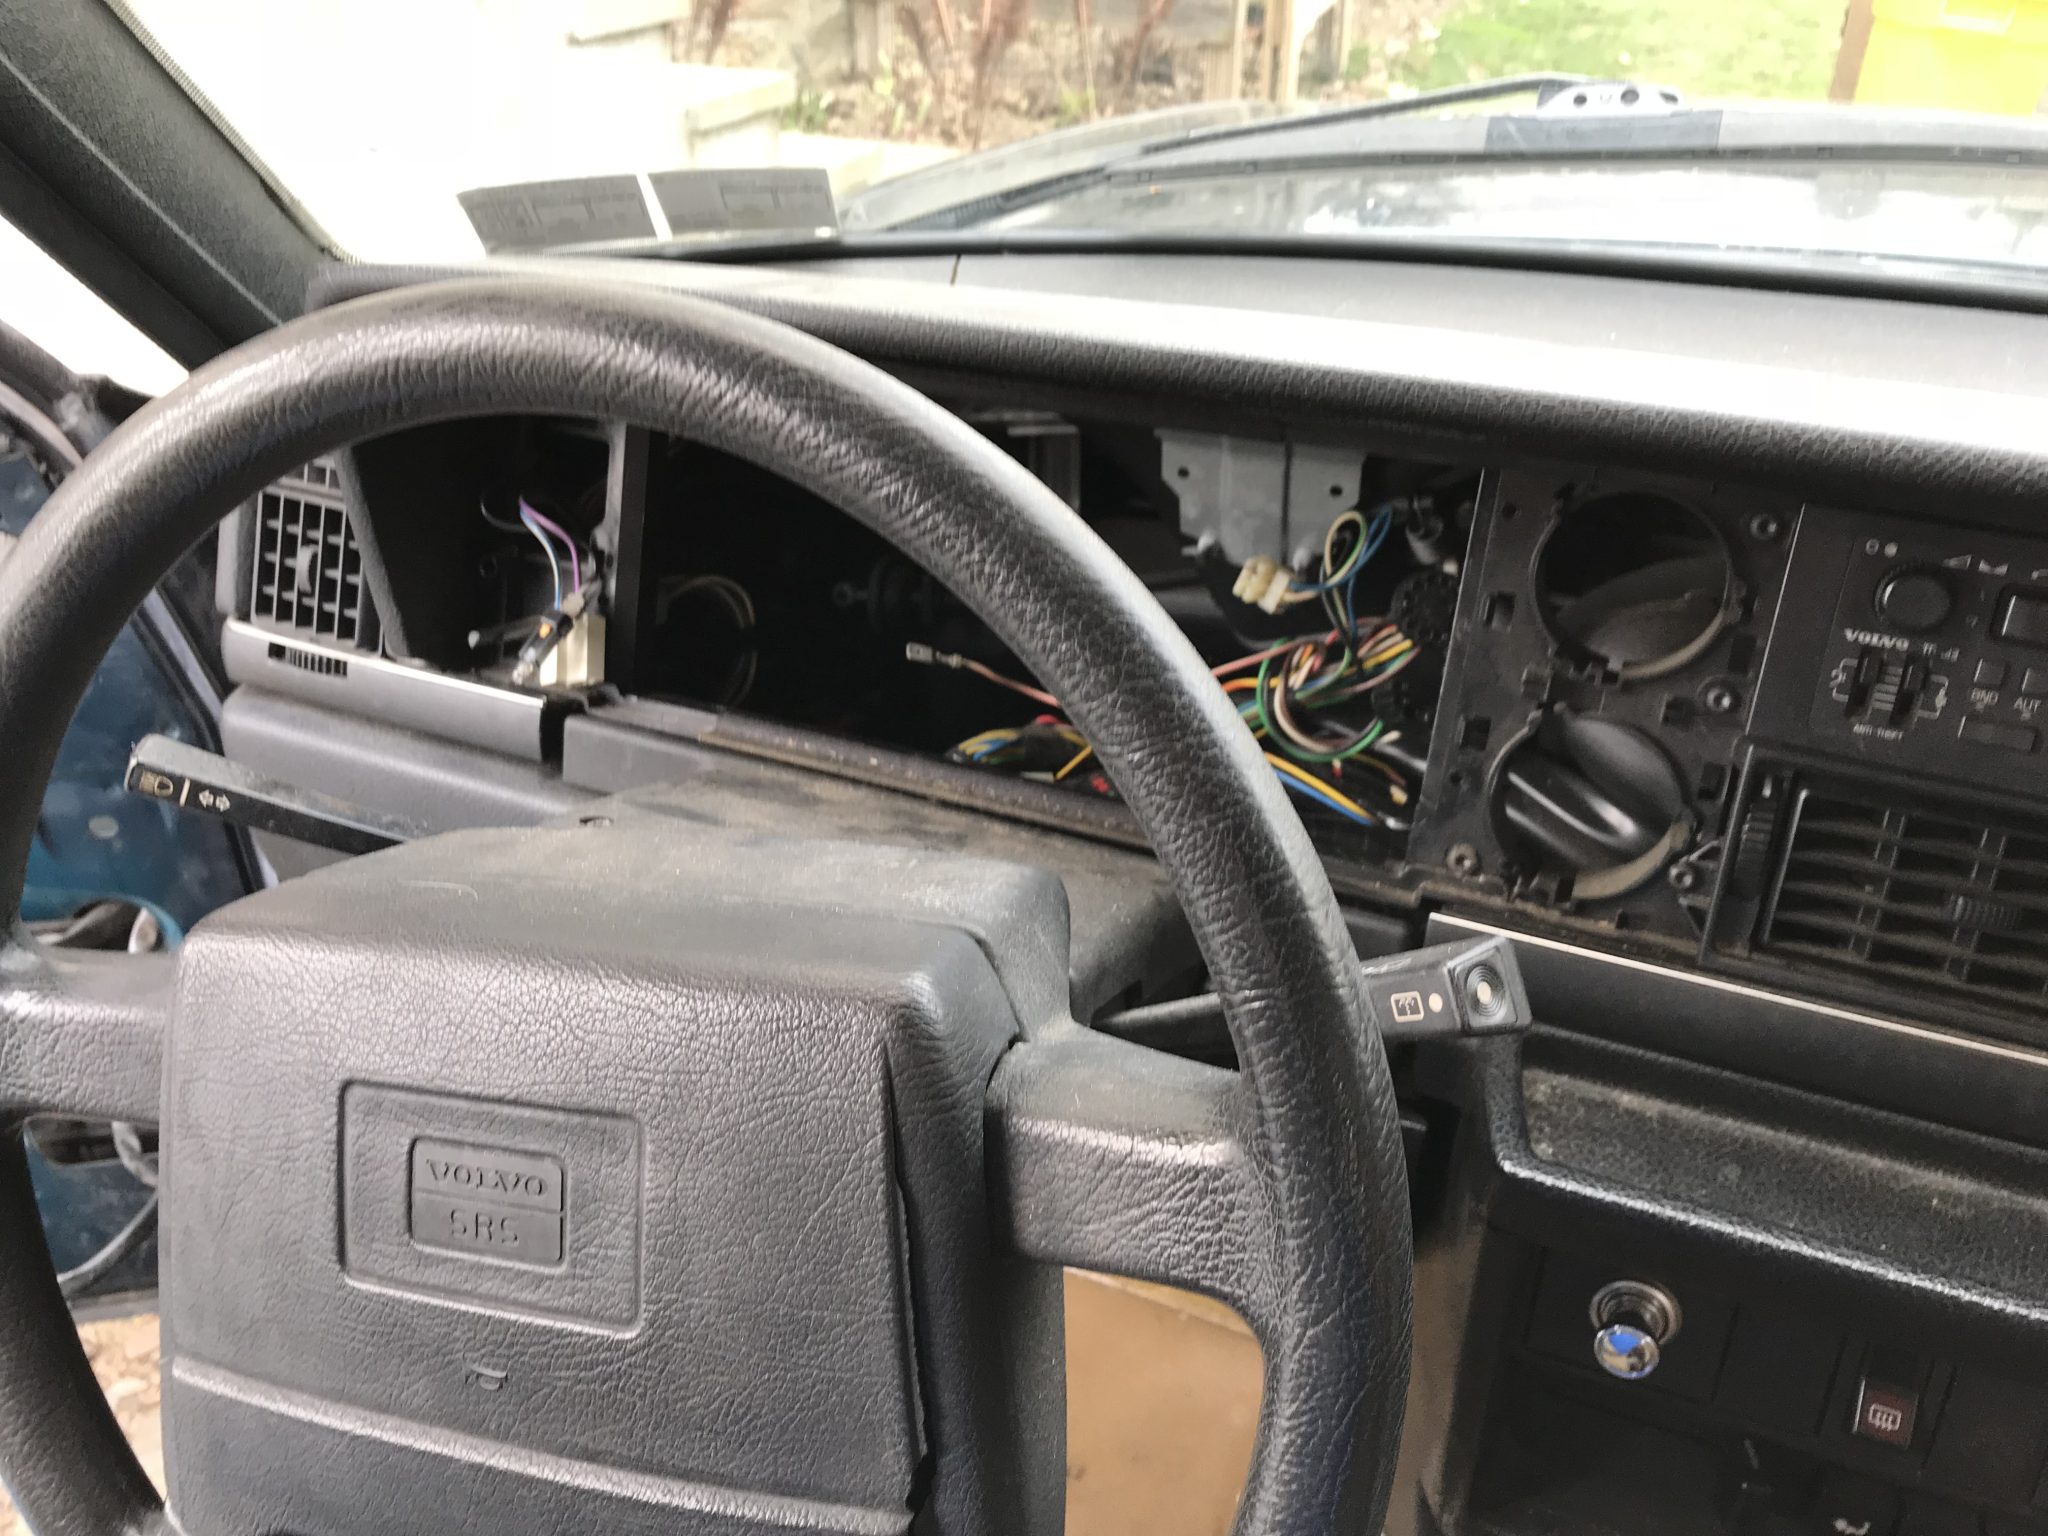
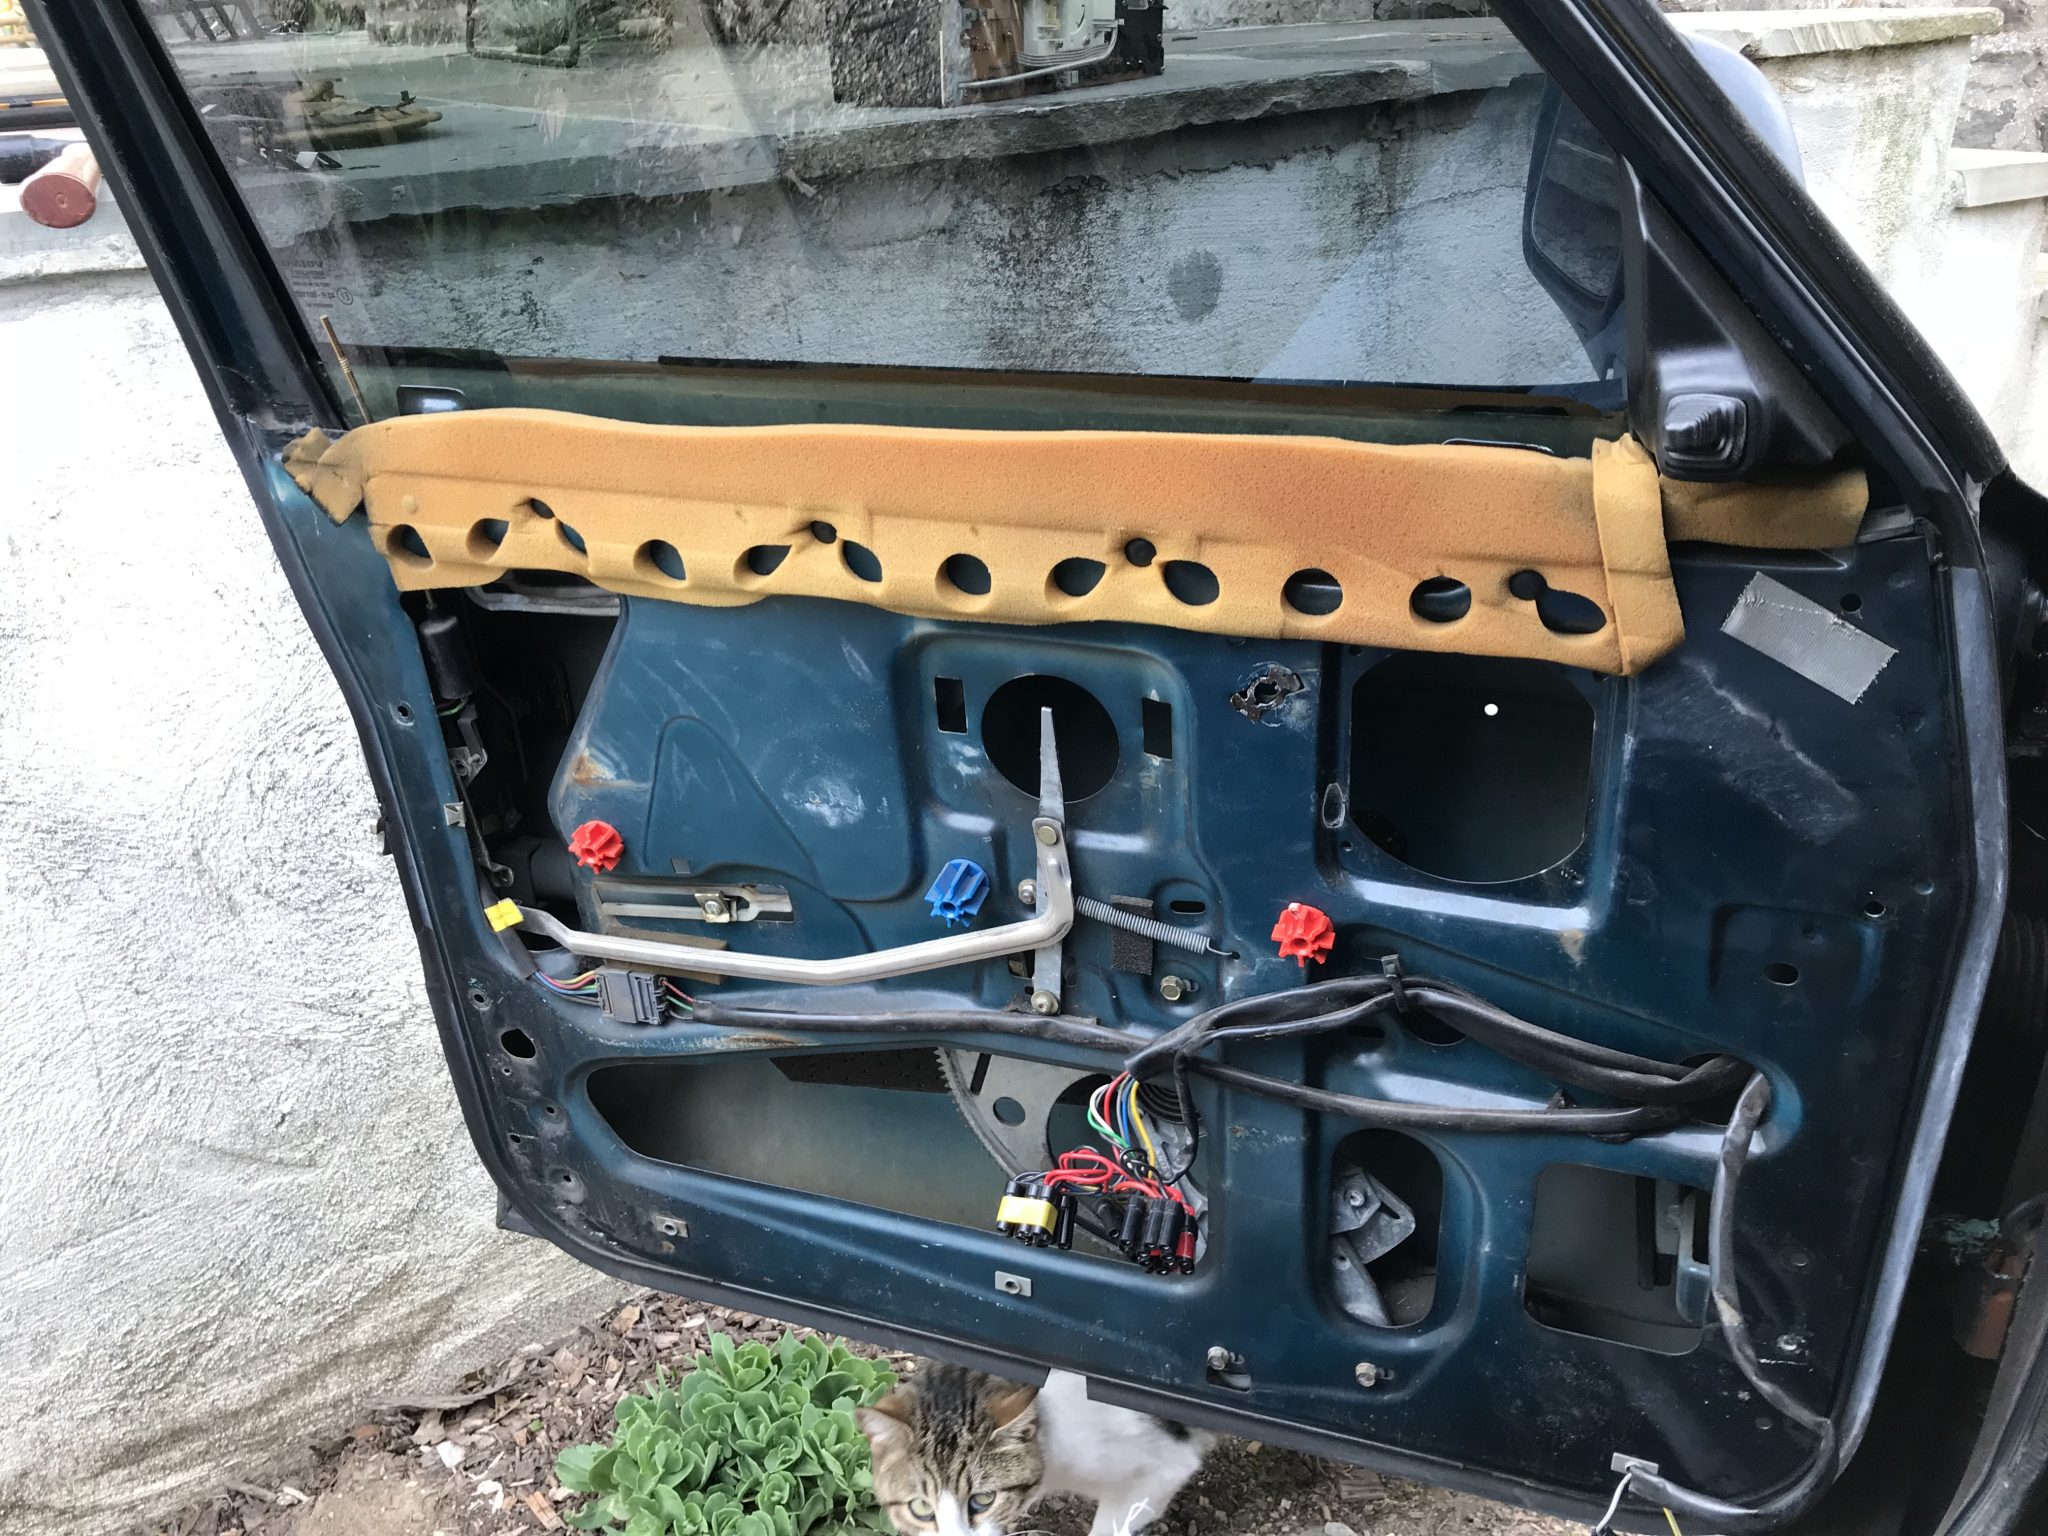
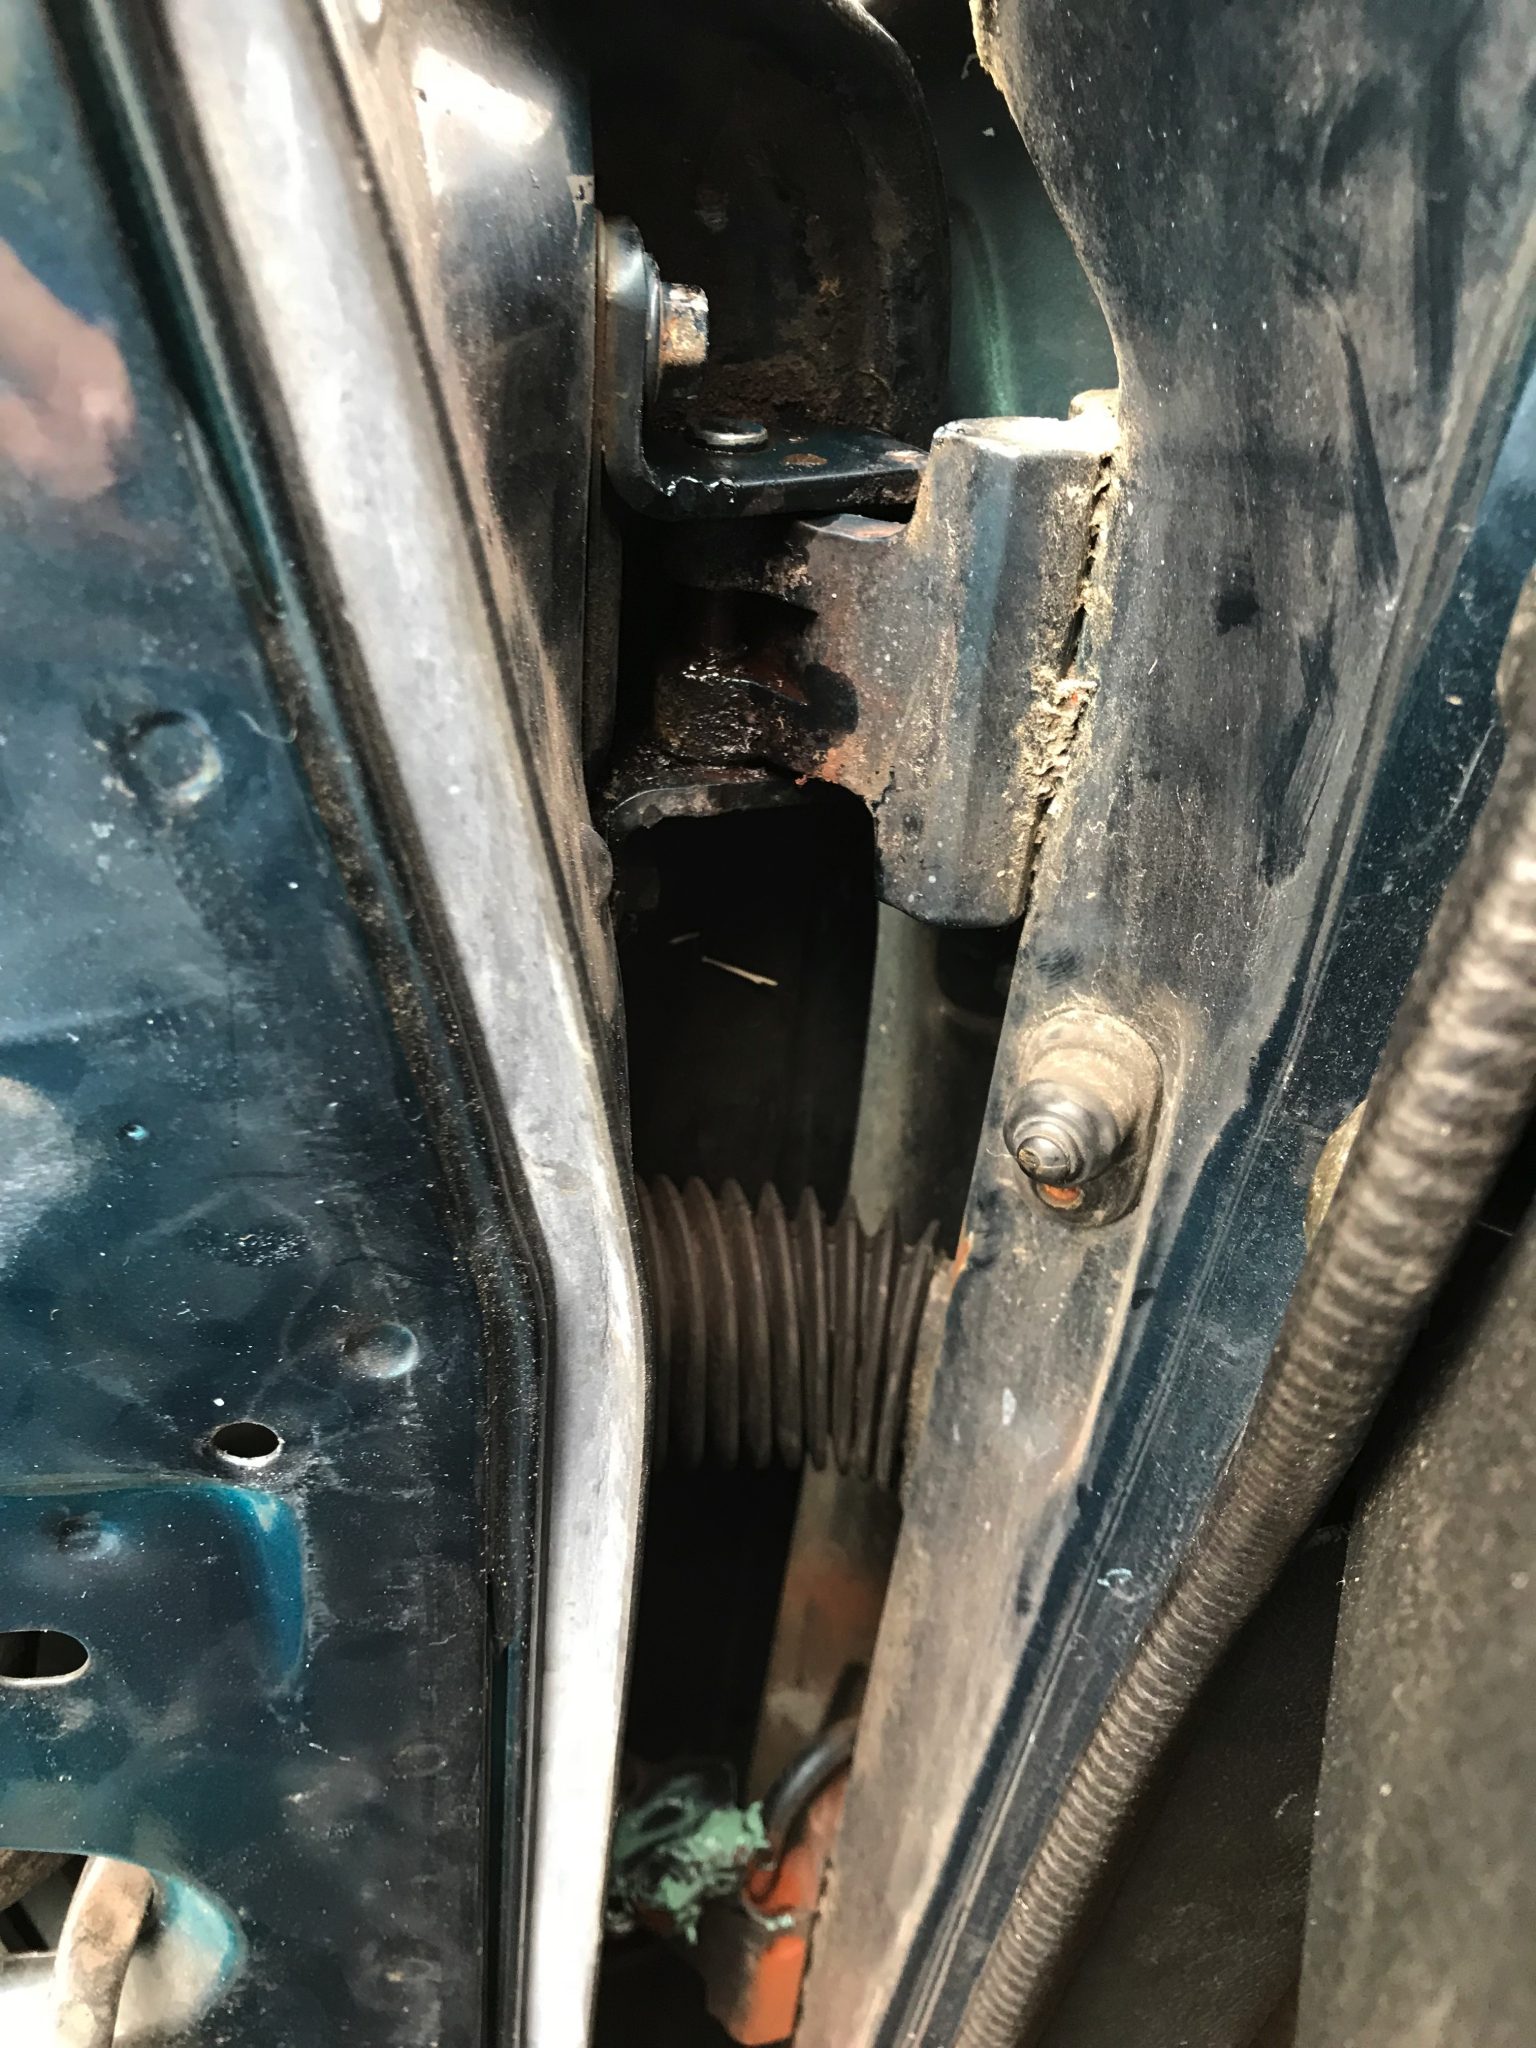
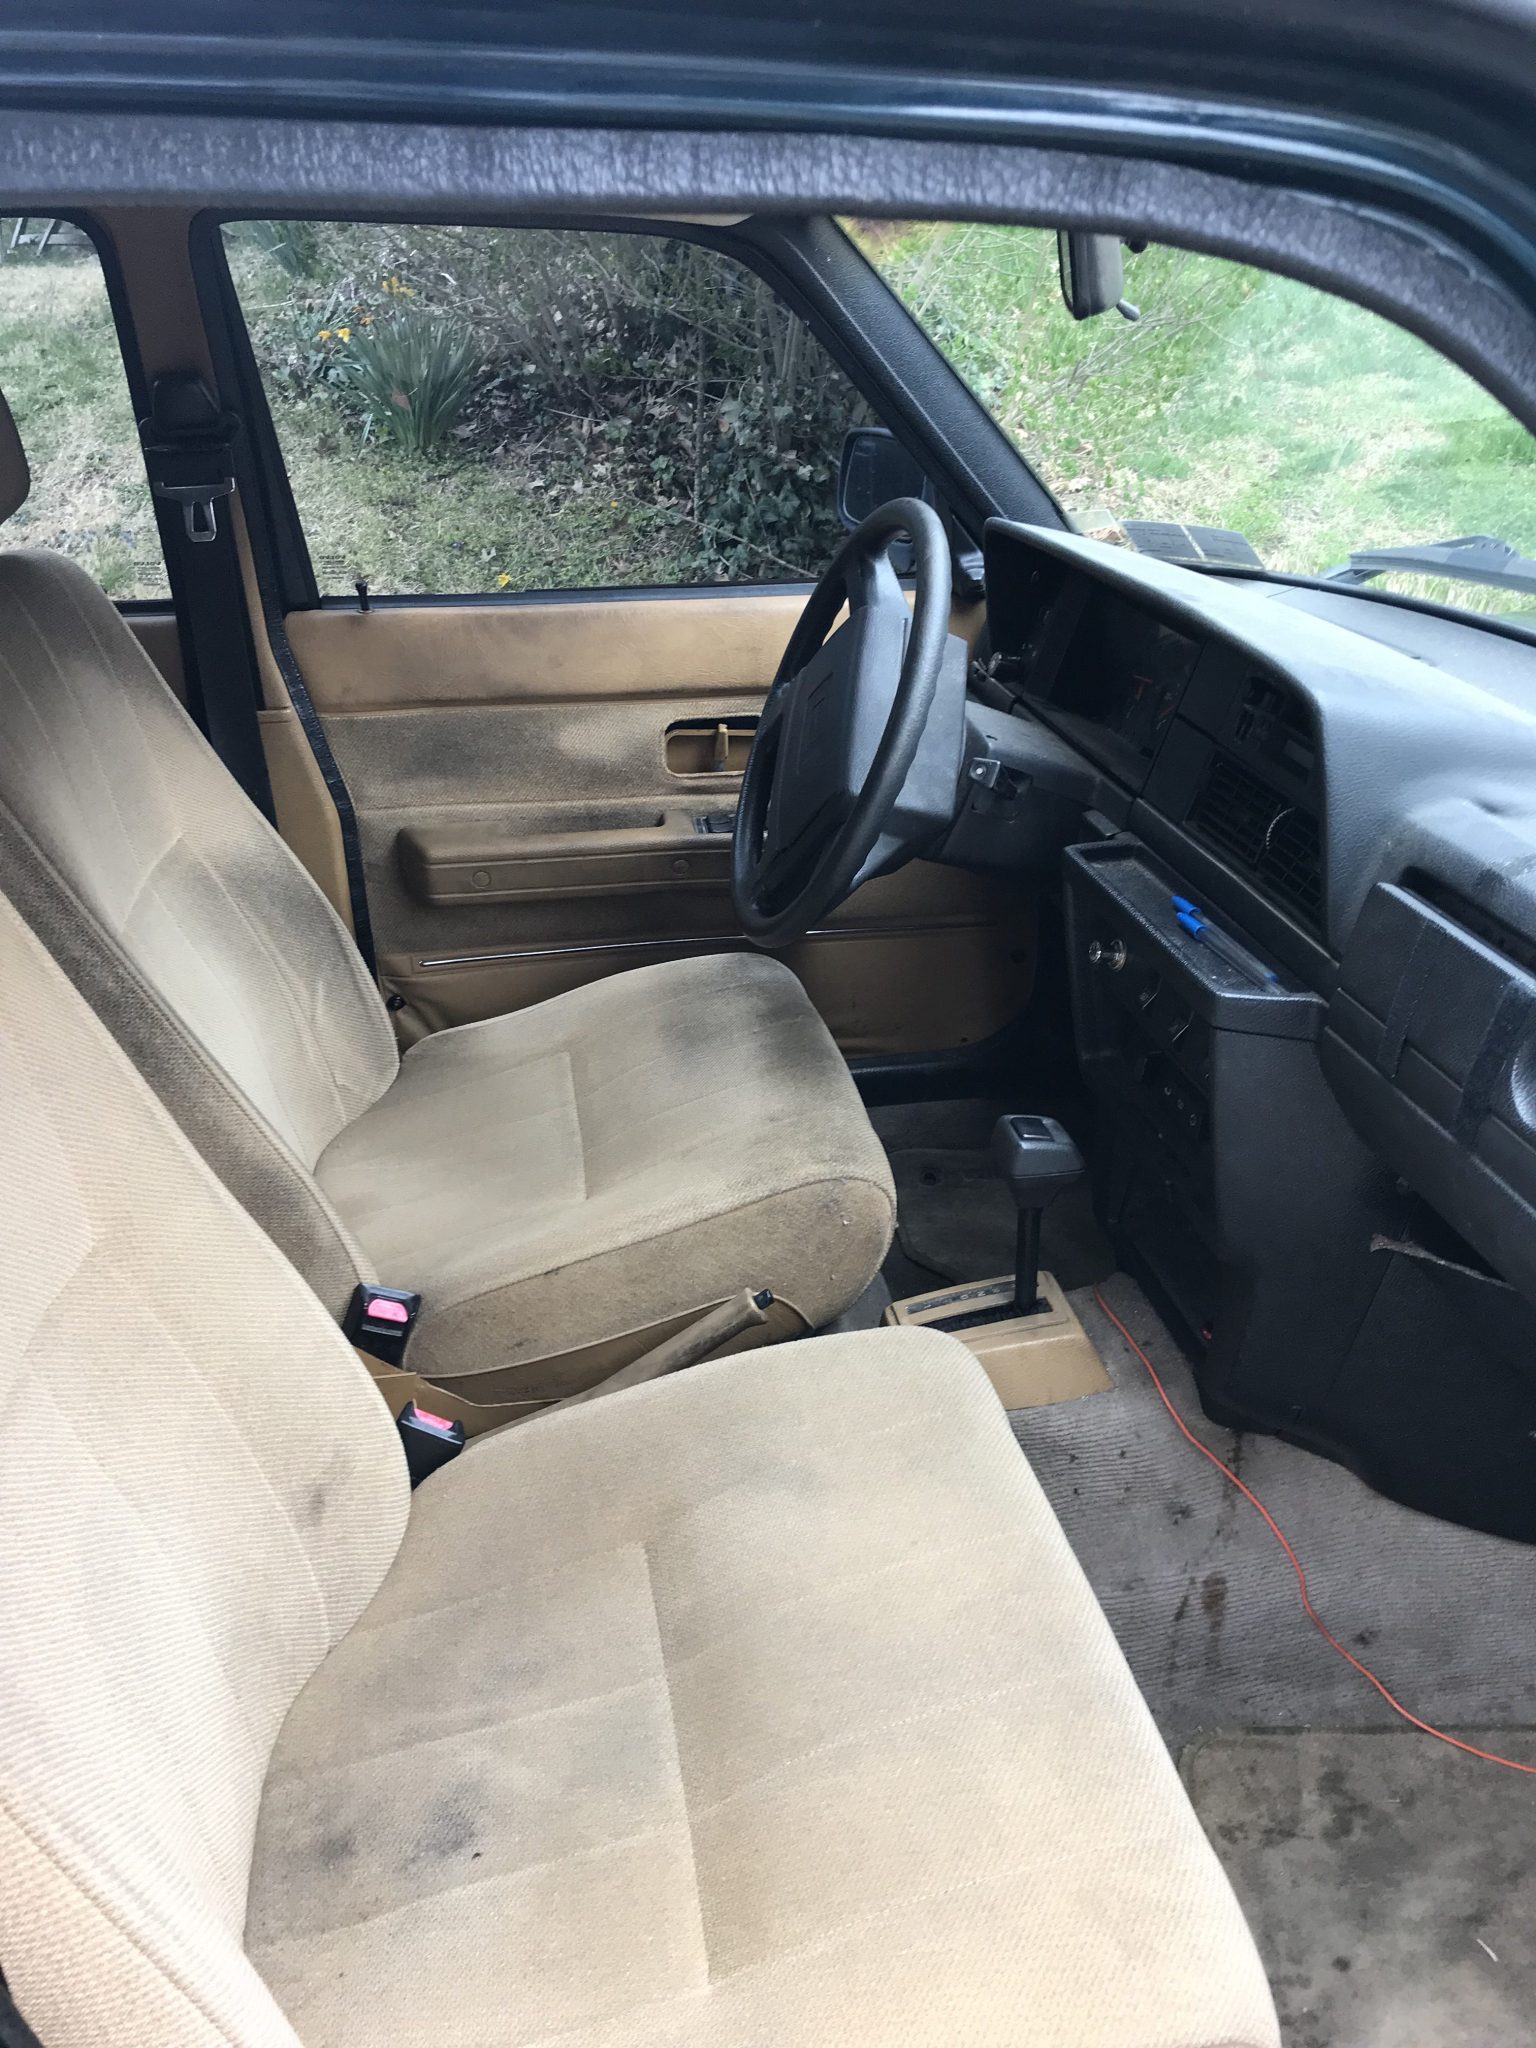
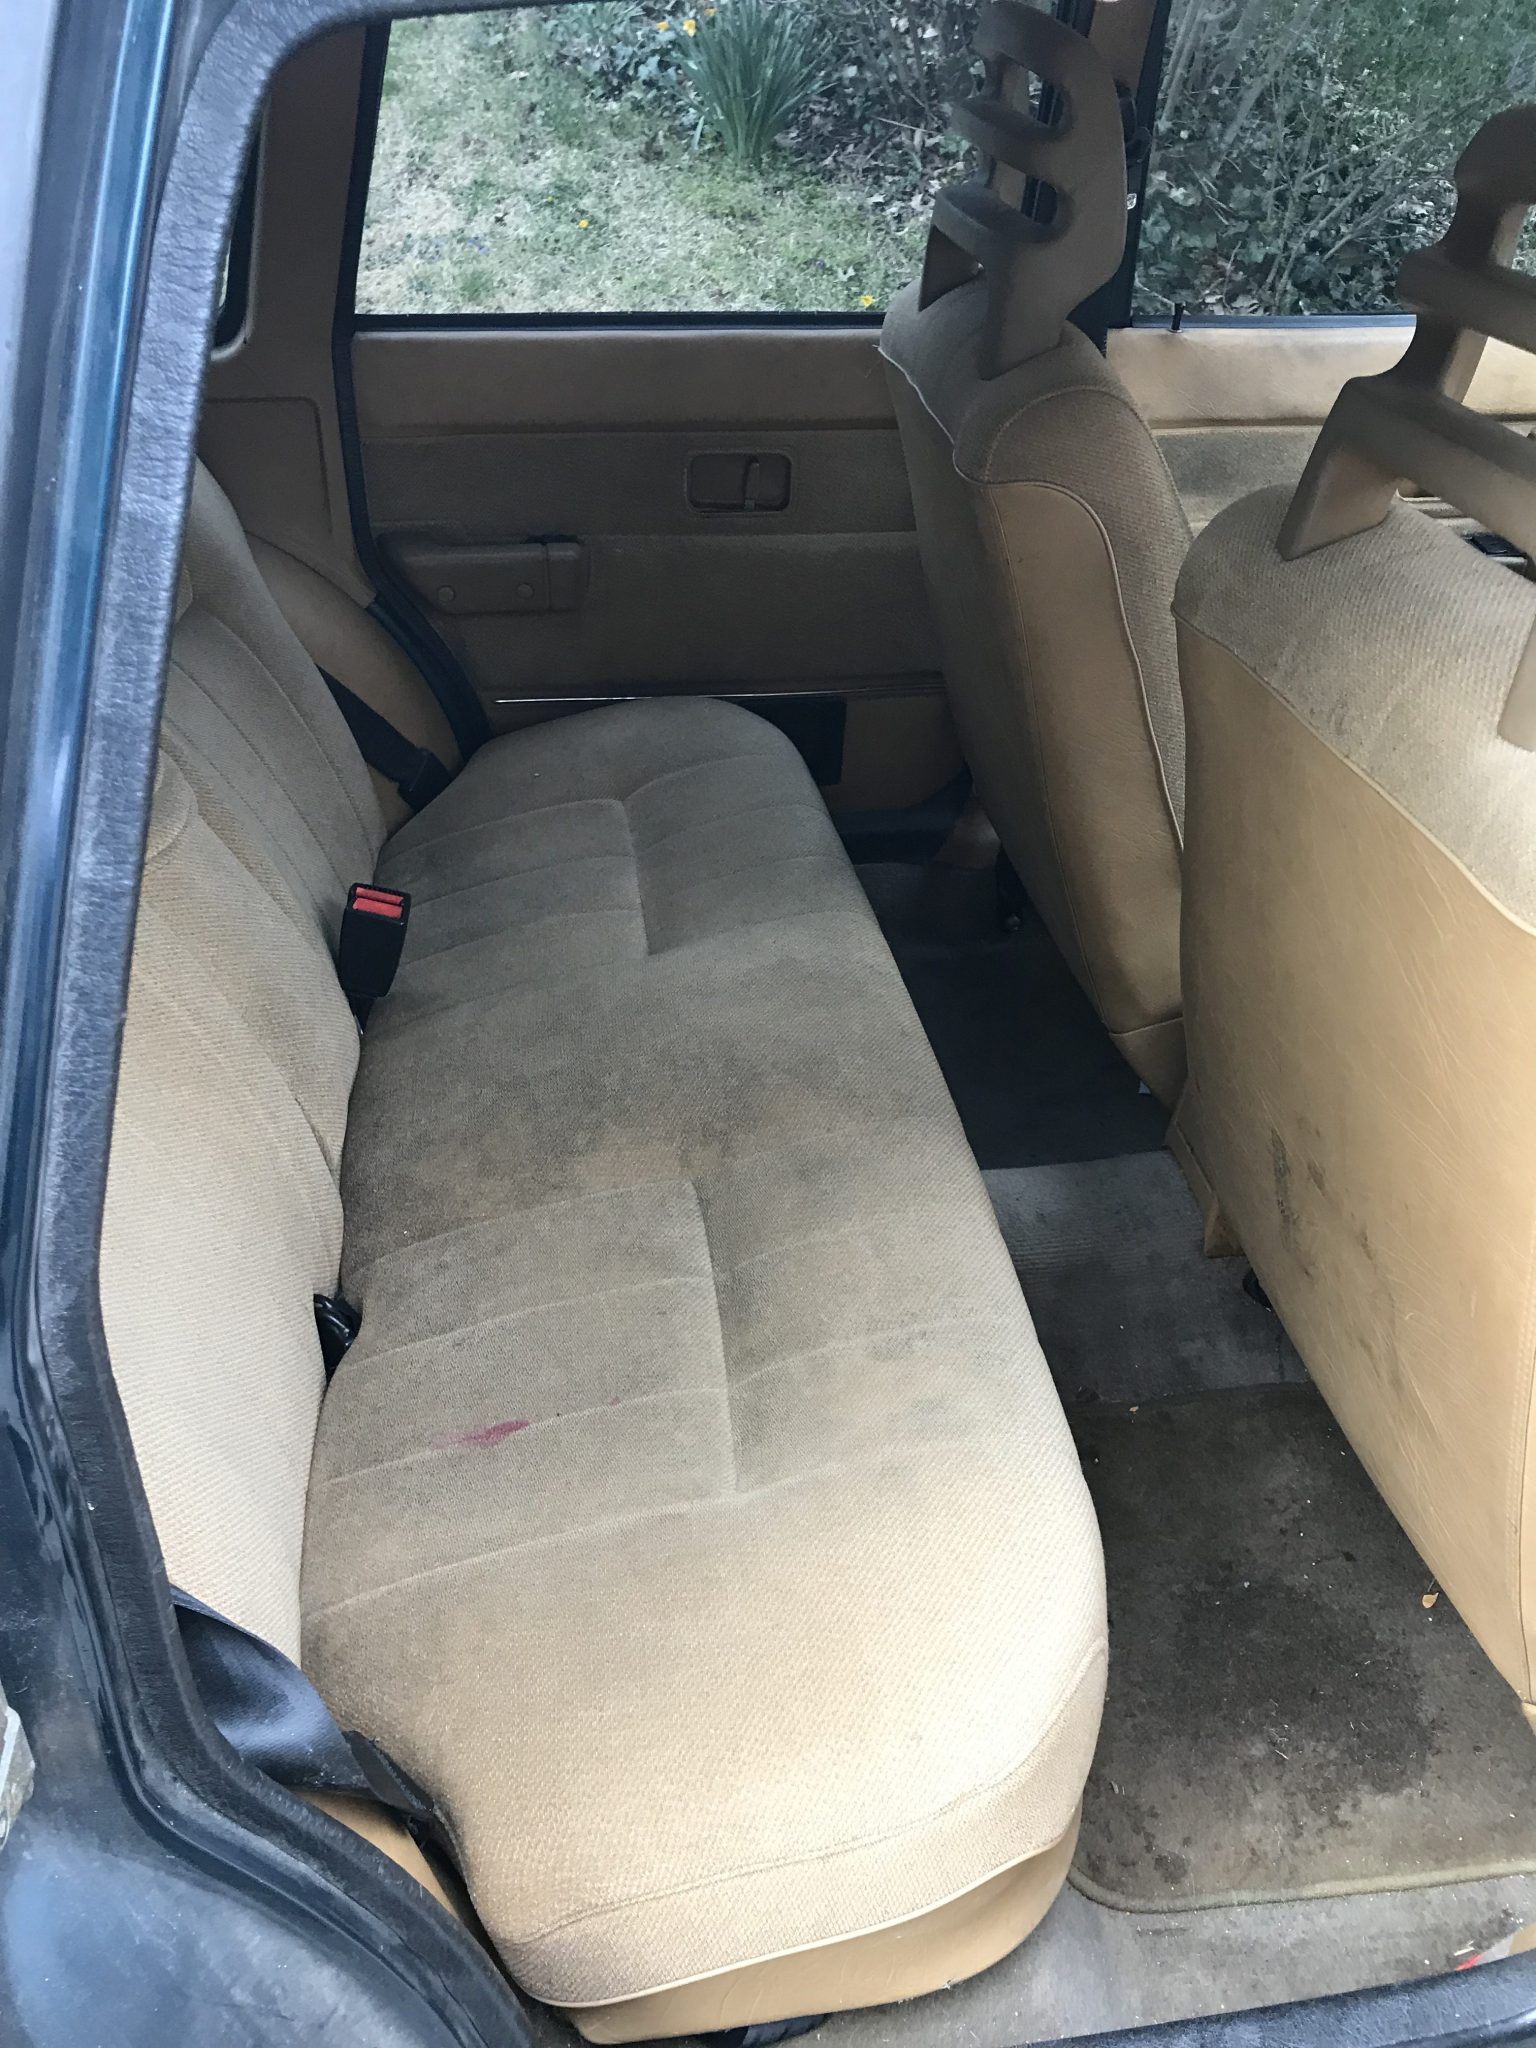
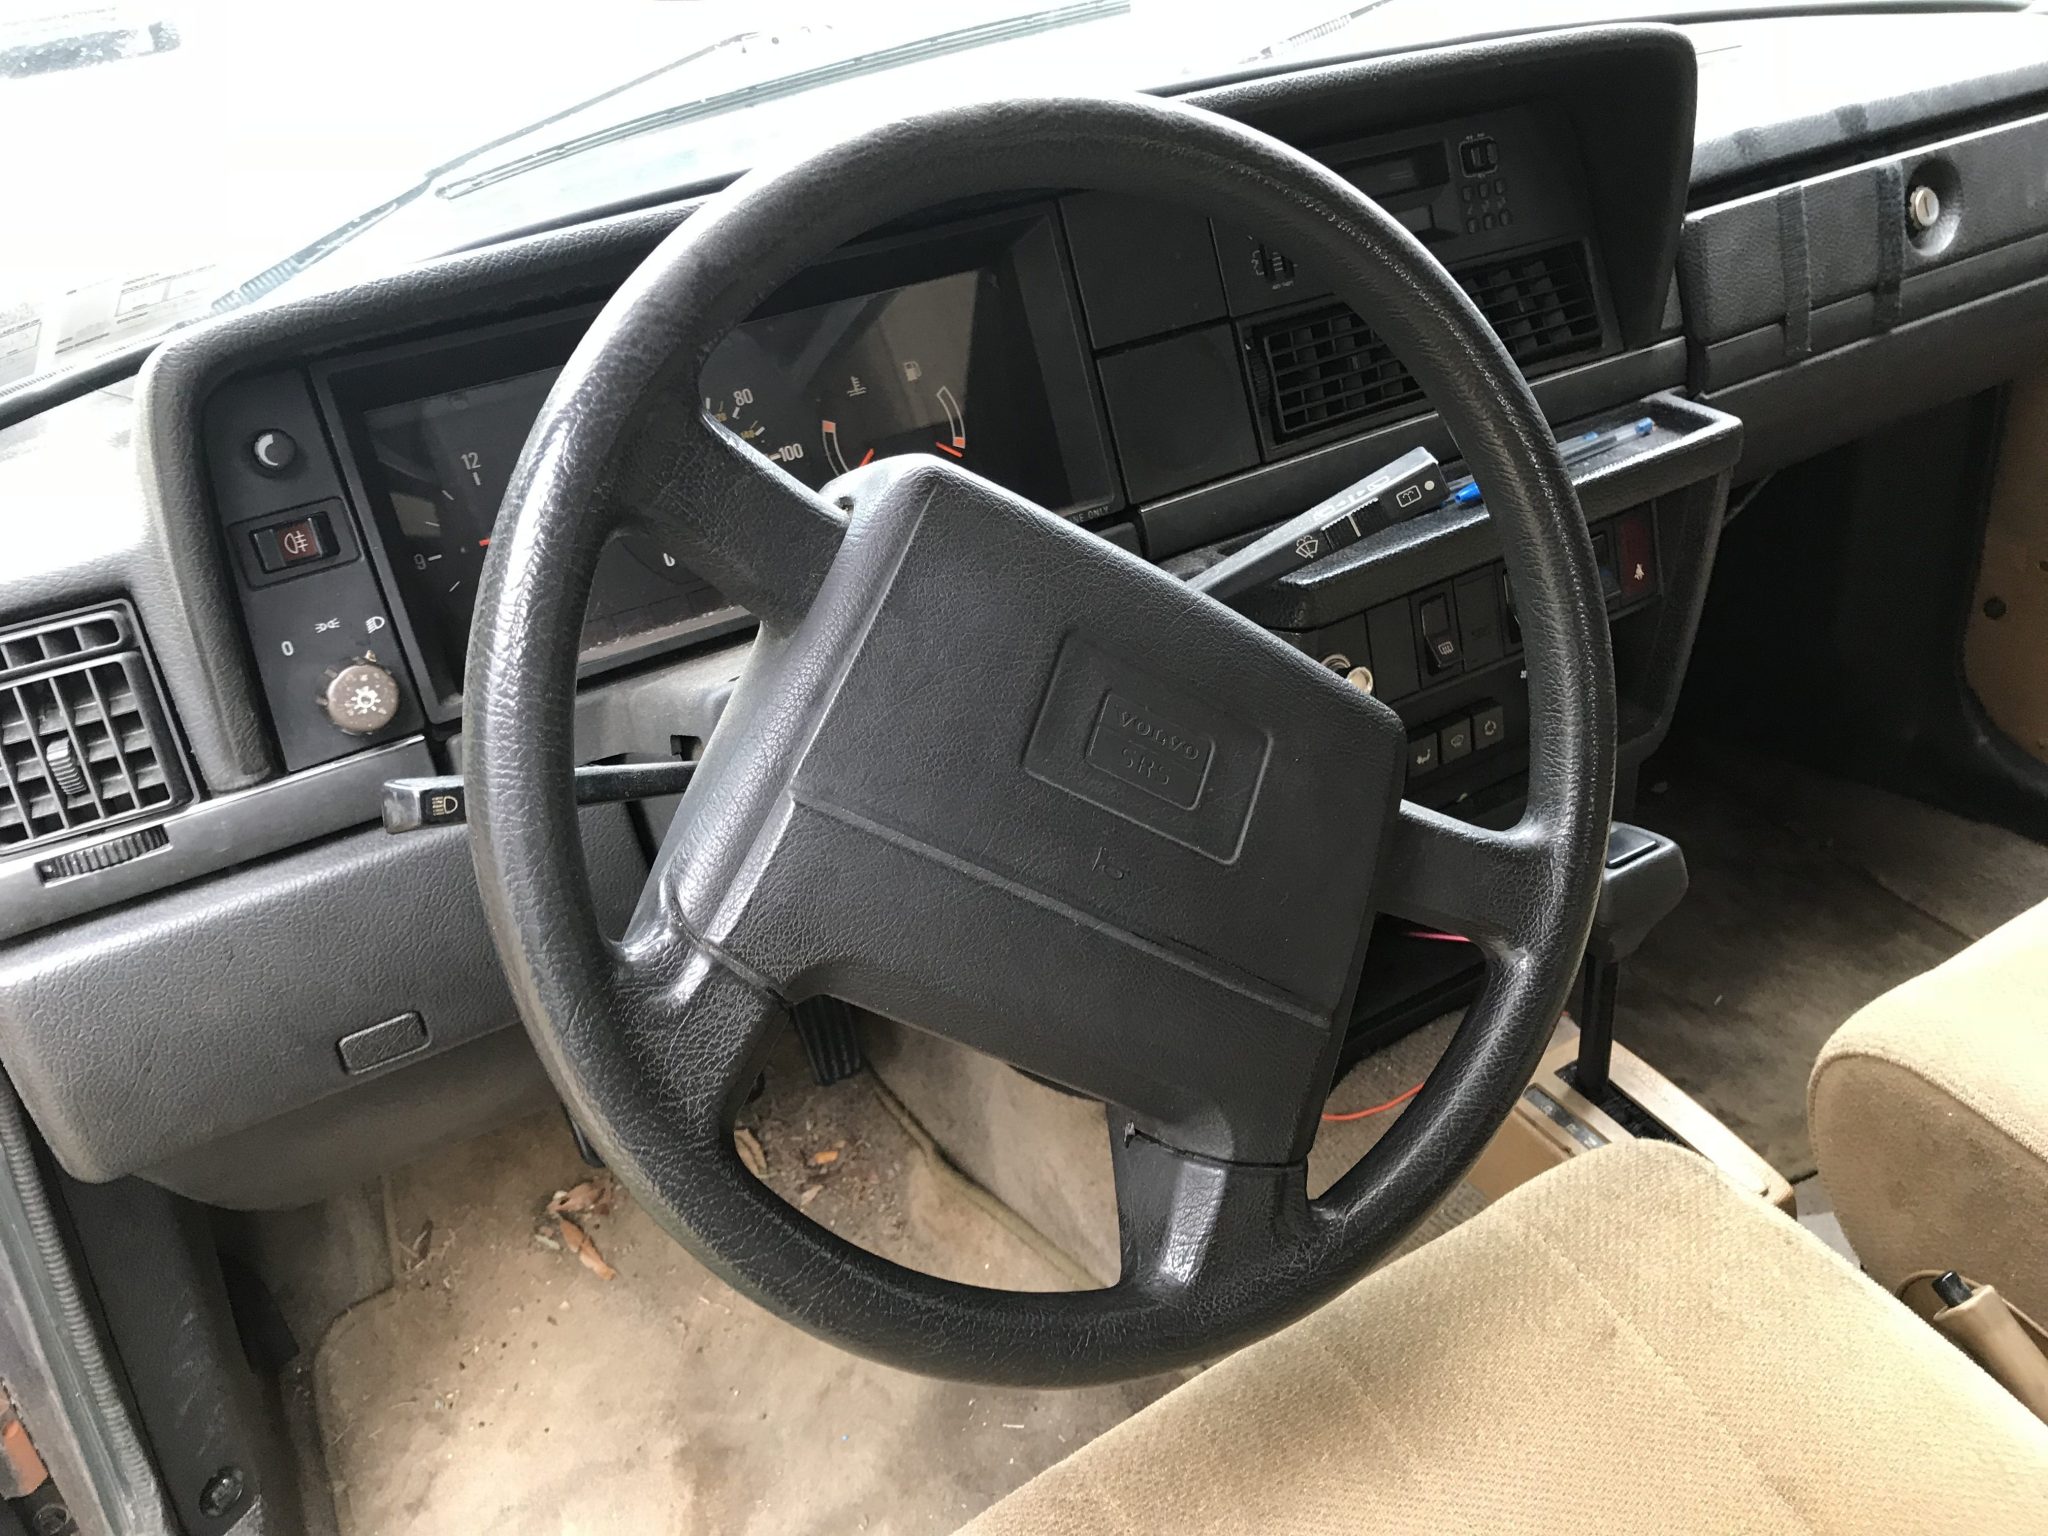
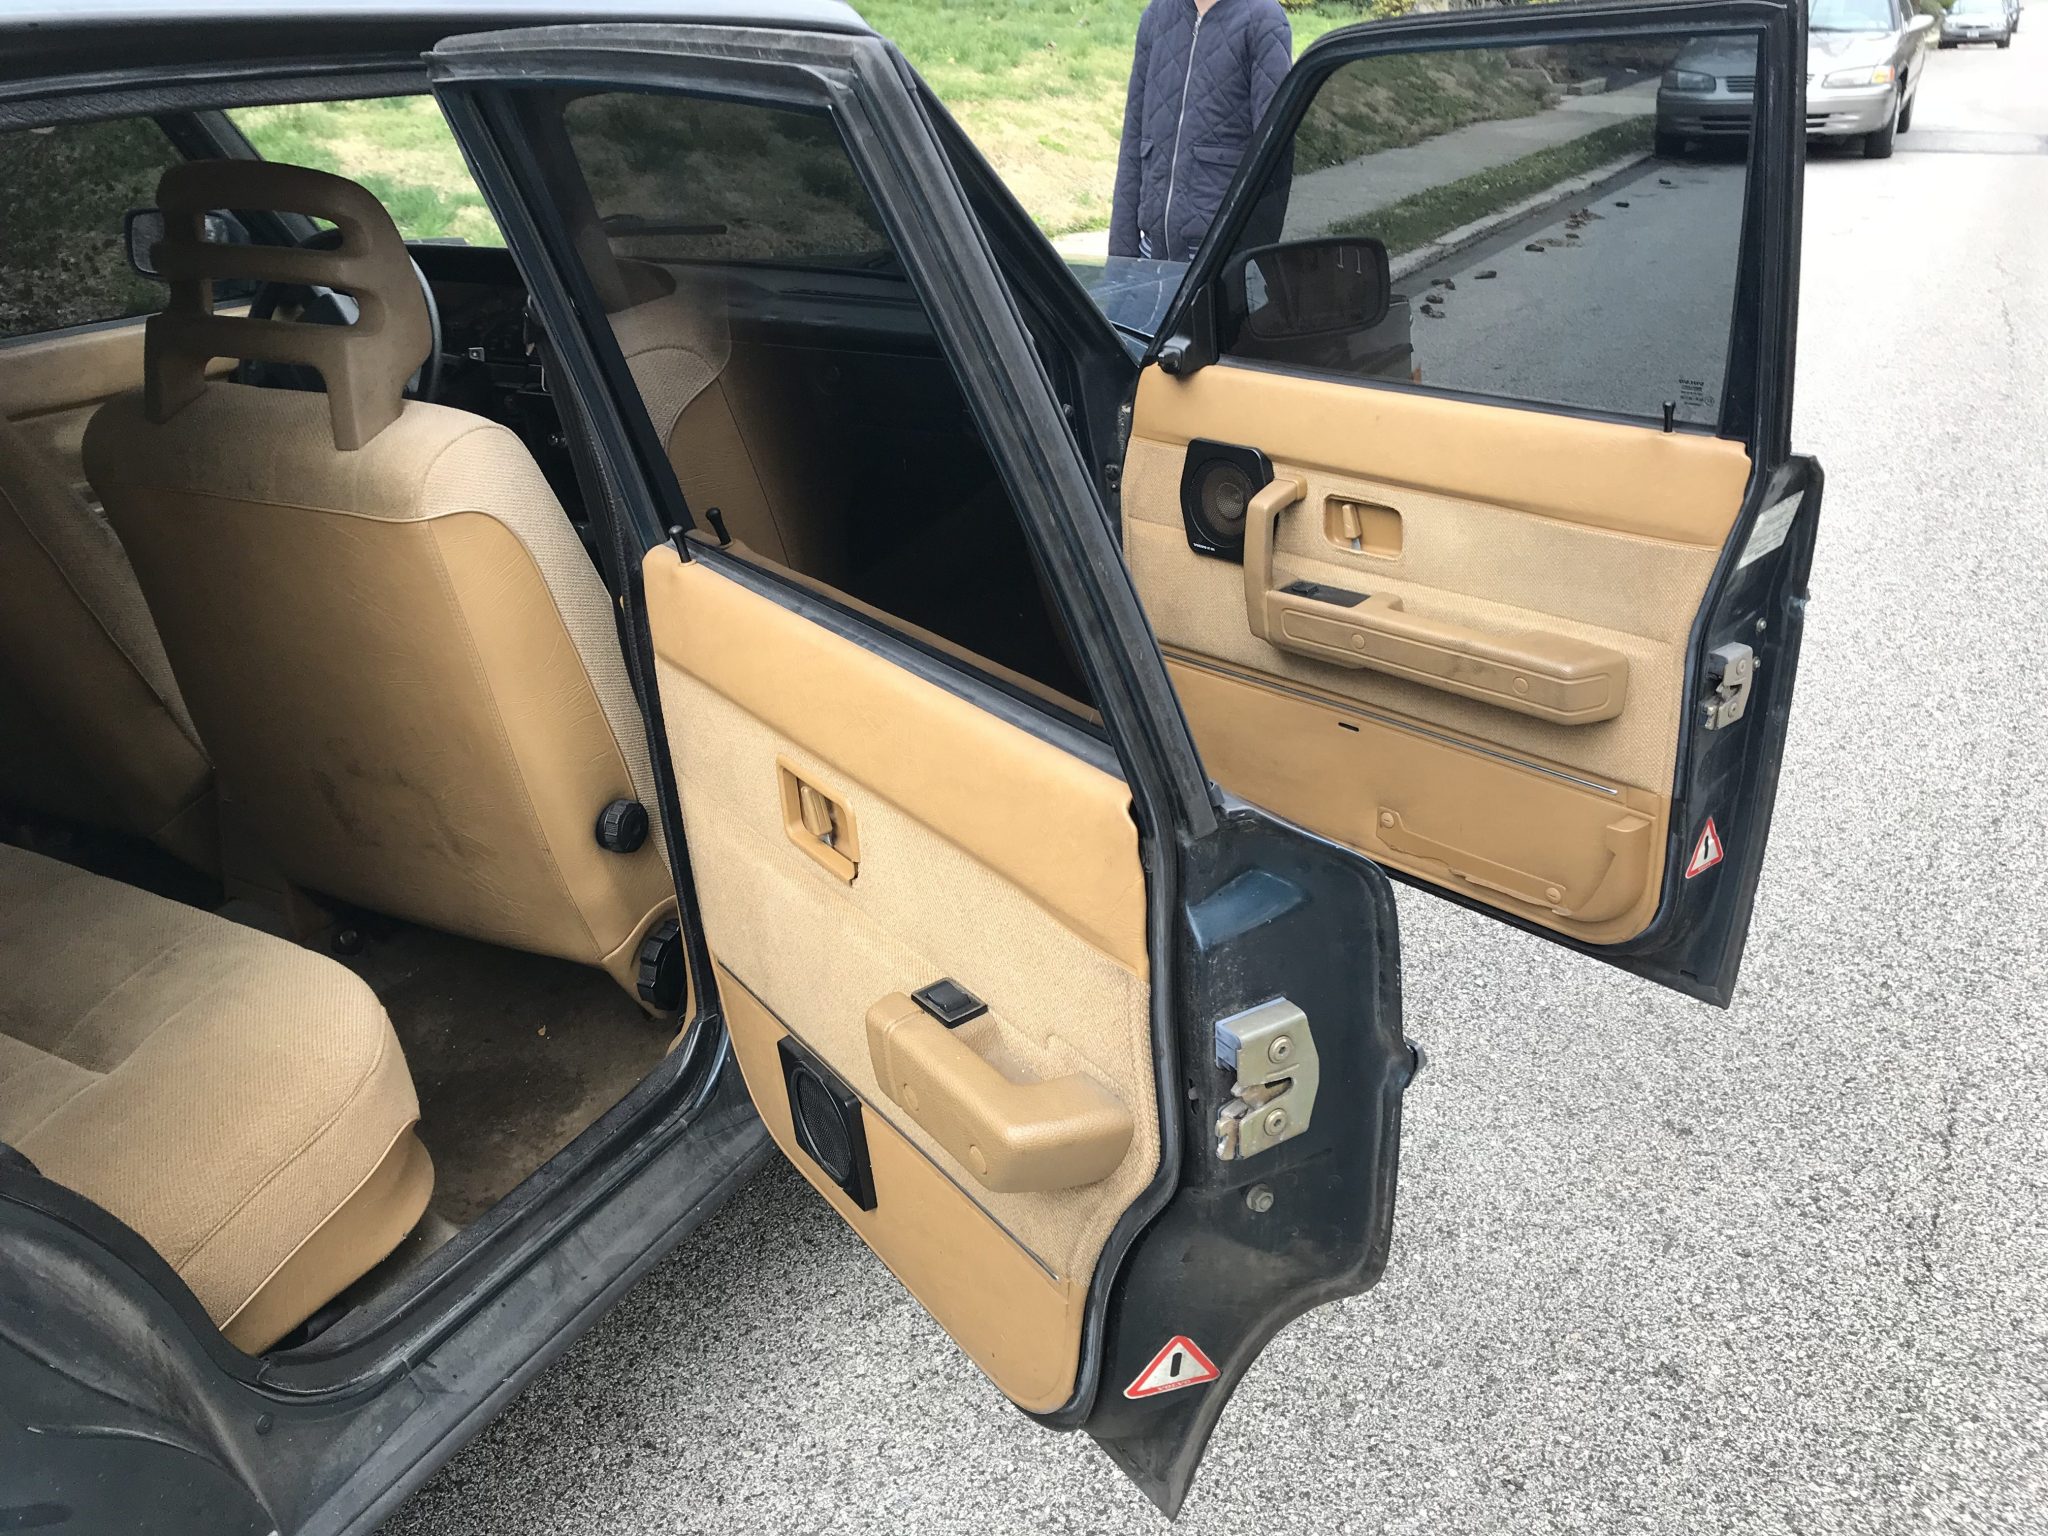
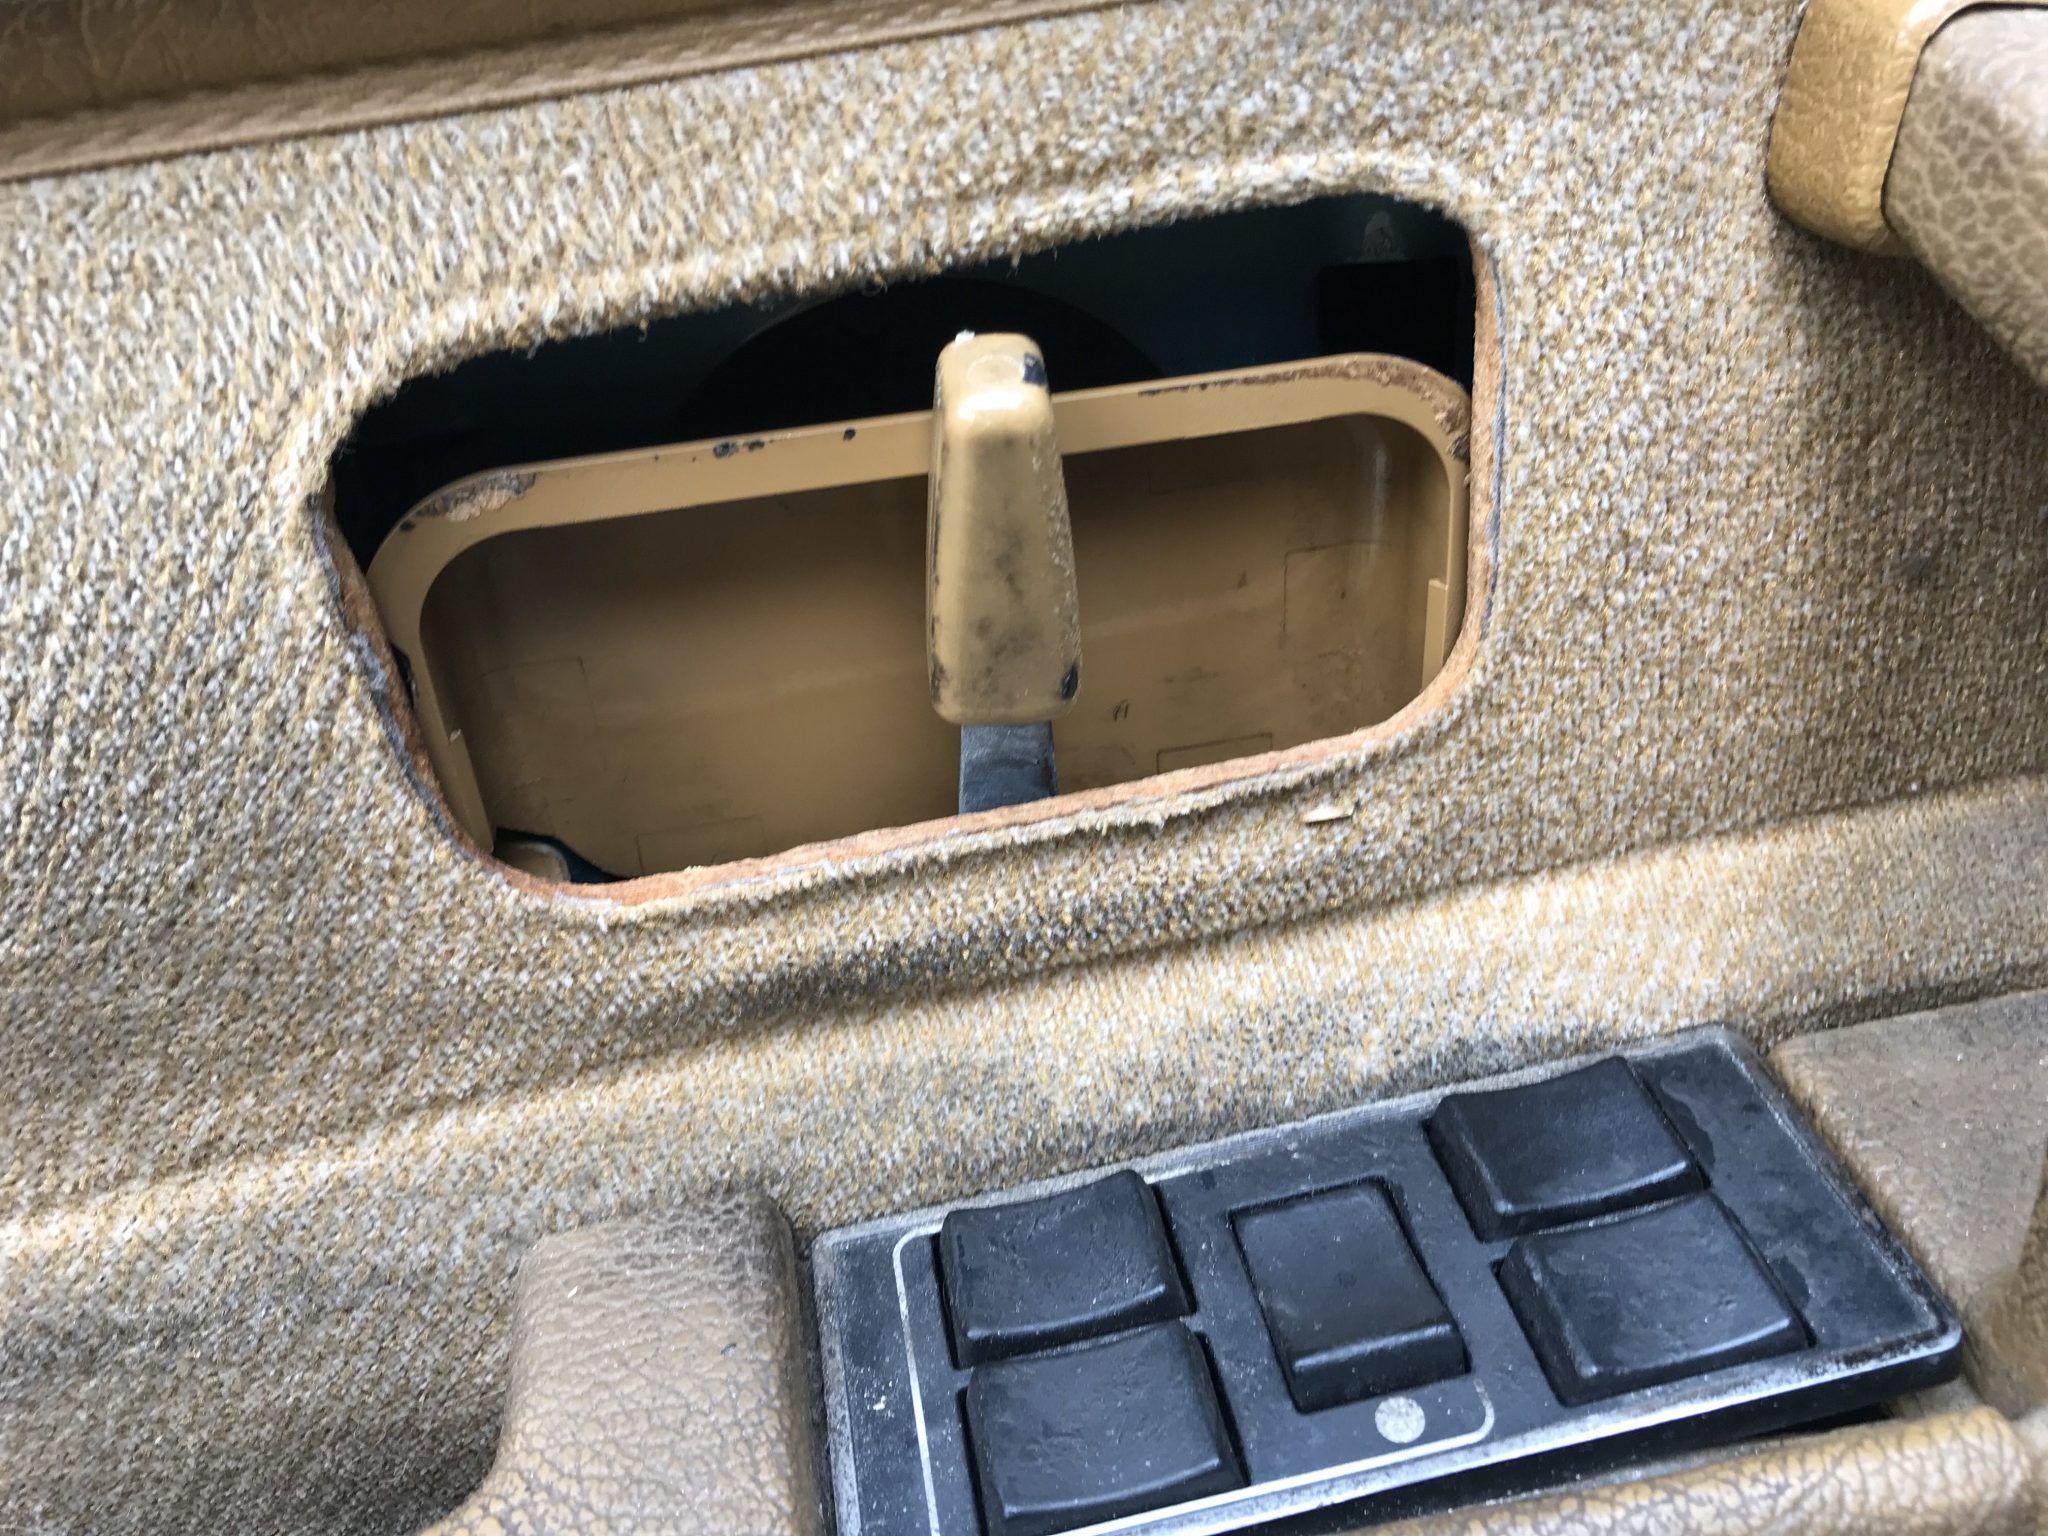
The car was in what I’d call “rough but drivable condition”. Many of the interior  pieces, such as the e-brake cover, the door pockets, and so on had been damaged or just outright smashed at some time during the car’s 26 year lifespan. Mechanically, save for a several of the door latches not working, the windshield wipers being a bit touchy, the AC broken, the alignment pulling sharply to the right, and a few other things everything seemed to be in relatively OK shape. There was certainly much work to be done, but that was why I bought the car, right?

So, it all starts here. I’ll do my best to record the process and share the ups and downs of fixing and maybe some day even improving this car with the world. Wish me luck.