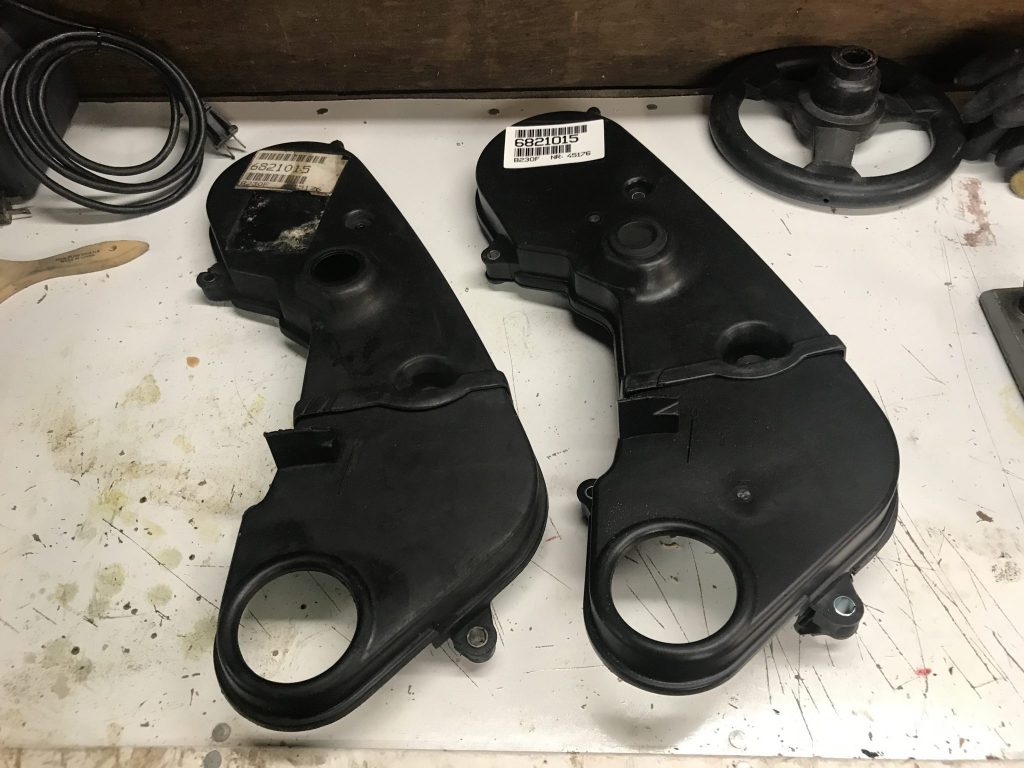
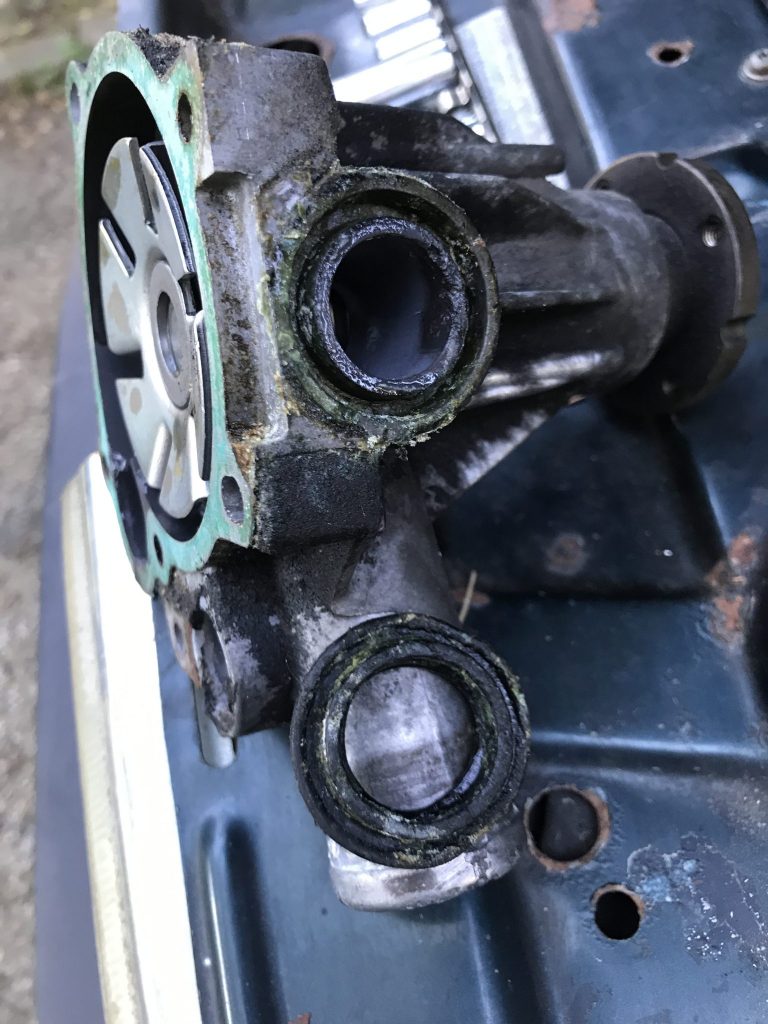
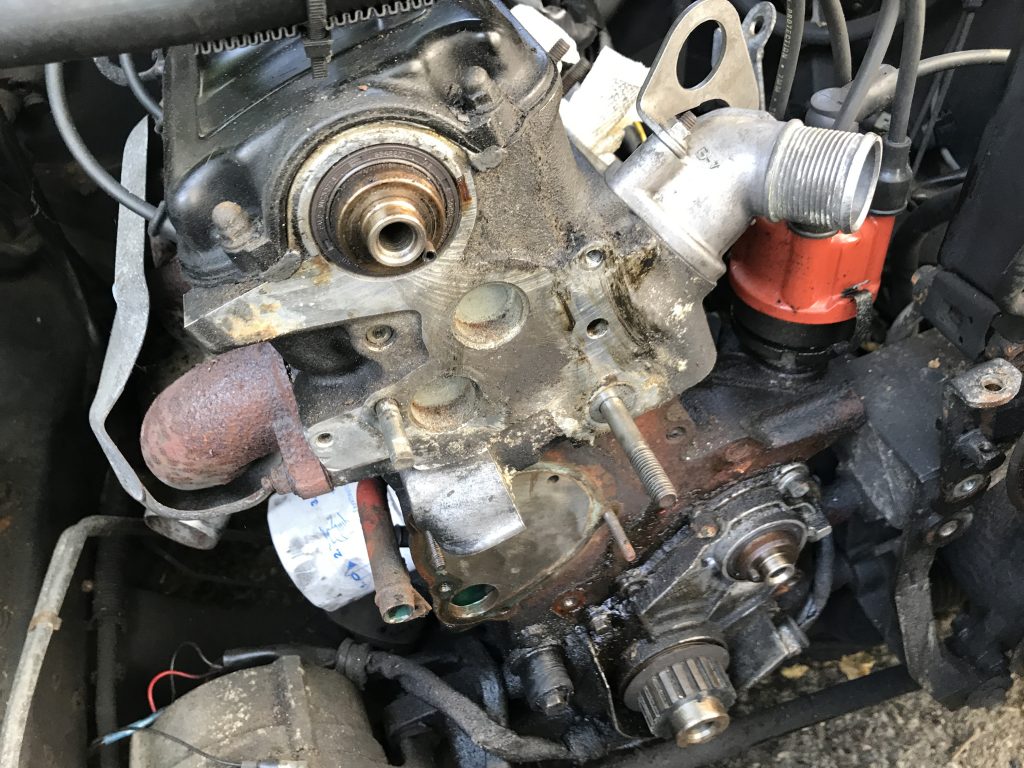
In the week since my last post, I’ve continued to tear down the front of the block. This includes the cam and intermediate pulleys, timing belt, and perhaps most dramatically the water pump. I did the pump first mostly to get it out of the way of the timing belt tensioner (part #463633) and the timing belt itself. I also wanted to make sure the bearing were still good. Unbolting it was straightforward, but the gasket was pretty well stuck to the block and required some scraping and peeling to get it off.
The pump seems fine. It doesn’t rattle and turns smoothly, but there was an alarming amount of crud inside of it. I’m not sure what it was – perhaps just dirt or more likely antifreeze that has crystalized over the years. I washed it out and set the pump aside for cleaning. Also, on the advice of a friend who has experience with 240s, I replaced the thermostat. There didn’t seem to be anything wrong with the existing one but since I was in there I figured it was as good a time as any.
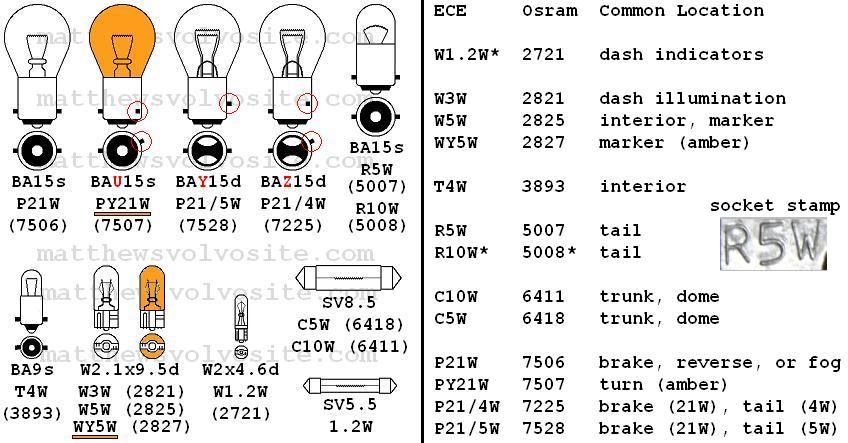
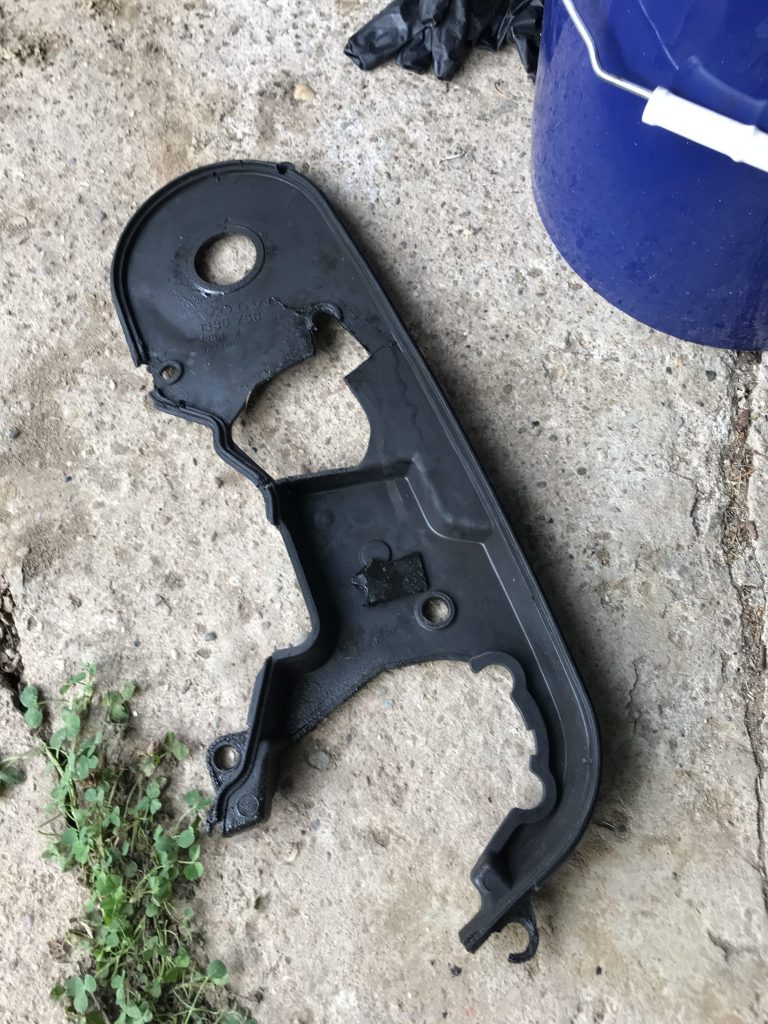
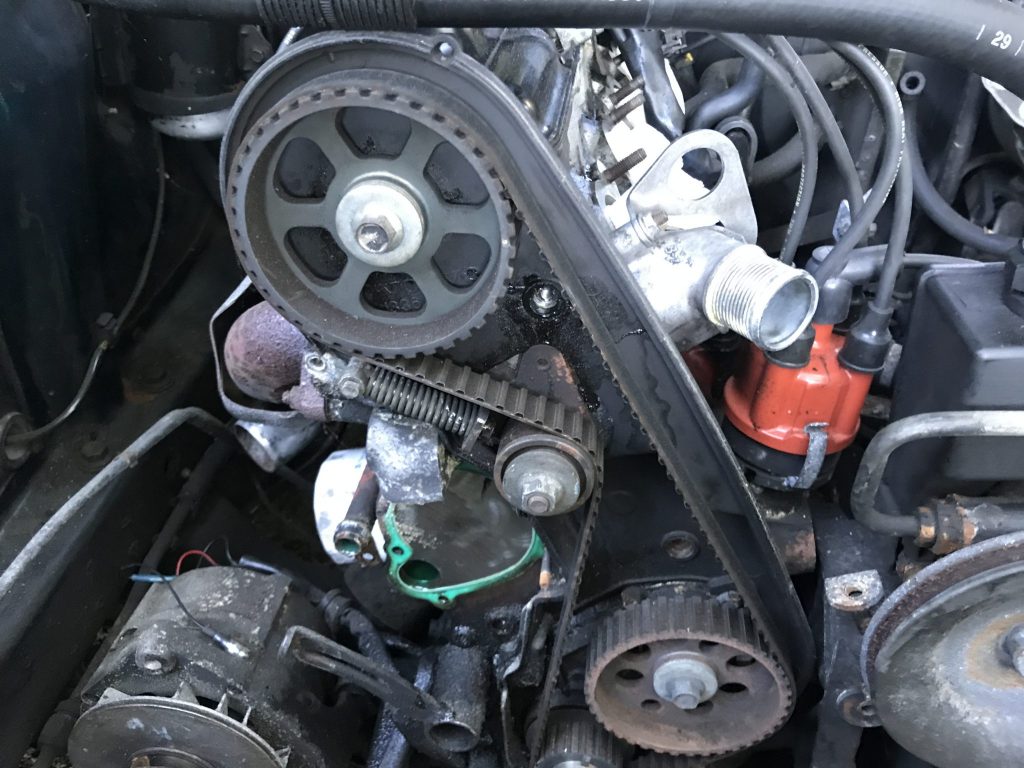
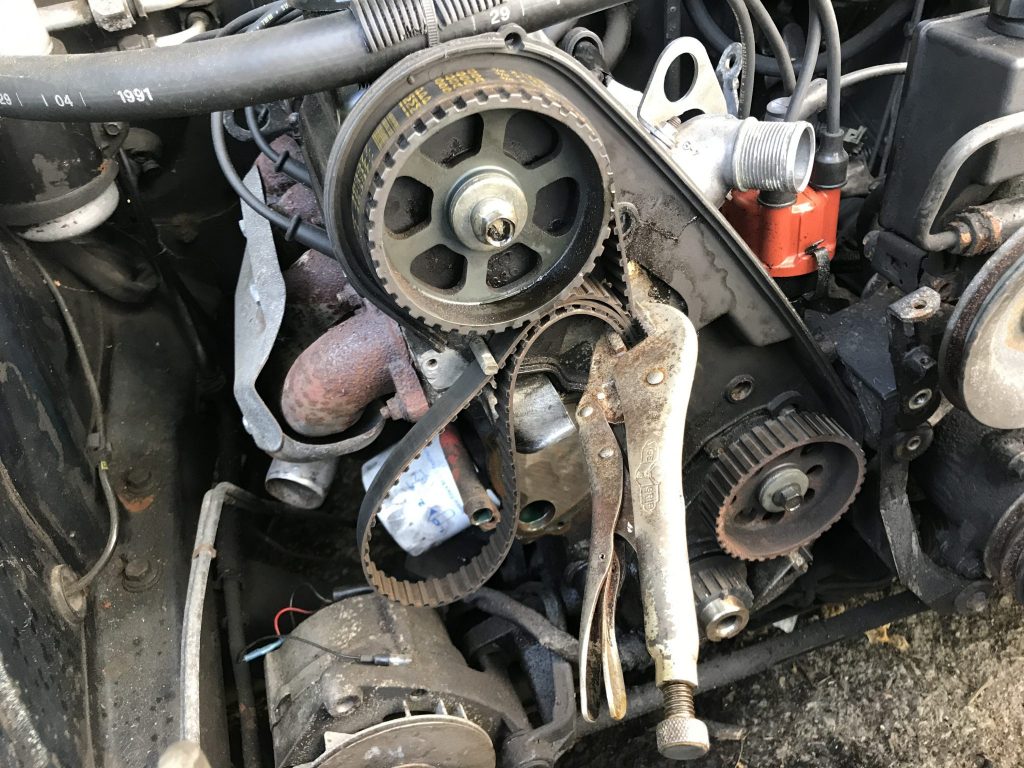
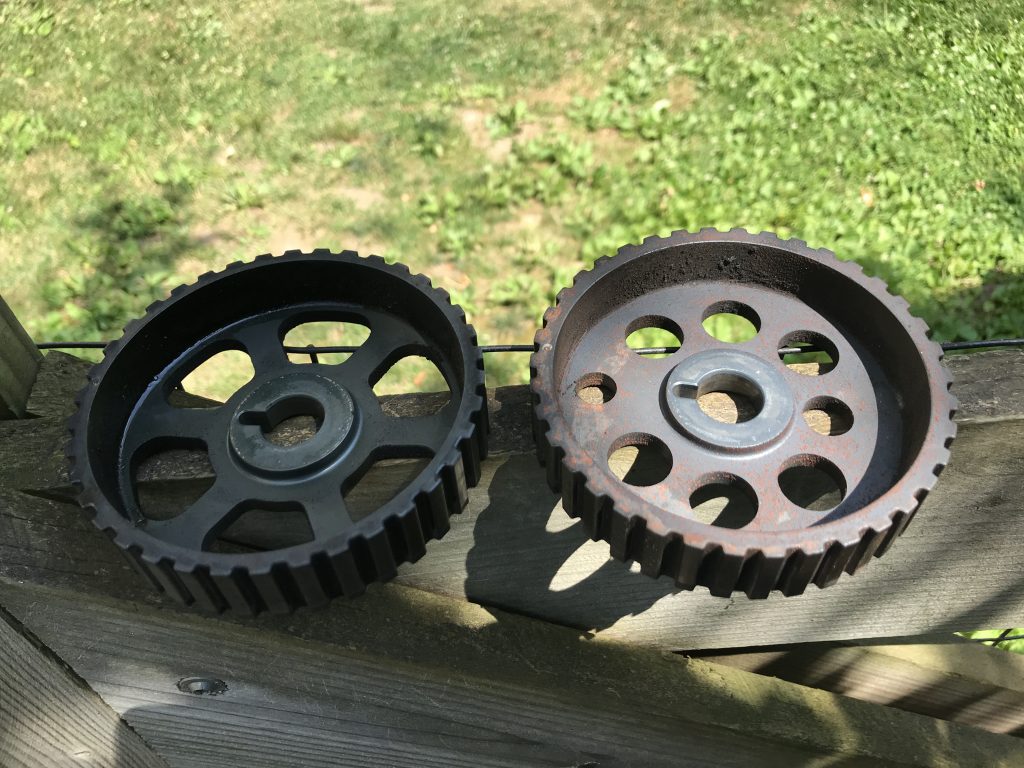
Next I wanted to get the timing belt off. The first step was to loosen the bolt on the tensioner pulley and, using channel locks, compress the spring. This part was easy and allowed me to slip the belt off relatively easily. It wasn’t in terrible shape, to be honest, but the belt change sticker that was on the timing belt cover had no discernible date written on it, so I figured since I was changing all the other belts I should do this one too. I also wanted to take the cam timing and intermediate gears off to better clean them up. Do do this you need to keep both the cam and intermediate shafts from turning which it is wont to do if it’s not arrested by the timing belt itself. I accomplished this by first hitting the bolt with lots of WD-40 to loosen it up a bit. Then I took the old timing belt and fitted it to the gear, wrapped it around the tensioner peg, and used locking pliers to keep it on. This gave me the leverage to get both gears off.
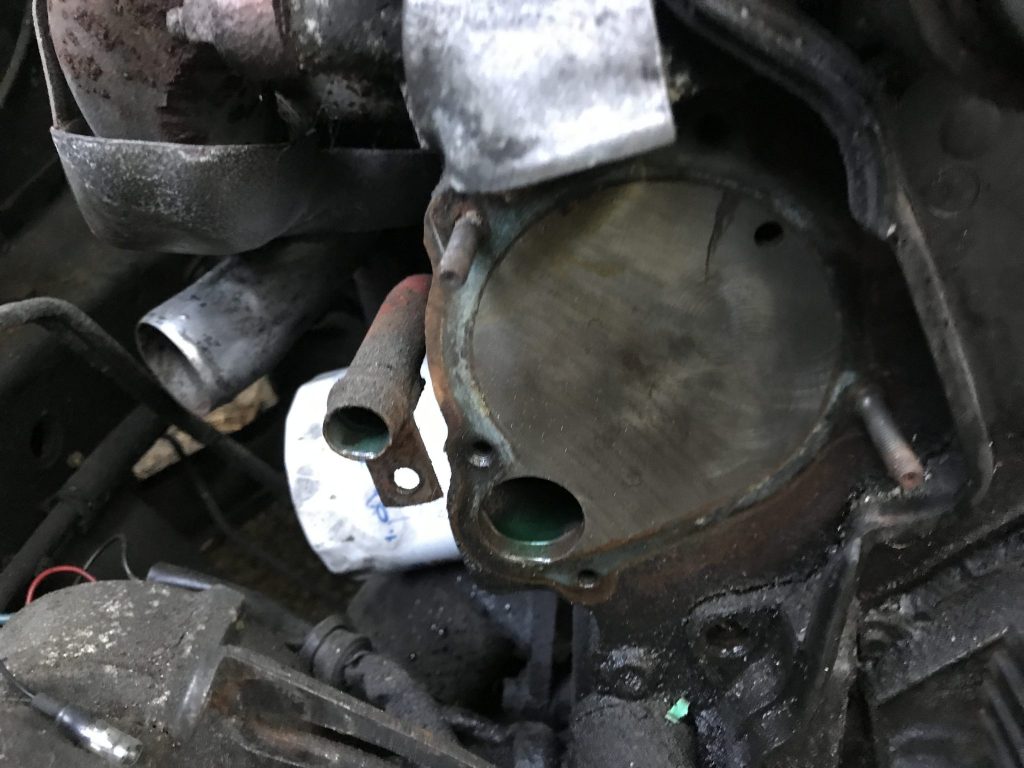
Next step is to clean the front of the block up with some degreaser and WD-40, clean the gears, de-crud the water pump and replace the rubber seals, and put it all back together.