Thread Status: Chased

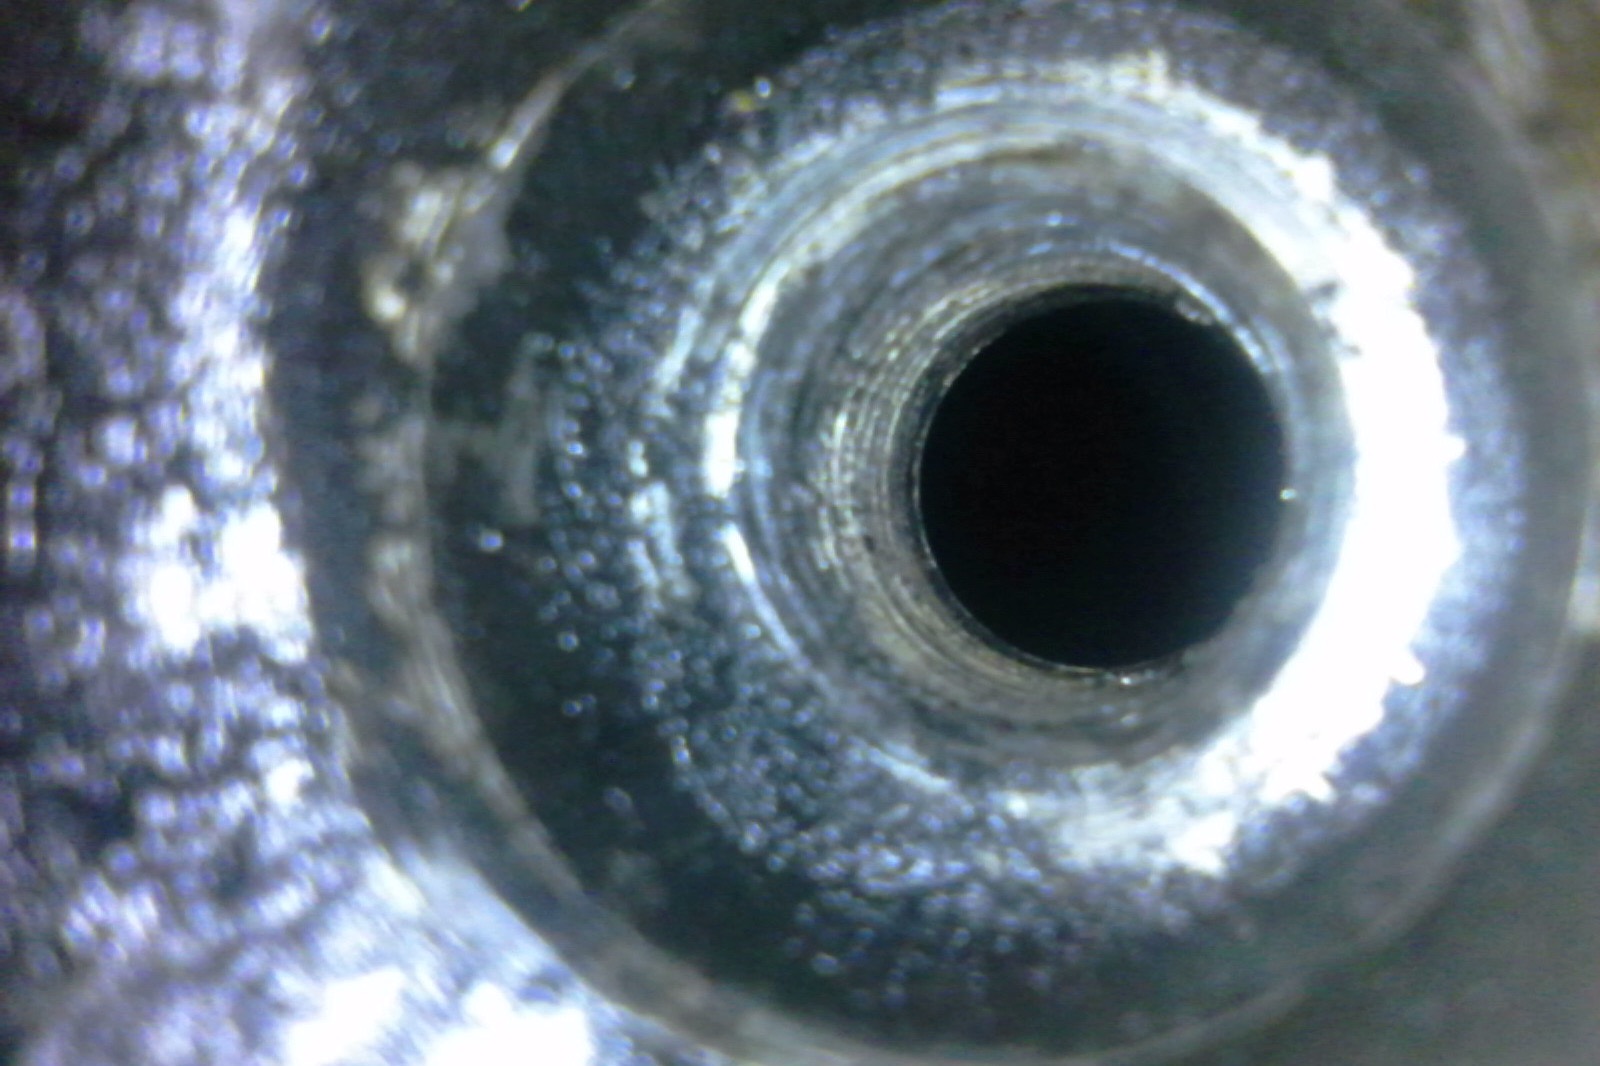
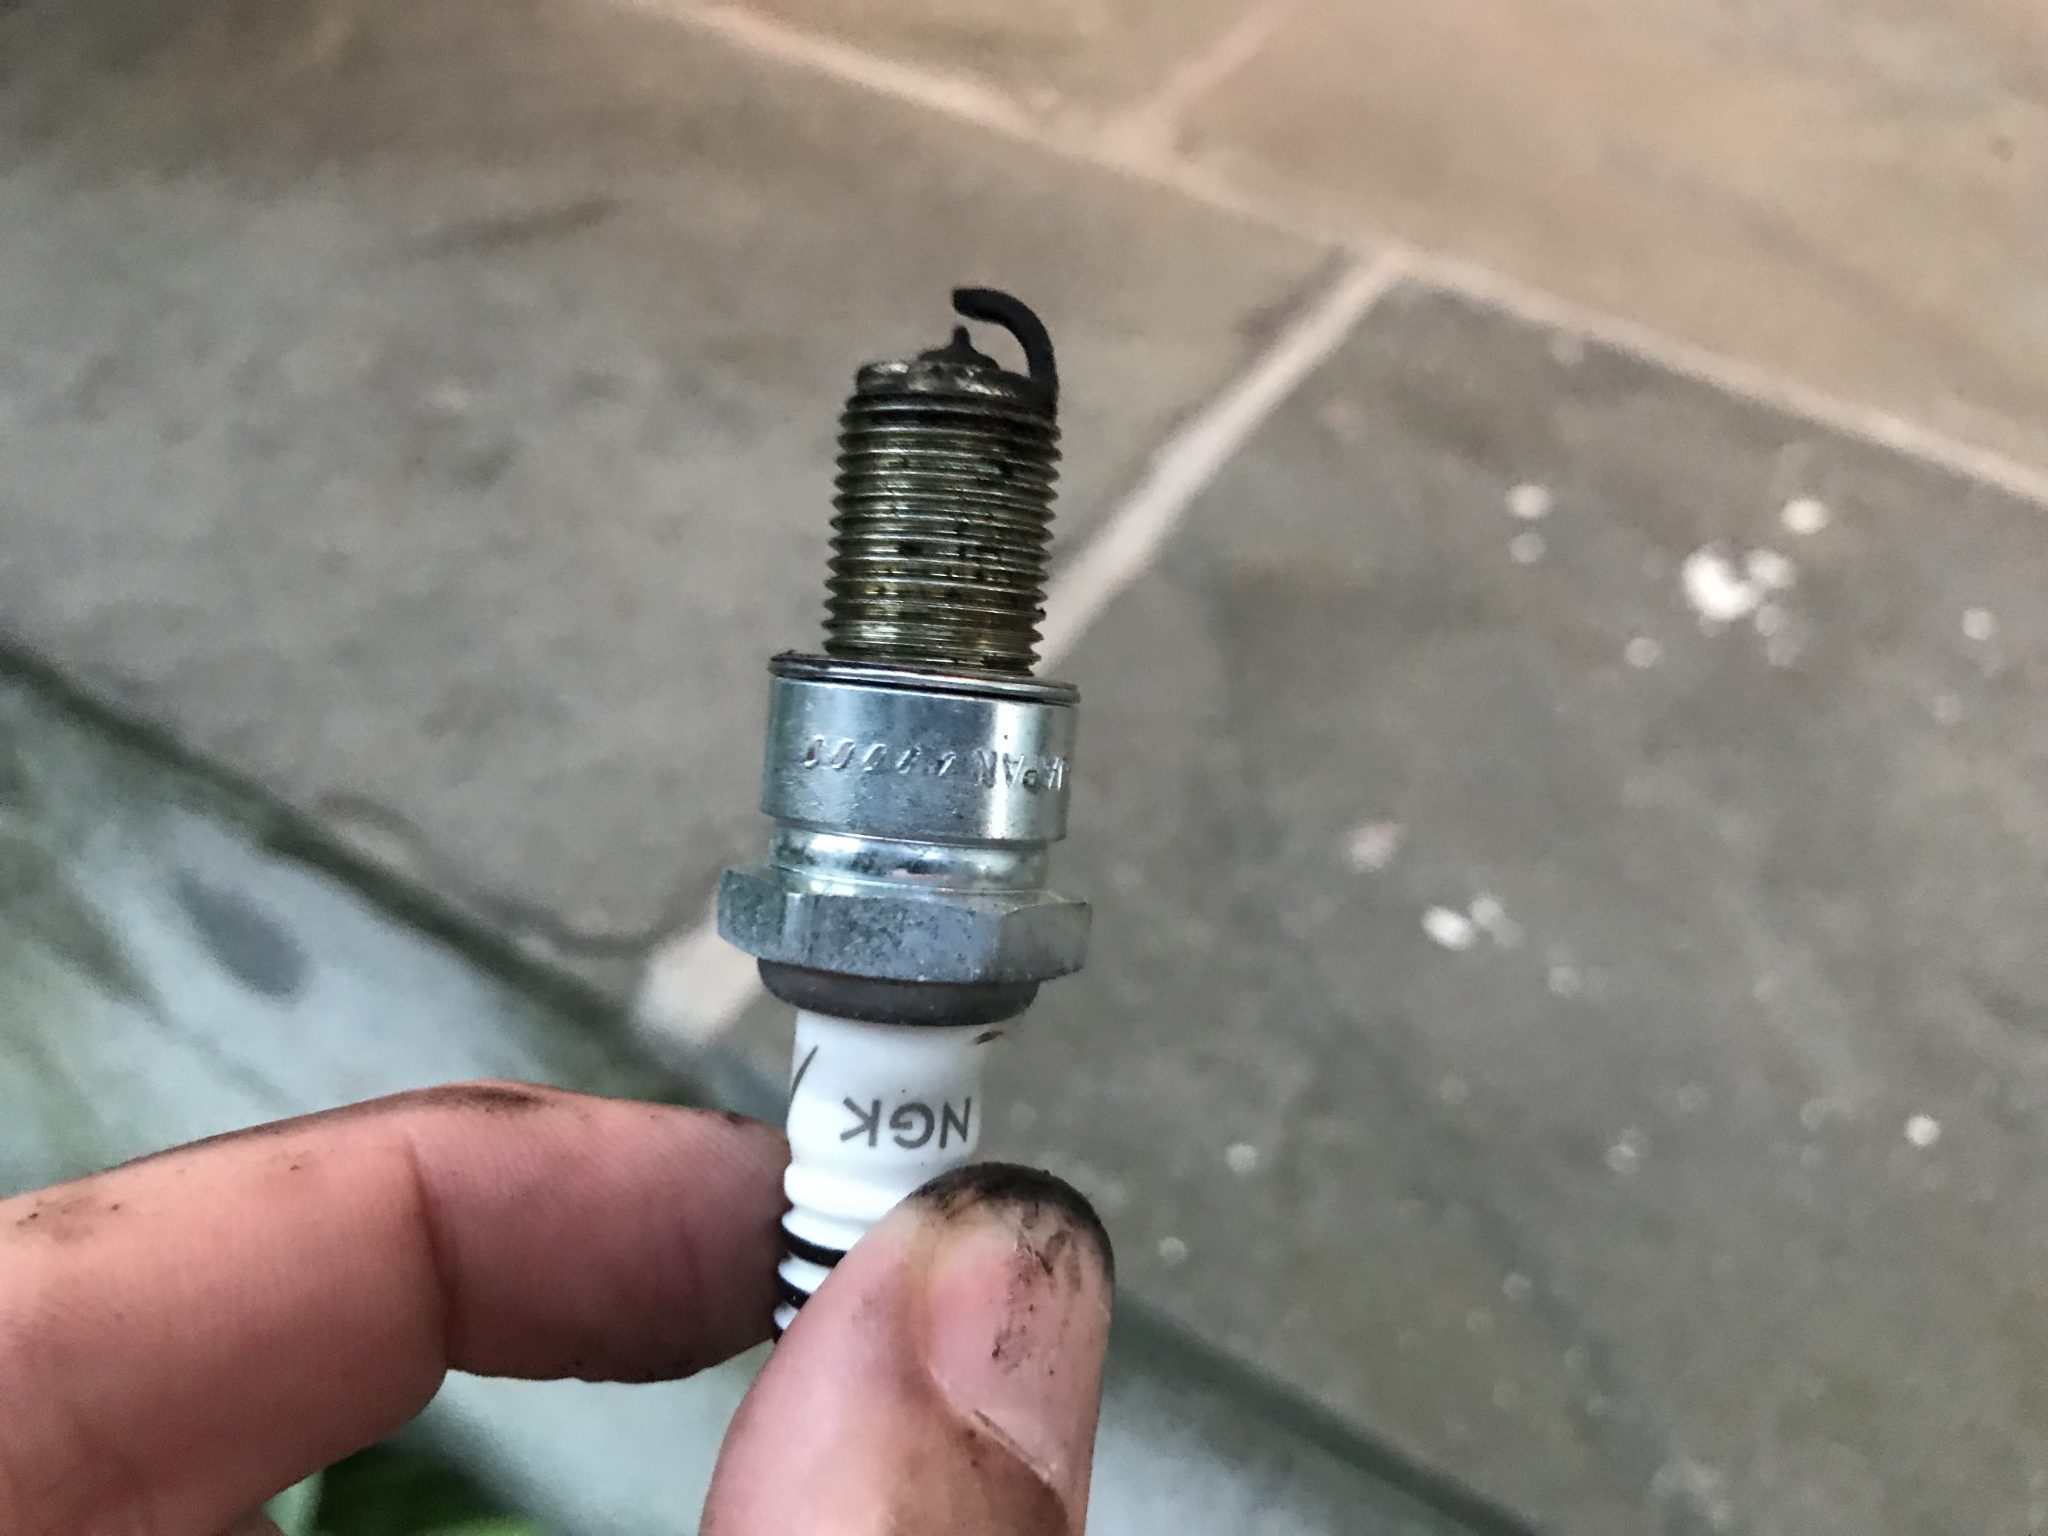
The weather improved a little and I eventually worked up the nerve to chase those plug threads, and while I can’t say that it was a resounding success I can say that I was able to get the plug screwed in satisfactorily.

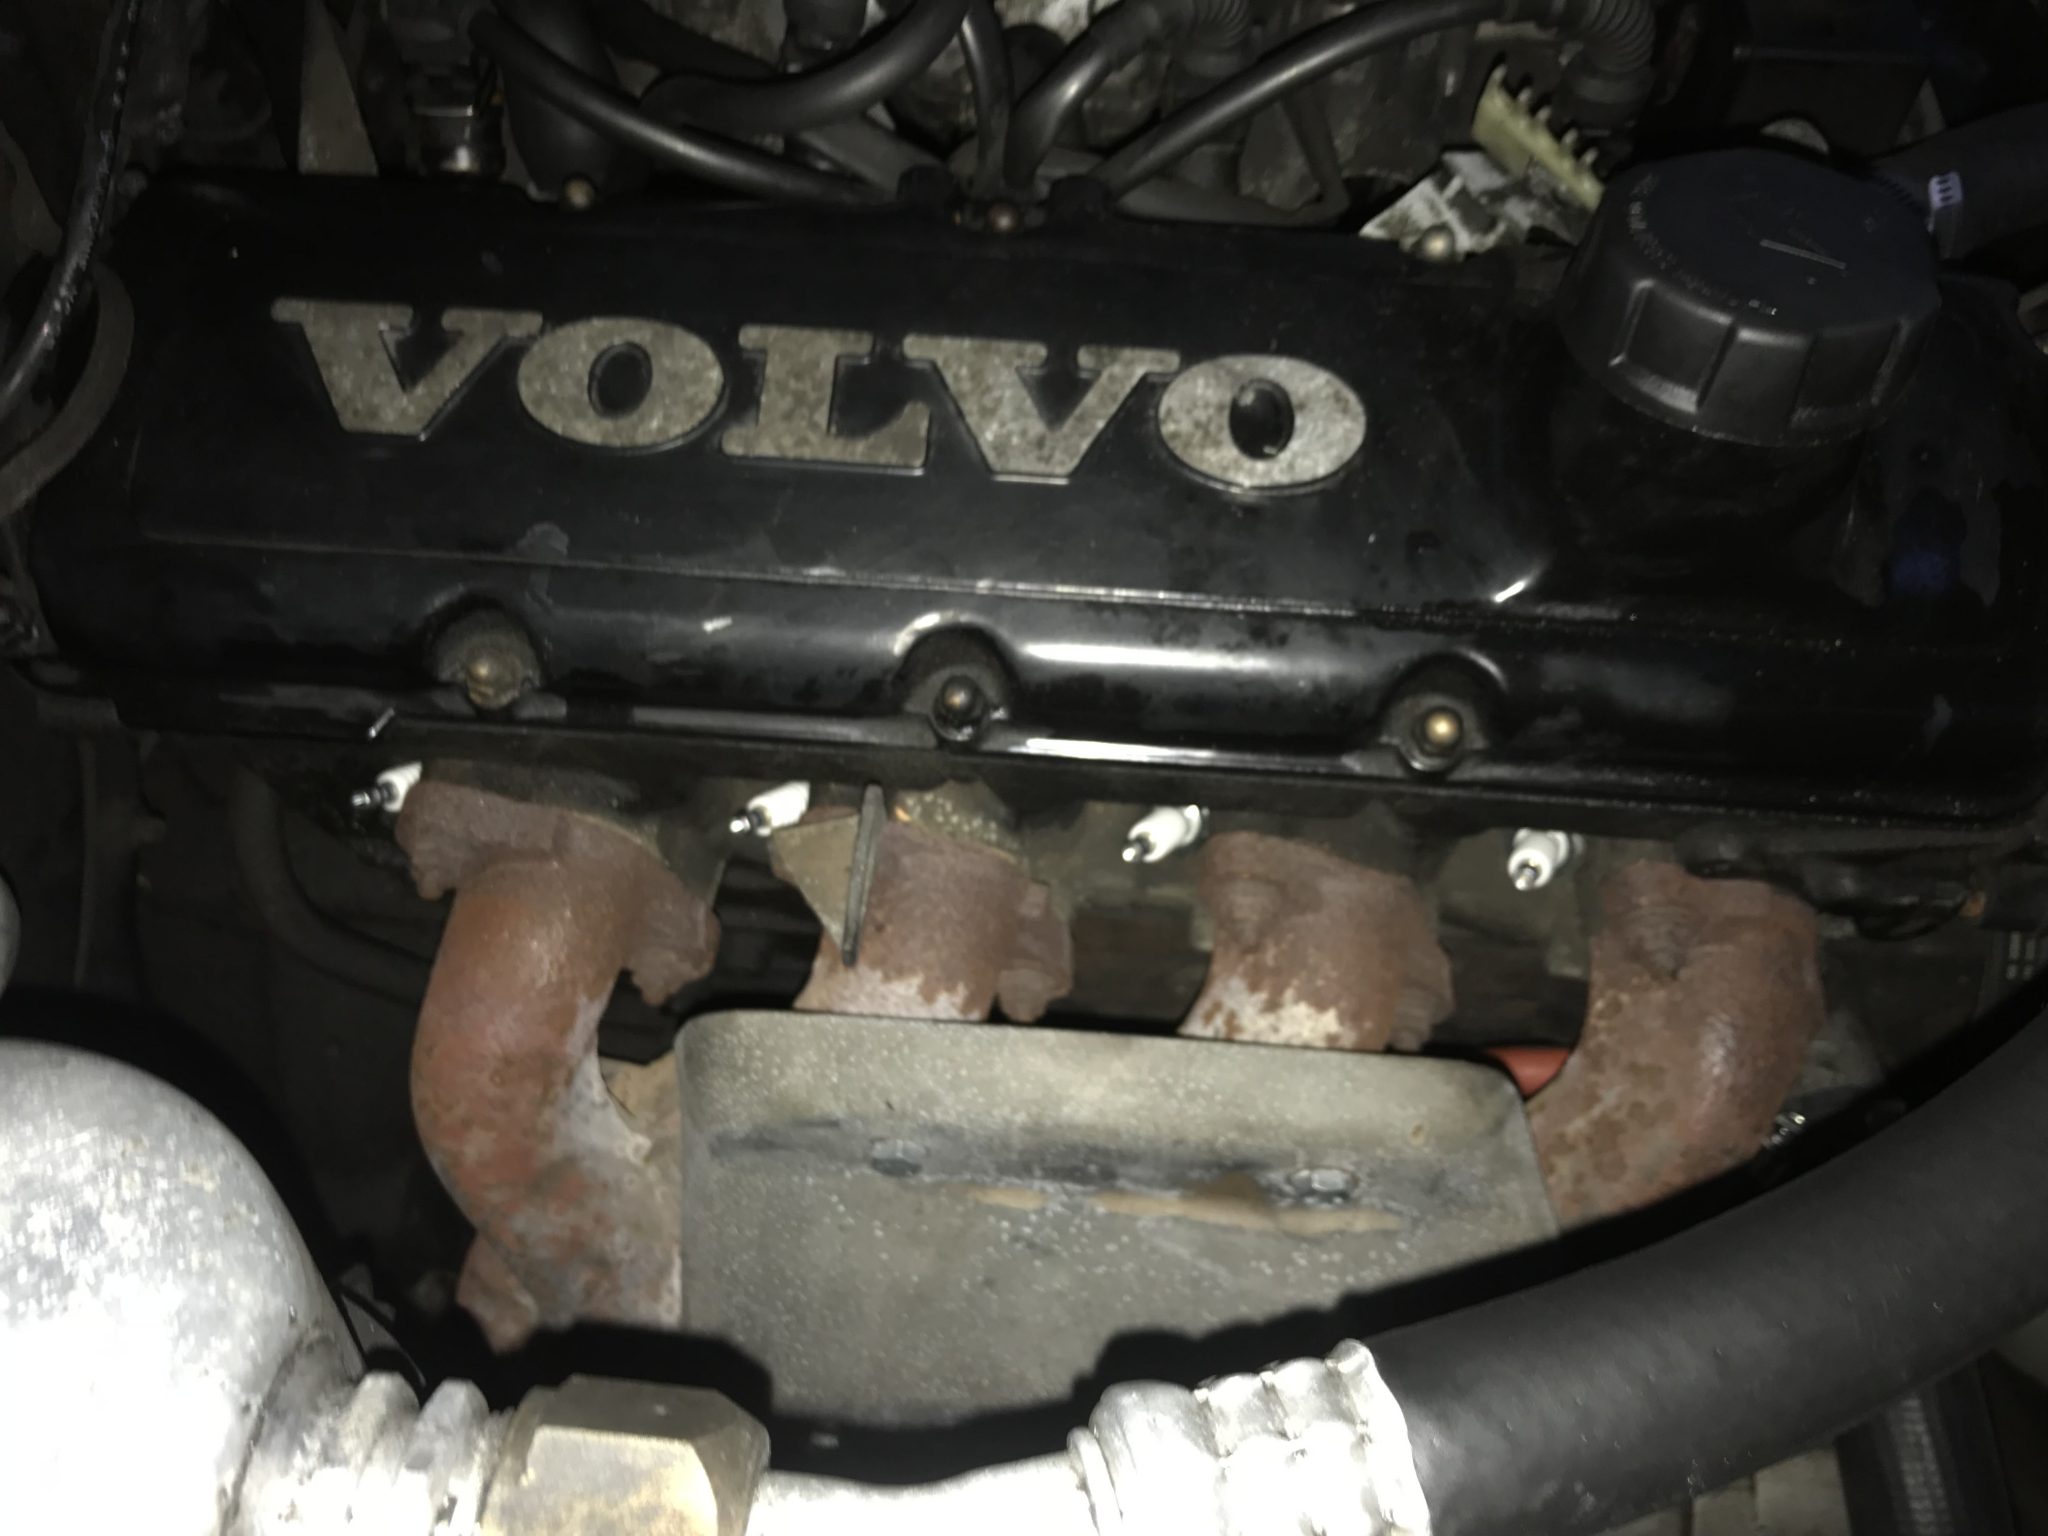
When I tried the ignition the car did start momentarily before it stalled out. So basically I’m back to where I started a few weeks ago. There are quite a few things that could be wrong here. I’ve covered spark, so I decided to move on to air. That meant making sure the MAF was still working, so I hooked up my multimeter.

I verified voltage on both the power and signal lines, and they were good. Next I tested resistance across the sensor saw numbers that were within the limits as shown in my manual for an LH-2.4*. There may be some air leaks messing up the calculations, but I haven’t noticed any yet.

This leaves fuel. I think my next step will be to take the throttle body off and clean it up.

* 2.5-4.0 ohms

Chase those threads!

I finally got ahold of an endoscope device that hooks up to a laptop and was able to look down into the spark plug socket. There I found no obstructions and while the threads looked relatively clean the focal length of the camera made inspection sort of difficult. The photo to the right is the top of the piston.

This really only leaves me with the conclusion that the threads are crossed and need to be chased. This is a tricky situation. Chasing the threads will probably result in some metal shavings which, if left in the cylinder, will potentially find their way into parts of the engine that definitely shouldn’t have tiny bits of sharp metal floating around inside them. I think if I grease the chasing tool up really well most of the shavings will remain stuck to it on the way out. The remaining ones that happen to fall into the cylinder can be cleaned out. I’ve heard that compressed air works fairly well at this, and the endoscope also has a magnet attachment that I can use to pick up the remaining bits. I’m nervous about all this, but also confident that I can do it. Wish me luck.

A short review

I recently came across a short review of 240s on the website “The Truth About Cars” that I thought was interesting. This is mainly for the last part on how Volvos have changed since the 90s. I sort of resent the conventional wisdom that 240s are cars coveted strictly by hip millennials. I am decidedly neither hip nor a millennial. Other than that, I agree with the observations and conclusions of this article.

Capsule Review: Volvo 240GL Estate

Crossed threads

After recharging my battery and re-gapping my plugs I found that the rear-most plug wasn’t going in all the way when I attempted to hand tighten it. Are the threads crossed? I couldn’t tell. The plug hole is very close to the firewall making it hard to to see what’s going on in there. It’s possible to get a chasing tool that would straighten out the crossed threads, but I’ve been warned that using such a thing would run the risk of depositing metal shavings into the block which would be not good. I’m waiting to get my hands on an endoscope so that I can better see the situation before I do anything. I’m hoping the threads are just really dirty and this situation can be solved with a good brush cleaning.

New plugs and wires

After doing a little reading about 240 starting issues I landed on “bad/wet spark plugs” as a possible culprit. Since the fuel injectors were telling me they were fine I figured changing out the spark plugs would be the next easiest thing to try. I had no idea when the plugs had last been changed. For all I knew they could be original.

Get To Work

I proceeded to pull the rubber boots from the plugs only to find that half of them had terminals that had at some point corroded and become cemented to the terminal nut. This meant that the wires were no longer usable. The plugs themselves looked pretty dirty, so replacing them, even if they didn’t turn out to be the source of my current issue was probably a good idea.

After ordering new plugs and wires, I gapped the plugs and swapped them. Thanks to my cat for being my helper for the day.

Rookie Mistake

Of course, like a real newbie, I forgot to note which wires went to which terminals on the distributor. A little more investigation cleared that up, and I present a diagram here for anyone else who might find themselves looking at a B230F and wondering what plugs into where:

That makes the firing order of the cylinders 1-3-4-2. Good to know. Part of my own difficulty in figuring this out was the fact that my distributor had terminals in a “box” formation like the above diagram whereas a lot of 240s have them in a “diamond” configuration. If your car has a distributor like this just pretend that the pink terminal in my diagram is the point of the diamond closest to the front of the car.

With everything back together, I hopped into the driver’s seat, turned the key, and heard… WRRR-wrrr-wrrr-wrrr. The dreaded sound of a weak battery failing to crank the engine. Crap. Thankfully, a friend had a recharger I could borrow but the day was getting long and time short so that’ll have to wait.