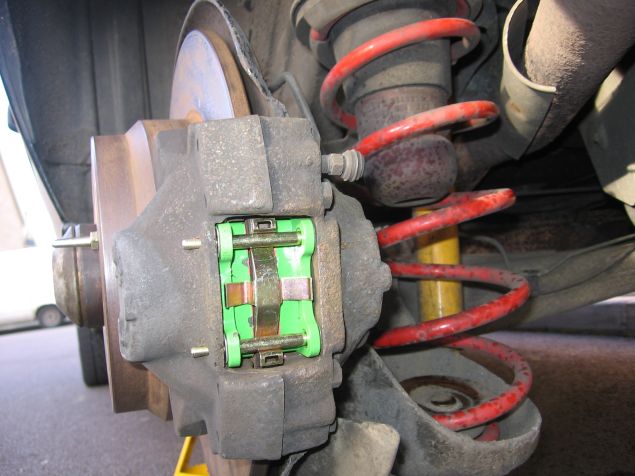
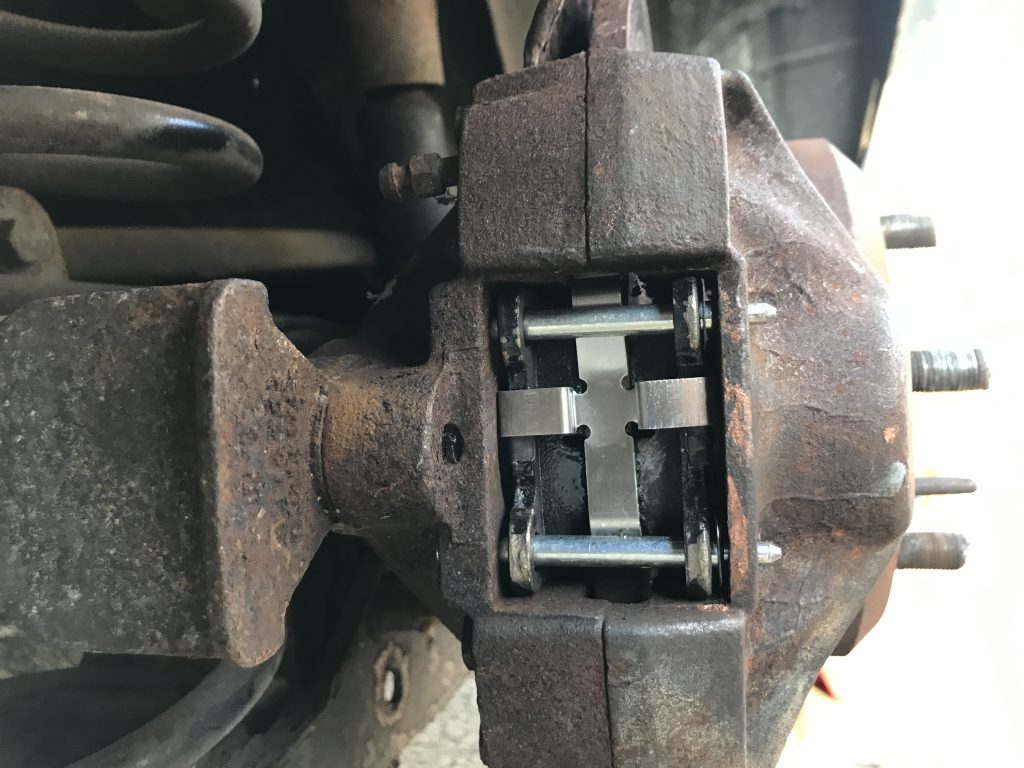
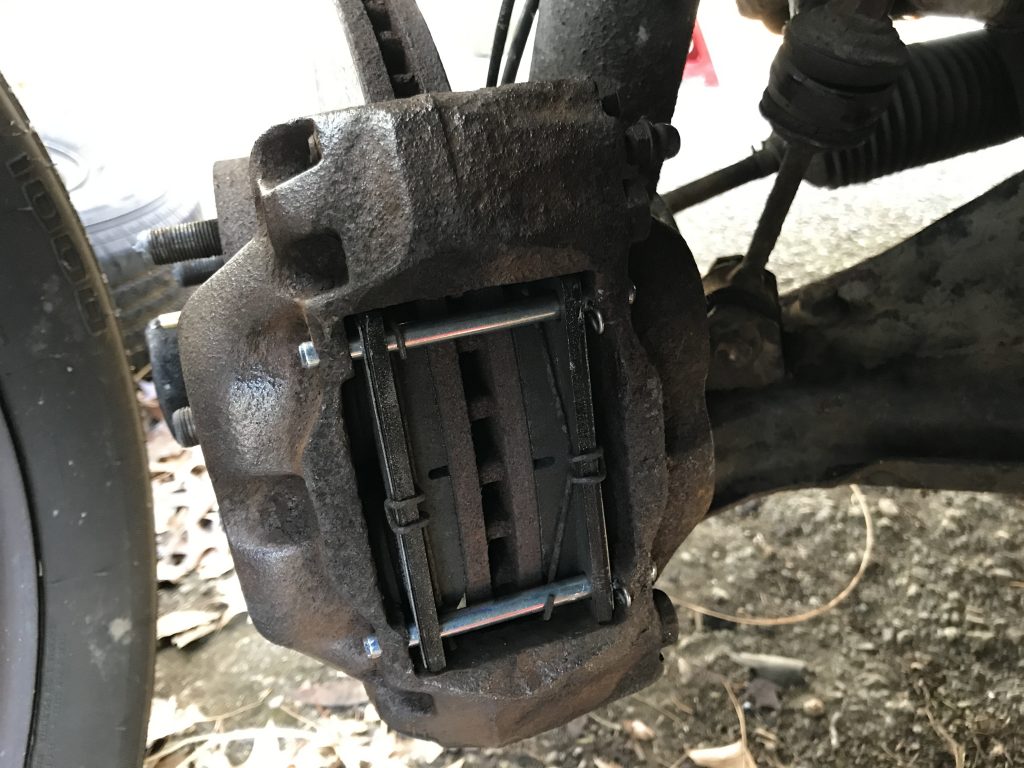
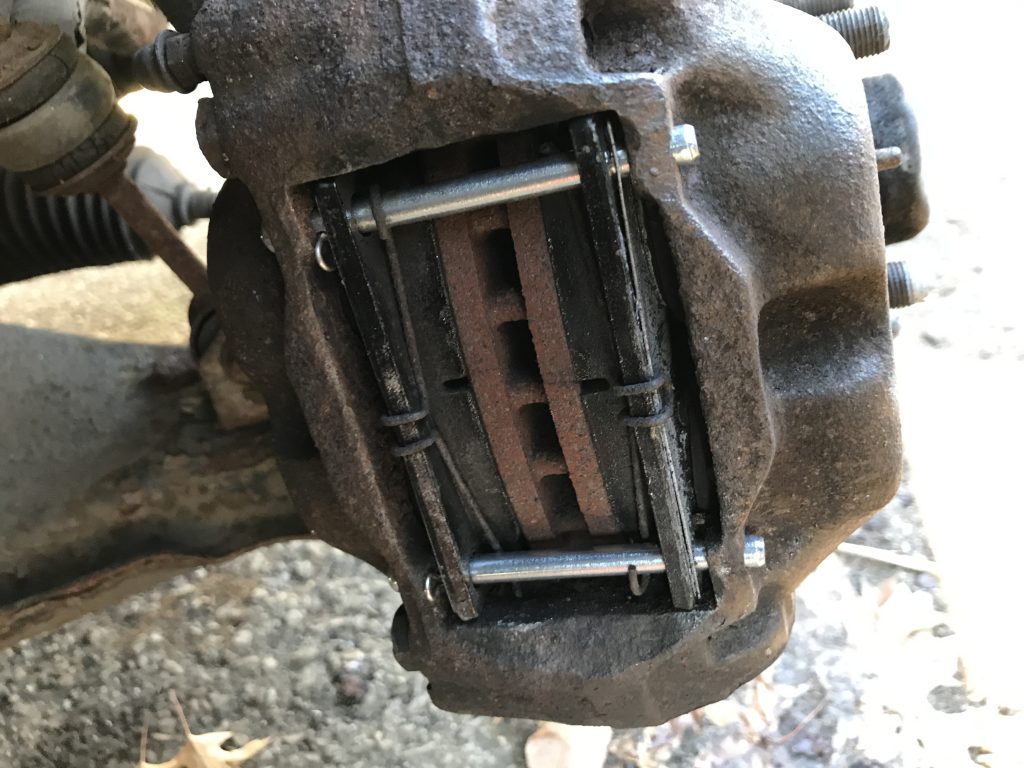
Remember how I was sort of talking trash about the brake retention springs I got from AutoZone? How they caused the brake pads to rub when the wheel moved so i put the old ones back in? Well, I’m afraid I owe our friends at AutoZone (and whatever manufacturer supplies them) an apology. After reading my previous post someone reached out to me and kindly explained that I had, in fact, put the springs in the wrong way.
Month: January 2020
Out with the old
The weather recently has been cold making work more difficult, but nevertheless I took the long weekend to get a few things done. First, on the outside of the car I replaced the stripped out brake guide. That screwed in simply enough and was quickly done.
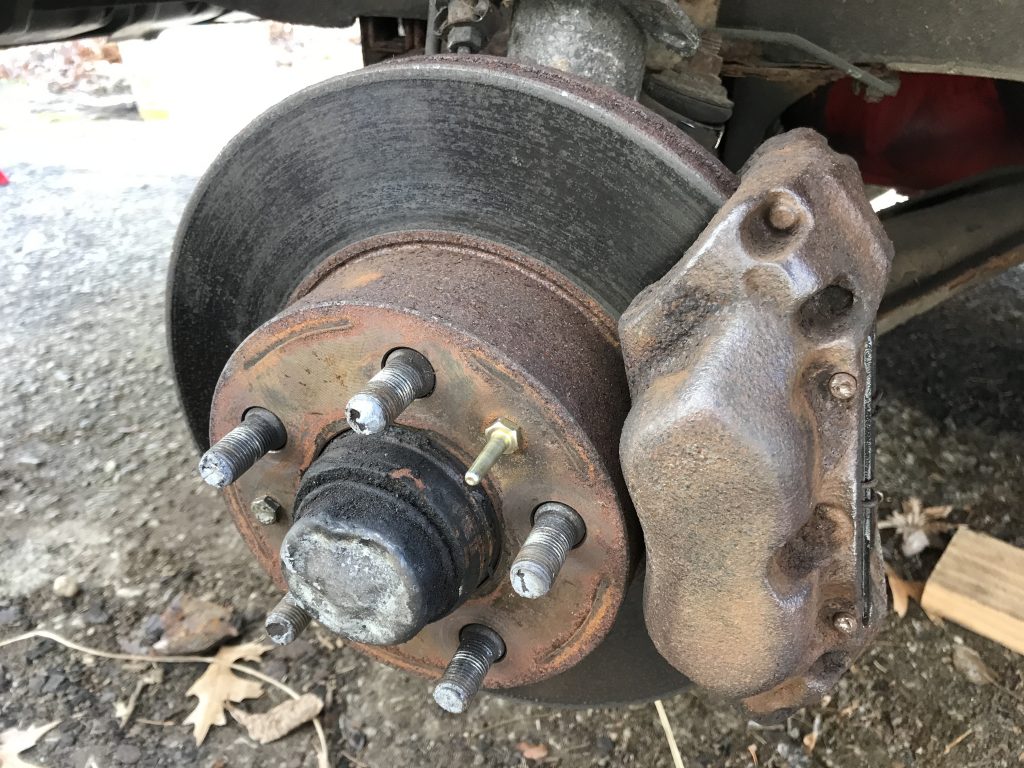
Brake Pins
I then went to replace the pins holding in the retainer springs on the brake pads. If you remember, the existing ones were very rusty and a few of them were bent. Unfortunately the springs for the front brakes were not sent along with the rest of my AutoZone order, so I had to reuse the old, crusty ones. After an email letting them know AutoZone quickly made it right and put the springs in the mail, but I was disappointed that I couldn’t replace them while I had the wheels off. I’ll have to wait until the next time they’re off, probably when I replace the dust guards, to put them on.
Prioritization
Now that my car is essentially drivable I feel like I should sort of my priorities moving forward, at least in the medium term. There’s plenty of cosmetic stuff I could do, but I would like to refocus more on the mechanical aspects of the car that need tending to before I return to that. The following is a list, mostly for my own reference, of the things I think I should tackle and in what order that should be done.
- Replace brake pad pins/springs and attach new front left brake guide pin. I conveniently have the parts to do this now, so it should not be difficult.
- Diagnose and fix the overdrive. I believe either the switch on the shifter is bad or that relay on the transmission is broken.
- Switch crappy controls (window switches, signal lever) with nicer ones. True that this is a cosmetic issue, and I said I was putting those off to later, but I also have these parts too on hand. I might as well get them done with.
- Finish removing window tint, clean up leftover adhesive on windows, and replace rubber window seals. The seals are allowing small amounts of water to leak into the door which is ruining the door panel. I have the rubber bits to do this already.
- Install a new exhaust system. The old mid-muffler has been shown to be deteriorating and losing effectiveness.
- Attach new wheel dust guards. As soon as I find a good source for these that aren’t terribly expensive. That’ll be a good opportunity to checkout the wheel bearings and replace the bad wheel lug mentioned in this post.
- Reattach the last few missing external trim pieces. There are two, both of which I have, plus the lower rubber door trim strips need to be re-glued.
Changing the brake pads
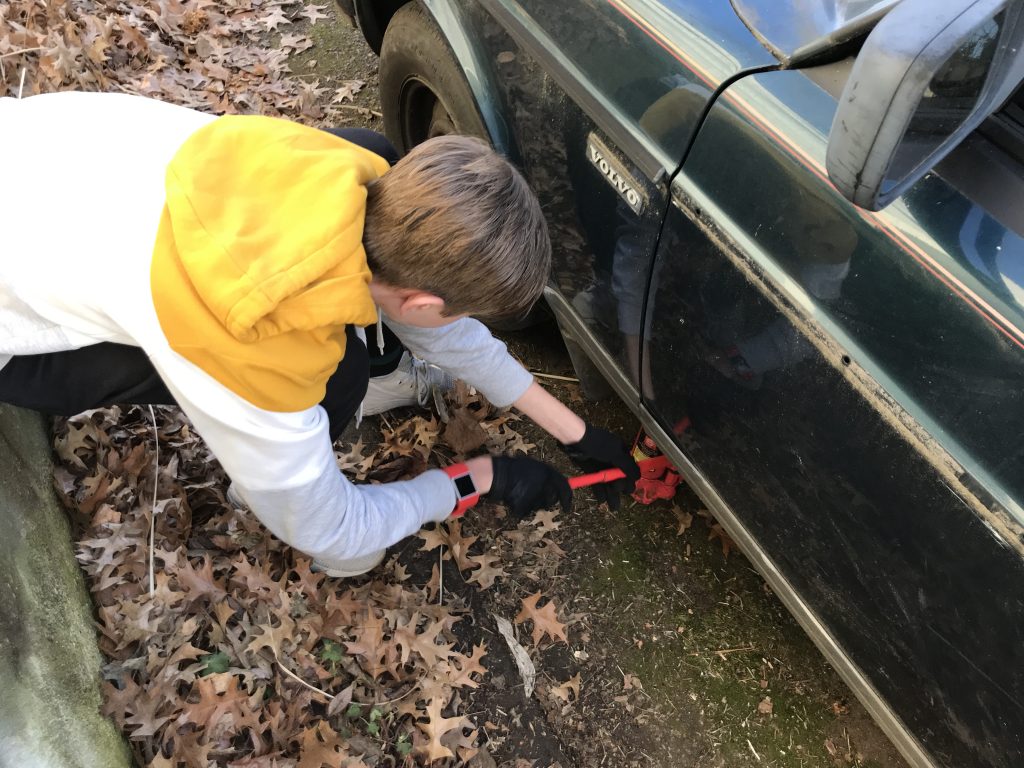
We have been blessed with an oddly warm January weekend, so I took the opportunity presented to change out brake pads. I have no idea when that was last done, and the short test drives I’ve been taking have suggested that they were due. With the help of my oldest son, I got right to it.
Status Update
Just a quick update to say that I’ve been regularly starting my engine and letting it idle for a few minutes, and the effect has been dramatic. It’s much more reliable now. The stalling on start issue has been virtually eliminated. I can even start up reliably in the very cold weather we’ve had recently, and the rich idle code has yet to return. This is all very promising as well as gratifying.
The next bit of work should be replacement of brake pads, which I hope to start this weekend. Once that’s done I should be ready to take the car in for inspection. In Pennsylvania older cars like mine must pass a basic safety inspection like all cars and a more simple emissions test that consists of making sure all the original exhaust components, like the catalytic converter and muffler, are still there and that the gas cap is not allowing fuel vapors to escape the tank. I should be all good in those departments.
There’s always someone more clueless than you
Fuel Filter Change
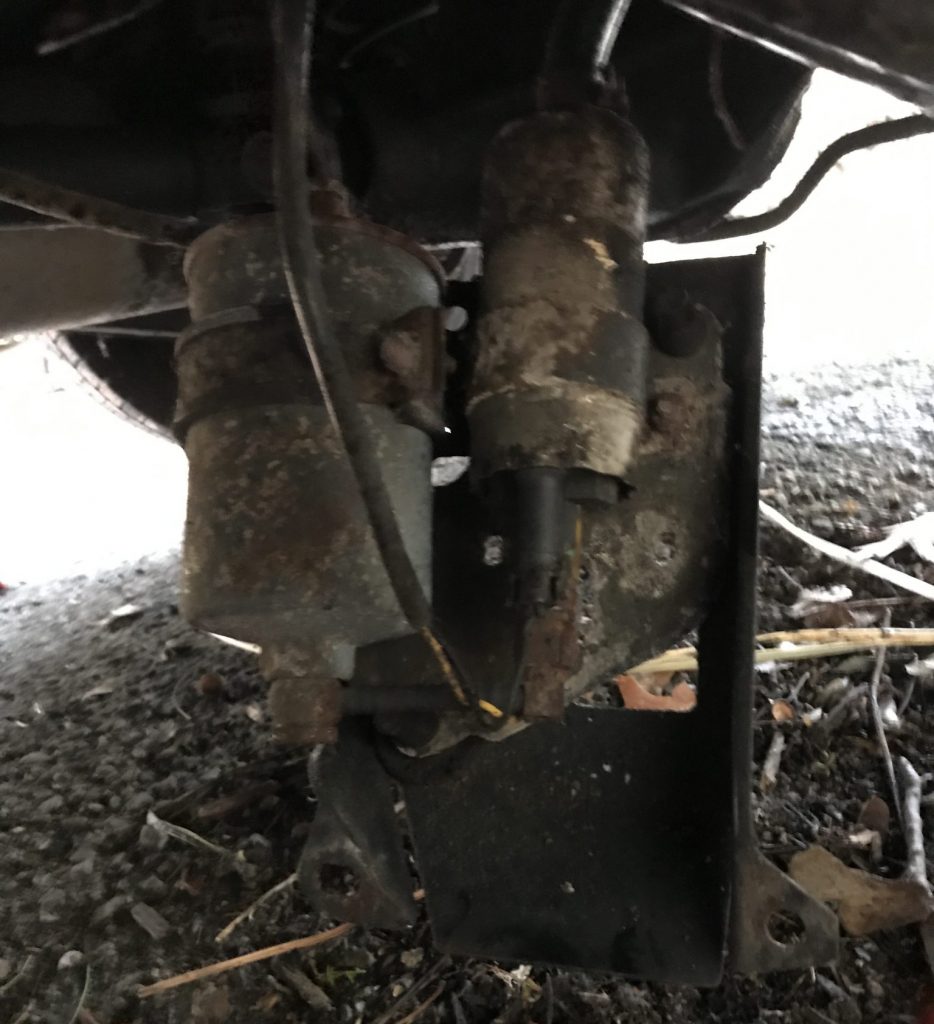
Changing the fuel filter, in my mind at least, should be a simple task. On a 240, however, I found it was a pretty big pain in the butt. The filter is located in a metal cradle of sorts just in front of the driver’s side rear tire. This cradle also holds the high pressure fuel pump and is bolted to the chassis using three bolts with 12mm hex heads. Getting them out was the easy part.
Happy New Year!
Welcome to the year 2020. I hope everyone had a good holiday season with lots of good food, friends, and fun. I found myself with a surplus of use-it-or-lose-it vacation days at the end of last year, so I’ve had a few weeks off. I used some of that time to put the finishing touches on the engine before attempting the first start in months. In anticipation of this event, I filled the cooling system with distilled water to flush any remaining sedative and gunk that might be lurking in the block and radiator. After the engine (hopefully) ran a little I’d empty that out and put in actual coolant.
First Start
With the coolant tank topped off and the battery recharged (it had been sitting in a cold garage for months, so it was stone dead) and installed, I took a moment to jump the left side of fuse four (the in-tank pre-pump) to the left side of fuse six (the high pressure fuel pump) to get them both running. This was to check for fuel leaks which, thankfully, there were none.
The moment had come. I crossed my fingers and turned the key. After a couple of seconds of turning and a stall or two, the engine hummed fantastically! I was pleased to say the least, and a little proud that I had managed to put everything back together correctly. I let the engine run until the temperature rose to a normal operating level and shut it off. After it had cooled down again I opened up the lower radiator hose and drained the water. It looked pretty clean if not a little murky. I then refilled the system with Pentofrost A3 blue premix and called it a day, happy and confident in my work.
That would soon change.
Continue reading