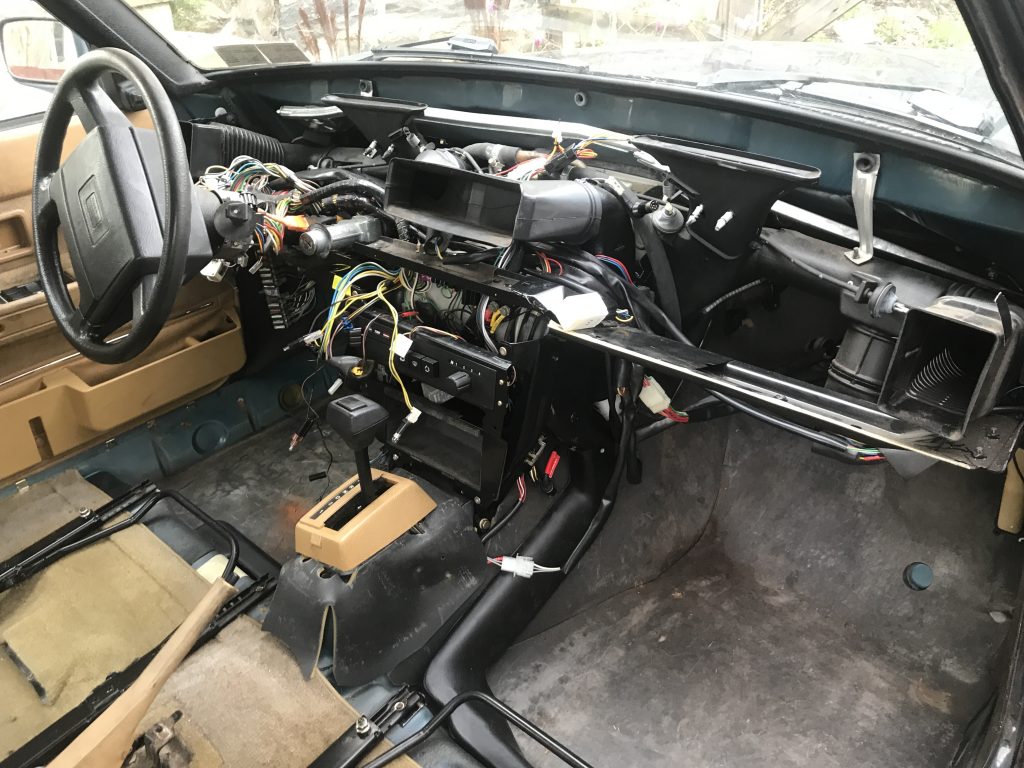
As the photo at the end of the previous post I decided to take my interior half apart. Since my starter was working I figured that whatever was preventing my car from starting was more than likely in the dash. The prime suspect was the aftermarket ignition switch I had installed last summer. Getting to it was a real pain as the dash was in the way. I figured that since I had to replace my blower motor which would require removing the dash I might as well do it all at once. So out went the dashboard and a few other bits, bobs, odds, and sods.
Among those odds and ends where the front seats. They attach to their respective rails with four nuts. Once those were out the seats simply lift off and out. I put them in the garage for later consideration. Specifically I’m considering putting in seat warmers which will require me to remove the seat cover and put in a heating pad along with its wiring. They also need some serious cleaning.
Following that was the trim that surrounds the doors, both front and back, and the broken b pillar trim pieces. One of them (pictured below) is not salvageable but the passenger side piece is a candidate for repair. That too went into the garage.
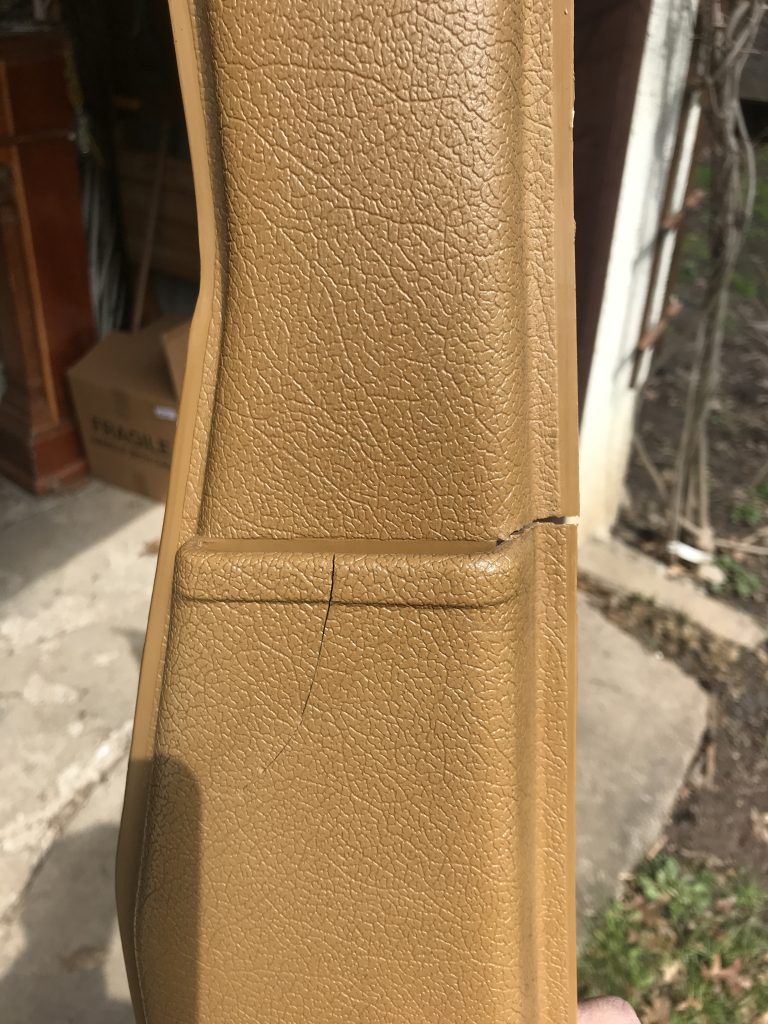
Maybe repairable 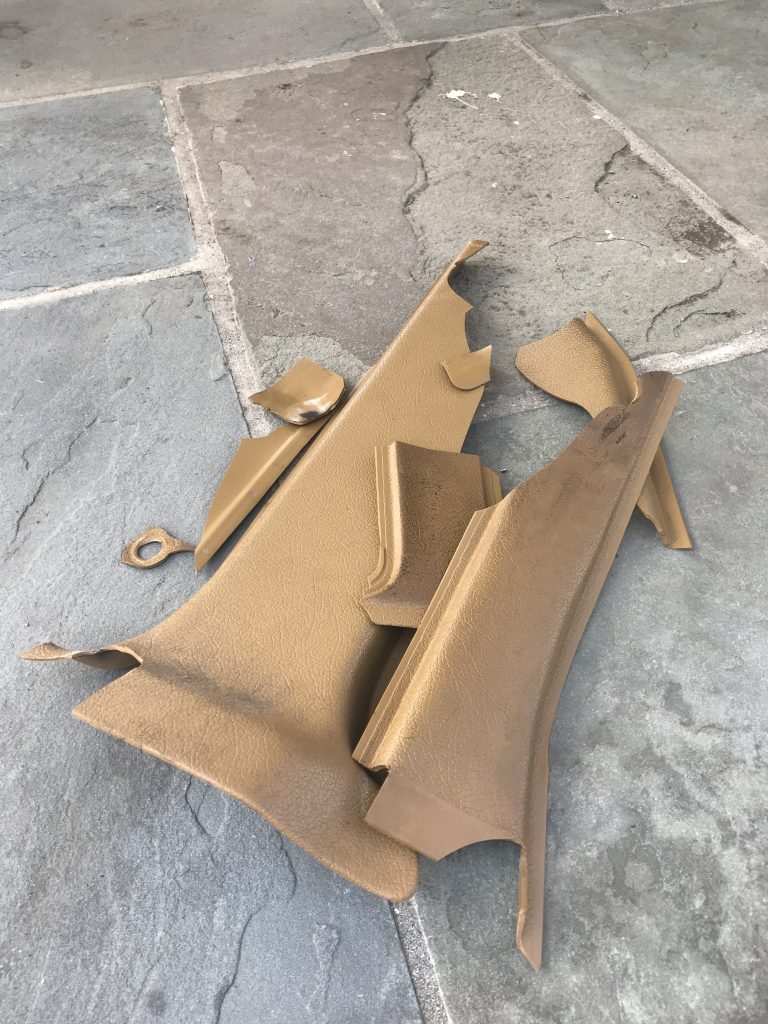
Not so much


I decided that the bigger job of the blower motor would come first. That requires the removal of the dashboard which would have the added benefit of making it easier to access all the ignition circuitry. I was a little worried about doing this as it seemed a heavy lift, but honestly it wasn’t that bad. The topic of 240 dashboard removal has been discussed and illustrated in other places much better than I probably could do it, so I won’t go into detail here. The guides found over on cleanflametrap.com is always full of great information, and their guides on removing the dash and replacing the blower motor are second to none in my opinion. So use those, and a shout out to them for their always helpful information.
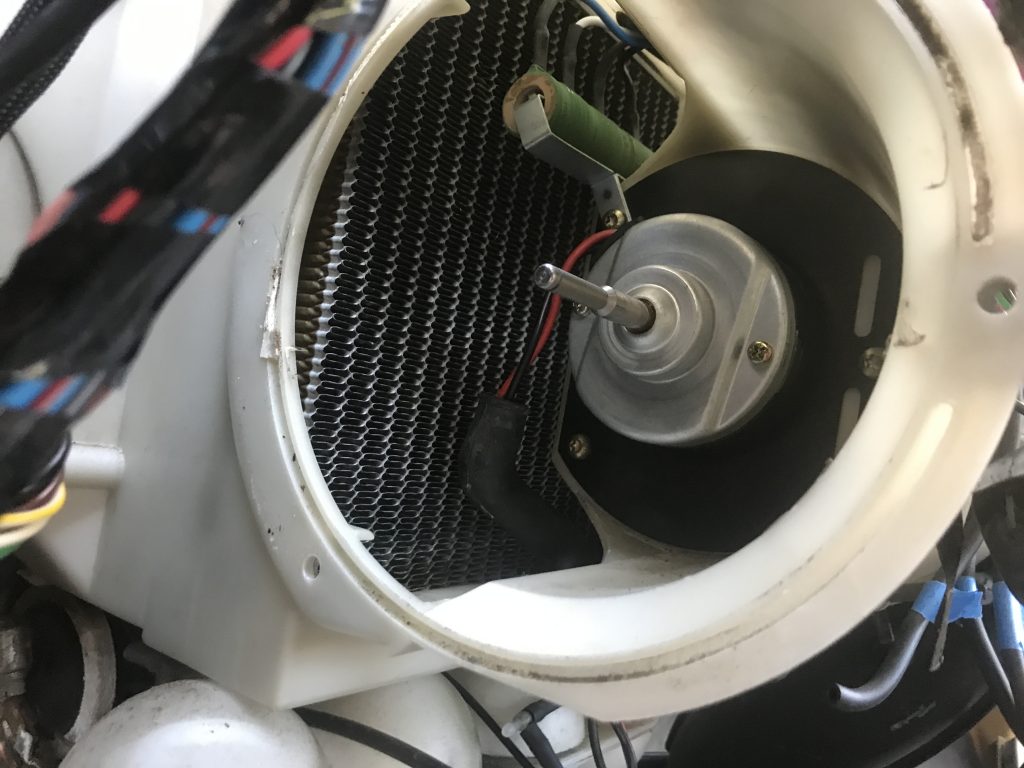
Blower Replacement
After the dash was off and various bits out of the way I got down to where the motor lives and swapped it out. The old one indeed was busted. This was verified by testing it by touching its leads to the battery which produced some crunchy, noisy action for about 5 seconds before the motor permanently seized. I also replaced the resistor while I was in there although I’m pretty sure the old one is still good. I wouldn’t want to have to do this again any time soon because that decided to go too.
Here are a few observations on the process that weren’t mentioned in the guide I followed but I think might benefit others also attempting this repair.
- When removing the fan control panel of the center console take special care to remember which vacuum line goes to which port on the vent selection button cluster. This is especially important for the button that diverts the airflow to underneath the dashboard as one line closes the top vents and the other opens the bottom. If they’re reversed the button will have the opposite effect.
- The spinning centrifugal fan blades that attach to the motor spindles were very hard to get on and off. It required a lot of firm but delicate prying to get them off. When they are out give them a very good wash, especially where the spindle threads through. Removing crud from there will help in putting it back on. So will a little lubricant as well as some gentle tapping with a mallet.
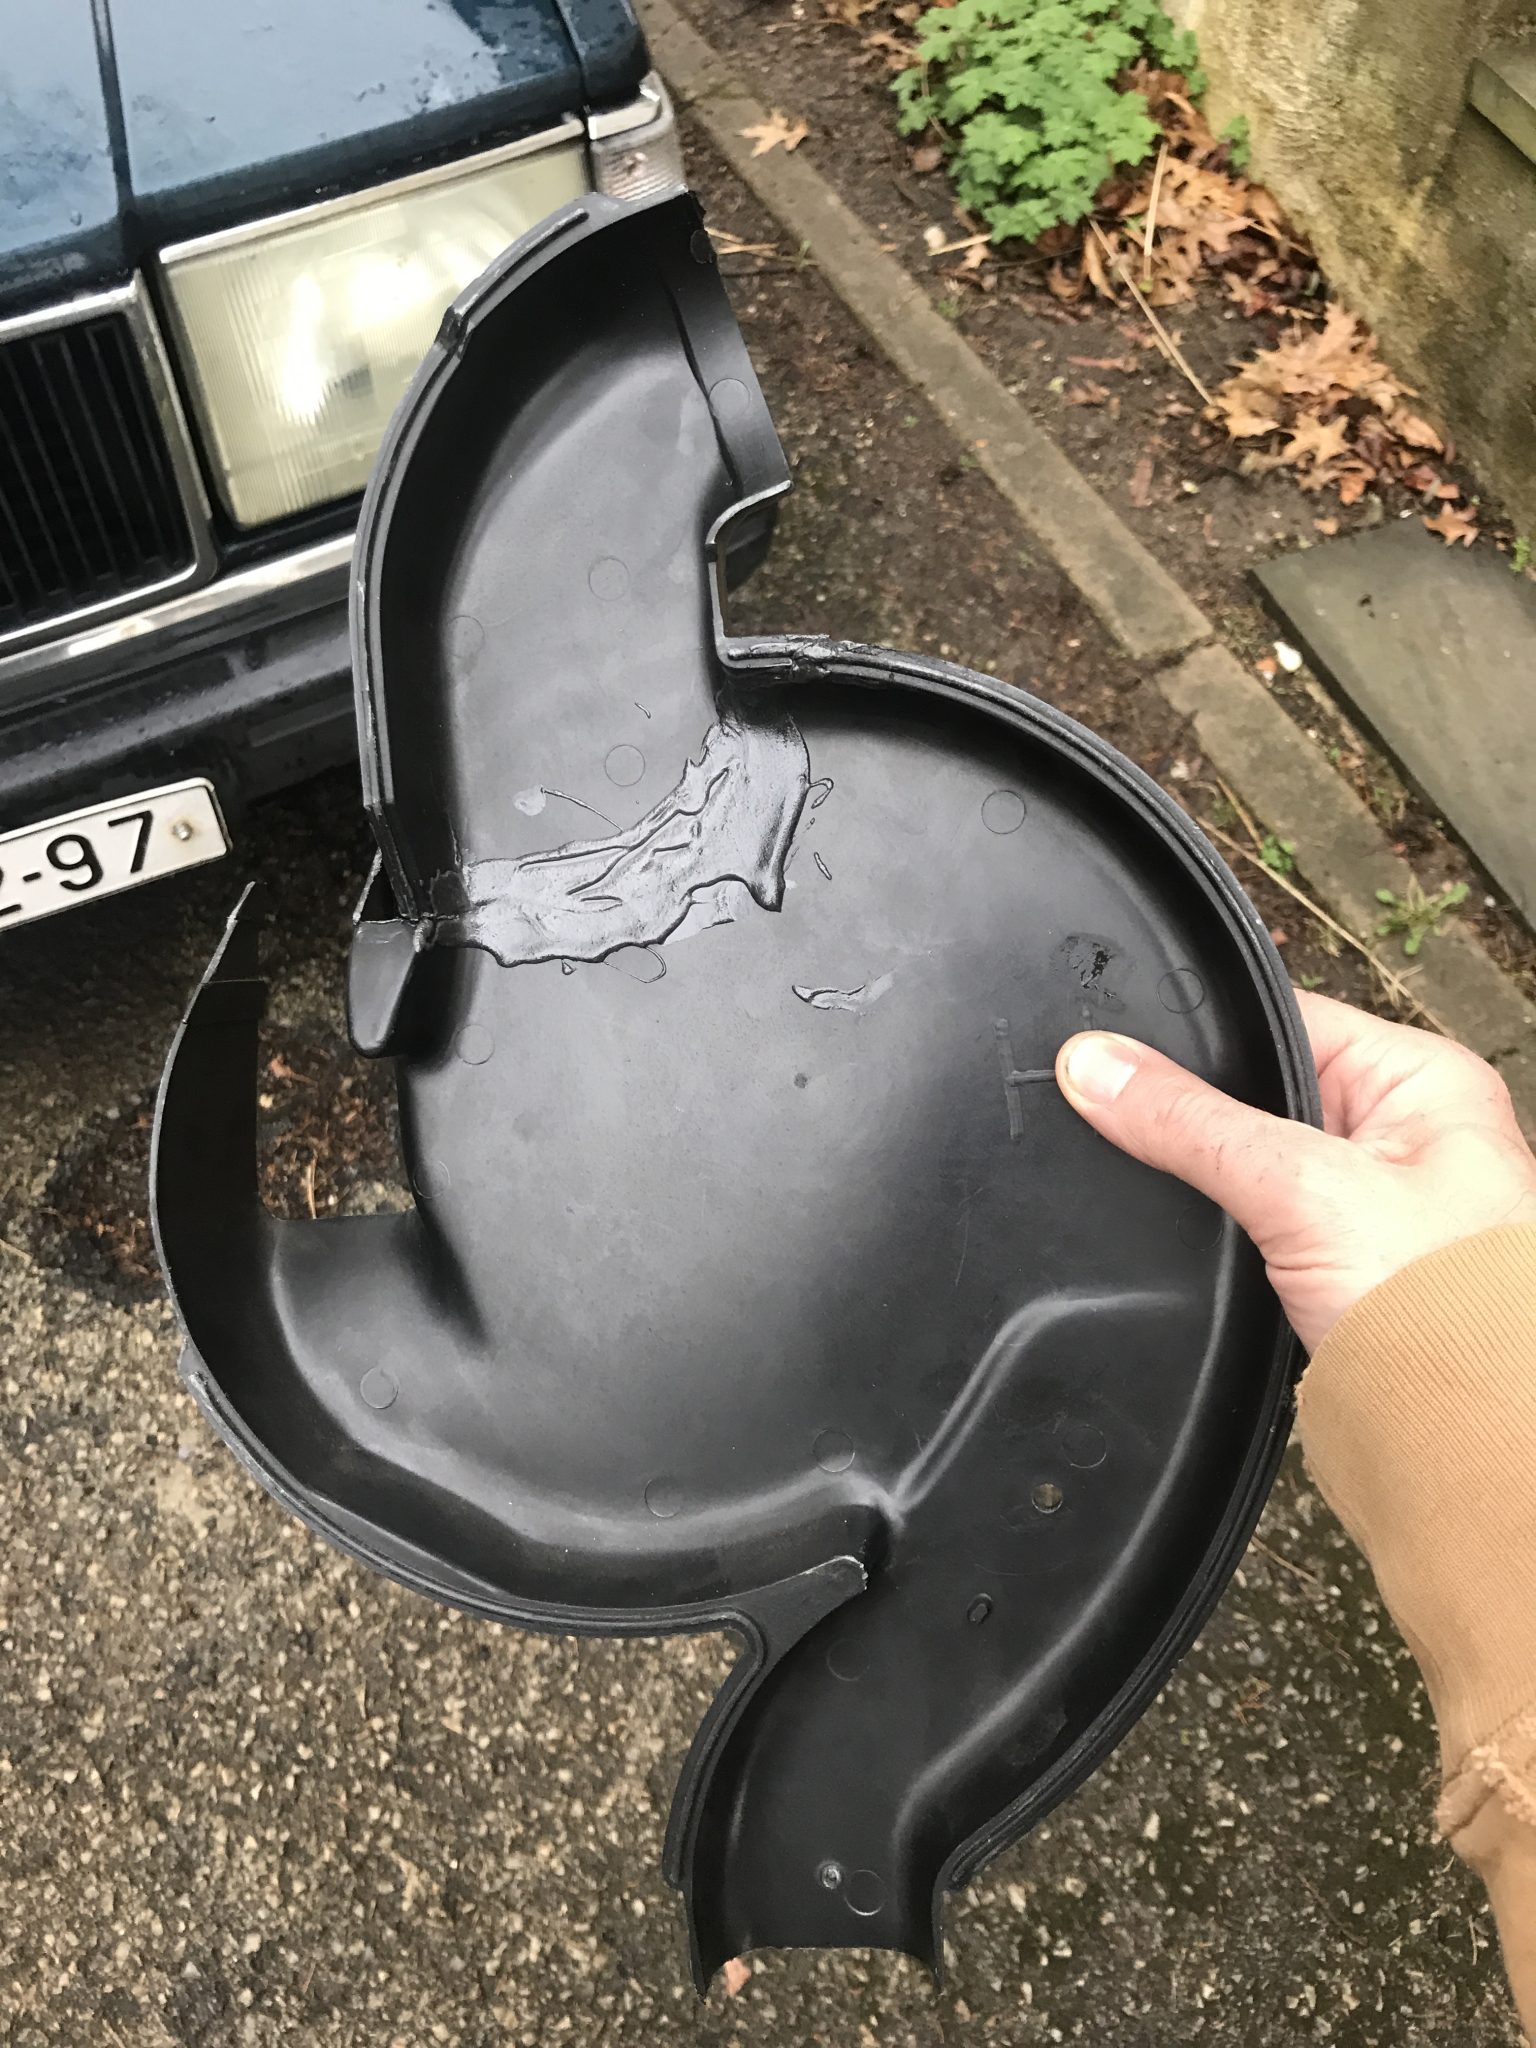
- Be careful when removing the airway baffles. They are sandwiched between a number of hoses, wires, and dashboard structural supports. I was a little too rough with mine and literally tore one piece in half. Thank goodness for JB Weld brand two part epoxy!

Next Step
Now that the blower works I can turn my attention to why the car won’t start. I’m actually writing this after the problem has been solved, and I have to tell you the solution was a pretty interesting one, so stay tuned.