Ever since my driver’s side central locking mechanism self destructed I’ve wanted to either find a replacement part to fix it or come up with a better way to accomplish the same functionality. After viewing a YouTube video about installing a keyless entry system I decided that such a feature would do just that.
Required Parts
To make this sytem work I needed to find two new parts:
- A linear actuator to actually move the door lock. Volvo makes this already (part no.1315178) and thankfully they are widely available on eBay which is where I got mine.
- A controller kit. China makes billions of these and they’re all basically the same with the main difference in the number of buttons on the key fob. I just needed one for my doors, so I eventually settled on this one from Amazon.
With my parts in hand, I set out to put it together.
Door Motors
The system works by sending 12V signals to the open and close lock relays which in turn make the linear actuators in the doors, so obviously the first step was to install the new actuator. This is a simple process of just lining up the bolts to the holes that are already in the interior door structure. I then drilled a small hole in the plate that the lock control connects to. This plate is the switch that triggers the relay that sends a signal to the various door lock actuators. The new actuator connects to this so that when the key fob button is pushed the system operates it which pushes or pulls the plate and operates the other door actuators as if I had pushed or pulled the manual lock control. I had to find a piece of metal rod to connect the actuator and the plate that was both stiff enough to actually be able to push and pull but flexible enough to be bent and tied off at the ends. I first tried a wire coat hanger, but that was too thin. Thankfully while walking my dog I came across someone throwing away some old gardening stakes. They looked to be about the correct size – a bit thicker than the coat hanger but not too thick that I couldn’t make sharp bends in the ends with a pair of pliers. Once I had it all tied in I manually push and pulled the actuator and it worked just fine
The Controller
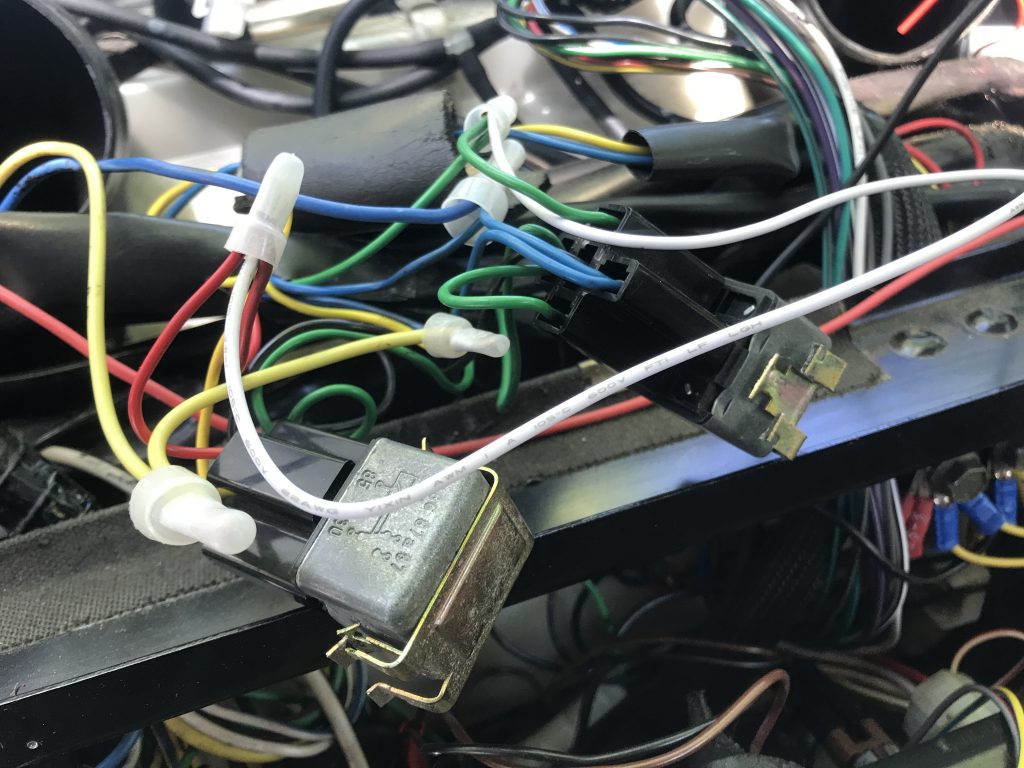
The next step was to run the wires to the controller unit. The actuator has two wires, one for open and one for close, with the ground being through the bolts and into the body frame. I continued each wire through the door, up and around the space where the gauge cluster goes and to the right side of the center console. It is there that I put the controller box. From the box I ran the open and close lines to their respective open and close relays. These are clipped to the center console’s structure and need to be sort of fished out. I clipped the appropriate wires and spliced in the control unit’s, crimping them all together with plastic crimp terminals.
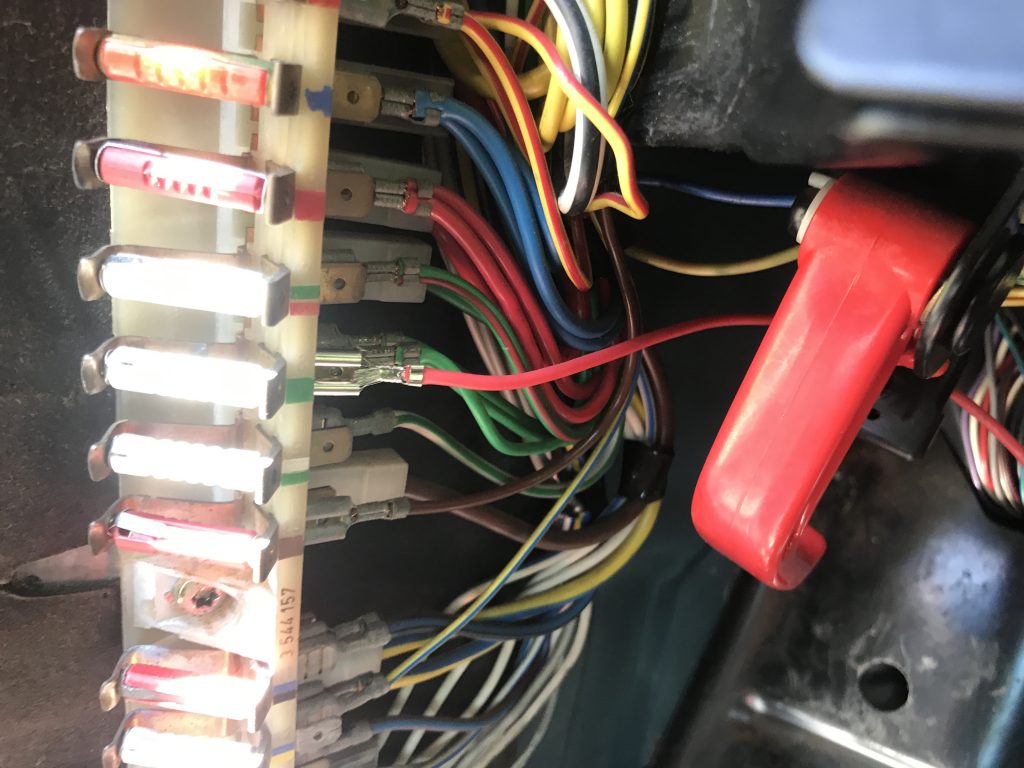
Next I ran the 12v power line from the controller to the fuse panel. I chose fuse 8 which on my car is the central locking circuit. This circuit is always energized even when the car is off which is obviously important for running a remote entry system.
The controller also has wires for connecting to the horn and the signal lights so that the car can do a little “honk” and flash its lights when you lock, but I didn’t bother to hook these up. Perhaps another time. Anyway, the instructions explained in somewhat broken english how to program the two key fobs that came with it. It was a combination of holding down a button and pushing the lock button on the fob. Very easy. Once that was done I gave it a test and *CHONK* the doors locked and unlocked.
The Dashboard
My dashboard has a few unsightly cracks. I looked into getting it professionally fixed and found that to be unbelievably expensive. I’m not about to spend $1000 to fix a couple of cracks in the dashboard of a car I paid less than $1000 for, so I decided to do it myself. Again I went back to the JD Weld two part black expoy I’ve been using to fix other bits. I did my best to fill all the cracks and smooth it level. Once it cured I took some sandpaper to it to try and even the expoy out a little. Looking at my work at this point I wasn’t feeling particular confident in my restoration skills, but after I got everything to the point that I considered passable I put the dash up on some saw horses and hit it all with semi-gloss black spraypaint.
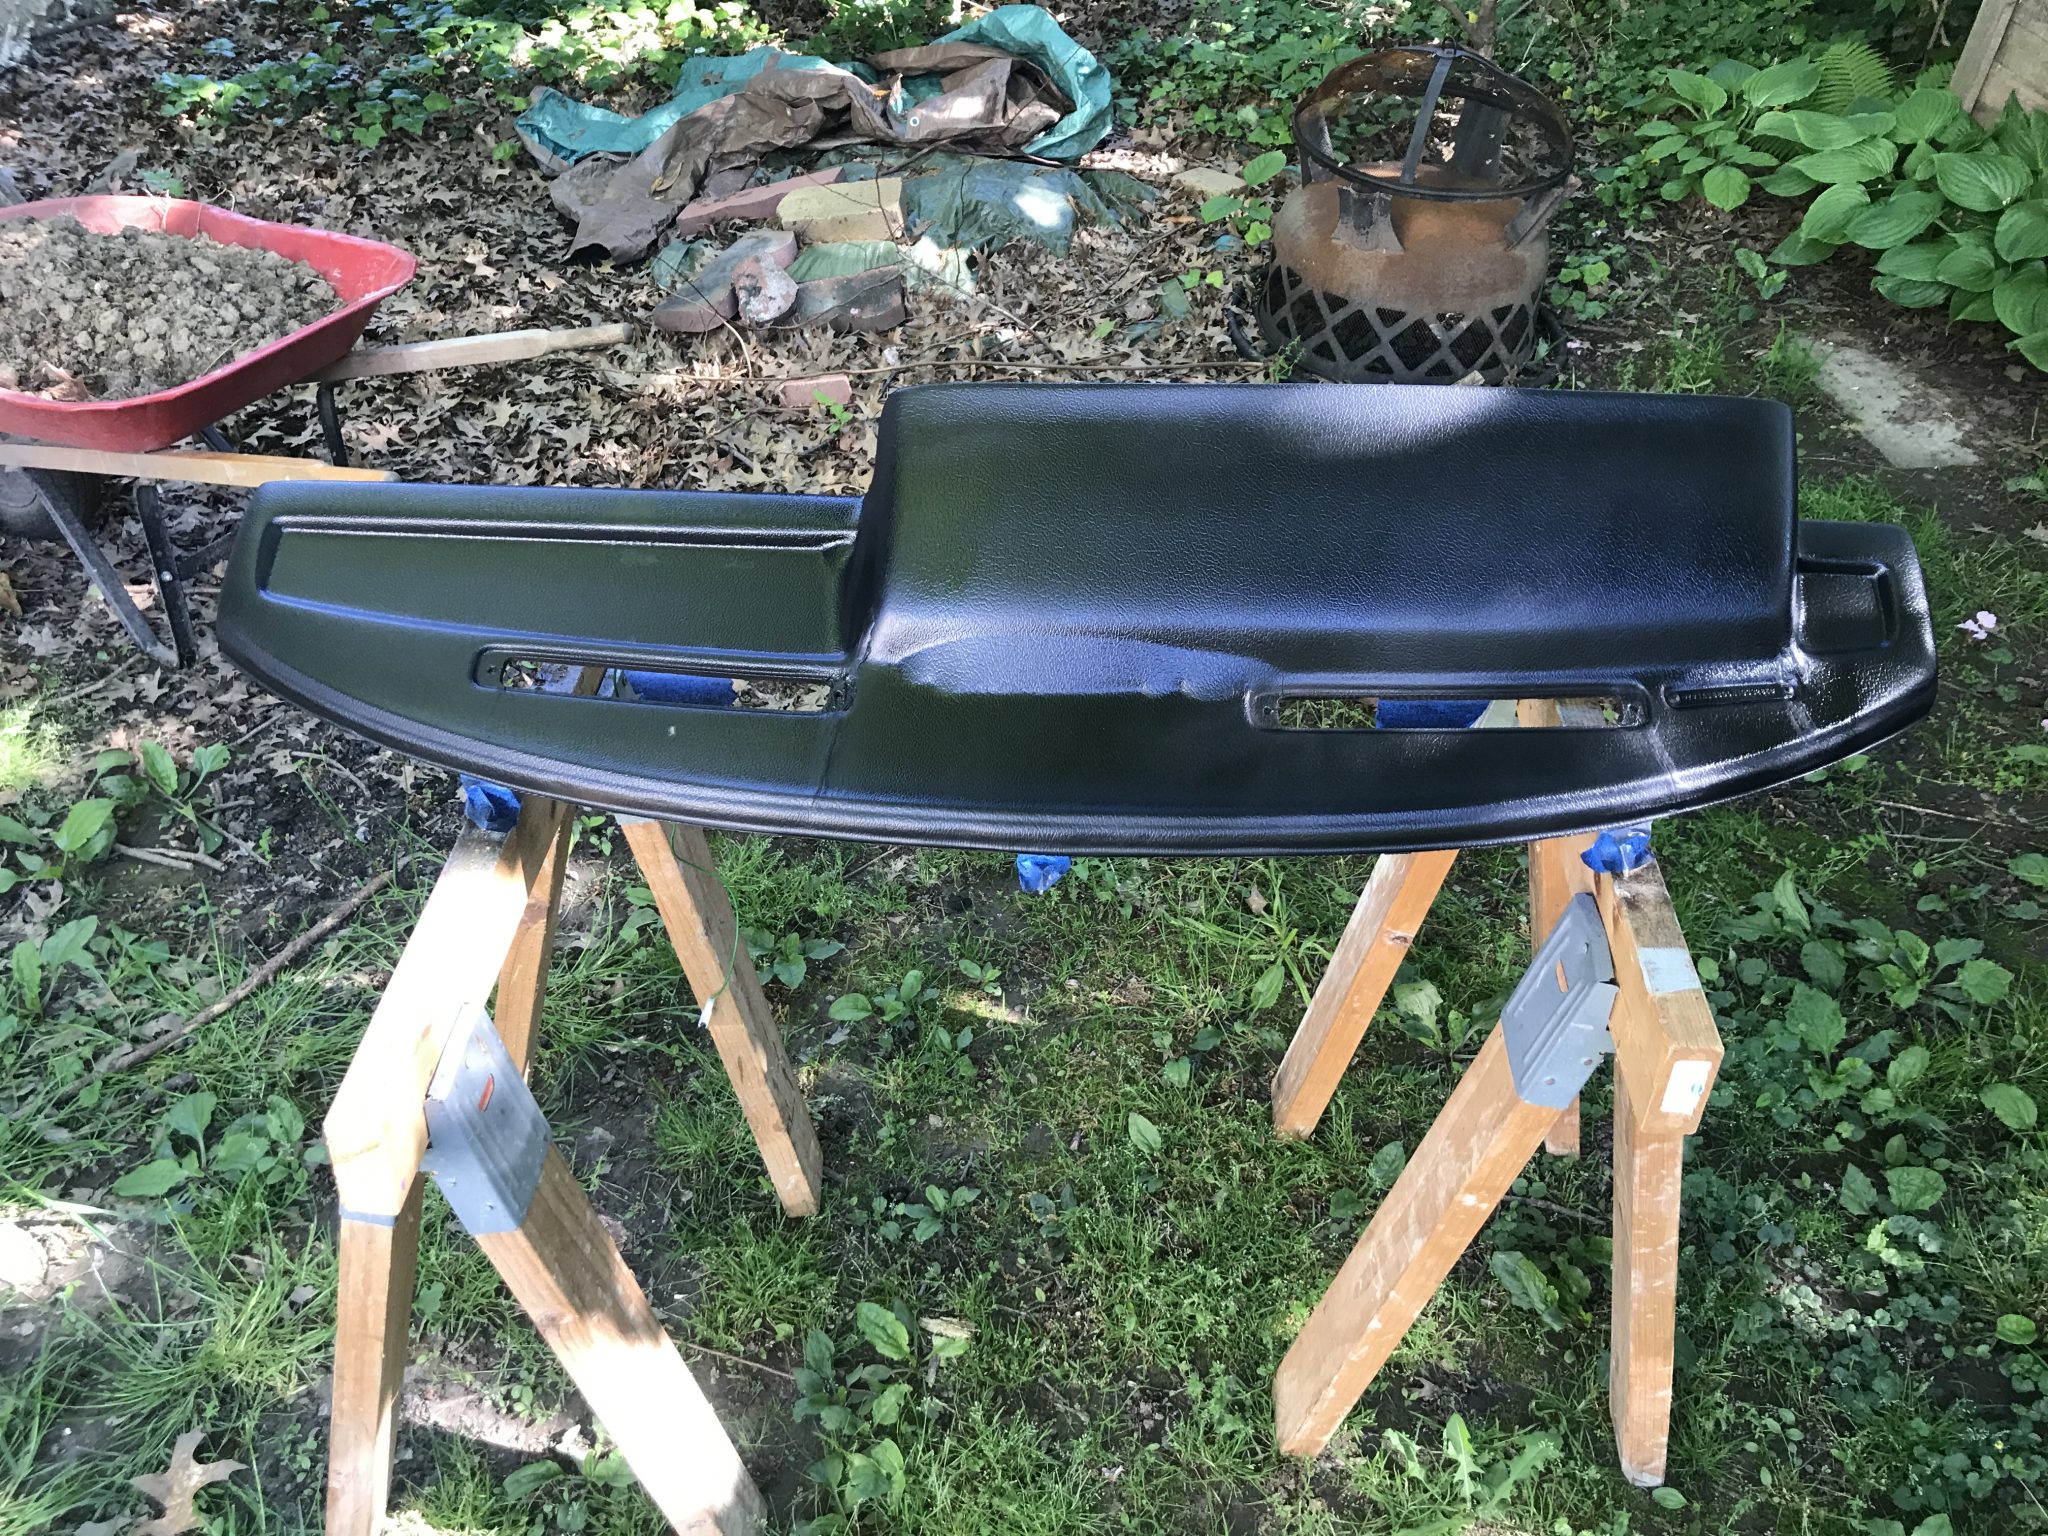

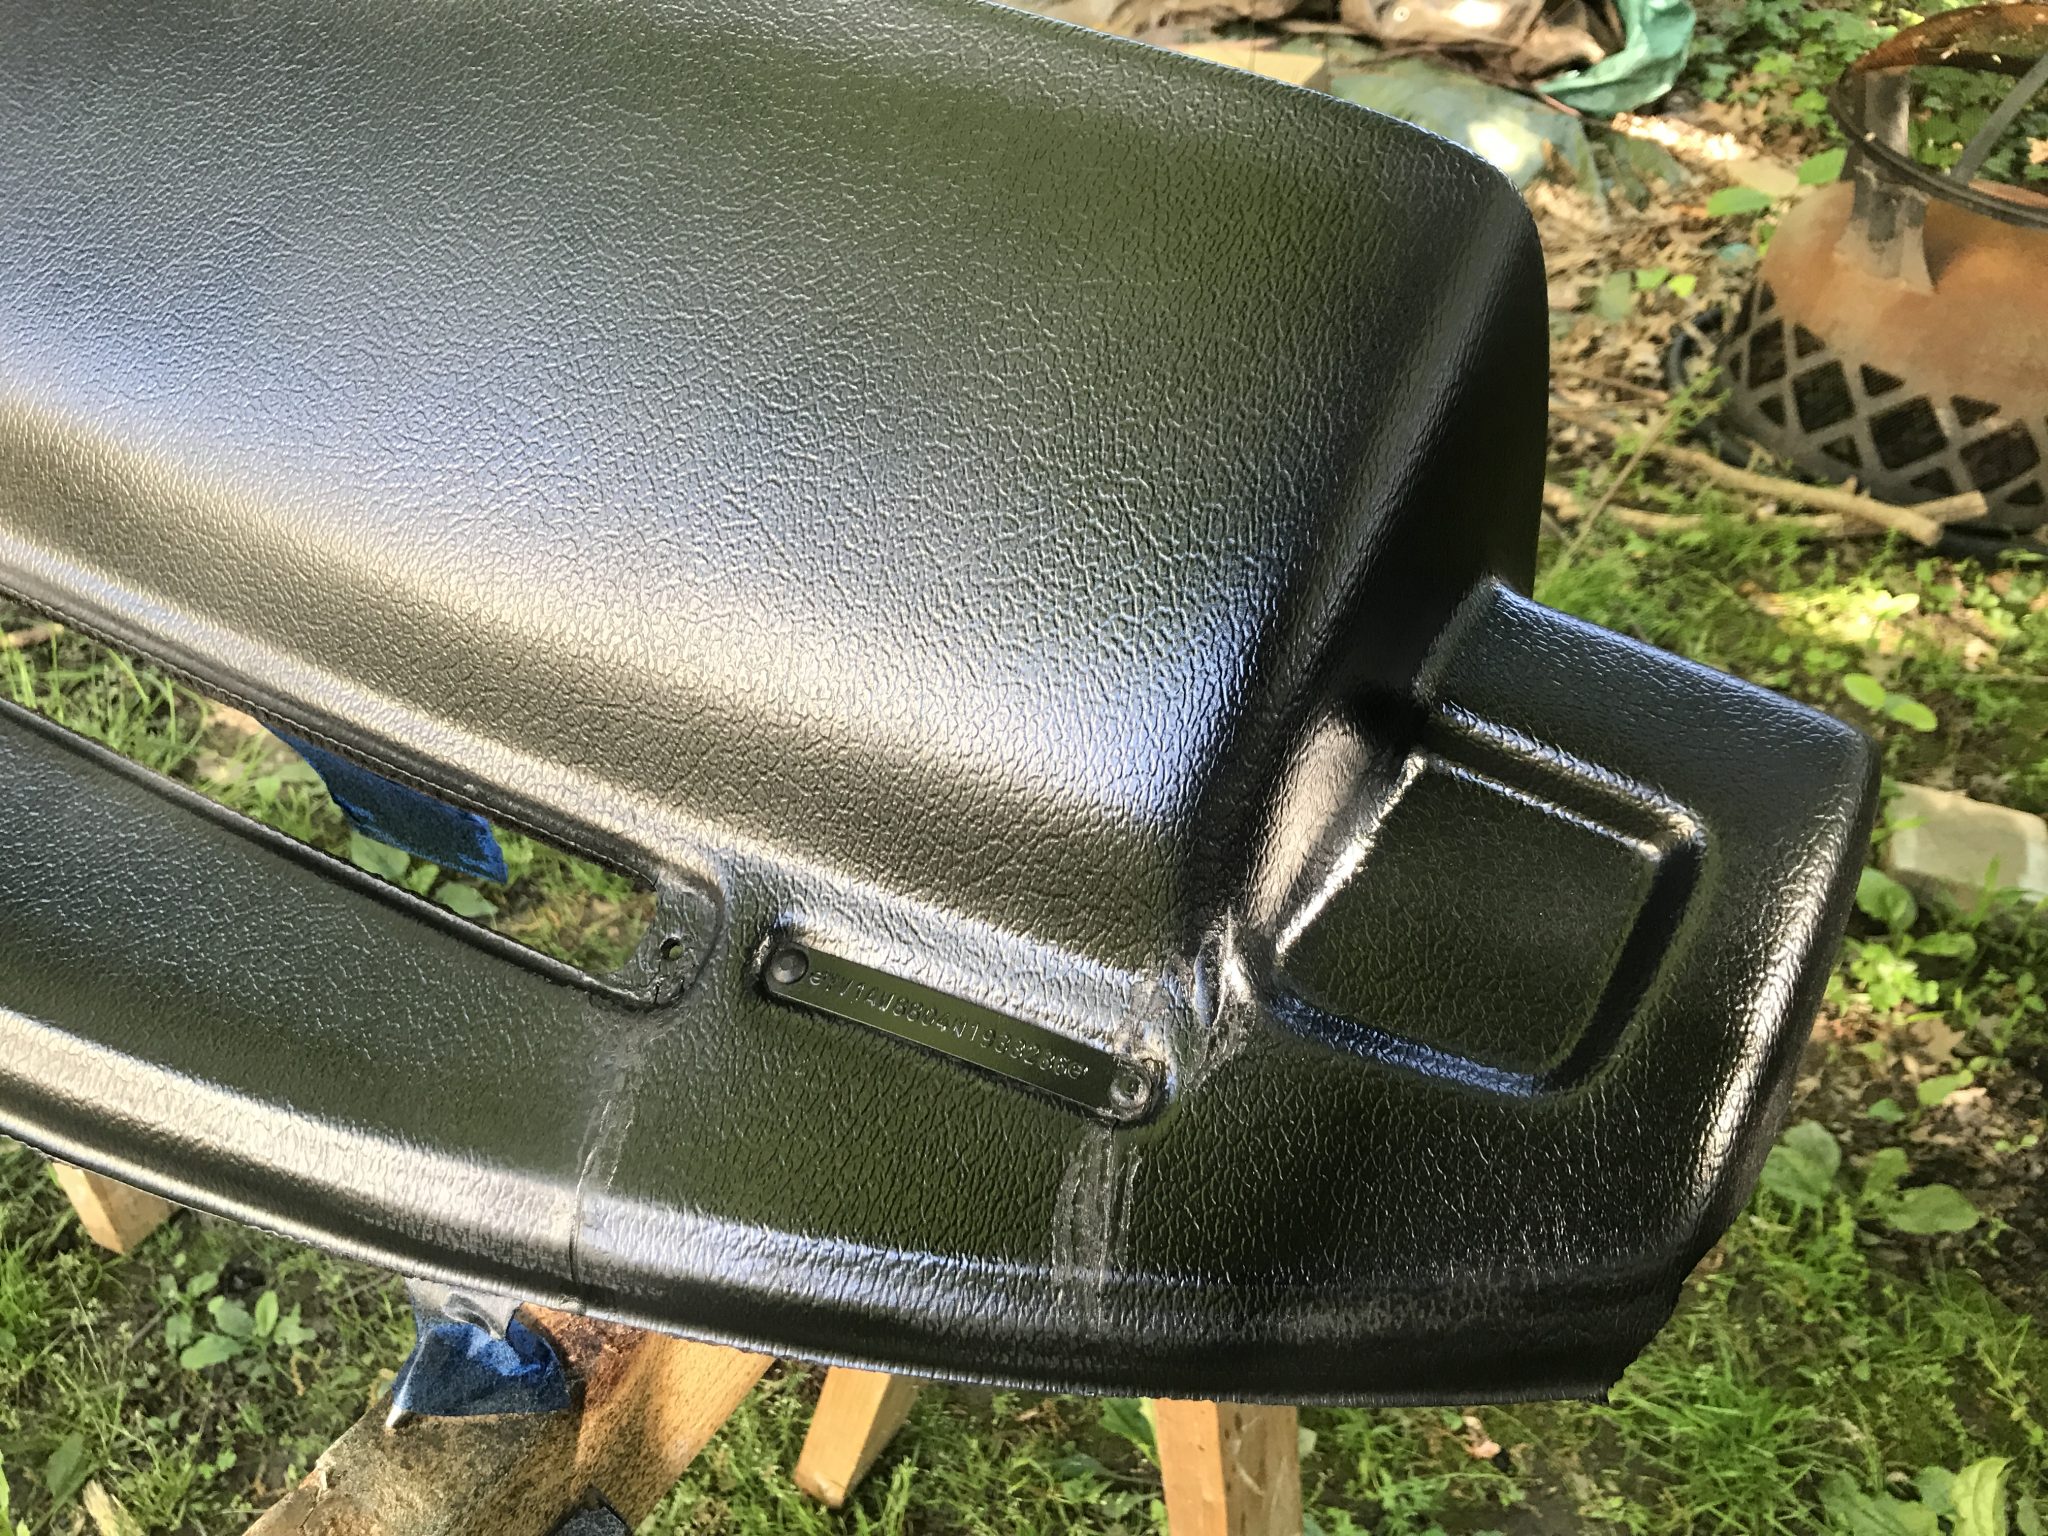
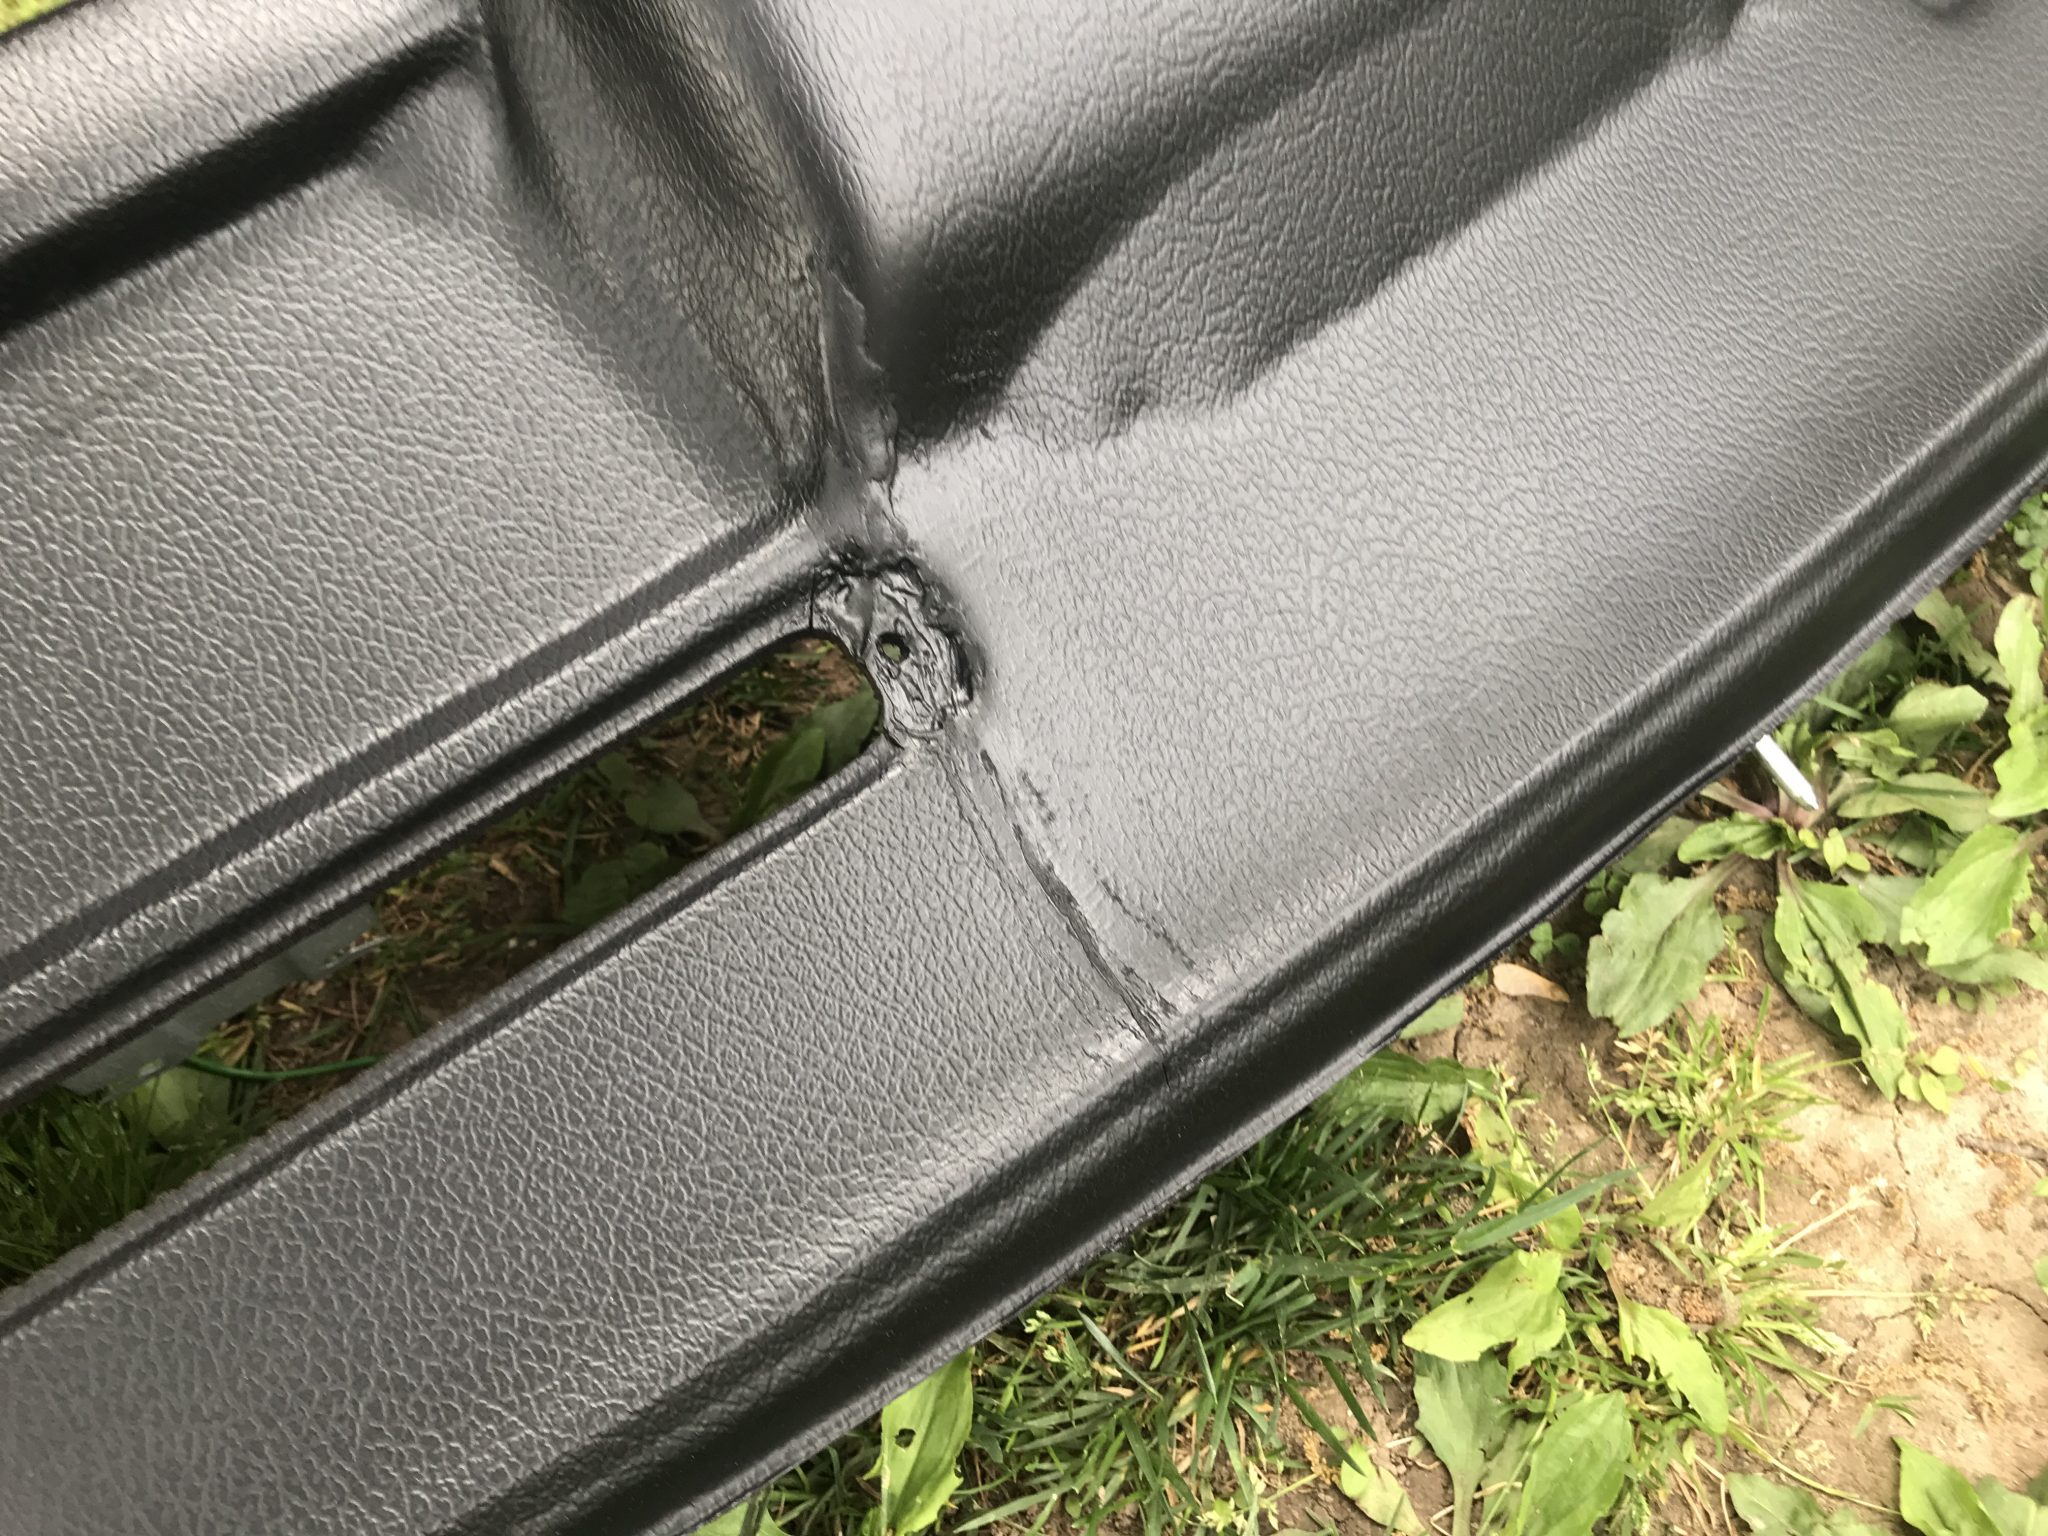
As you can see, the end results are a tiny little bit less than perfect. But the cracks aren’t there anymore and the dash looks nice and shiny new in the non-cracked parts so I’m declaring victory.
All Back Together
All that was left was to put the interior back together. First the dash went in, followed by the center console and all of its accessories, then the carpets went back down, the seats were bolted back in, and finally the door cards and handles all came back together. And just like that Gudrun was ready for the road again. But not for long. Inspection was coming up and it had been suggested to me the previous years that thefront shocks might need changing. That became my next project, but it got a lot more complicated. Stay tuned for that.