Getting ready to clean and flush

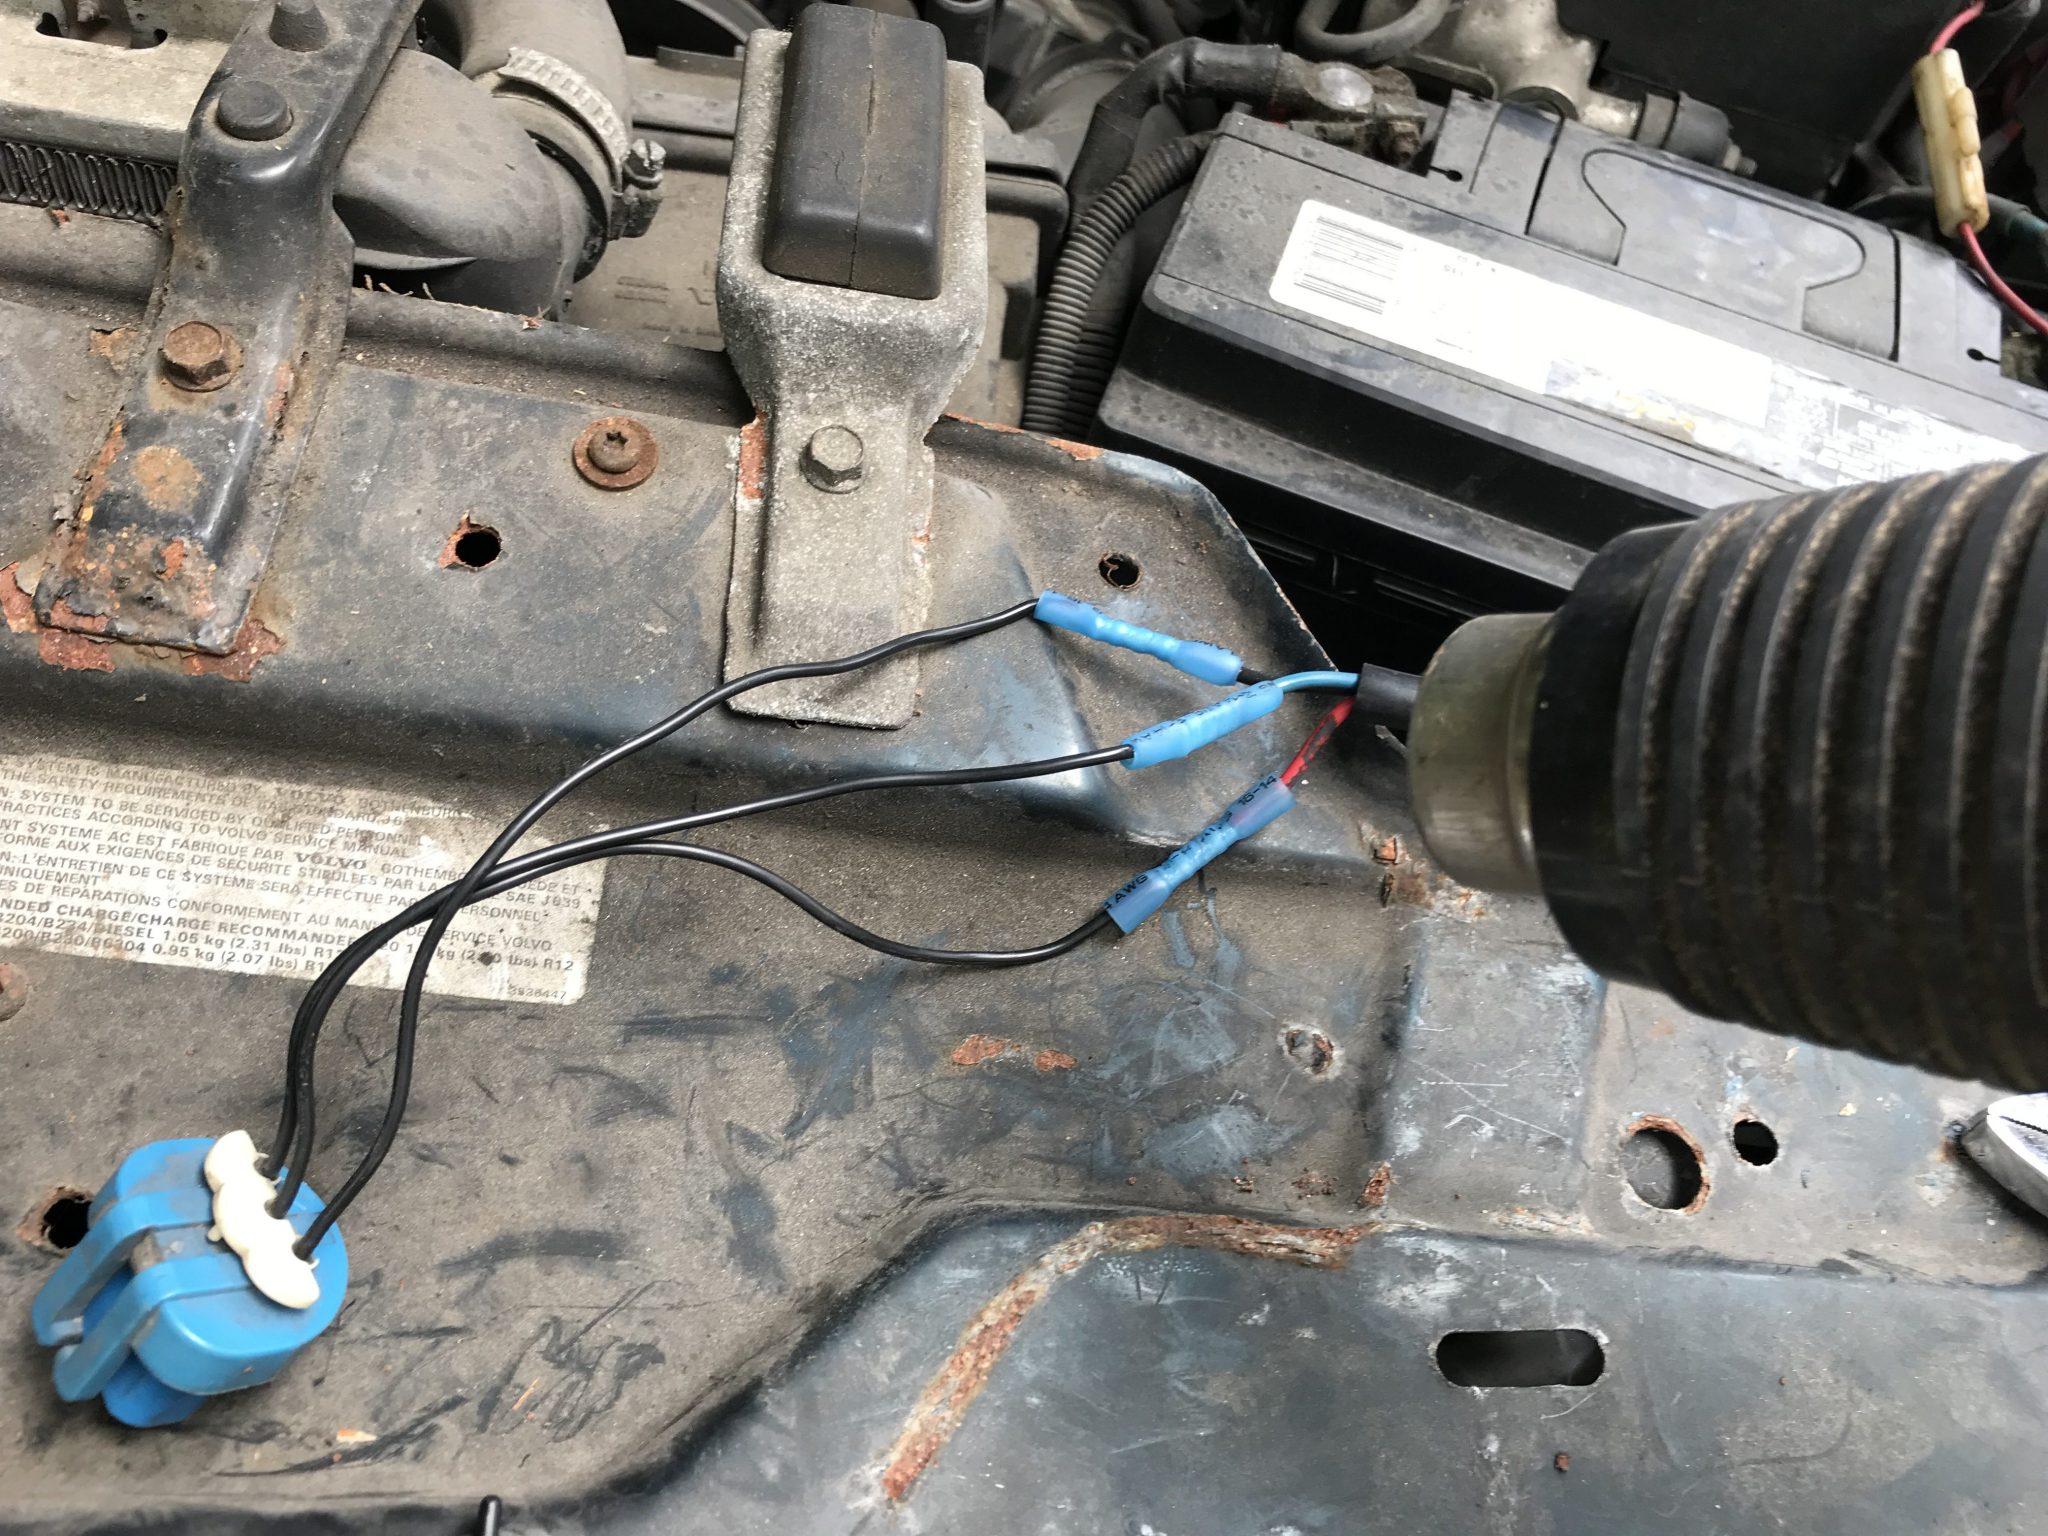
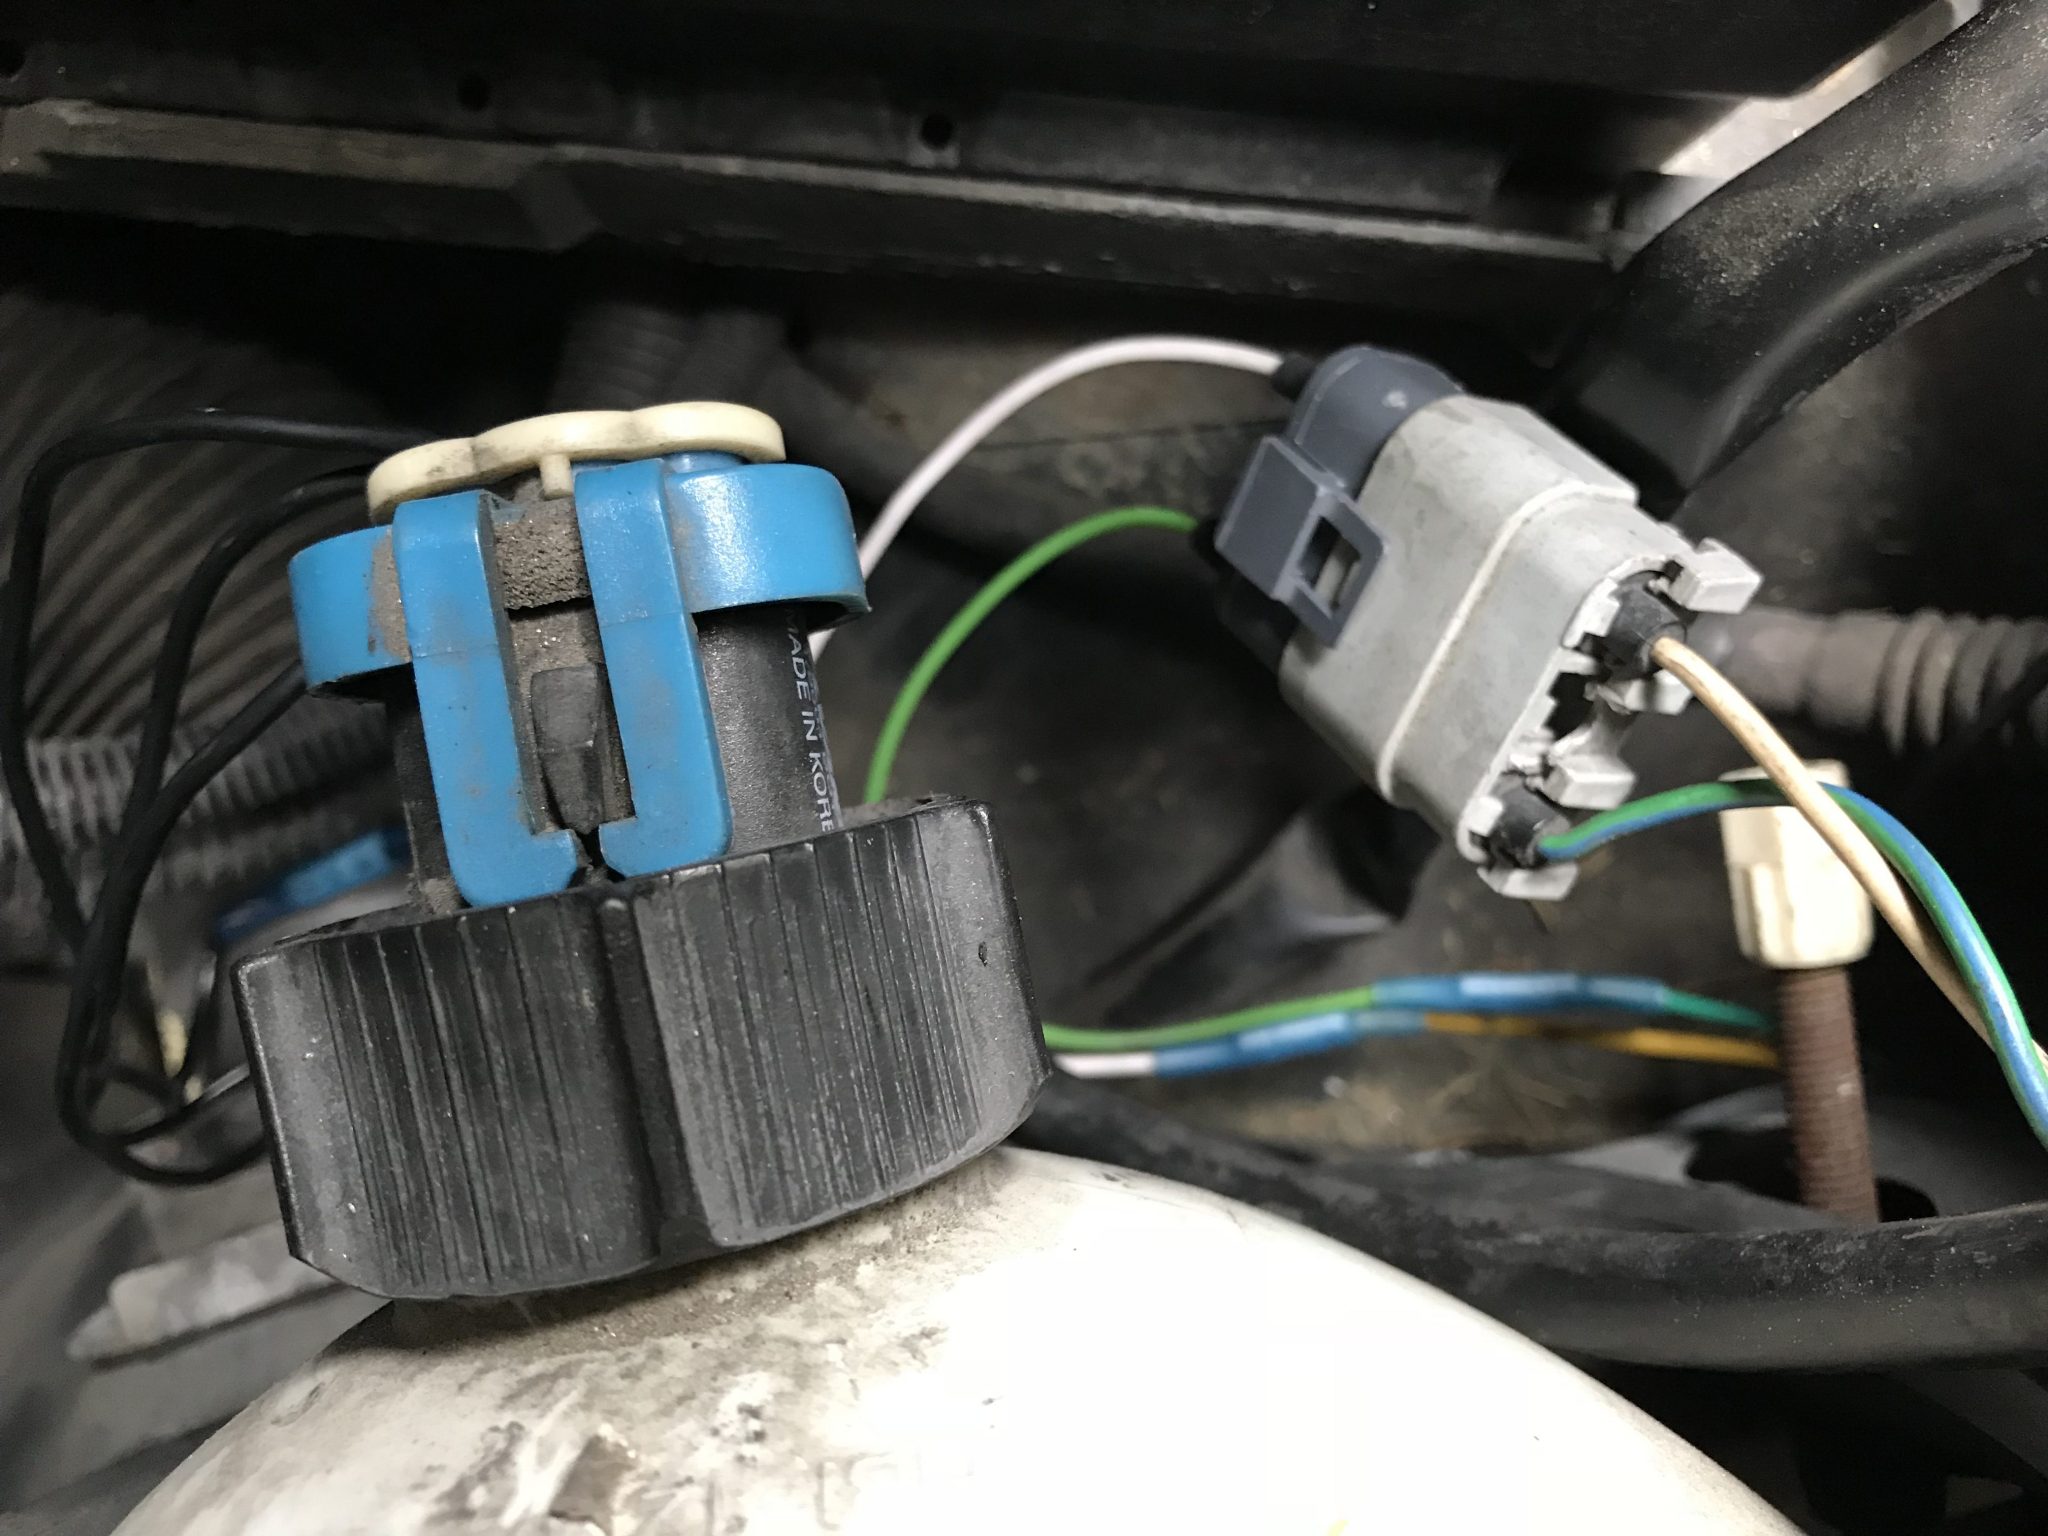
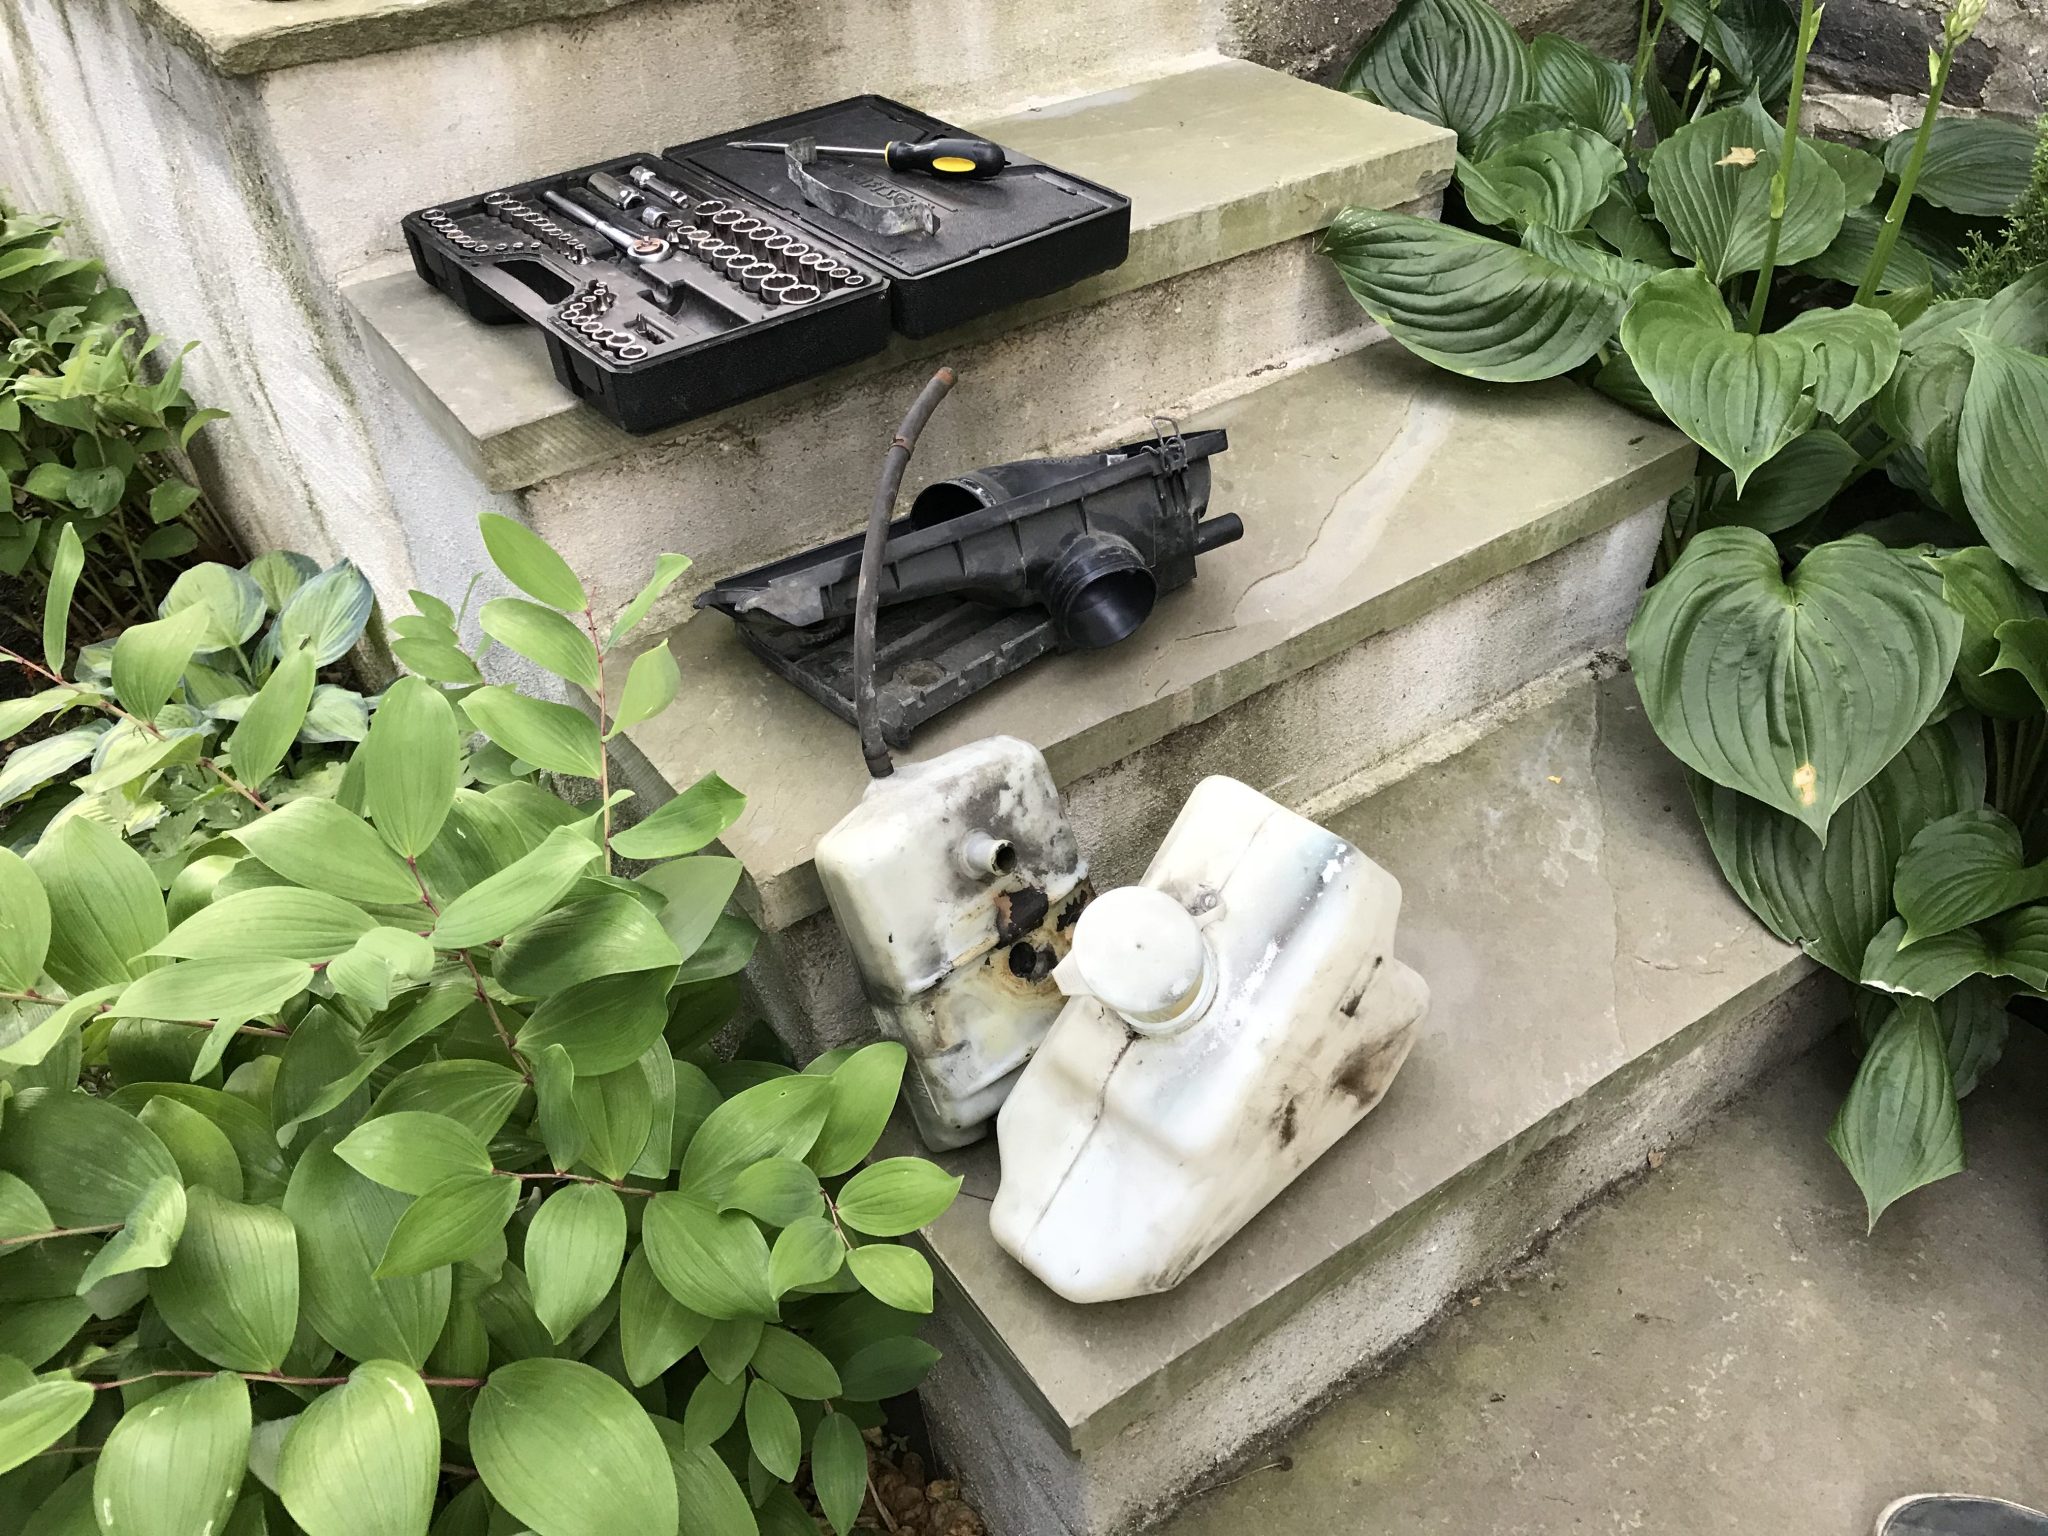
After showing my car to a friend who is a legit and long-time “car guy” who has fixed and restored many of his own cars and hearing him comment at how dirty the engine bay was, I decided that until the parts I’m waiting on arrive from the magical land of plenty known as Sweden I could start cleaning that up. I looked around on the internet for some tips and came across this video from YouTuber ChrisFix. In it he gives a step-by-step example of how to clean out the bay and improve the old, crappy stuff. In my spare moments I decided to start taking out certain bits that might be in the way. This included the windshield wiper reservoir, the radiator overflow tank, the battery and its tray, and a few other bits and bobs that either needed cleaning or replacement. I also took out a bunch of very corroded screws, bolts, and pipe clamps that I’ll replace with new, shiny ones.

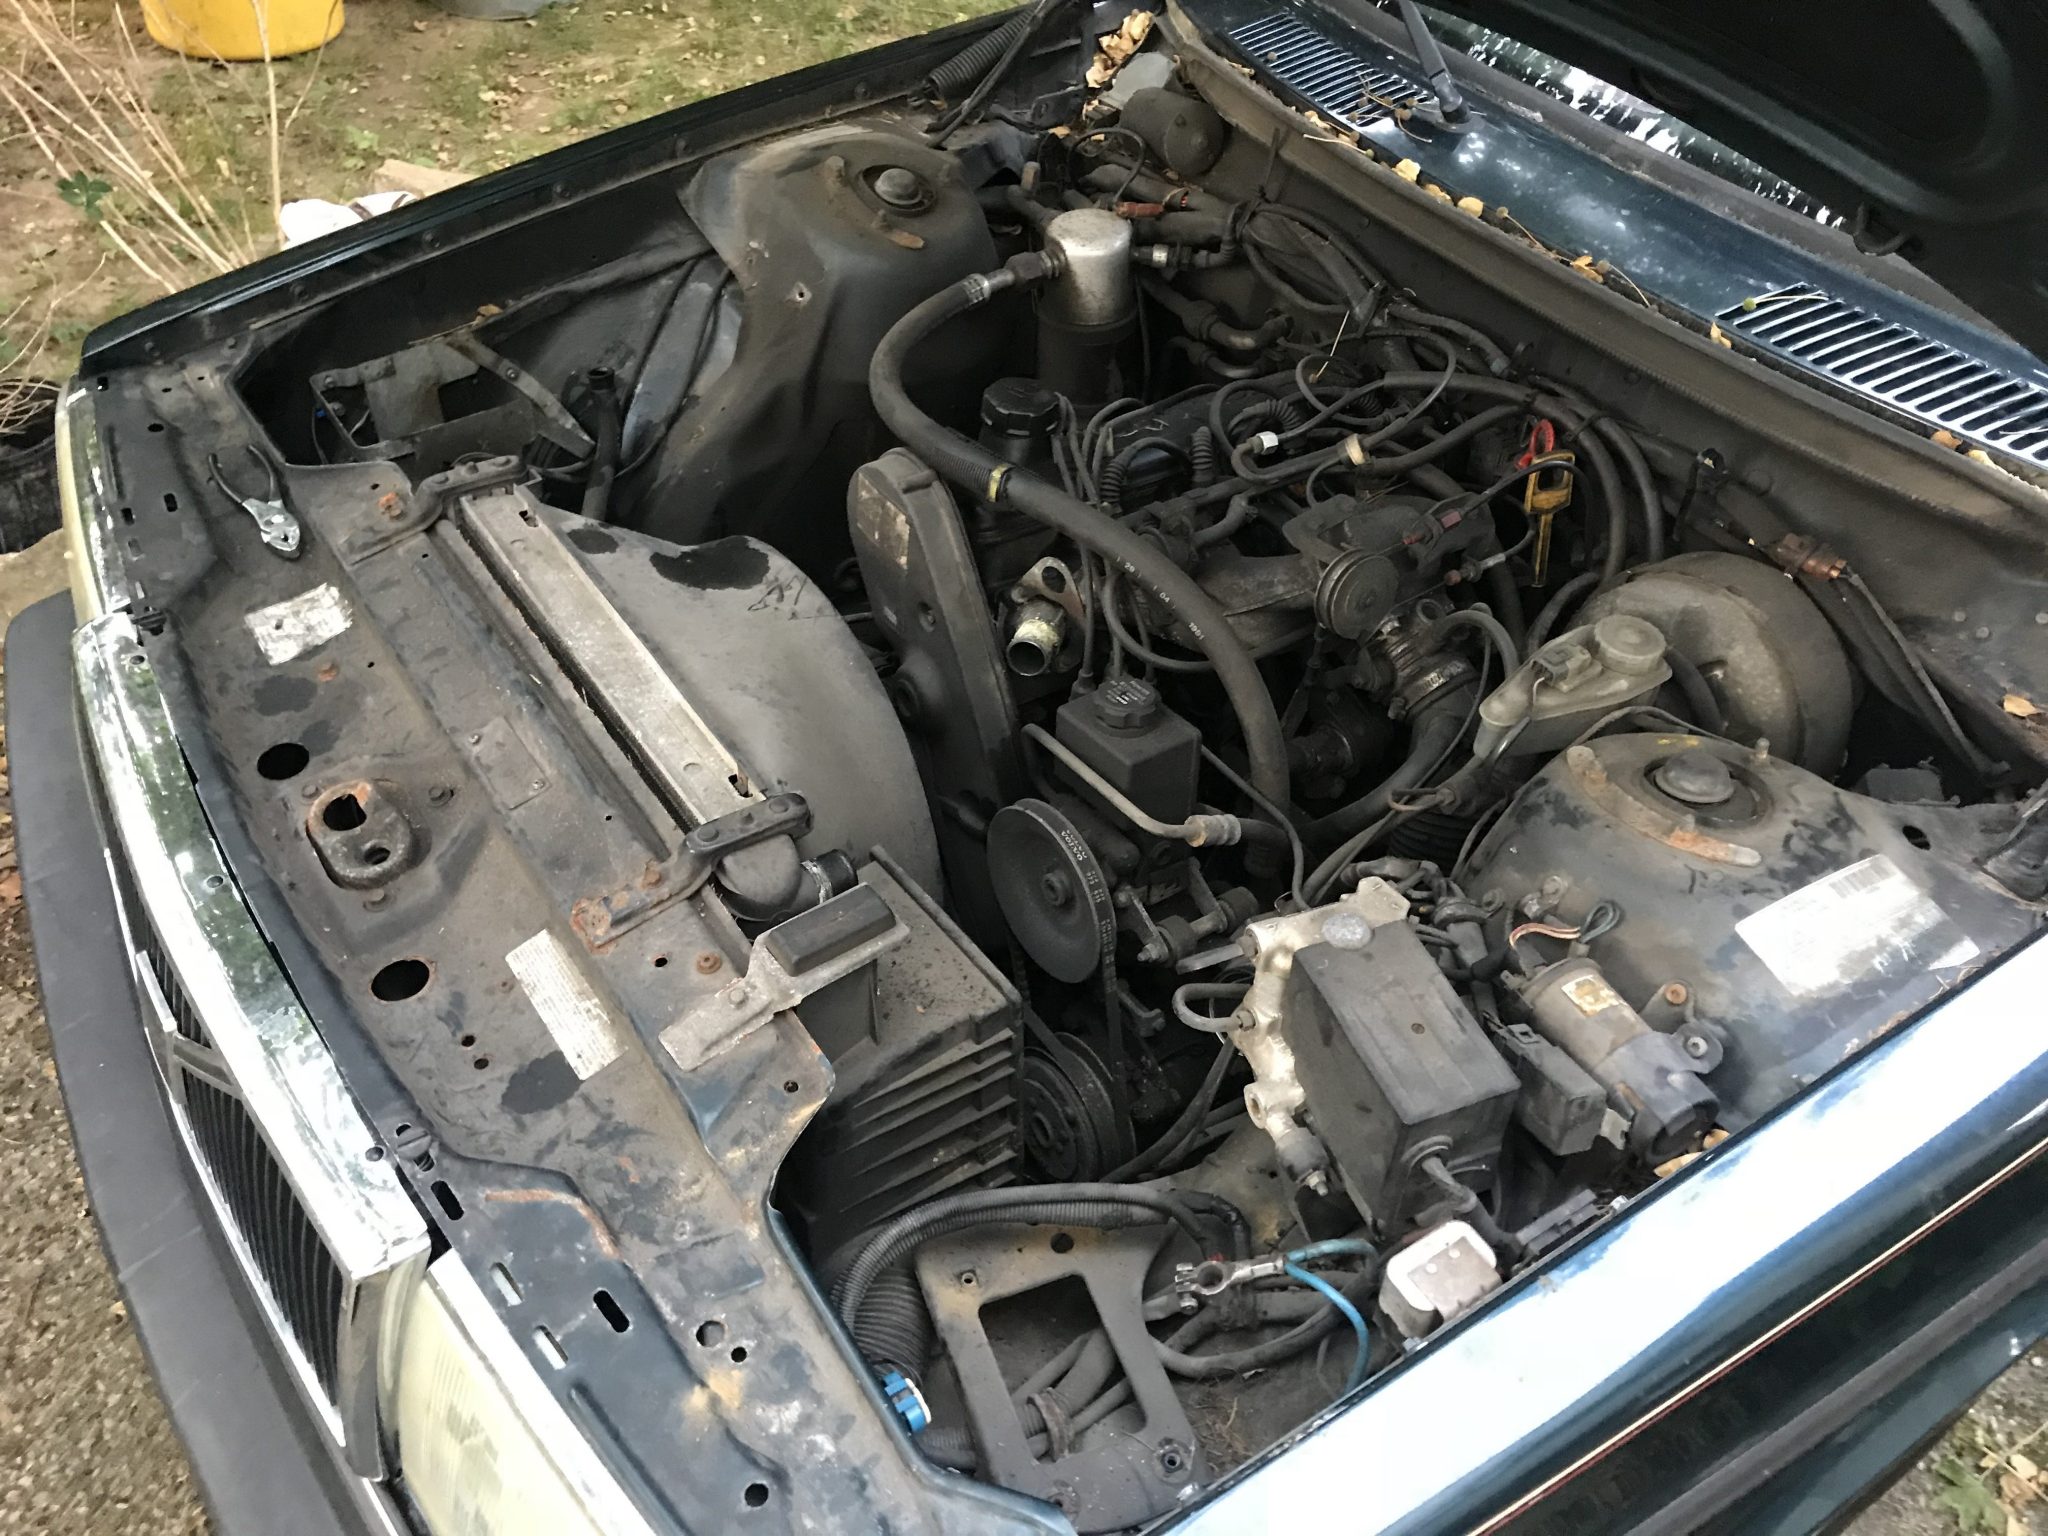
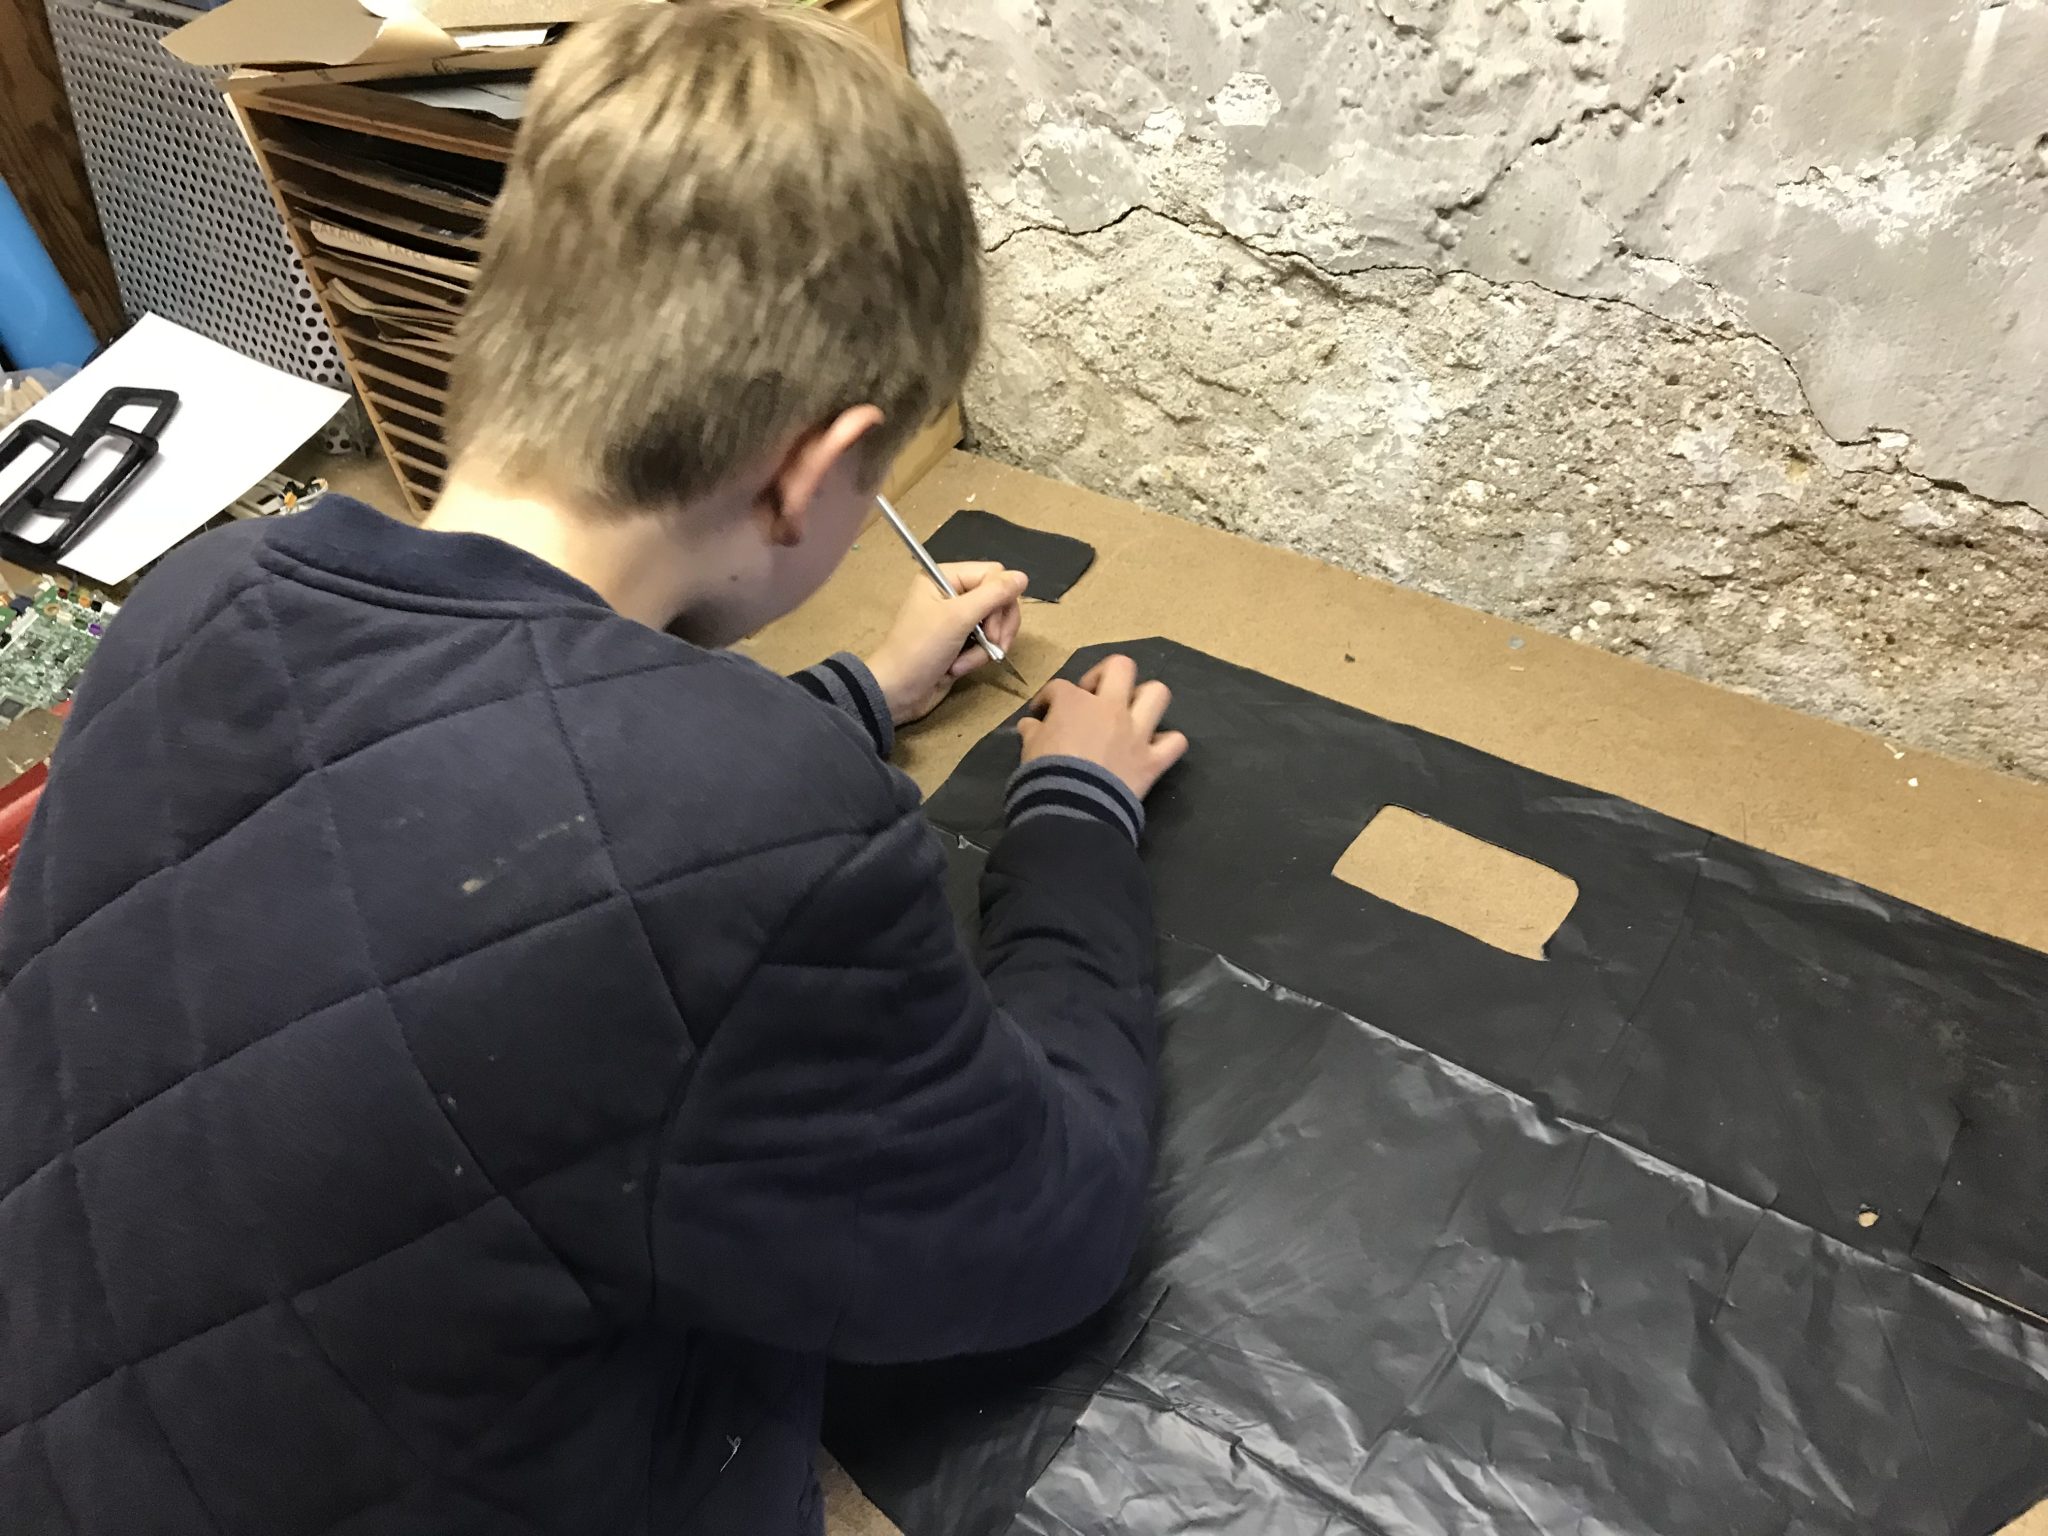
When I get the opportunity I’ll bring the shop-vac and some brushes in for the dry clean and then the hose (and possibly the pressure washer) for the wet stuff. One thing this exercise has shown me is that my hood is missing the sound insulation normally found under the hood. A replacement is sort of spendy, so there’s a chance I’ll just buy the material and make my own or wait until I find a cheaper original.

Removing the tint

I’m not a big fan of window tinting. I think it makes a car (and its driver) look shady (no pun intended) and is generally sort of tacky. That being said, my car actually came with what I’d call a pretty good tint job. There were no bubbles, ripples, or any other defects commonly seen with aftermarket tints. Regardless, I had always meant to take the tint film off. I looked to YouTube for guidance. The consensus there suggested the best and easiest way to take off a tint was by using a combination of the sun and an ammonia-based window cleaner. The process is, in short, spray a whole bunch of cleaner on the inside of the window and then cover it with a black trash bag. The sun then heats up the bag and cleaner and softens the glue. After an hour or so in bright sun it’s a matter of just using a razor to get under the edge of the tint and pulling it off in (often) one go.

Using this method I was able to remove the tint film from the four passenger door windows. There was some glue left on the windows after removing the tint but it’s easily taken care of with a combination of window cleaner and a razor. Due to a lack of time and the onset of clouds and rain, I did not make an attempt to do the same to the cargo area windows. I’m sure the procedure will be about the same, the only possible complication being that the tailgate window’s film is on the outside to avoid touching the window defrosters.

A small but enlightening bit of progress

The replacement door jamb switches finally arrived. This was after they already arrived once but broken. Amazon (eventually) came through on the replacements. A quick switch later, and I have a dome light that respects the opening and closing of the doors.

WITNESS ME!

A guy out in the wilds of British Columbia, Canada took a ’79 244, rubbed a copy of Mad Max all over it, and came up with this mean machine.

Check it out here.

He also has an ‘insta’, as the kids say nowadays, showcasing his cars and his photography. That can be found here.

Let there be (head)light!

This past week I got a the headlight wiring pigtails I needed from Dave over at 240turbo.com. I was finally ready to get the headlights sorted out. Both lights went to my basement shop where I proceeded to clip out all the parts of the wiring with missing insulation, crimp the new wiring onto the end, and put heat shrink tube over the parts I couldn’t just remove. I reinstalled and, with the help of my son and a heat gun, made sure the head shrink was good and shrunk.

The end result was a pair of North American style headlights that both work and have wiring that isn’t potentially ready to short out in a light rain.

Success!


One Door Down

It dawned on me that despite still waiting on a few parts I actually had enough of them on hand to put the driver side door back together. This was the door that had suffered water damage previously, so the first step was to recreate the missing vapor barrier. My oldest son helped me out with that by copying the pattern for the existing barrier on the passenger side and cutting it out of a contractor garbage bag. Our bags were in the 5 MIL thickness range which was good enough for our purposes.

The Volvo HT-204 speaker mounts the car had come with were not in great shape. I had to glue a few things together an instead of pop rivets to hold them on I used small nuts and bolts. This would make it easier to take the off again if I ever decided to change them. Unfortunately the configuration of the screw holes that attached the actual speakers to the HT-204’s was very unusual. The original speakers were approximately 5.25″ in size but the holes for the mounting screws were in very different places. This required me to snip and bend a few pieces of the speaker’s metal. That’s always a sort of scary process, but after some fiddling and fussing I got the speaker in securely enough. After that it was just a matter of attaching the barrier, connecting the speaker, mounting the the panel, and then adding the various handles and fixtures.

And there we have it! A complete, if somewhat dirty, driver’s side door. Now to find the guide casings for the other three and I’ll be set.

Guys, I found a new addition to my funeral arrangements

As most people who are close to me know, when I go my final resting place will be within a barrow where I will be laid in a stone cyst with all the things I need for the next world set around me. I’ve thought a lot about the particulars of this (maybe a little too much) but what I’ve never really given a thought to is how I will be transported to this grand eternal repository. This is no longer a worry. I present to you, the Volvo 240 hearse!

I even found some old sales literature here. “Classic lines and dignity” – I like the sound of that!