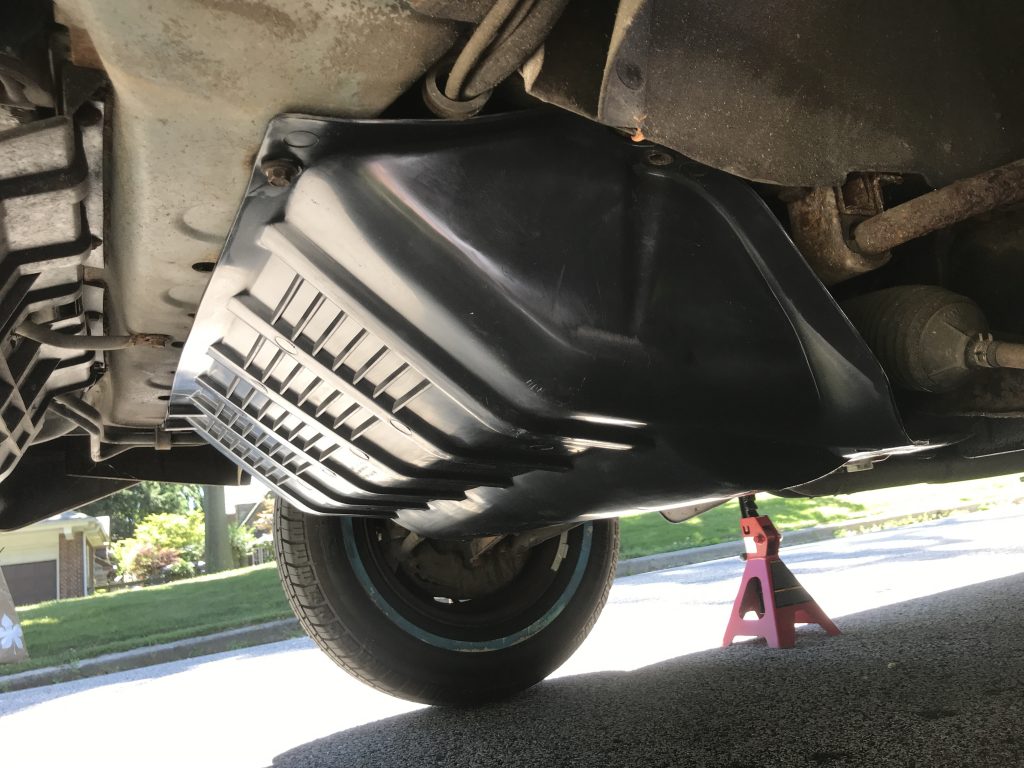
This past weekend was mostly one for yard work, but I did do a couple of smallish things on the car. The most significant one was the replacement of the belly pan. The original pan was long gone with only a couple of small bits still held on by the few remaining original bolts. I reused those and supplemented the rest with new 20mm long M6x1.0 bolts. This pan was a Uro brand replacement part, and like many after market trim the fitment was not perfect. The eagle-eyed amongst you might notice that one of the bolt holes (out of the seven) in the photo below is empty. This is because I just could not get the hole in the plastic to line up sufficiently with the threads to get a bolt to “bite”. Instead of drilling out the hole a little to make this happen I decided that six out of seven bolts was good enough for now and called it done.
Tail Gate
Next I addressed an issue with the rear gate. My central brake light had suddenly gone dark. When I took the gate’s panel off I saw that this was caused by the connector having come apart. This light uses a bullet style connector with small claws that are supposed to engage and hold the male end to the female end. Over time these claws have become a bit flexible. As a result they have begun coming apart. I remedied this with a small amount of electrical tape that will keep everything tight.
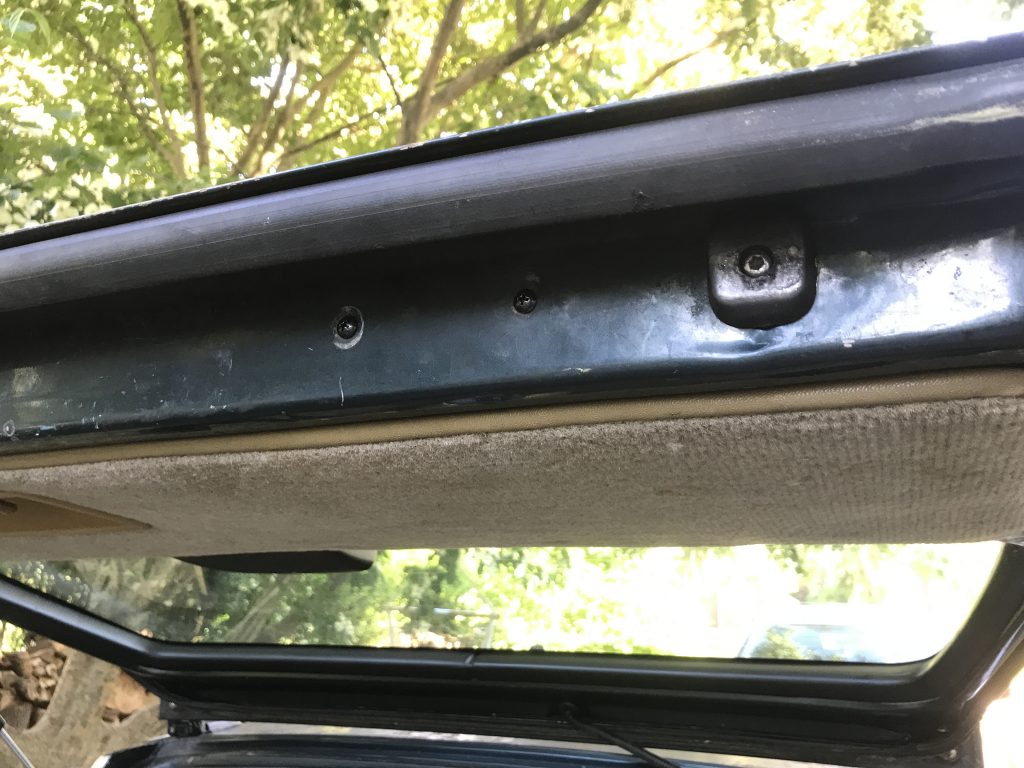
Additionally I had just recently noticed that the holes in the trim piece that covers the interior gate handle was starting to crack around the screw holes. Something similar had happened to the last one I had, a not unexpected behavior from a piece of 20+ year old plastic. I decided to try and head this failure off at the pass by applying a liberal amount of two part epoxy around the holes on the back side of the piece. I’m hoping this will provide enough extra strength to stop further cracking.

Finally, I had noticed awhile back that there were two empty holes in the bottom of the edge of the gate that seemed to line up with the central locking motor. This motor, which actuates the lock when the front door is locked and unlocked, is bolted to a bracket inside the gate. It also seems that this bracket is also secured at the bottom through those two holes, but whatever bolts where there are now gone. I got two M5 bolts with pan heads, threaded them through the holes, and bolted it back down. A small task, but it will probably do a lot to extend the lifespan of the motor.
Exterior Trim
I’ve had one final piece of exterior trim waiting to be reattached to the car. This was the driver’s side rocker panel molding that runs under the door from wheel well to wheel well. I was missing a few of the clips, so the first step was to get the new ones in. These clips have posts that are hammered into the body of the clip and serve to expand the fastener on the other side. These are them here. I used a “bone tool” I had gotten from iPd along with some other part awhile ago. They have a video on their site that suggests using the hole in the end of this tool to hold trim clips like these in place while hammering them in. I did this, although I had to use a 1/4″ drill bit to widen the hole enough to actually fit the post on this particular style of clip. Once all the clips were in place attaching the trim was a matter of placing it against the clips and using a rubber mallet to tap it into place.
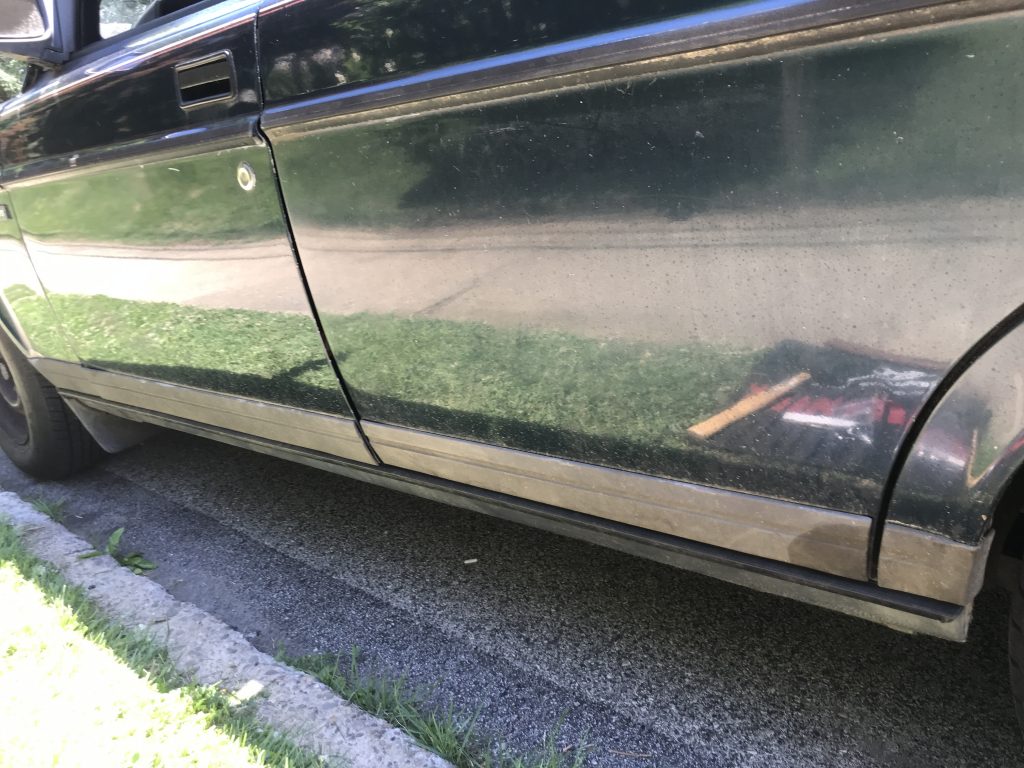
And that’s the last piece of exterior trim back onto the car. I still have to clean and re-glue the rubber strips on the door, but other than that (and new paint) the exterior is done.