About a week ago I noticed that I was getting a 1-1-3 code from the computer which indicated a rich mixture condition. More recently I got the code 2-1-2 which suggested the computer wasn’t getting readings from the O2 sensor at all. Doing some research on these codes will take one down a rabbit hole of “maybe it’s THIS or perhaps THAT or maybe even THESE!” so I decided to skip all that and just replace the O2 sensor. The model I went with was a Bosch 13034 which I believe is the OEM component.
Removing the old sensor
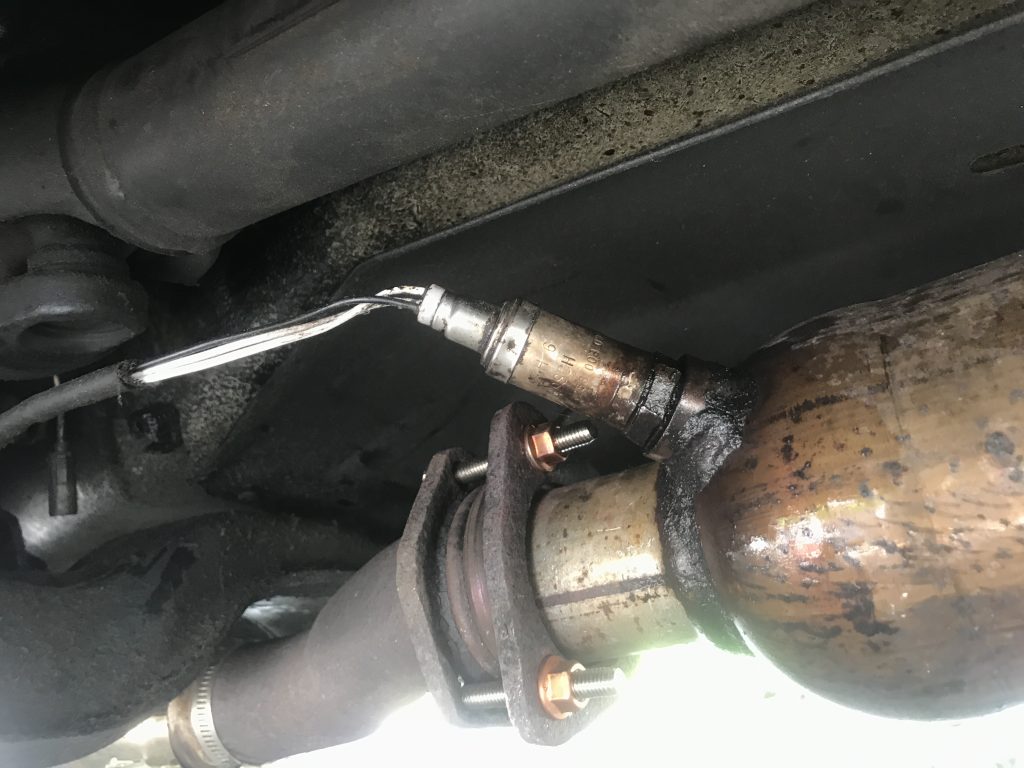
So far the most difficult things I’ve done with this car involved removing old components. As a 28 year old car that’s been driven hard and then sat for a couple of years while I fixed it, things have corroded a little here and there. The O2 sensor turned out to be no exception. It was pretty well stuck and did not want to budge with the use of a 22mm flare nut wrench or even a crowfoot attachment on a breaker bar with extra cheater bar leverage. Alas, even liberal amounts of the mighty Kroil wasn’t helping. So that’s when the torch came out…
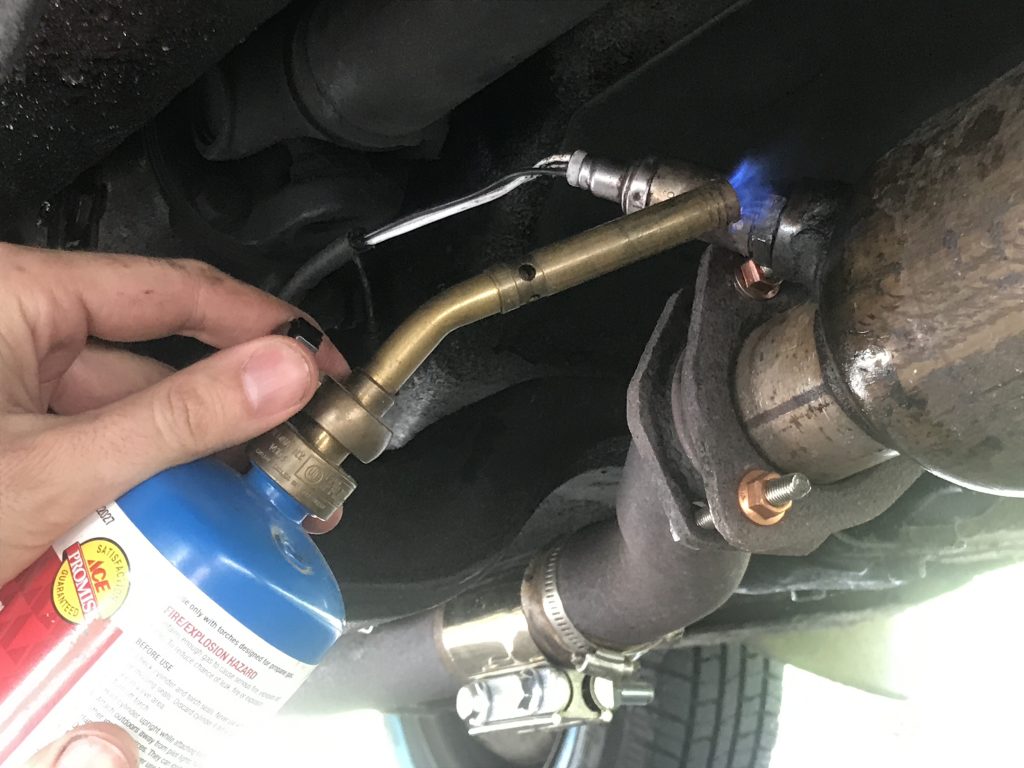
Even with all that fire heating it up, the darn thing wouldn’t give a millimeter. Even worse, I was starting to notice a bit of rounding on a few of the edges of the sensor’s nut. After my experience with the overdrive solenoid bolt I wasn’t risking it, so I disassembled the entire catalytic converter pipe, removed it from the car, and took it into my shop.
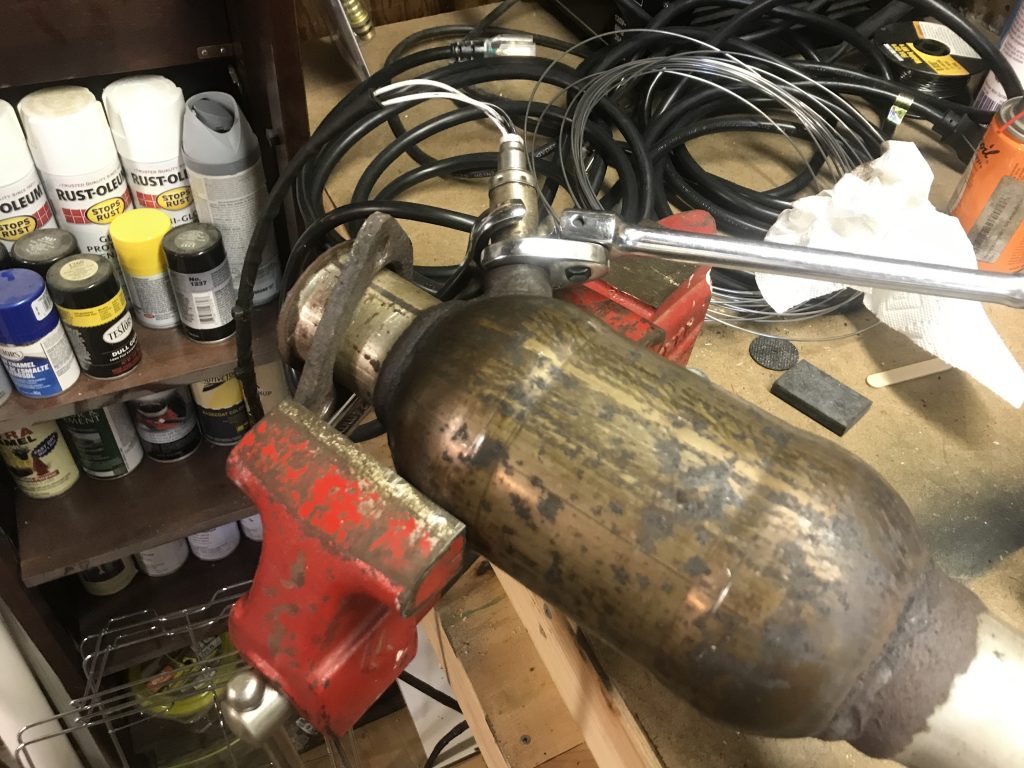
Since everything on this assembly is round I had to really work to find a way to keep it in place as I cranked on the wrench. Eventually after quite a bit of muscle the sensor finally moved, and it was smooth sailing from there.
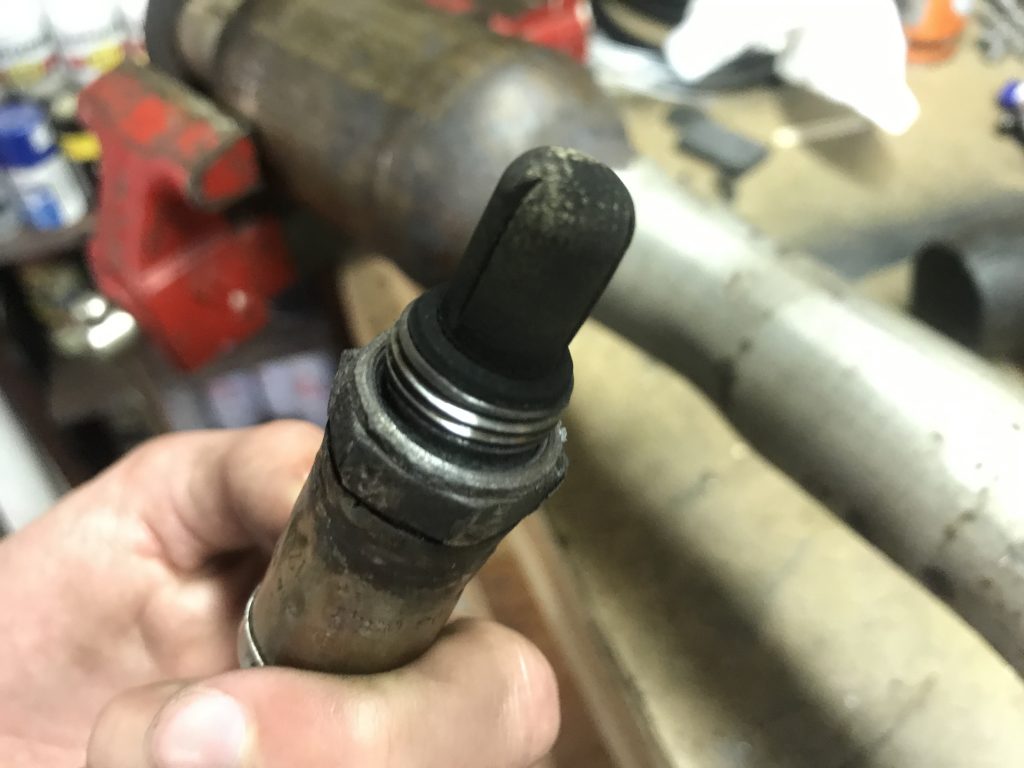
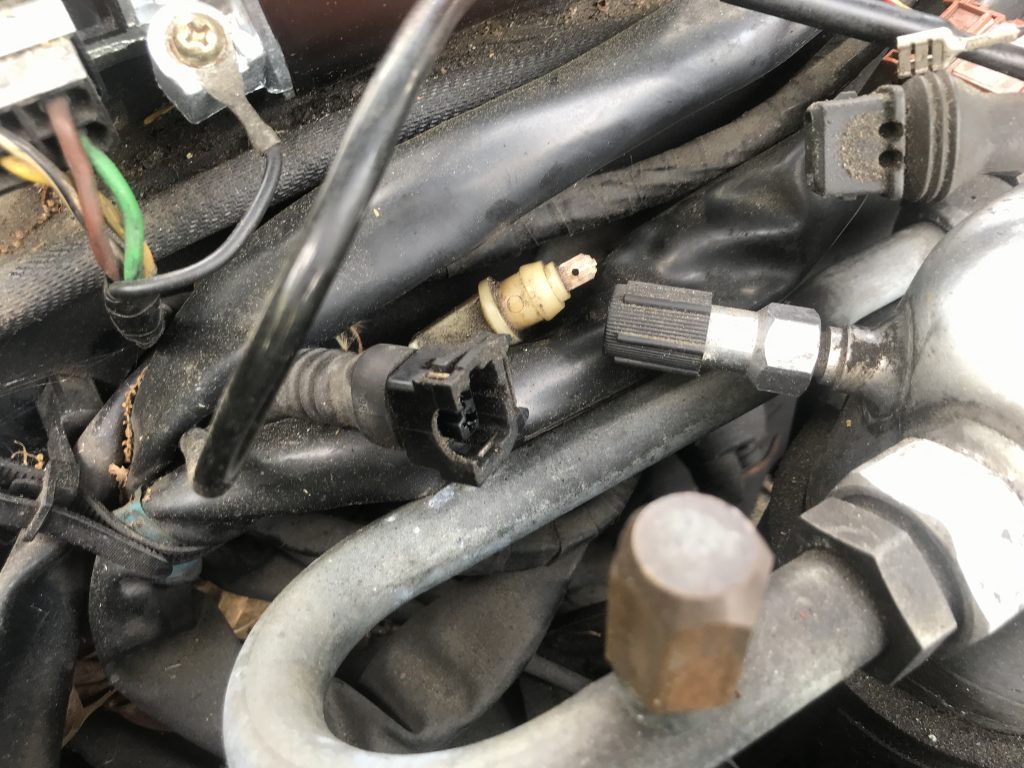
As you can see here, the old sensor was very dirty which I understand is not a good sign for proper function. I screwed the new one in, bolted the pipe back on, and plugged the sensor back in. The connectors are located in the engine bay close to the fire wall near the windshield wiper motor. There are two plugs. The first has two connectors and is for the O2 sensor’s built in heater. The second is a single connector and is actually the signal wire for the sensor.
The car does seem to run more smoothly. Time will tell if the computer codes return. I might also want to check the downpipe for more small holes and leaks that might be letting in extra air. That would cause the sensor to think there’s more O2 coming out than is actually the case and screw up the mixture calculations.
Odometer Update
I also found a little time to take the gauge cluster out of the car so I could examine the odometer. The troublesome gear that I replaced a long time ago was still in fine shape, so it wasn’t that. I worked the gears that drove the odometer and trip counters in order to make sure they hadn’t seized up. They too felt fine. Overall the mechanical linkage inside the gauge seemed fine, so my suspicions turned to the motor that drives it. That too looked fine on visual inspection, but I wondered if perhaps the soldered connections had cracked a little and come loose. As the car drives, vibrations could have been causing the leads to lose contact. To make sure that wasn’t happening I reflowed the solder around those connections.
I also used the opportunity to fix the trip counter reset knob which had broken recently. I had found that vigorously pushing it would sometimes “fix” the odometer issue, but I pushed it too hard one too many times and it broke. This time I used a generous amount of two part epoxy to make sure it wouldn’t break again. I also used a small amount of white paint to fill in the little white dot in the center of the button. It’s the little things…
Feeling as though I had done as much as I could do, I put everything back together and reinstalled the cluster. Referring back to my notes on how the wires are connected made that a lot more simple this time around. Happily, whatever it was that I did seems to have helped. Both the trip and the odometer itself are happily advancing. I’ve driven about 20 miles at this point with no stoppages. I’ll call that done.