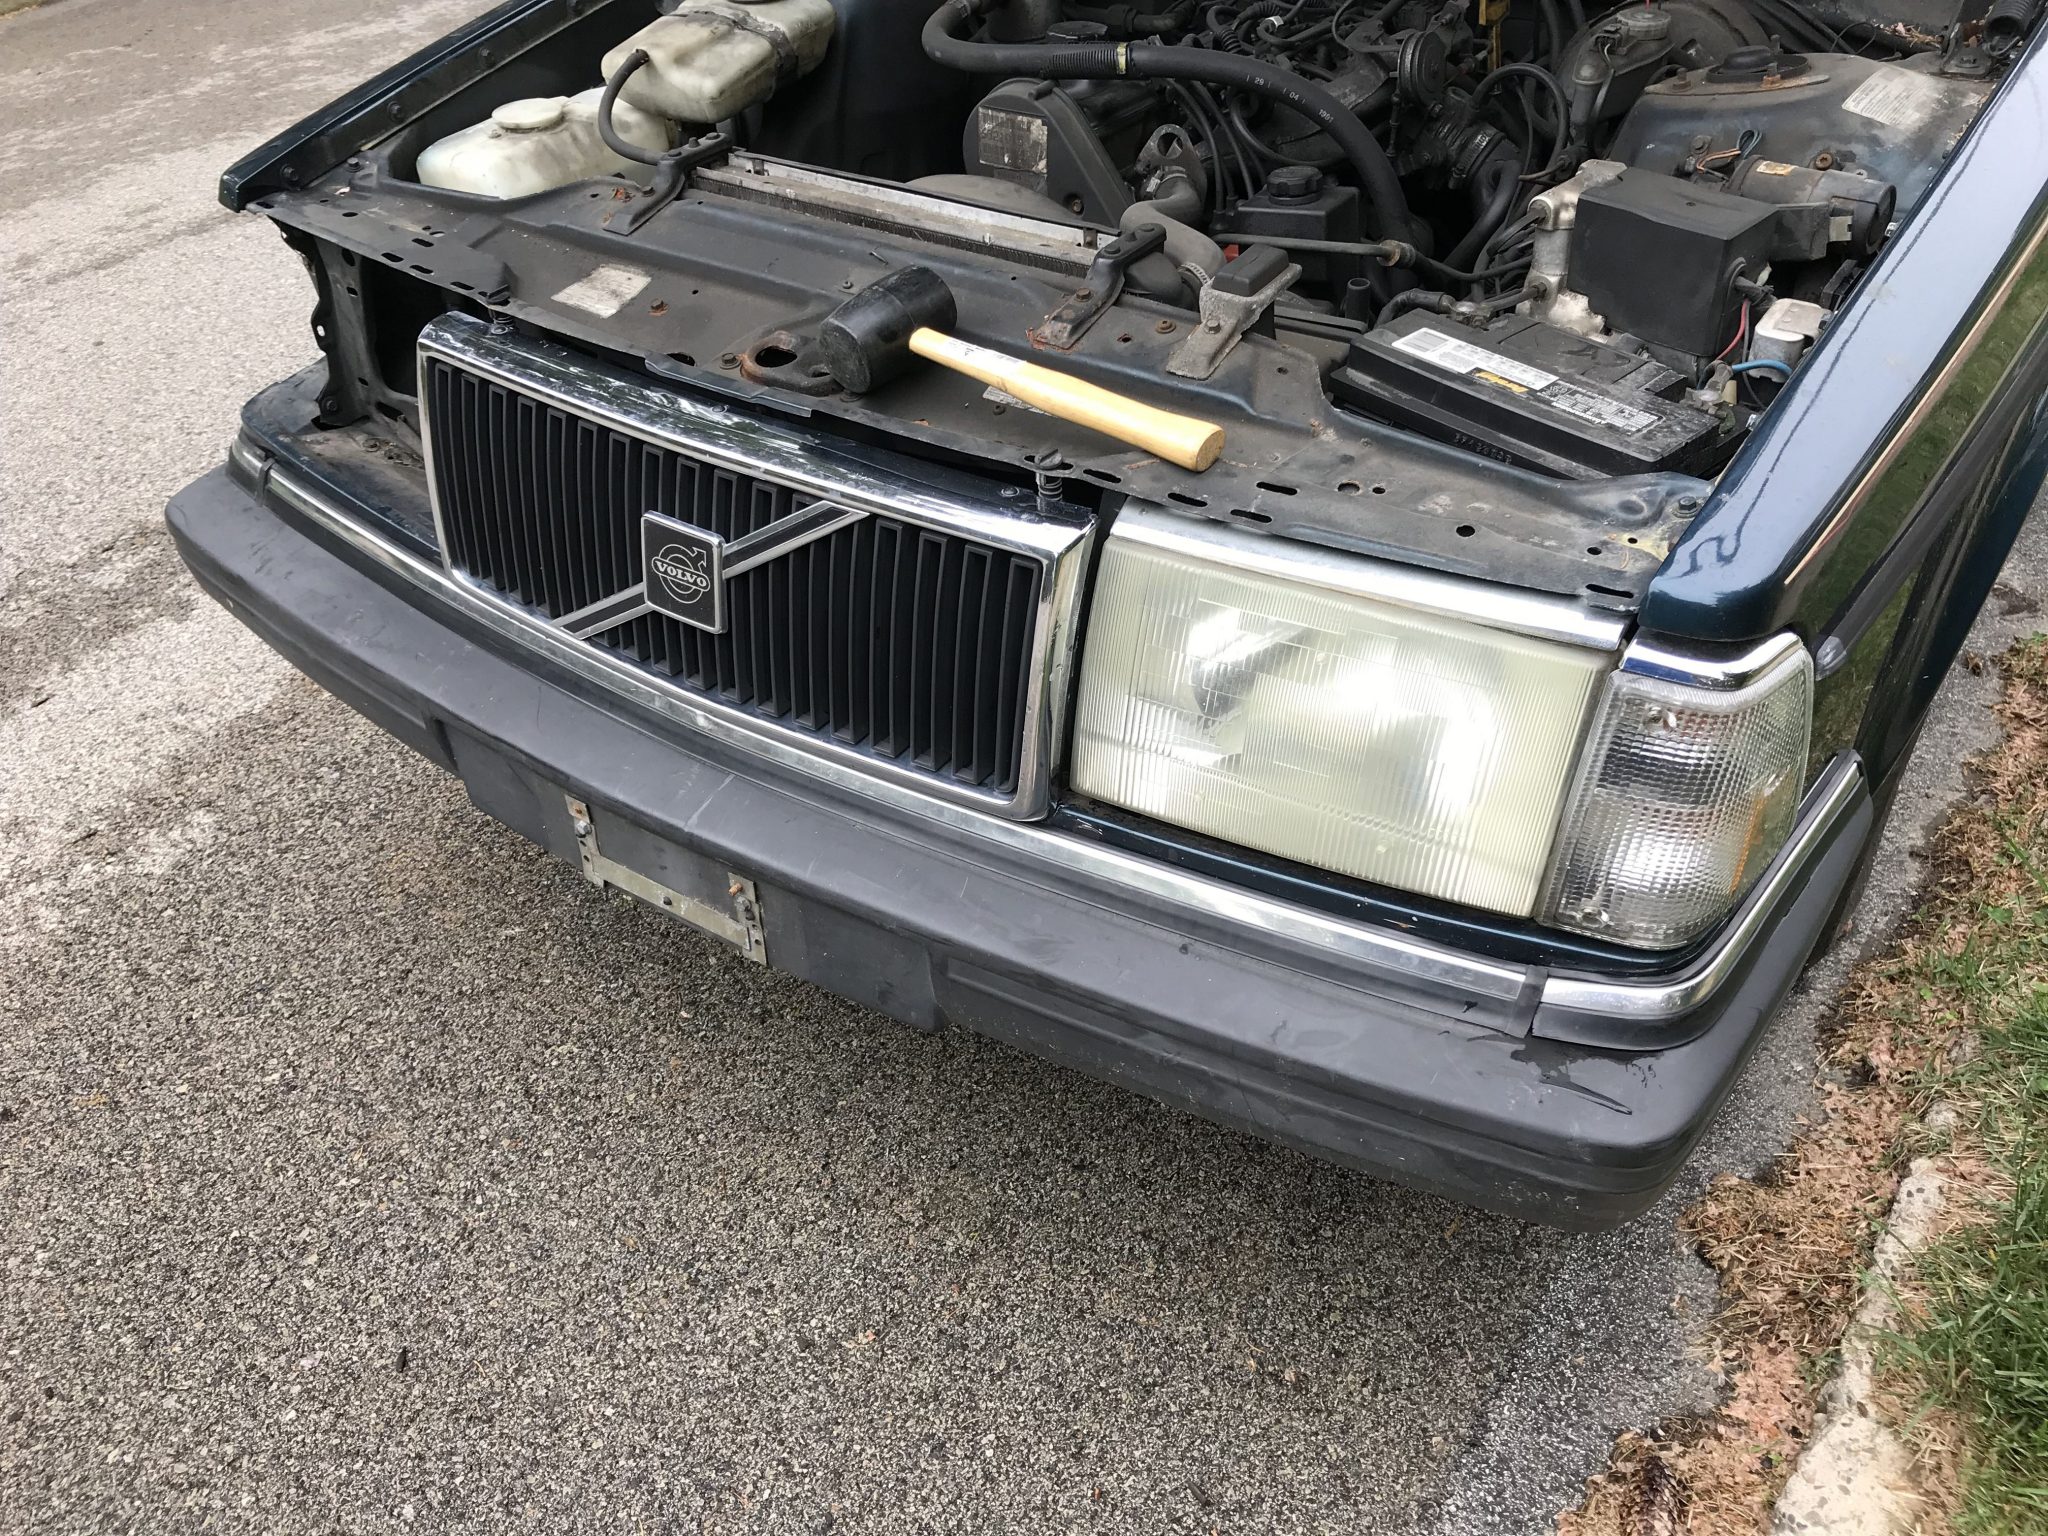
Now that the new grille had been installed and I had found a replacement for the missing corner trim piece I decided it was time to clear those bits from out of the trunk area and actually get them on the car. This time my daughter assisted me by gently tapping slightly misshaped parts into place.

I also finally received my replacement handle from Tasca parts. It has been a little rainy here for the last couple of days and I was concerned about water getting into the hole where the old handle had been, so when the handle arrived I was eager to reinstall. However I wasn’t entirely sure how the handle worked. There was a spring involved, that much I could figure out by looking at the old parts. My initial thought was that this spring attached directly to the handle but the parts just didn’t line up in any way that would make that either effective or even possible. I looked at the opposite door for wn example, and it showed that the little doodad that was connected to the threaded rod that actuated the latch was supposed to sit in between the hook part if the handle. The spring was actually attached from that to the door. Here’s what it looks like all put together.
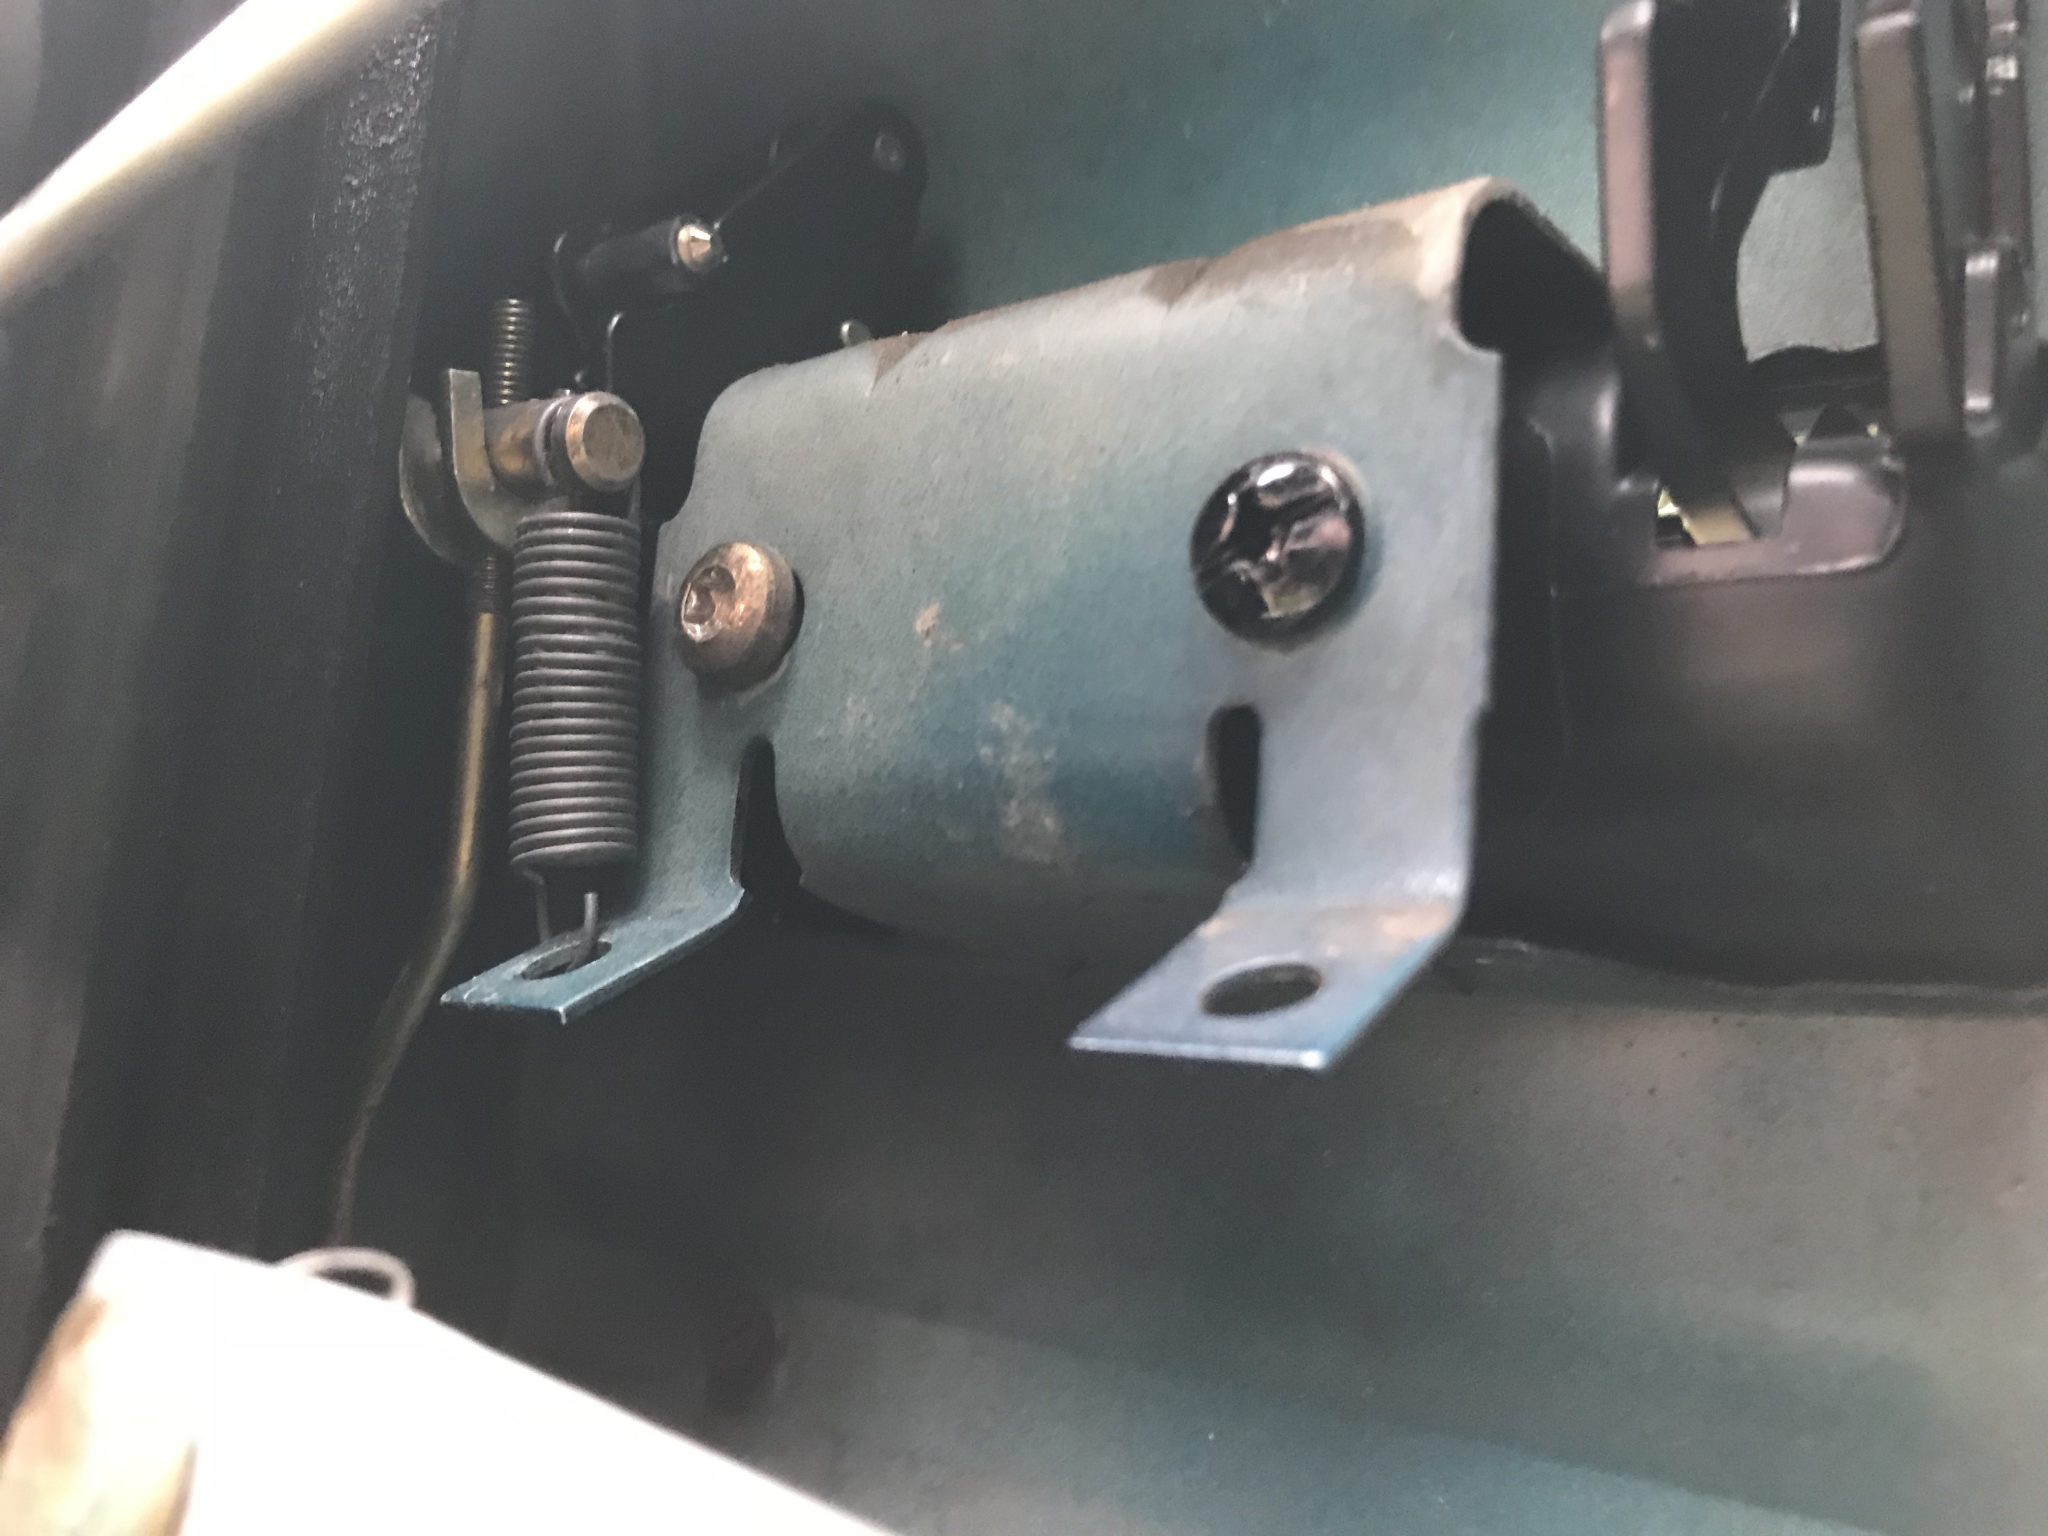
Note the black screw. The old handle was missing one so I had to fabricate a new one (using a hacksaw) from a longer screw I already had.
And here is the handle installed!
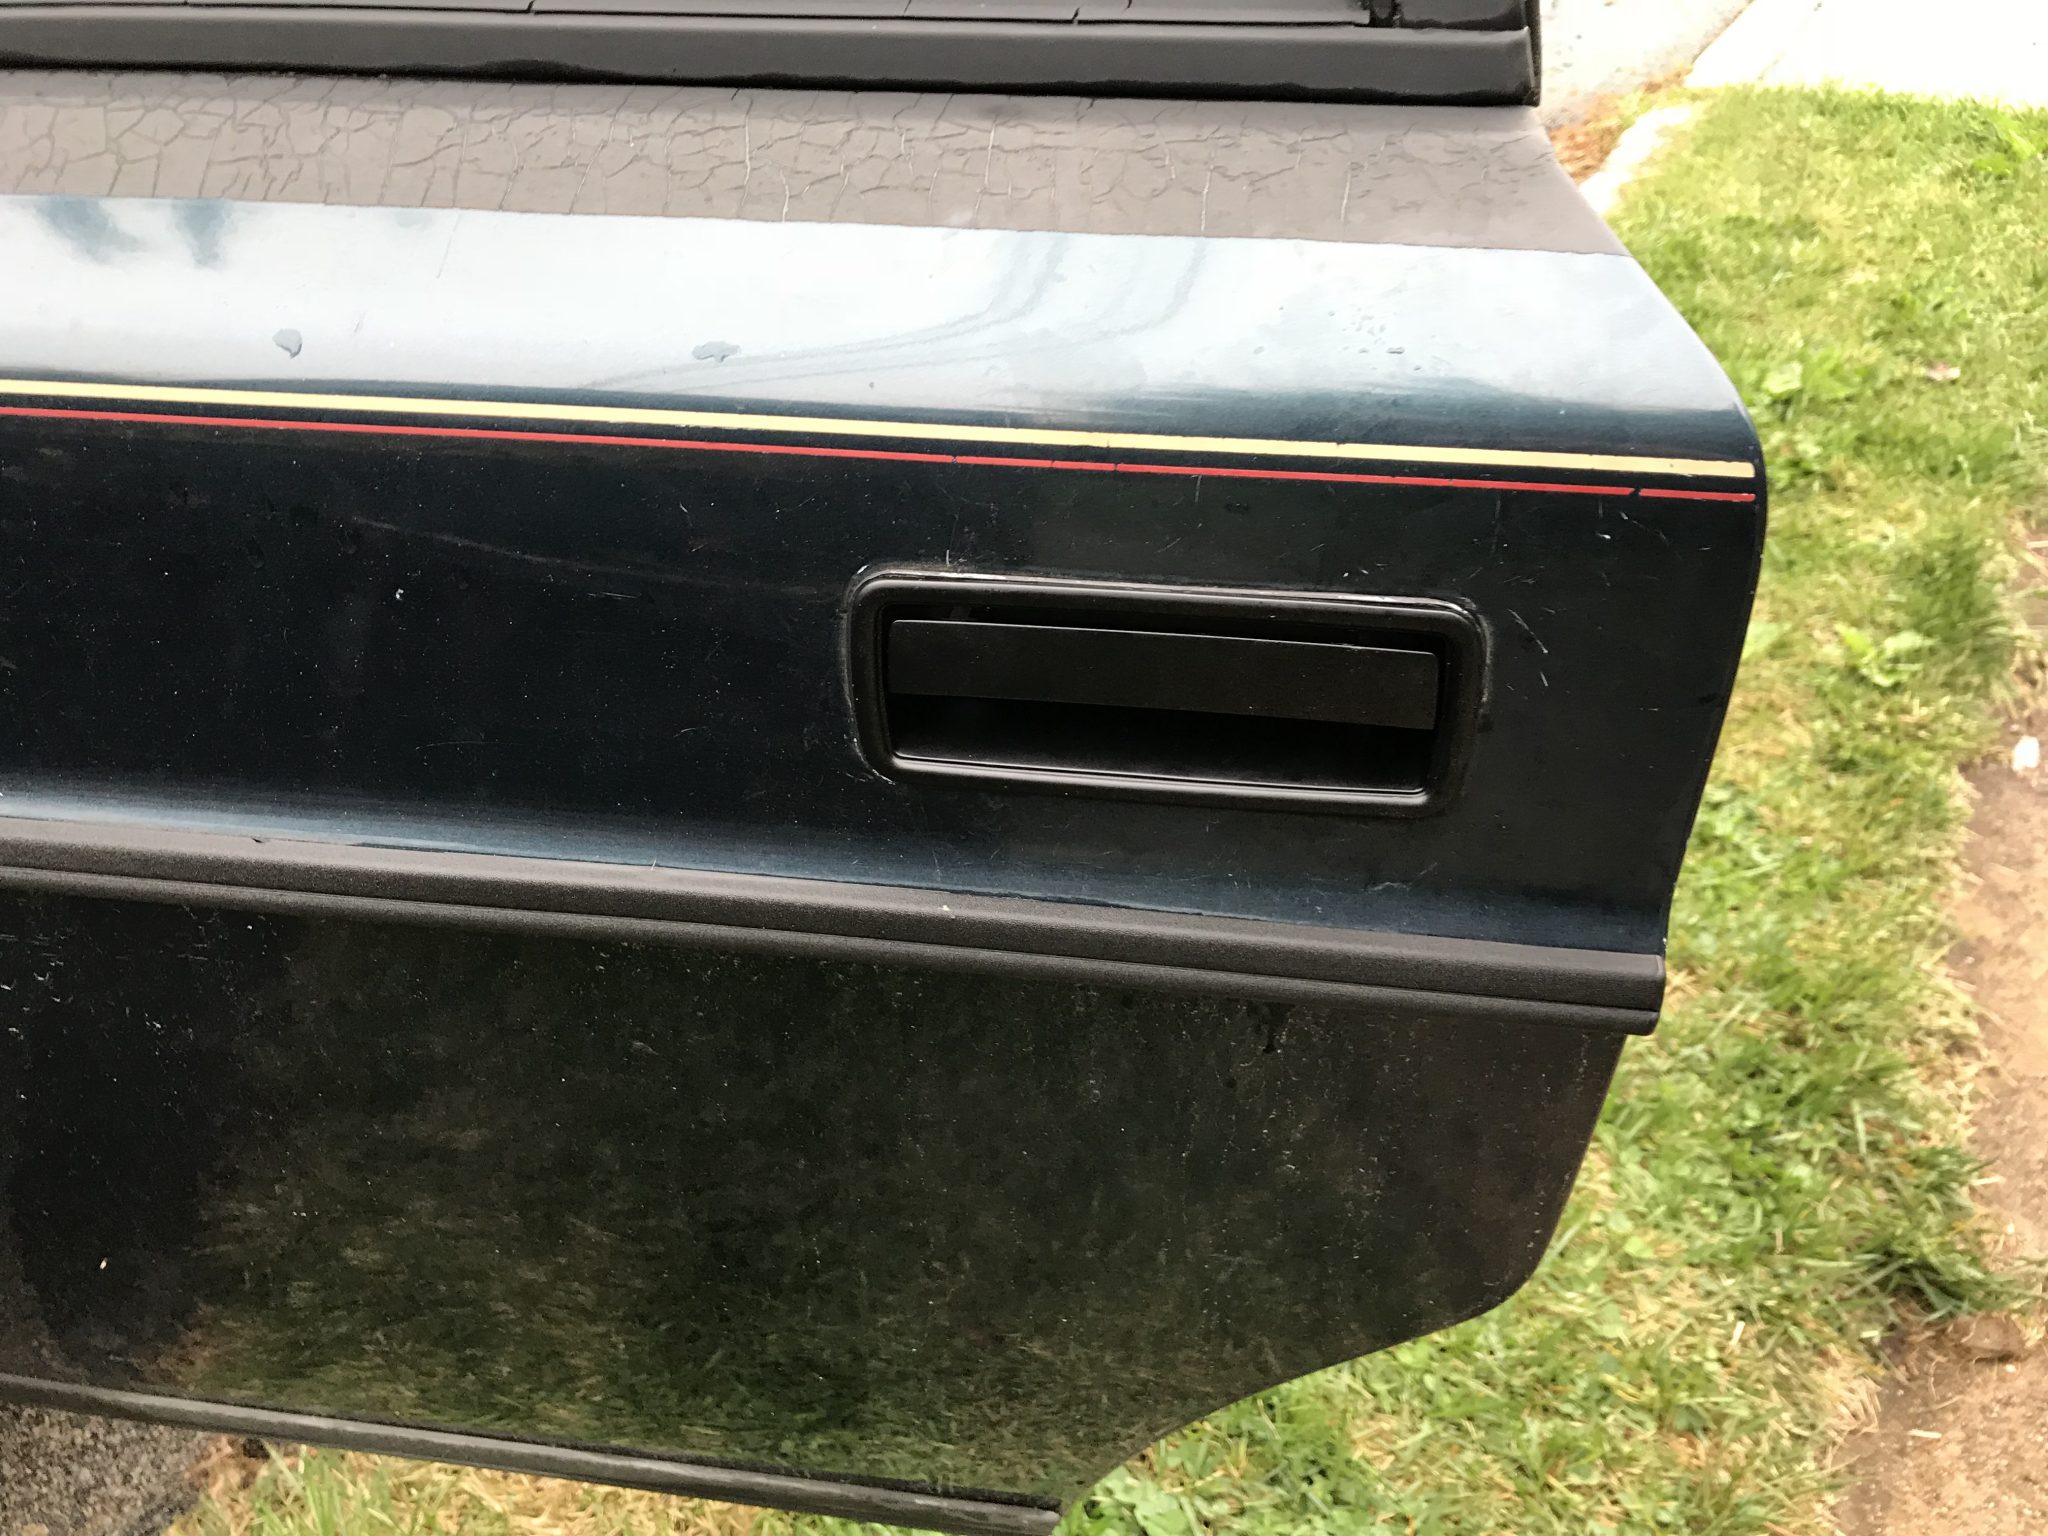
Four of the five doors on my car have functional handles both inside and out. Fancy, no? I’m also progressing on the interior door trim but until I source some guide casings for the latch handles It’ll have to wait.