So I was sure that my problem was going to be the fuel pump. I had replaced and tested most everything else I could think of, so what else could it be? Lesson: it can always be something else. So obviously this entry is going to end in disappointment. A new fuel pump did not fix my stalling issue. It did give me an opportunity to try a couple of new things, so it’s worth talking about anyway.
I’ll note here that before disconnecting the fuel line you should make sure it is depressurized. To do this take the gas cap off and remove fuses 4 and 6 to the in-tank and primary fuel pumps. Then crank the engine and let it run until stall (if it runs as all) to use up the fuel in the lines. Then disconnect the negative battery cable to prevent sparks.
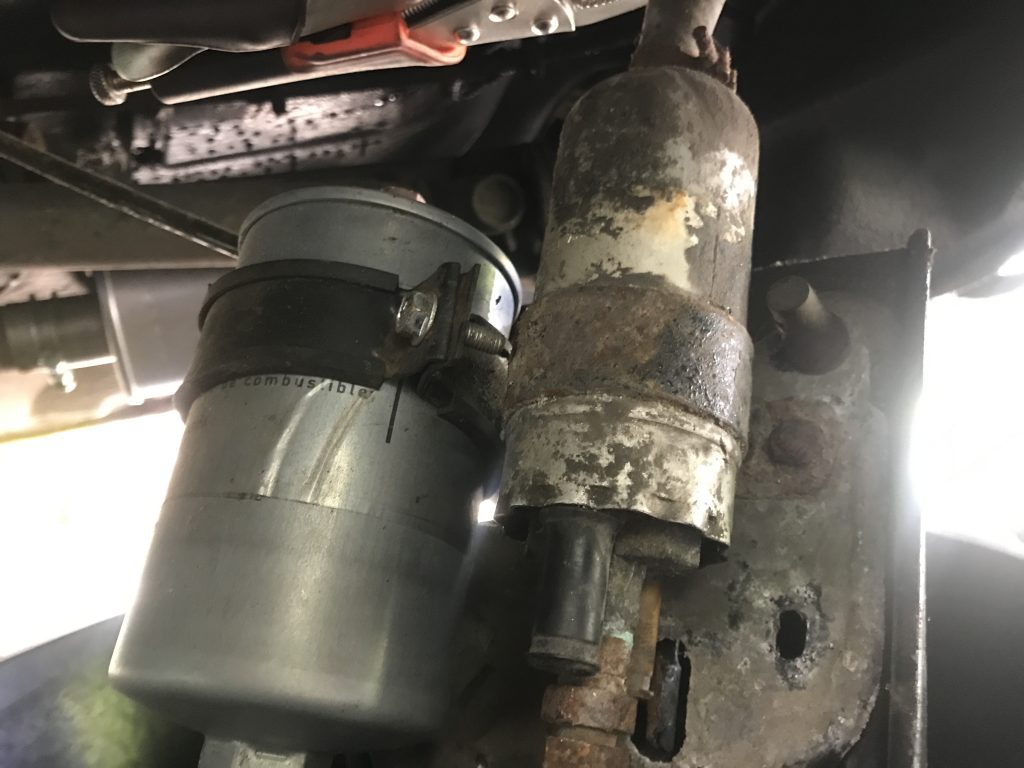
Quite some time ago I had replaced the fuel filter which is contained in a carrier along with the pump. This carrier is bolted to the underside of the car with three 12mm bolts. As is obvious from the photo above, the old pump is quite dirty and gross. The various clamps and connecting hardware was similarly corroded. In fact a lot of it had to be cut off rather than removed the normal way. Once I had the hose from the tank clamped off I pulled off the lines from either side of the filter and pump and removed the carriage. The carriage is actually a two part deal. The pump and filter are attached to a shelf while that is in turn attached to an outer housing with rubber posts. This is presumably to provide vibration dampening.
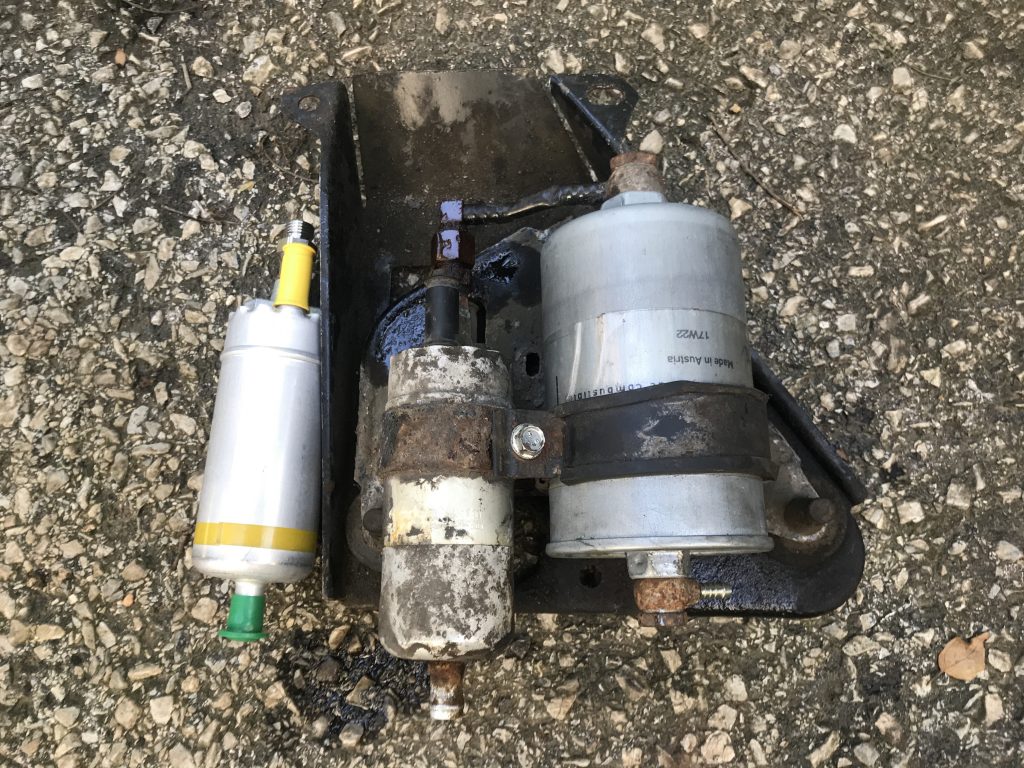
Next, I removed the pump and filter from their brackets followed by the banjo bolts from both sides of the filter and the 90 degree connector that connects the pump’s check valve to the filter. There is a short length of nylon tube approximately 65mm in length between the two. Mine was sort of abraded and kinked in spots and I wanted to replace it. This would prove to be the trickiest part of the job.
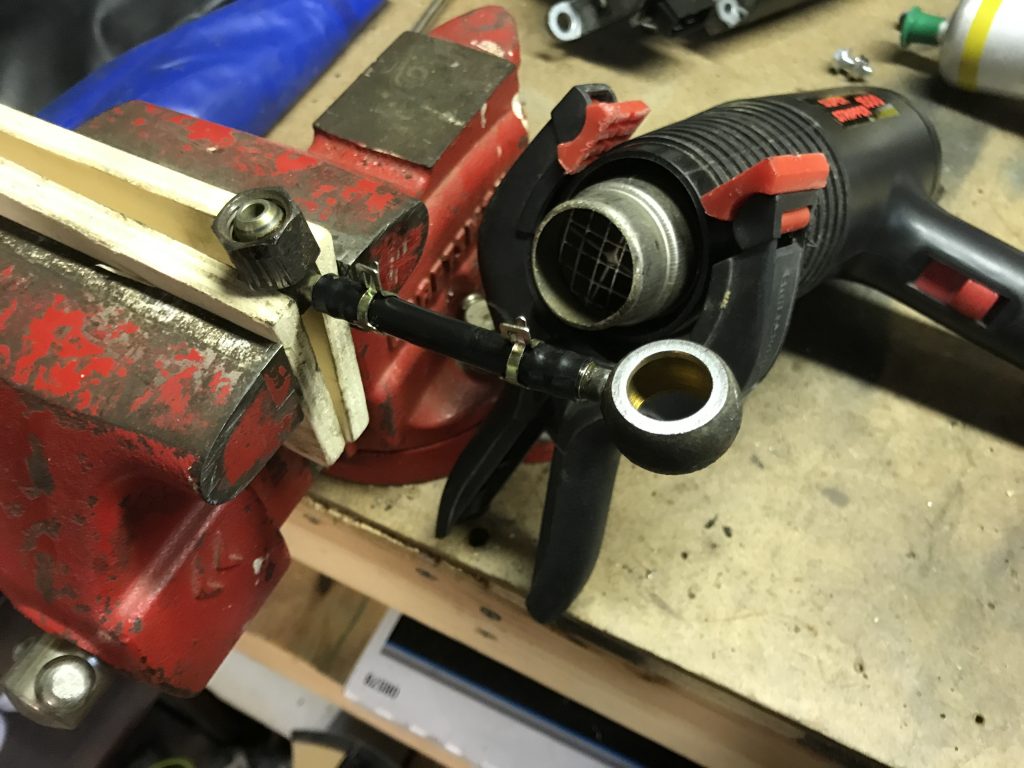
The connectors were all pretty crusty, especially that right angle connector. The connector part is meant to be able to turn freely, but mine was stuck very fast in one position. After being sprayed with WD40 and wacked lightly with a hammer it came loose. Each end has a barb connector on it. It was very difficult to push the tube over the barbs without kinking or otherwise damaging it. To ease the way I first put oil on the barbs. Then I set up a heat gun and pointed it at the connection points. This helped make the tube just pliable enough to stretch over the barbs. I added a couple of spring clips to add a little extra security to the connections.
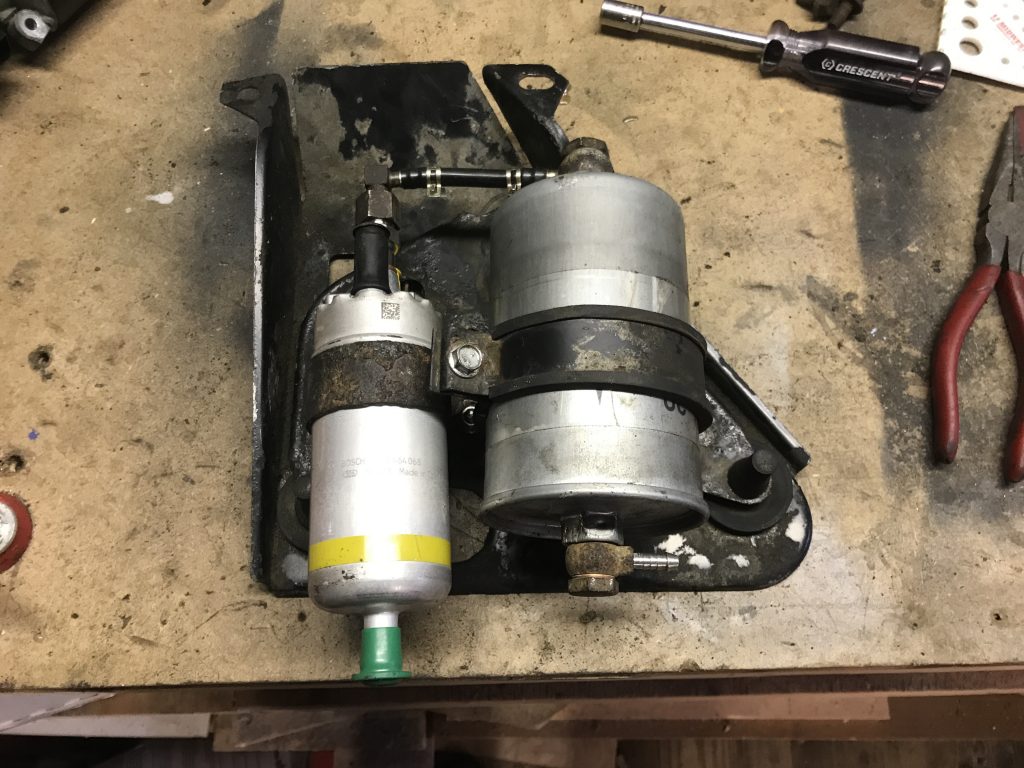
This assembly went back on with new crush washers and the pump and filter reattached to the carrier.
Once everything was back in place I tried the engine again and, as the first part of this entry suggested, nothing had changed. I have fuel. I have spark. Mechanically everything is working as it should as is evidenced by the fact that I can drive the car on some very sputtering and shaky rides around the neighborhood. Now I’m starting to suspect my MAF sensor is the culprit. I’ll have to get my hands on a known good sensor and swap it out to test this theory.