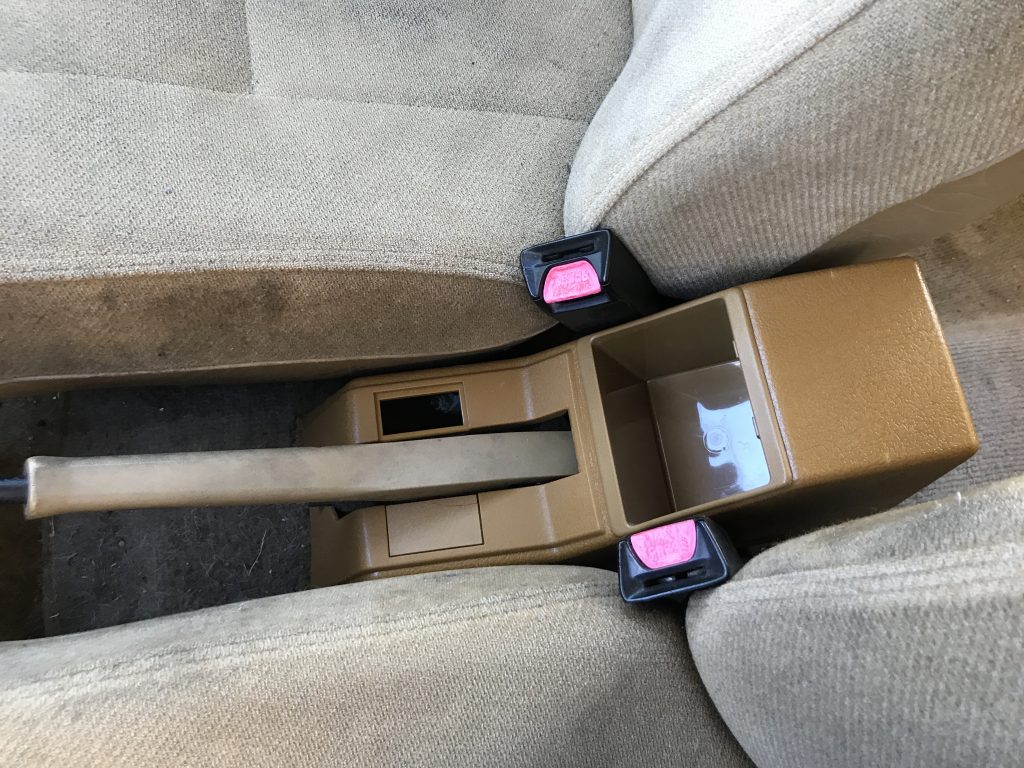
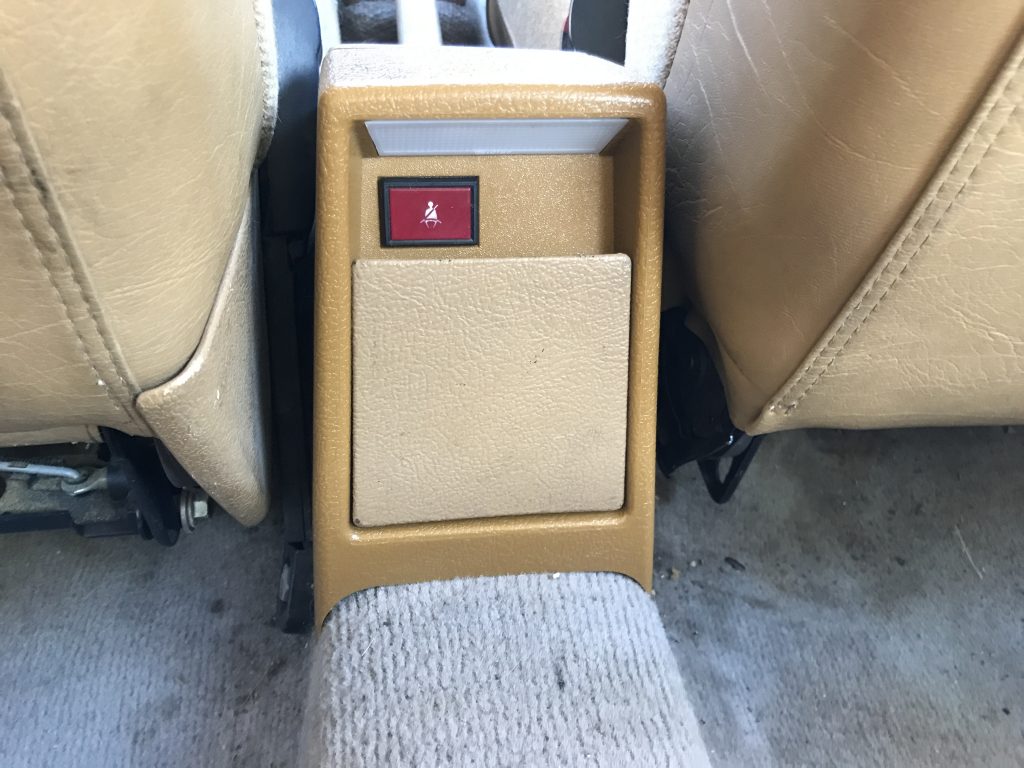
I’ve had become tired of looking at the bare parking brake lever and seatbelt reminder wiring next to me when I was sitting in the driver’s seat. I decided it was time for a little cosmetic assistance for Gudrun, so I got myself a reproduction parking brake cover.
Overall I’m pleased, but the color is obviously not perfect. The cover itself has a much darker, more brown tint to it than the pocket insert that I bought along with it as well as the original bits like the ashtray and seat warmer button covers. I’m not going to quibble, though, because I’m just glad that it won’t shatter under the lightest of pressure like original plastic tends to. For instance, the button cover panels. I had a few of those on hand and each one’s tabs immediately broke off the moment I attempted to attach them. Right now they’re just sort of loosely sitting in the holes. As long as my car doesn’t roll they should be OK, but I’ll eventually either fix them somehow, get better ones that hopefully won’t break, or maybe install seat warmers.
3D Printing Parts
One little bit that I didn’t have were the two bushings that hold the cover in place. It looks like this.
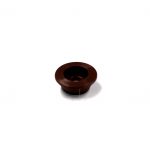
They’re not expensive nor hard to find, but I didn’t want to wait or spend more money. The shape of the part is simple, and I do happen to have a 3D printer. I figured why not make these bits myself? So that’s what I did. It took about 10 minutes each. Very soon I had two bushings printed in grey ABS plastic. I took these out back to the painting bricks and gave them a coat of the same beige paint I used on the door handle guide casing. The next day after the paint had dried enough I attached them.
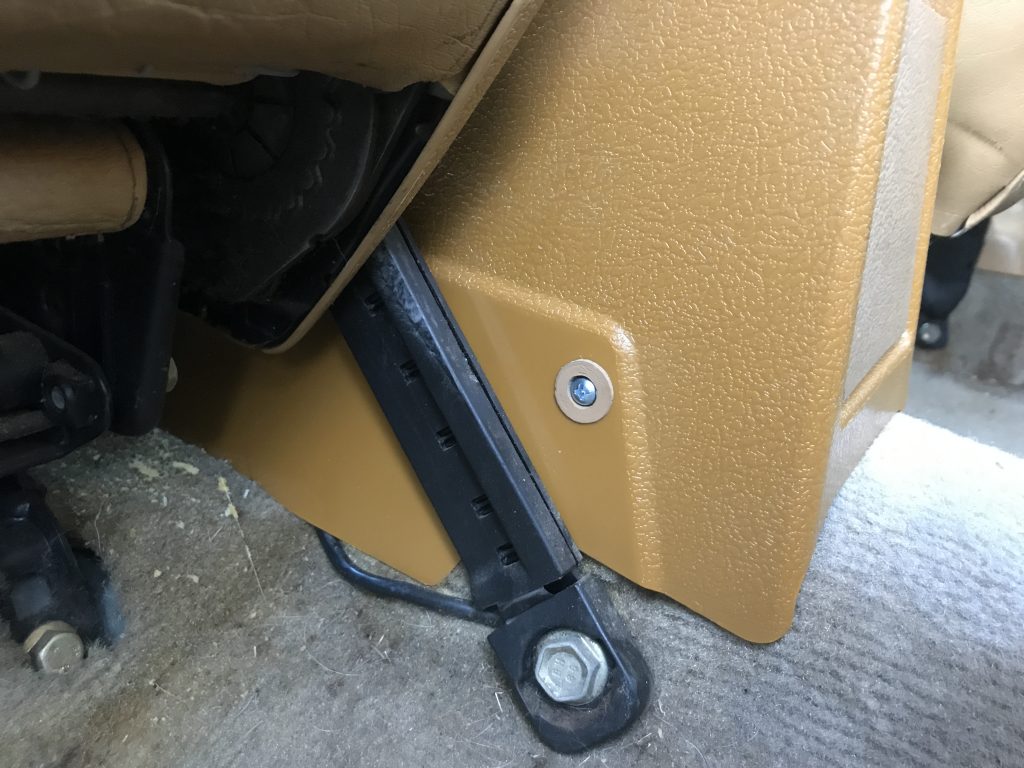
One day I’ll probably replace them with the real thing, but until then these will do. If you’d like to print this part for yourself you can find the file here.
Ignition Issues
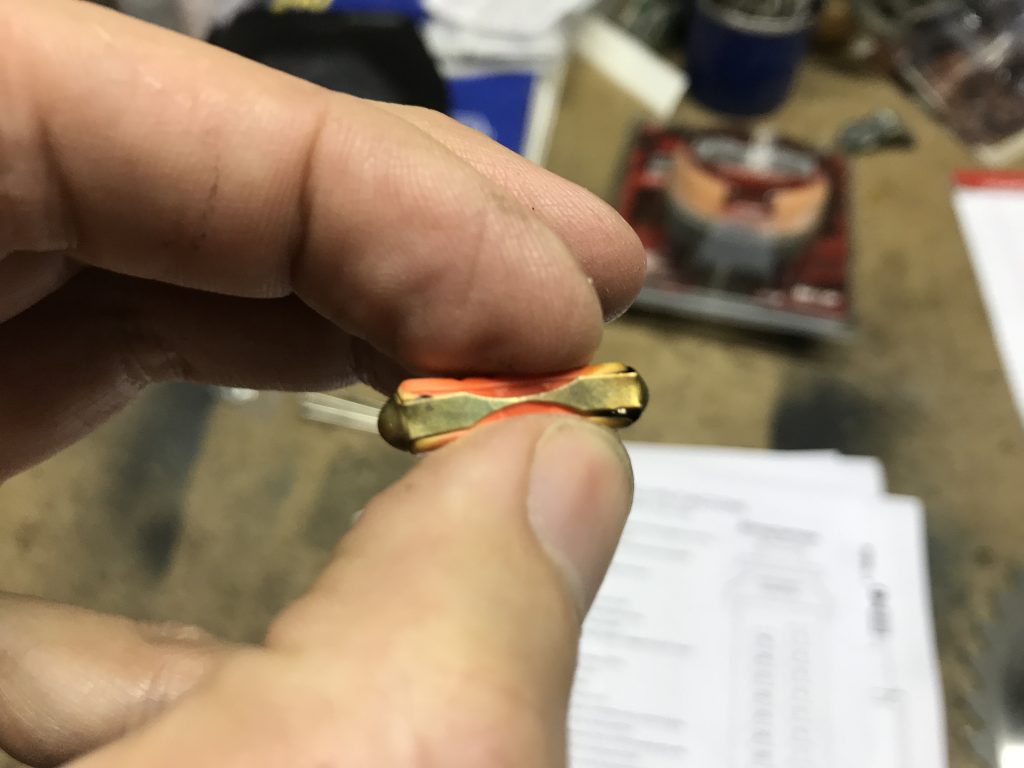
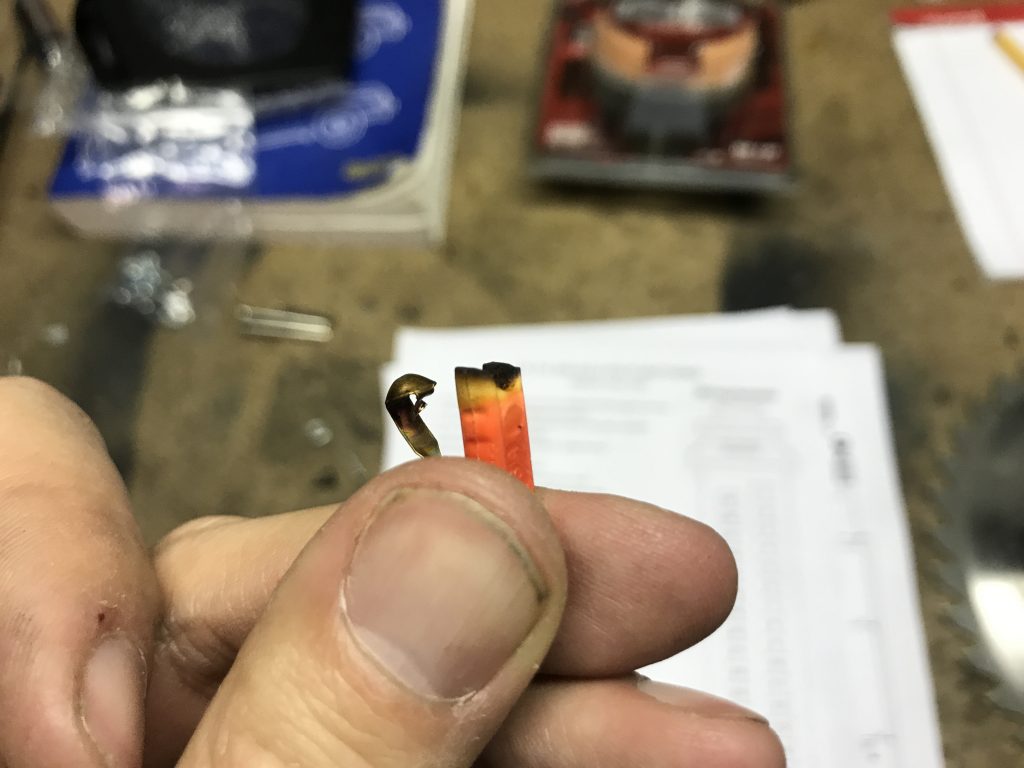
On an unrelated note, over the last few weeks I’d been occasionally running into ignition issues. The engine would crank but never fire. I also noticed that when this problem occurred I wasn’t hearing the fuel relay clicking when the key was turned. I removed the relay and ran some bench tests on it to make sure the two relays inside of it were still functional. They were. I looked over the diagram and saw that once the key was turned the relay should be getting 12V, but that wasn’t happening. The only thing between the key and the relay is the fuse. This was confusing at first because I had actually started the diagnostic process by looking at the fuse. It looked unbroken, but I learned that looks alone can be misleading. When I actually took the fuse out I found that it had failed in an unexpected way.
One side of the plastic fuse body had melted and burned slightly. I’ve read that this can happen if the fuse is not making good contact with the leads, an issue with bullet style fuses. I believe this was an original fuse that came with the car, so I’m willing to bet that the poor contact resulted in heat which caused the failure. Once a new fuse was inserted the car started right up and has been running fine ever since.
