The weekend rolled around again, as it always does, and I was looking to make some progress on the car. The obvious choice, the windshield wiper motor, was still in pieces on my work bench begging to be greased and reassembled, but the replacement carbon brushes were literally on a slow boat from China. So I did the only logical thing: reexamined the existing brushes and called them “good enough”. Honestly they probably are. As best as I can tell only a few millimeters had been worn off and they were still making good contact with the commutator. So I put the thing back together.
A Few Tips
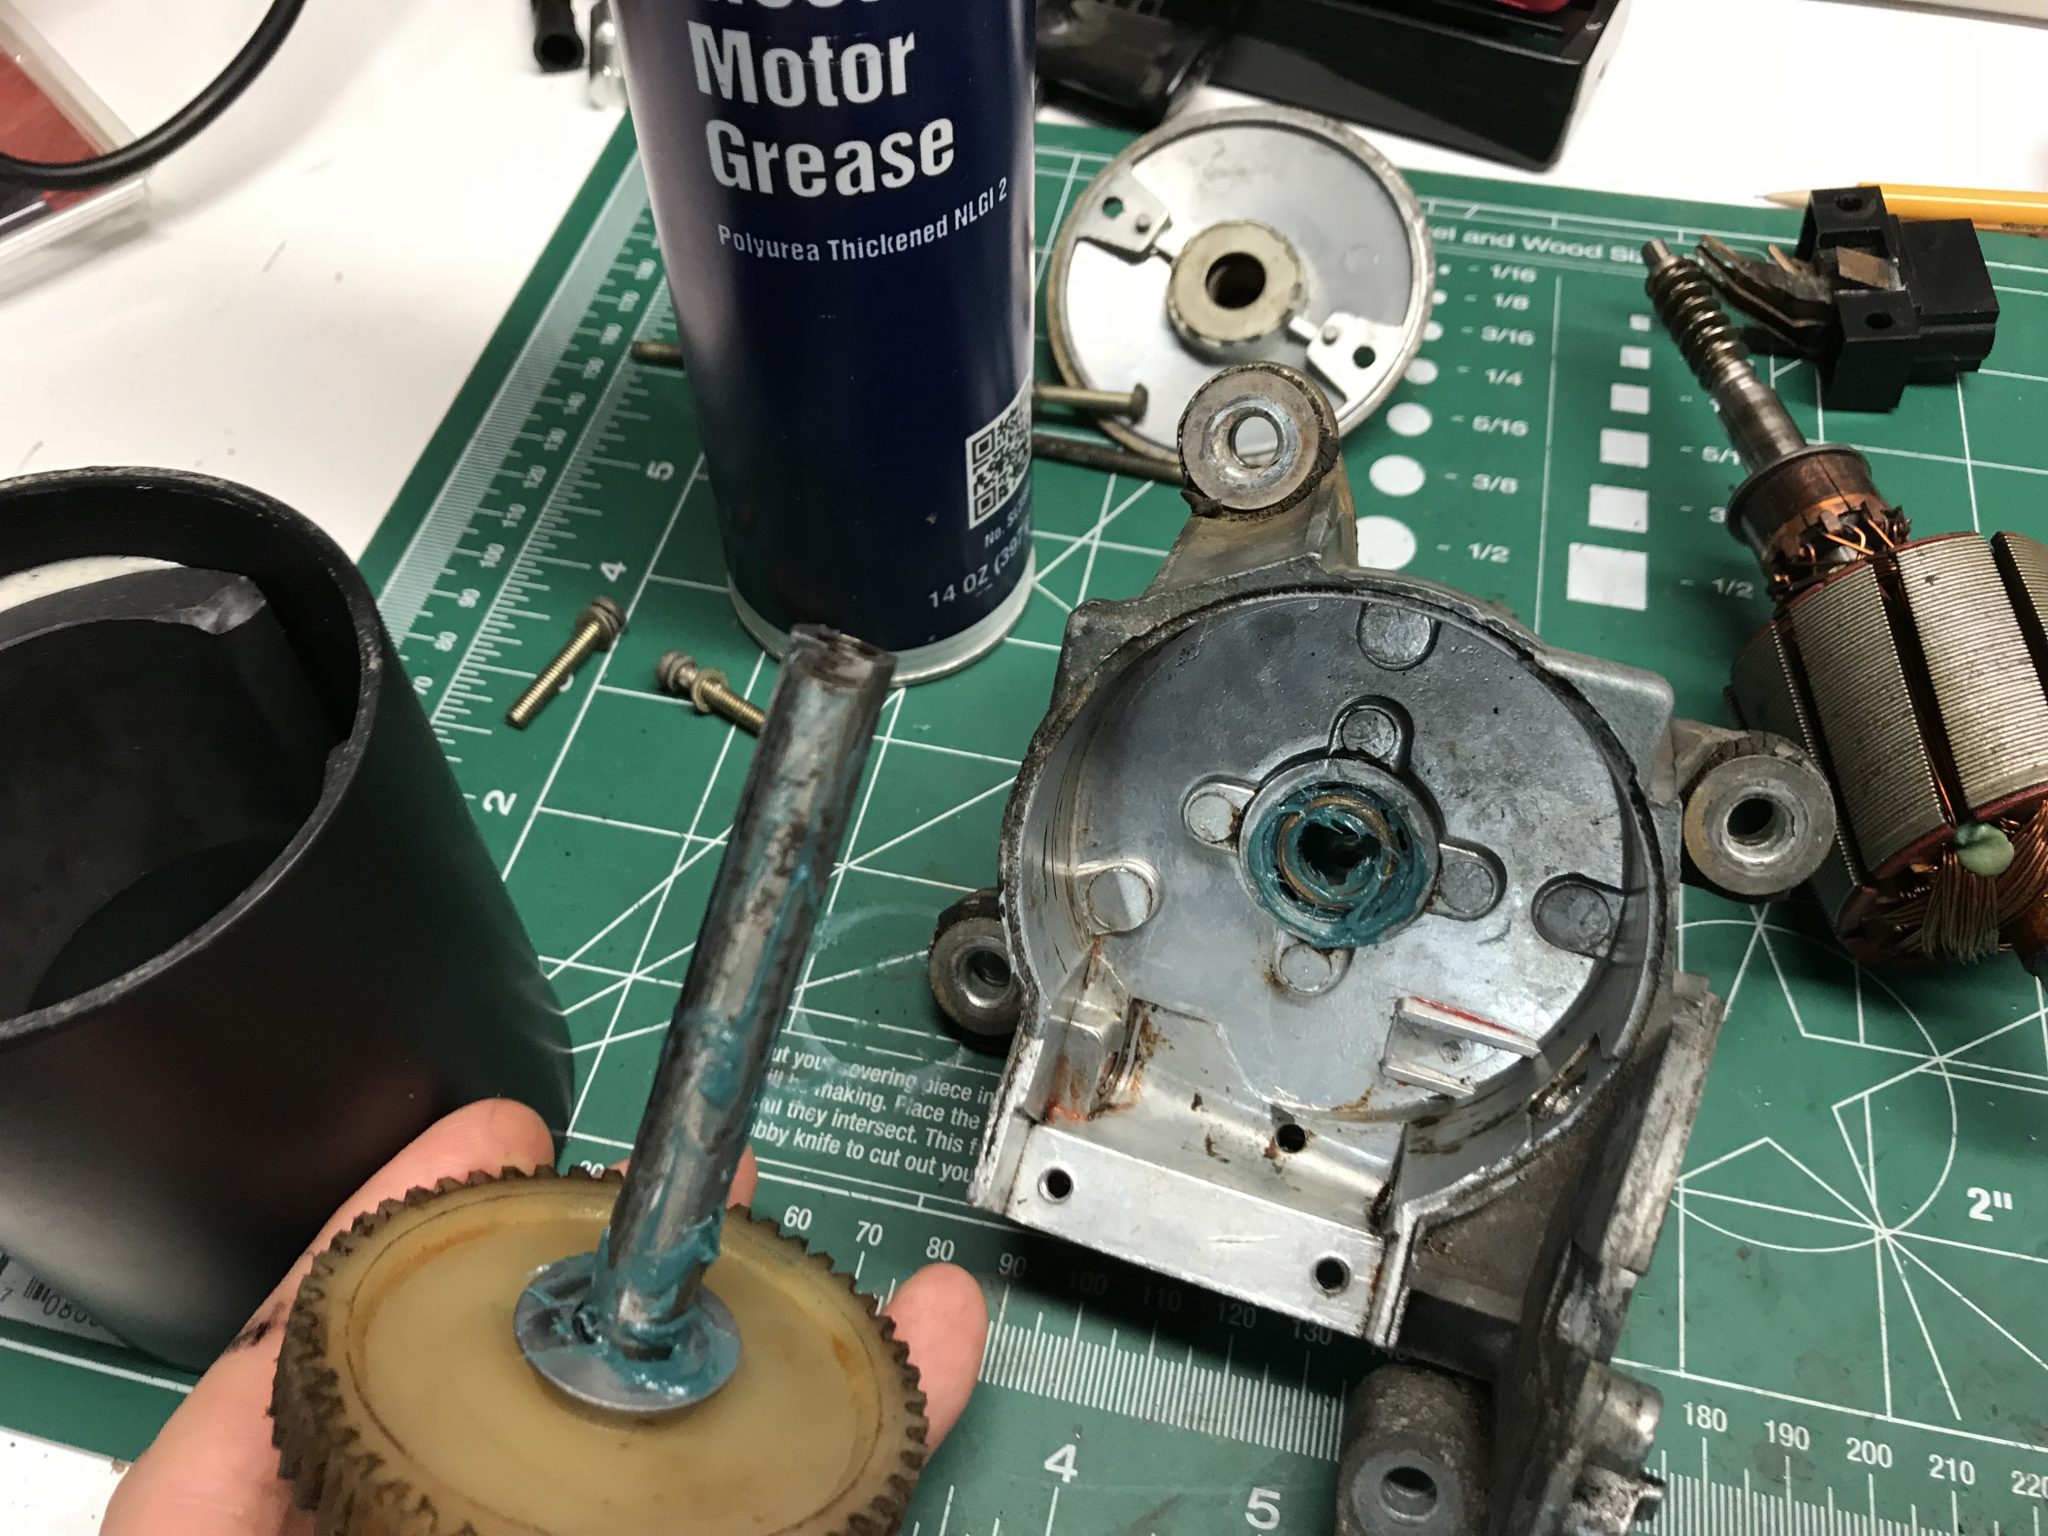
- Use electric motor bearing grease. I’m not 100% clear on why this is a good thing because I don’t do a lot of greasing in my normal life nor understand the chemical properties of today’s space-aged grease technology, but from what I can tell it’s better for electric motors to use electric motor specific bearing grease.
- The best (and possibly only practical) way to insert the armature is by removing the brush spring mechanisms that push them against the commutator. Put the armature in first and then put the brushes into their channels and attach the springs.
- When you have the armature in and the brushes connected the next step is sealing it up by attaching the housing. That housing, though, has the two permanent stator magnets glued to its inside which will pull the armature straight up and out of contact with the brushes if you aren’t careful. While lowering the cover keep downward pressure on the armature until the cover is on.

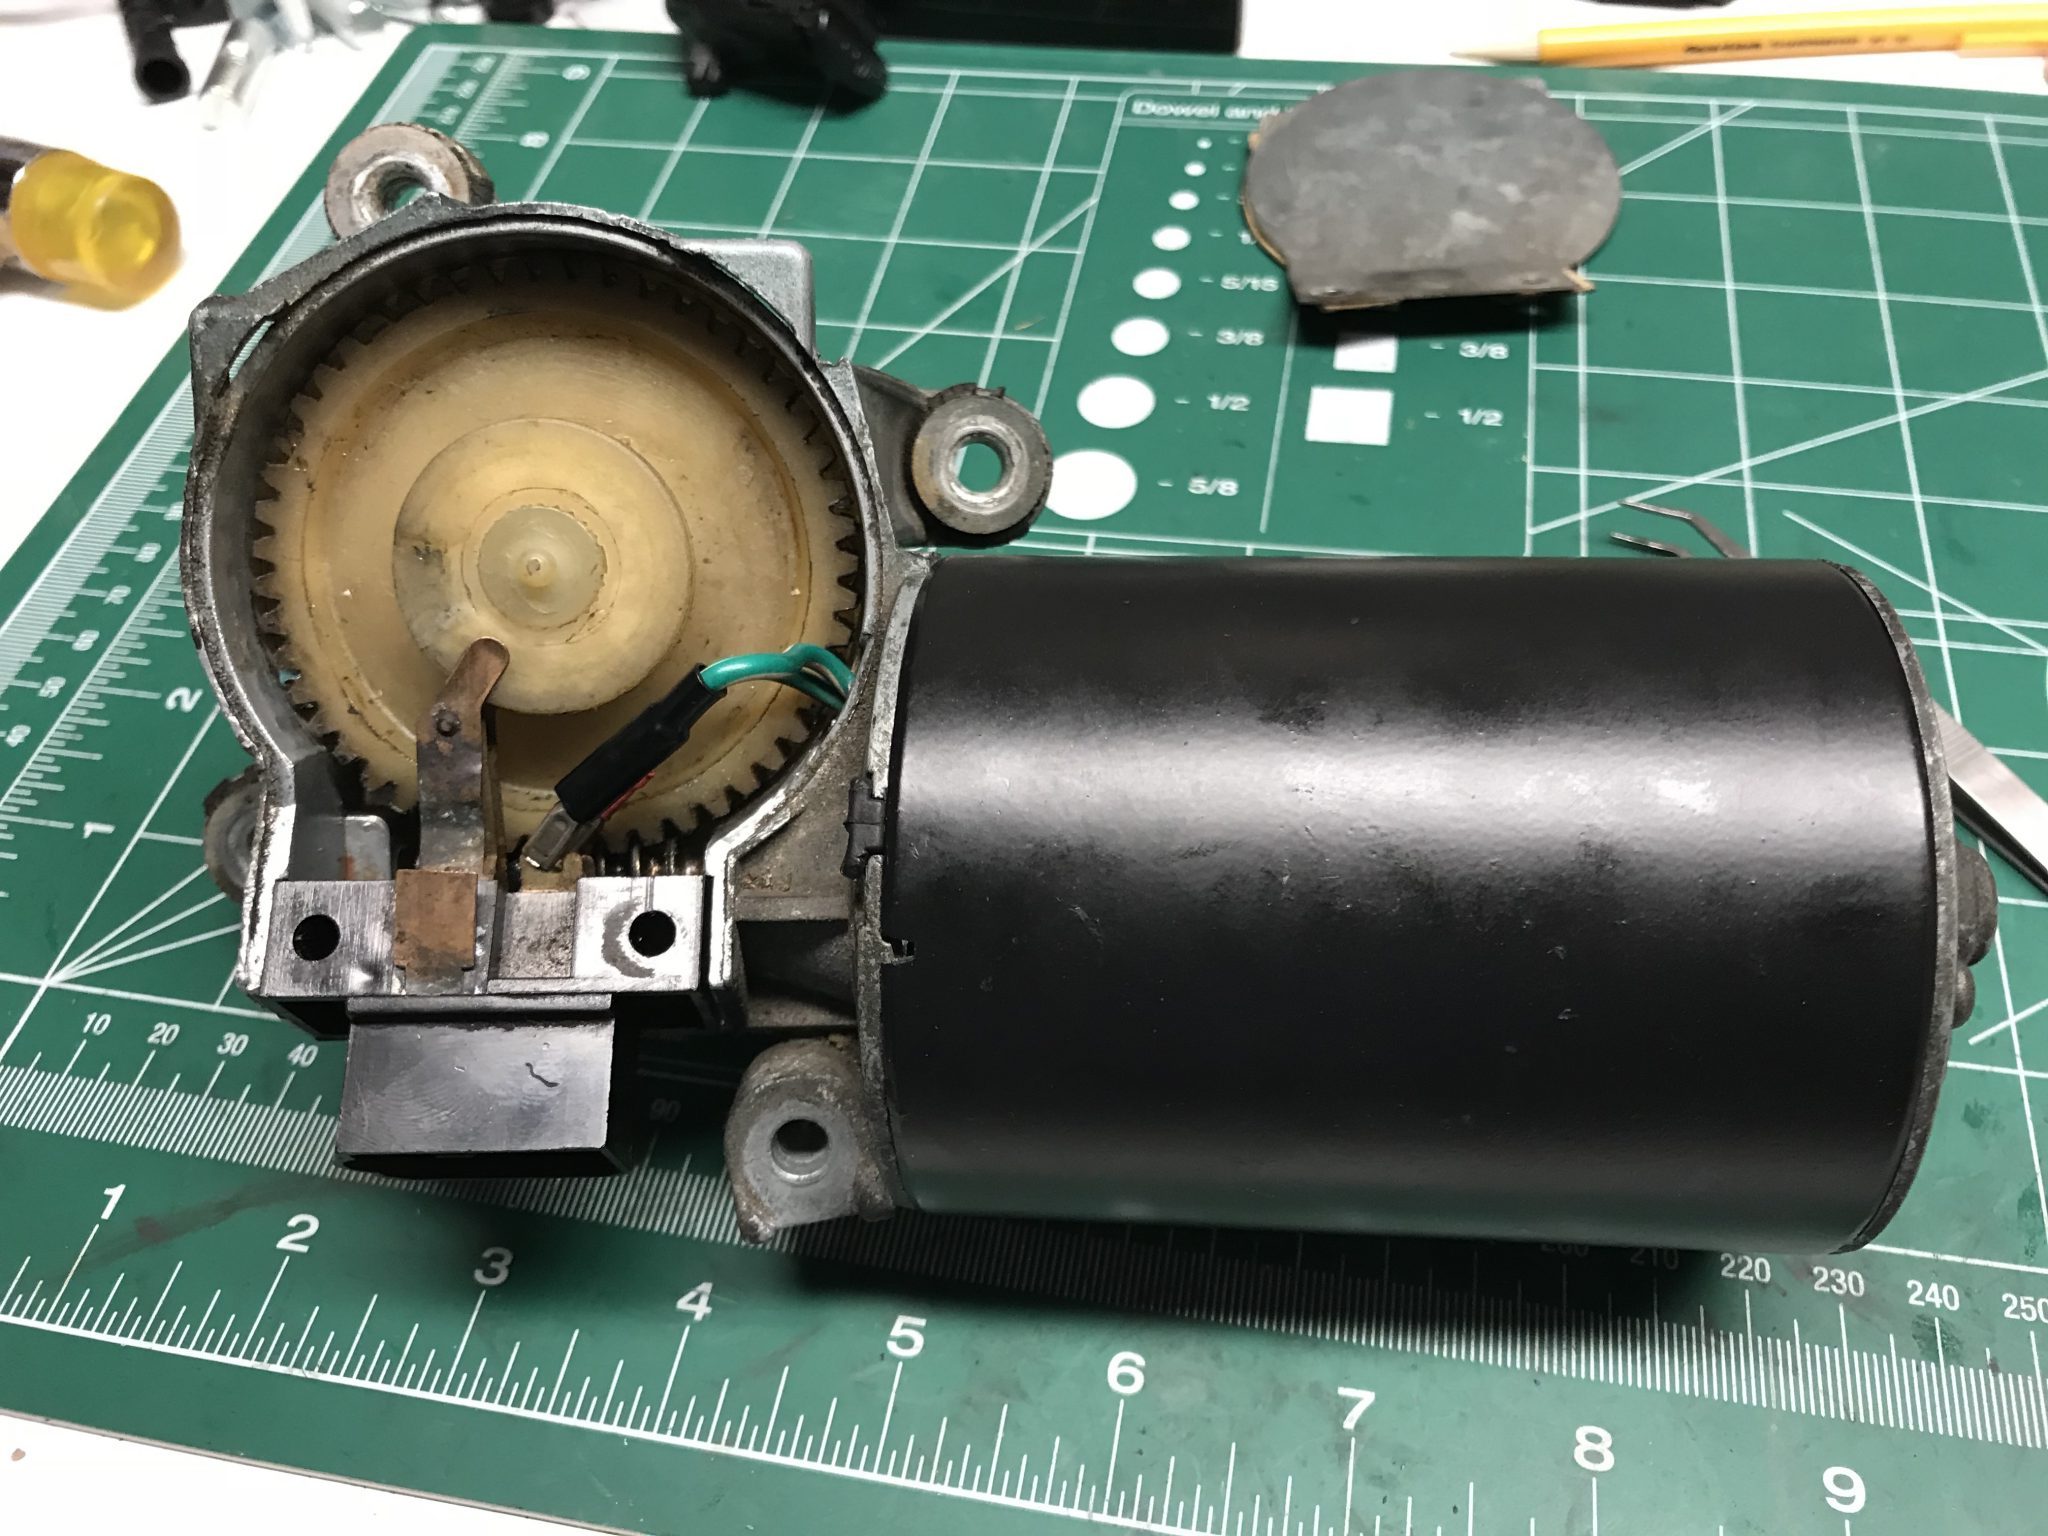

The rest of the process is pretty straight forward. I tested the motor out and it definitely sounds quieter and less angry than before. The intermittent wiper mode now works too!
I didn’t actually reinstall and connect it to the wipers yet as I lost the wad of weatherproofing putty that was originally wrapped around the output shaft housing. Unless I want rain water leaking through into the passenger foot well I’ll have to wait until I get an appropriate replacement to do that.
Additionally, with the help of son #2, I got the rear window sprayer working.
See videos of both things by clicking the link below.
You can compare that to how it used to sound.
And the sprayer in action