It’s not terribly noticeable, but the driver’s side headlight on my car has always been a little wonky. Very early on in this project I had tried to clean the whole assembly up a little bit but it just never sat correctly. I mostly attribute this to the fact that the support frame for the lens is a Taiwanese made aftermarket part of questionable quality, but from the looks of it there also seems to have been a small amount of damage to the front end metal at some point. I don’t think it was crash related as nothing looked broken or buckled, but a few edges were bent almost like they had a hammer taken to them. It’s a bit of a mystery.
Fixing the Headlight
An examination of the light in situ yielded two observations. First, the bolts that held the light to the car didn’t seem long enough. This had the effect of drawing the light in and up, hence the “wonkiness”. They would need to be replaced. Unfortunately they had square head that fit snugly into recesses on the back of the frame. I didn’t have any square head bolts let alone ones as long as I needed. To solve this dilemma I simple took a hex headed bolt and used my rotary tool to lop off a small section of one of the points. This allowed it to fit in the square recess while remaining large enough to not spin freely. The next issue was with one of the posts on the back of the frame that insert into corresponding sockets on the back of the headlight housing and are then secured in place by wire pins. Two of these posts are threaded and allow you to adjust the angle of the light. The third is not threaded and is just there to give more rigidity to the whole assembly. The problem with mine was that there was nothing keeping tension on that post. It was free to wobble in and out a little bit which made it hard for the headlight to keep a position. To fix this I found a small spring amongst a collection I keep in my shop and but it a little to fit. It went around the post and provided the mission tension keeping everything nice and steady.
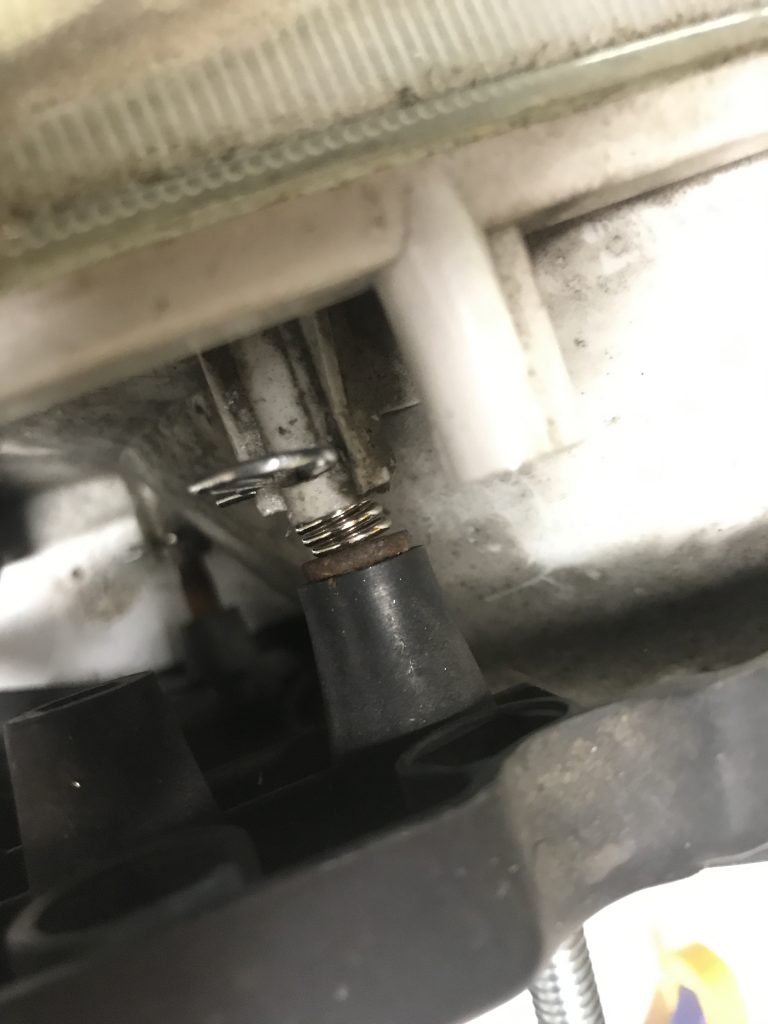
Once the light was reassembled I put it back into the car and tried to get it to sit in the same position as the other light. My modifications helped, but I found that it just didn’t want to sit as still as I needed it to. The side of the headlight towards the center of the car wasn’t braced well enough to prevent it from moving a little. I think this is due to the previously mentioned modifications to the internal frame. I solved this by threading a nut on that bolt both in front of and then behind the hole through the frame and sandwiching them down together to hold that side of the light steady. This provided the rigidity I needed to get things lined up more to my liking.
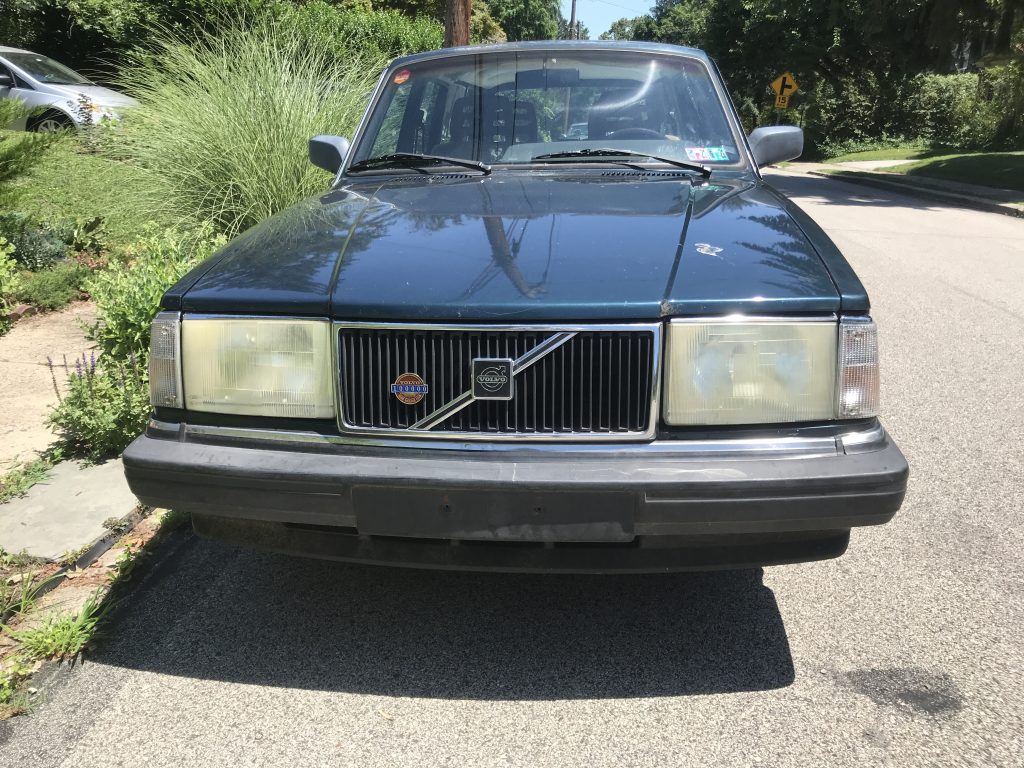
I’d call the results acceptable but not perfect. There’s still more of a gap underneath the driver’s side light compared to the passenger side light, which is a factory part. The ultimate solution will probably be to buy another factory headlight and maybe try and fix that internal frame. For now (and maybe forever) I think it looks fine.
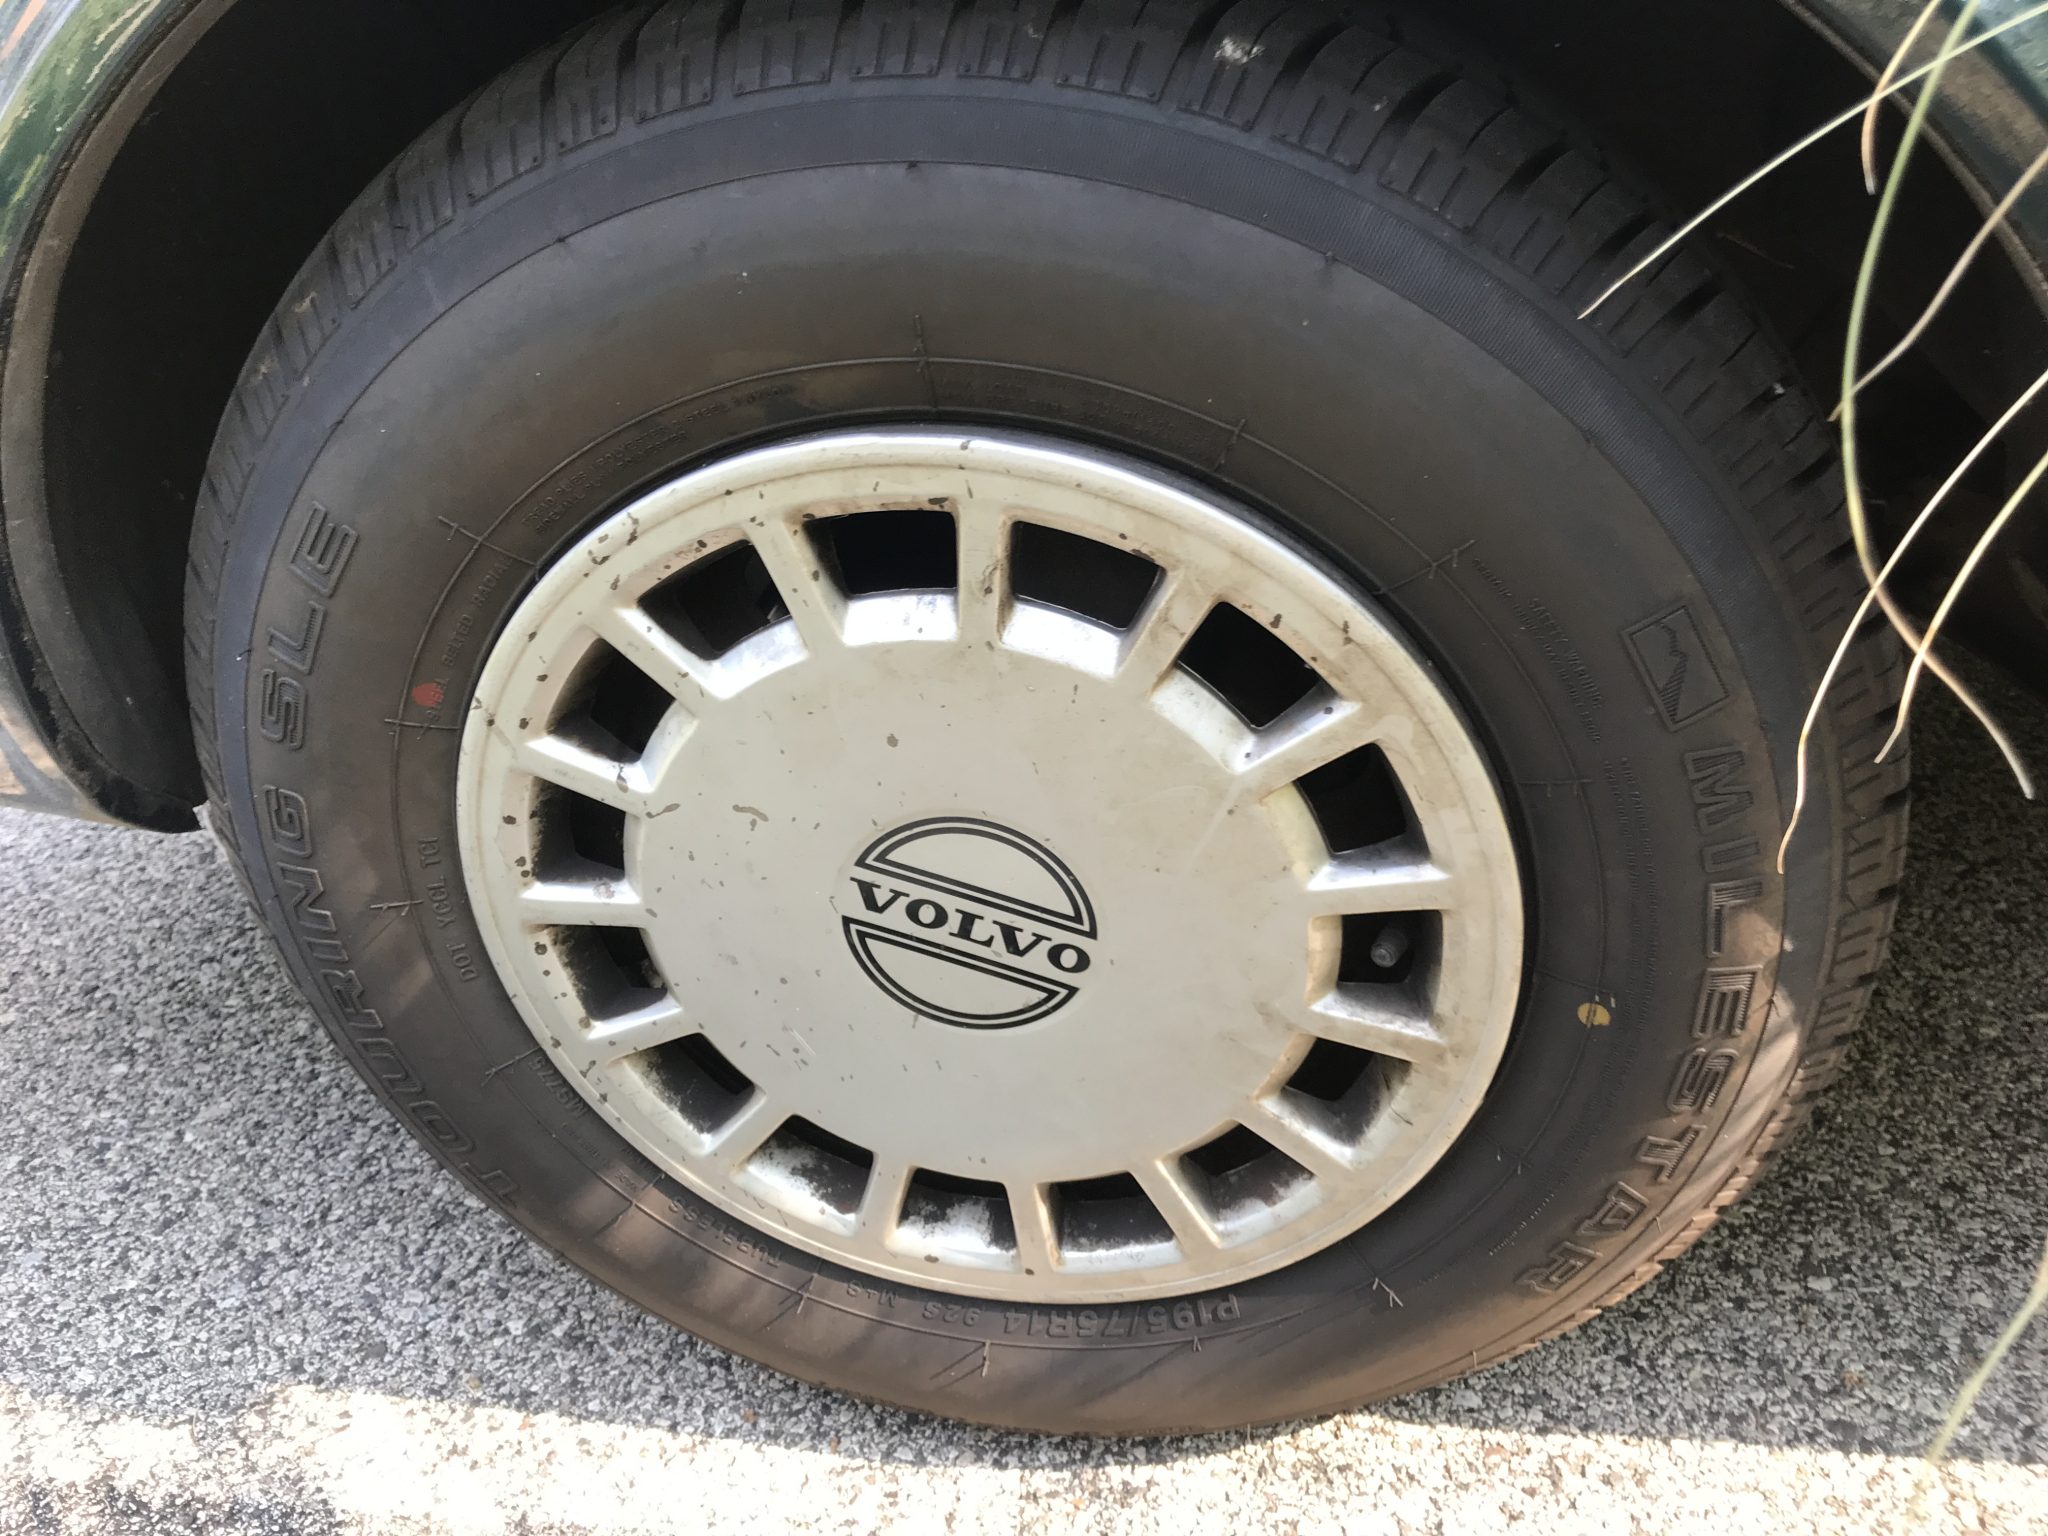
Hubcap Fix
A few weeks ago I was driving along when I hit a pothole. It wasn’t a big hit, but I heard a *skitter-skitter-skitter* noise. I stopped and looked back and, sure enough, I had lost my front driver’s side hubcap. I retrieved it from the road and took it home for examination.
This hubcap was another aftermarket part and not a Volvo factory part like the other three are. It stays attached to the rim by means of a steel loop. This loop slots behind the outer lip of the rim. Pressure is kept on the ring by a series of tab hooks. These are the surviving ones on my hubcap.
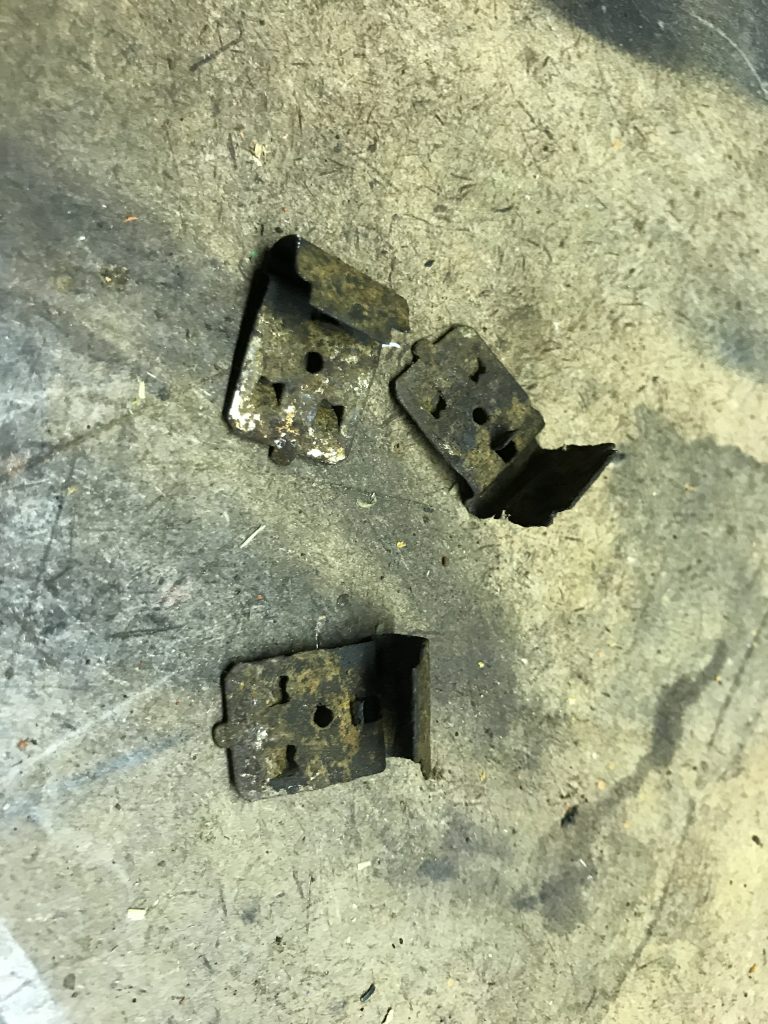
They are not in good condition. The rust has caused them to lose a lot of their strength which makes them a lot less effective at keeping the locking loop in place. They don’t exactly sell replacements for these clips in the store, so I decided that I’d make my own.
To do this I went to the hardware store and bought a small sheet of 22 gauge steel. I then cut small strips about the same size as the originals and proceeded to try and hammer them into roughly the same shape. I did this six times. Once they were all made I epoxied them into their slots and slid the loop on.
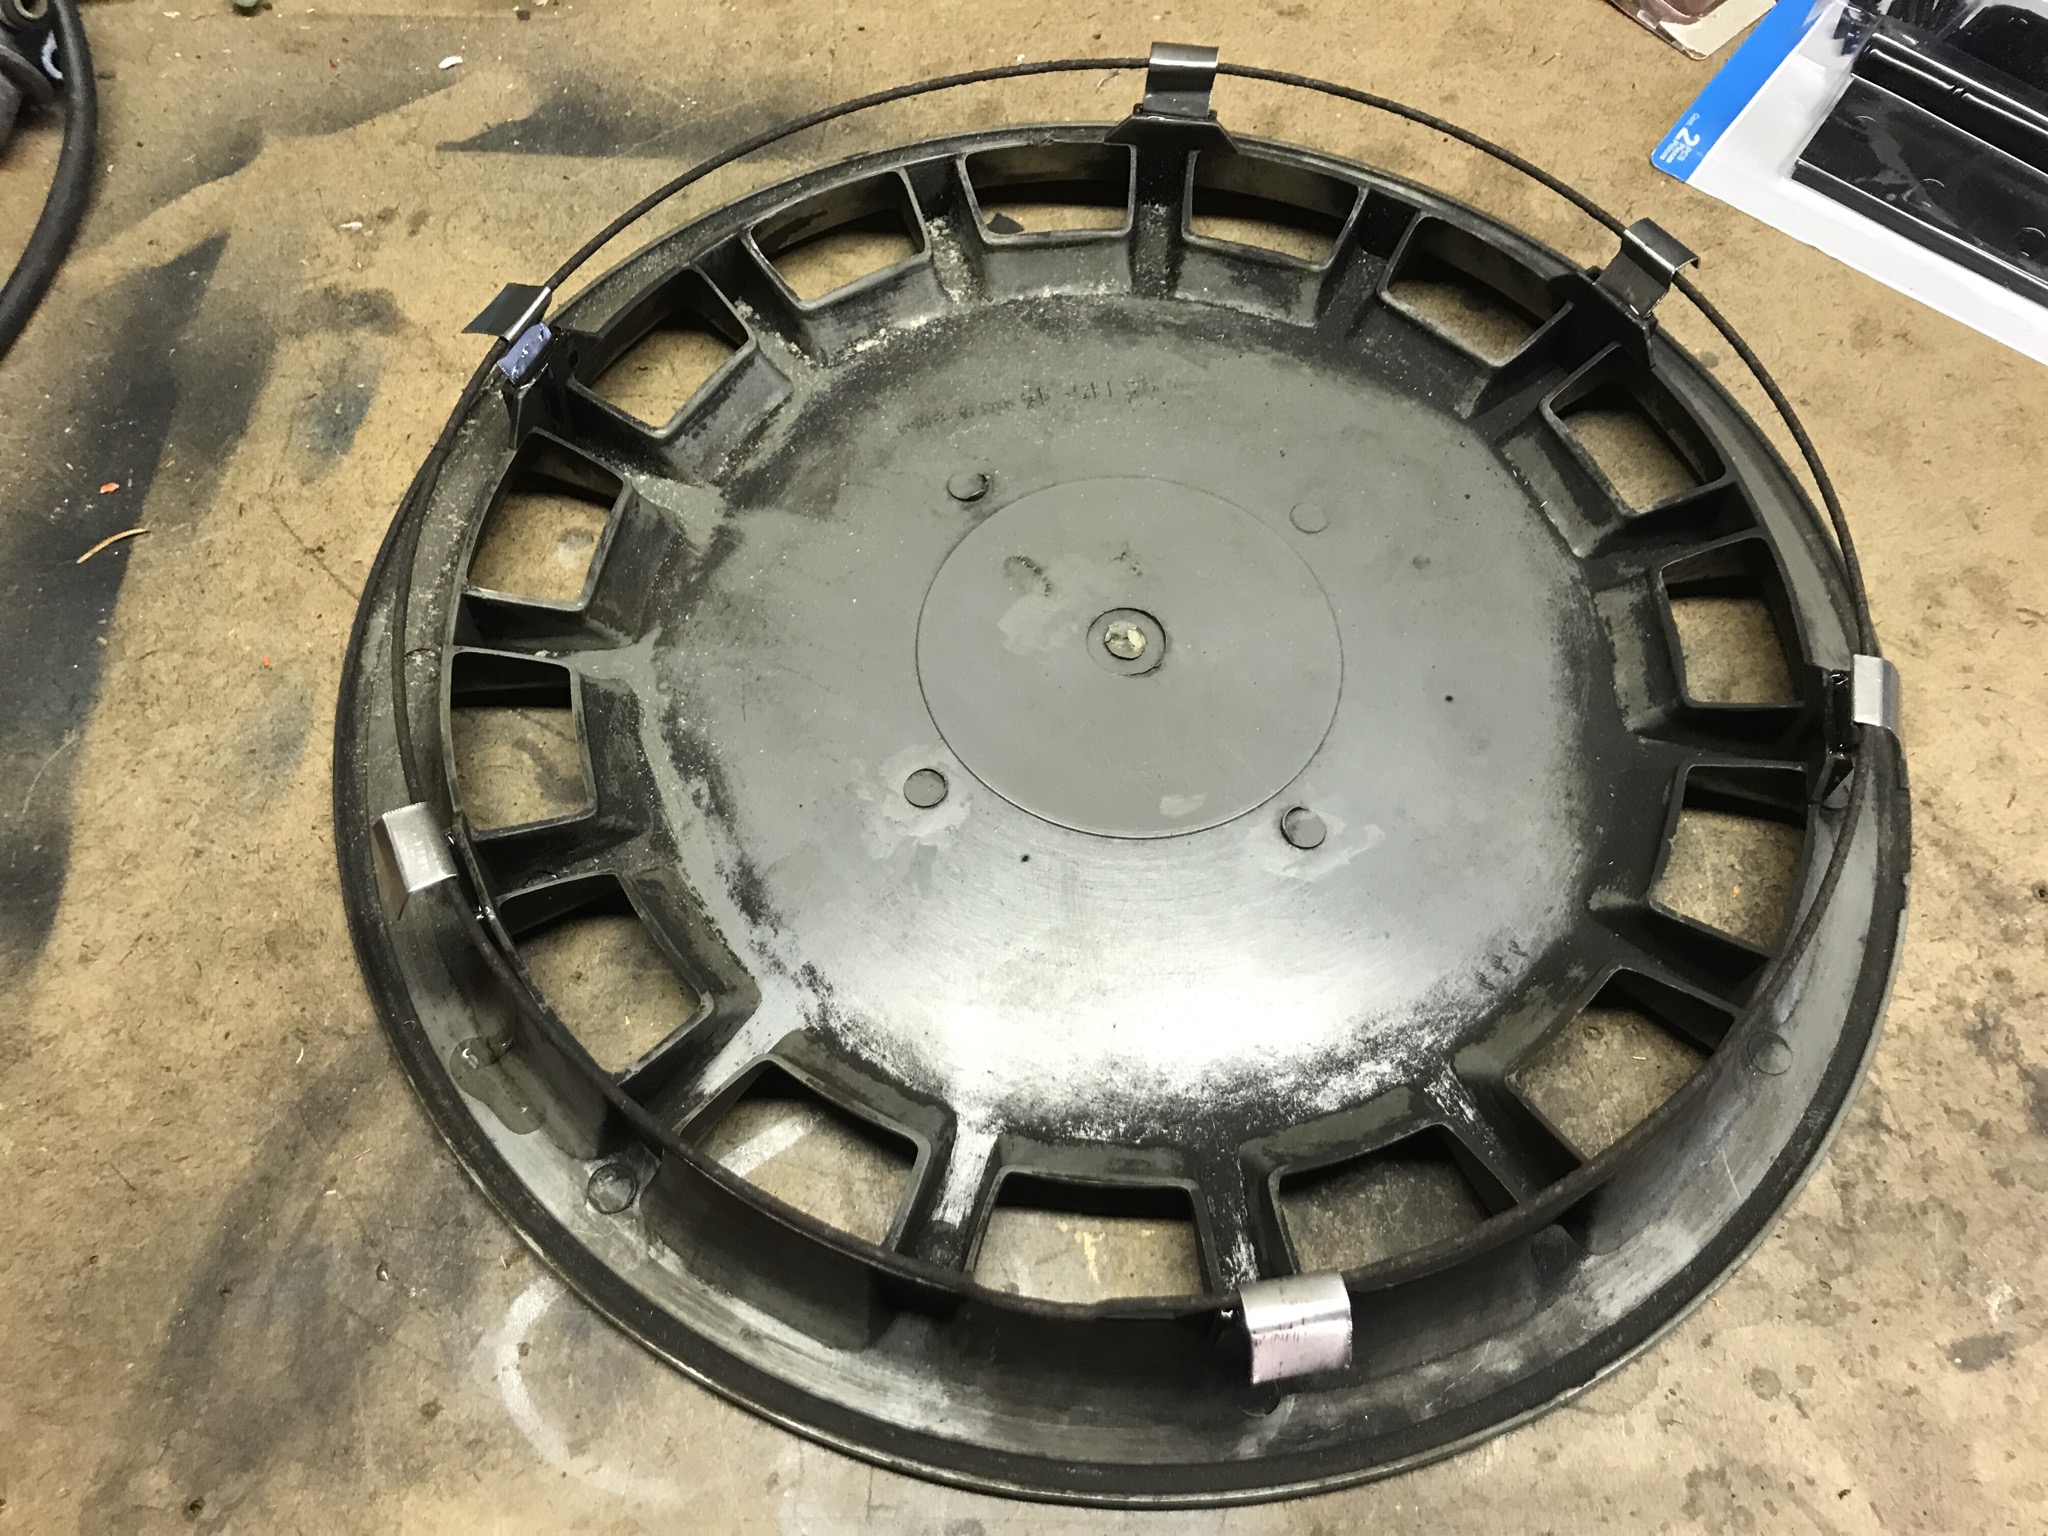

Back onto the wheel it went. I was happy to find that it fit without problem and thus far has not fallen off. I’ll mark that as a win.