After a long while, the weather decided to cooperate and be pleasant on a weekend day where I had some free time. So I decided to tackle the rear wiring harnesses.
Disassembly
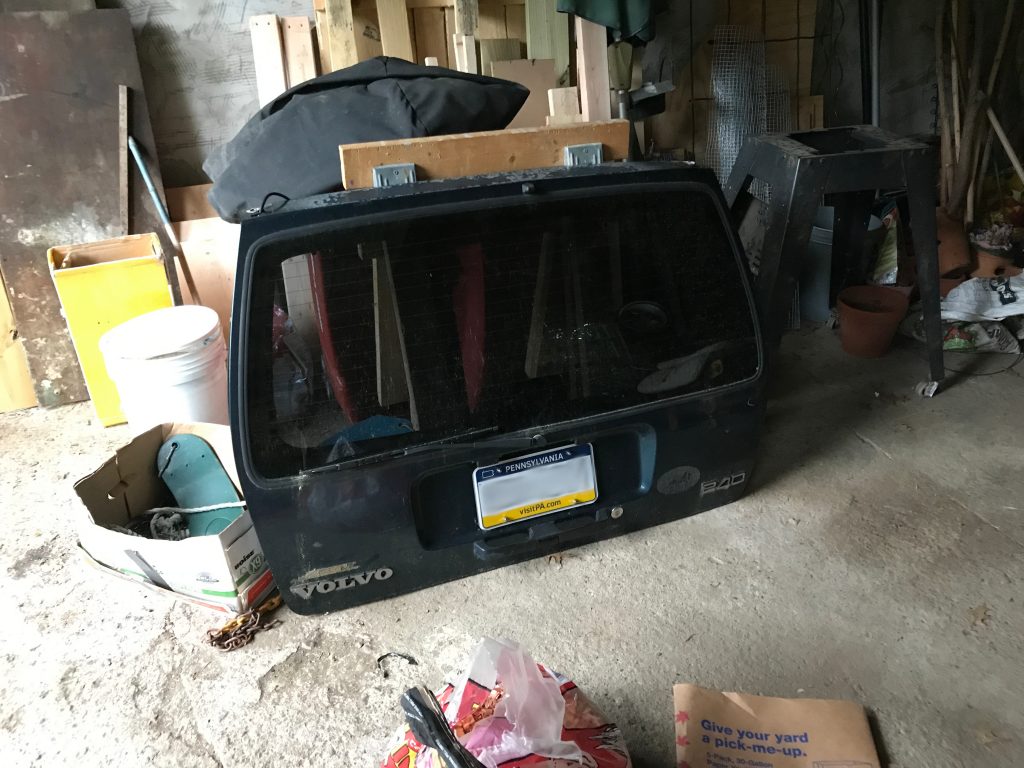
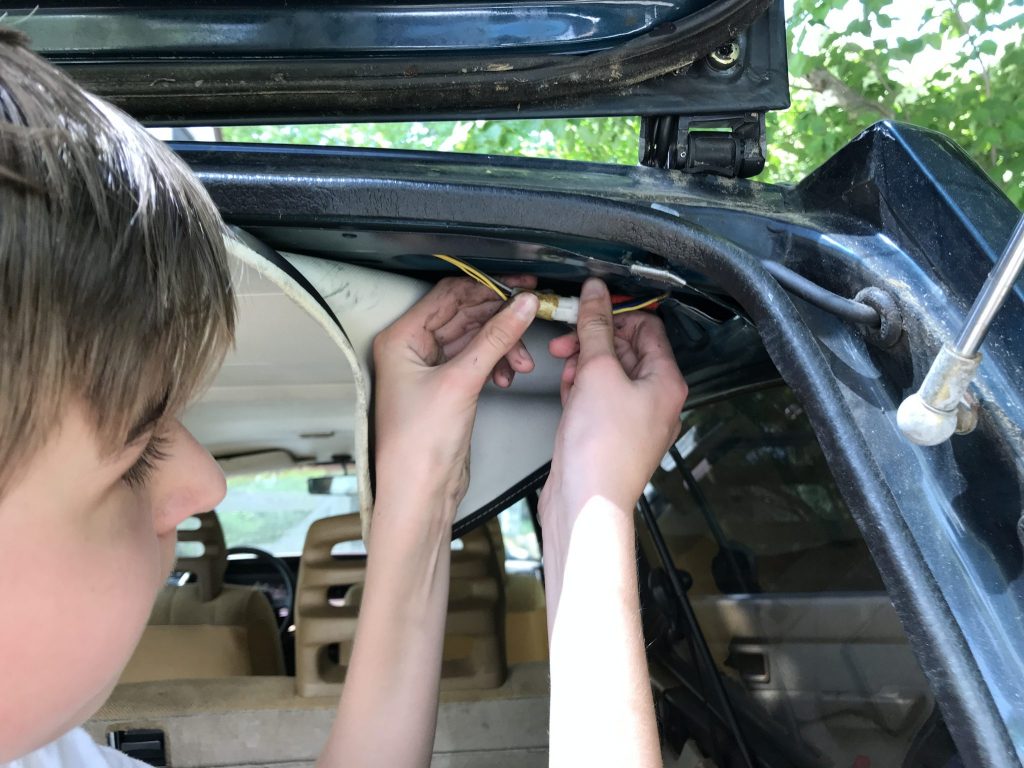
Armed with instructions I had downloaded from our friends at iPd, I dove in. The first thing that needed doing was detaching of the headliner in the rear. I had previous dithered on this because my initial meek attempts at removal were unfruitful. It turns out that this was because I was following the instructions too closely and attempting to remove the liner with just my fingers. I had purchased a set of hooks and probes awhile back for a different purpose and decided to see if they helped. Indeed they did! Using a hook the headliner peeled back perfectly and with almost no effort. I was in! The next step was to star loosening the retaining bolts. On my car these consisted of two bolts that held the hinges to the body and two large screws that held them to the tailgate. With the help of my older son, who was gracious enough to climb inside and actually remove the fasteners while I held the tailgate to keep it from falling, we got them all out and lifted the gate from the back of the car.


A Sorry State
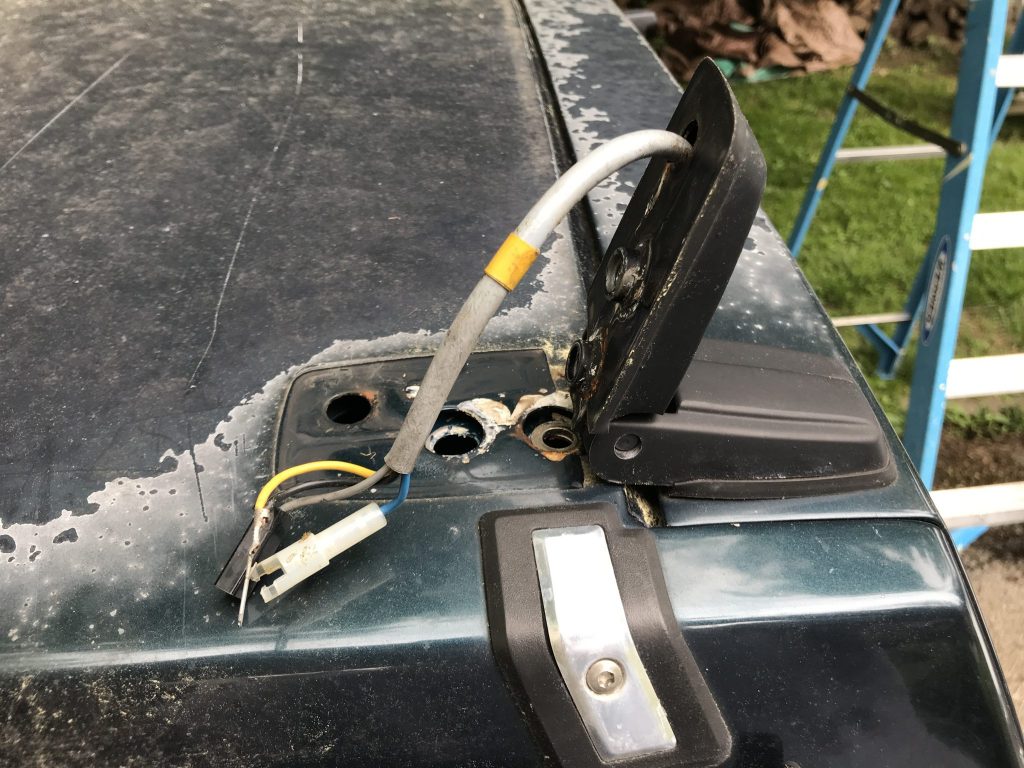
Close inspection showed that both harnesses were in terrible shape. The passenger side was was basically severed completely while the driver’s side, while still intact, was swiftly beginning to disintegrate. I disconnected each existing harness from their connectors within the gate careful to preserve the connector insulators as my harnesses didn’t come with their own replacements. I actually will have to order a few replacements from Dave Barton as my existing harness was missing a couple of them too (somehow). I suppose they aren’t necessary, per se, as the connectors, generally either bullet or spade connections and will hold without the insulator, but I don’t want to have to go back in there to fix shorts or disconnections caused by vibrations so I’ll do it the right way the first time.
I also found that the grounding wire that connected either side of each hinge together had been severed on both sides. The original wires had been attached using ring terminals that were then secured by what looked to be a post that had been mechanically peened at the factory. To fix this, I decided to cut the terminals off with my rotary tool by removing one side of the staked post so the rings could be slipped off. After cleaning up the posts with a wire brush to ensure good connectivity, I cut new wires of about the same length of the broken ones from some of the wire left over from the old harnesses, crimped new ring terminals to either side, and put them back into place on the posts. Taking care to keep the terminals in contact with the metal of the hinges, I applied a large dollop of J-B Weld epoxy to re-secure the terminals to the posts. After the epoxy cured I double checked for continuity with my multimeter and made sure the action of the hinge was not putting undue stress on the new wires.

Threading the needle
Next came the difficult part – running the new harnesses through the channels along the sides of the gate. First word of advice I can give is to remove all the various connector insulators before trying to feed the cable into the gate. They can be tricky to remove and it’s tempting to imagine that it’ll be possible to get them through the holes, but it really makes the job way more difficult than it needs to be. My second word of advice is to try and brace the cable with one hand while feeding it into the channel with the other. The harnesses just don’t have enough stiffness of their own and will quickly bend and pile up about half way down if not constrained. It’s a bit hard to explain, but trust me that using your other hand to make sure the cable being fed into the opening doesn’t immediately start to bend and snake goes just far enough in keeping the harness straight that it’ll be able to travel far enough down that jams are avoided.
Once both sides have been threaded through, I reattached the the hinges with their rubber seals to the gate and then, again with the help of elder son, got it back into the car. Miraculously the fitment was correct and everything opened, closed, and latched without hassle. If I were to do this again I think I’d mask out the position of the hinges with blue painter’s tape just to ensure that everything it lining up as it was. I’m glad it wasn’t a problem, because that gate was heavy.


After plugging everything back in came the final test. I’m happy to say that everything worked! Rear wiper and central locking were obvious. I’m not 100% sure on the rear defroster, however. The thing is, when I turn it on the light on the switch never turns off. I know the switch is fine because I tested it. Is there a relay between there and the rear? Is that normal function? I honestly have no idea. That’ll require some more research.