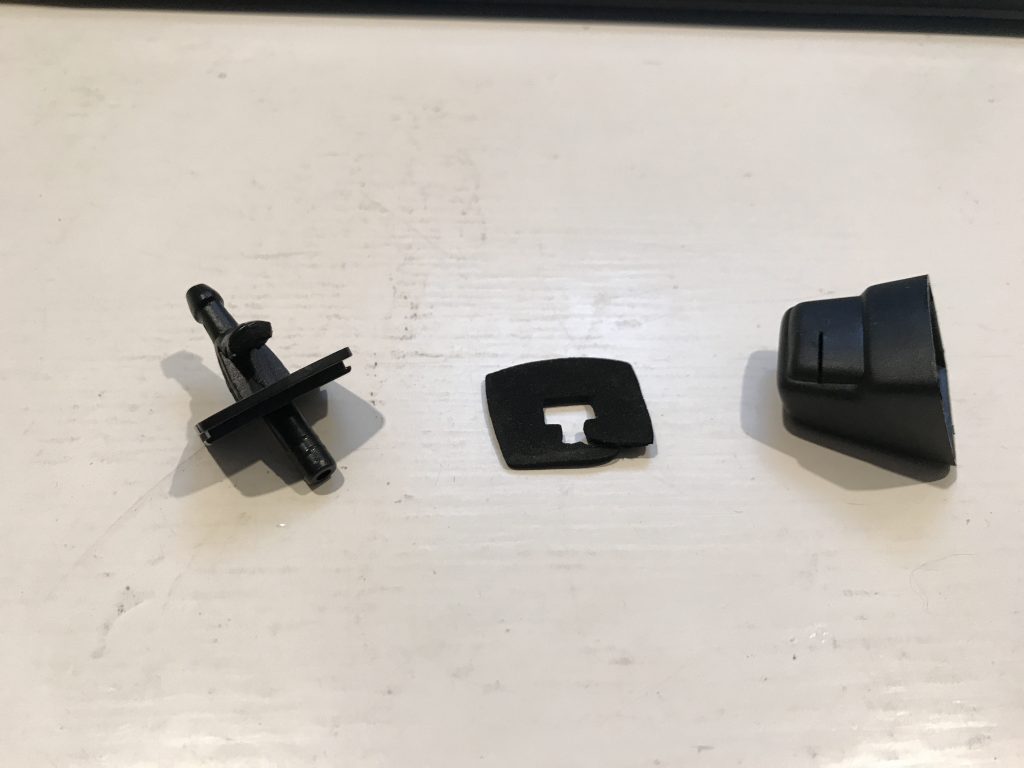
In the course of replacing the gate wiring harnesses I also had to disconnect the rear window washer nozzle. The nipple over which the fluid hose connects is actually inside the gate. This meant that I had to remove the nozzle in order to reconnect the hose. I Googled around for instructions on how to do this and found a number of people also asking the same question but no real answer. So for the benefit of the internet, I bit the bullet and tried to do it myself.
From memory (and photos of the part I found online) I knew the nozzle was kept in place by plastic tabs. This meant that they probably would be flexible enough to be removed, maybe even without breaking! I selected a plastic trim removal tool with a notch in the end and worked it down around the stem of the nozzle where it entered the gate.When I felt that I had pushed it down as far as possible I levered the tool back. After a bit of tentative attempts I finally used enough force and the nozzle popped off, thankfully still intact.

As the photo shows, the nozzle is actually a three part assembly. There is the main section, the part that actually attaches to the gate and provides a fitting for the fluid hose, the outer housing that provides a small slit that constricts the flow of washer fluid and creates the spray, and a foam gasket that helps keep water and other liquids from entering the inside of the gate. You might notice that my foam gasket has ripped a little, probably a result of the levering action required to remove it from the gate. This is probably unavoidable unless you’re super careful as the section of foam that ripped it quite narrow. Perhaps inserting the tool from the bottom might have worked better. Anyway, I might be able to fix it with a dab of rubber cement or I could cut a new one from the neoprene I used to rebuild the air box gasket.