So it’s been a year or so since I bought this Volvo. When I first took it home it (obviously) drove, but not well and would probably not pass inspection. It was a project from day one. Now that better weather has arrived, I’m determined to get the car running reliably well and road worthy. At that point I can pivot to making sure the rest of the car is good.
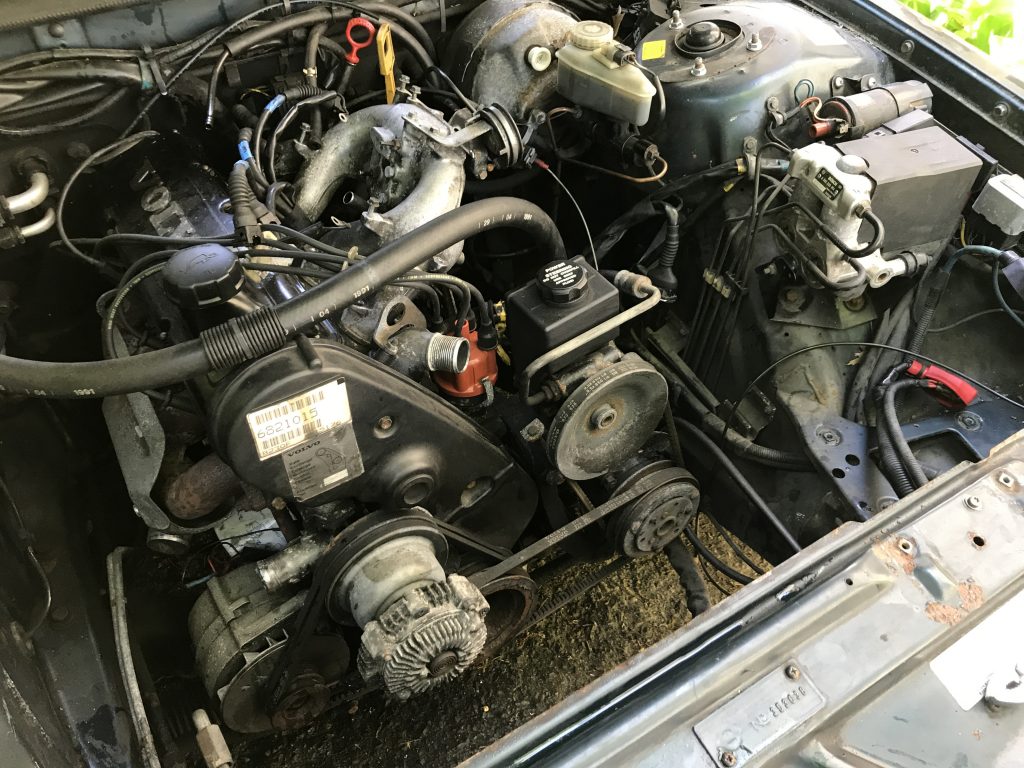
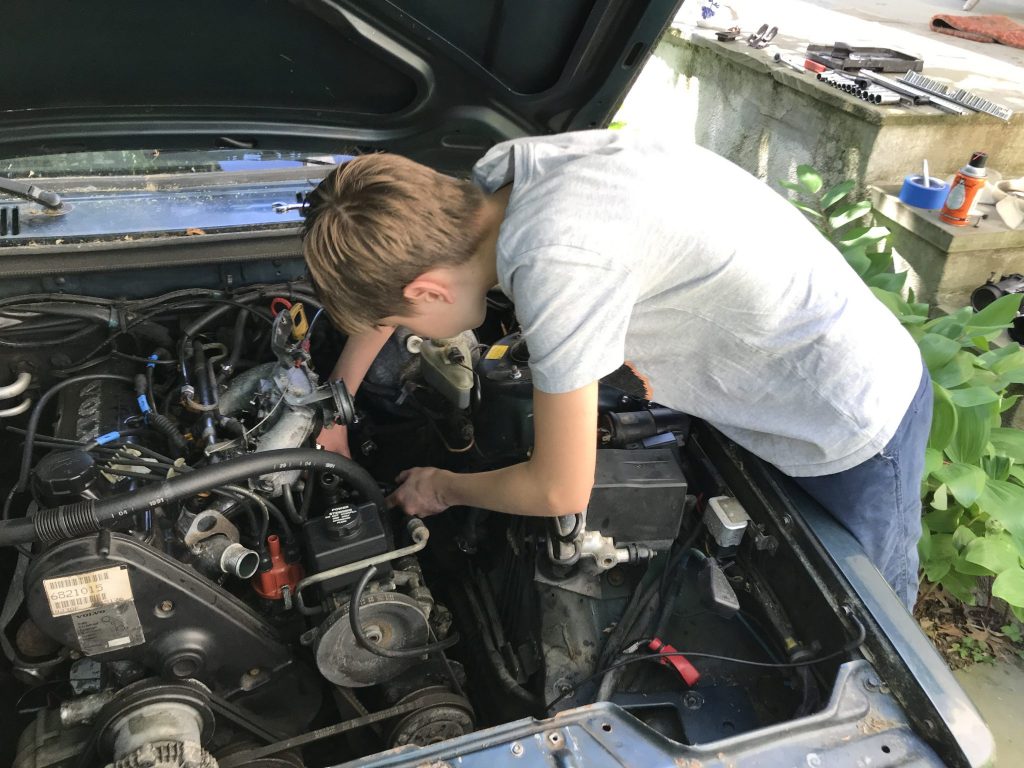
So, given a day with a few hours free my oldest son and I began taking off the intake system. These parts include (starting from the out and moving in):
- The air box and filter
- The mass airflow sensor (MAF)
- The throttle body
- The intake manifold
- The idle air control valve (IAC)
- The fuel rail, fuel pressure regulator, and fuel injectors
- The engine coolant temperature, engine temperature gauge sender, and knock sensors
The plan was to first drain the coolant system and remove the radiator and fan to provide some working room and then start removing the above listed parts. They would then be cleaned and tested for function before being either replaced or put back on.
Cooling System
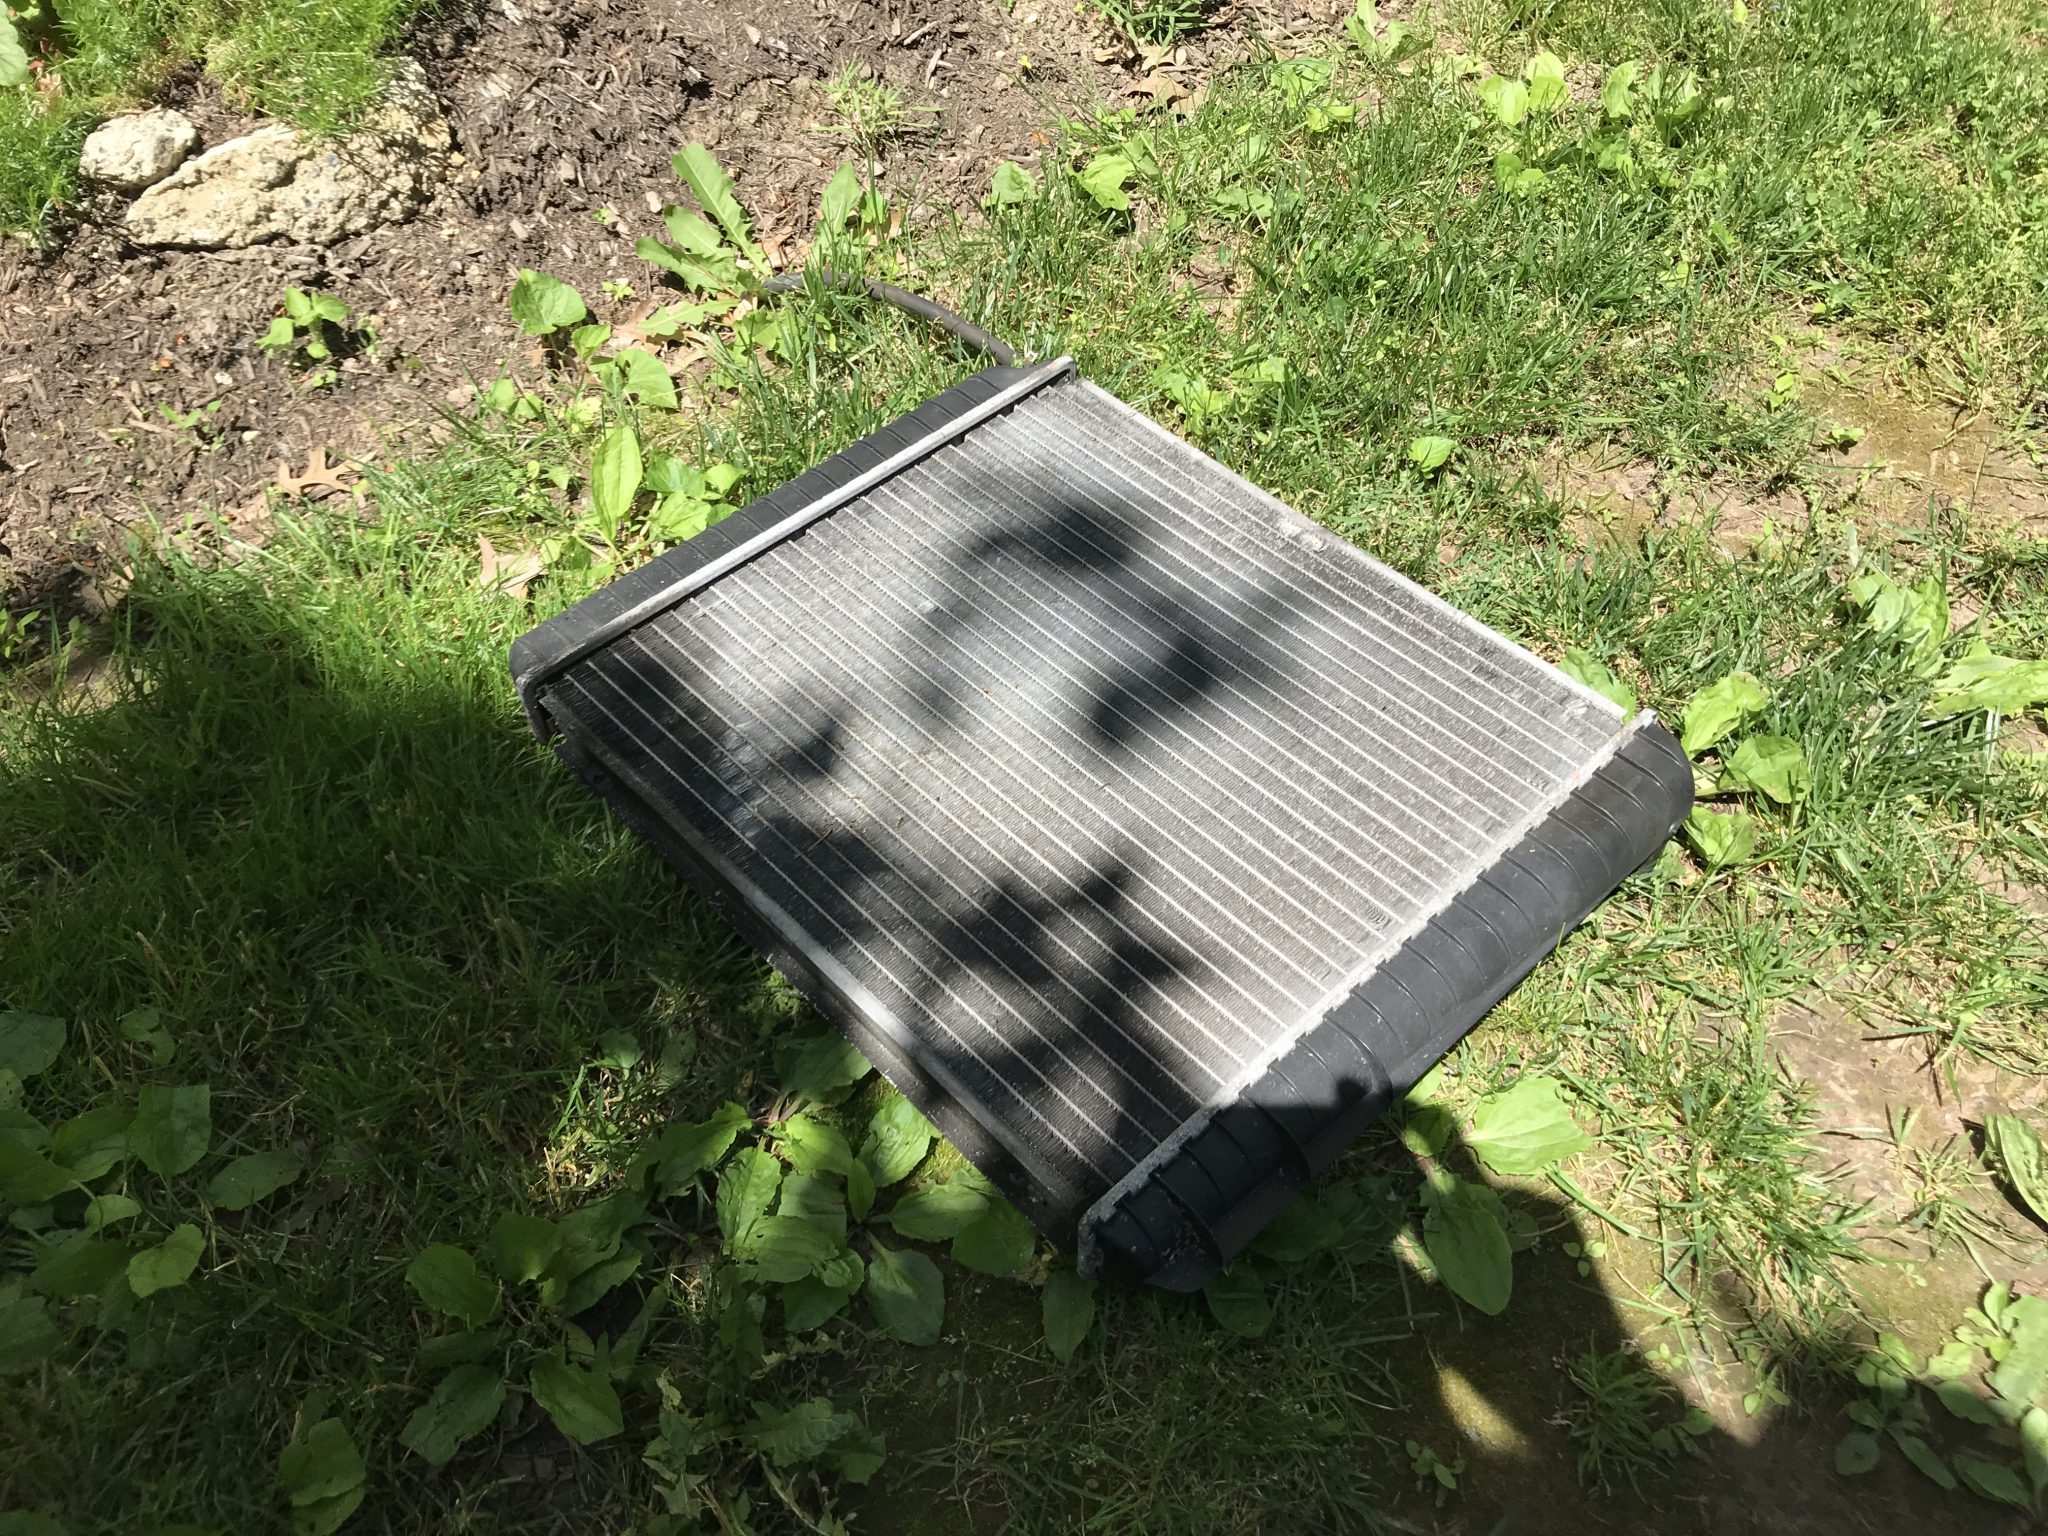
The first step was to drain the coolant, preferably without dumping it out onto the ground, and remove the radiator. This was to give me more space to reach into the engine bay to access bolts and such, but it also would make removing the temperature sensors a little less messy since they are essentially plugs into the water jacket of the engine block.
After removing the fan and shroud I began draining the coolant by moving a shallow pan under the bottom radiator hose, loosenig the clamp near radiator side, and let it drain. It’s probably a good idea to have a second pan to switch when the first gets full, or you can do the less smart thing like me and let that pan fill, tilt the hose up to stop the flow, have your son wedge a 5 gallon bucket into the space where the fan used to be, and the drain the rest from the upper hose into that. At any rate, the coolant was (mostly) drained and the radiator removed.
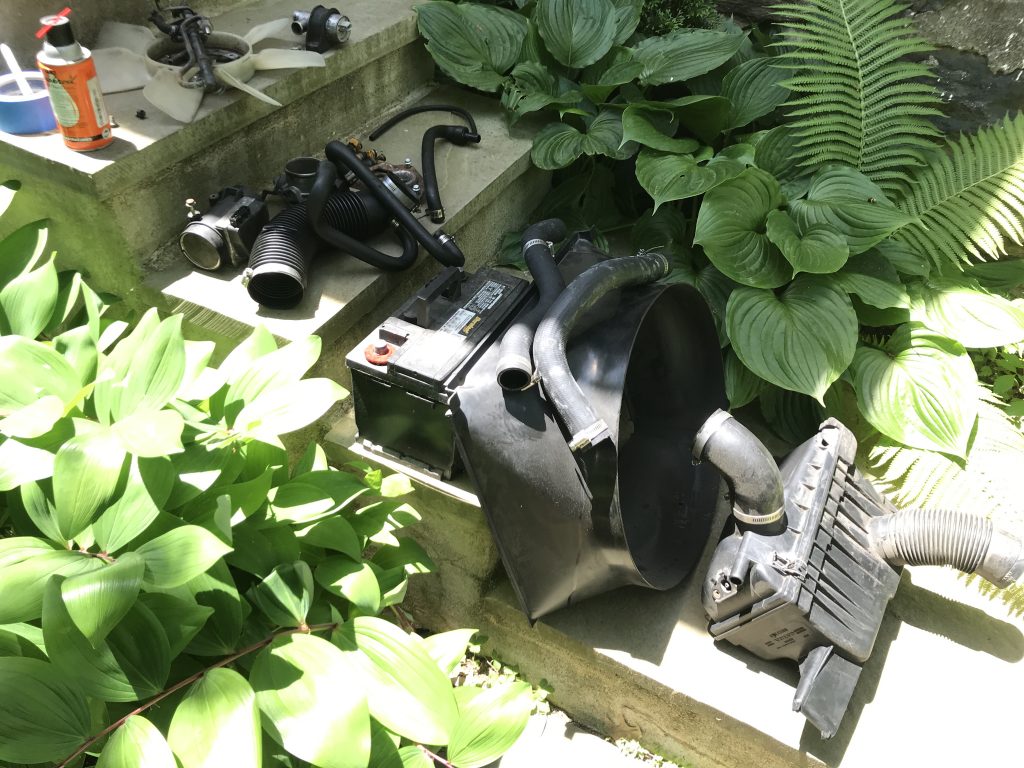
Air and Fuel
Next, out came the air box, MAF, and associated hoses. With those out of the way the IAC became accessible and was also removed. Then the throttle body and the throttle pulley were unbolted from the intake manifold. This left the manifold itself and the fuel rail. I unplugged each injector control harness making sure to label them so the order didn’t get mixed up on re-installation.The rail comes off relatively easily, but the fuel connectors not so much. I had always seen the main fuel line detached from the rail by using two crescent wrenches, one on each fitting, to separate them, but all my efforts seemed to bring me uncomfortably close to actually twisting the rail itself. In the end I pulled the fuel line itself off the barbed part of the fitting. This might have been a little bit of a blessing in disguise because while removing that fuel hose I noticed that it had started to degrade. I could see the braided part of the line through a section of the rubber. I should probably replace the entire line when I get around to changing the fuel filter.
All that was left after that was to remove the manifold itself. It’s held on with 8 bolts – 2 for each intake pipe. The extra space really helped with getting to those as some are a little hidden. Once that was out I was able to see all three of the sensors I plan to test and/or replace and remove them.


Next Steps
Next I will be cleaning things up, bench testing the IAC, possible the temperature sensors, and putting everything back together. I’ll have to figure out the correct sizes for the fuel line I’d like to replace. I’ve had a new fuel filter sitting around for awhile now waiting to be installed, so I might end up doing that first and replacing the fuel filter at the same time. I also have all the belt to redo, including the timing belt, so that’ll be another thing that I should do before putting the radiator back in.