New plugs and wires

After doing a little reading about 240 starting issues I landed on “bad/wet spark plugs” as a possible culprit. Since the fuel injectors were telling me they were fine I figured changing out the spark plugs would be the next easiest thing to try. I had no idea when the plugs had last been changed. For all I knew they could be original.

Get To Work

I proceeded to pull the rubber boots from the plugs only to find that half of them had terminals that had at some point corroded and become cemented to the terminal nut. This meant that the wires were no longer usable. The plugs themselves looked pretty dirty, so replacing them, even if they didn’t turn out to be the source of my current issue was probably a good idea.

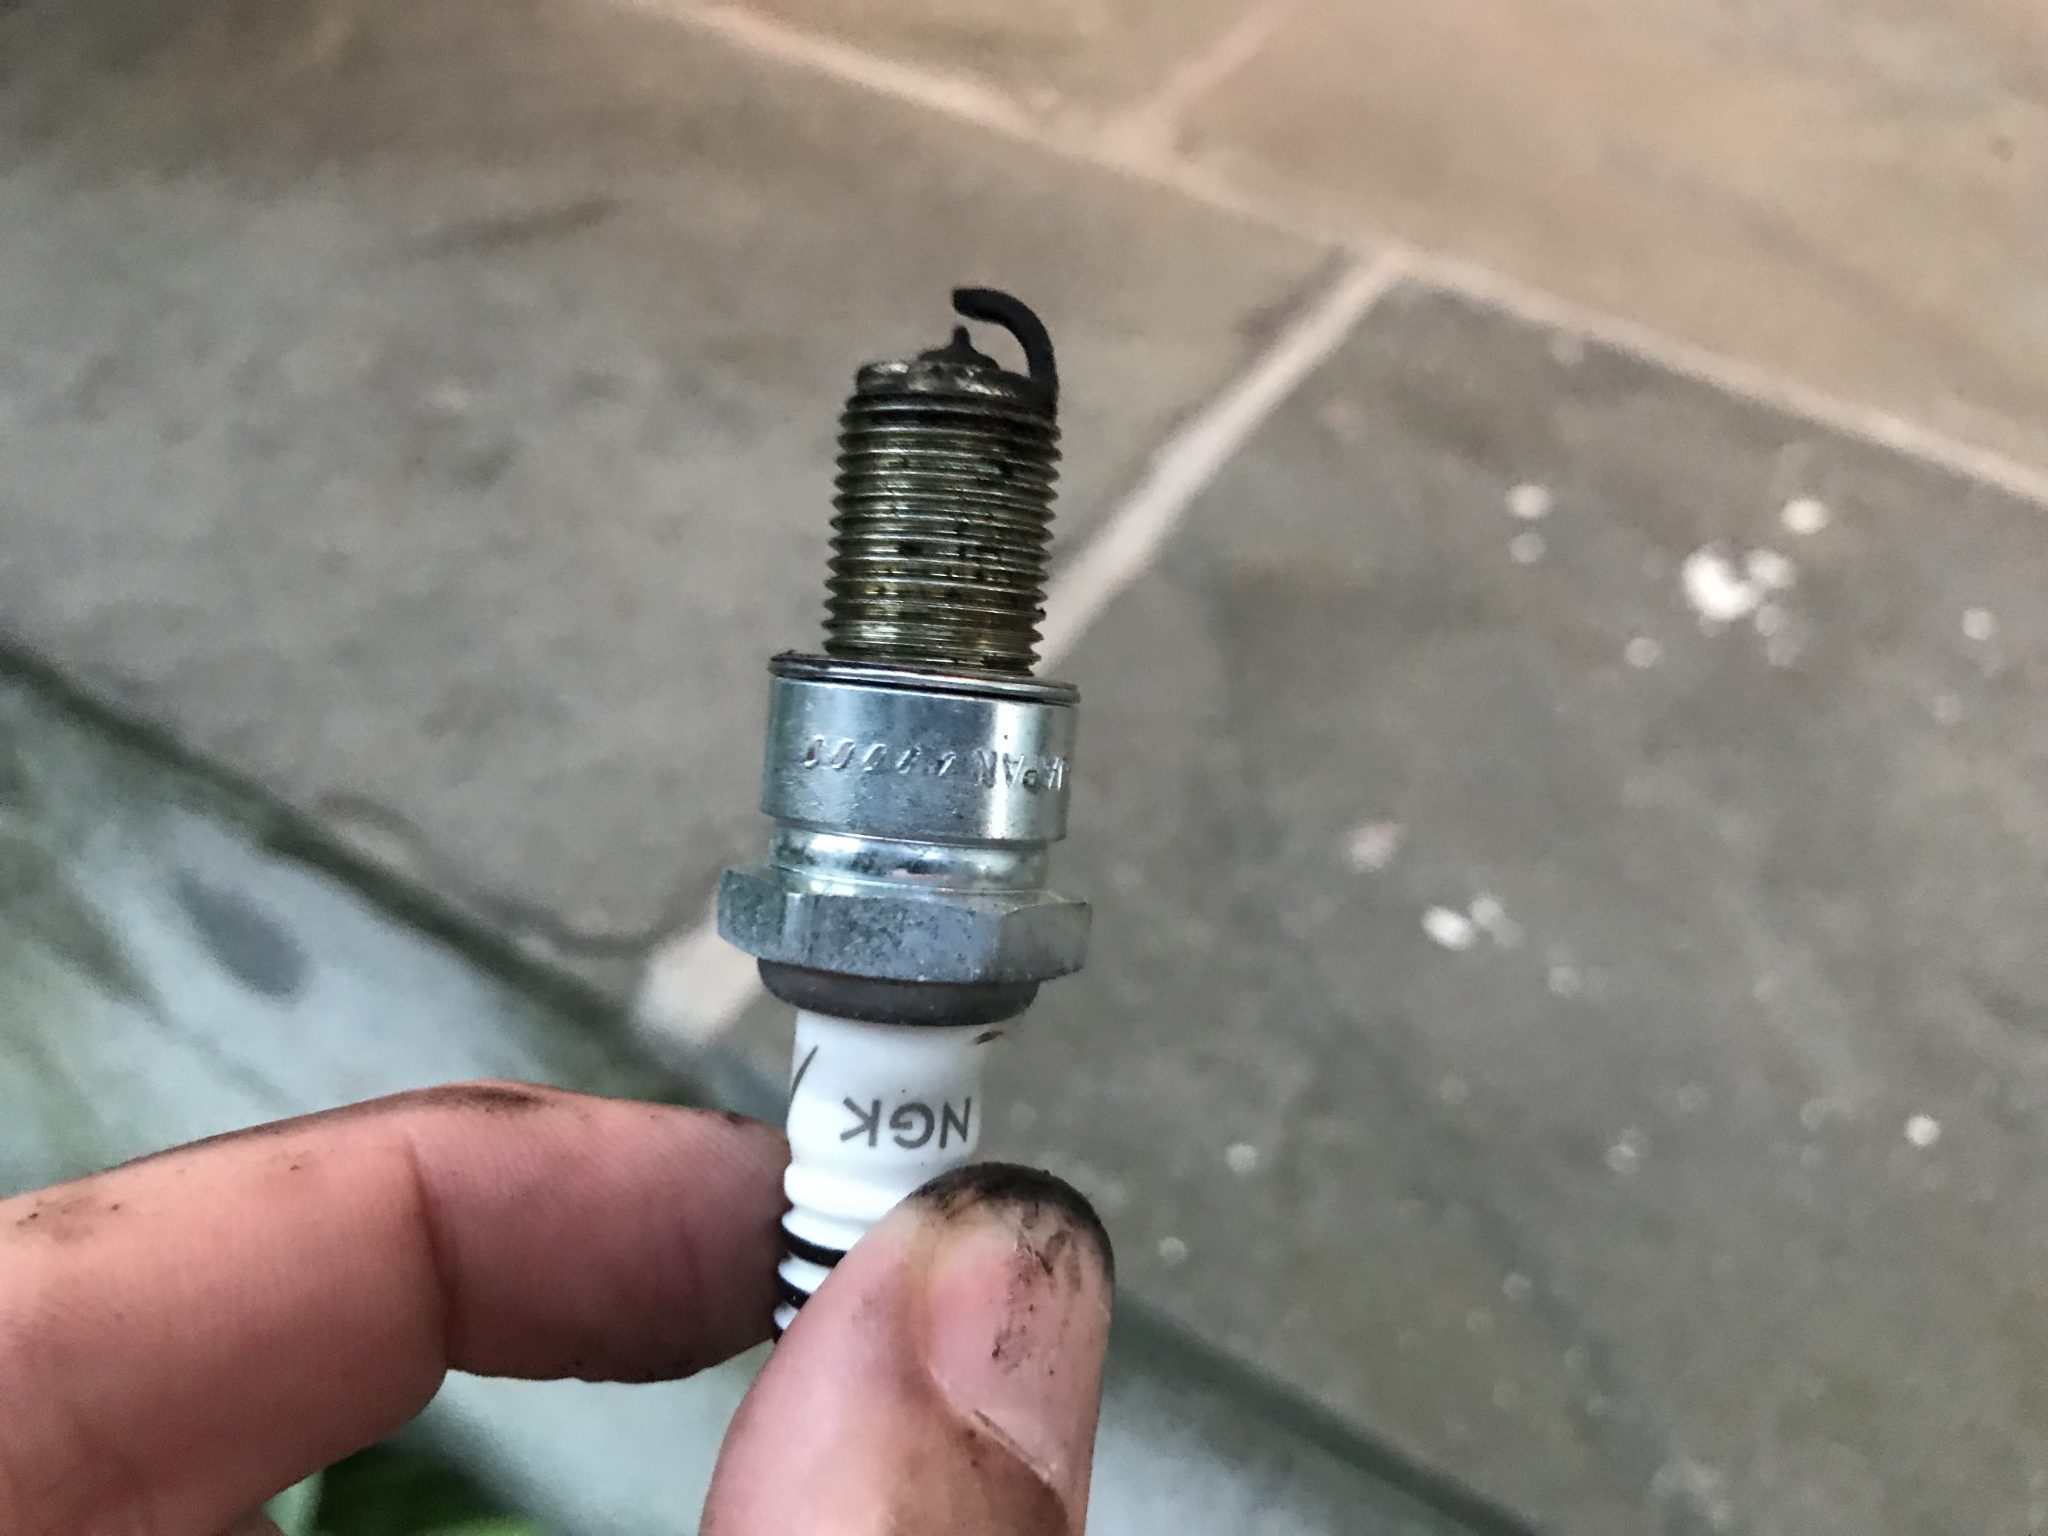
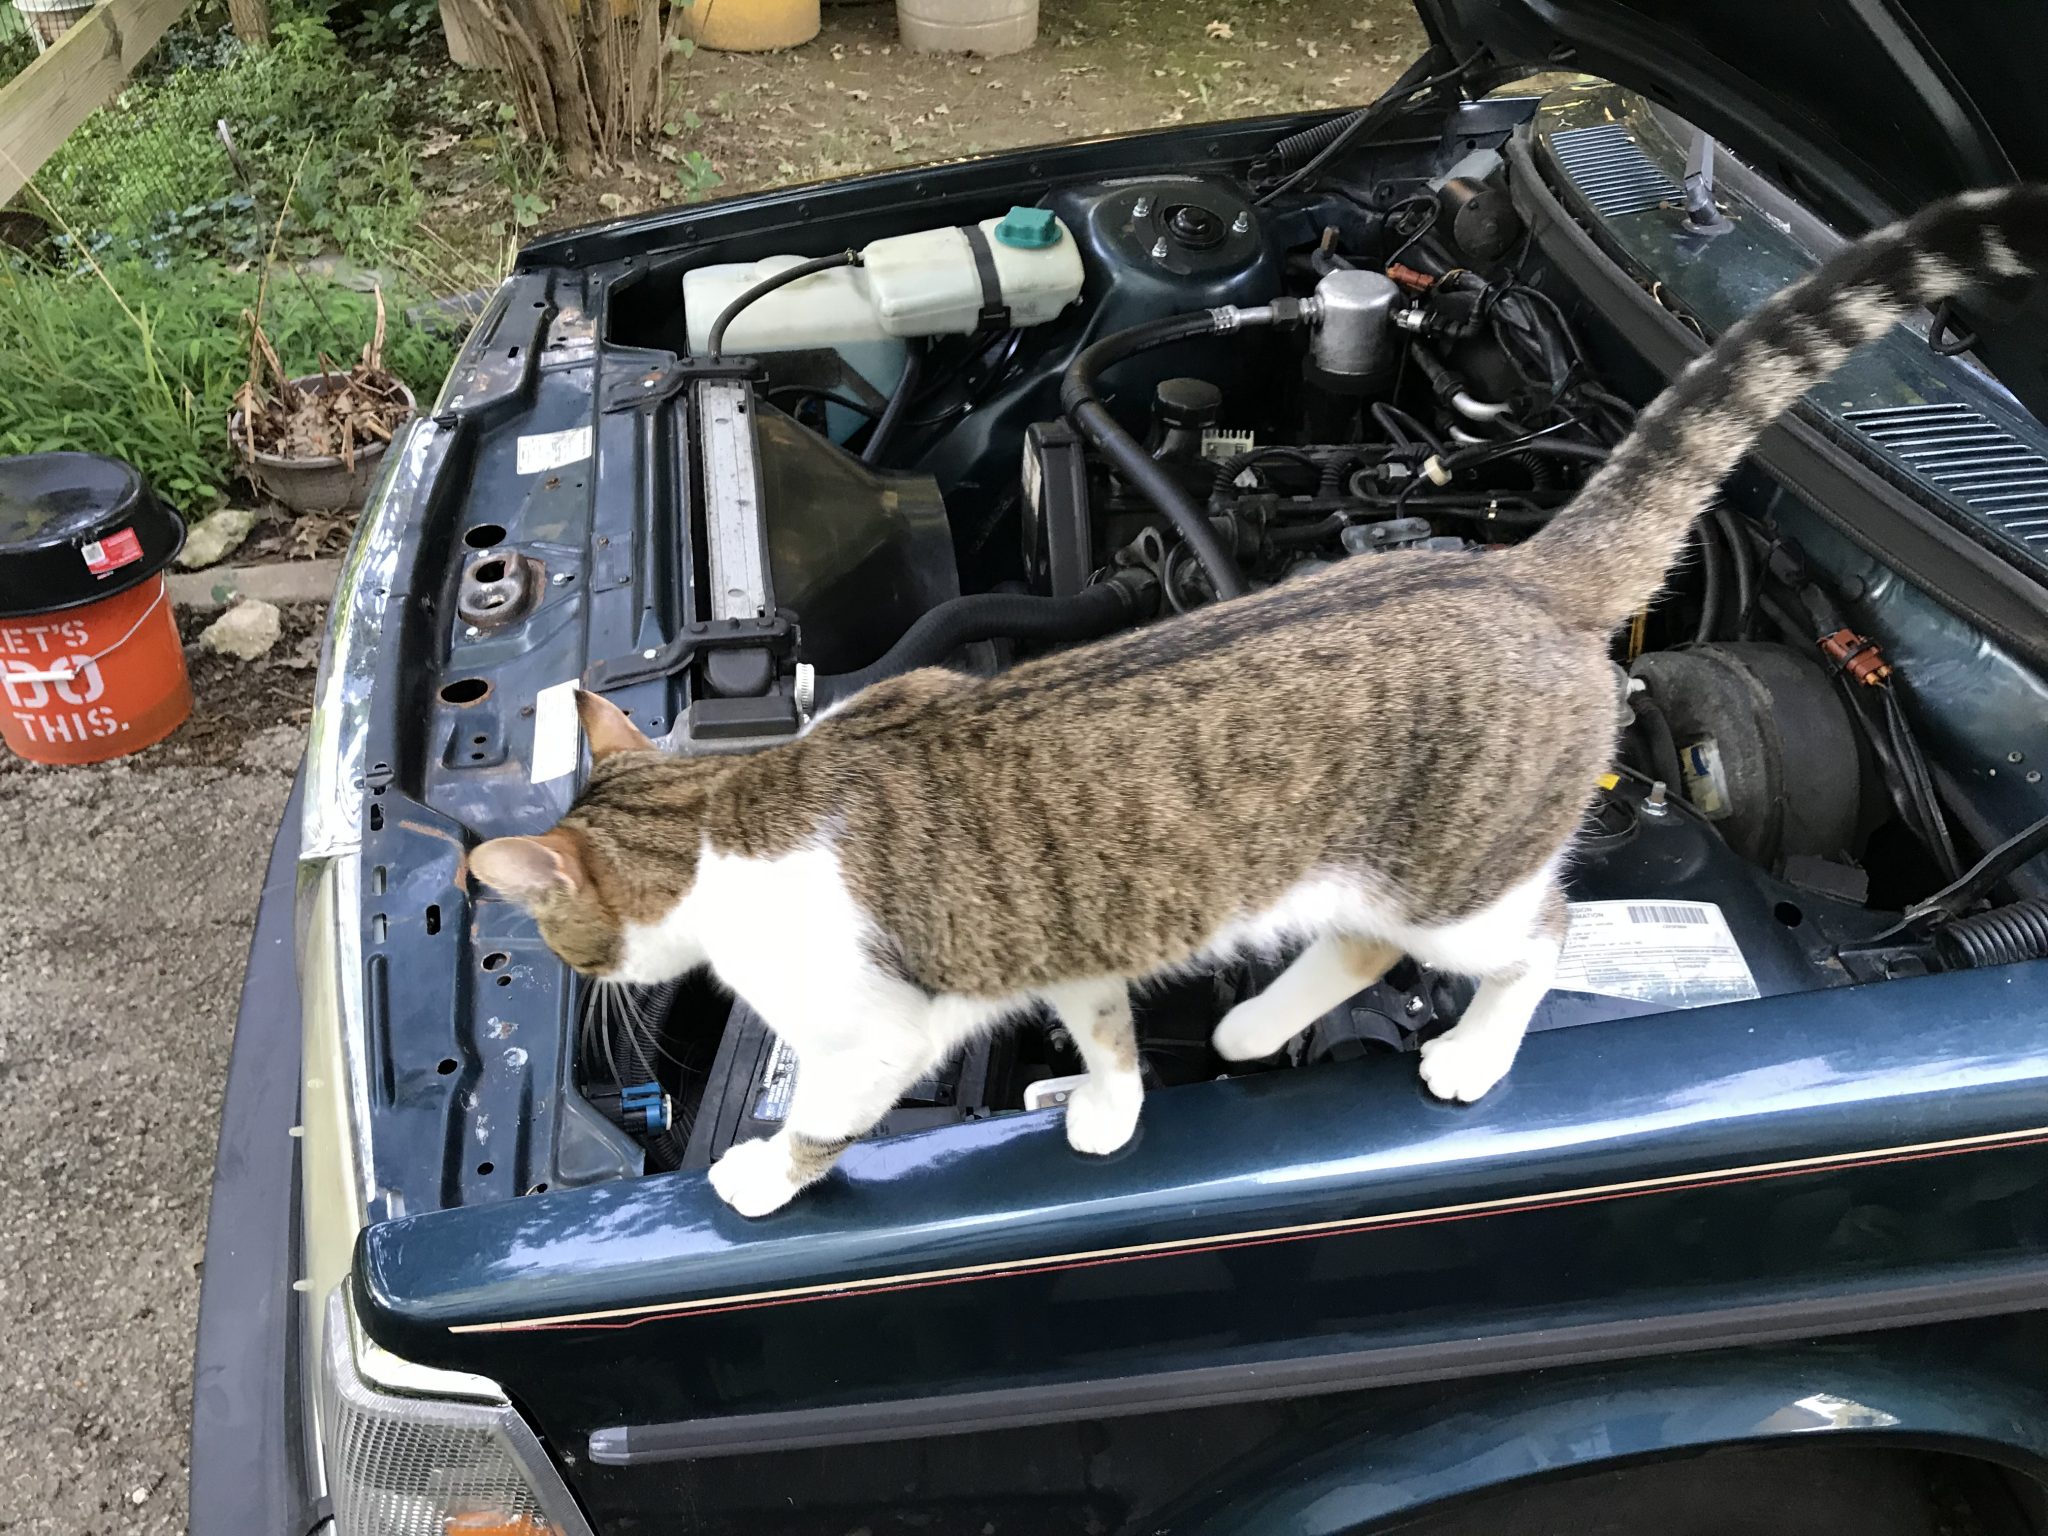
After ordering new plugs and wires, I gapped the plugs and swapped them. Thanks to my cat for being my helper for the day.

Rookie Mistake

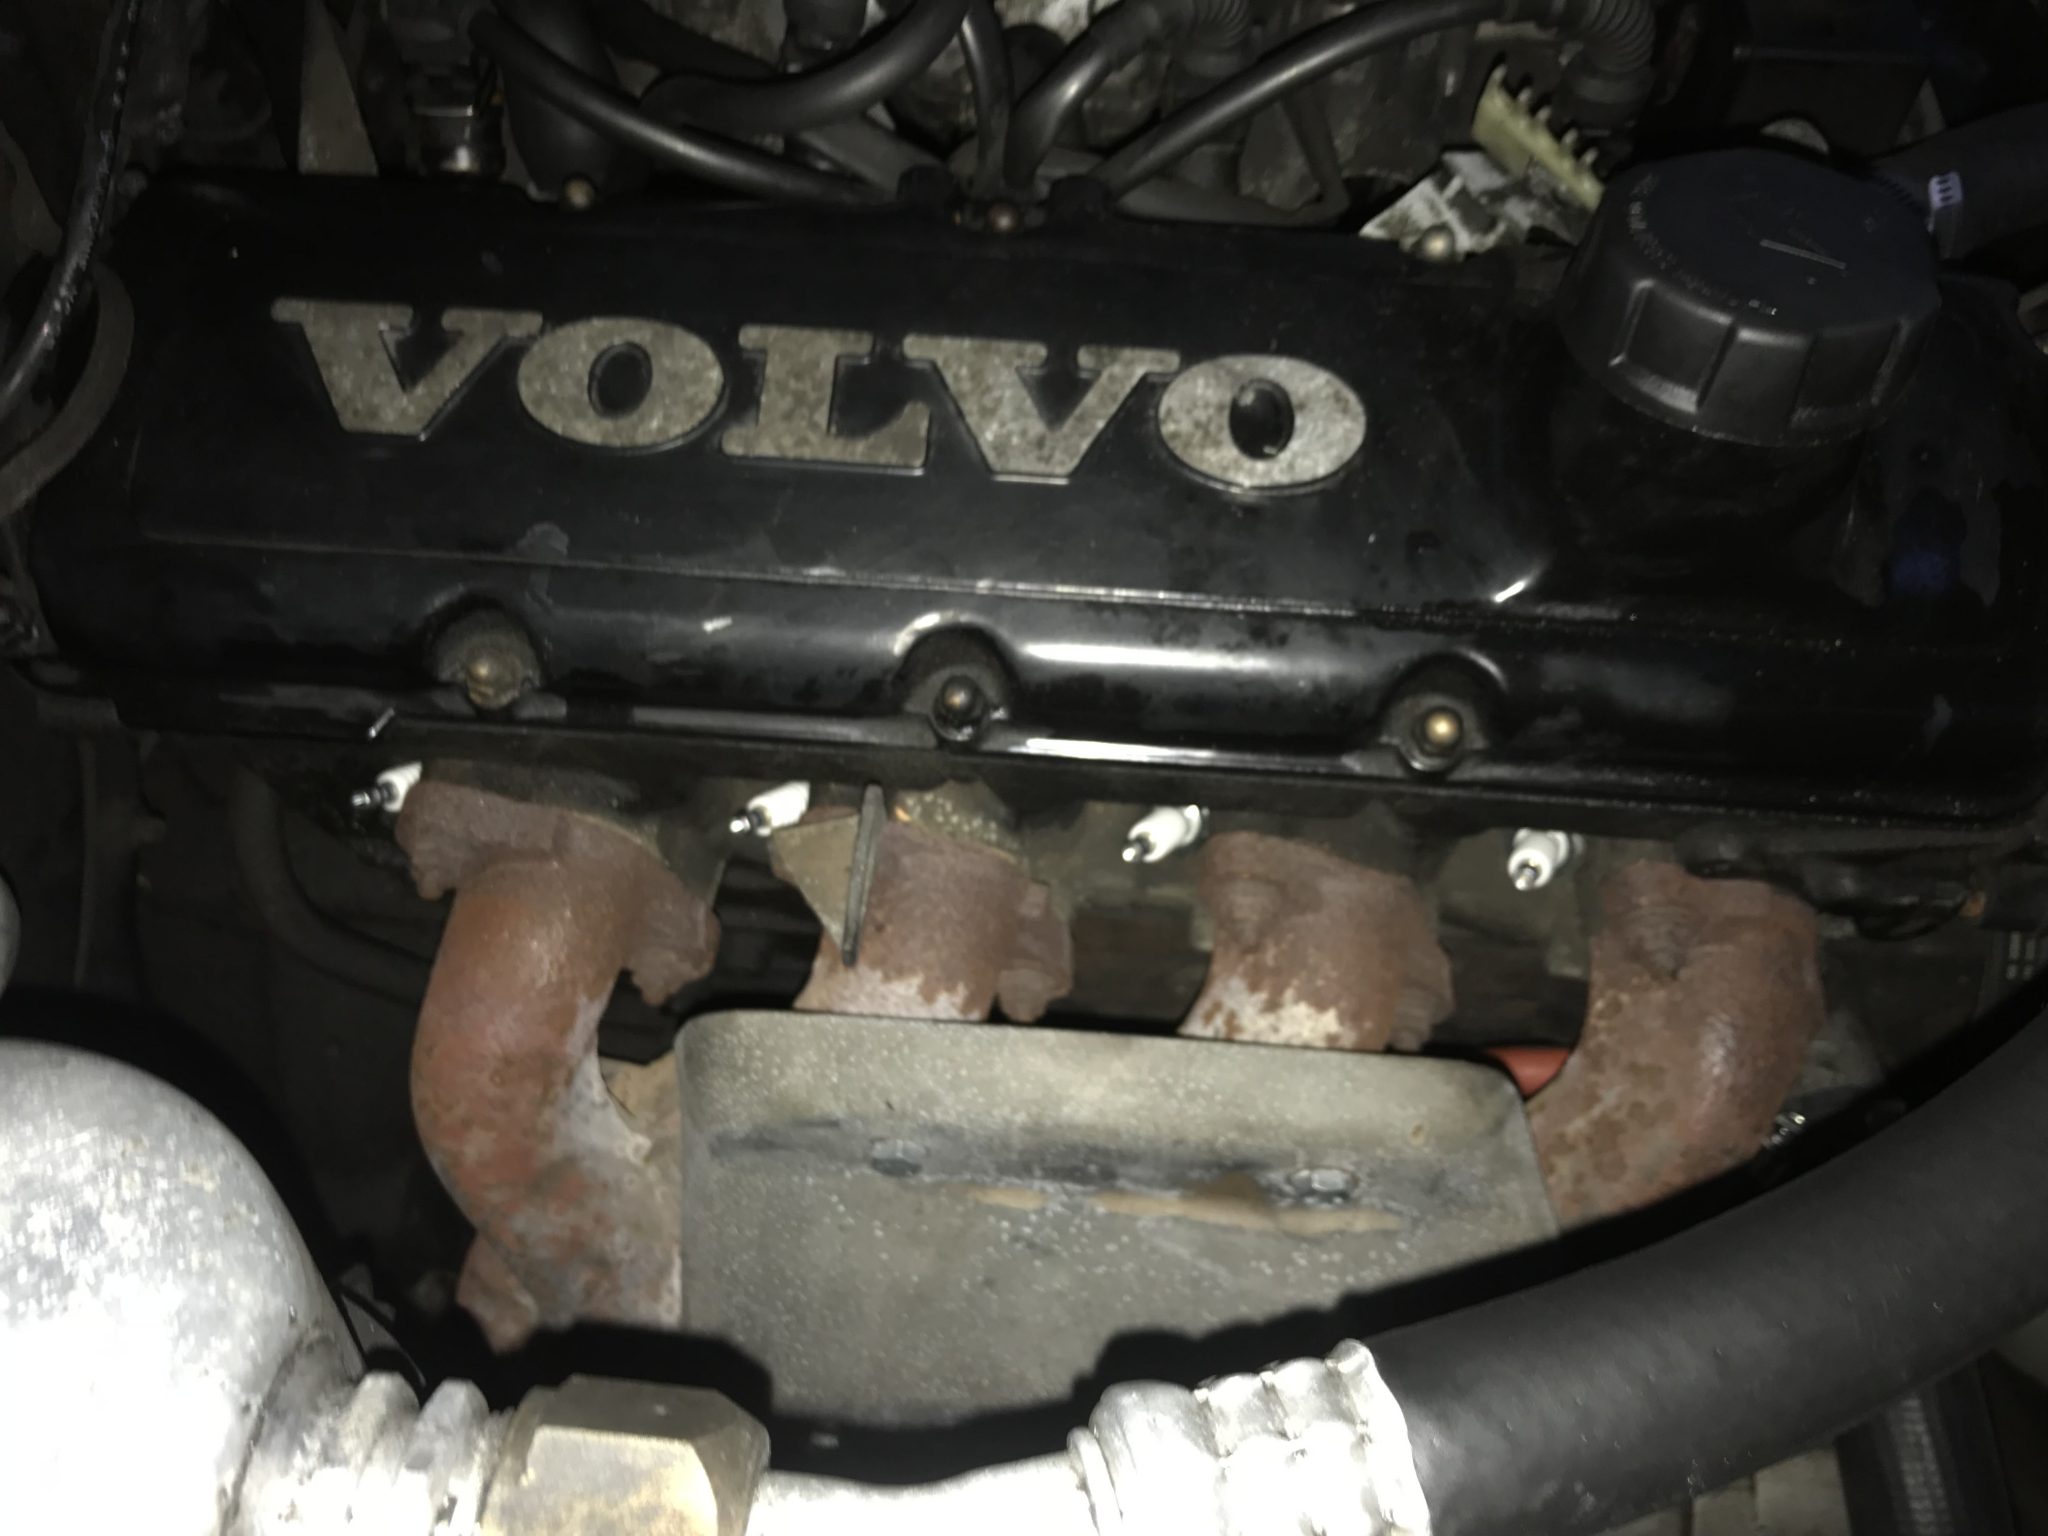
Of course, like a real newbie, I forgot to note which wires went to which terminals on the distributor. A little more investigation cleared that up, and I present a diagram here for anyone else who might find themselves looking at a B230F and wondering what plugs into where:

That makes the firing order of the cylinders 1-3-4-2. Good to know. Part of my own difficulty in figuring this out was the fact that my distributor had terminals in a “box” formation like the above diagram whereas a lot of 240s have them in a “diamond” configuration. If your car has a distributor like this just pretend that the pink terminal in my diagram is the point of the diamond closest to the front of the car.

With everything back together, I hopped into the driver’s seat, turned the key, and heard… WRRR-wrrr-wrrr-wrrr. The dreaded sound of a weak battery failing to crank the engine. Crap. Thankfully, a friend had a recharger I could borrow but the day was getting long and time short so that’ll have to wait.

Air box reassembly

When I first decided to clean out the engine bay, the first thing I took out was the air box. The air box, for those who are unfamiliar, is the plastic box where the air filter sits and delivers clean air through the Mass Air Flow (MFA) sensor and into the engine. Volvos at this time had an additional feature inside their air box in the form of a thermostat controlled flapper that covered a separate air intake hose called a pre-heater. This hose was attached to the exhaust manifold of the engine. When the air temperature was cold this thermostat would open up the flapper covering the pre-heater hose’s intake and allow air warmed by hot exhaust gasses into the system. This gave a boost in engine efficiency after cold start ups on chilly Swedish mornings.

My Air Box

I found that the thermostat on mine had become stuck at some point. Thankfully it had stuck in a way that kept the pre-heater intake closed. This was lucky as too much of this warmed air passing through the MAF is not good for it in the long term. I ordered a new and installed it. I also had to cut a new gasket for the flapper. The original was made of some sort of open cell foam rubber that had degraded considerably over the years. I cut my gasket (40mm diameter with a 20mm diameter hole in the middle) from a small sheet of 1/16th” thick neoprene I happened to have laying around my shop. This should last a lot longer than a foam one.

It is currently raining where (and when) I am writing this, so photos of the whole thing back into the bay will have to wait.

Interestingly there is a school of thought amongst 240 enthusiasts that sees the whole air box thermostat and pre-heater hose concept as unnecessary at best and potentially harmful at worst. Their solution is to remove the entire assembly, close off the pre-heater hose, and sometimes even ditch the intake snorkel so that the engine gets the maximum amount of air as is possible. A lot of these people seem to live places where it never really gets that cold so they do have a point there I guess, but it definitely does get quite cold in the winters where I live. I’m also aiming to restore this car to as near to its original state as I can manage, so for now I’m trusting in the wisdom of Volvo engineering and leaving the system in.

Is Volvo trying to forget its past?

I’ve bought a few things from Dave Barton, owner of Prancing Moose, a site with a lot of various and sundry bits for old Volvos. He definitely has a love for these cars. As such offers a lot of smaller items that larger retailers maybe wouldn’t bother with. For the last 13 years and until recently this included a lot of replacement stickers and decals for people like myself that are attempting to restore their cars. However, Volvo very suddenly decided that he was some sort of threat to their IP. They ordered him to stop making anything that had their logo or the word “Volvo” on it. Here is an article on this turn of events, and here is Dave’s own take.

It’s honestly baffling. Dave was providing a service they were uninterested in providing themselves. I don’t imagine he was making a huge amount of money doing it, so why on earth would they do this? Dave suggests Volvo is trying to shed their past. They’ve already done this in the sense. It’s pretty well recognized that Volvo’s cars underwent a “shift” of sorts in styling and general direction of their cars around 1999 when the car division was sold to Ford. The brand image (if not always the cars themselves) went upscale, closer to luxury cars, and left the days of “Boxy But Good” behind. Now by shutting down guys like Barton it would seem like they really, really don’t want to be associated with the old days. This is a travesty, and I very much hope they see the error of their ways in the future. Sadly, it doesn’t seem likely.

Fixing yellow headlight lenses

My oldest son is a very visually-oriented kid, and one of his primary complaints about the Volvo is that the headlight lens are “all yellow and gross looking.” A superficial analysis, sure, but also very true. 26 years of sun exposure has left the lenses cloudy and yellowed with oxidization. I looked around and found lots of information on how to clear them up. It’ll require a bunch of elbow grease so I think I found a project for the kids!


A note on wiring an instrument cluster

When I first uninstalled the instrument cluster in my car a combination of inexperience, carelessness, and difficultly seeing behind the cluster resulted in me not really paying attention to which wire went where. When it came to putting it back in I was at a bit of a loss. After some question asking in forums and YouTube video watching I was able to figure it out. I thought I’d show what I did here to perhaps help others in my situation.

First, here are the wires we’re working with

Because my car has an AW70 automatic transmission there will be a couple of unused wires that should be pushed out of the way before installation.

What Are We Looking At Here?

This is the back of my cluster which includes an electronic speedometer and a clock rather than a tachometer.

Two things to note here. First, when I first removed the cluster I was pretty much pulling out anything that seemed to be connected to anything. This included the semi-transparent connector on the back of the clock to the right in this photo. I have added an arrow to indicate that this should be plugged into the spade terminal. Second, the thing hidden by the skull and bones is not a connector you should worry about. It was used during manufacture to calibrate the speedometer, and if you do anything to you will destroy the instrument. As you can see here, Volvo began wrapping it in foam at some point to ward against accidentally connecting it. Be aware and don’t touch it either, dear reader.

The rest is self explanatory. The round and half moon connectors (1 and 2) only fit in one place. 5 slots onto the edge connector on the back of the speedometer. 6 is power for the overdrive indicator.

I hope this helps.