Now that the original radio was out of the dash it was time to put in a new one. I’m no audiophile, but I do have a few requirement. This is 2020 after all. The car may be old, but the audio system doesn’t need to be. First, there’s no need for a tape deck like the original, or a CD player. An auxiliary in and Bluetooth connectivity will do. I am somewhat cheap, though. I didn’t want to spend a bunch of money. Luckily the date was close to the Black Friday sale time.
New Parts
I found a Jensen MPR210 for around $20. It had the features I was looking for and the reviews I found online were relatively good. Unlike a lot of other car stereos I’ve seen, it was relatively “low profile” with cool blue LEDs. I figured this would be a good fit to the car’s age and design sensibilities. In addition I also had to buy a kit with a new cover plate as the old radio did not conform to the “single DIN” form factor standards and the old plate would not work here. Anyway I had broken it a little taking it out. The company Metra makes these sorts of things, so I bought a 99-9222 kit which comes with plates to fit both the upper and lower spots on a 240 center console. Finally I needed a cable set that would allow me to bypass the old amplifier in my car. I’m sure the amp works fine, but the radio itself had a much newer and nicer built in amplifier which removed the need for the original one. The cable kit, also from Metra, would allow be to connect the radio directly to the speakers.
Installation
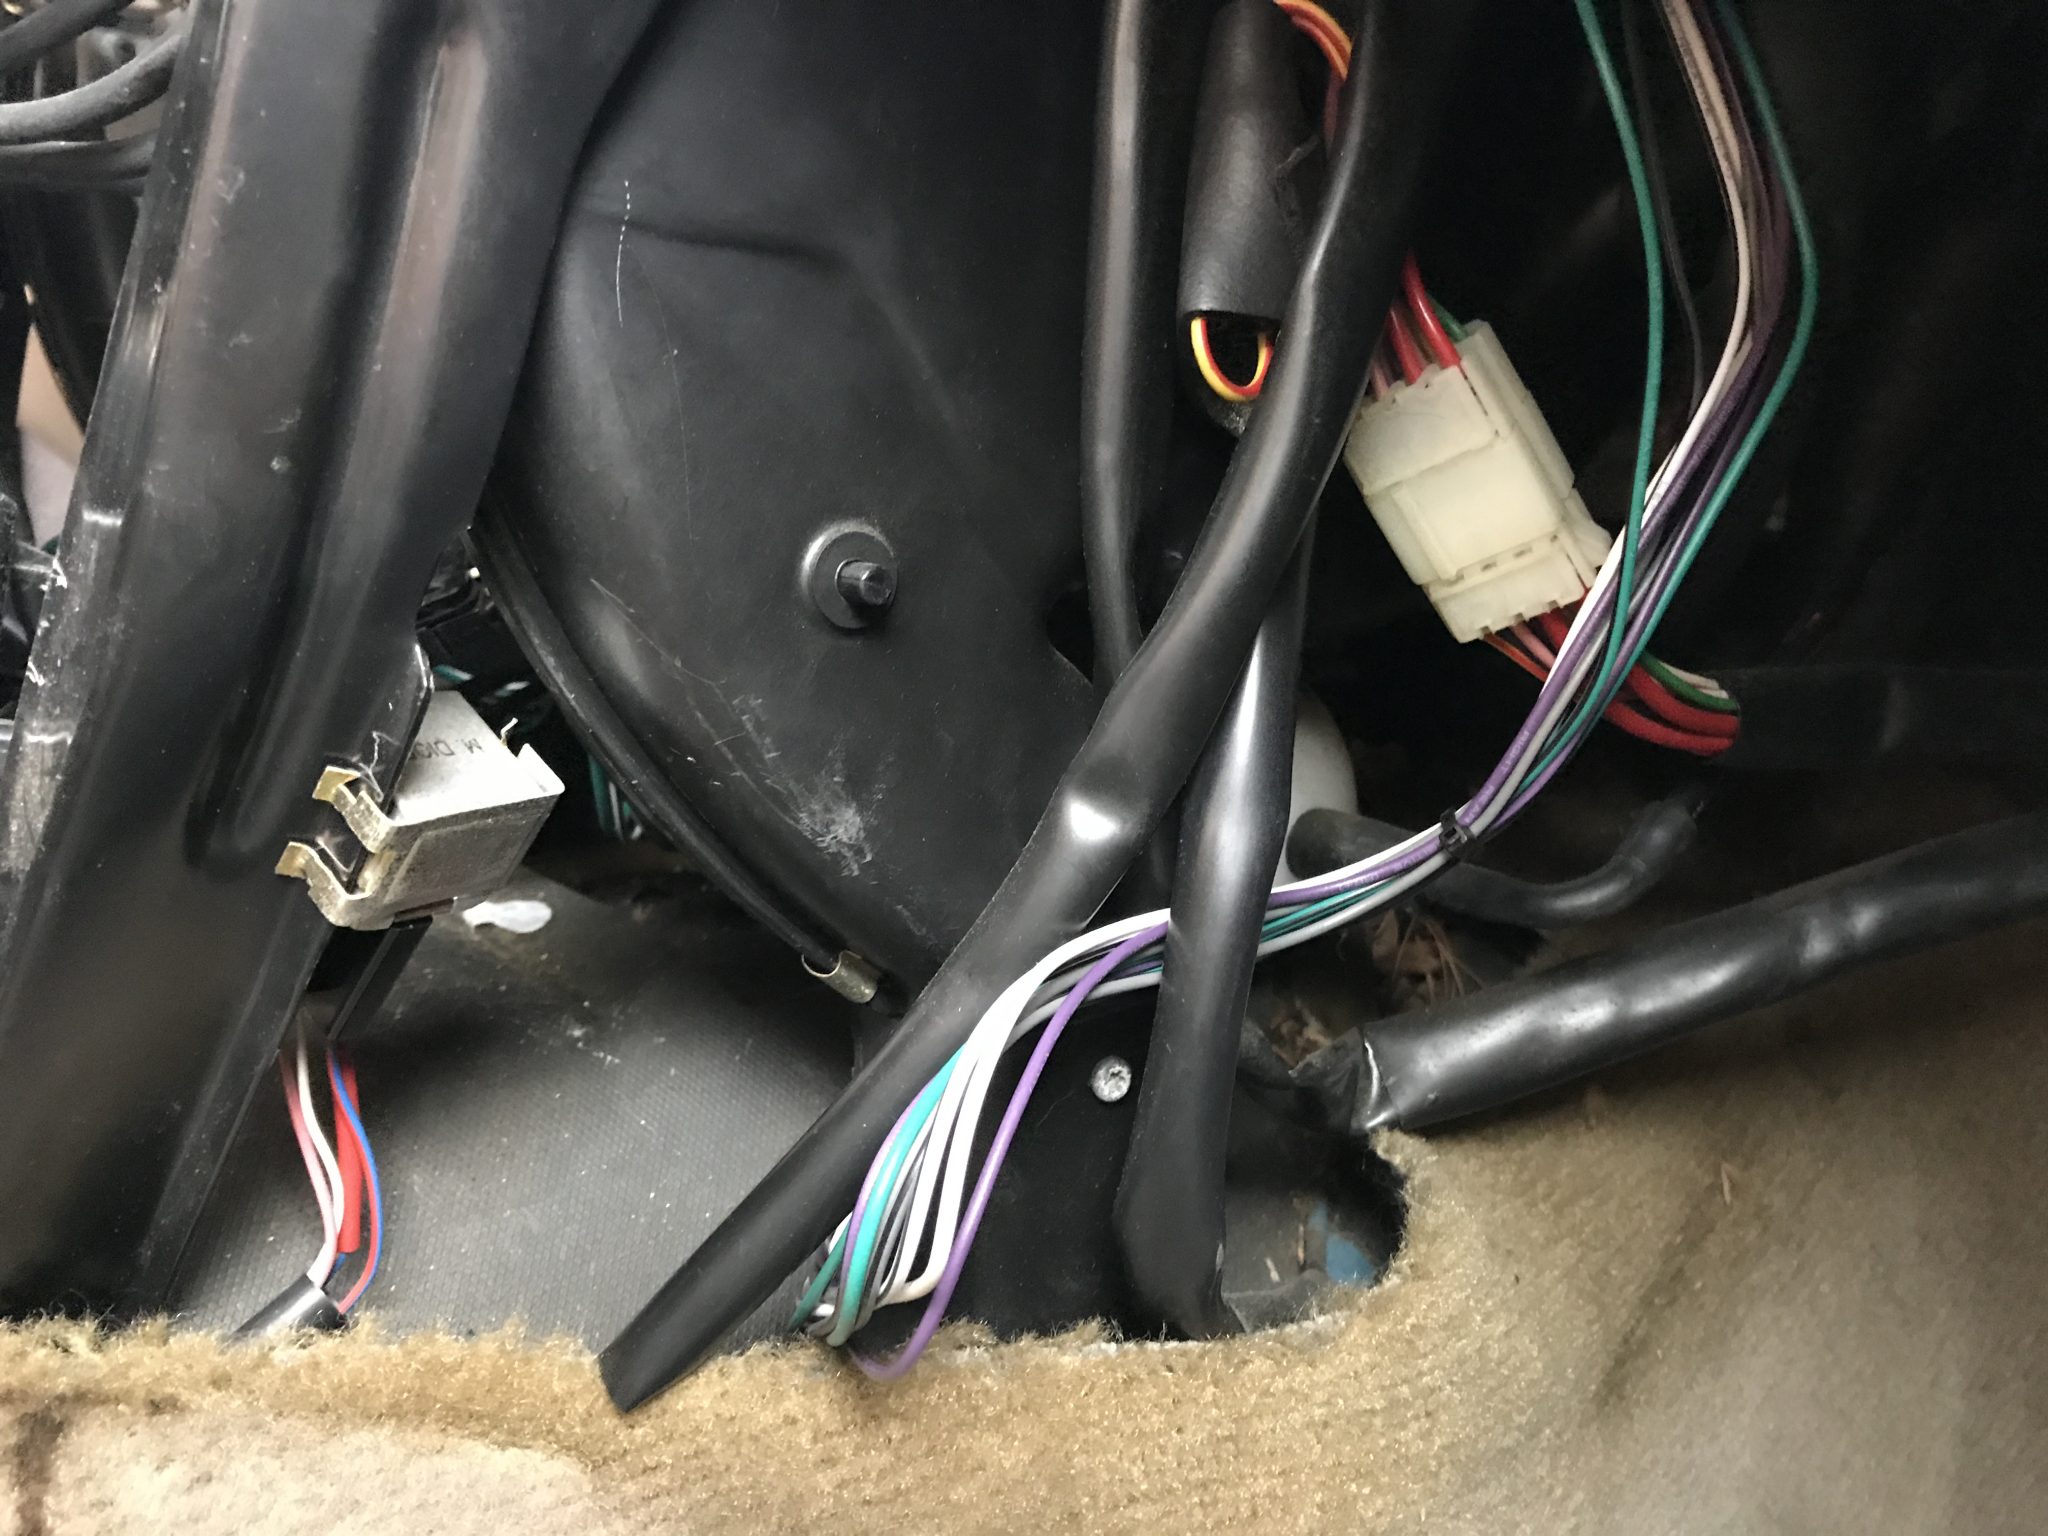
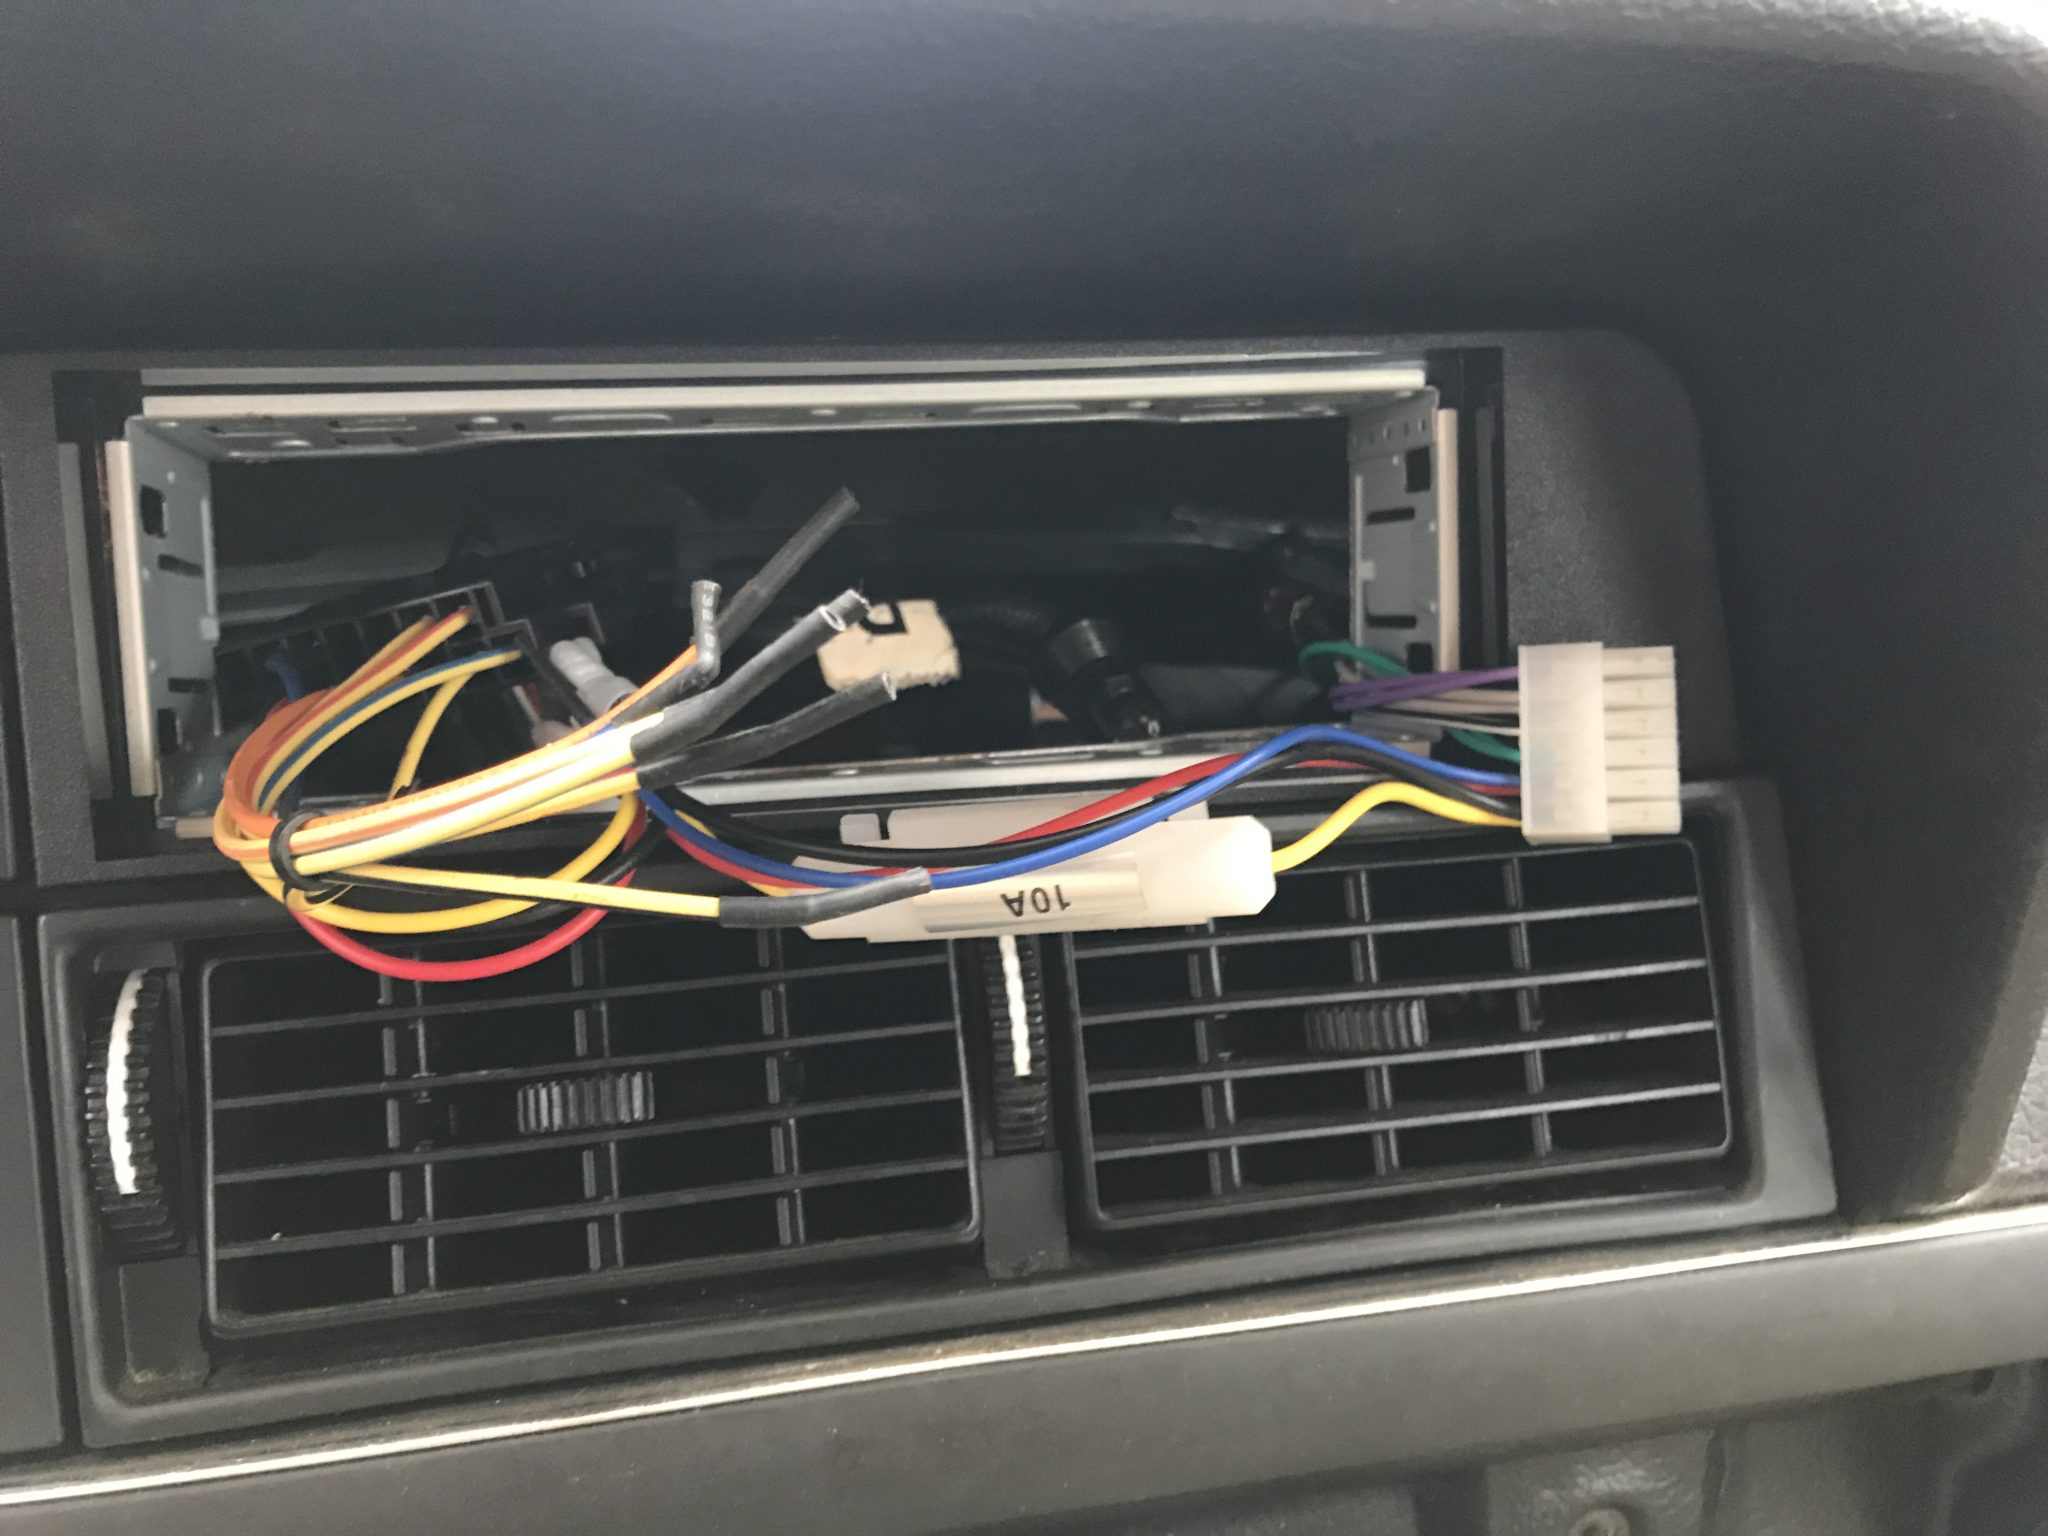
My first step was to install the face plate. This involved securing a metal carrier that came with the stereo to the plastic plate by means of some metal tabs that bend and hold the two parts together. To fit the plate into the dash I had to first slip a small set of “claws” on the left side around a small lip inside the dash. This was a little tricky but needs to be done first. Otherwise when the right side is attached with screws the left side will pop out. Next I crimped the radio’s connector to the amp bypass cables. There is also a standard for that, so it was pretty straight forward. I found later that it might have been a better idea to do the crimping after I had threaded the wiring in the dashboard. I eventually found space on the left side of the blower body to run the cables from the space where the radio would go to behind the lower cubby on the center console where the speaker wires normally plug into the amplifier.
Amplifier Removal
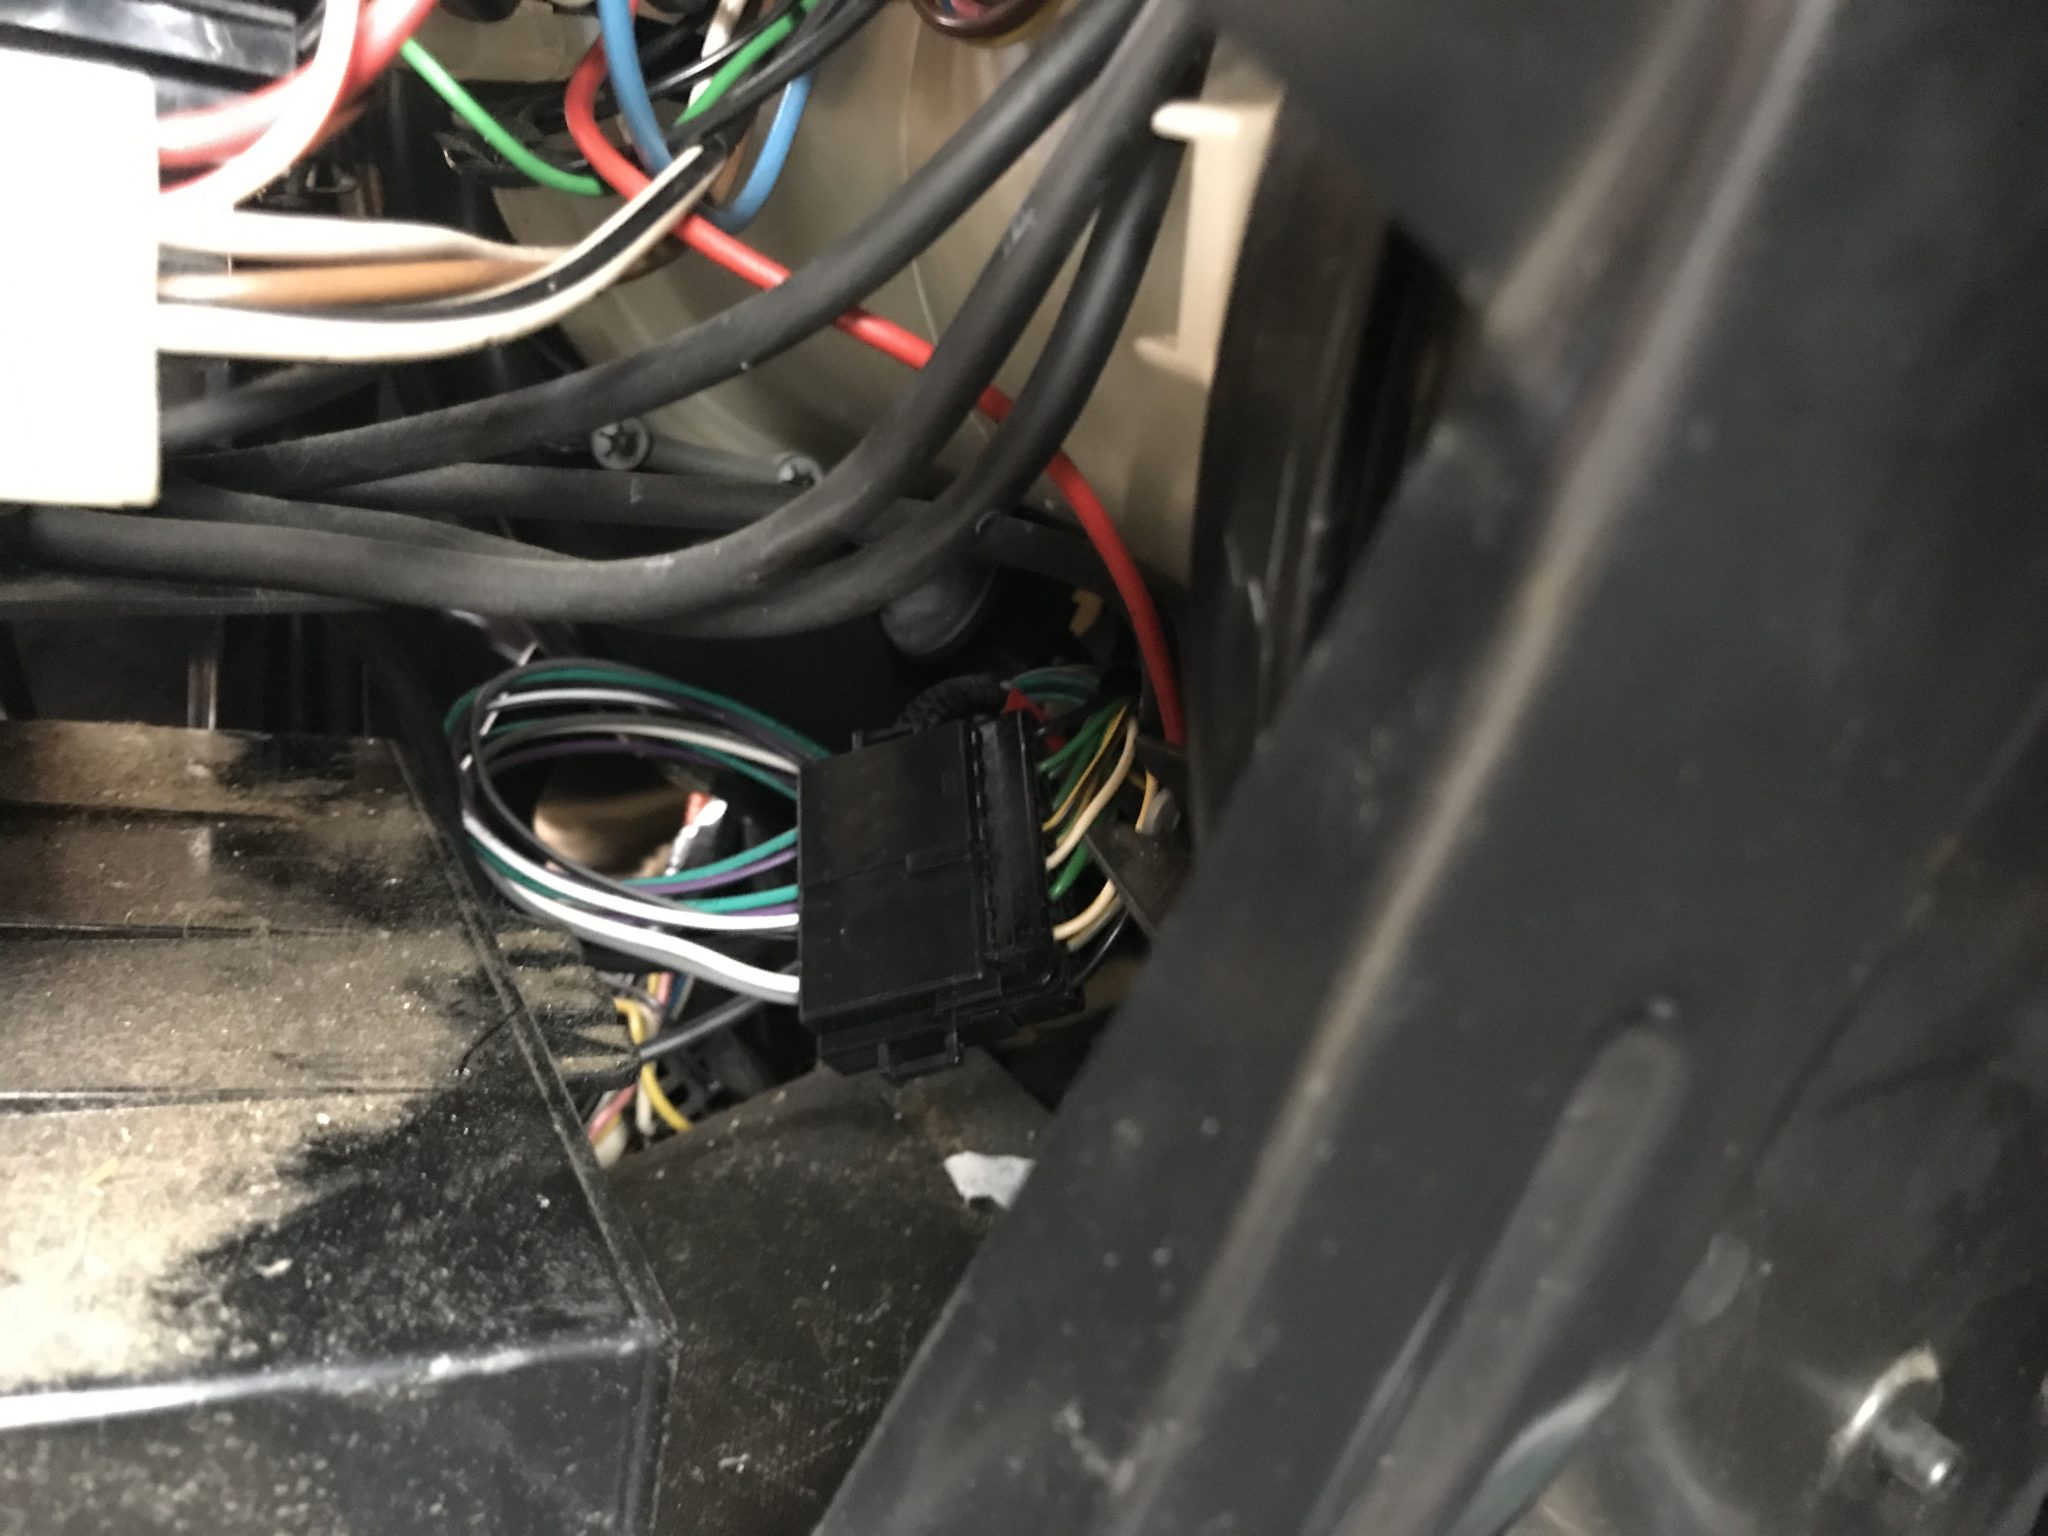
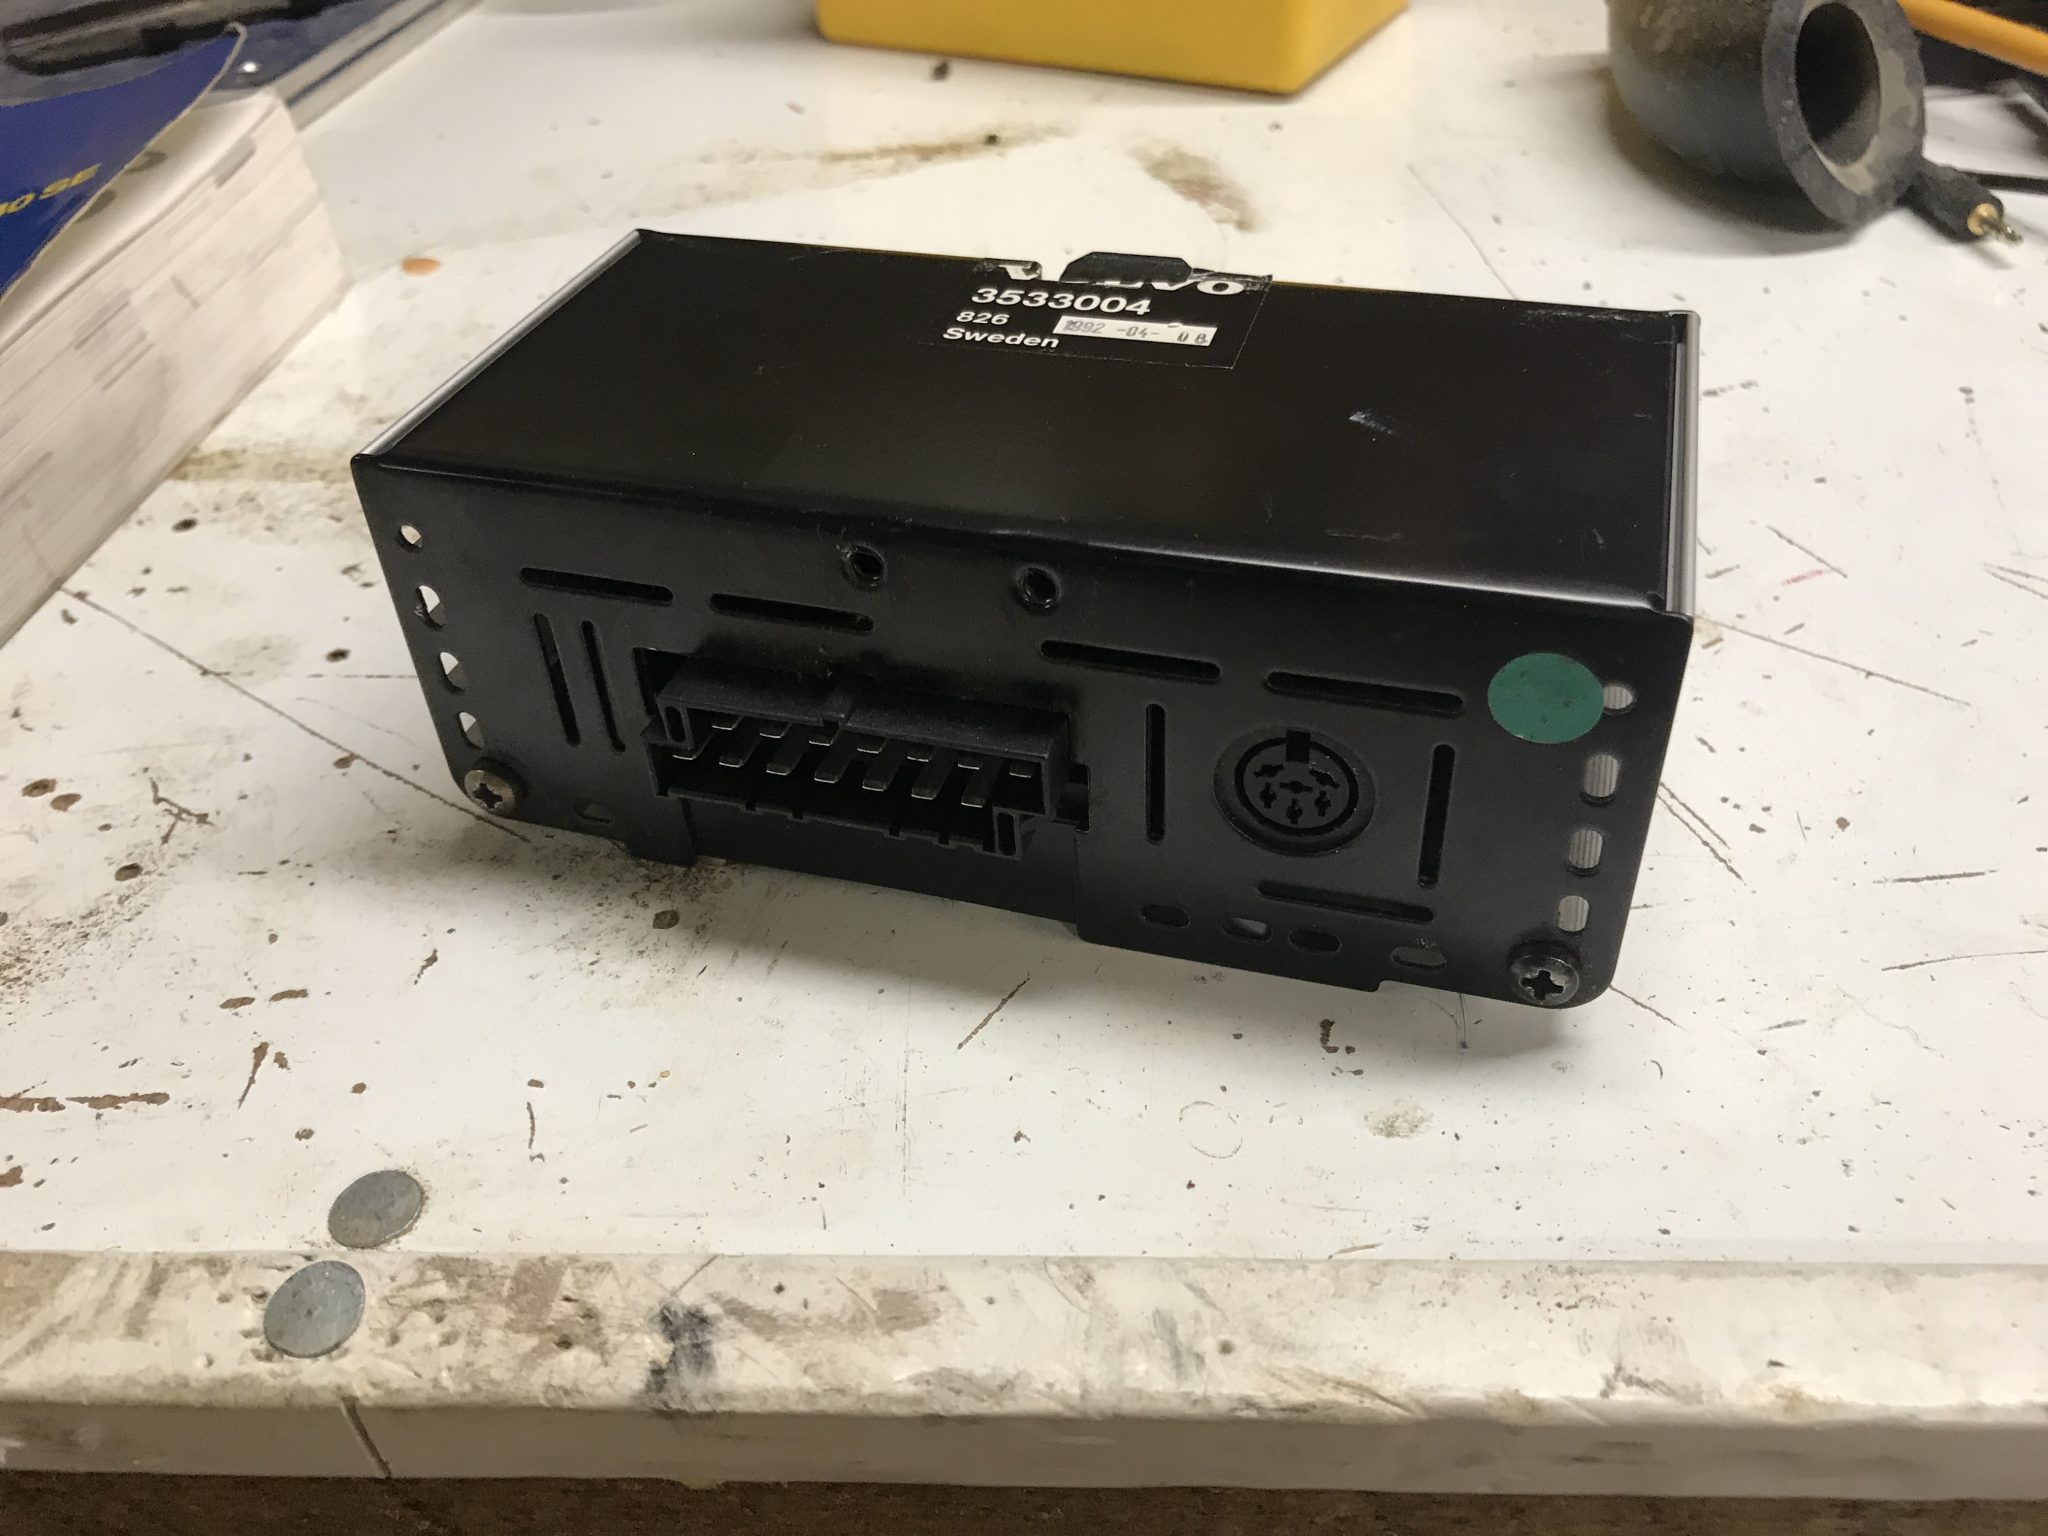
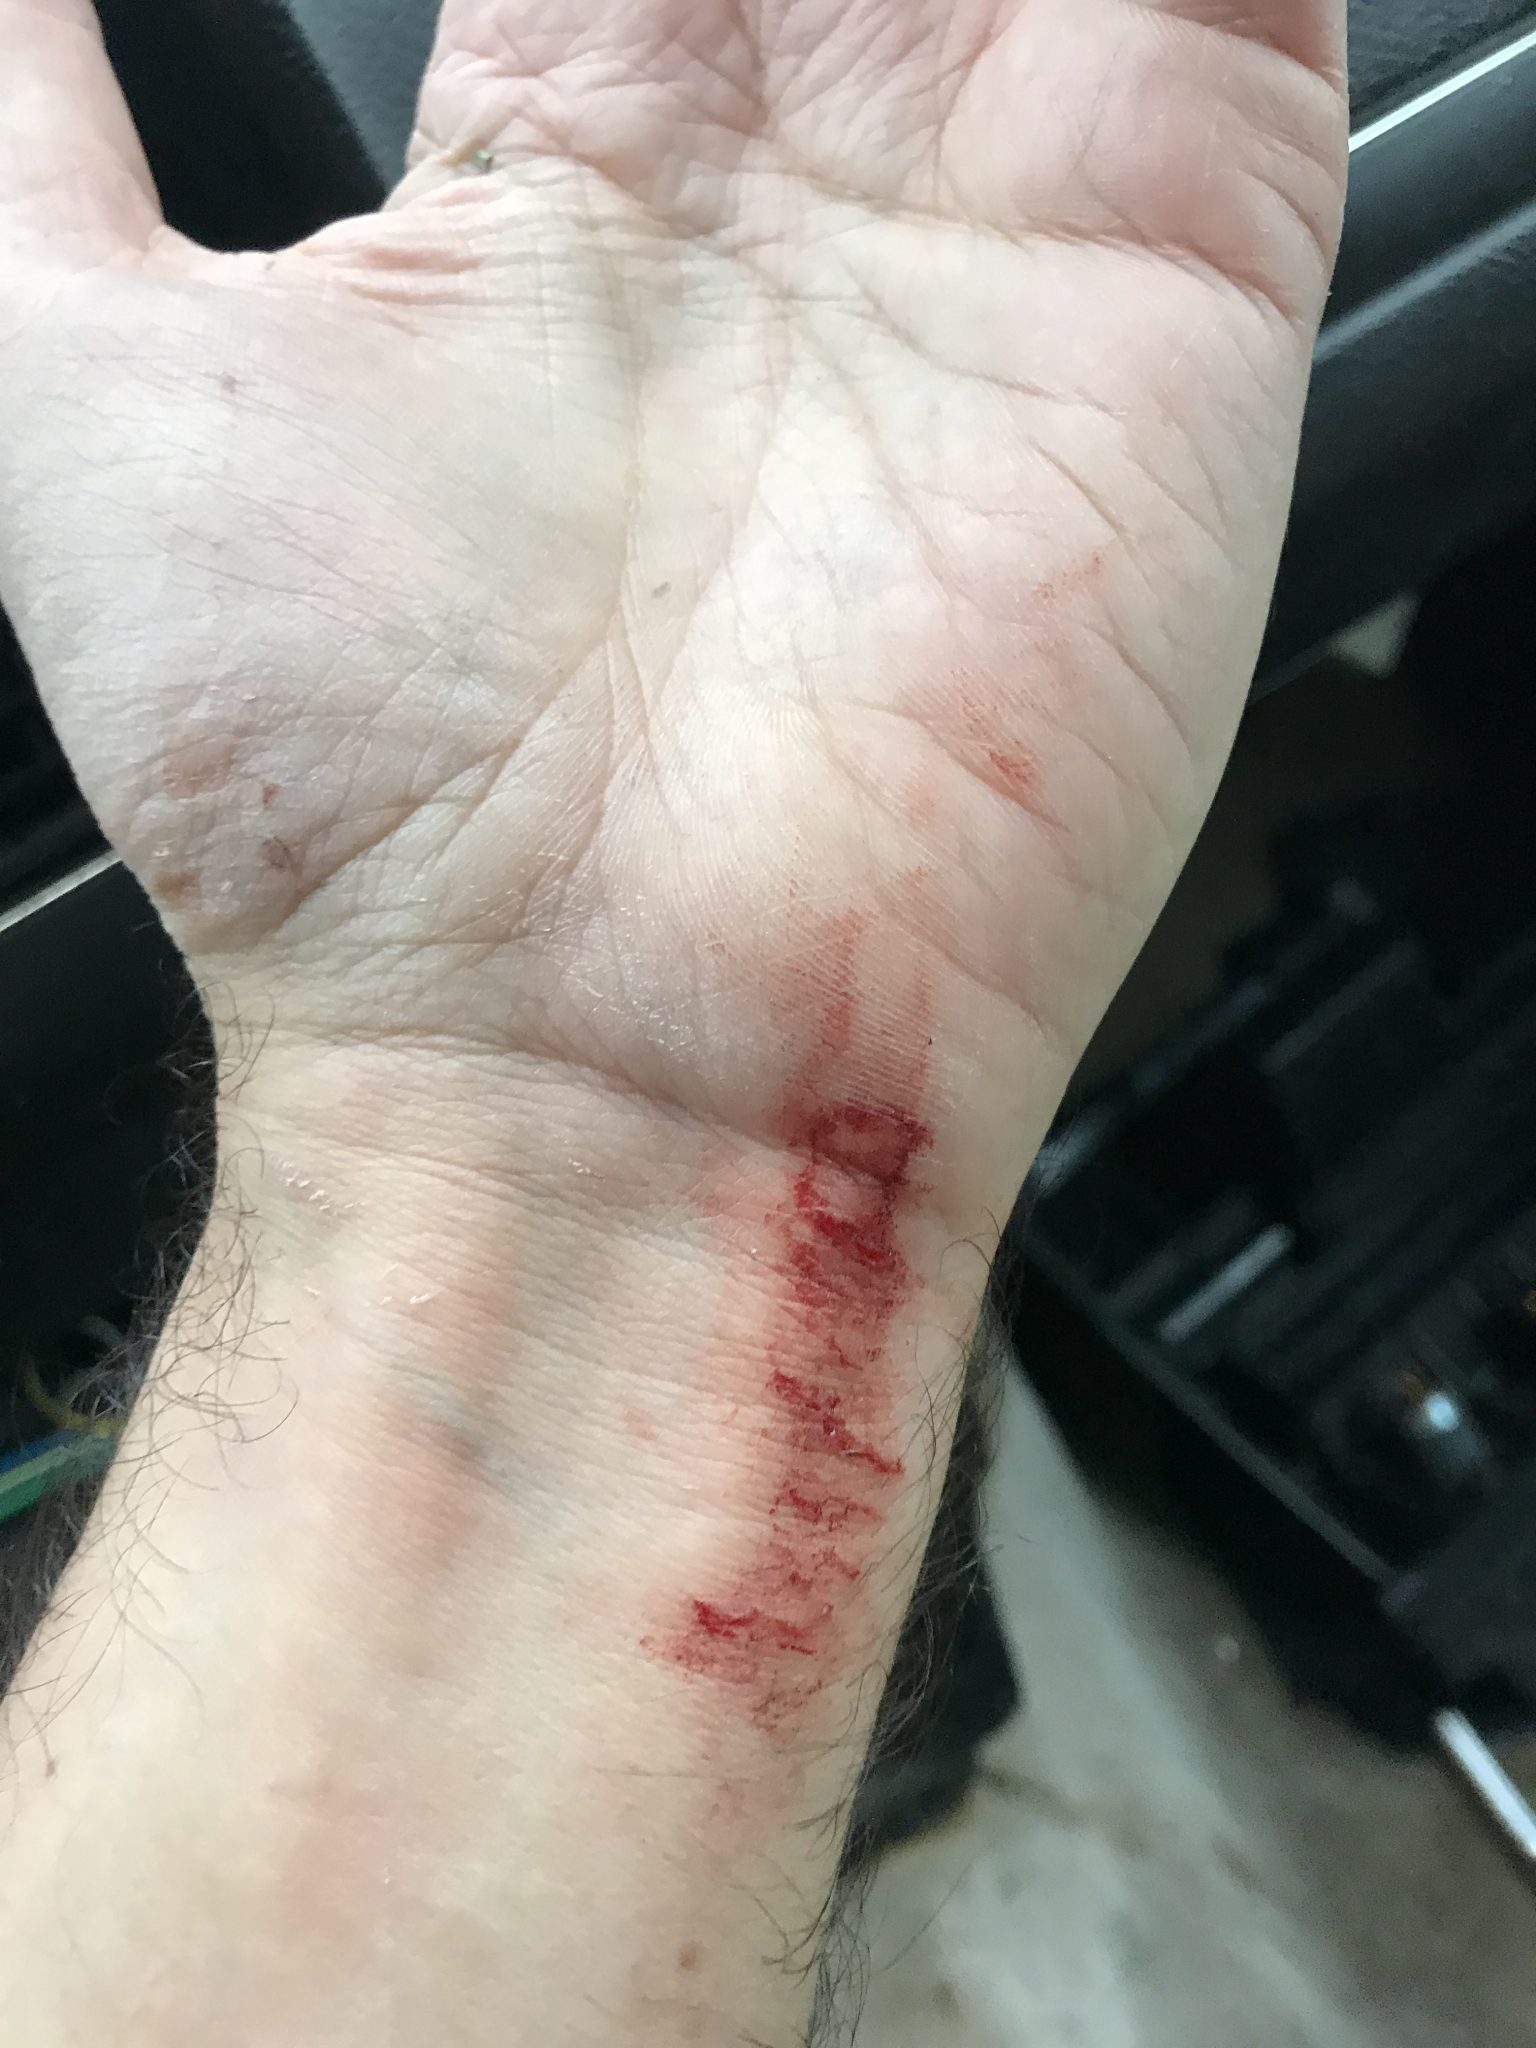
I didn’t need to, but I wanted to get the old amplifier out of the car while I was in there. It’s held in place by two screws that keep it secured to the back of the lower cubby pocket in the center console. That part was no problem, but wrestling the amp itself out was a challenge. I eventually got it out (without breaking anything!) but I paid the price in a nastily scratched up wrist from scraping it on the console support struts.
Once that was done all that was left to do was put everything back together and plug the radio in. I’m happy to say that it works great! One tiny, itty-bitty complaint is with the new cover plate. It has a sort of textured surface unlike the smooth surface of the original plates. It’s barely noticeable unless you’re looking for it, but it’s there.

Old Tape Deck Postmortem
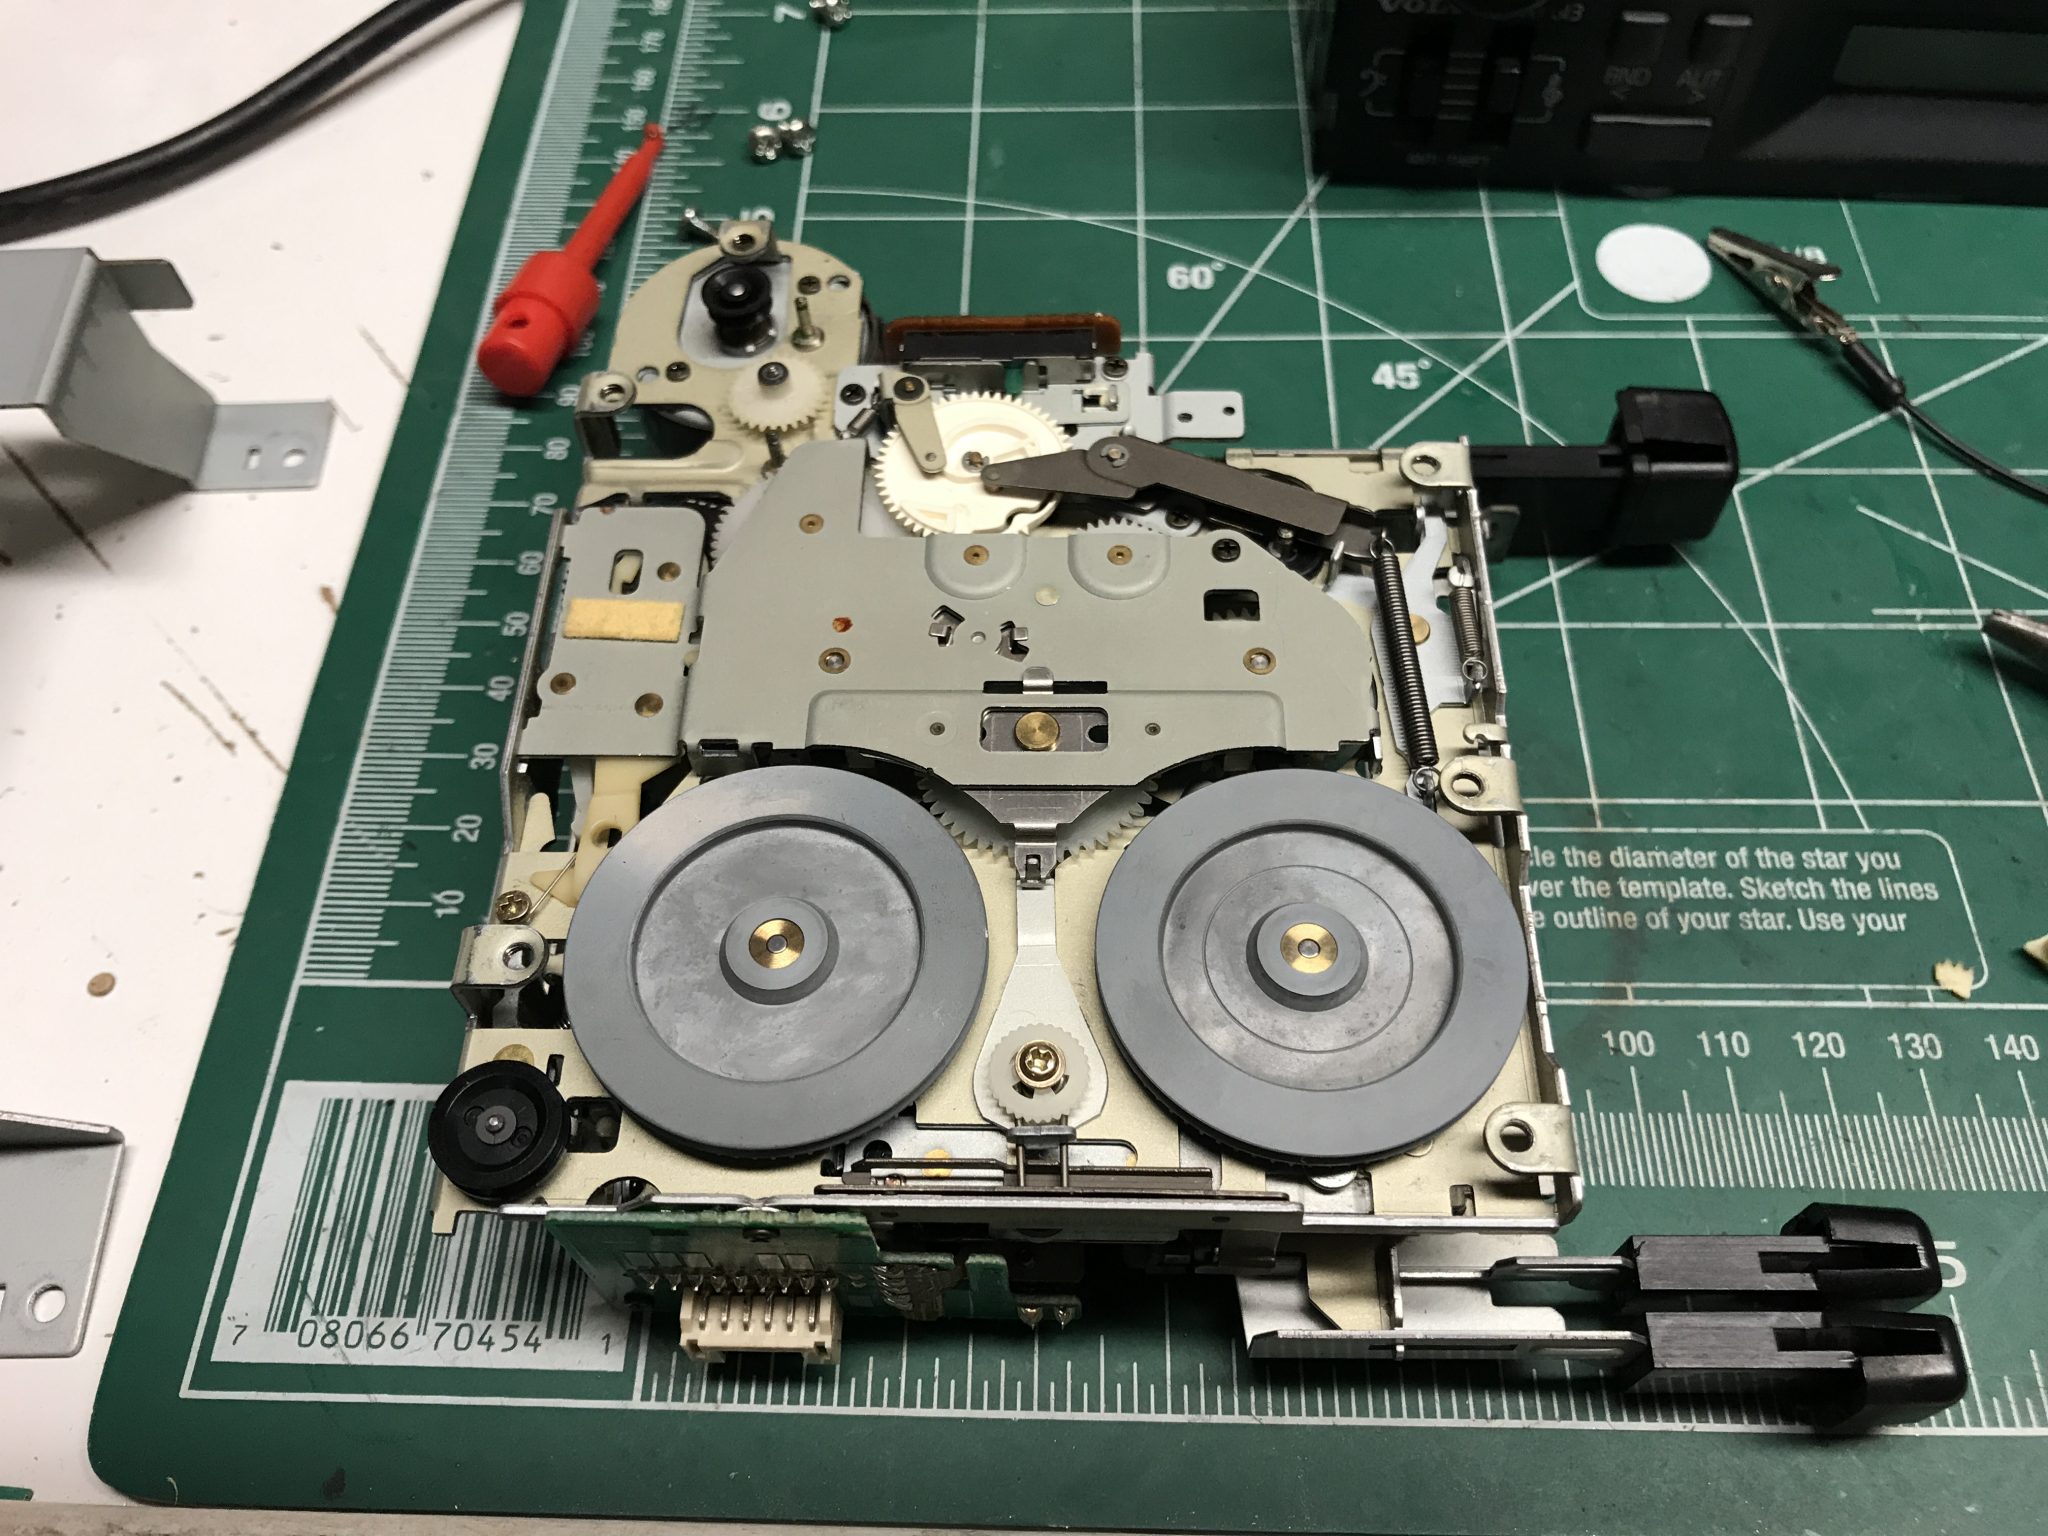
I was curious about the old tape deck. The radio part of it worked, more or less. Why not the tape deck? I decided to take it apart and see if I could determine the cause and perhaps fix it. I wired the unit for 12V just to see if the tape motor would turn, and sure enough it did. The tape spindles weren’t turning, nor was the read heads engaging when the play button was pressed. This indicated some sort of mechanical failure. I’d have to remove the whole tape mechanism to figure out what, though. That was accomplished by removing four small screws that hold the assembly in place and unplugging two war harnesses. Presumably one was for motor control and the other was connected to the read head.
Once the unit was out and I could get a look at the underside I quickly saw the issue. Not only had the rubber drive band snapped at some point but two small gears that make up part of the drive mechanism had long ago disintegrated. Perhaps they’re made of the same kind of plastic that the speedometer gear I replaced way back when. I doubt those are widely available parts, so it looks like this radio is kaput.

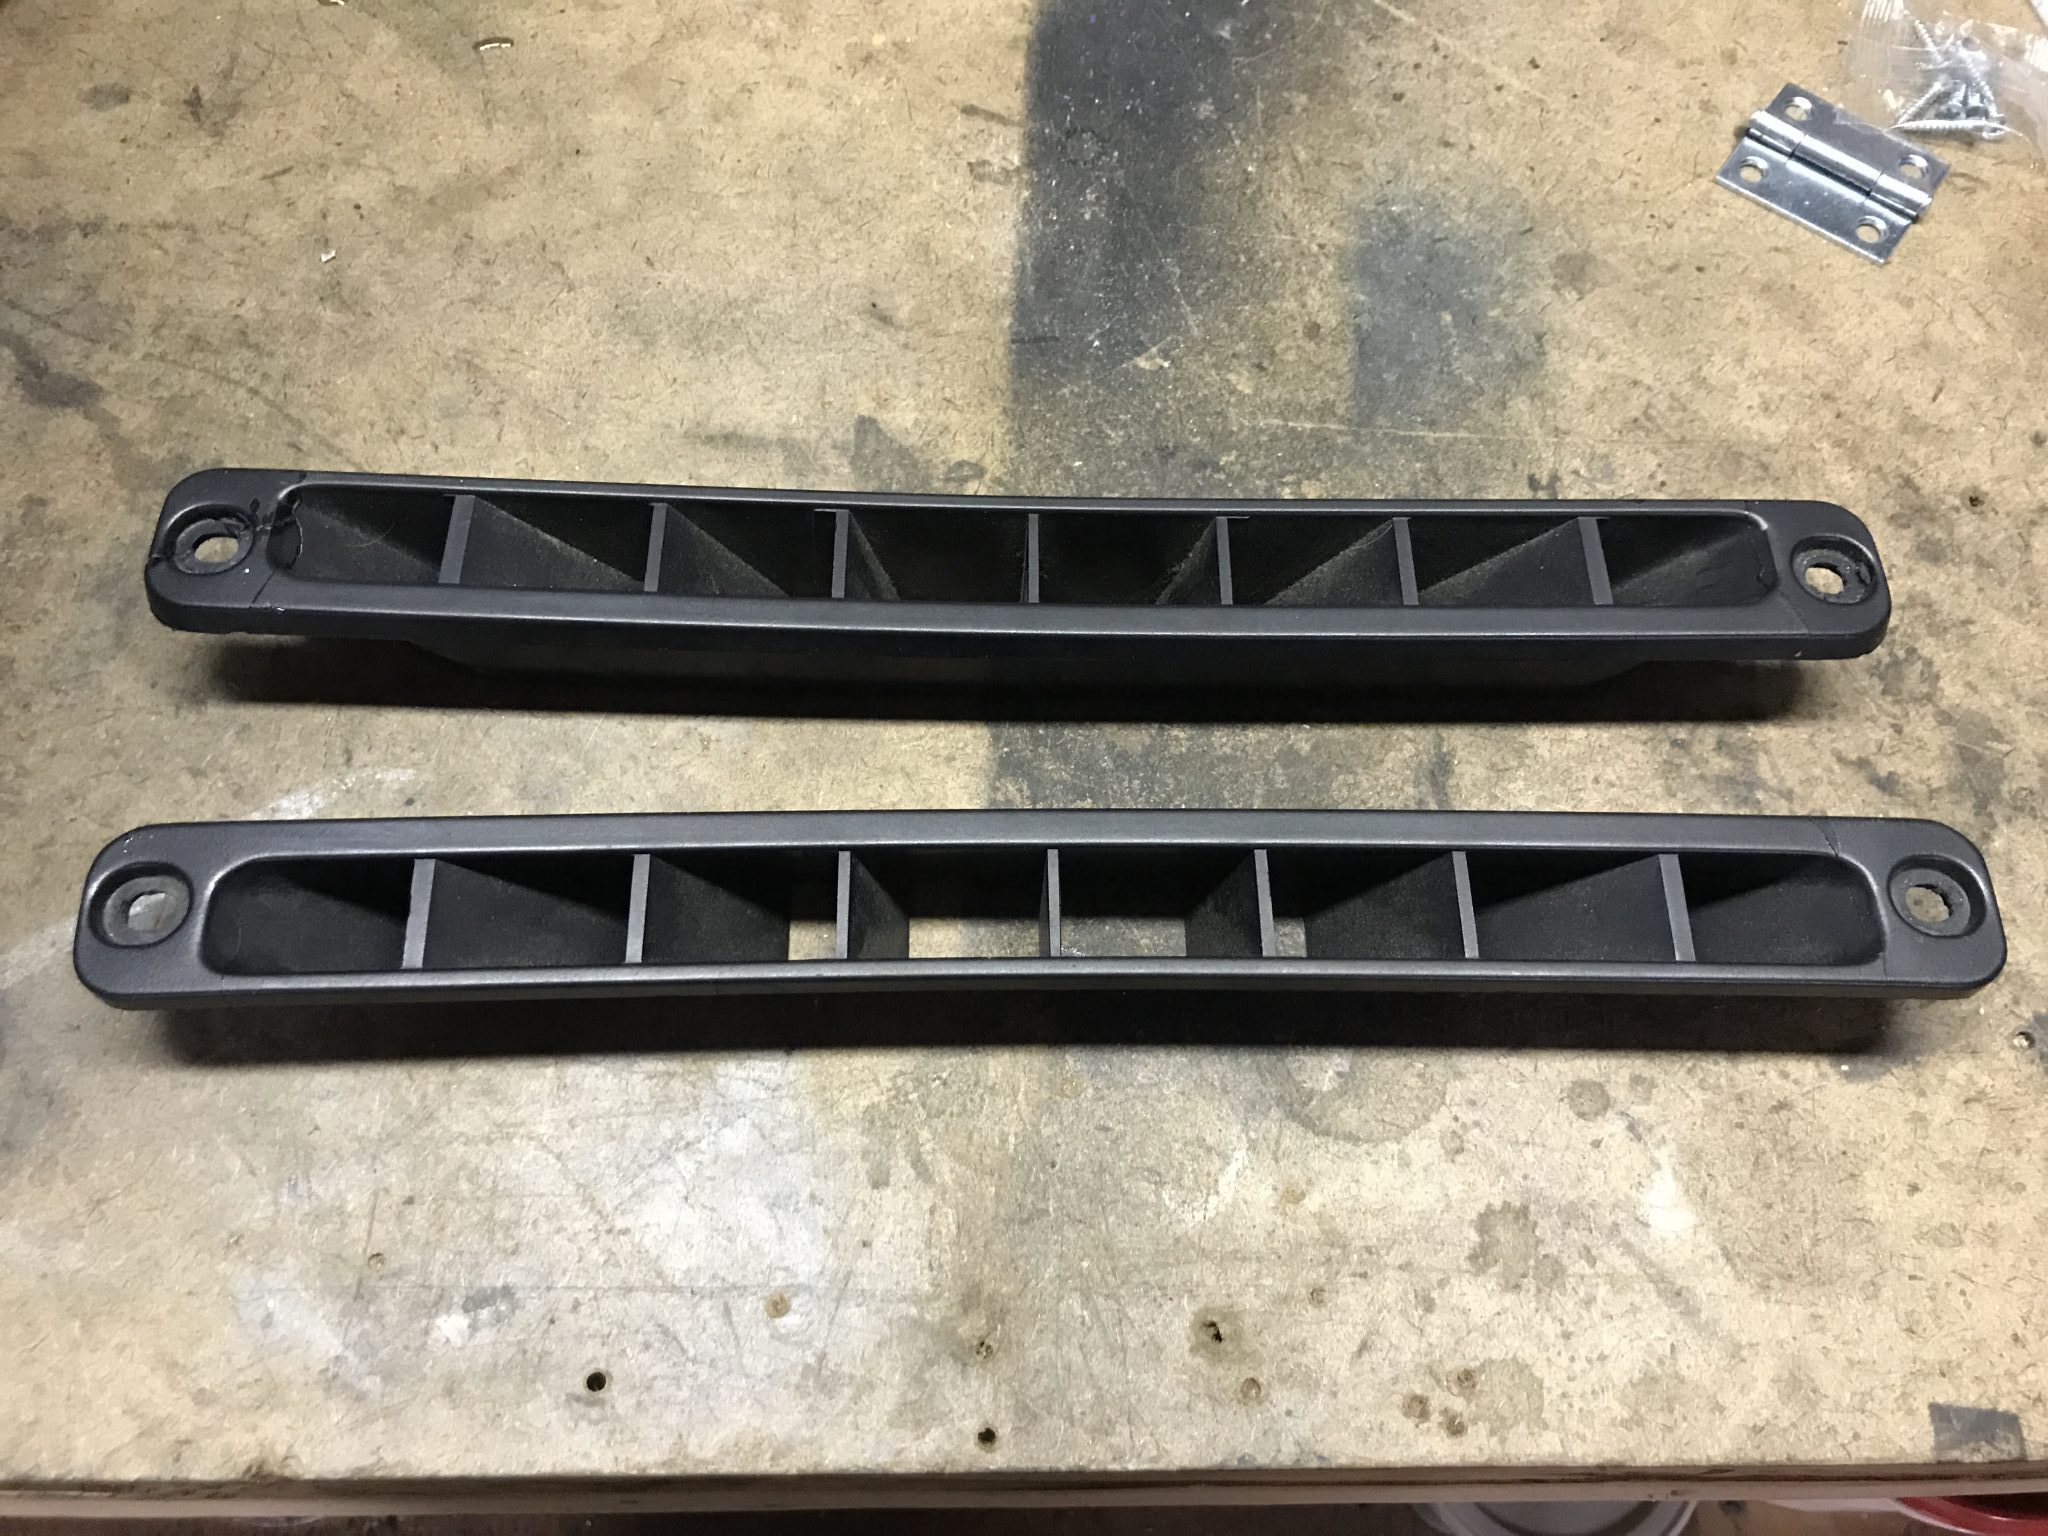
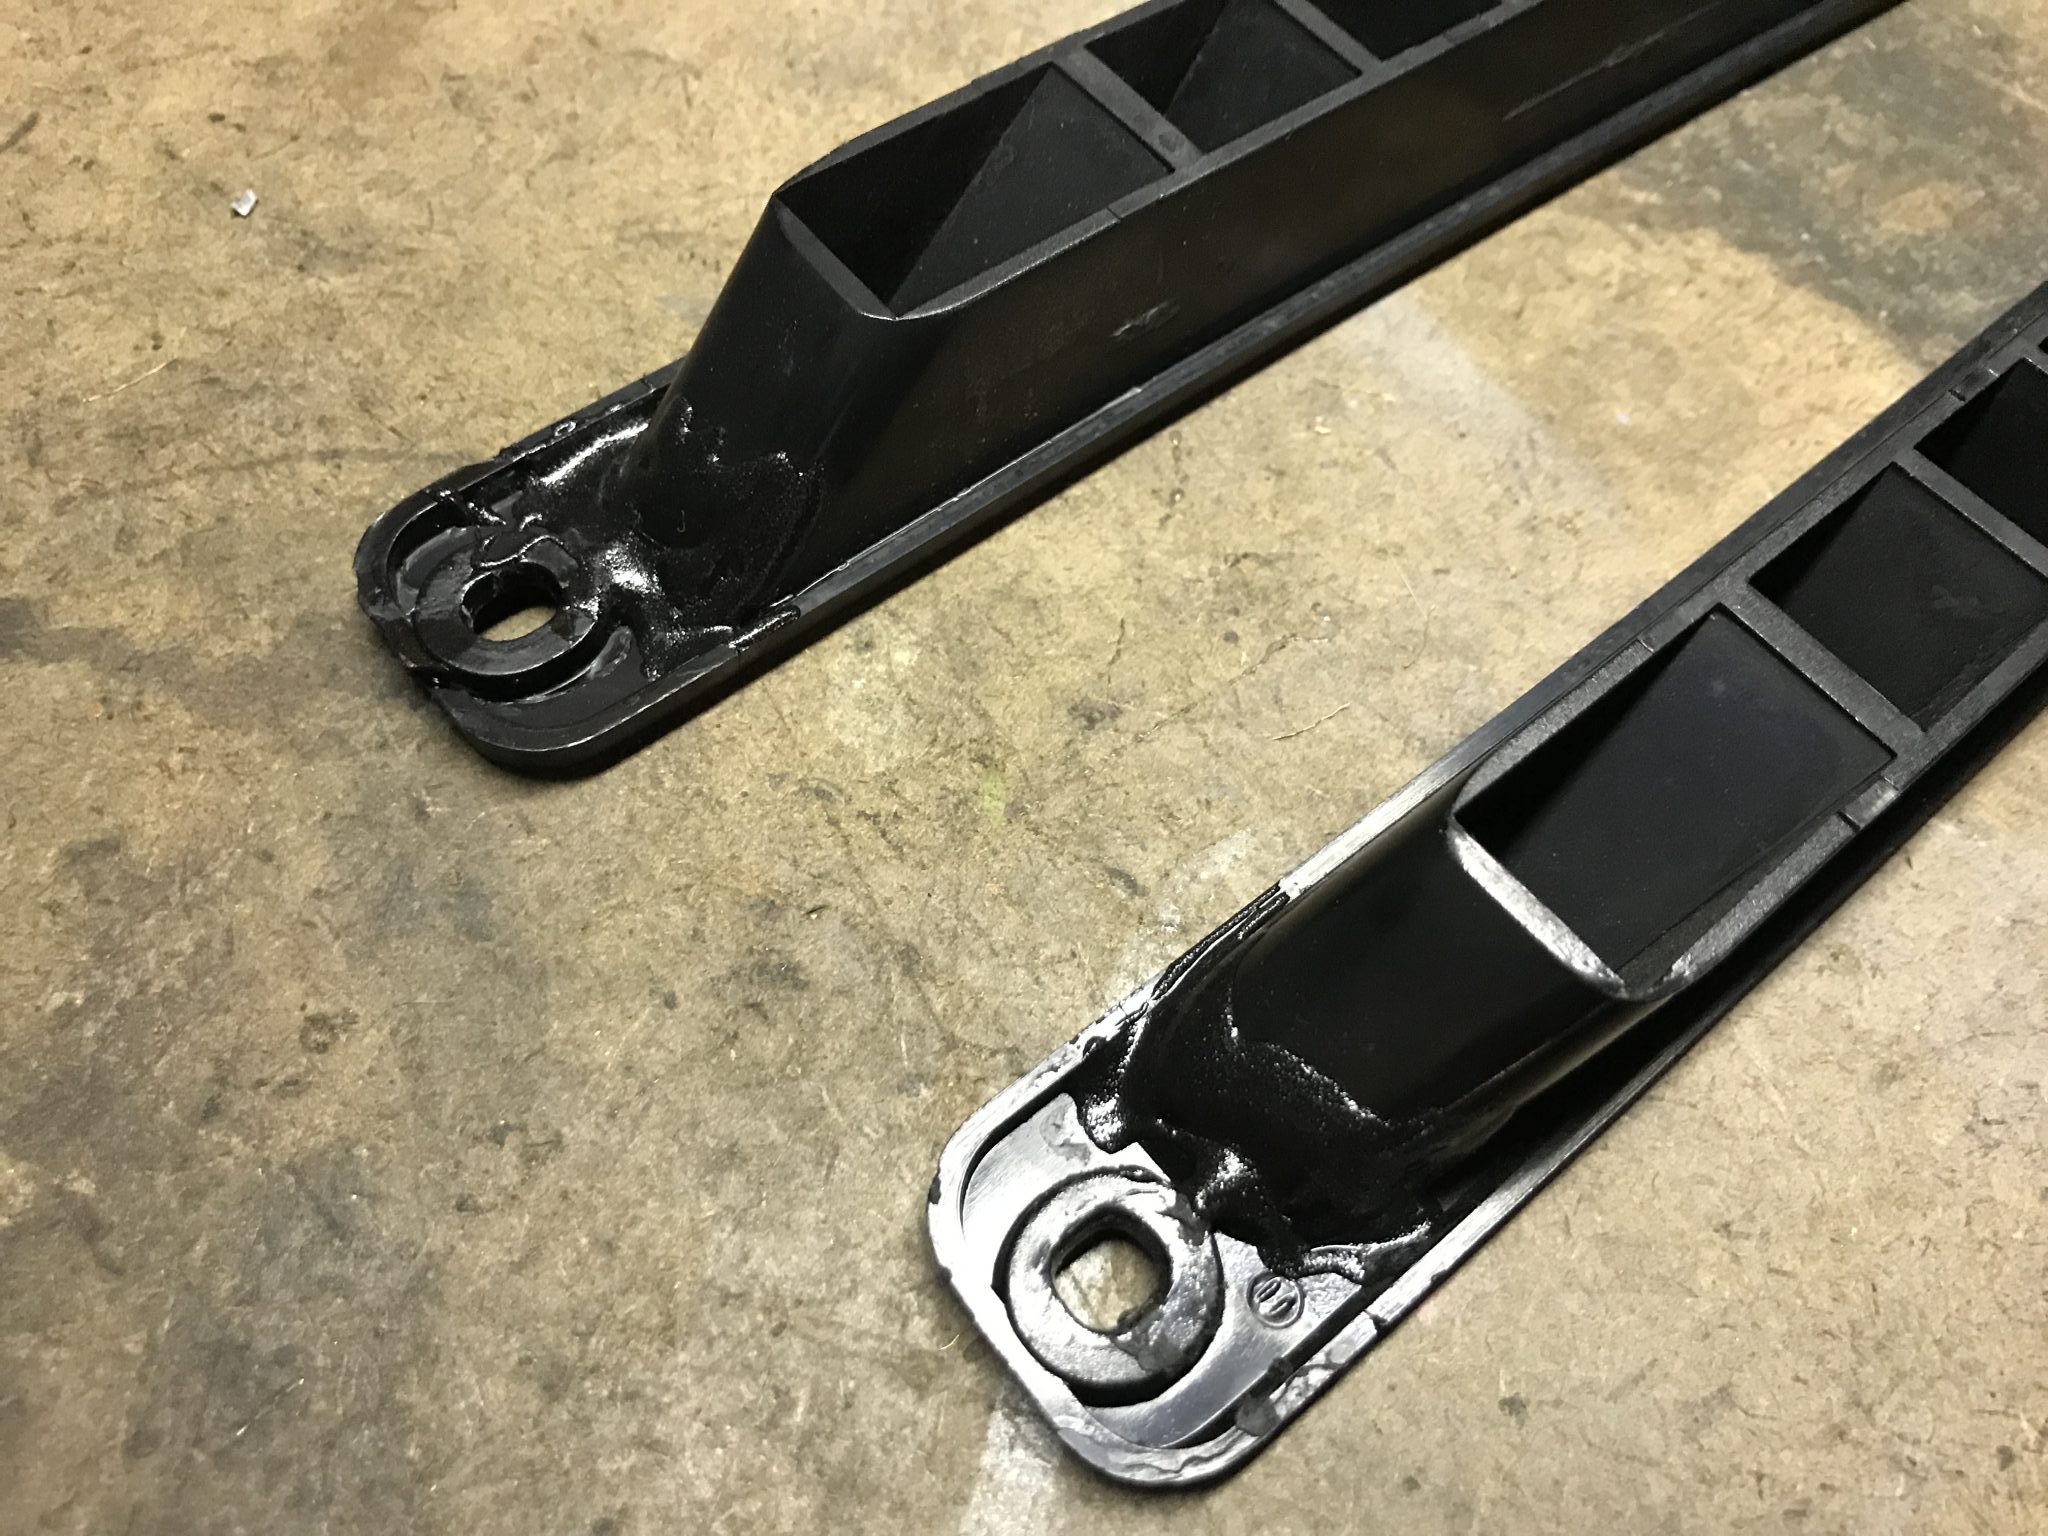
Defrost Vents
I also took the time to reglue my dashboard defroster vents back together with plastic weld glue and then gave them a reinforcing layer of black epoxy on the back side. They should work great… once I get the blower working. Yes, the blower motor in the dash failed on me just in time for winter. Soon I will need to star the process of dismantling the dash so I can get into the blower and replace the motor. This is not going to be a fun task, but it must be done.