Even though I haven’t posted in awhile, rest assured that I have been busy and am so, so, SO close to getting this car street legal.
Finishing Up The Exhaust
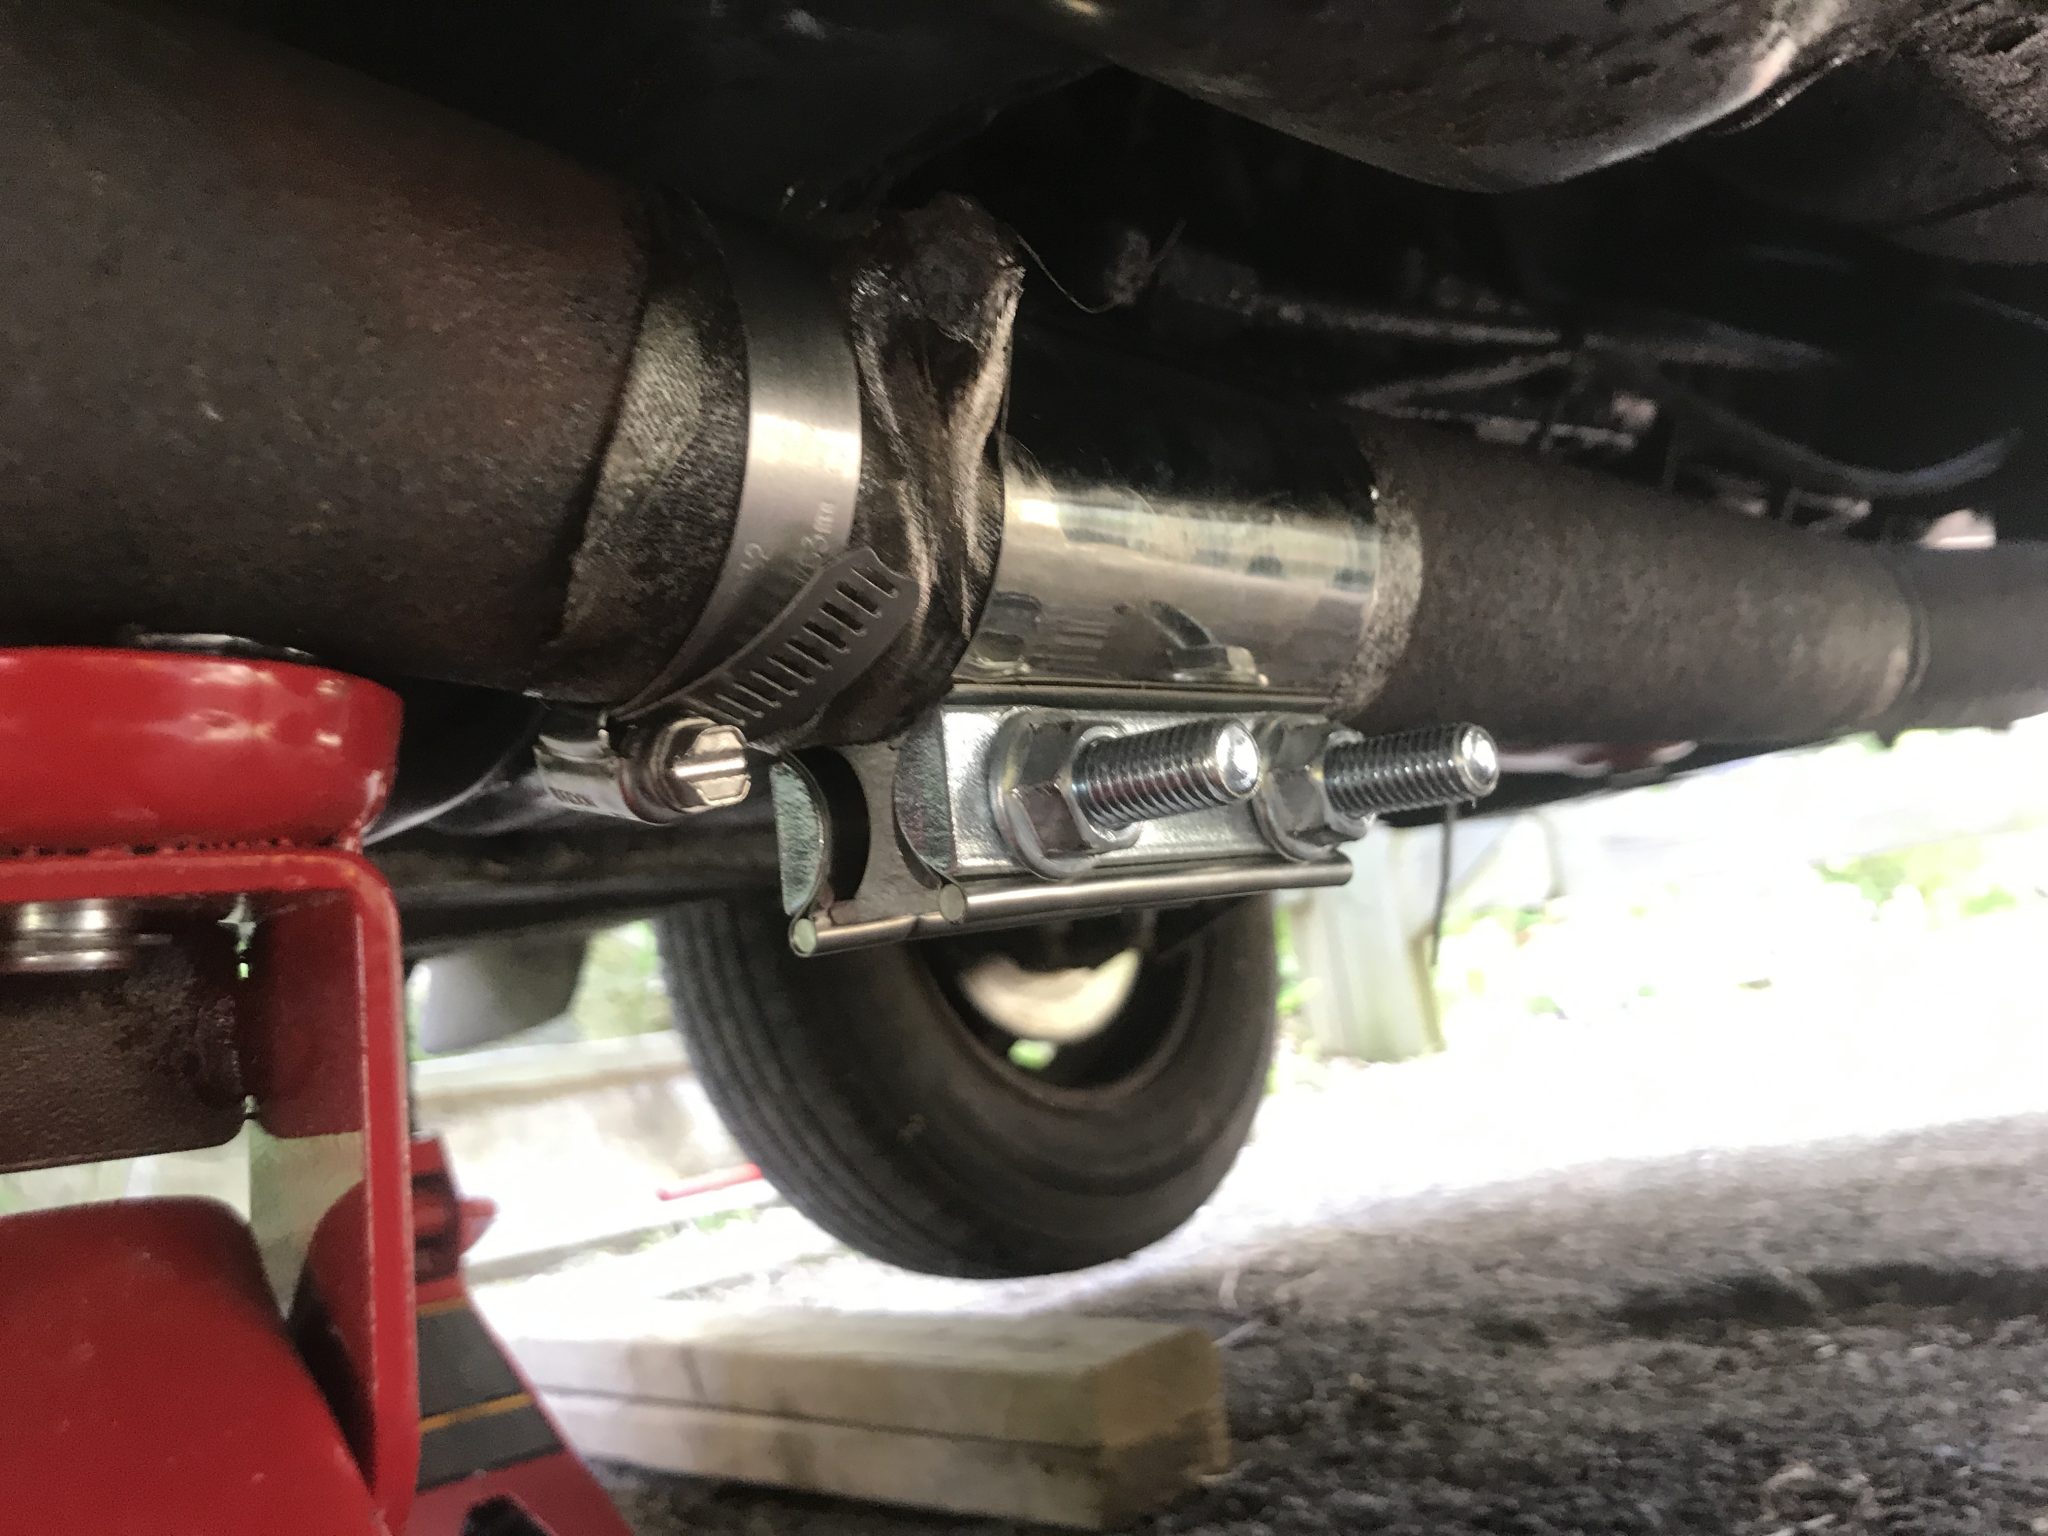
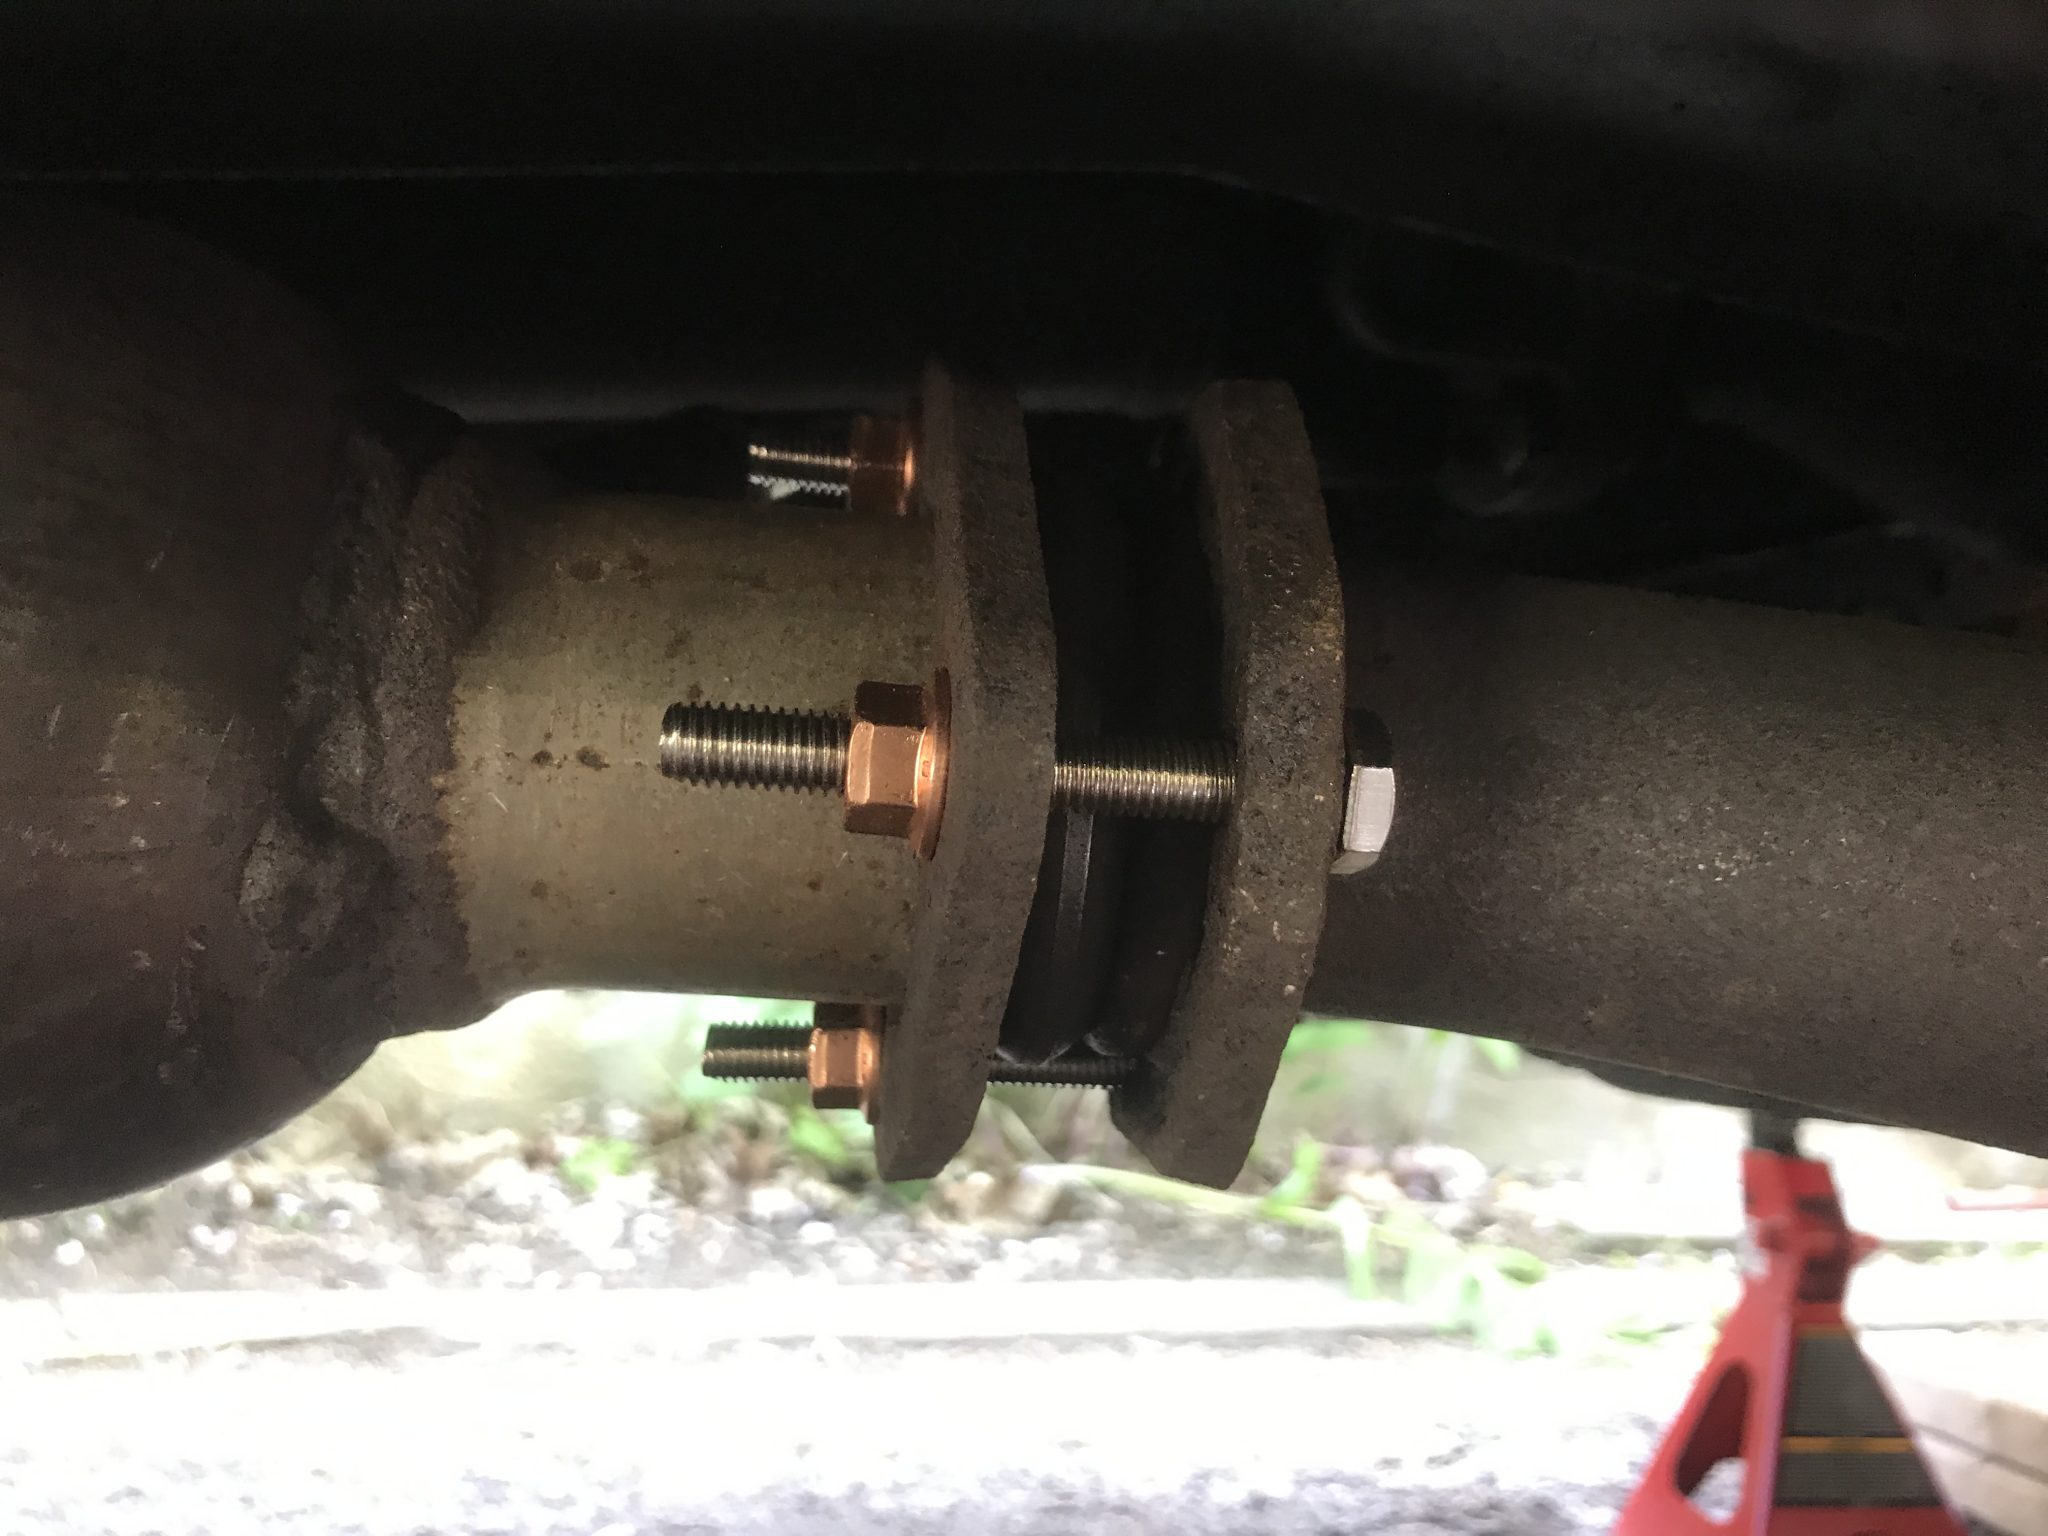
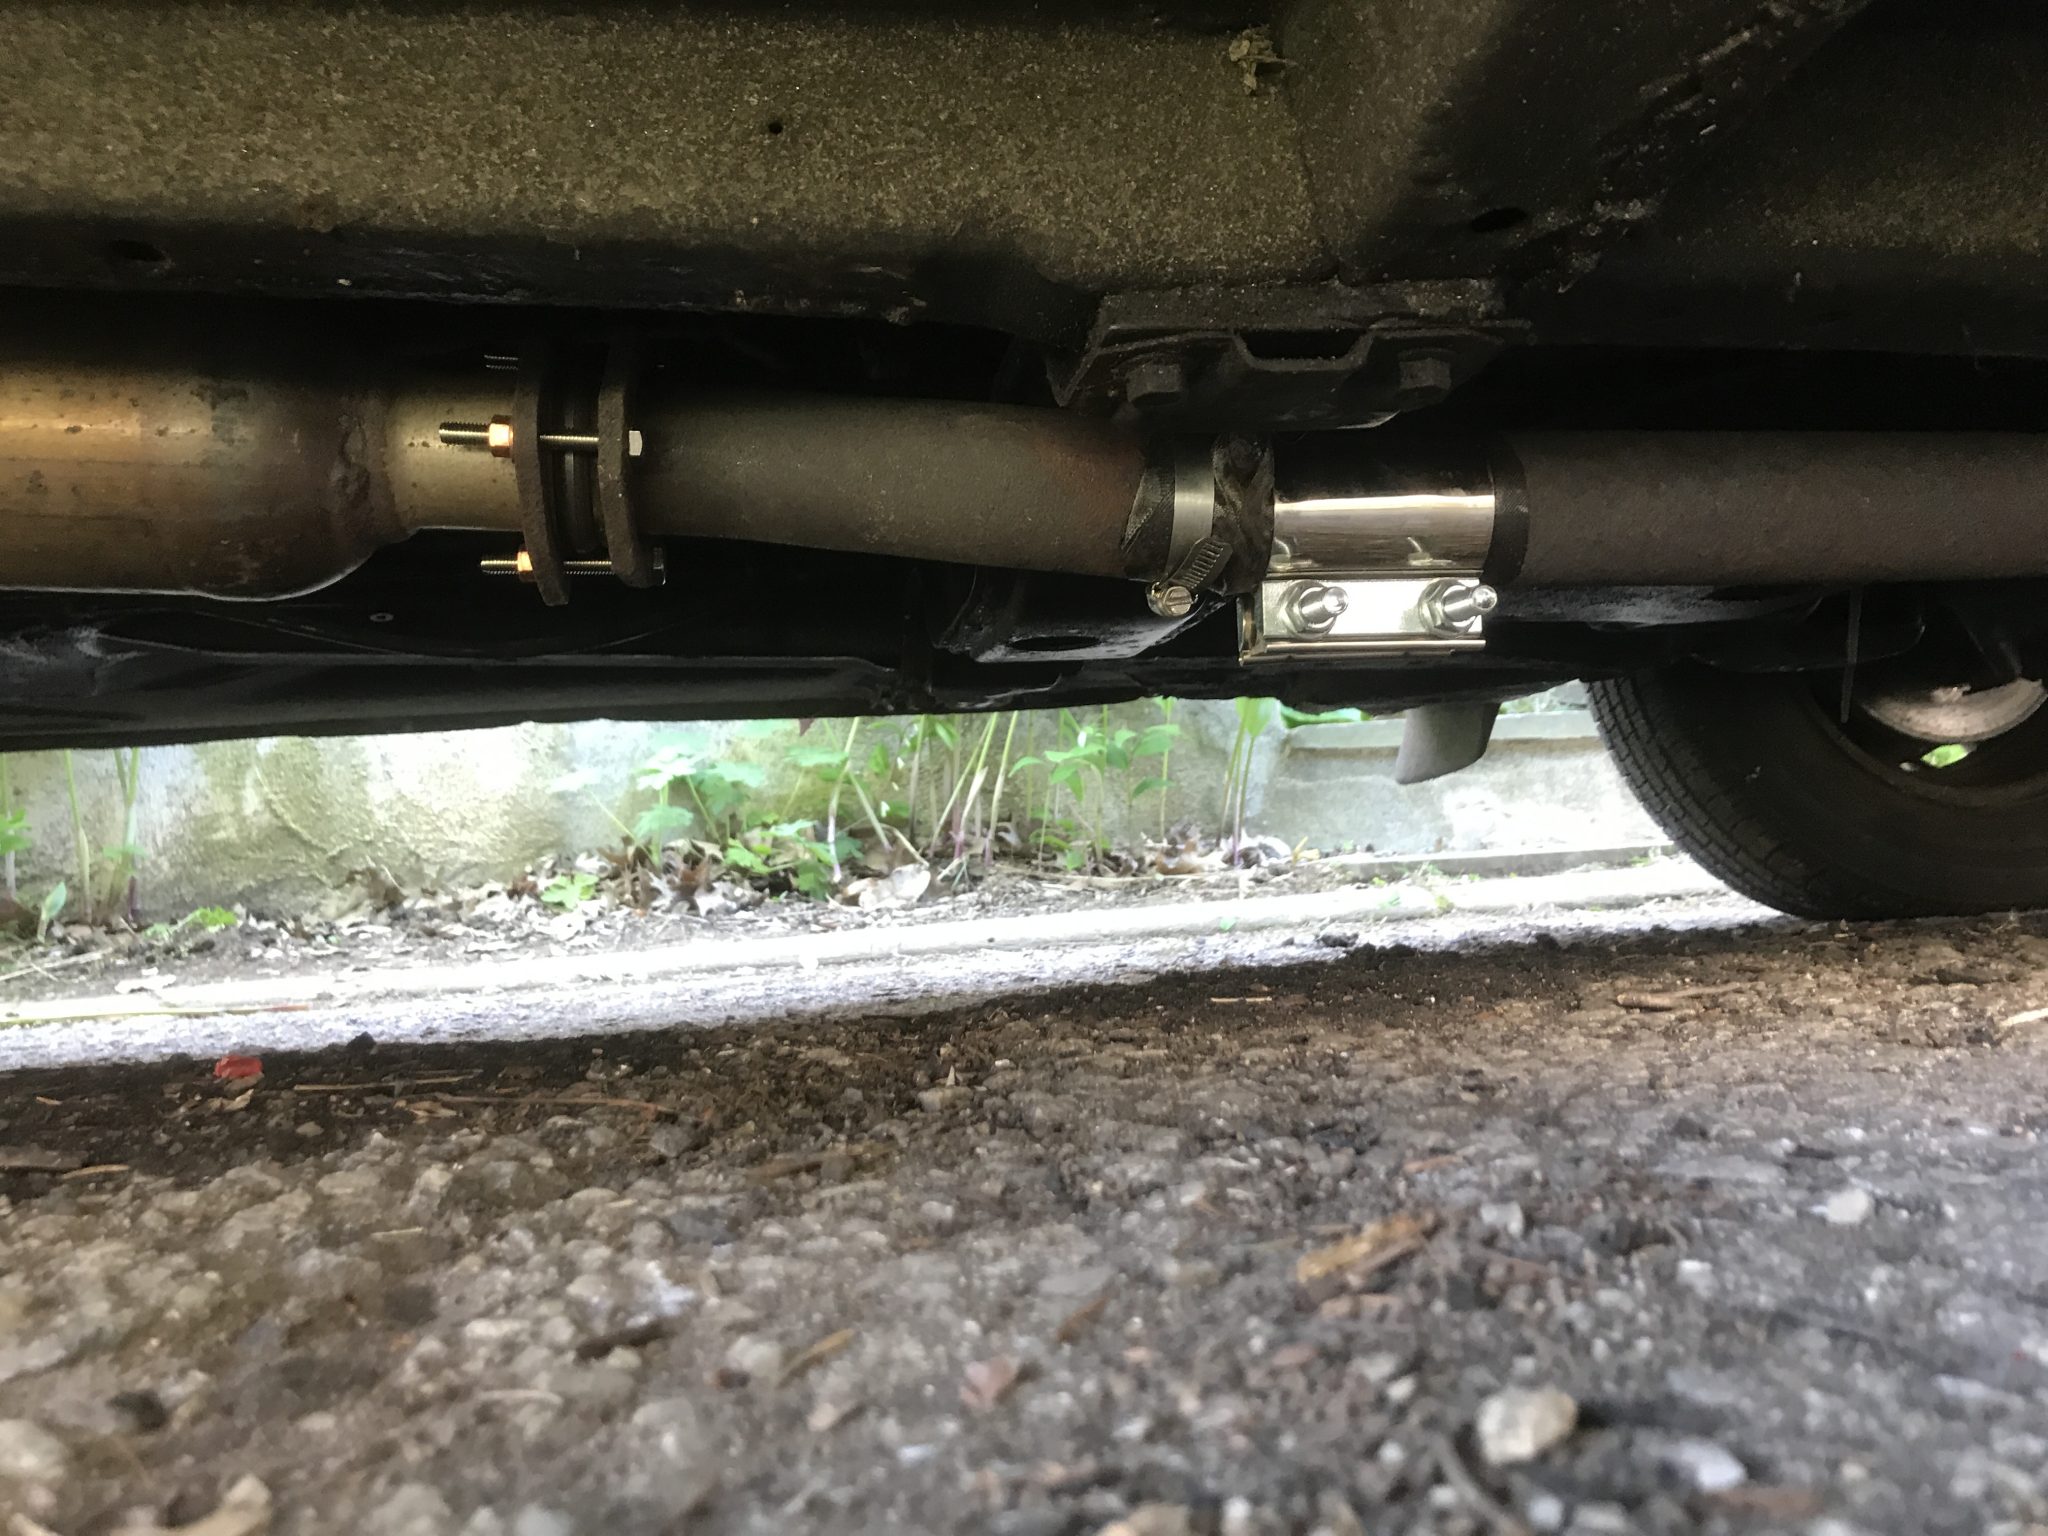
If you remember previously I had tried clamping the broken downpipe using a stainless steel pipe clamp. That worked but not very well. Because the break in the pipe was uneven and rusty the clamp didn’t seal very well. Consequently the exhaust was still quite loud and a little leaky. To remedy this I decided to do the sealing part of the job using epoxy impregnated exhaust bandage. This stuff is used to seal small holes and cracks in pipes that reach high temperatures, such as my exhaust pipe. After removing the clamp and using a jack to position the two sides of the pipe so that they were in line with each other. Then I ran the engine for about 10 minutes to get everything up to operating temperature. Once the pipe is hot I peeled the backings off the tape and did my best to wrap around the broken section. I also wrapped a bit around the bolt that stick out of the side of the pipe. I’m honestly not 100% sure what this is for, but it was rusted and cracked and could use some sealing too. I even secured the bandage on the other side of this bolt thing with a worm gear hose clamp for good measure. Finally I reinstalled the stainless steel clamp and tightened it down. When I turned the engine back on to get the heat back up and begin the curing process of the epoxy I could immediately hear a marked decrease in the volume of the exhaust. After about a half an hour of running I was confident that everything was still working as expected, so I took the opportunity to replace the the bolts and nuts on the flange between the downpipe and the cat with proper ones. With that I’m calling the exhaust system done.
Doors
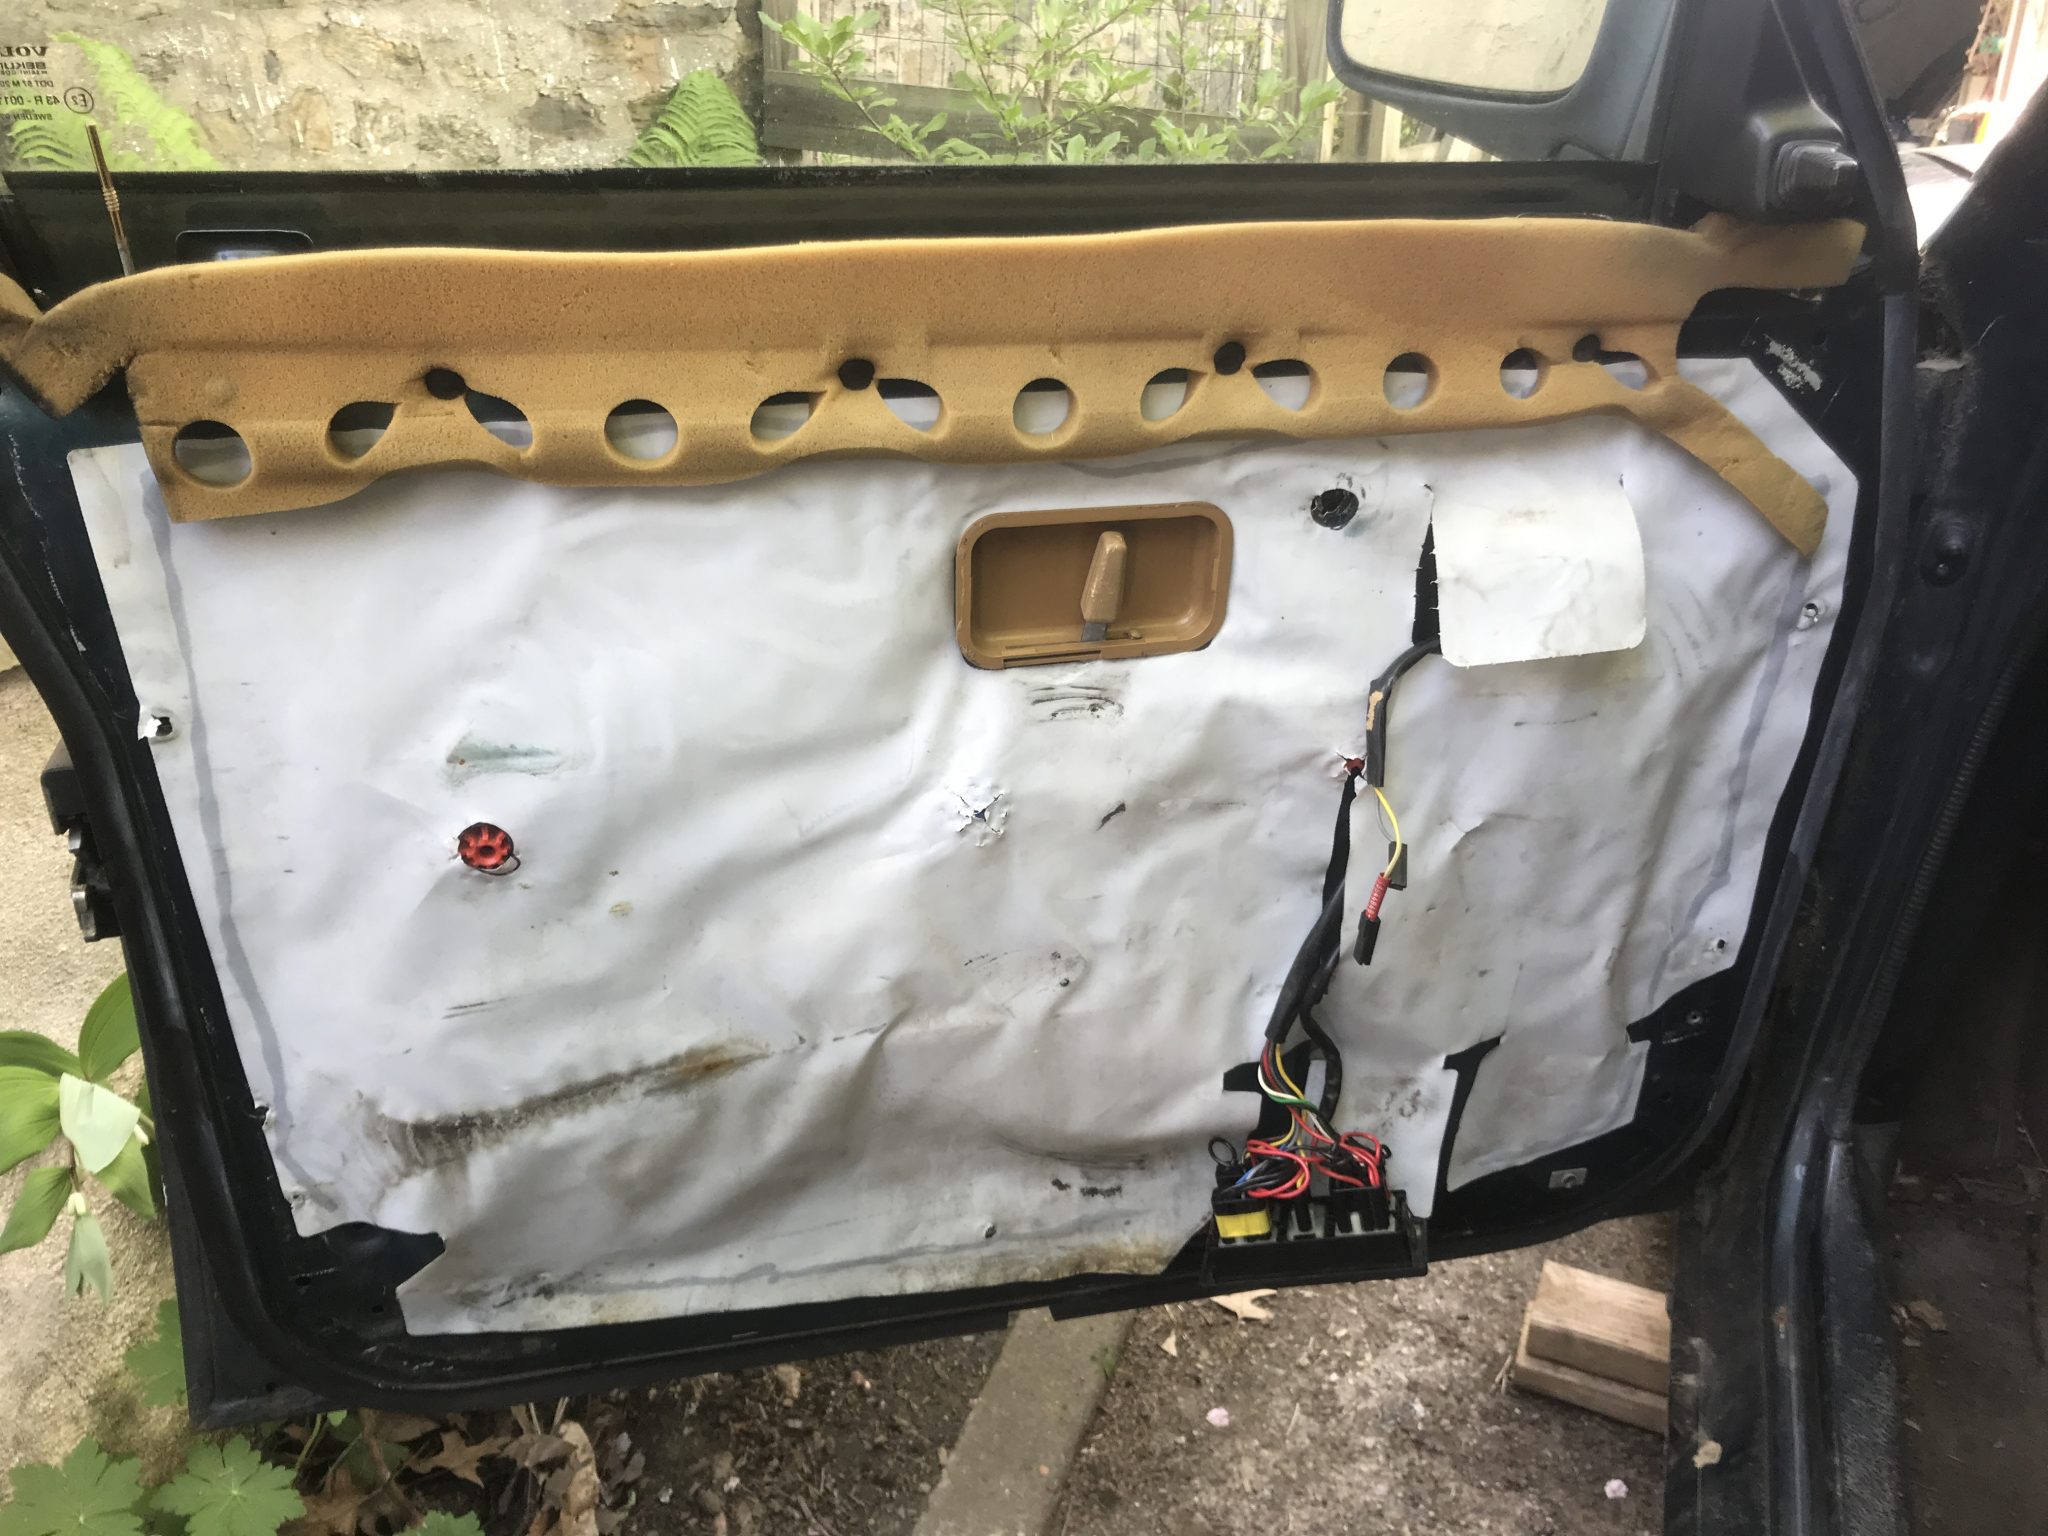
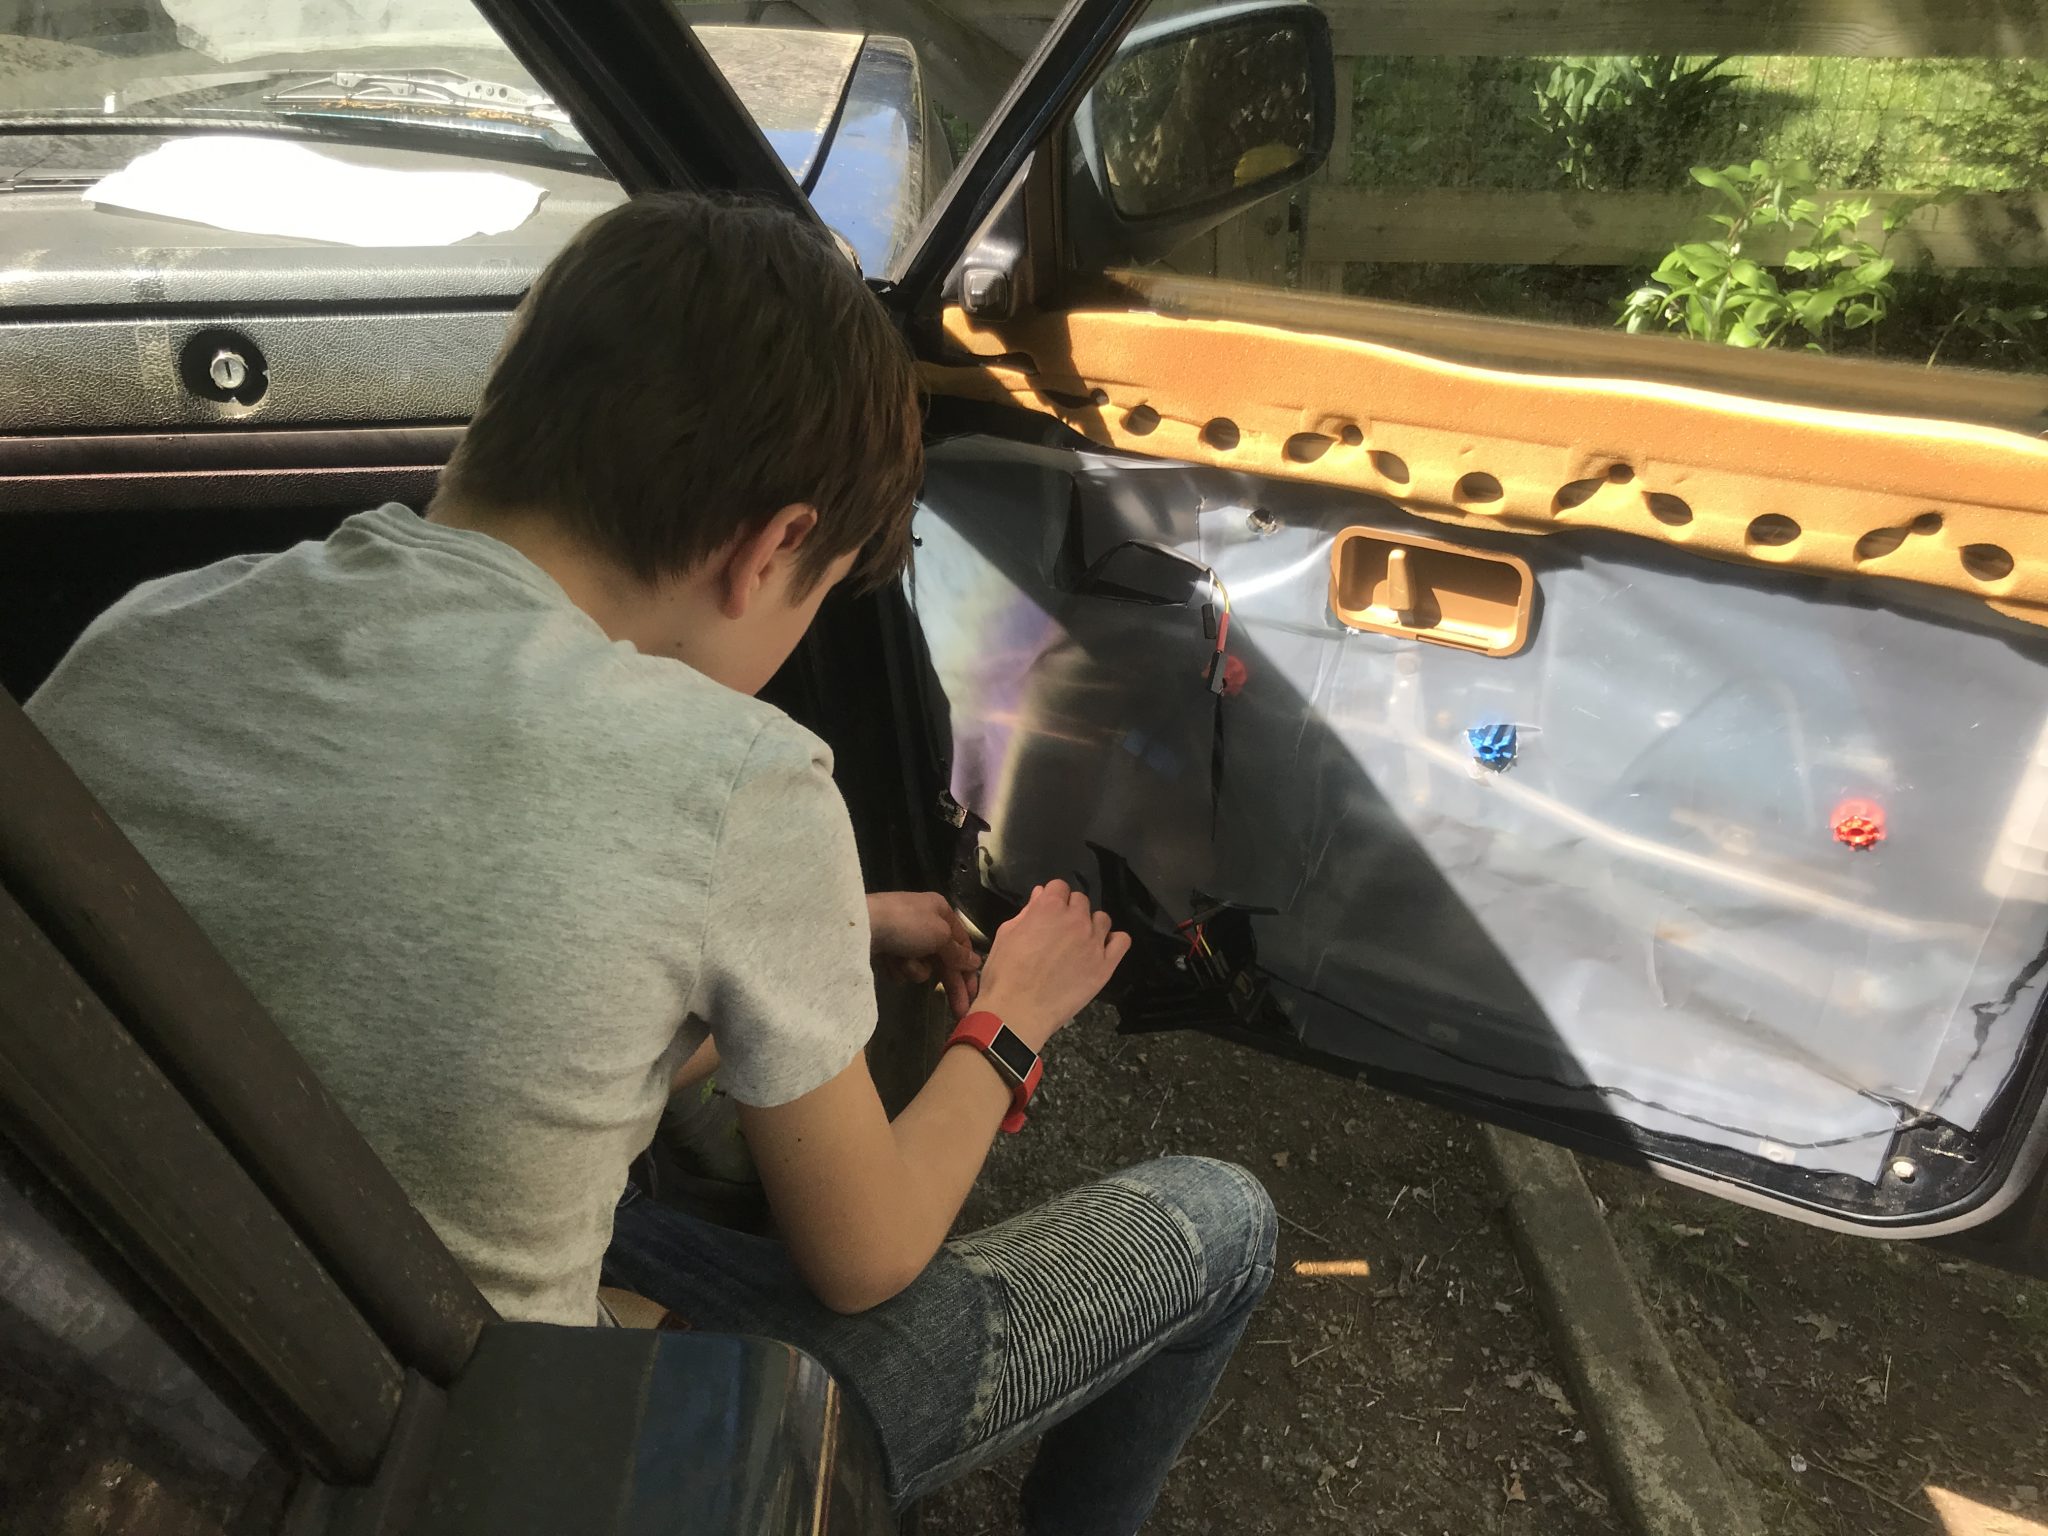
Seeing as how that had gone way smoother than usual I decided to use the rest of this “extra” time working out the issues with the front doors. With my older son there to help, the first order of business was to better secure the vapor barriers. Previously I had loosely kept them in place with duct tape, but I knew even then it was not good enough. Since then someone recommended a product called Strip Calk from 3M. It’s a sort of oil based mastic that comes in thin strips. I placed it around the edges of the door where the barrier sits and pressed it into the “calk” strips. I must say that I’m impressed with how well it all works. The barriers went on easily, stuck well, and definitely will stop water – exactly what is needed in this application.
Over time the driver’s side front and passenger side rear speakers had stopped working. I was pretty confident that this was because of loose connectors. Each speaker connection had both big and little female spade connector, and when I first put the new speakers in those connectors never seemed to attach very securely to their male counterparts. Sure enough when I got the panels off the I saw that the slight difference in the size of the connectors had caused them come loose. To rectify this went with brute force and used pliers to simply squeezed one side until they bent snugly around the other. As we reassembled the door cards I kept the radio on to make sure we didn’t suddenly lose signal to any of those speakers which, luckily, we didn’t.

Rear Lights
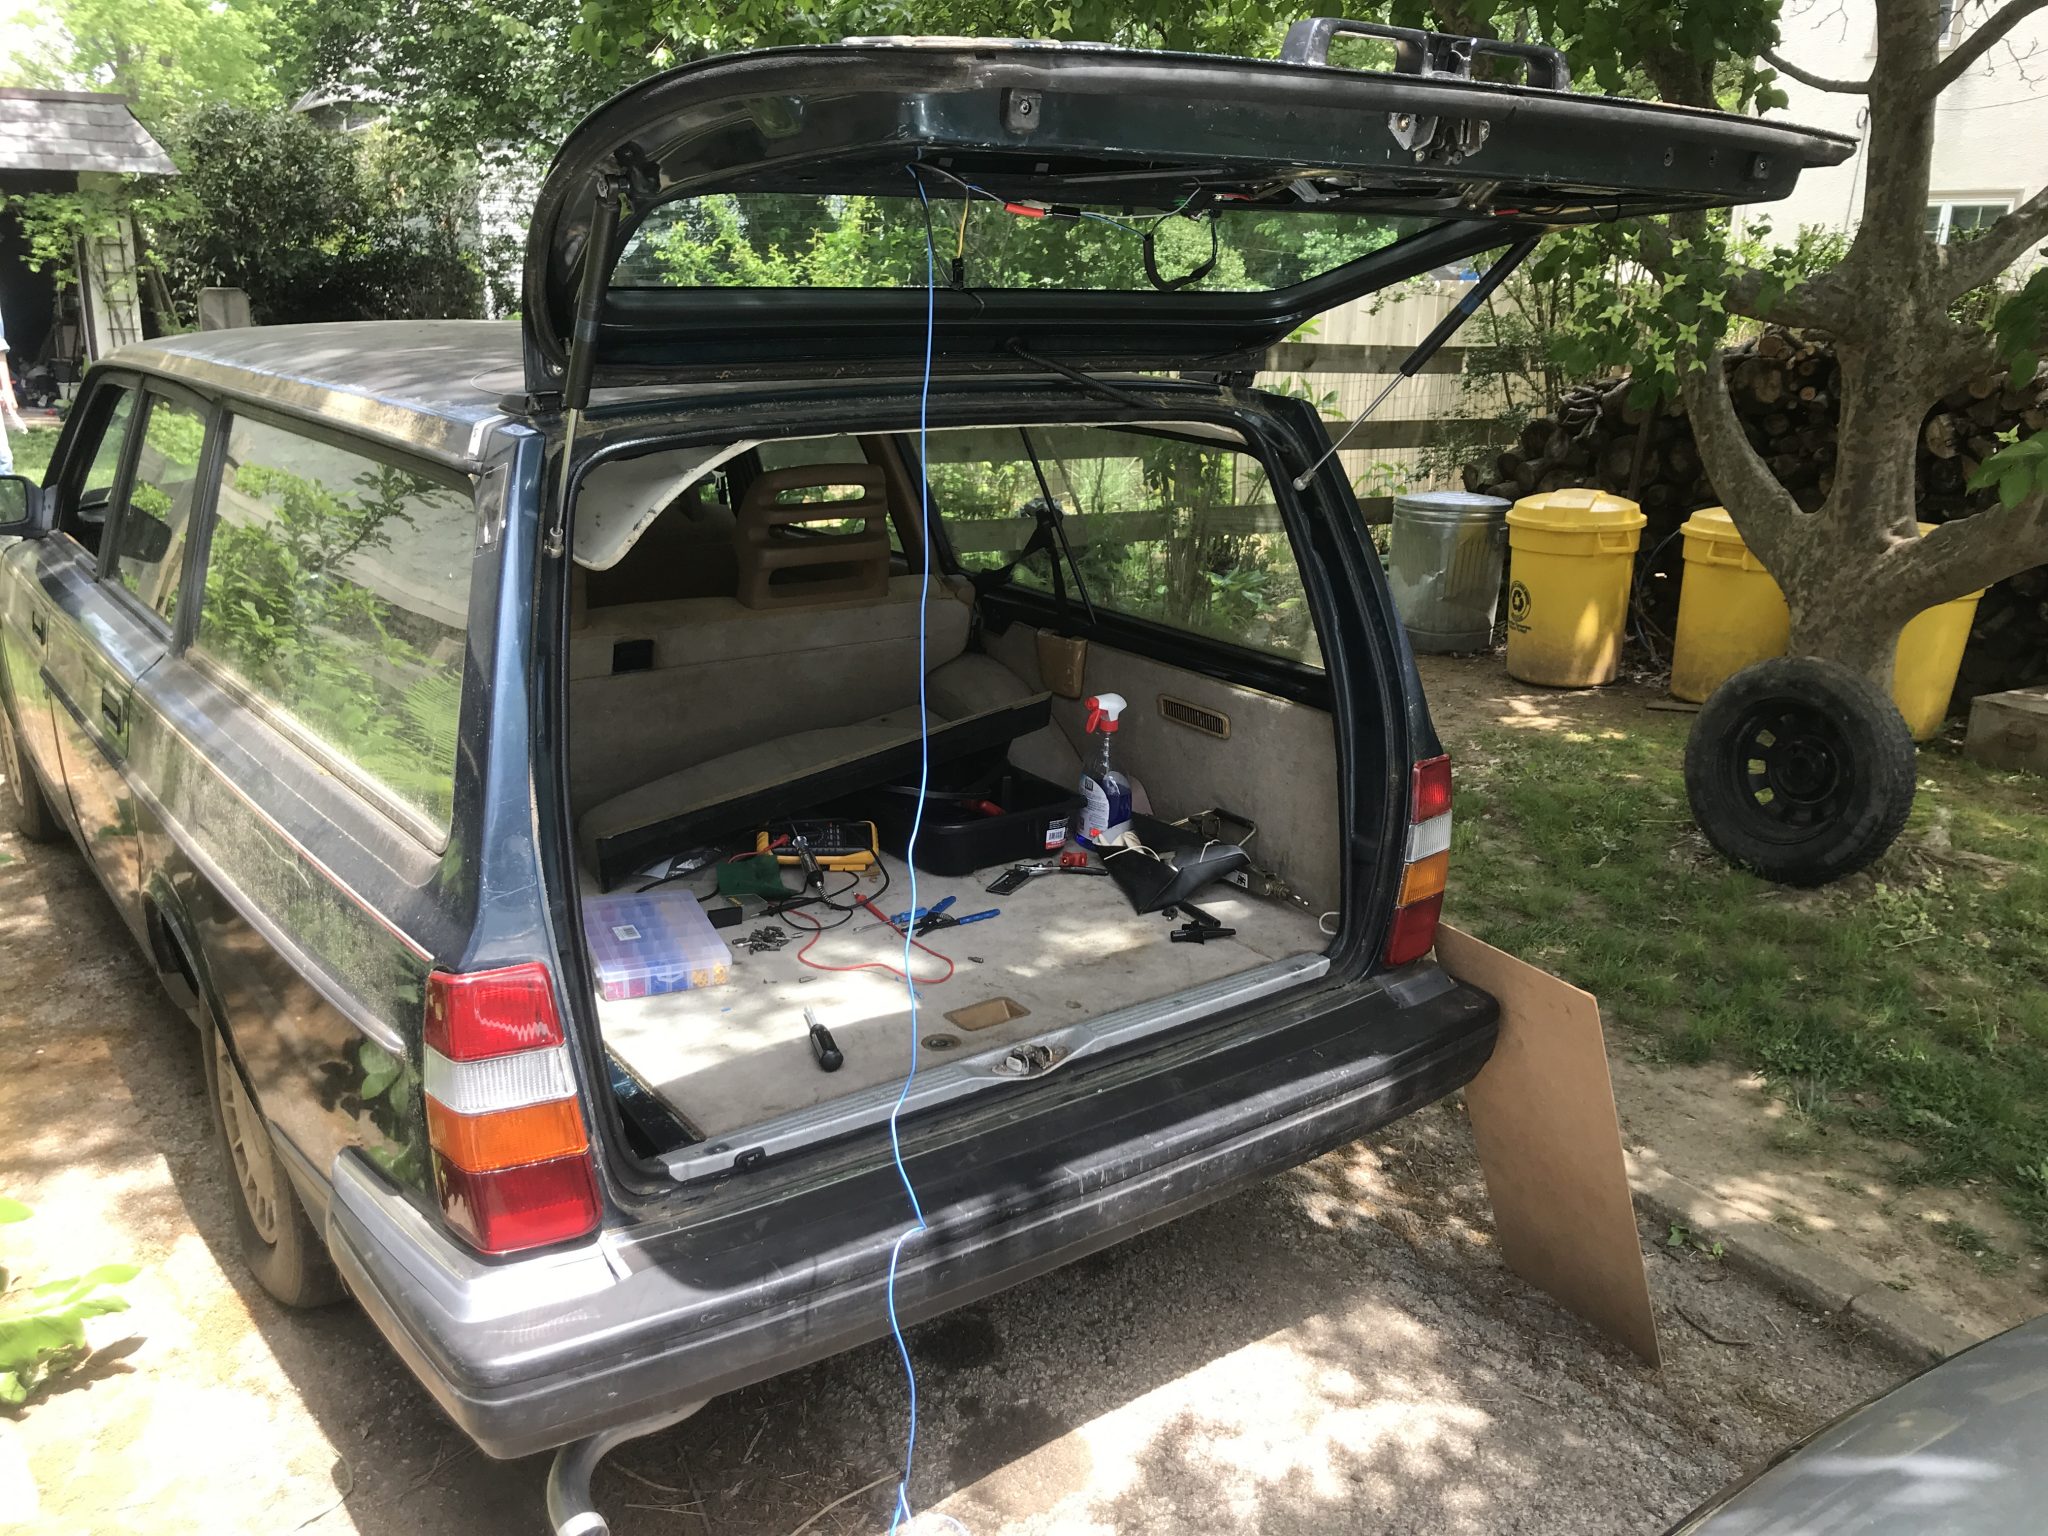
As I have been taking small test drives around my neighborhood I’ve noticed that occasionally my rear lights would start doing strange things. Specifically when the headlights were on the license plate lights would go out when the brake pedal was pressed. This seemed like an obvious short circuit situation or a bad connection. My suspicions were with the grounding cables I had jury-rigged when I replaced the rear hatch wires some time back. Sure enough when I connected the license plate bulbs to a ground inside the cabin of the car it worked fine. I really didn’t want to remove the rear hatch again. Honestly I wasn’t sure why the electronics in the hatch were relying on a tiny wire inside the hinge for a ground rather than running a longer wire from the hatch and through the hinges to the inside. Perhaps it was a matter of overall production cost or a consideration of manufacture, but I didn’t have either of those problems. I decided to thread a wire from the grounding bolt on the inside of the hatch to one inside the car itself.
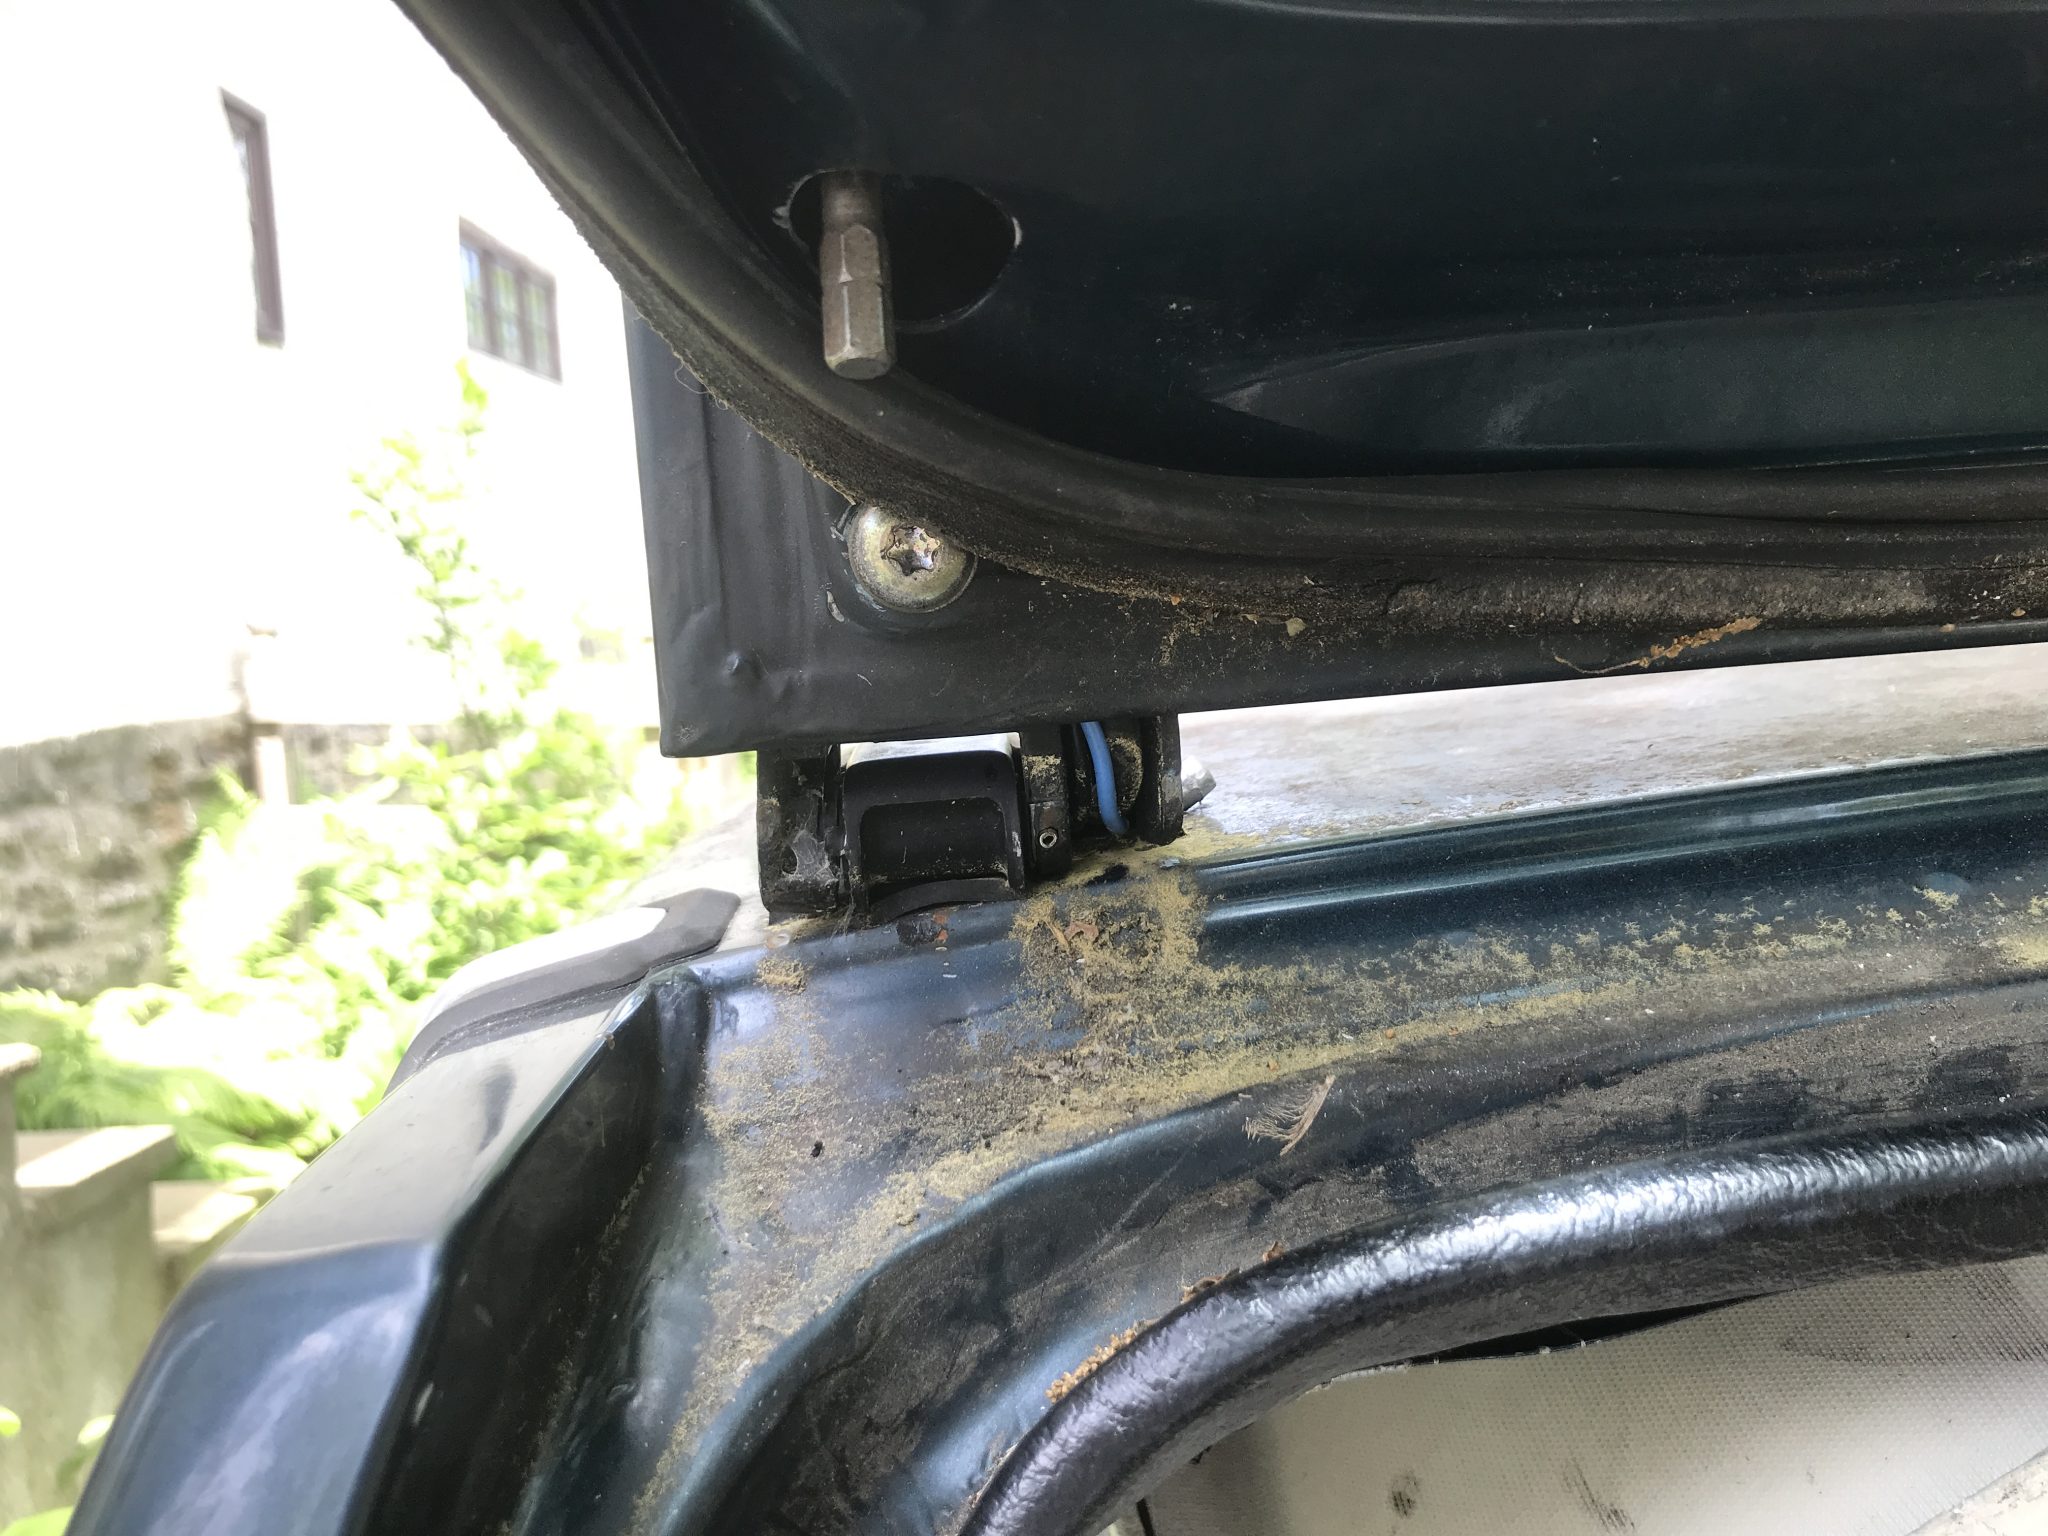

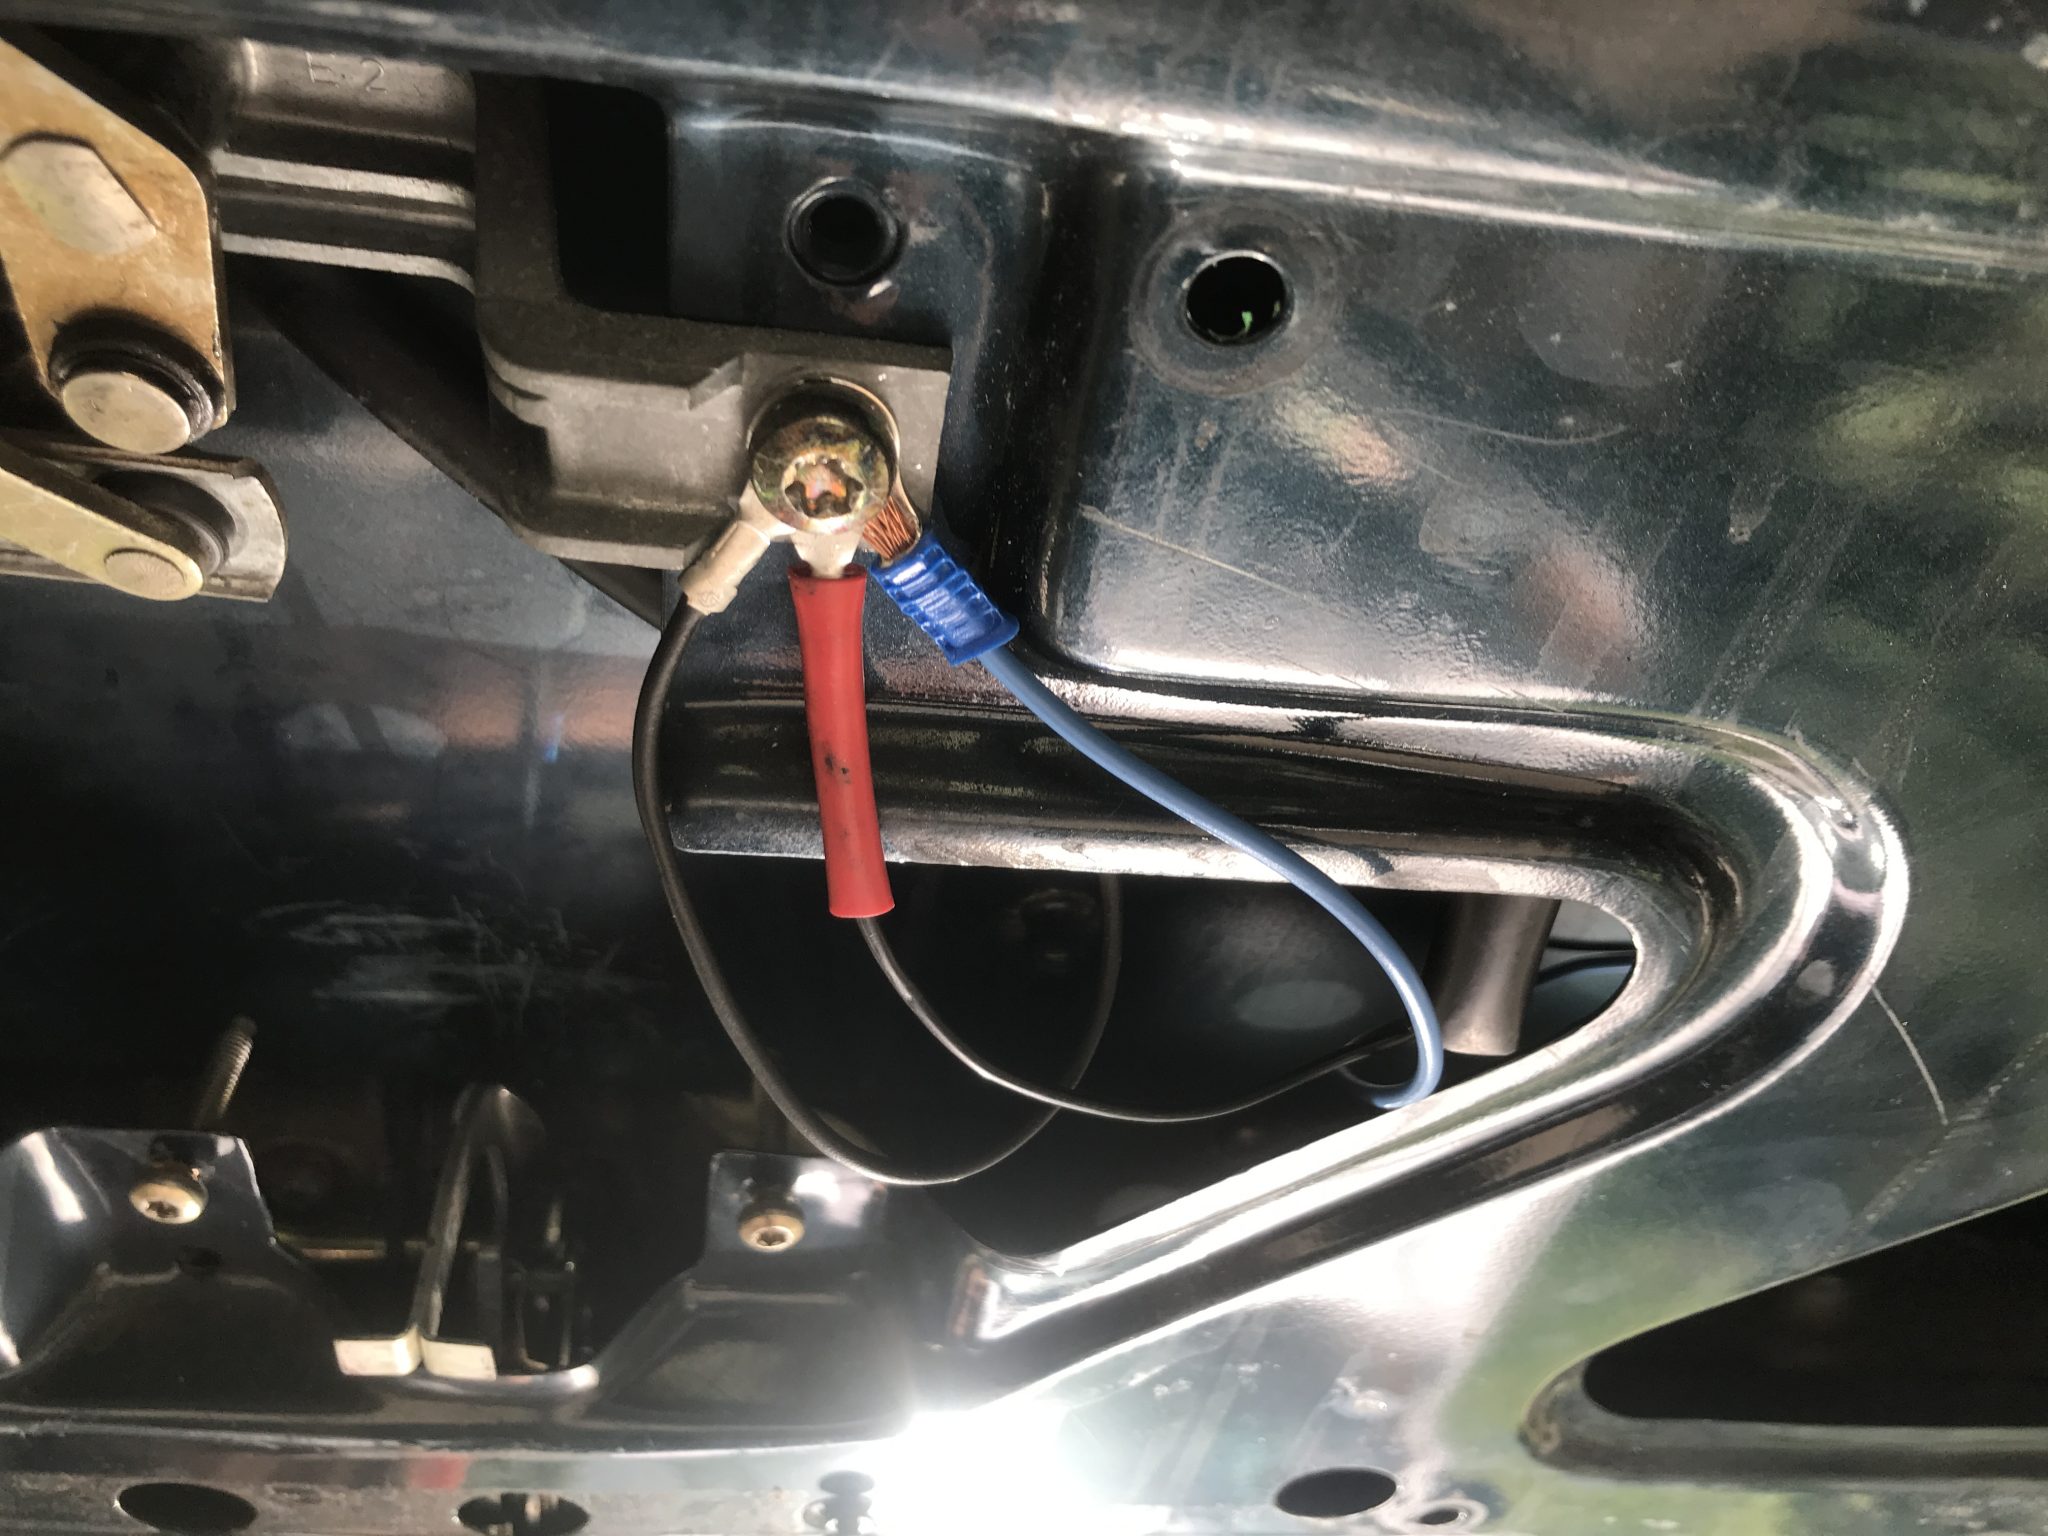
It worked like a charm. It also marks the last large hurdle between me and getting this car an inspection sticker. Hurray!
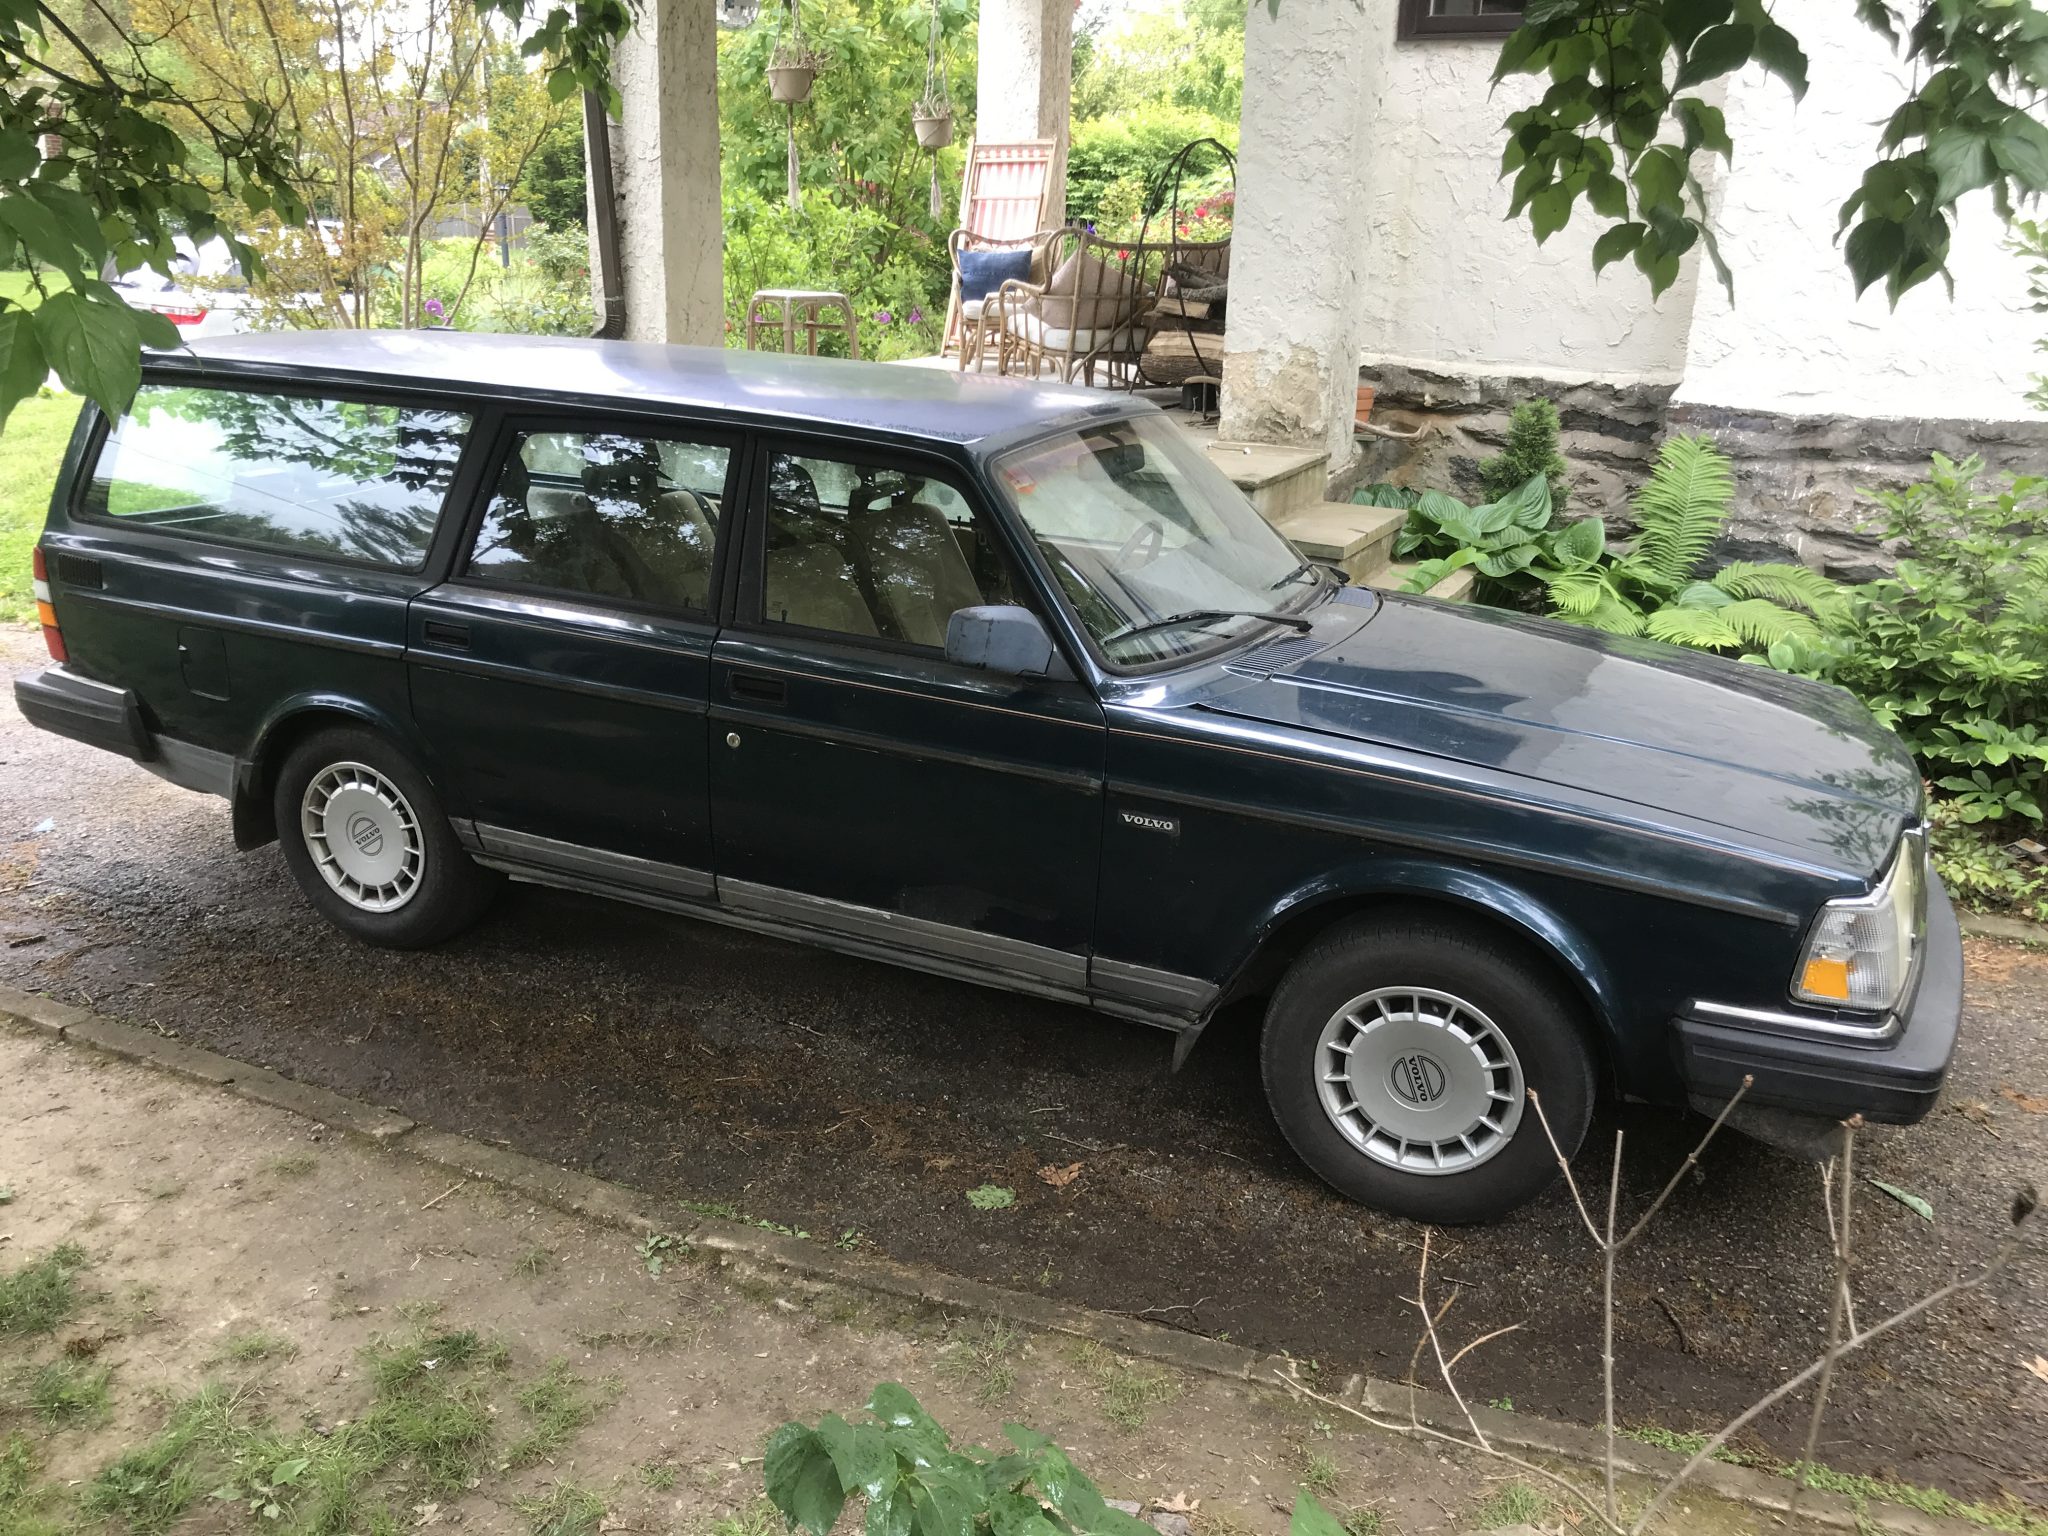
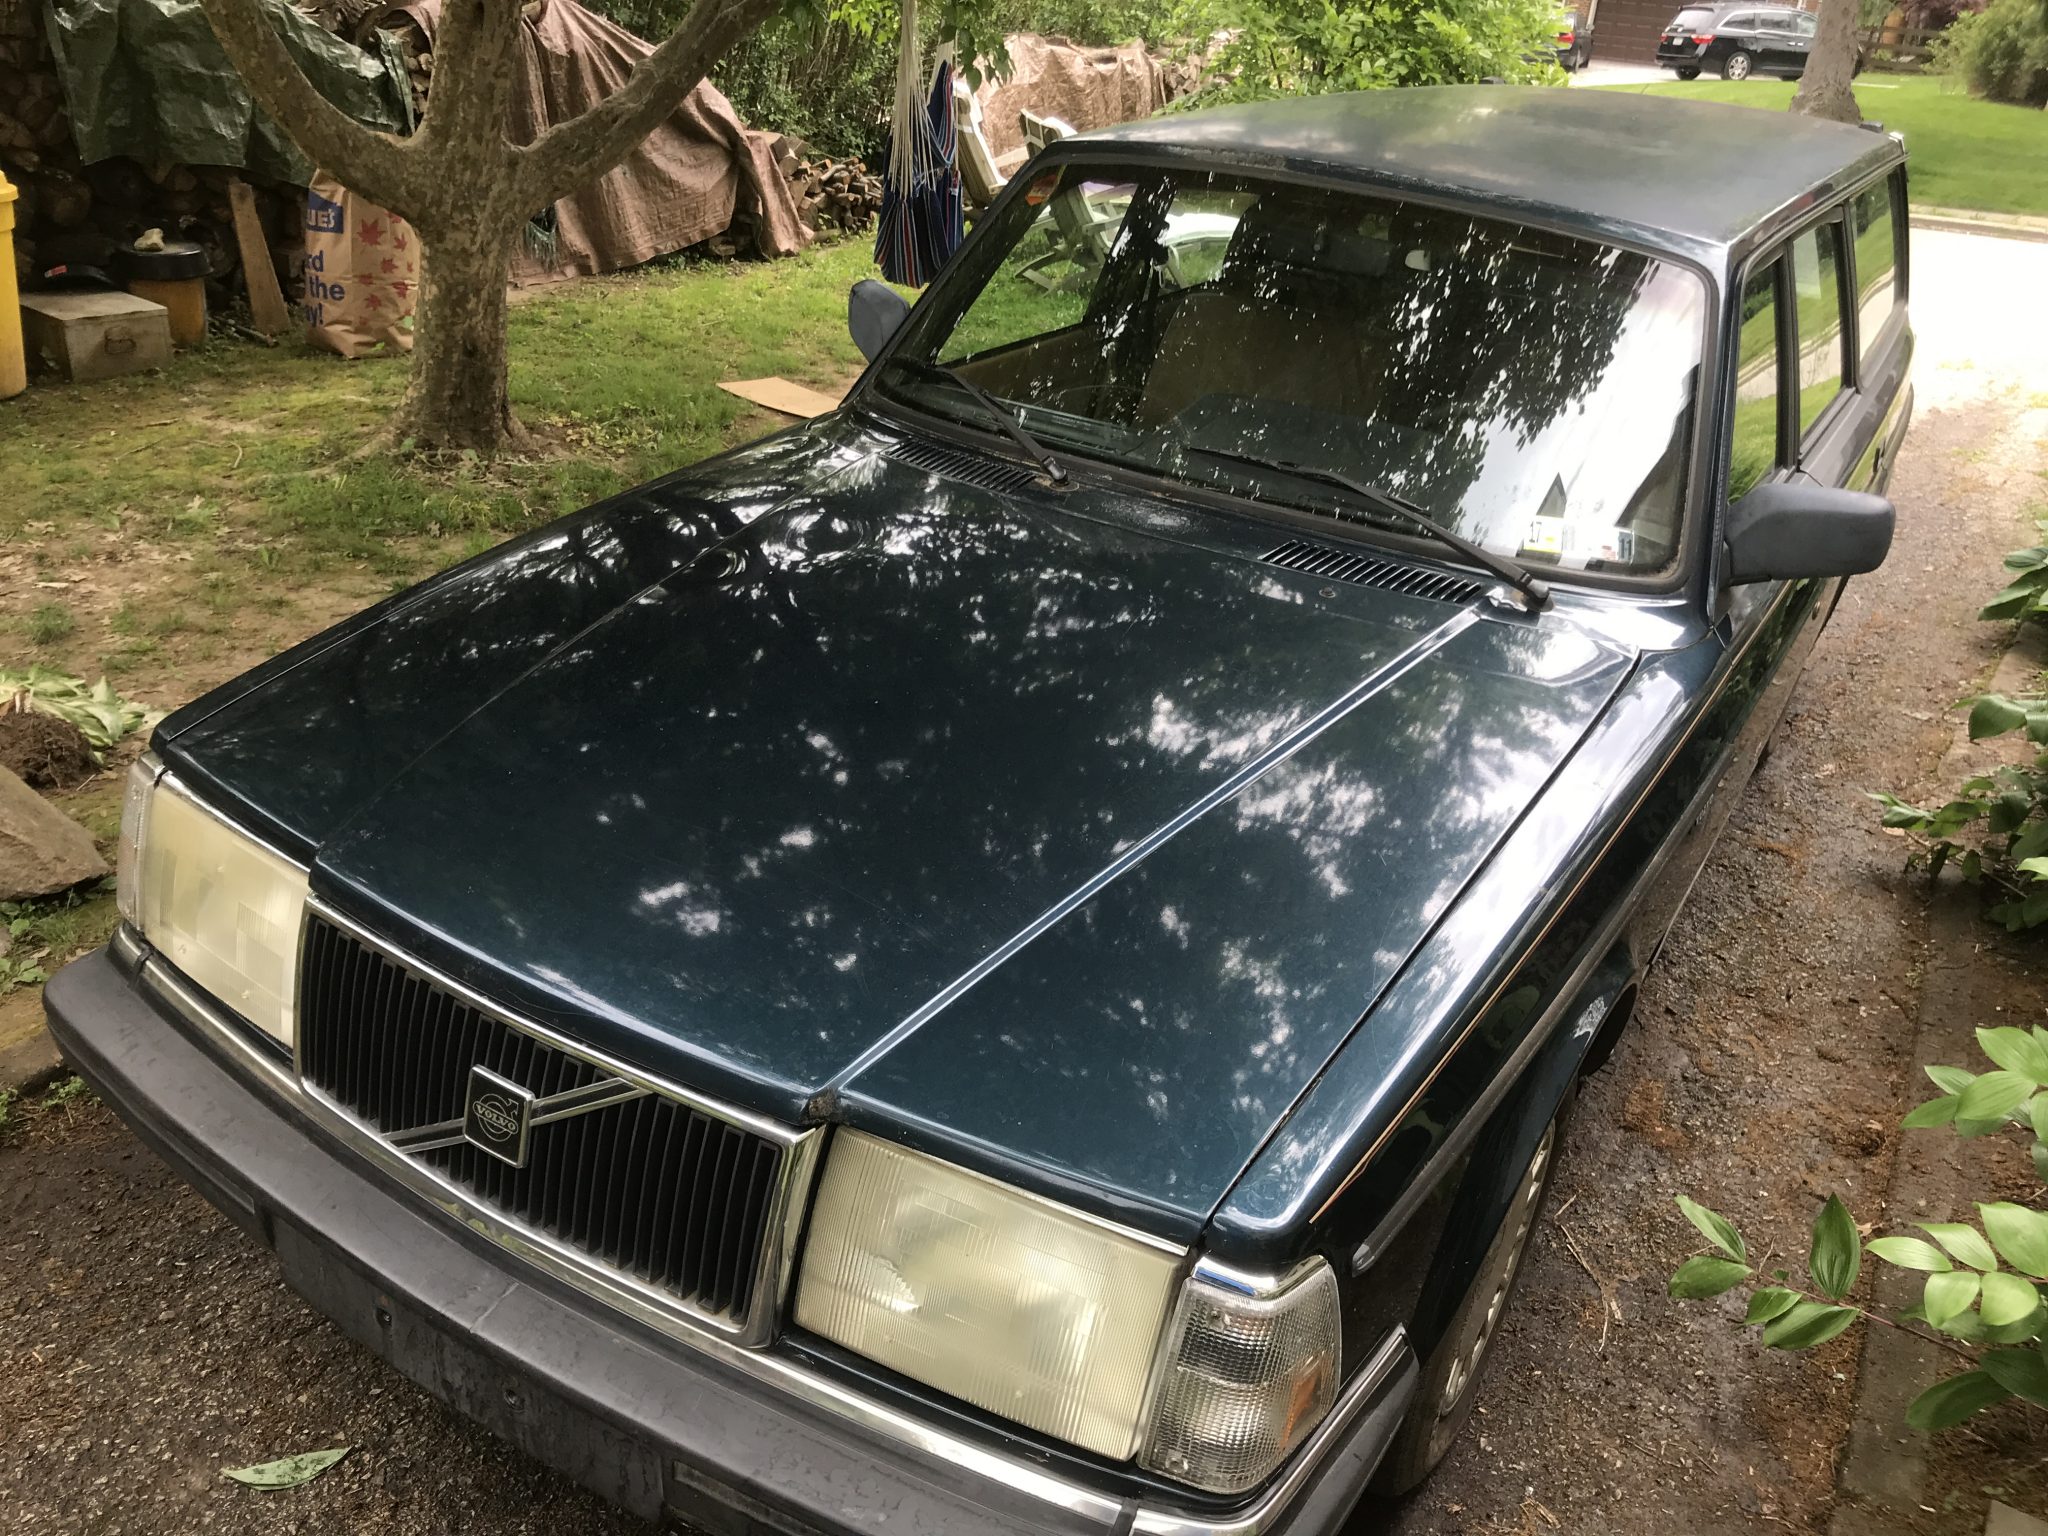
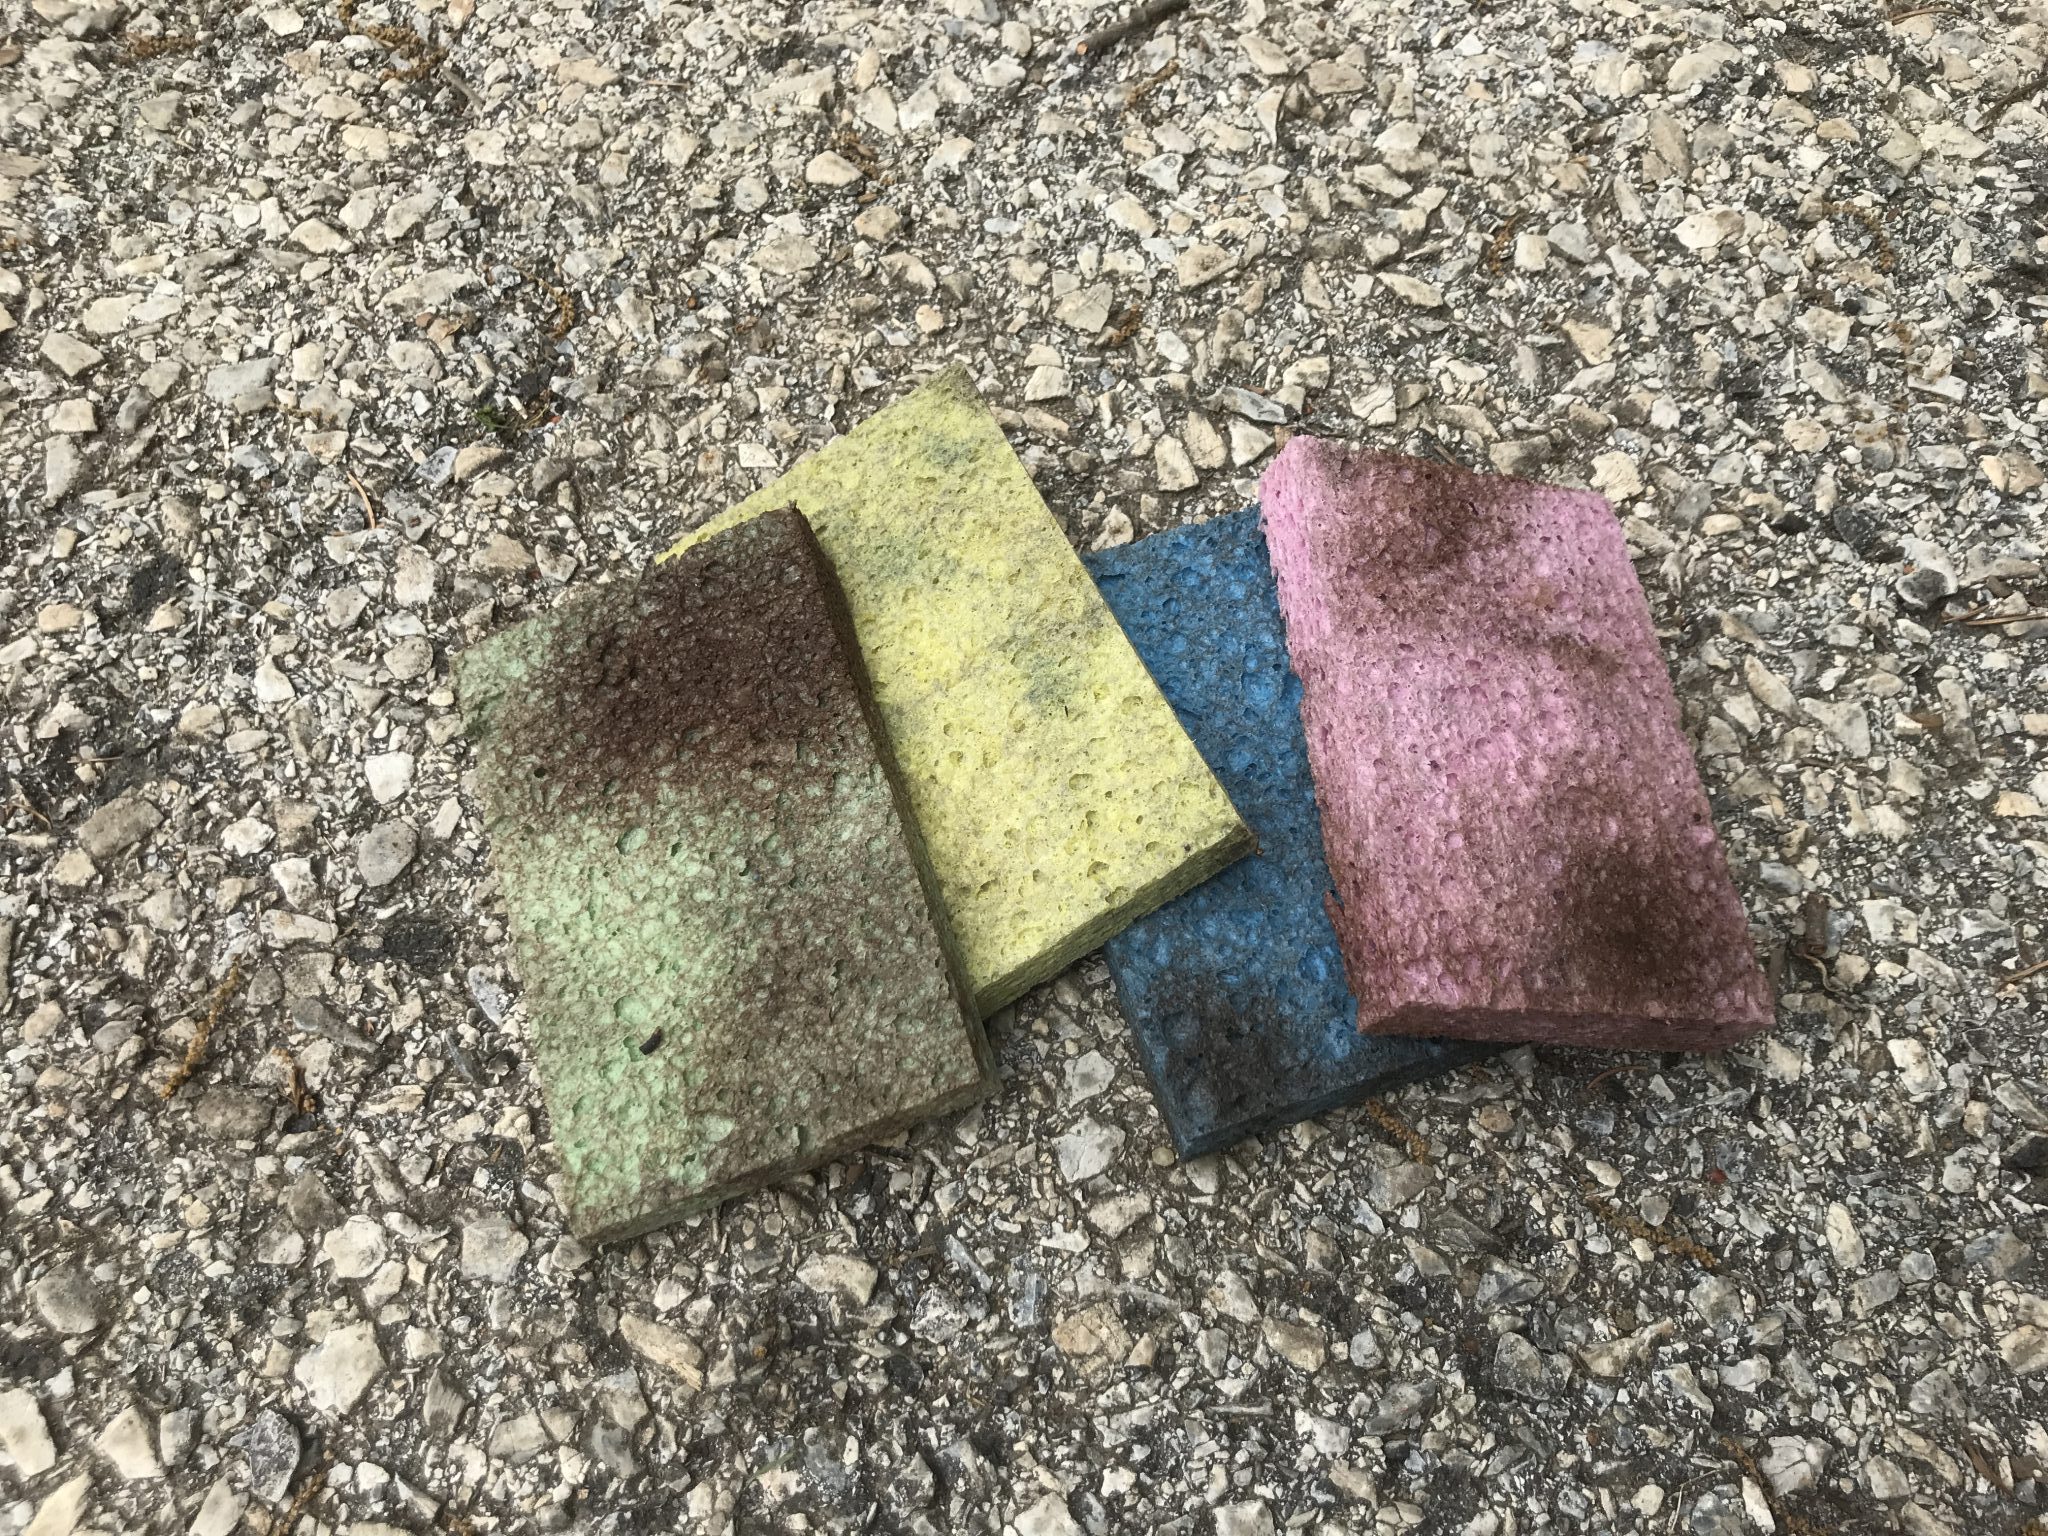
Wash Day
Before then, though, I think she’s earned a wash. The tree pollen has been brutal this year and the car is parked right under several of the worst offenders. When the next warm weekend rolled around, I enlisted the help of my kids for this task. Using a hose, a bucket of soapy water and some sponges we preceded to wipe all that grime off (or at least as much as was possible in an hour or so).

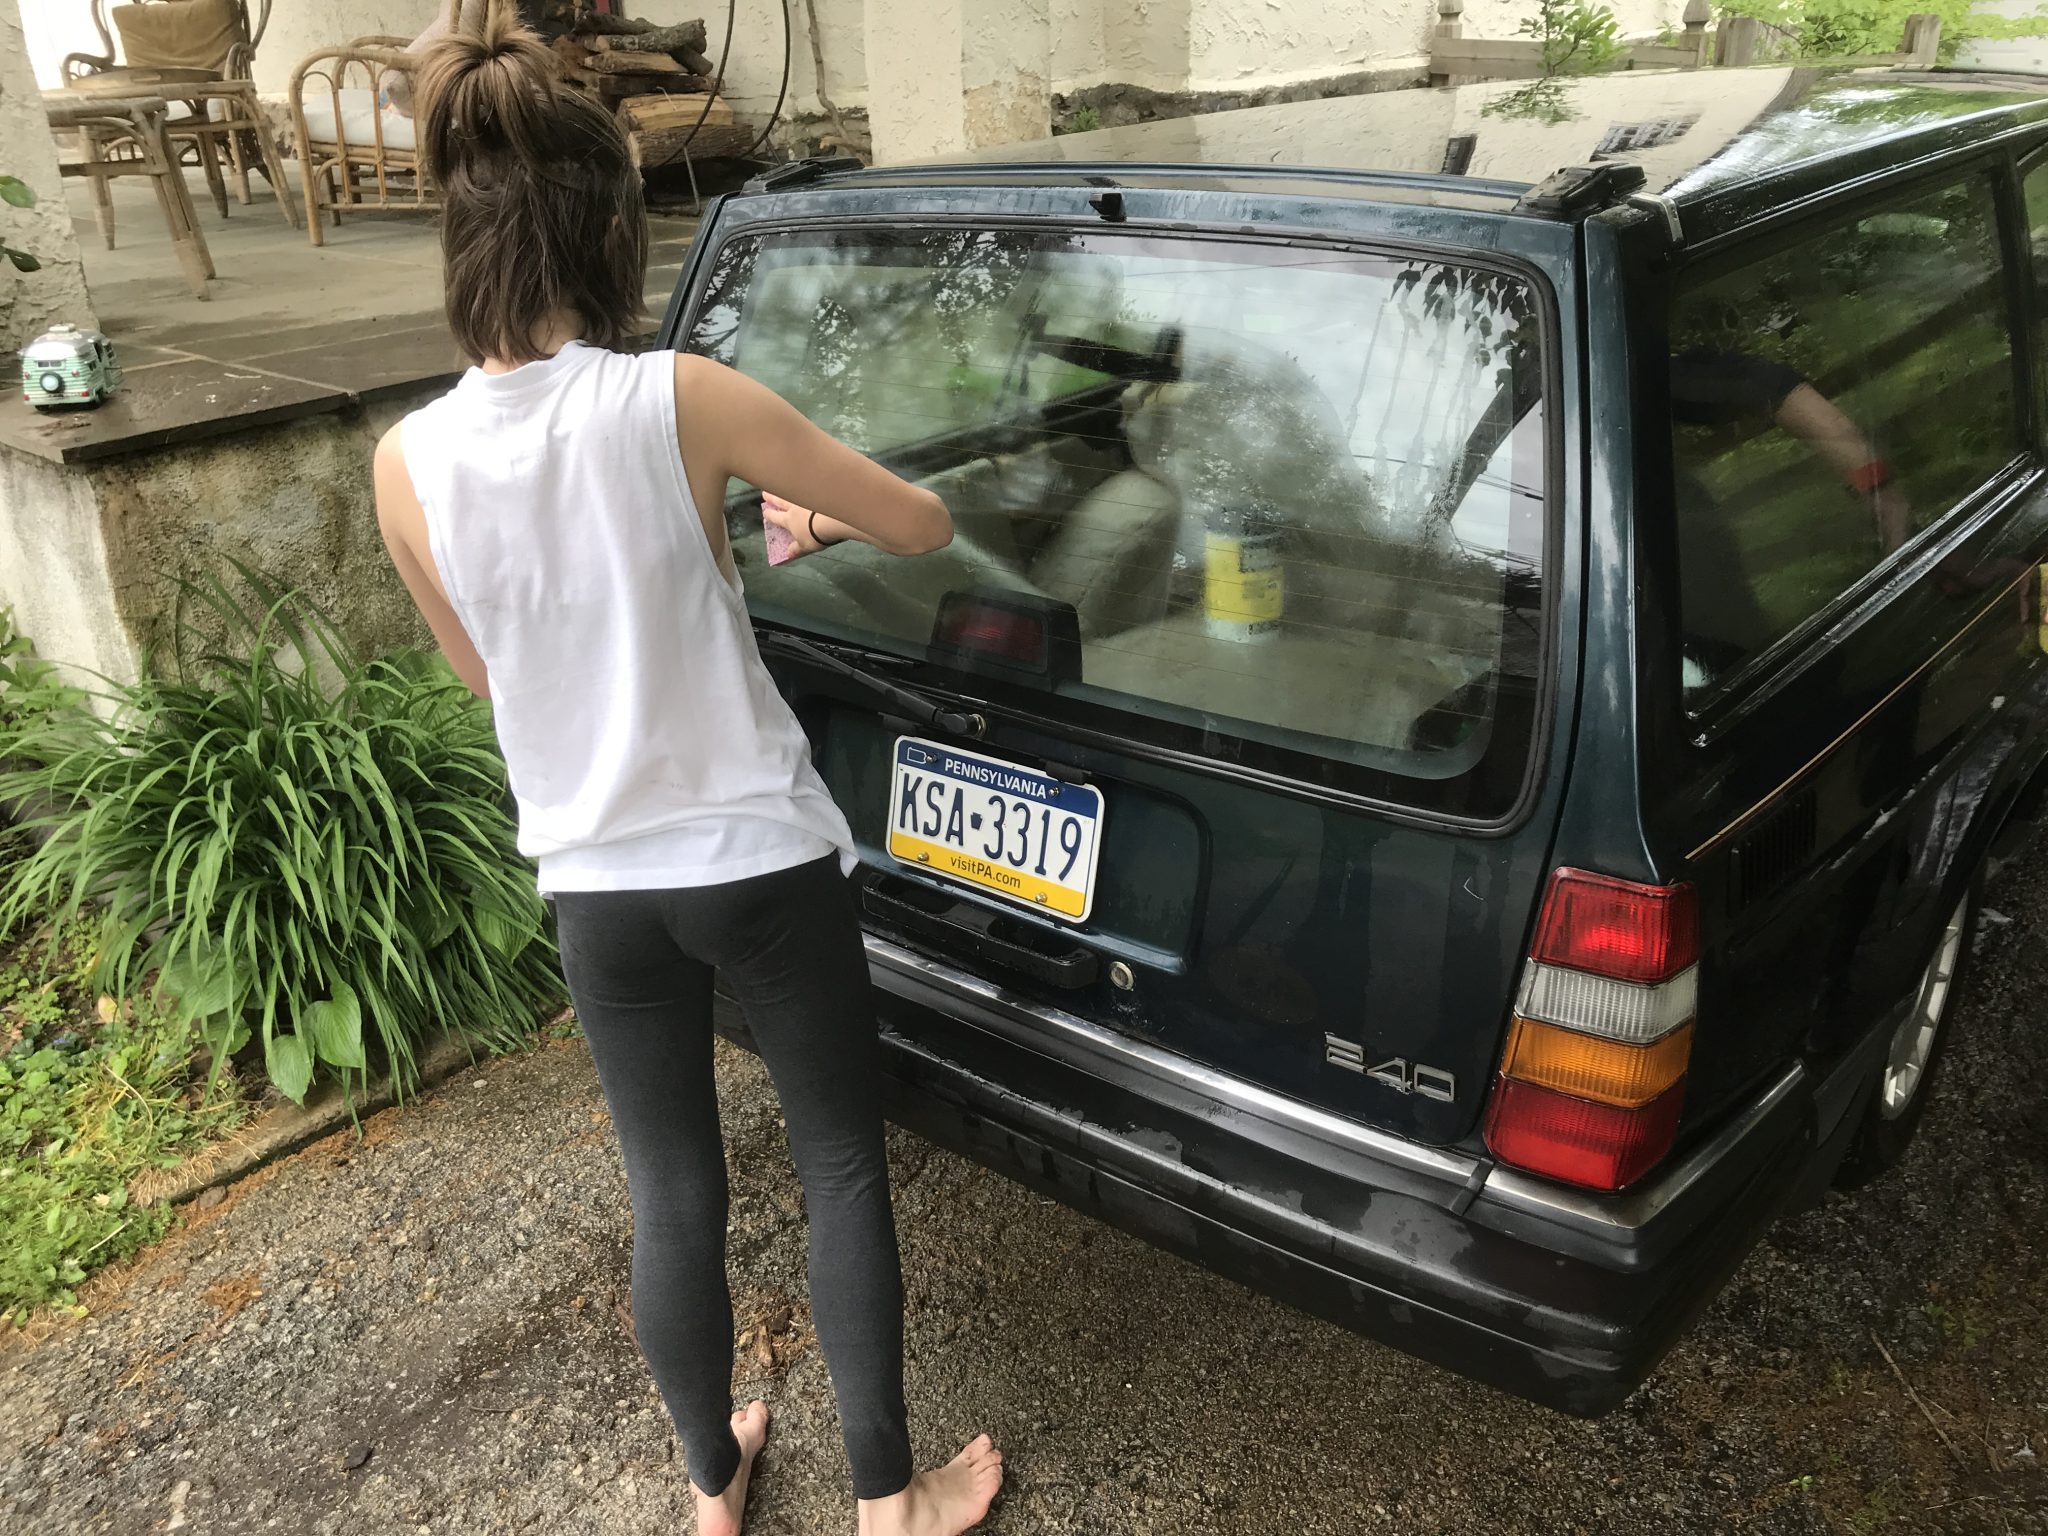
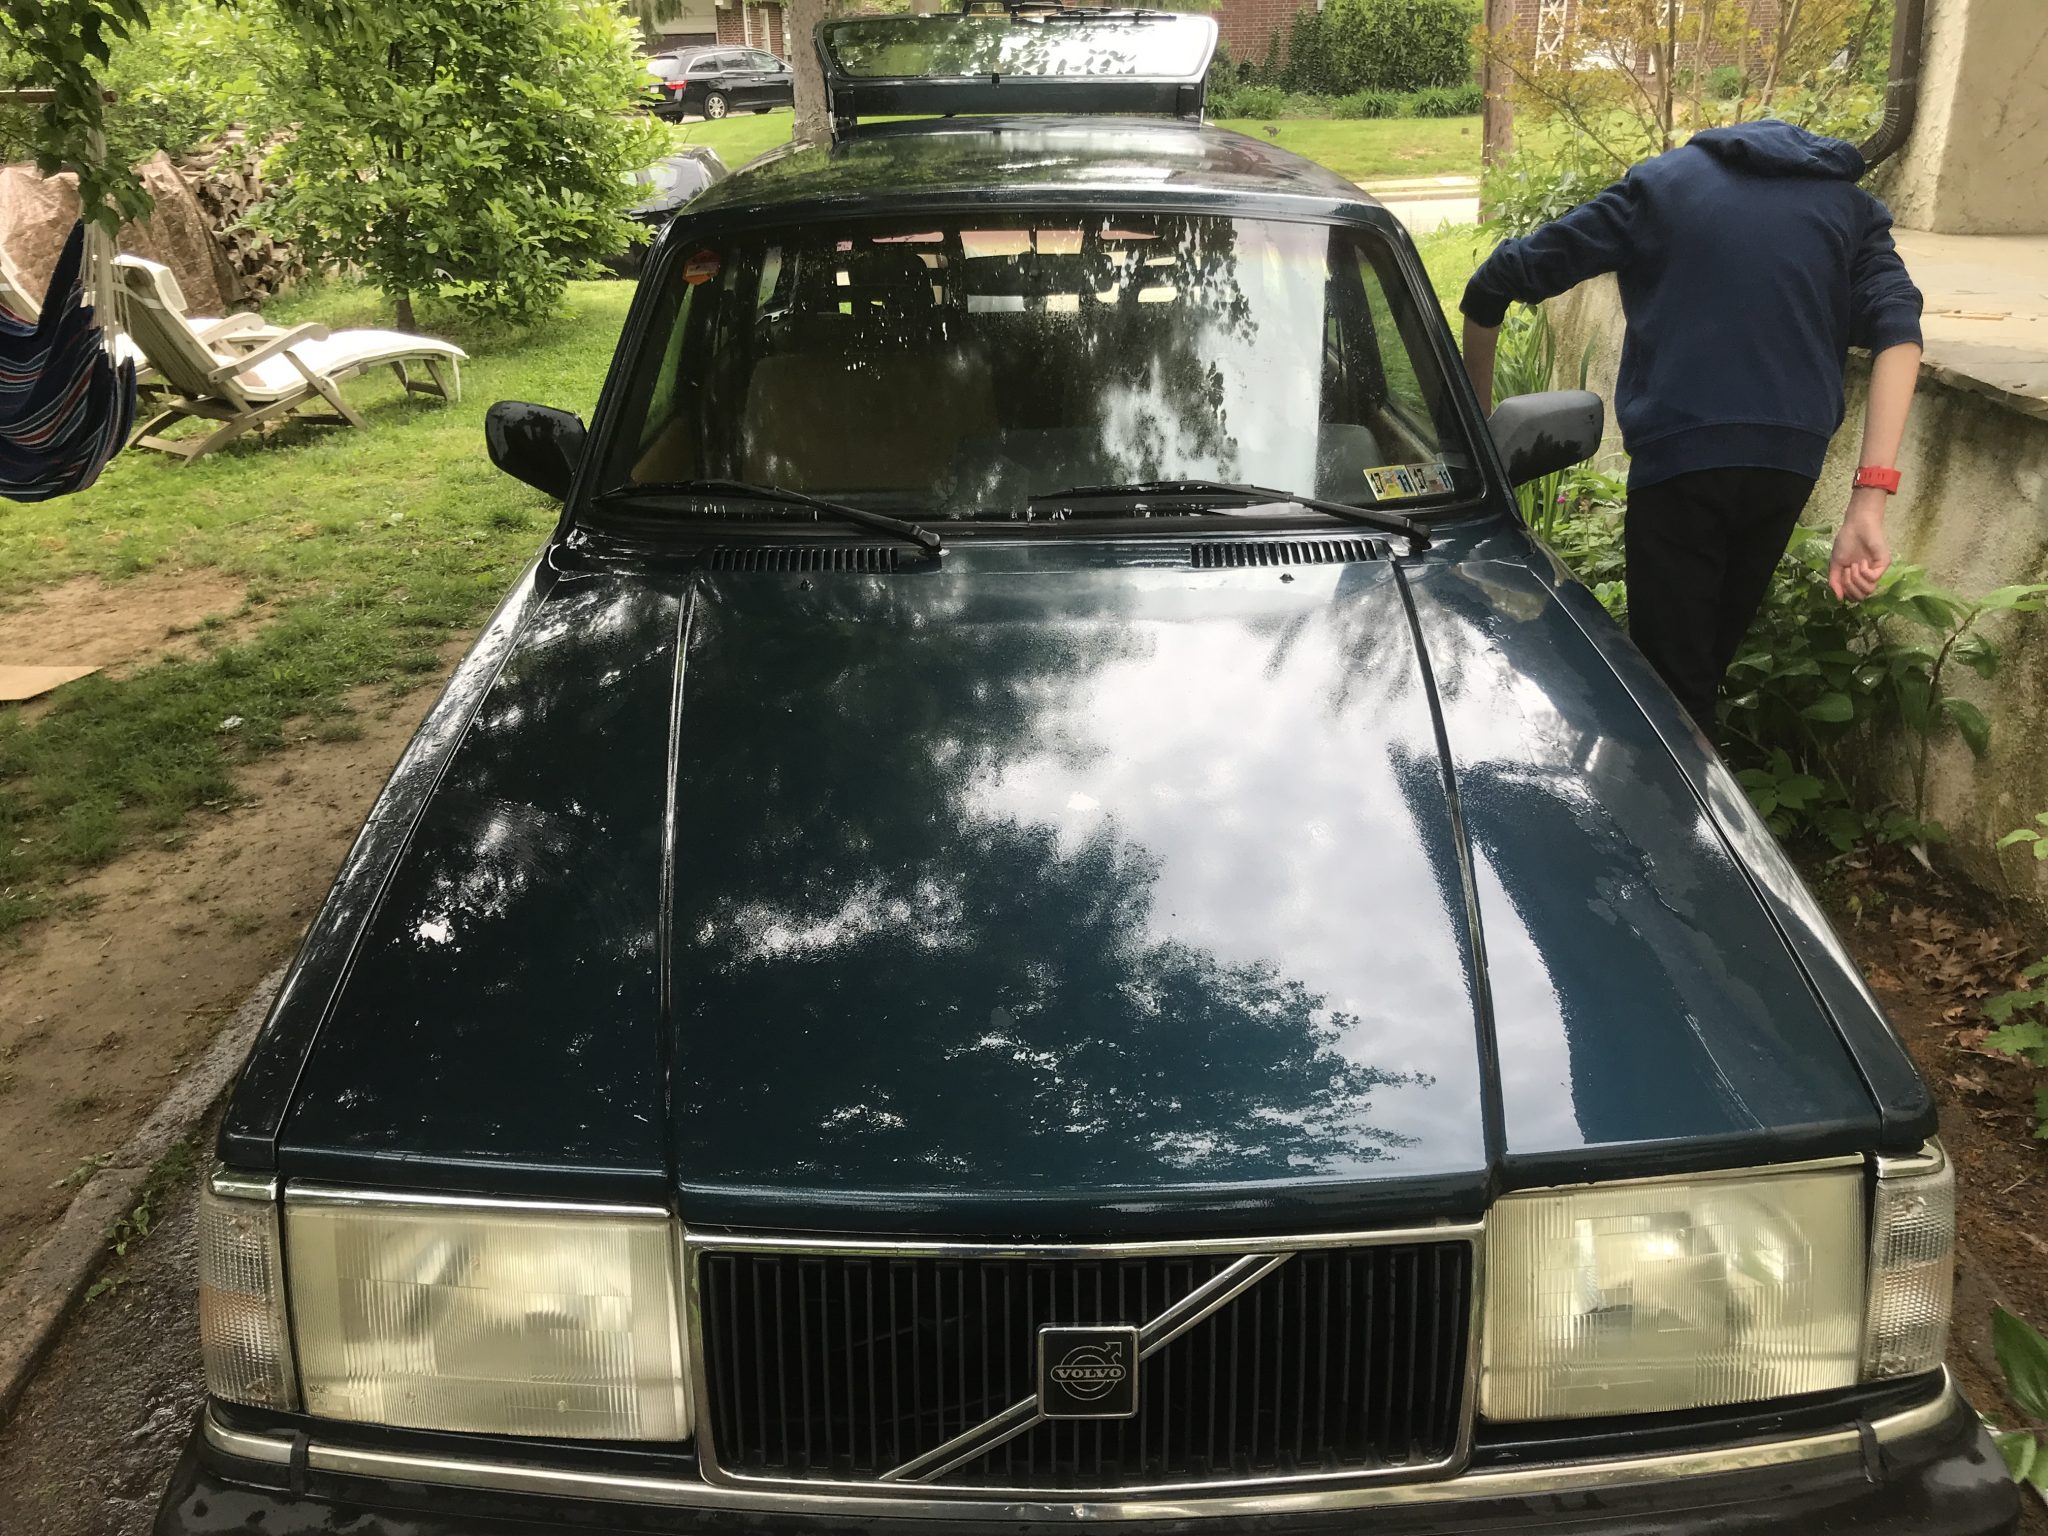
While not exactly showroom sparkling we got it so that she looks decent enough for the roadways.