New Exhaust Plus Complications

After a few weeks of waiting there was finally an alignment of decent weather and the weekend. That meant as soon as a got done with a few household chores I was able to start the process of taking out the old exhaust and putting in the new one. This system includes the resonator, a muffler, and the various pipes that connect them.

First a quick note of resonators vs mufflers. They are similar to each other in that they are responsible for mitigating exhaust noise. The main difference is that the resonator does not quiet the exhaust sound. Rather it “tunes” the exhaust sound in a way that makes the muffler’s job easier. That way the muffler can be designed to muffle a much narrower set of frequencies which means a quieter ride with less of a hit on performance.

Removal

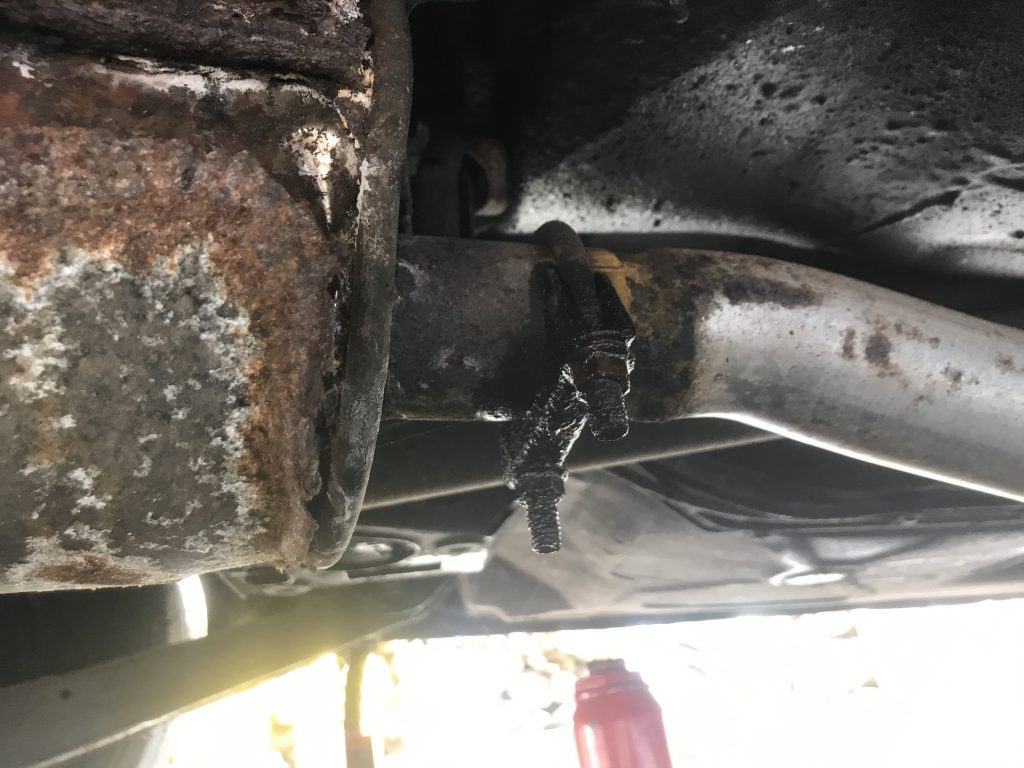
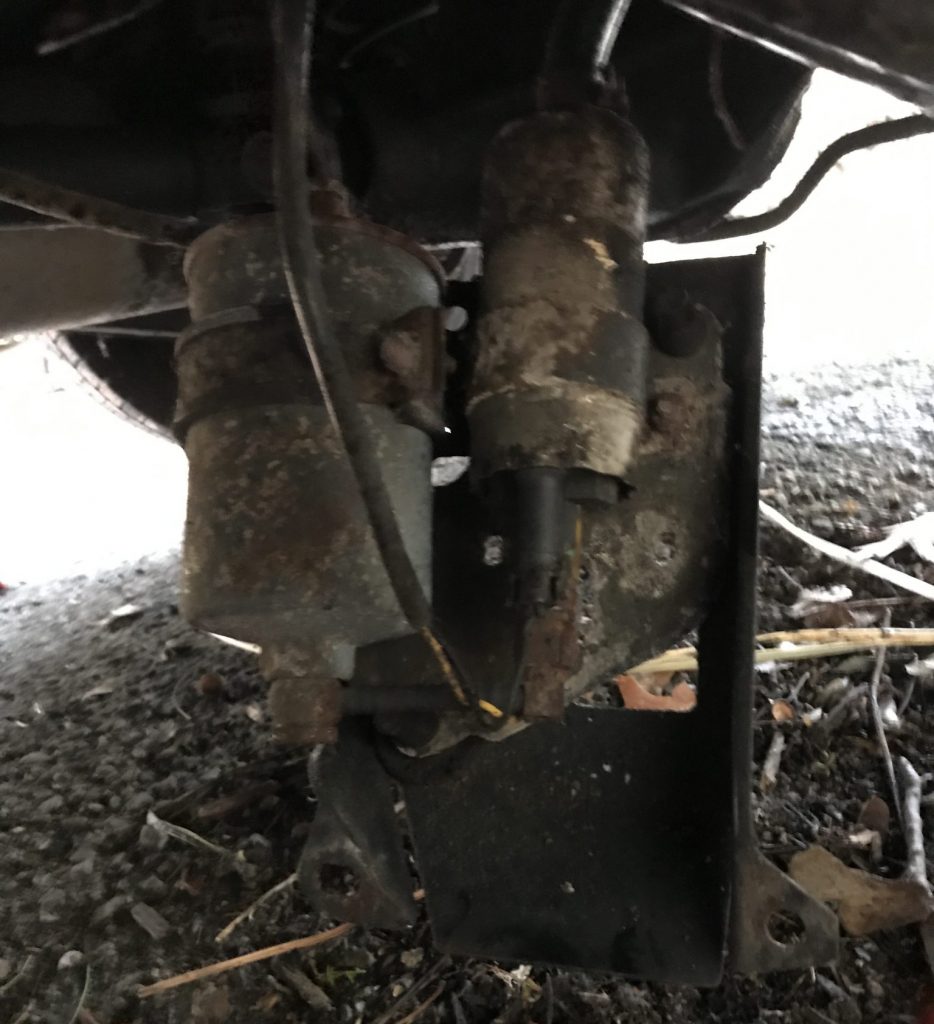
The whole process starts by jacking up the rear of the car onto jack stands. Next I had to remove the clamp that connects the resonator to the catalytic converter pipe. This clamp was hideously rusted and was almost just a clamp shaped lump of corrosion. I blasted it with WD-40 and used a breaker bar with a 14mm deep socket to get the nut turning. It took some muscle, and boy did that nut scream as it turned, but eventually I got both sides off far enough to be able to move it out of the way. I then got out the rotary tool and used a cut off disc to finish it off. I wasn’t going to reuse them, so this was the much faster and easier method.

Continue reading

Shifter Bulb, Door Switch Fix, and New Window Scrapers

The weather this past weekend was very pleasant which meant the opportunity for car work was there. It also meant that spring cleaning was in play too. In the end I didn’t spend a lot of time working on the car, but I did find some time to do relatively small but critical things. After I finished cleaning out the garage and installing a bell on my front door I moved on to the car.

First on this list was a simple swap of the dead bulb inside the shifter. This light is there to illuminate the position of the shifter when the headlights are on. This procedure was just a matter of unscrewing the shifter cover and moving it out of the way so I could access the bulb socket. The socket is pulled out of its holder, the bulb switched, and the cover screwed back in place. Now I can see what gear I’m in when it’s dark.

Continue reading

Lug Stud Swap

Back when I changed my brake pads I found that one of the lug studs on the driver’s side rear tire had stripped threads. Or maybe the process of taking the tire off stripped the threads. I’m not sure. But I would need to change that lug, and that’s what I did this weekend.

Continue reading

Temporary Retreat

Once again I crawled under the car to do battle with the rounded bolt holding the overdrive solenoid to the transmission. I was feeling confident. I had a set of bolt extractor sockets which I felt were up to the task, and, if they failed, some long-nosed locking pliers (aka “vice grip pliers”) that could maybe do the job. The weather was nice and I was in good spirits. This was definitely gonna work and I’d be ready to push on with replacing the broken part and getting my overdrive back in working order.

And again, that’s when the plan always falls apart.

Continue reading

Minor setbacks

So… the Go2 socket was not as effective as I’d hoped. I don’t fault the tool here for several reasons. First, the bolt it was trying to grip is a flange style bolt (ed: it’s actually a hex bolt with a lock washer that’s slightly wider than the bolt head which has about the same effect). The small lip of the bolt made it difficult for the locking screw to find purchase. Secondly the space between the bolt and the body of the solenoid was just too small for the Go2 socket to turn. Under different circumstances this tool is probably a Godsend, but for me it was not what I needed.

That plan having failed, I proceed to waste another few hours trying as many tricks as I could think of to get that bolt to turn. I used a rotary tool to cut a slot in the top in an attempt to get a short screwdriver on it. That didn’t work. I put a torch on the bolt to see if heat could persuade it. All that did was set the insulation around the solenoid on fire. I even briefly contemplated welding a socket to the bolt. I’ve seen this done before, but I was reluctant to run current through the solenoid as it grounds to the transmission. I didn’t want to accidentally blow something up. Eventually I was forced to stop for the day. A combination of frustration and an aching back from crawling in and out from under the car had bested me.

But all hope is not lost. I have a set of bolt extractors to try, and a set of locking pliers with a long needle nose that maybe might be able to grip that bolt if the extractors fail. If neither of those things work I think I’ll have to execute a tactical retreat by putting a new (anti-seize covered) bolt back in the place I removed the old one from and move on to another task for the time being. Hopefully I’ll just get that damn bolt out and install the new solenoid like I had hoped to have had done weeks ago.

The good news: half way there!

After getting that set of flex head wrenches that I thought would give me the clearance and leverage on the bolts holding the overdrive solenoid, I climbed back under the car to try again. I was eager to get moving on this seemingly simple task of removing two bolts. Just two bolts? How hard could that be? Sure I learned last time that the bolts were in a location that was a bit awkward to access from below, and that the bolts themselves were very greasy and perhaps a little rounded off already. But I was ready for the challenge.

My efforts were initially promising. I got a wrench onto the rearmost bolt, positioned the handle in a way that cleared the transmission housing while still giving me some leverage, cranked on it, and… success! The bolt started moving and was soon removable with just my fingers. Five minuted in and I was already halfway done. Things were looking up! And, of course, that’s when the bottom always falls out.

Continue reading

A frustrating day

After a Saturday full of dense fog and chill, today looked to be a much better opportunity to do some work on the car. After running to the store to get snacks for the Superb Owl later tonight, I wasted no time in changing into work clothes and getting to it. Next on my list of things to do was the overdrive solenoid. That required jacking the car up so I could get underneath the transmission.

Continue reading

Out with the old

The weather recently has been cold making work more difficult, but nevertheless I took the long weekend to get a few things done. First, on the outside of the car I replaced the stripped out brake guide. That screwed in simply enough and was quickly done.

Brake Pins

I then went to replace the pins holding in the retainer springs on the brake pads. If you remember, the existing ones were very rusty and a few of them were bent. Unfortunately the springs for the front brakes were not sent along with the rest of my AutoZone order, so I had to reuse the old, crusty ones. After an email letting them know AutoZone quickly made it right and put the springs in the mail, but I was disappointed that I couldn’t replace them while I had the wheels off. I’ll have to wait until the next time they’re off, probably when I replace the dust guards, to put them on.

Continue reading

Changing the brake pads

We have been blessed with an oddly warm January weekend, so I took the opportunity presented to change out brake pads. I have no idea when that was last done, and the short test drives I’ve been taking have suggested that they were due. With the help of my oldest son, I got right to it.

Continue reading

Fuel Filter Change

Changing the fuel filter, in my mind at least, should be a simple task. On a 240, however, I found it was a pretty big pain in the butt. The filter is located in a metal cradle of sorts just in front of the driver’s side rear tire. This cradle also holds the high pressure fuel pump and is bolted to the chassis using three bolts with 12mm hex heads. Getting them out was the easy part.

Gross
Continue reading

Happy New Year!

Welcome to the year 2020. I hope everyone had a good holiday season with lots of good food, friends, and fun. I found myself with a surplus of use-it-or-lose-it vacation days at the end of last year, so I’ve had a few weeks off. I used some of that time to put the finishing touches on the engine before attempting the first start in months. In anticipation of this event, I filled the cooling system with distilled water to flush any remaining sedative and gunk that might be lurking in the block and radiator. After the engine (hopefully) ran a little I’d empty that out and put in actual coolant.

First Start

With the coolant tank topped off and the battery recharged (it had been sitting in a cold garage for months, so it was stone dead) and installed, I took a moment to jump the left side of fuse four (the in-tank pre-pump) to the left side of fuse six (the high pressure fuel pump) to get them both running. This was to check for fuel leaks which, thankfully, there were none.

The moment had come. I crossed my fingers and turned the key. After a couple of seconds of turning and a stall or two, the engine hummed fantastically! I was pleased to say the least, and a little proud that I had managed to put everything back together correctly. I let the engine run until the temperature rose to a normal operating level and shut it off. After it had cooled down again I opened up the lower radiator hose and drained the water. It looked pretty clean if not a little murky. I then refilled the system with Pentofrost A3 blue premix and called it a day, happy and confident in my work.

That would soon change.

Continue reading

Oil change time

In preparation for the first engine restart I wanted to change the oil. This was a pretty straight forward operation. I got the front of the car up on jack stands to make accessing the oil pan easier. I then crawled under and, having pre-positioned a plastic basin to catch the oil, and used a 1″ wrench to open the plug bolt. The oil that came out was as black as pitch. I’ve read that this doesn’t necessarily indicate that your oil was worn out or too old, but it certainly doesn’t mean it’s still good. Most importantly it didn’t have little sparkles that indicate metal shavings which was my greatest concern.

Continue reading

Fuel system installed

The engine is now almost completely back together. The most significant section missing is the fuel rail and injector assembly which I had put together last week. All there was left to do was put it back on. I have to admit I was a bit nervous about this. The fuel will be pumped through there at around approximately 35-40 psi (depending on engine demand). That’s about the same pressure as a garden hose nozzle. If the line leaks that’s gasoline being sprayed all over a potentially hot, sparking engine. I’d prefer to not burn this car up before I even get a chance to drive it a little, so some caution is warranted here.

Continue reading

Doing vacuum connections correctly

After I got the air intake system back together I spent a little time pondering a few spots in the vacuum system that didn’t seem to have any connections. My library of photos was no help, and I kicked myself for not documenting all this stuff more thoroughly. Finally I got a flashlight and peered down into the innards of the engine bay and noticed a stray hose coming from the brake booster that had no place to go. Where it seemed like it should go was currently occupied by the other side of the IAC. Then it hit me: I had the IAC going to the completely incorrect place. Where the IAC was going on the side of the throttle was where the brake booster’s vacuum line was supposed to go and the open spot on the back of the intake was where the IAC was meant to connect to! I switched them around and am now confident that everything is in the right place. To help others I drew up a simple (read: crude) diagram of where the various vacuum hoses should go.

Vacuum Hose Diagram B230F
Continue reading

Intake is back on

UPDATE: The vacuum hose connections featured in this entry are super wrong! Go here for the correct way to hook up the vacuum hoses.

After a delivery delay due to crappy weather and a busy weekend, I have finally been able to reassemble not just the newly cleaned oil separator but also put the intake manifold back on. The oil separator was just a matter of tightening a couple of bolt and a cable clamp. I’m sure there’s a torque setting for the two that attach it to the block, but I couldn’t find them in any of the literature I have. I tightened it to a point I like to call “not gonna fall off.”

Continue reading