She lives! Sort of!

Last night I got my new fuel pump relay. Installation is easy. Unplug old. Plug in new. Done. Except my engine didn’t run any better. I couldn’t even get it to idle. Since it was evening and I had kids to feed I left it for the night and went back inside dejected and sad. This morning I decided to try again. My first attempts had the same results. The engine started, sputtered, and shook itself into a stall. I decided to get the engine up to operating temperature to see if that’ll make a difference, so I fed the engine gas when it came close to stall until the temperature went up. Lo and behold when warmed up the engine didn’t stall! She lives! It idled very roughly for a bit but eventually sort of smoothed out. It’s not ideal nor optimal but for now I’m calling that a success. I think for now I’ll move on to fixing the rear wiring harnesses to get everything back there working as it should. After that I will revisit the engine to try and figure out why it’s running so poorly.

After I got the car to idle I took a short video. I also noticed that my kickdown cable has come loose from the throttle, so I’ll obviously have to reconnect that. A new set of hood hinges are on their way so I won’t need to use an old rifle stock to prop the hood open forever.

Click continue to see the videos.

Continue reading

Timing a 1992 240 with a B230F

So after a little looking around a little it would seem that on “newer” 240s that use the Bosch LH 2.4 ECU the timing of the ignition is a function of the computer rather than the position of the distributor. This means the timing light is not going to help me out. So why the rough idle? It could be a leaking intake manifold gasket as demonstrated by this video. After I install the new relay this evening I’ll try this carb cleaner “trick” to try and find any air leaks and see if that’ll help.

The good with the bad

The weather this past weekend was just glorious. After a disappointingly warm and wet September we had our first real run of crisp, sunny autumn days. I made sure to carve a little time out to start the tests of the fuel system. The results turned up both good and bad things.

The Good

I began by sorting out the fuse panel which, for some reason, had a couple of fuses of the wrong amperage in the wrong places.

With those sorted I decided to test the fuel pumps for basic operation. Using a small jumper wire I had made I removed the fourth fuse from the top, which is for the primary fuel pump, and connected the right side of that terminal to the left side of the sixth fuse down. This brought power to the in-tank pre-pump which started right up with a faint hum from the rear of the car. I put the fuse I had removed back in and applied attached the wire to its left side. This powered the primary pump which also began to hum nicely. With the pumps running I tried starting the car. Success! The engine started up and this time didn’t immediately stall. After some warming up it did sustain itself at idle, albeit roughly. This tells me that the fuel pump relay is kaput. I immediately ordered a replacement, thankful to only be buying a relatively inexpensive relay rather than a much more expensive new pump. The rough idle is probably due to bad timing. A friend has a timing lamp which I’ll use to correct that.

I also got around to attaching the rear windshield spray nozzle. I’m not getting any spray out of it right now, but like the front I’ll just have to clear the line. Unlike the front one the routing of that hose is a bit less accessible so hopefully this won’t be too difficult.

The Bad

While clearing the front windshield spray nozzles my driver side hood hinge decided that it would much rather start hinging sideways rather than up and down.

With my daughter’s help I attempted to straighten and reattach it, but the damage seems to have been done. The next attempt to close the hood resulted in the same sideways movement. I’ll have to get a new hinge. Interestingly, when I looked on eBay I saw plenty of hinges for sale but most of them are for the passenger’s side. I wonder if this means the driver’s side has a tendency to break more often resulting in a glut of single passenger’s side hinges for sale.

Working down the checklist

I got the air side of things cleaned and back together and I’m still presented with the same issue. The car will start and idle briefly before stalling. Intermittently pressing the accelerator will sustain the engine for a second or so but ultimately it will stall. Since I’ve ticked “Spark” and “Air” off the checklist all that remains is “Fuel.” I believe this will ultimately mean fixing/replacing one or both of the fuel pumps. The main pump isn’t a problem as it’s fairly accessible. The in-tank pump will be a whole other ordeal as you generally need a special tool to get the cover’s lock nut off. It’s also possible that the fuel pump relay has gone. That would be ideal as it’s cheap and easy to replace. My Bentley manual should have testing steps, so my next move is to start there.

Throttle back on plus a cleaned IAC

I found a few minutes recently to reattach the throttle body. It was a pretty unceremonial act, and since I was pressed for time I didn’t get photos of it. Really the experience can be imagined by going back to the post where I took it off and looking at the photos is reverse order. The only difference you would notice is that I replaced the gross old gasket.

Tucked Away All Down There…

While working on the throttle I noticed the idle air controller valve (IAC) tucked down there. The IAC is a device that is in charge of maintaining an engine’s idle speed. It has a servo motor controlled valve inside that is opened and closed to varying degrees by the ECU using a pulse width modulated signal. This allows the airflow to bypass the throttle valve in order to maintain a steady idle. The action of the servo can become dirty and sticky over time, and since I had clear access to the IAC I figured I take it out and clean it. It sits inside a rubber collar that is attached to the engine with a couple of bolts.

Getting a photo of the actual valve with my phone was not easy. You can sort of see it in the above photo. In truth it wasn’t very dirty, but it did have a thin coating of gummy residue on the outside. I blasted both ports with carb cleaner and ran a rag inside to clear that off. Then I moved the valve back and forth manually to make sure it could move smoothly. I could have rigged up a servo control circuit to actually test it out, but that seemed a bit more effort than I had time or patience to handle right now so I’m trusting that the servo itself still works.

A Series of Tubes

Since I had removed the main air duct to clean the throttle, I cleaned it off and looked it over to make sure there were no holes in it that might lead to excess air coming into the system after the MAF sensor. There were no big holes, but I did find a teeny, tiny hole in one of the bellow ridges. I doubt this was causing me the problems I am experiencing, but I put a little dab of rubber cement on it and covered it with a small piece of electrical tape just to plug it up.

I began to reassemble all the air hoses between the throttle, the IAC, and the engine but got called away half way through the process. Total reassembly and the next attempt to start the engine will have to wait for the weekend.

Cleaning the Throttle Body

I kept this post in my pocket for a few days. After cleaning the throttle body I had hopes that I’d also have reinstalled before publishing it, but the weather around my parts has been brutally hot and unpleasant so that hasn’t happened yet. I did find my way to my local NAPA store where I bought some throttle body cleaner and a few other needed solvents. These included specialized throttle body and air intake cleaner, brake cleaner, and some belt conditioner. The last item was because I’ve found that when I start the engine and give it a little gas one (or more) of the belts is letting out a hellacious squeal. I figured a little belt conditioning couldn’t hurt and might fix that issue. I consulted with a friend of mine and he suggested that the squeal might actually be due to failing alternator or water pump bearings, but I’m hoping this doesn’t turn out to be the case as I’d rather not have to replace either of those things at the moment.

The Work

When I got home I took the throttle and removed the two the vacuum line fittings in the top. I put the all the bits into a disposable aluminum pan and gave them a thorough spray and soak in the cleaner which, as my son found out, is some pretty noxious stuff. But for all its smelliness it’s also terribly effective. The caked-on grime withered away beneath the spray and soon the pan had a little pool of very dirty chemical runoff. The gunk was especially thick around where the valve met the housing and seemed to make the action sticky and lethargic. I made sure to also whack a rag around the inside of the air channel and into the little nooks and crannies all over the piece. The valve now definitely opens and closes more readily than it did before.

Thanks again to Son 1 for helping me out with cleaning and reassembly.

Here’s the before and after.

Removing the Throttle Body

Having tested the spark in our previous episode and found it satisfactory, I decided to move on to removing the throttle body. The throttle body, for those who don’t know, is the mechanism that controls the amount of air going into the intake manifold in response to how far down the driver is pushing the accelerator pedal. The airflow is controlled by a butterfly and the position of that valve is read by a throttle position sensor attached to the side. This information is sent to the ECU as part of the equation used to figure out the air/fuel mixture to be injected into the engine.

Throttle bodies get dirty, and a dirty throttle body can stick and otherwise not function well. The dirt introduces turbulence into the air stream which can mess up idle and diminish fuel economy. Neither of those things are good, so I decided to take mine off and give it a good cleaning.

Removal was a relatively simple affair, in principle at least. It’s held to the intake manifold with just three bolts. The outer top bolt can be easily removed with a socket wrench. The other two required me to borrow a set of crescent wrenches from a neighbor because the space available to access them was minimal to say the least. Once I had the wrenches I was able to remove the last bolts and take the assembly off.

As you can see in the middle photo, the inside of my throttle body was quite dirty. Unfortunately I did not have any throttle body cleaner on hand, nor did I yet have the replacement gasket. The existing one was also quite dirty and definitely needed to be replaced. That should arrive in a day or so.

Check for spark

I wanted to check for spark, but rather than do the more laborious plug-against-the-block check of the spark plugs I borrowed an in-line tester from a friend of mine. This handy tool lets you attach to one end into the installed spark plug and the other to the distributor. A light in the middle lights up when the circuit is completed. Here is a short video showing it in operation. Shout out to my son for starting the car for me while I held the camera.

It’s not easy to see on video, but the light is flashing. So I have spark on all four plugs. I also replaced the distributor cap and rotor. The old ones looked a tad corroded, and since those two parts are inexpensive I figured they might as well be changed along with the plugs.

The motor is still stalling out, so down the checklist I go.

Making a plan

I need a plan.

As an amateur I’m mostly winging it here. I’ve taken a dirty, busted looking car that sort of ran and turned it into a cleaner, less busted looking car that doesn’t really run. Not impressive. I’m starting to think that this hasn’t been working as well as I hoped. Therefore I think I need a plan of action to get my motor running again.

Every engine needs three things in order to start and run:

  1. Spark – Are the spark plugs sparking correctly to provide ignition for the fuel/air mixture?
  2. Air – Is the engine getting enough air to enable combustion?
  3. Fuel – Is gasoline getting to the engine in sufficient quantities to mix with the air to enable combustion?

Spark

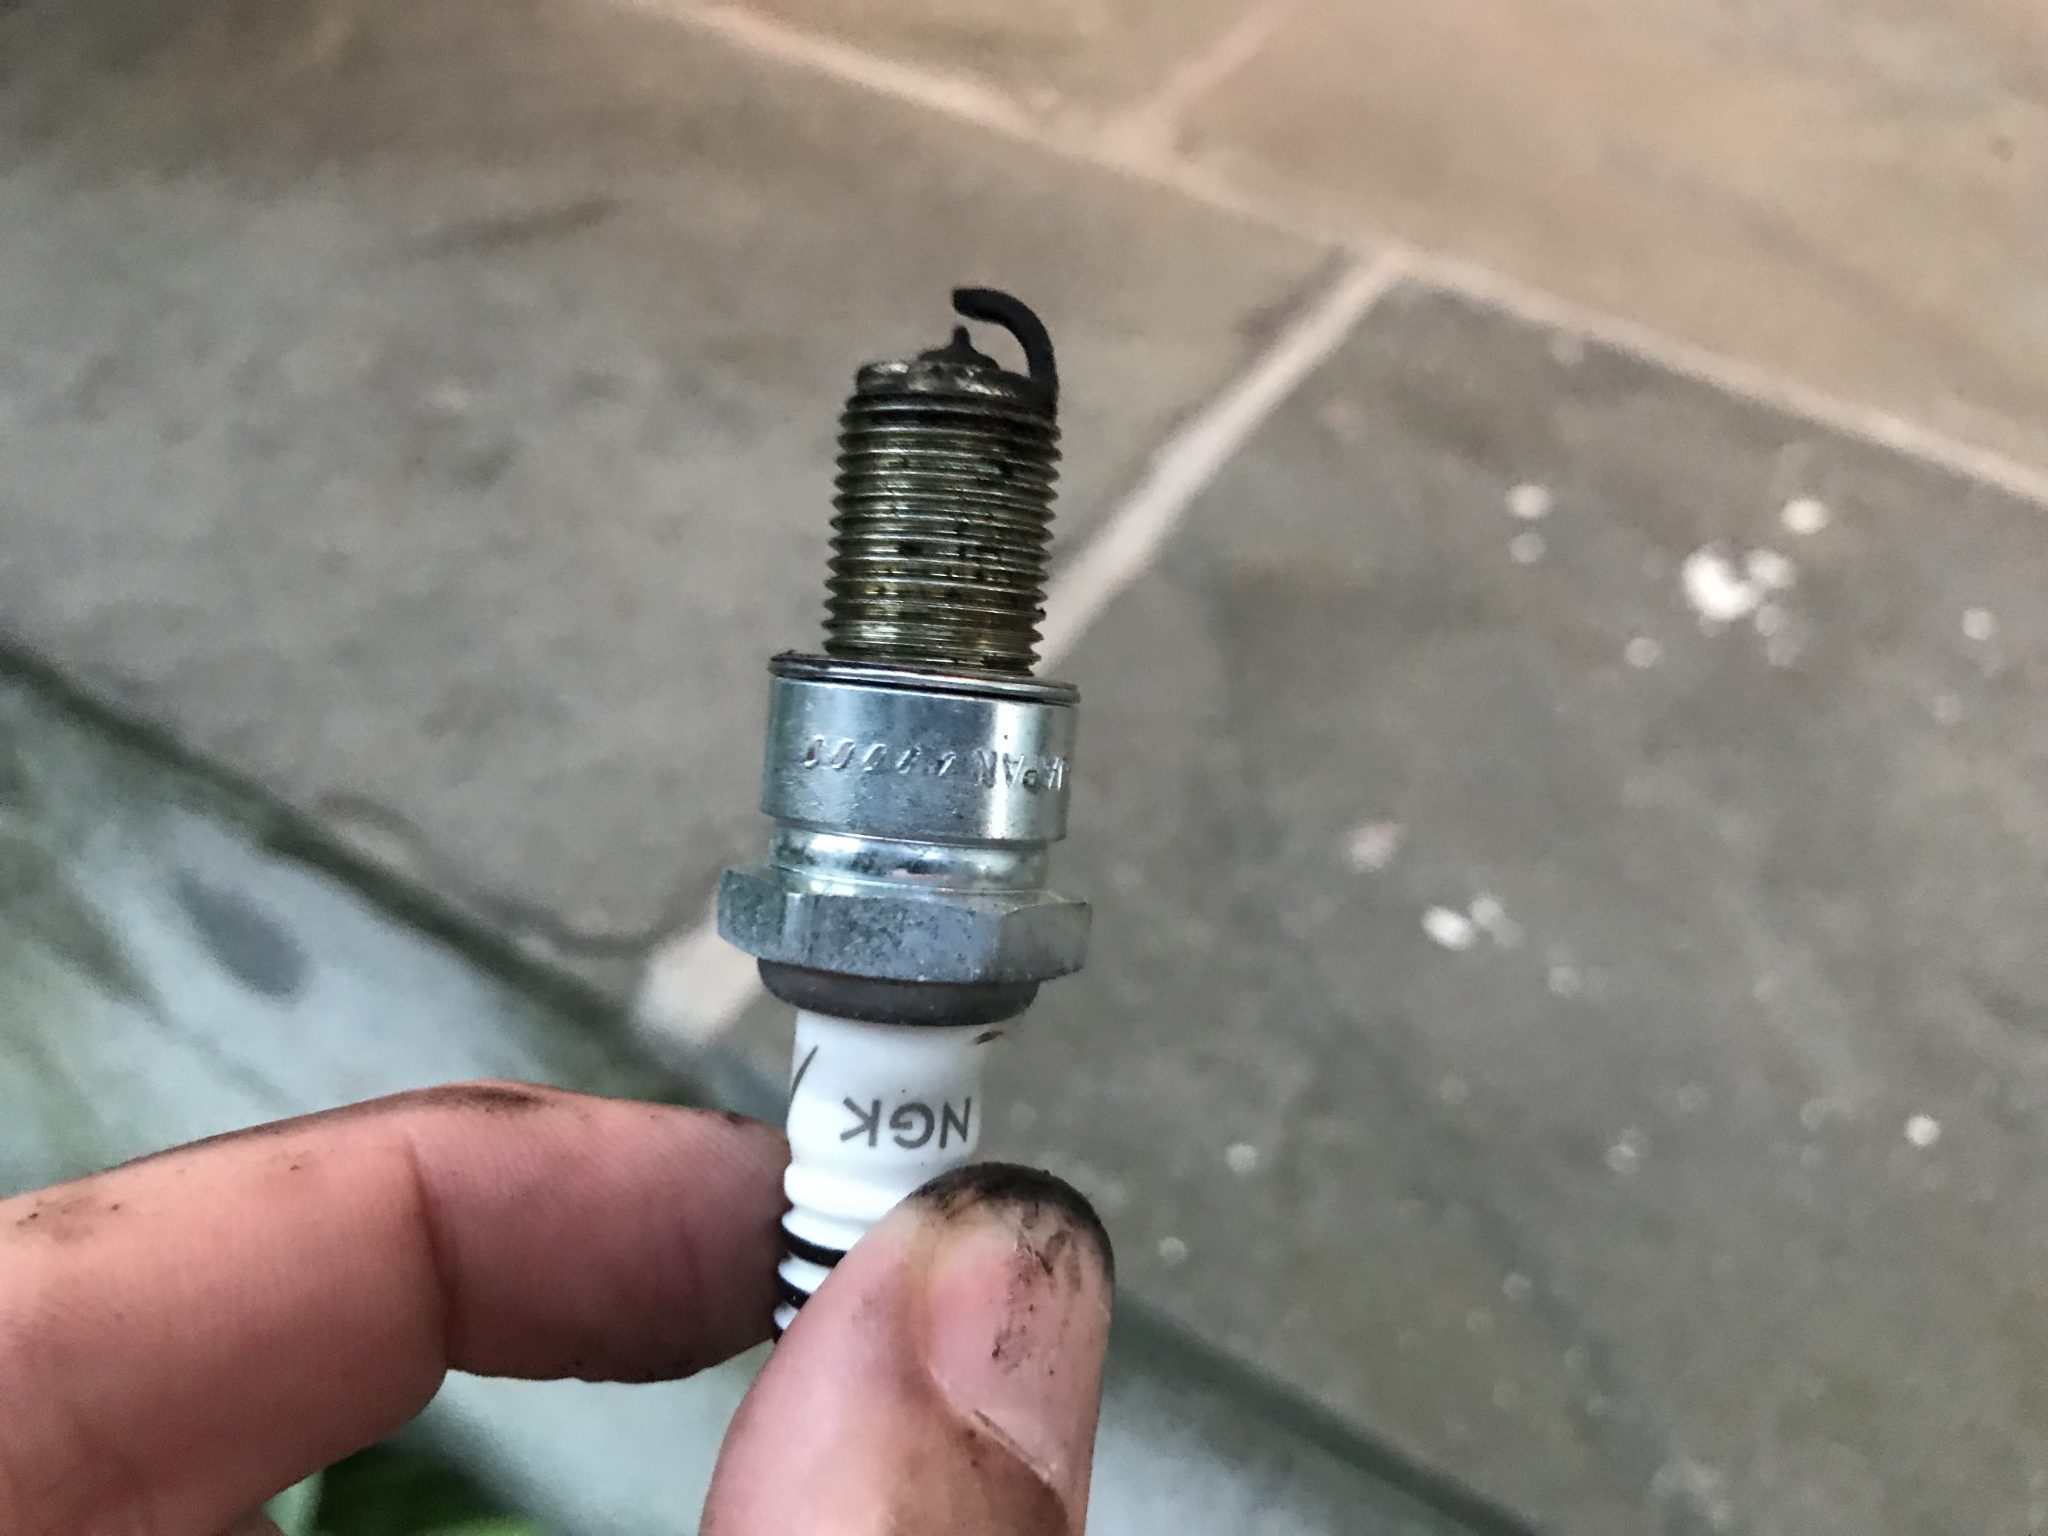
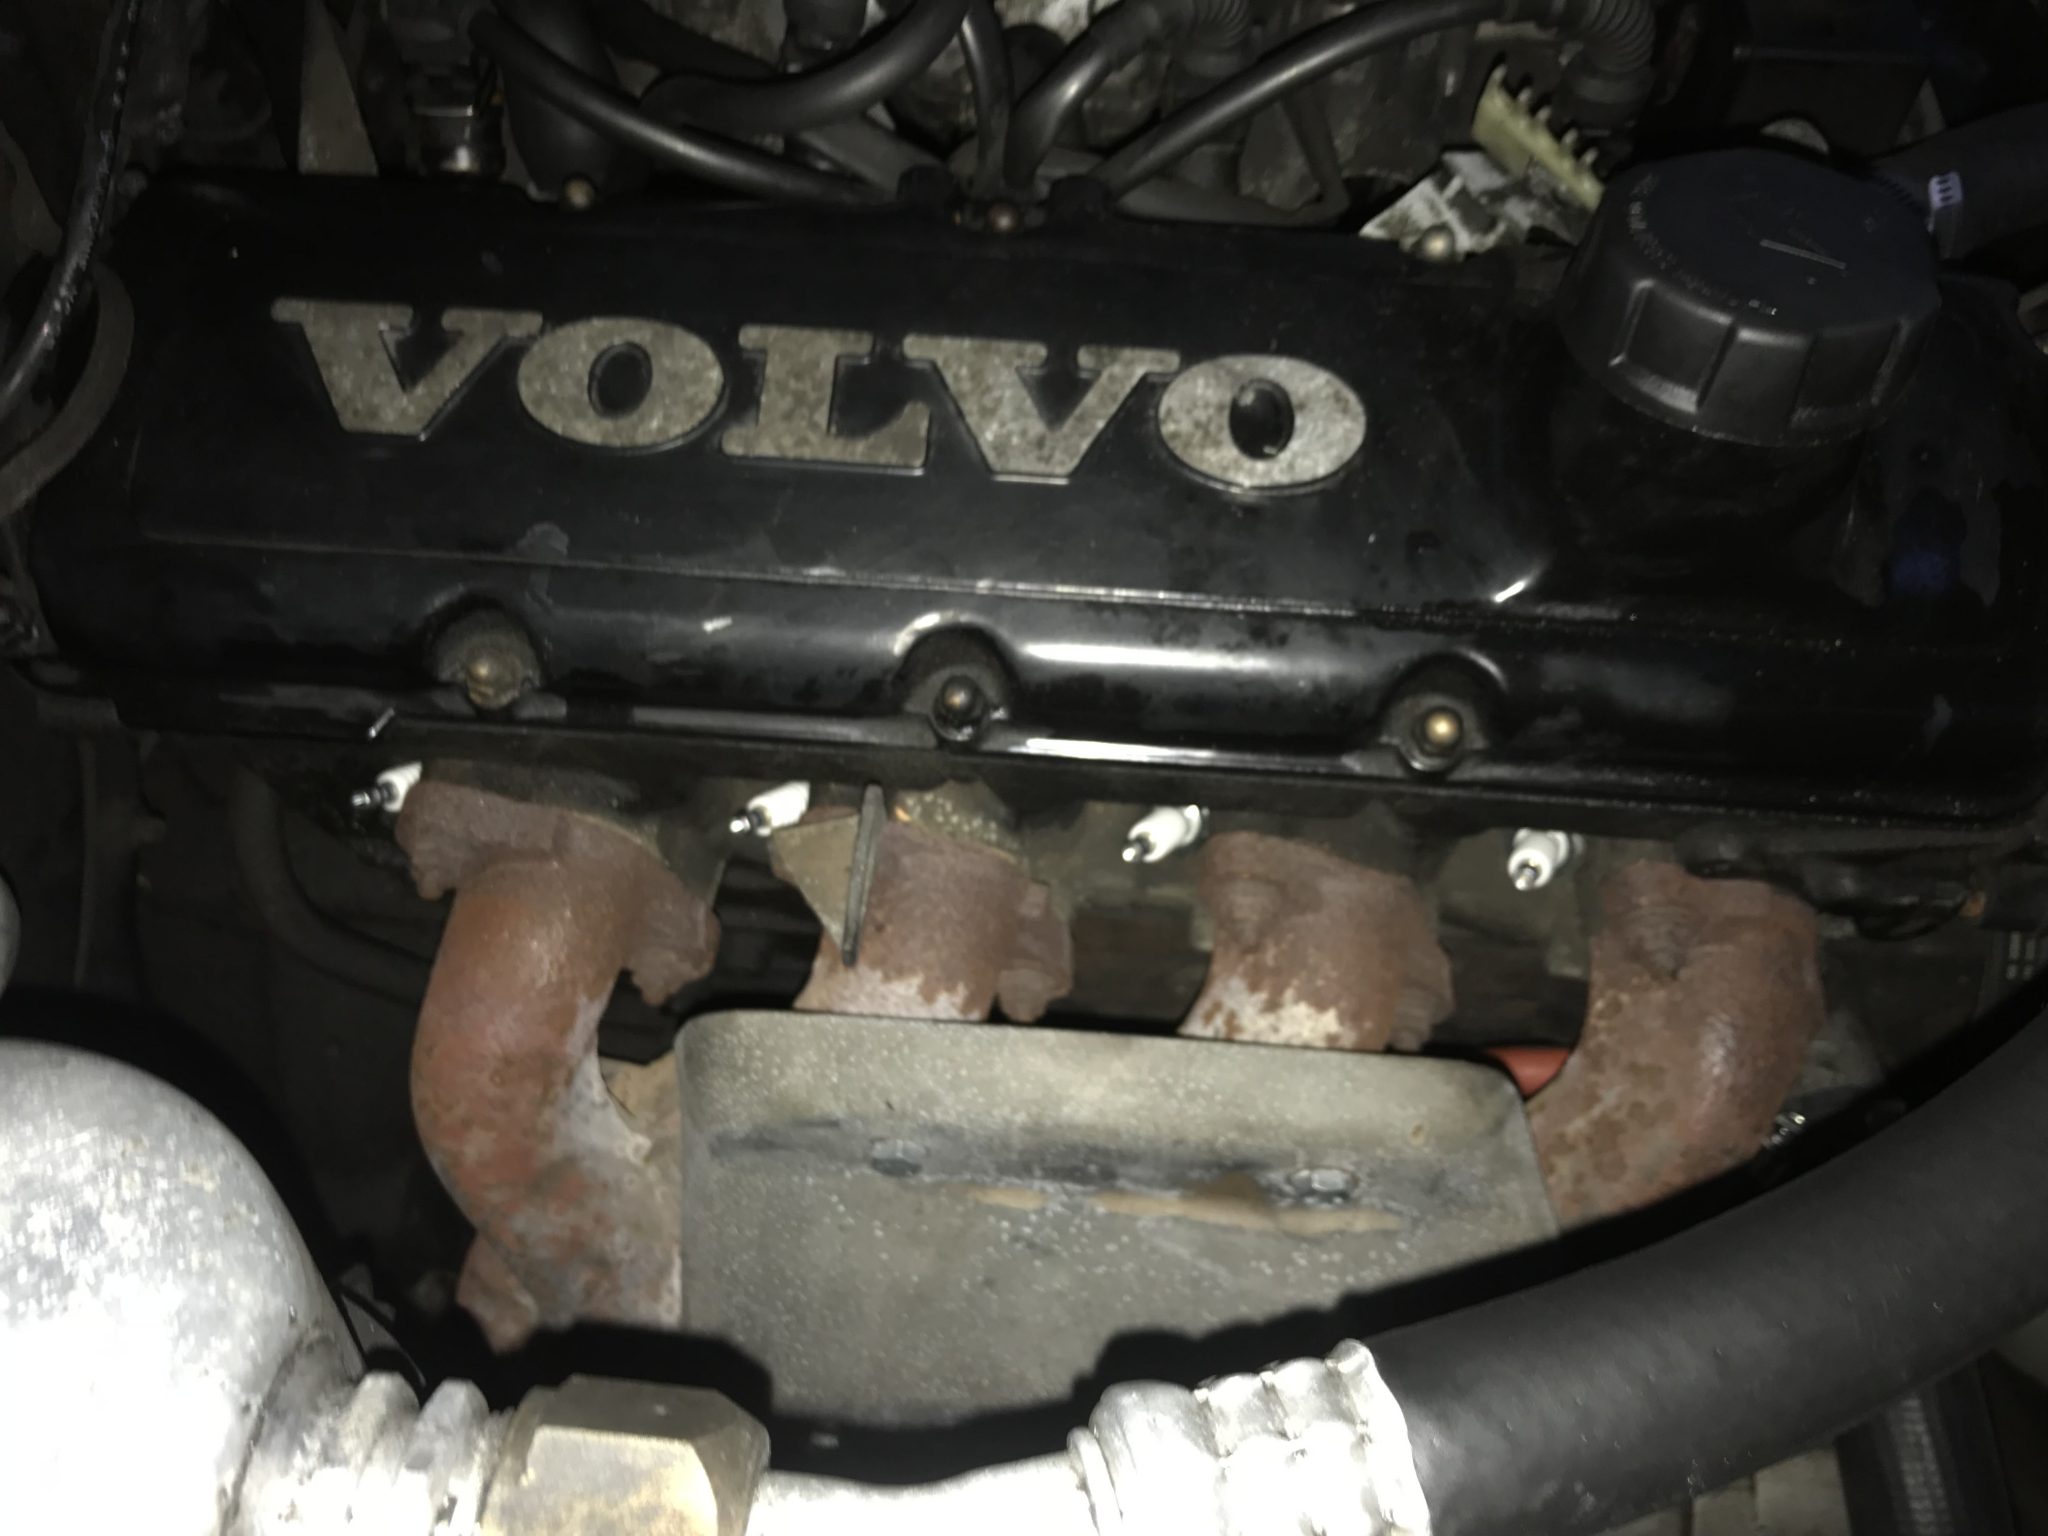
The most basic way to test for spark is to simply remove the plug to be tested, reattach it to its boot, and hold the shell or threaded part against a grounded part of the engine. Crank the engine, and if a spark jumps the gap then all is well. If you don’t get spark it could mean one of several things.

  • The plug is bad and should be replaced.
  • The plug is badly gapped. Either the ground electrode is too far away and no arc can form or it’s too close and the arc is not occurring at the correct point.
  • The wire from the distributor is broken somewhere and should be replaced.
  • The distributor cap’s contact points are worn out or corroded.
  • The distributor’s rotor is worn out.
  • The ignition coil is bad.
  • The timing is off. There is a specific method to setting the timing on a 240. It might be a good idea to reset the timing if only to get experience with this process.

There are other possible causes of bad spark but those are a bit beyond the scope of what I’m working on.

Air

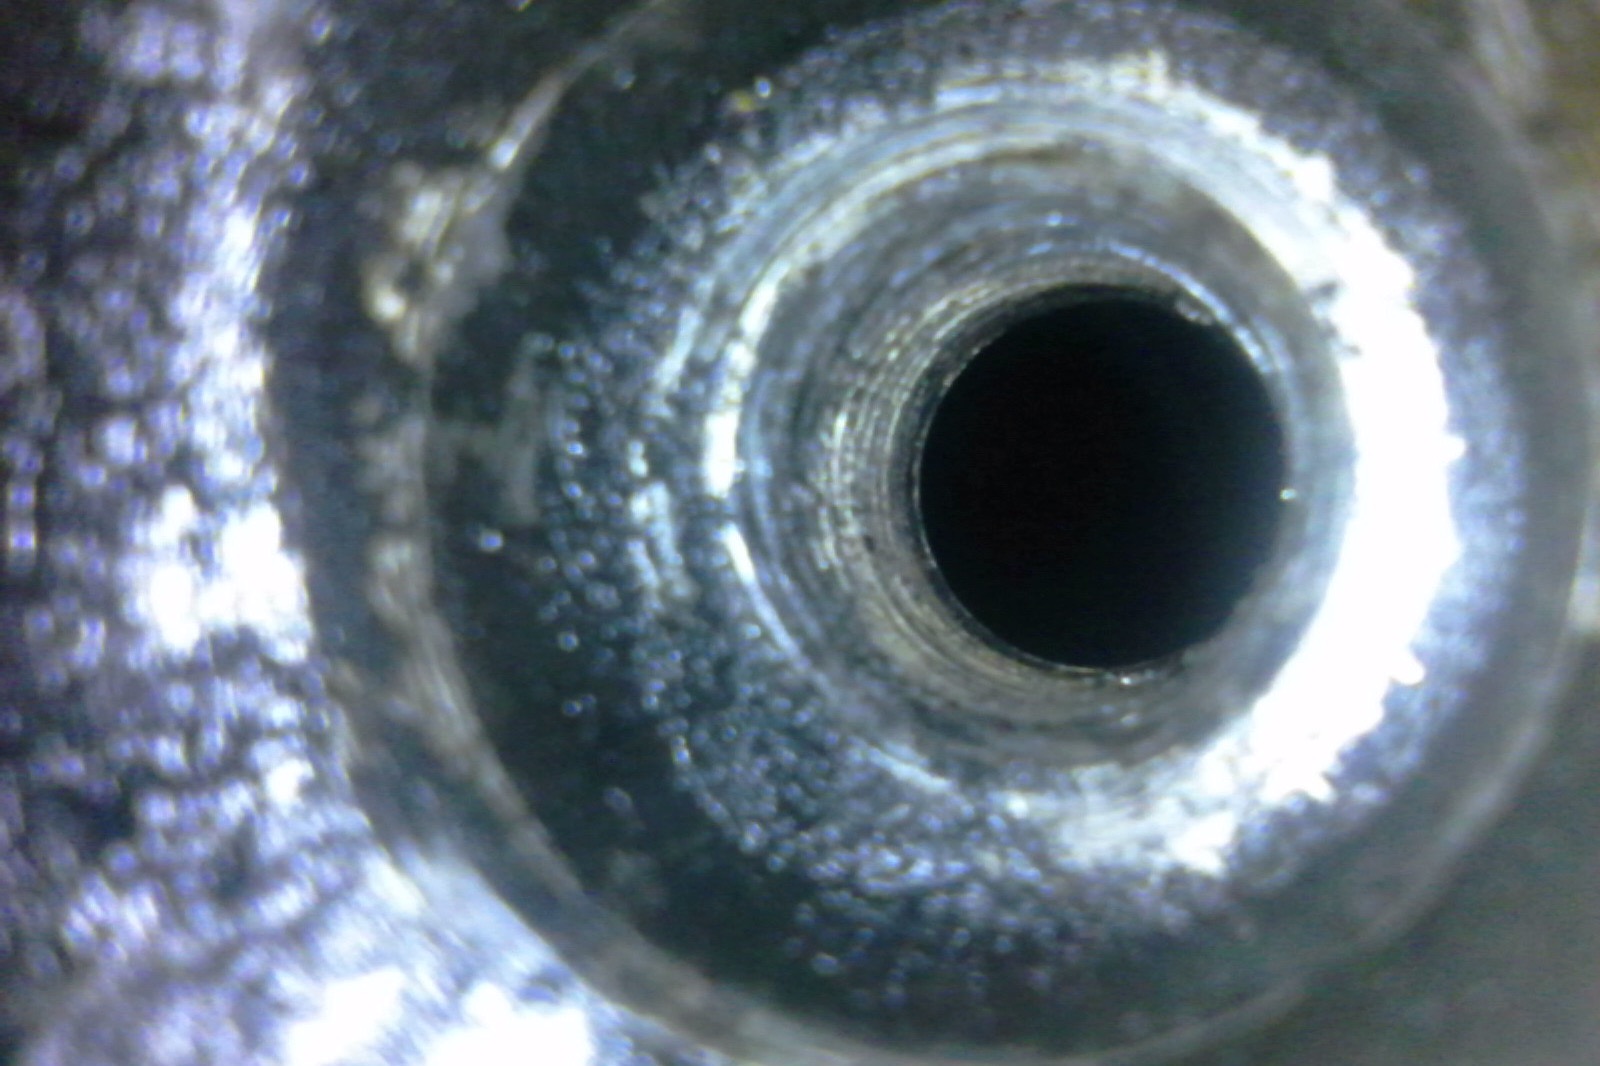
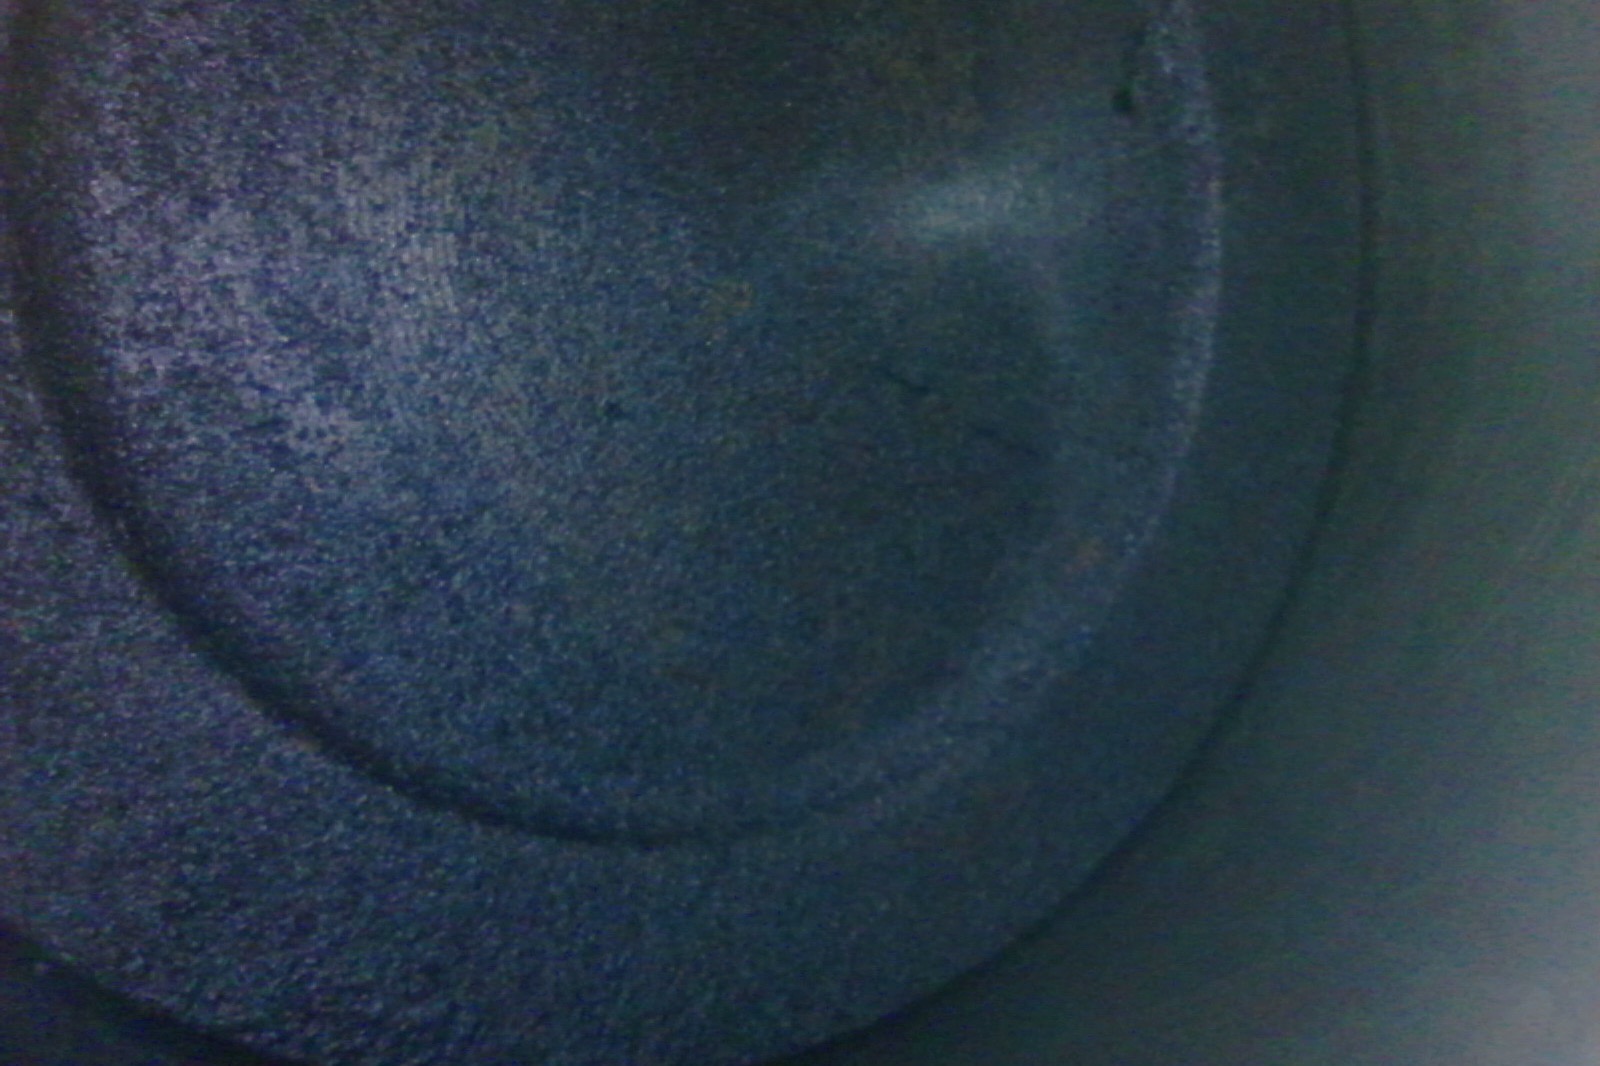
Air is fed into the engine through the large air intake hose that starts at the front of the car near the grille and passes through a filter, the Mass AirFlow (MAF) sensor, the throttle body, and into the intake manifold. Balancing the air and fuel mixture can be a pretty delicate thing. A leak or other unexpected mechanical failure along this path can result in too much air coming into the engine. A dirty filter might bring in too little. Some typical points of potential failure in the air intake system are:

  • A malfunctioning or obstructed air box. Volvo 240 air boxes have a thermostat that allows air warmed from the exhaust manifold into the system on cold mornings and that has a tendency to seize up over time. I’ve already fixed mine (see here) so this isn’t my issue.
  • A dirty and overly clogged air filter will decrease airflow. I changed the filter recently, so cross that off my list.
  • A malfunctioning MAF sensor can’t accurately gauge the amount of air flowing into the engine at any given time. This prevents the ECU from properly calculating the fuel mixture and will cause the engine to run poorly or not at all. I cleaned mine recently and tested it, so, again, that’s not my own issue.
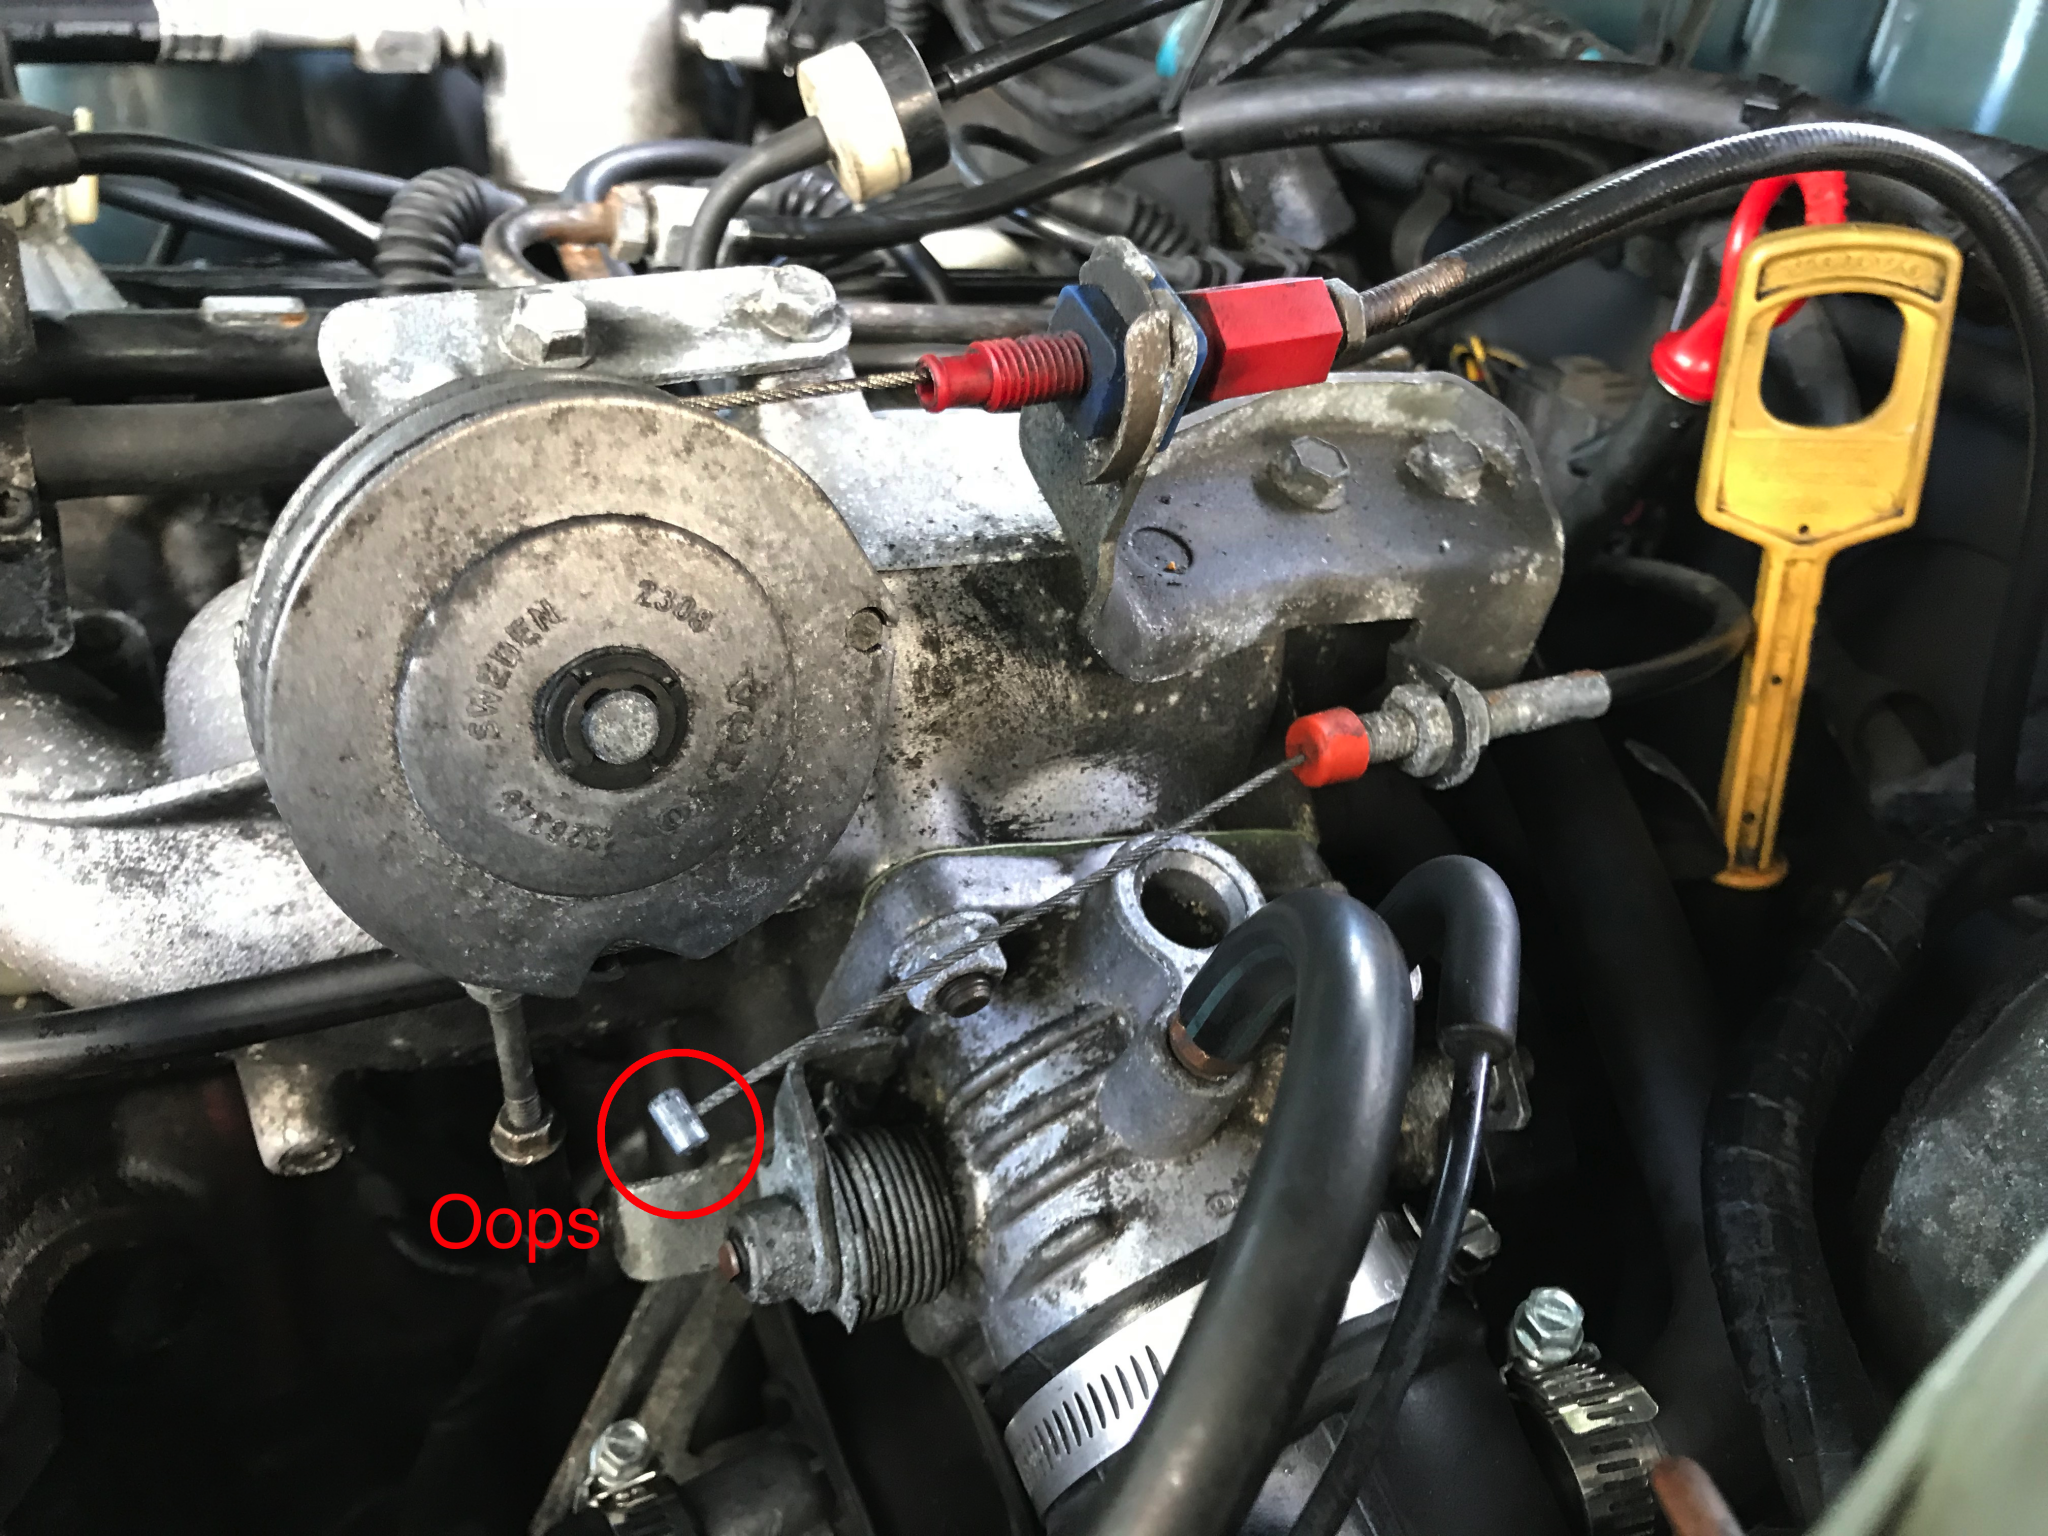
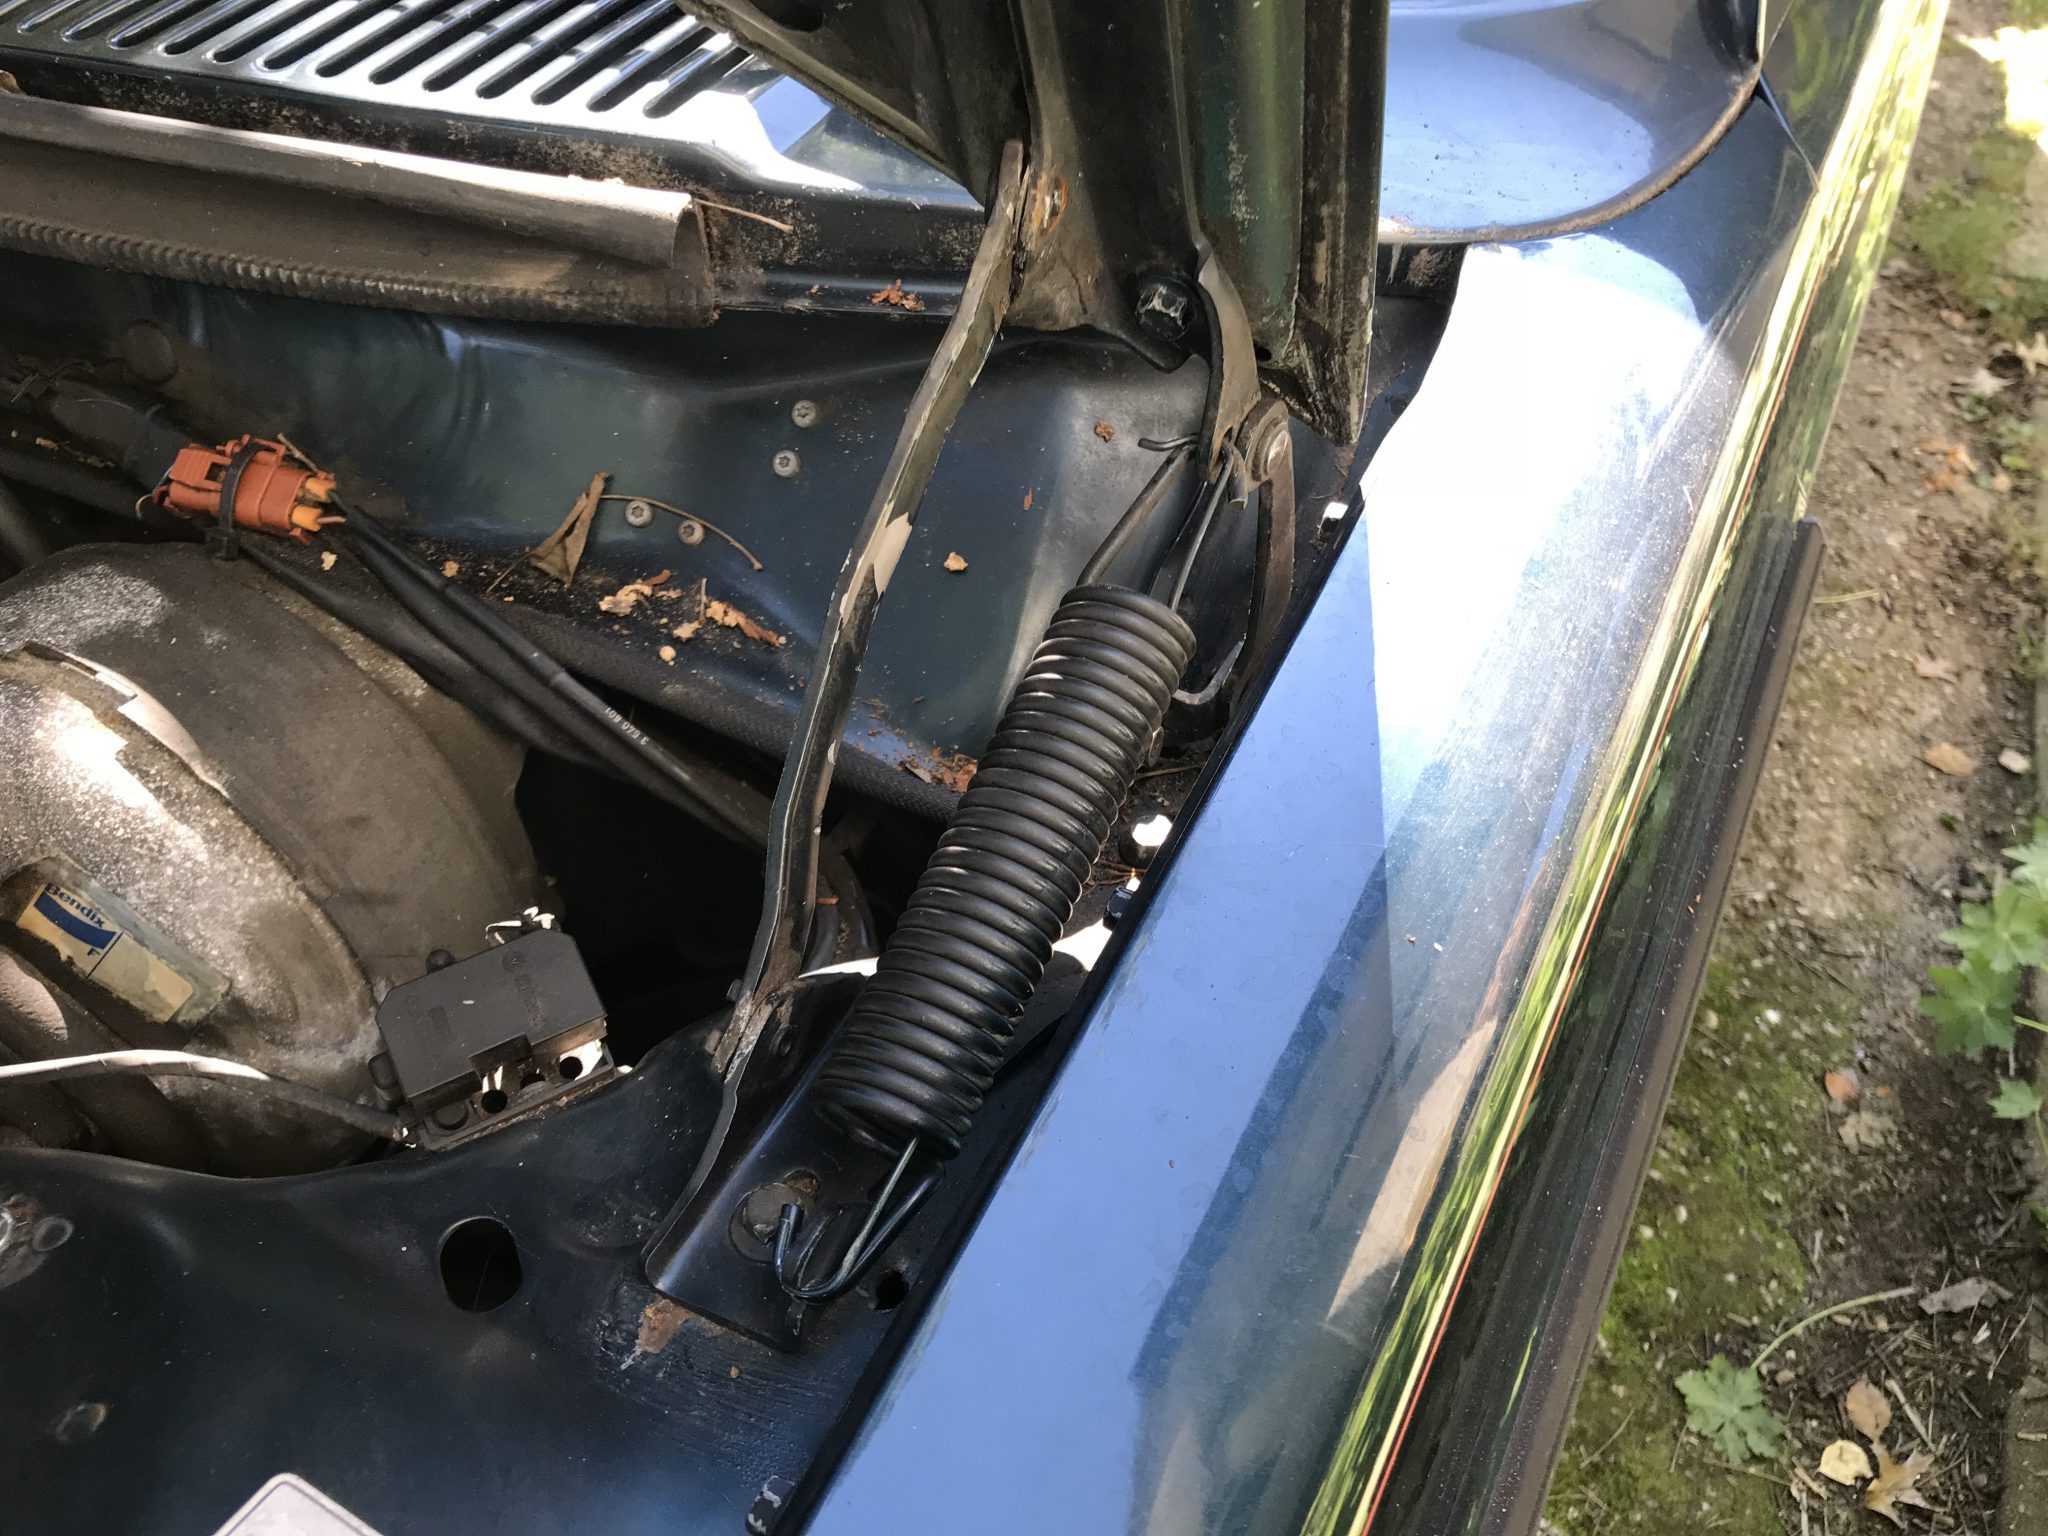
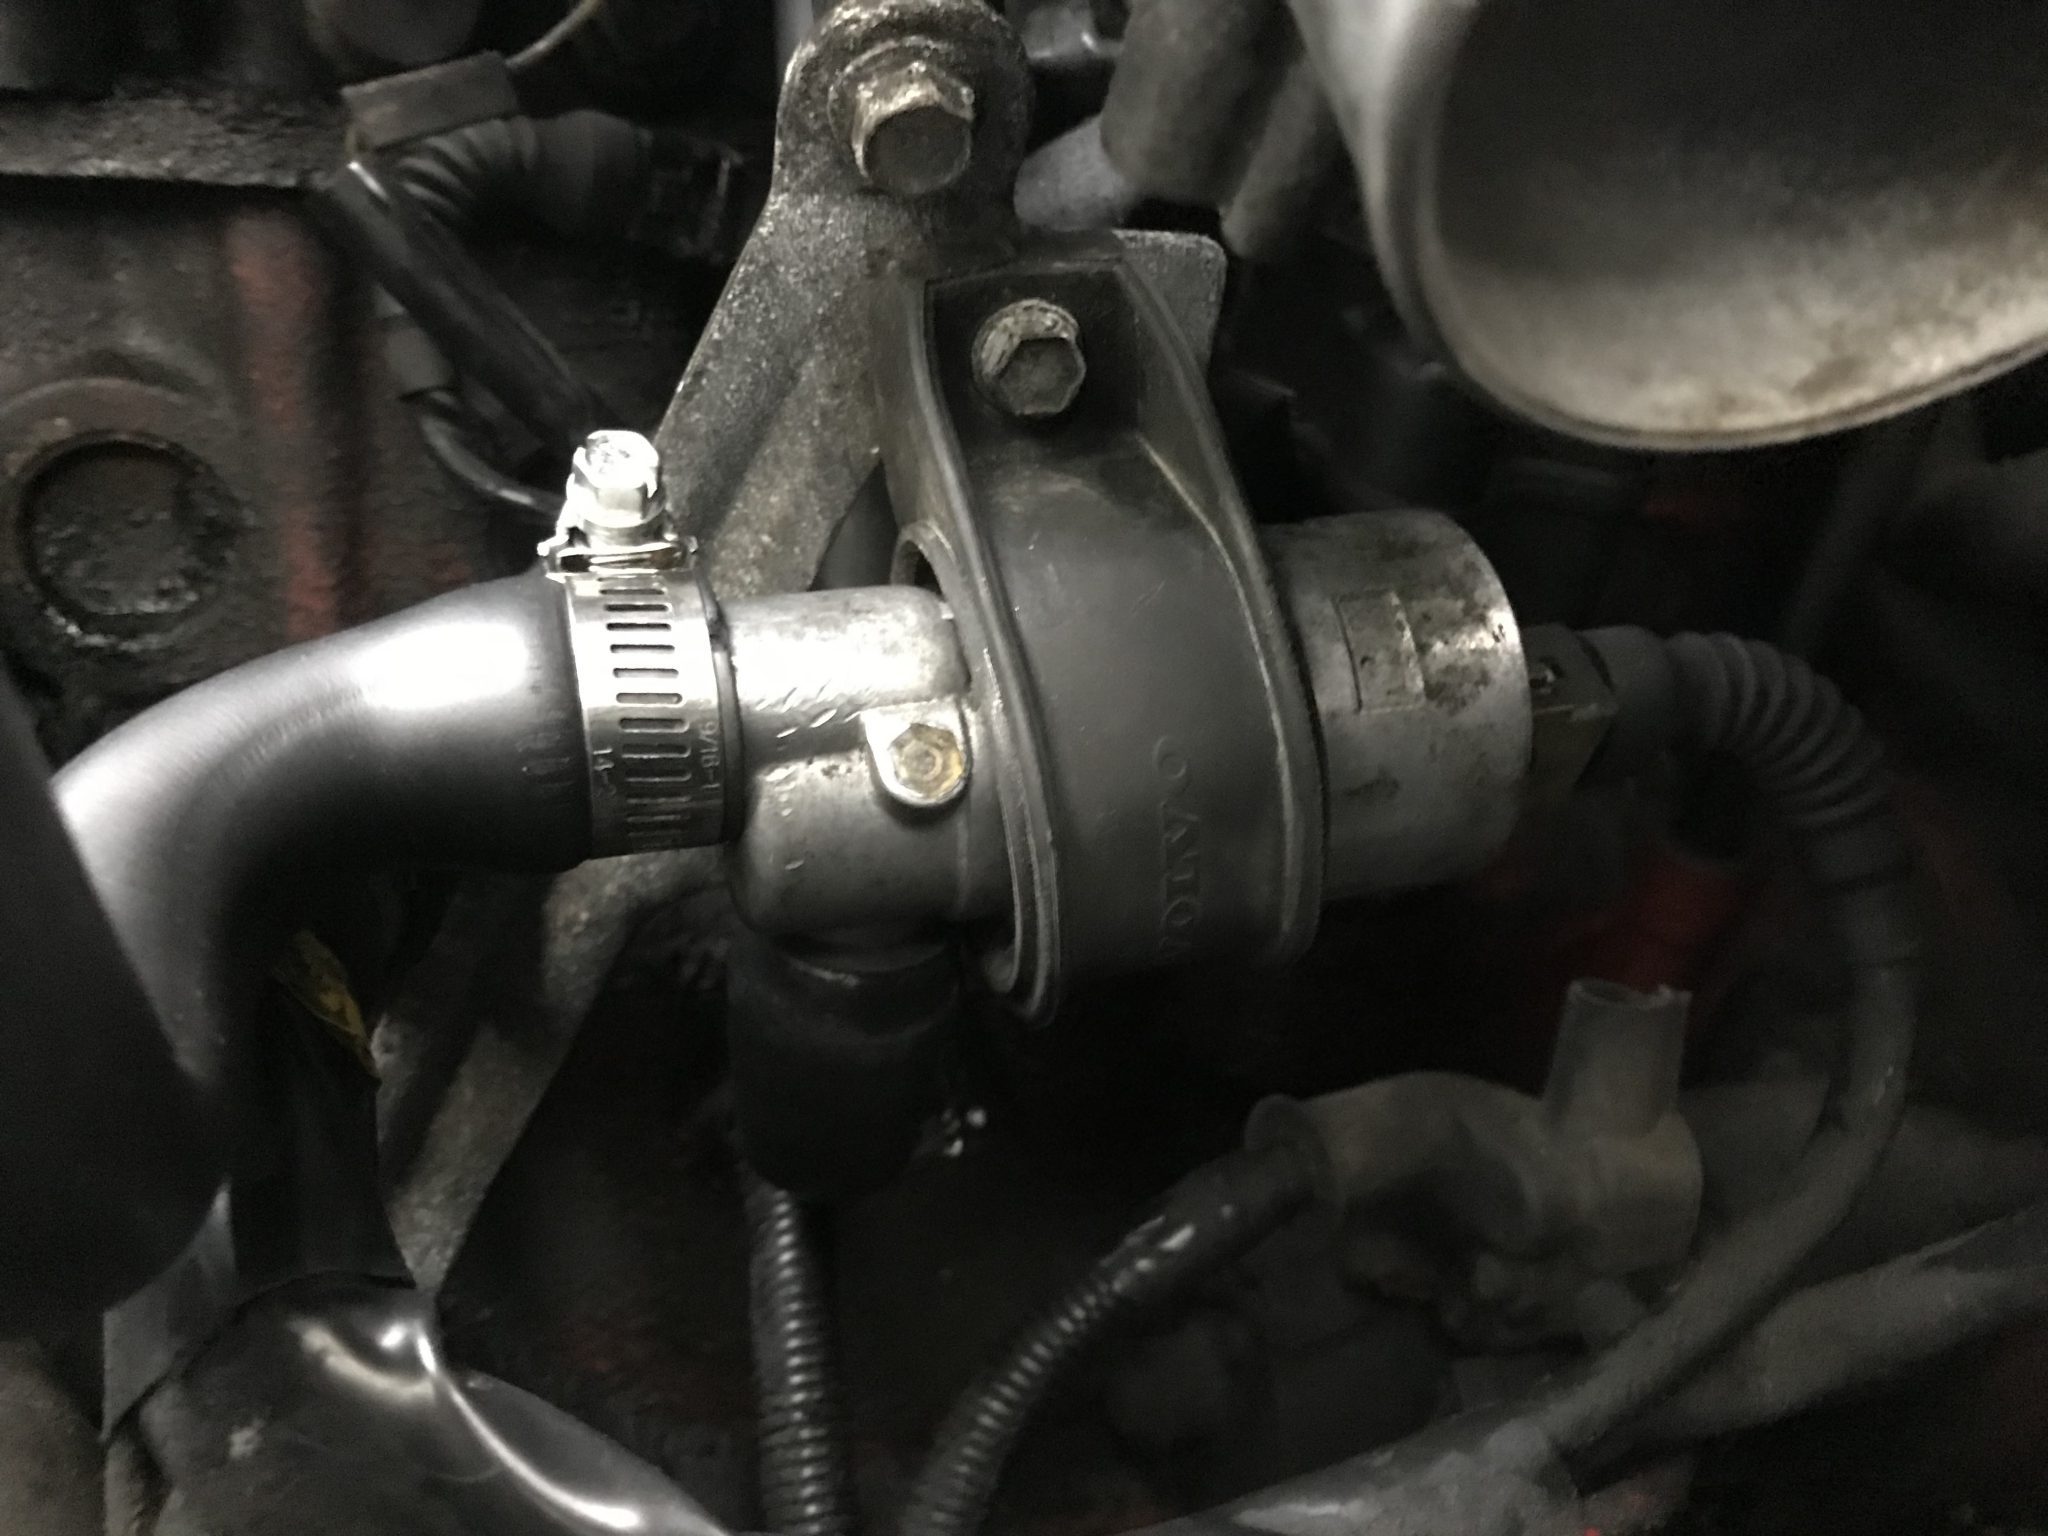
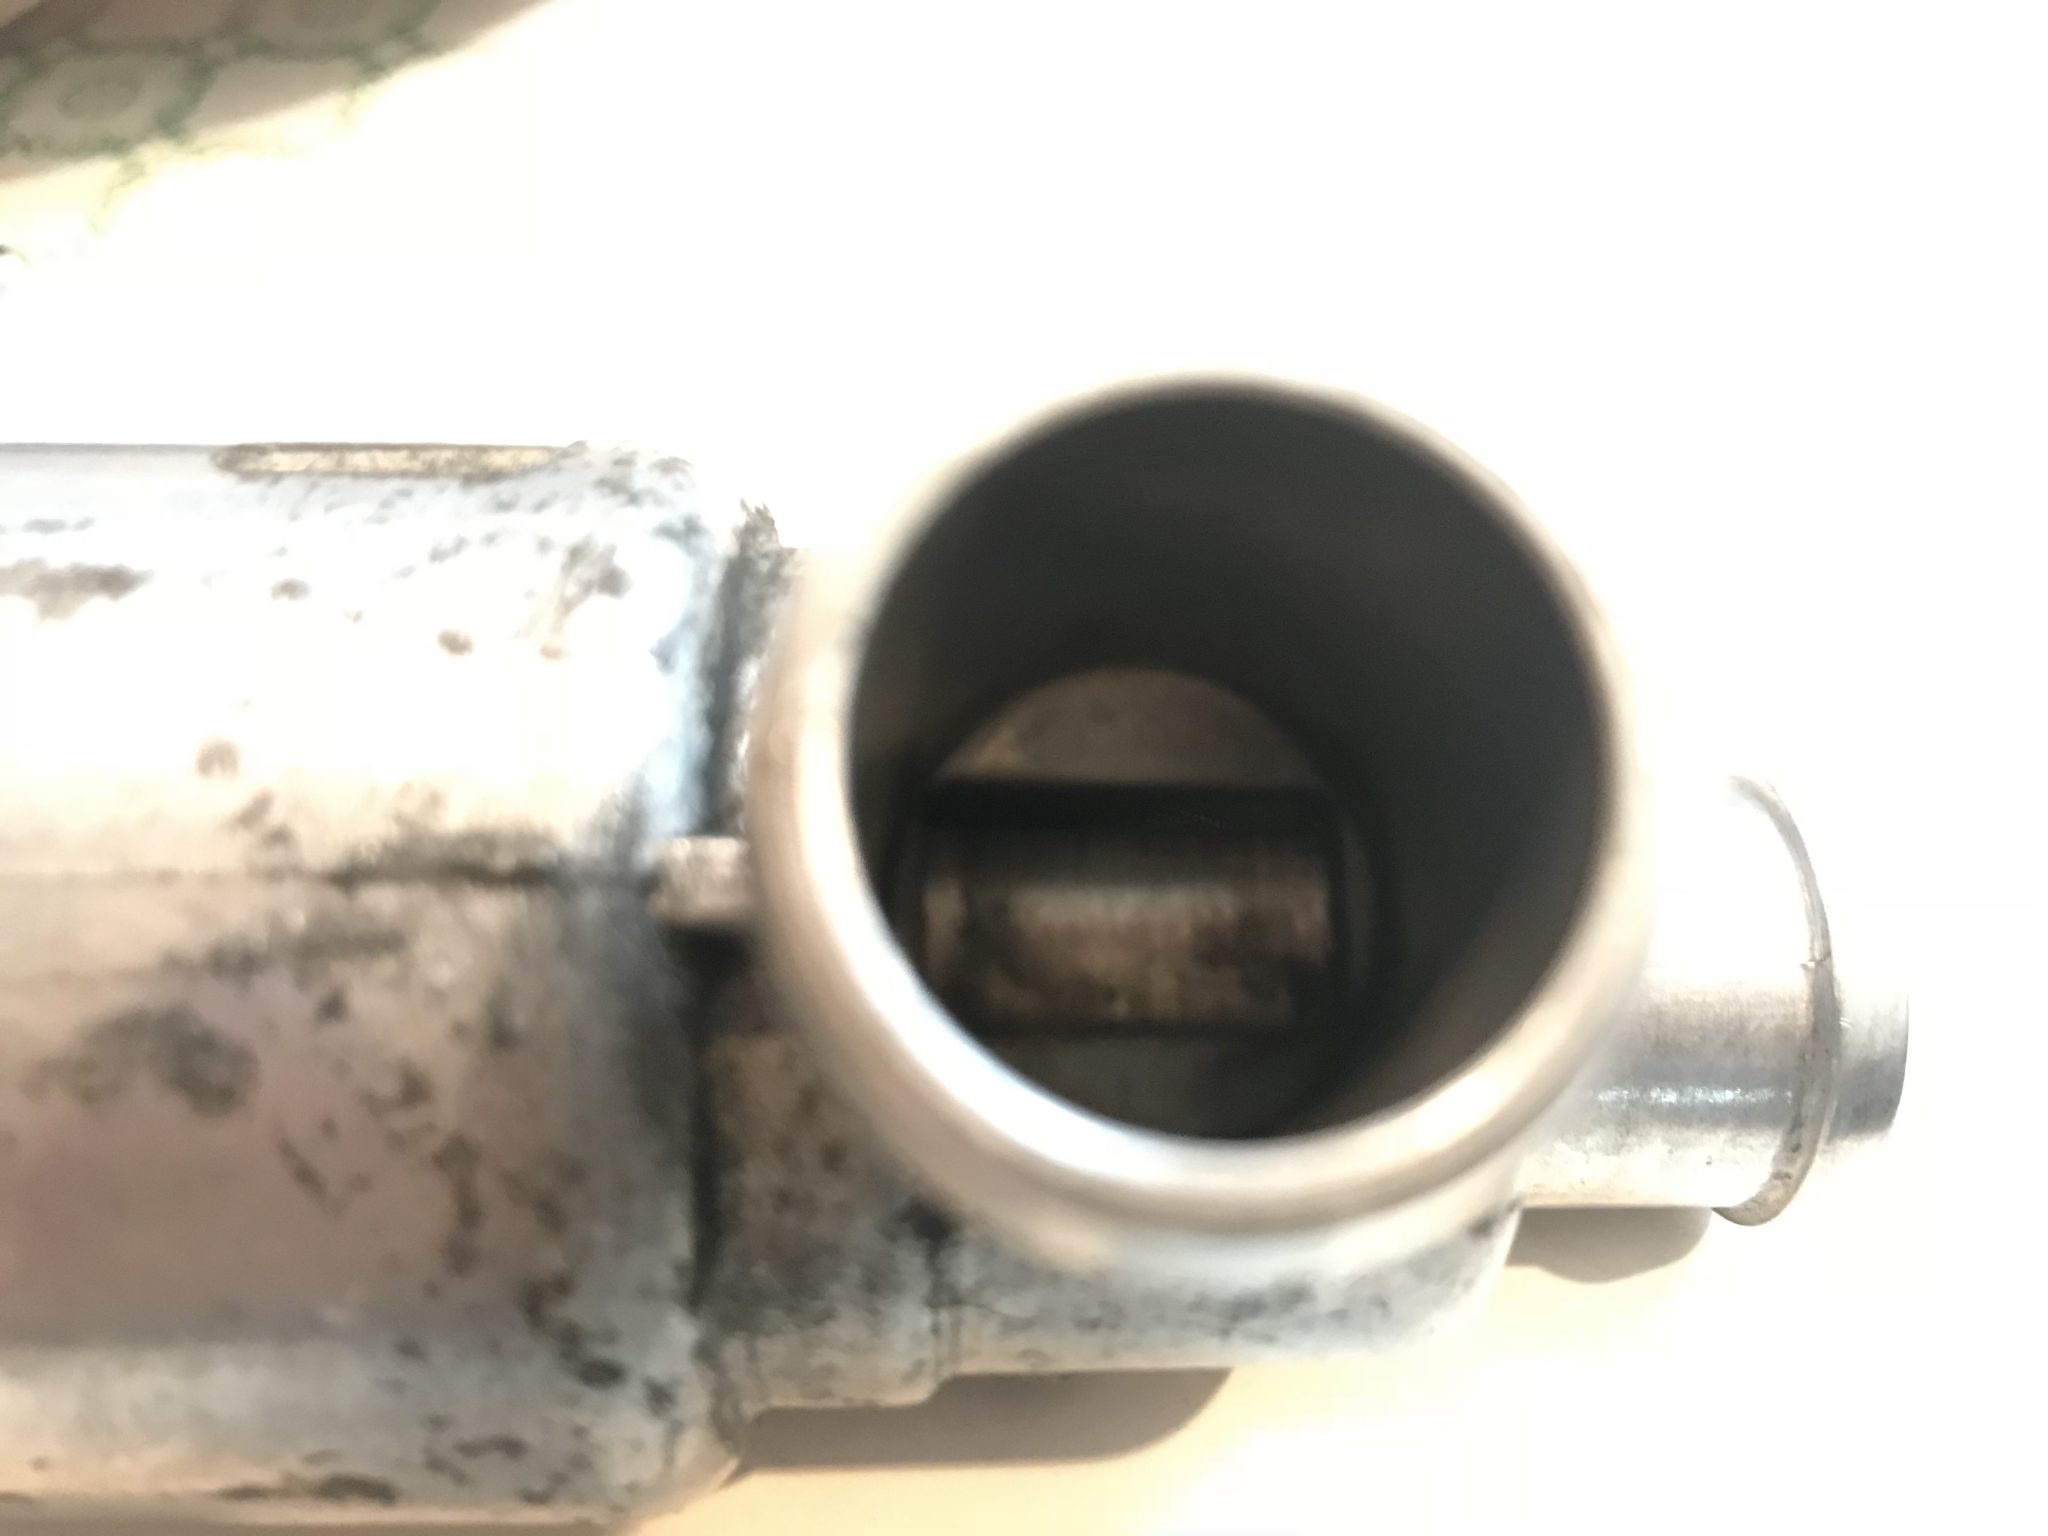
  • Leaks in ducts and hoses, especially downstream from the MAF, will throw off mixture calculations. The bellow-like section after the MAF becomes brittle over the years. When I took it out originally it may have cracked, so I’ll have to inspect it carefully.
  • A bad Idle Air Control valve will keep the engine from idling properly. Since my stalls are happening at idle this could very well be a problem in my car.
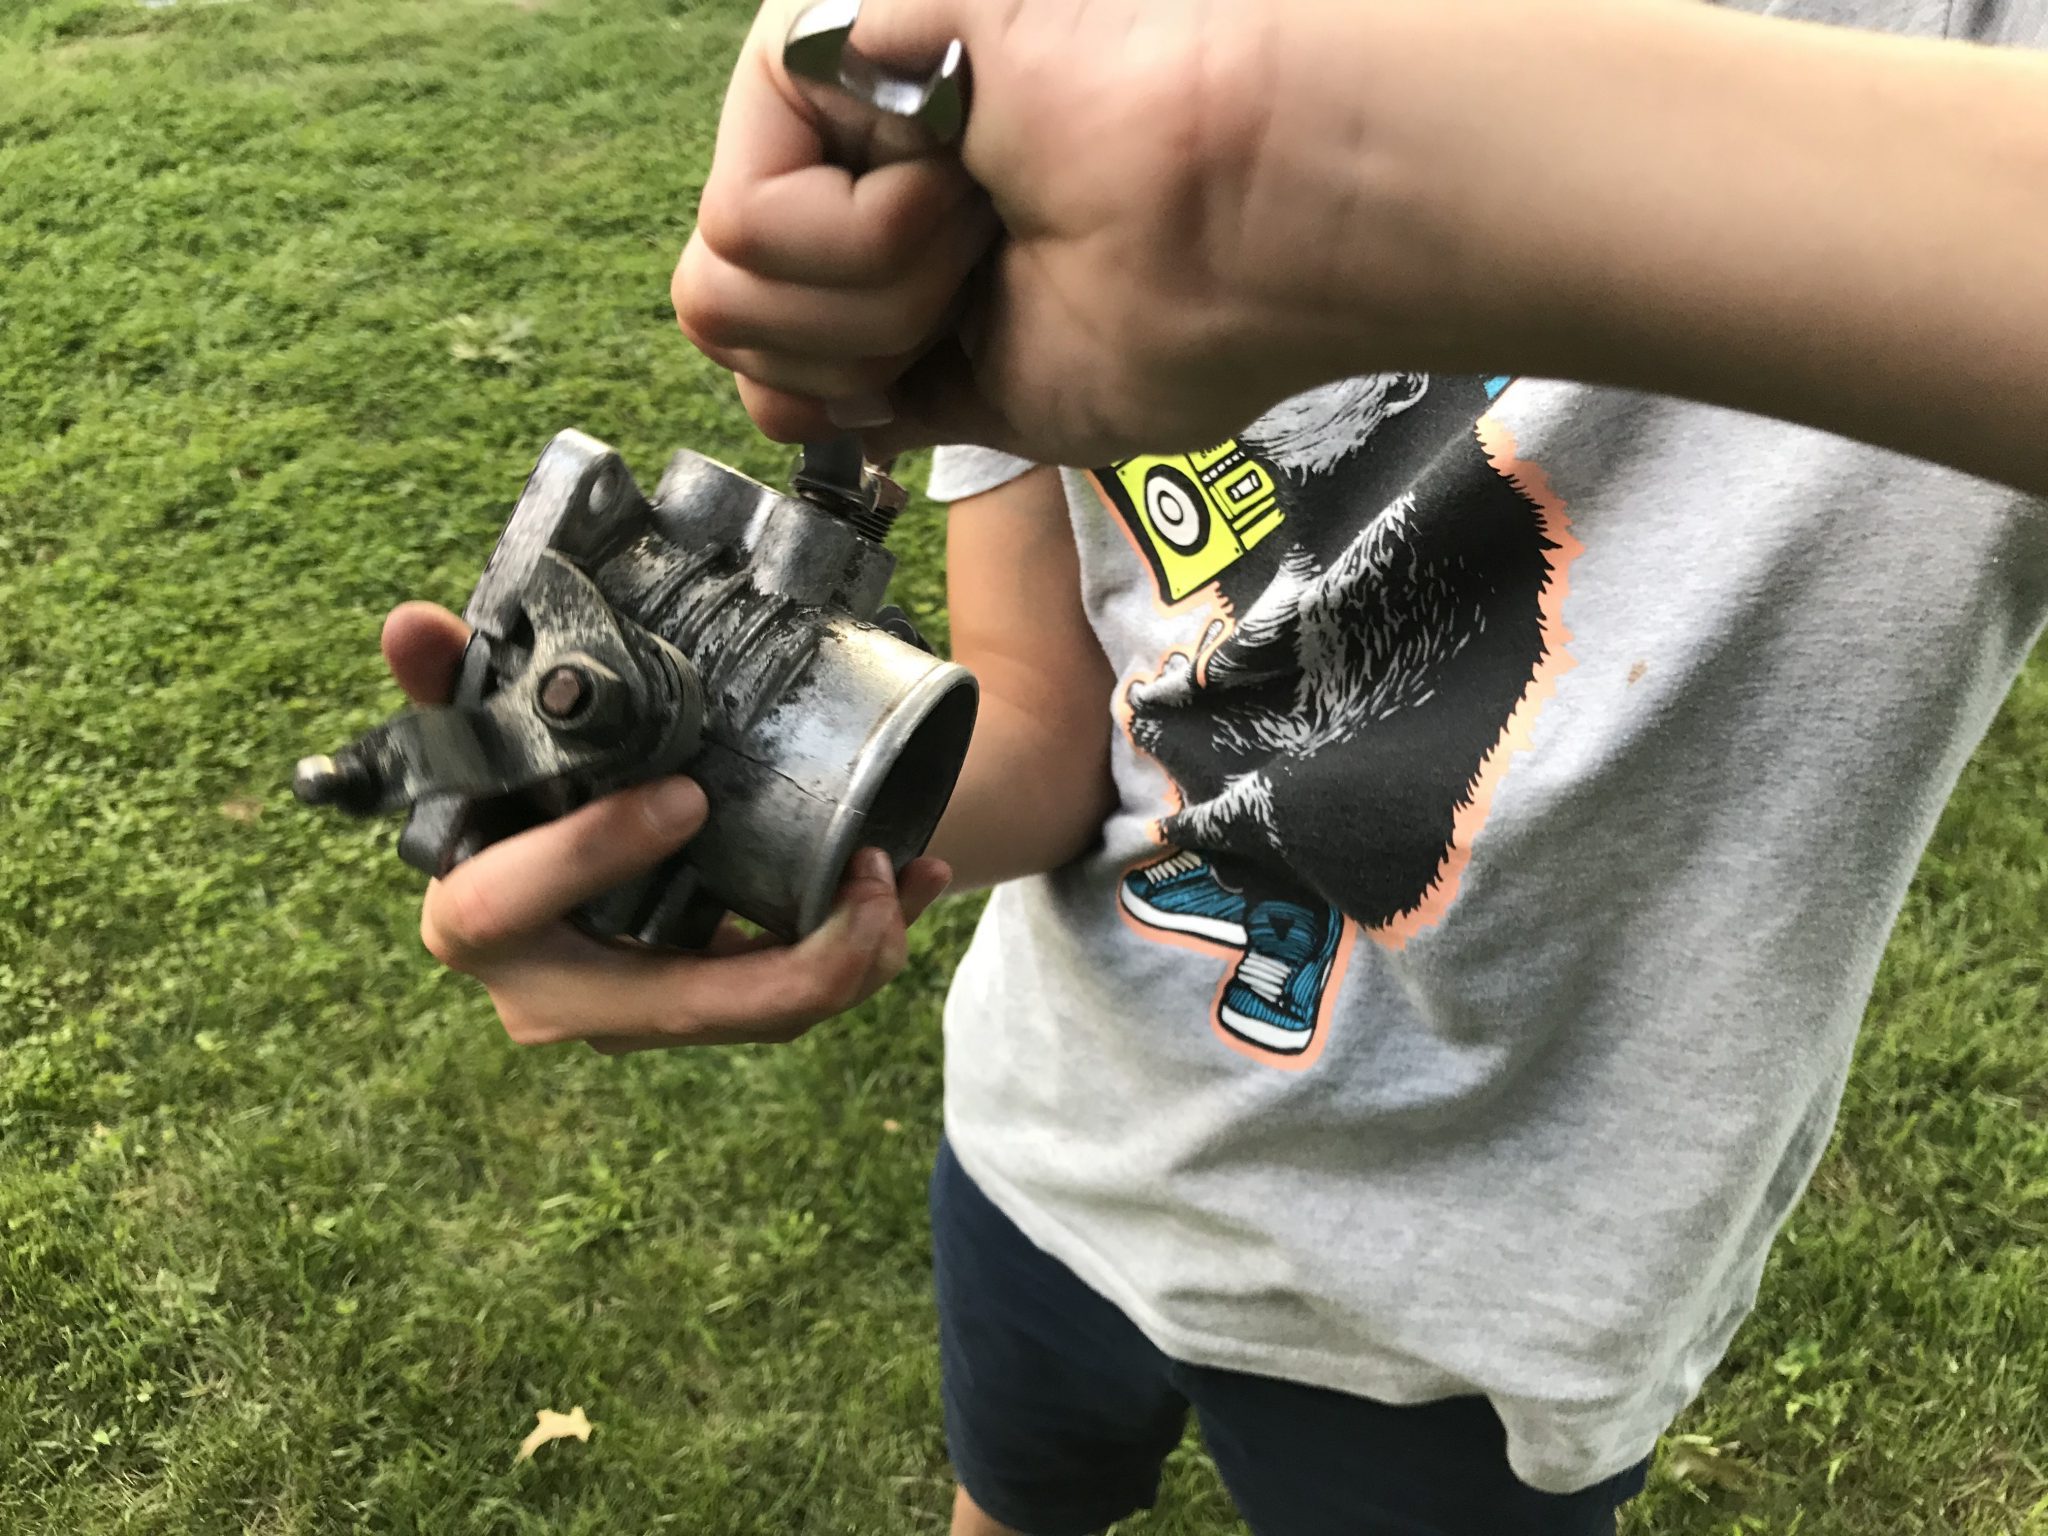
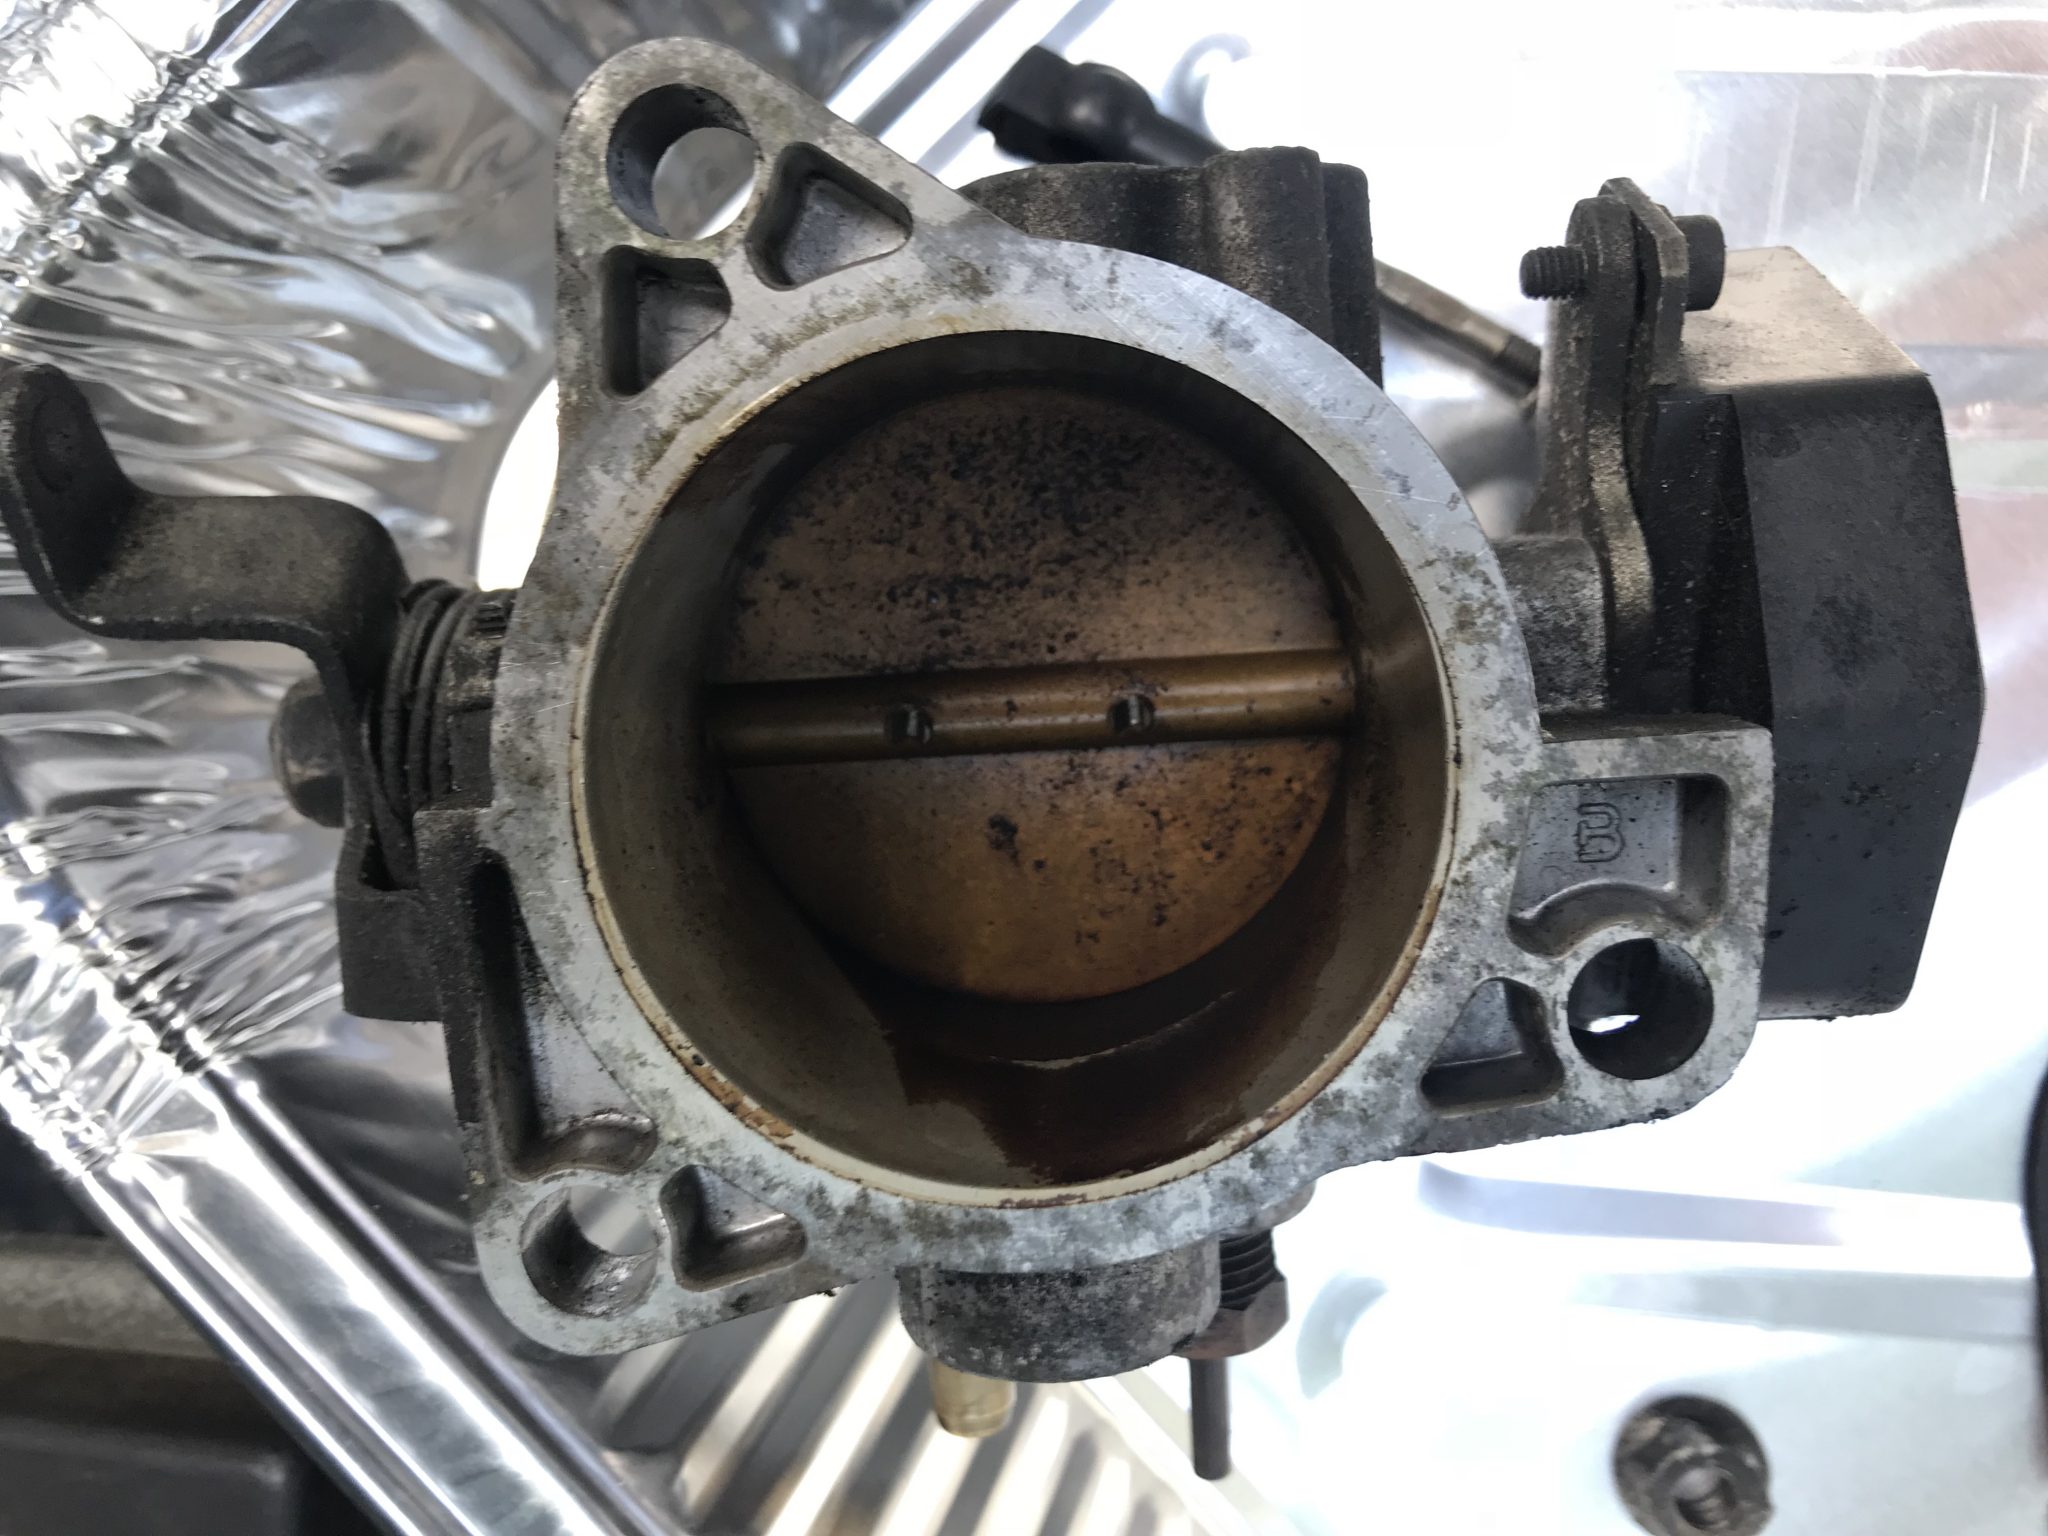
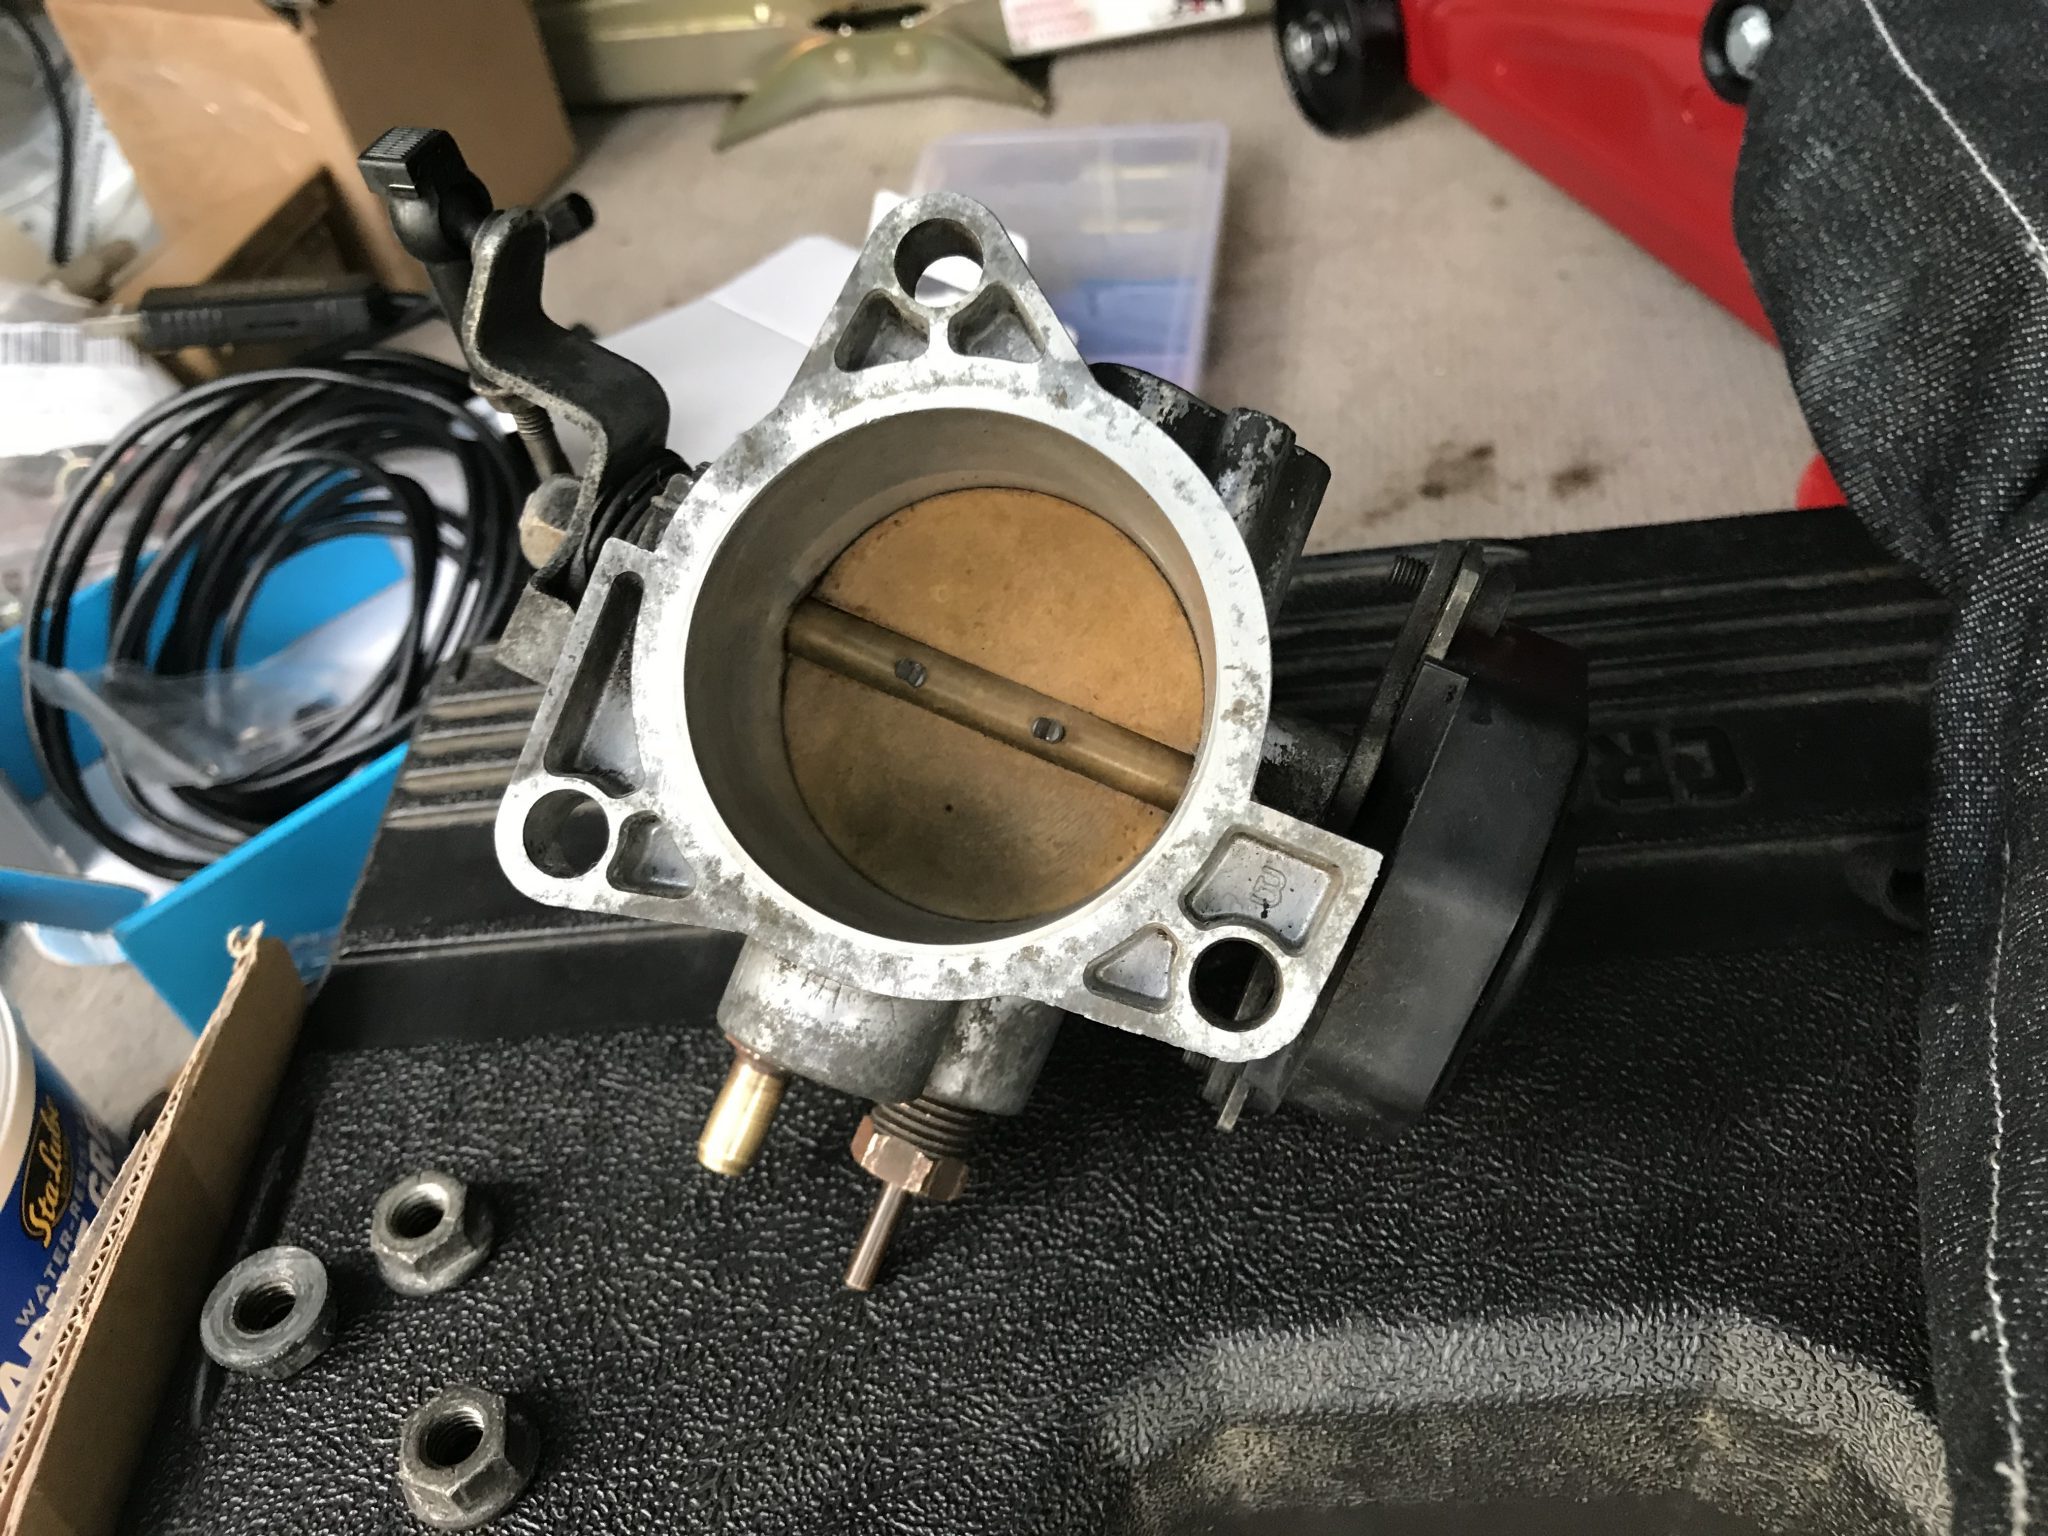
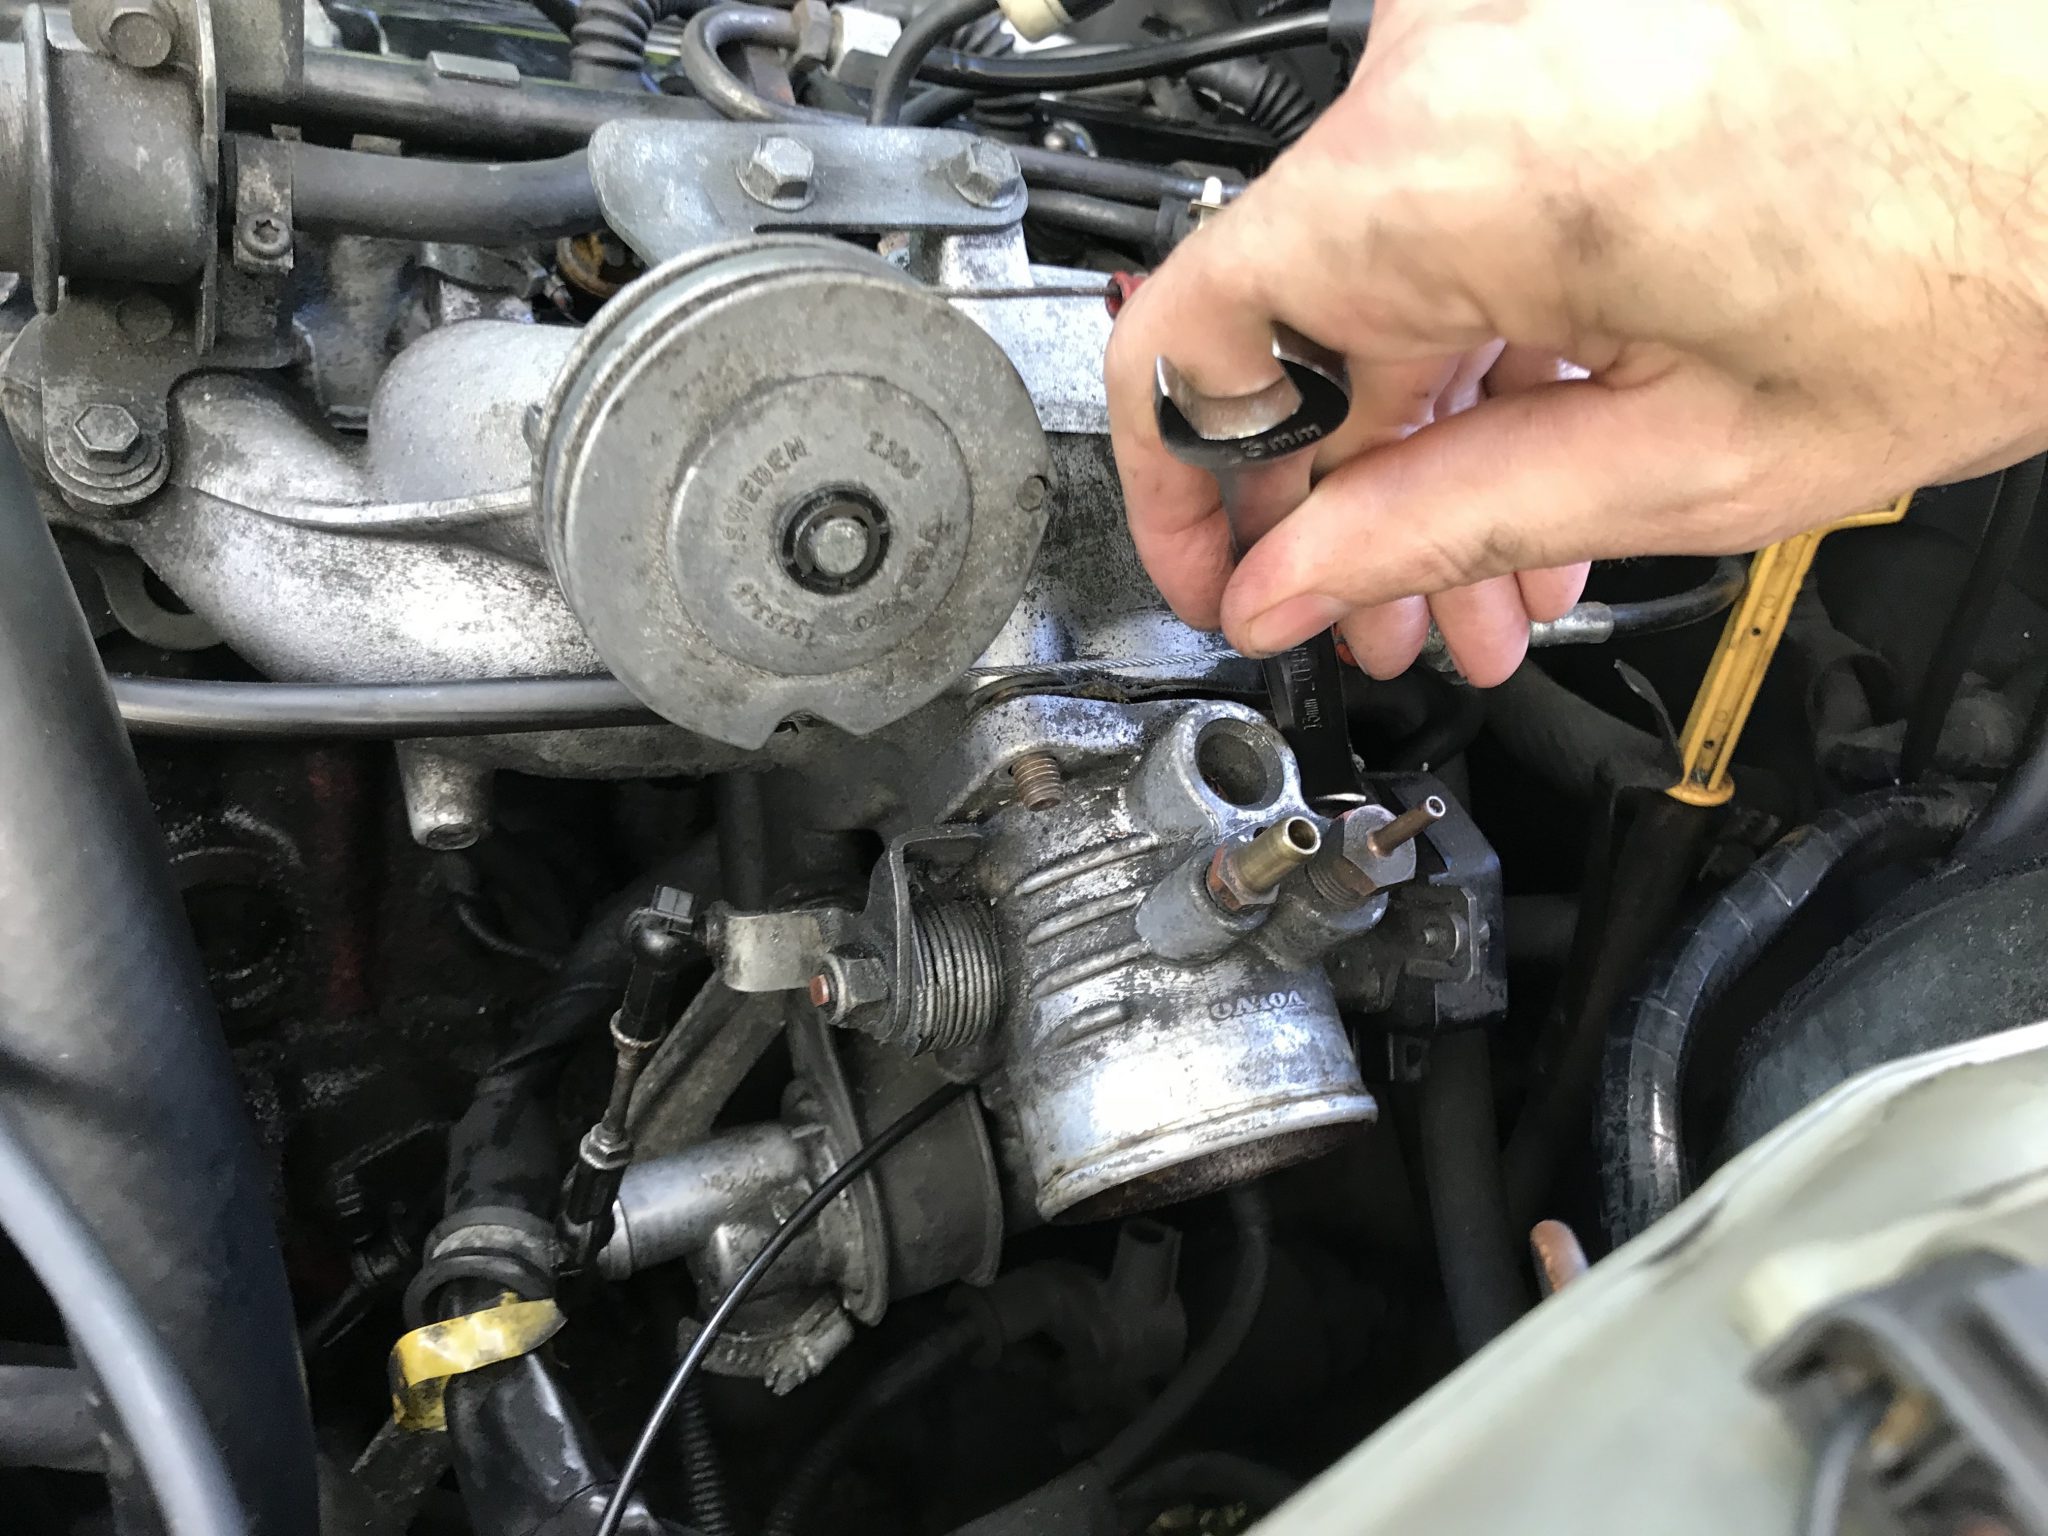
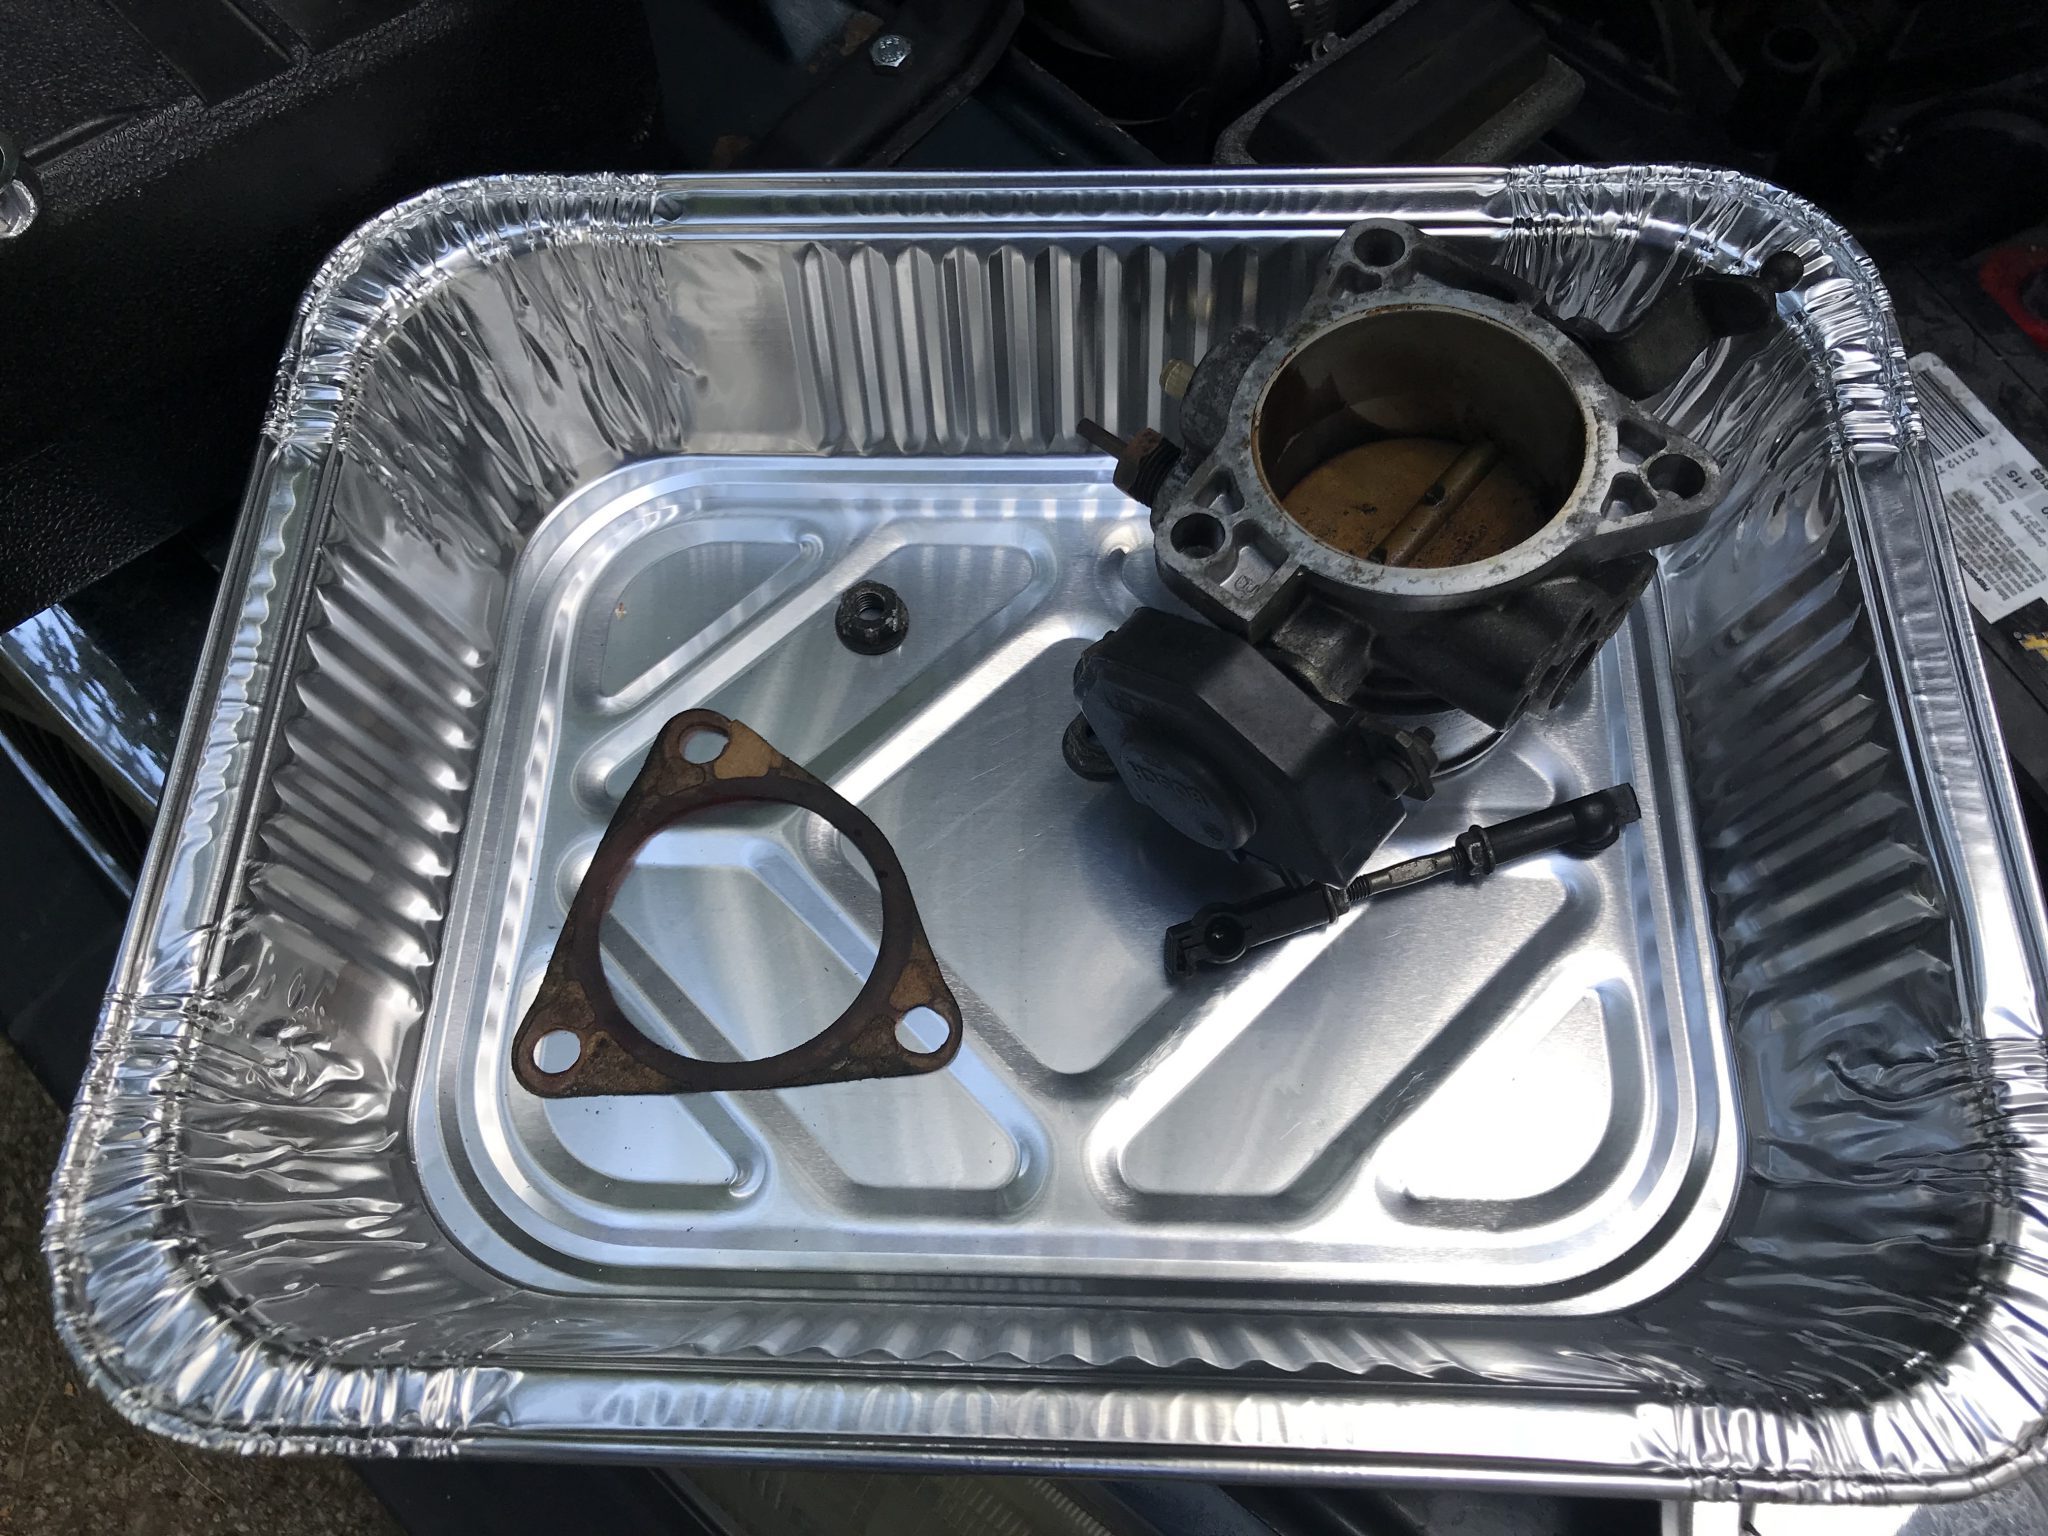
  • A dirty throttle body will stick or otherwise not properly open and close and not supply the desired amount of air to the engine. I plan on taking mine off and cleaning it with carb cleaner.
  • A malfunctioning Fuel Pressure regulator, although more directly concerning fuel rather than air, runs on vacuum and therefore needs to be inspected for air leaks and such. Its function is to maintain adequate pressure in the fuel rail. A cursory check of mine found no gas on the “dry” side so this is probably not a problem.

Some cleaning and testing are definitely in order. I’ve heard that spraying the air intakes with starter fluid and listening to see if the RPMs jump up for a moment, the idea that this fluid is being sucked into the airway and providing a brief boost to the engine, is one way to see if there are leaks. Another is to use a smoke source or fogger to attempt to spot unexpected air currents around the air hoses.

Fuel

On my car, fuel is delivered from the tank to the engine via a pump, sent at pressure through a hose, and into the fuel rail where it is injected into the cylinder for combustion. The amount of fuel sprayed and its timing is controlled by the Engine Control Unit, a computer that takes in all the data from various sensors and figures out the correct fuel/air mixture. My particular ECU is a Jetronic LH 2.4 made by Bosch (part # 0 280 000-561) in Spain. Thankfully mine is a “white label” version. Some -561 ECUs came with a pink colored label and are said to be “problematic”, so it’s nice to not have to deal with that at least.

  • A faulty Fuel Pump will obviously not be able to send gasoline to the engine. The pump is inside the gas tank and requires a special tool to remove (or at least make it easier), so I don’t think I’ll be taking mine out right now. However it is possible to test if the pump is actually capable of running by jumping the 4th fuse from the top of the fuse panel to the 6th. This will bypass the fuel relay and turn the pump on.
  • The Fuel Pump relay is the switch that normally controls the operation of the fuel pump. If the pump works when jumpered as described above but not when the relay is plugged in the relay is bad and needs replacement.
  • There are actually two Fuel filters in a 240: one (on my car, at least) is located underneath and near the driver side wheel and the other attached to the fuel pump itself. Since I don’t know when the last time either had been changed I should do both.
  • In order for fuel to make it to the engine in the correct amounts required, Fuel pressure must be maintained at the rate. For my LH 2.4 this is 43.5 psi (3.0 bar). I’ll have to test this to make sure that even if the pump is working it is working hard enough.
  • Dirty injectors will mess up the fuel air mixture and either degrade or prevent proper combustion. The primitive, pre-OBD diagnostic computer on my car has already said the injectors are not malfunctioning, but I’m told that if I remove them and take them to a shop I can get them flushed properly which will help in engine performance. Food for future thought.
  • If the Engine Control Unit is broken then every other part of the system becomes irrelevant. As far as I can tell my ECU seems to be working fine, and I really don’t know how to test it. As mentioned, the -561 ECUs, especially the “pink label” models were touchy, so eventually I might want to look into changing mine out for a compatible and supposedly more reliable -951 model.

It’s a pretty long list, but I’ve already ticked a couple of boxes so far, and crossing them all off the list will put me in a decent place to truly understand how all this stuff works together.

Thread Status: Chased

The weather improved a little and I eventually worked up the nerve to chase those plug threads, and while I can’t say that it was a resounding success I can say that I was able to get the plug screwed in satisfactorily.

When I tried the ignition the car did start momentarily before it stalled out. So basically I’m back to where I started a few weeks ago. There are quite a few things that could be wrong here. I’ve covered spark, so I decided to move on to air. That meant making sure the MAF was still working, so I hooked up my multimeter.

I verified voltage on both the power and signal lines, and they were good. Next I tested resistance across the sensor saw numbers that were within the limits as shown in my manual for an LH-2.4*. There may be some air leaks messing up the calculations, but I haven’t noticed any yet.

This leaves fuel. I think my next step will be to take the throttle body off and clean it up.

* 2.5-4.0 ohms

Chase those threads!

I finally got ahold of an endoscope device that hooks up to a laptop and was able to look down into the spark plug socket. There I found no obstructions and while the threads looked relatively clean the focal length of the camera made inspection sort of difficult. The photo to the right is the top of the piston.

This really only leaves me with the conclusion that the threads are crossed and need to be chased. This is a tricky situation. Chasing the threads will probably result in some metal shavings which, if left in the cylinder, will potentially find their way into parts of the engine that definitely shouldn’t have tiny bits of sharp metal floating around inside them. I think if I grease the chasing tool up really well most of the shavings will remain stuck to it on the way out. The remaining ones that happen to fall into the cylinder can be cleaned out. I’ve heard that compressed air works fairly well at this, and the endoscope also has a magnet attachment that I can use to pick up the remaining bits. I’m nervous about all this, but also confident that I can do it. Wish me luck.

A short review

I recently came across a short review of 240s on the website “The Truth About Cars” that I thought was interesting. This is mainly for the last part on how Volvos have changed since the 90s. I sort of resent the conventional wisdom that 240s are cars coveted strictly by hip millennials. I am decidedly neither hip nor a millennial. Other than that, I agree with the observations and conclusions of this article.

Capsule Review: Volvo 240GL Estate

Crossed threads

After recharging my battery and re-gapping my plugs I found that the rear-most plug wasn’t going in all the way when I attempted to hand tighten it. Are the threads crossed? I couldn’t tell. The plug hole is very close to the firewall making it hard to to see what’s going on in there. It’s possible to get a chasing tool that would straighten out the crossed threads, but I’ve been warned that using such a thing would run the risk of depositing metal shavings into the block which would be not good. I’m waiting to get my hands on an endoscope so that I can better see the situation before I do anything. I’m hoping the threads are just really dirty and this situation can be solved with a good brush cleaning.

New plugs and wires

After doing a little reading about 240 starting issues I landed on “bad/wet spark plugs” as a possible culprit. Since the fuel injectors were telling me they were fine I figured changing out the spark plugs would be the next easiest thing to try. I had no idea when the plugs had last been changed. For all I knew they could be original.

Get To Work

I proceeded to pull the rubber boots from the plugs only to find that half of them had terminals that had at some point corroded and become cemented to the terminal nut. This meant that the wires were no longer usable. The plugs themselves looked pretty dirty, so replacing them, even if they didn’t turn out to be the source of my current issue was probably a good idea.

After ordering new plugs and wires, I gapped the plugs and swapped them. Thanks to my cat for being my helper for the day.

Rookie Mistake

Of course, like a real newbie, I forgot to note which wires went to which terminals on the distributor. A little more investigation cleared that up, and I present a diagram here for anyone else who might find themselves looking at a B230F and wondering what plugs into where:

That makes the firing order of the cylinders 1-3-4-2. Good to know. Part of my own difficulty in figuring this out was the fact that my distributor had terminals in a “box” formation like the above diagram whereas a lot of 240s have them in a “diamond” configuration. If your car has a distributor like this just pretend that the pink terminal in my diagram is the point of the diamond closest to the front of the car.

With everything back together, I hopped into the driver’s seat, turned the key, and heard… WRRR-wrrr-wrrr-wrrr. The dreaded sound of a weak battery failing to crank the engine. Crap. Thankfully, a friend had a recharger I could borrow but the day was getting long and time short so that’ll have to wait.

Crank and stall

As of late a combination of rainy weekends and other sorts of work have conspired to keep me from working on the car. Now that the engine is all back together I have had a chance to try and start the car. The bad news there is that while the engine will crank and catch it will almost immediately stall, something it didn’t do before. My cleaning probably dislodged some component or shorted some sensor. I was sort of expecting this to happen. It’s often times been said to me that on older cars it’s the accumulated grime and grease that actually hold things together. Maybe I just washed off some important bit of dirt.

Whatever it is, I need to check the three basics: compression, spark and fuel. I’ve already used the car’s primitive diagnostic computer to check the fuel injectors, and no fault code was returned. That makes me feel reasonable sure that the fuel part of that triad is ok. That leaves the spark plugs/timing and piston compression. I could easily see the spar plugs or distributor getting a little wet so perhaps opening them up will help sort this out. I might also take off the throttle assembly and clean it as I’m sure it’s quite dirty.