Slowly coming back together

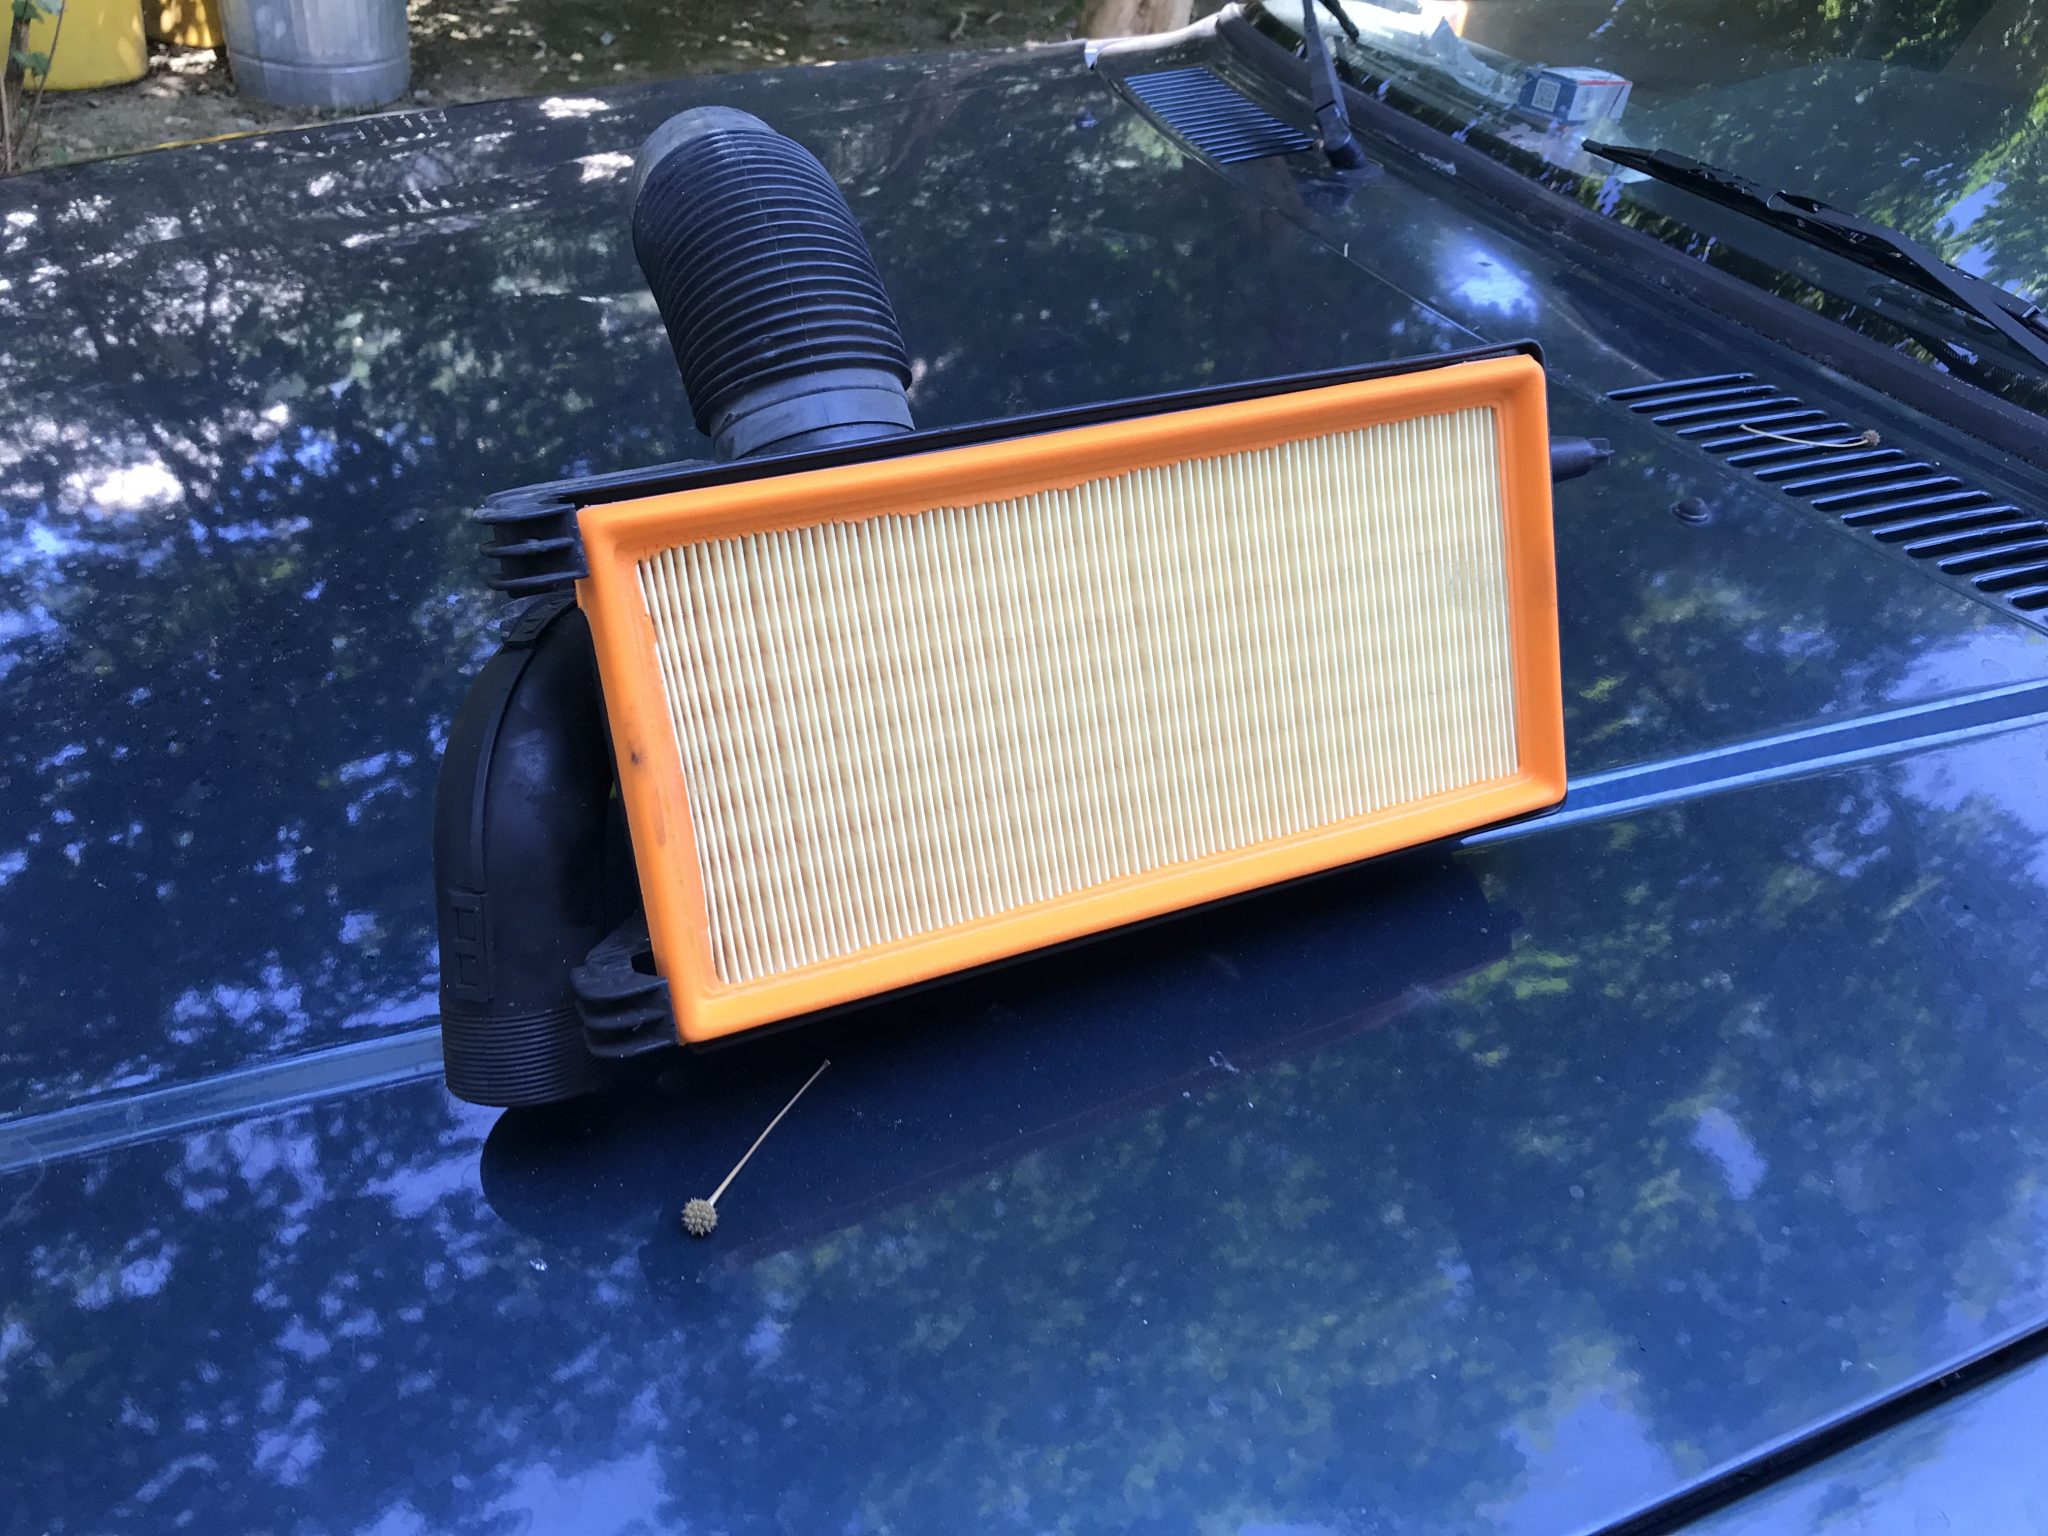
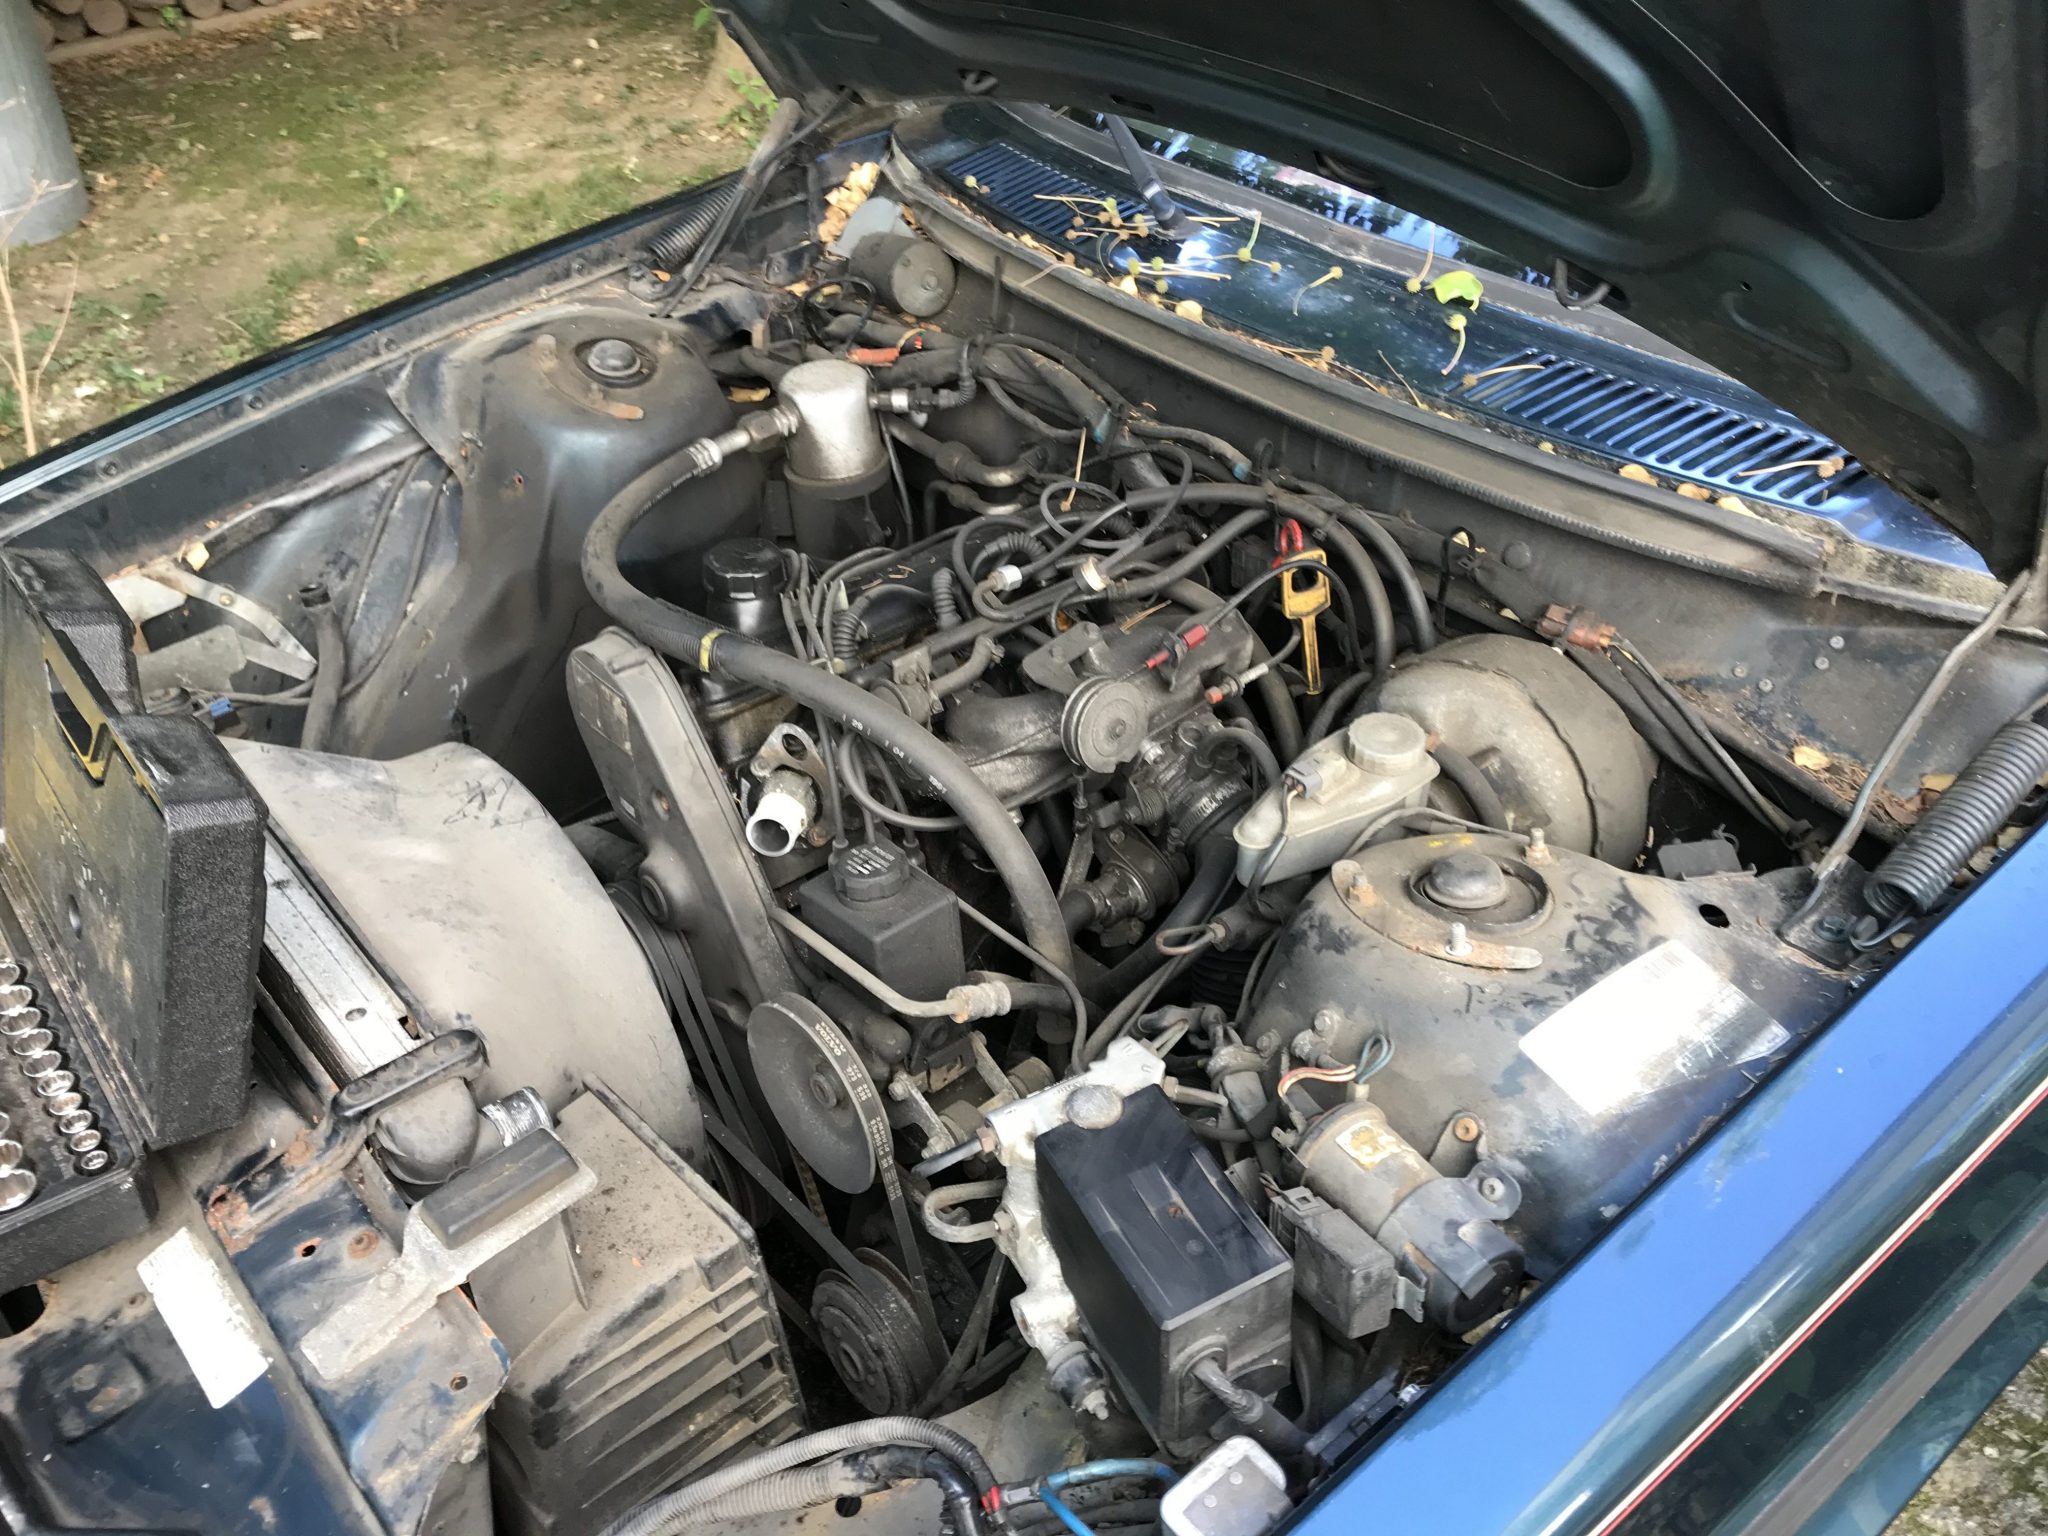
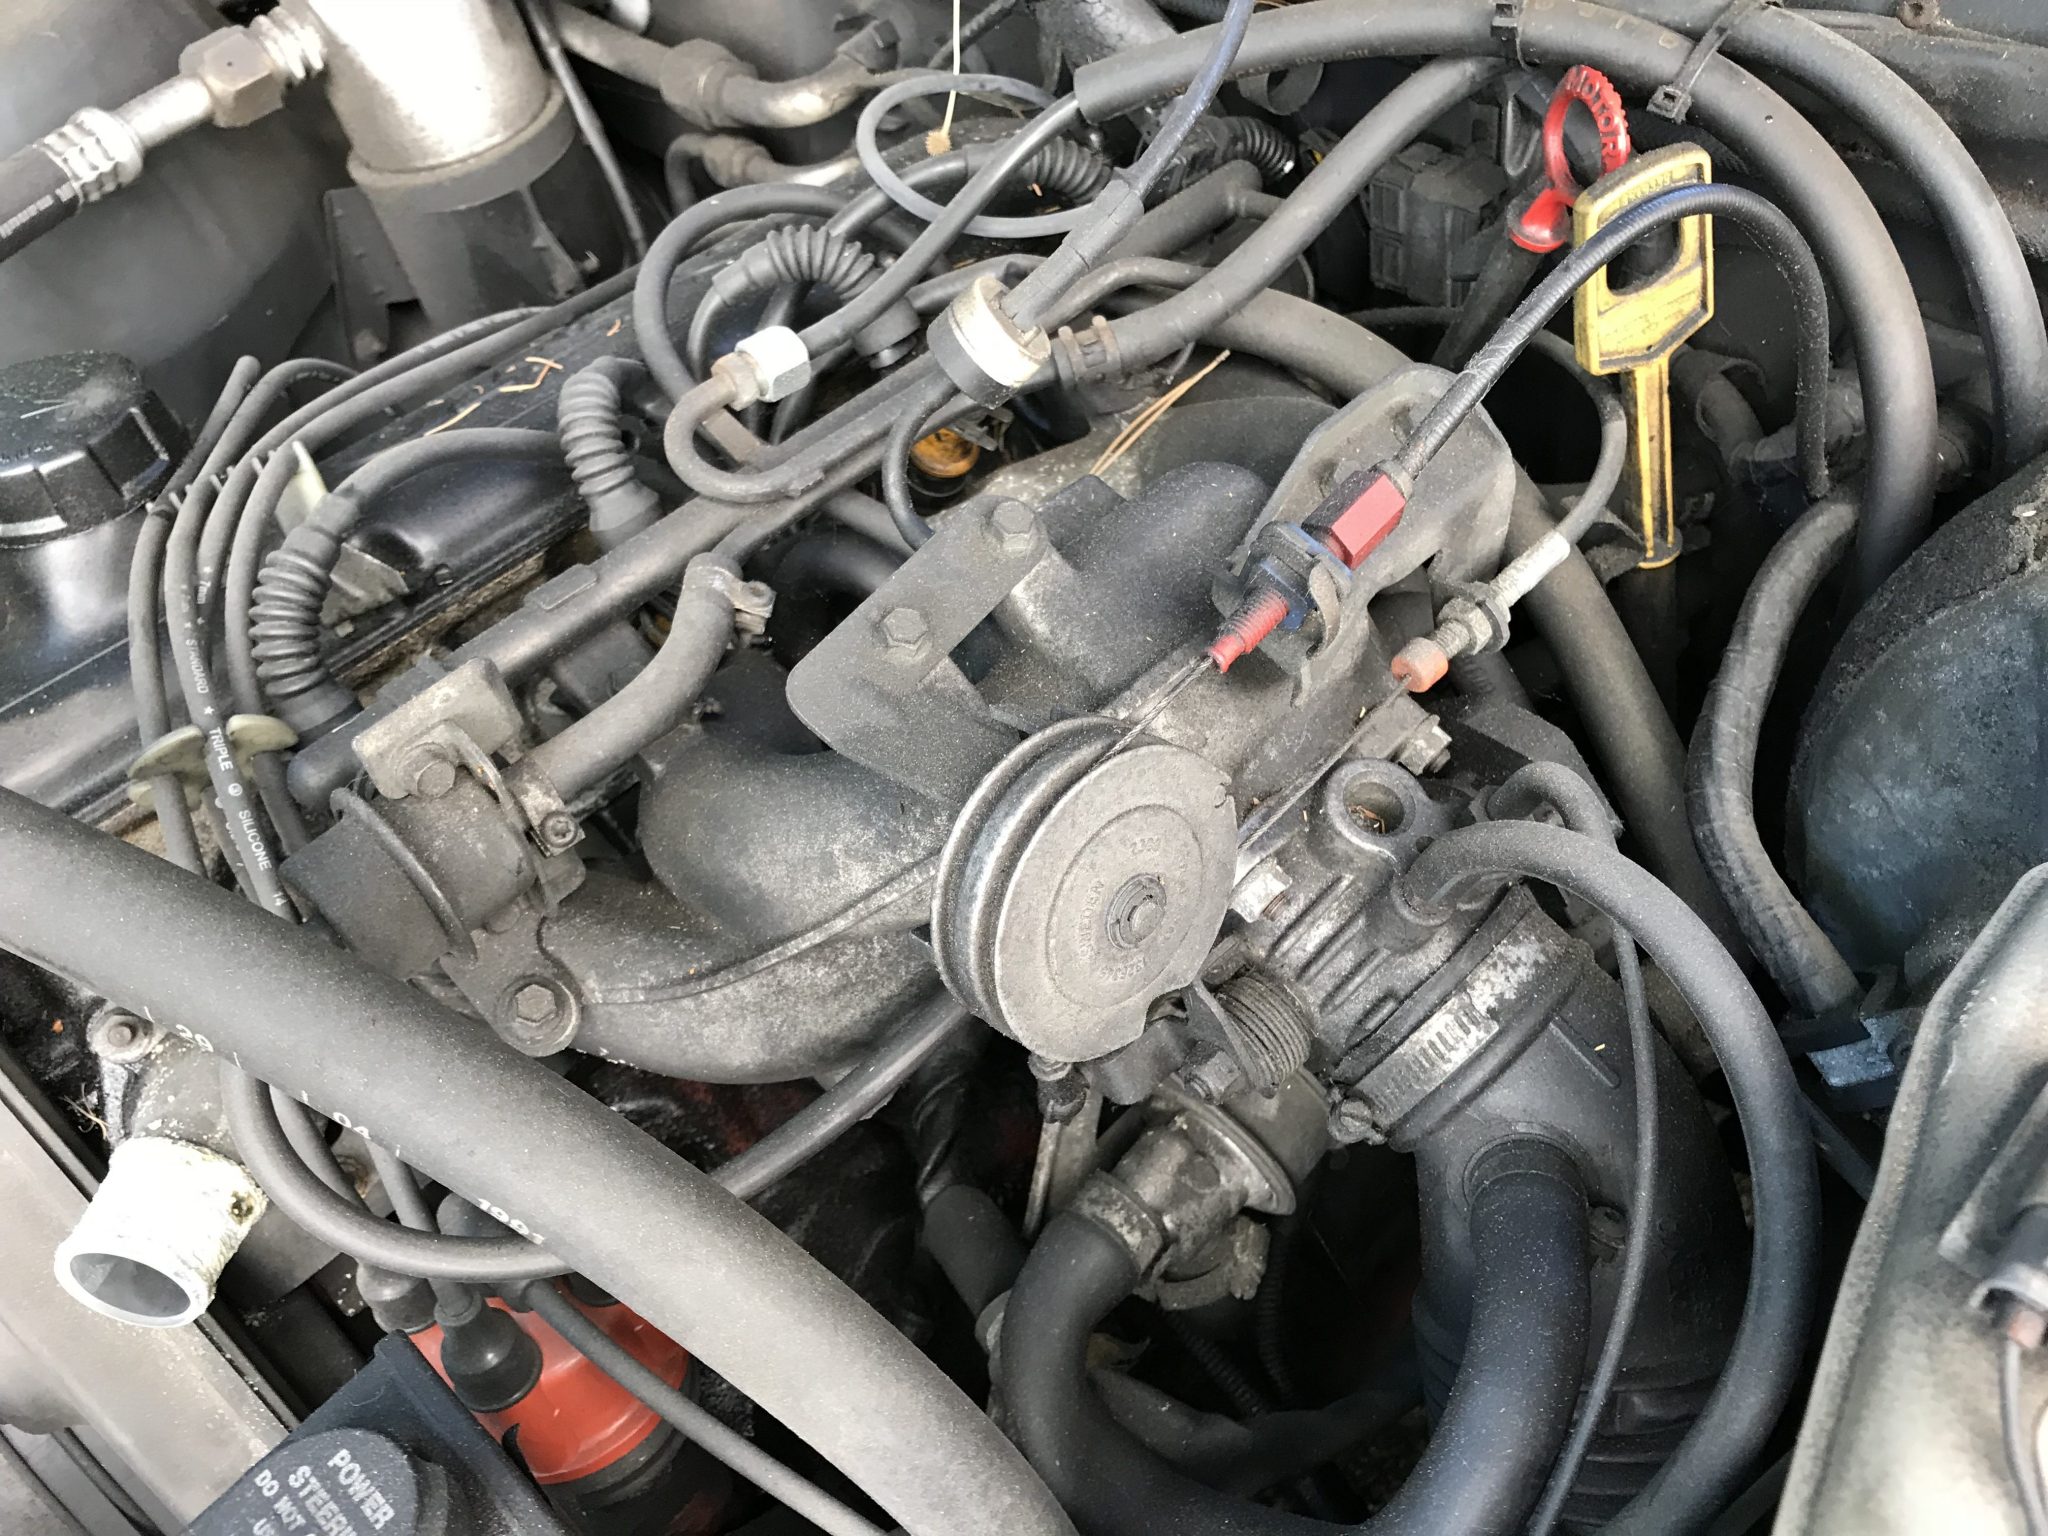
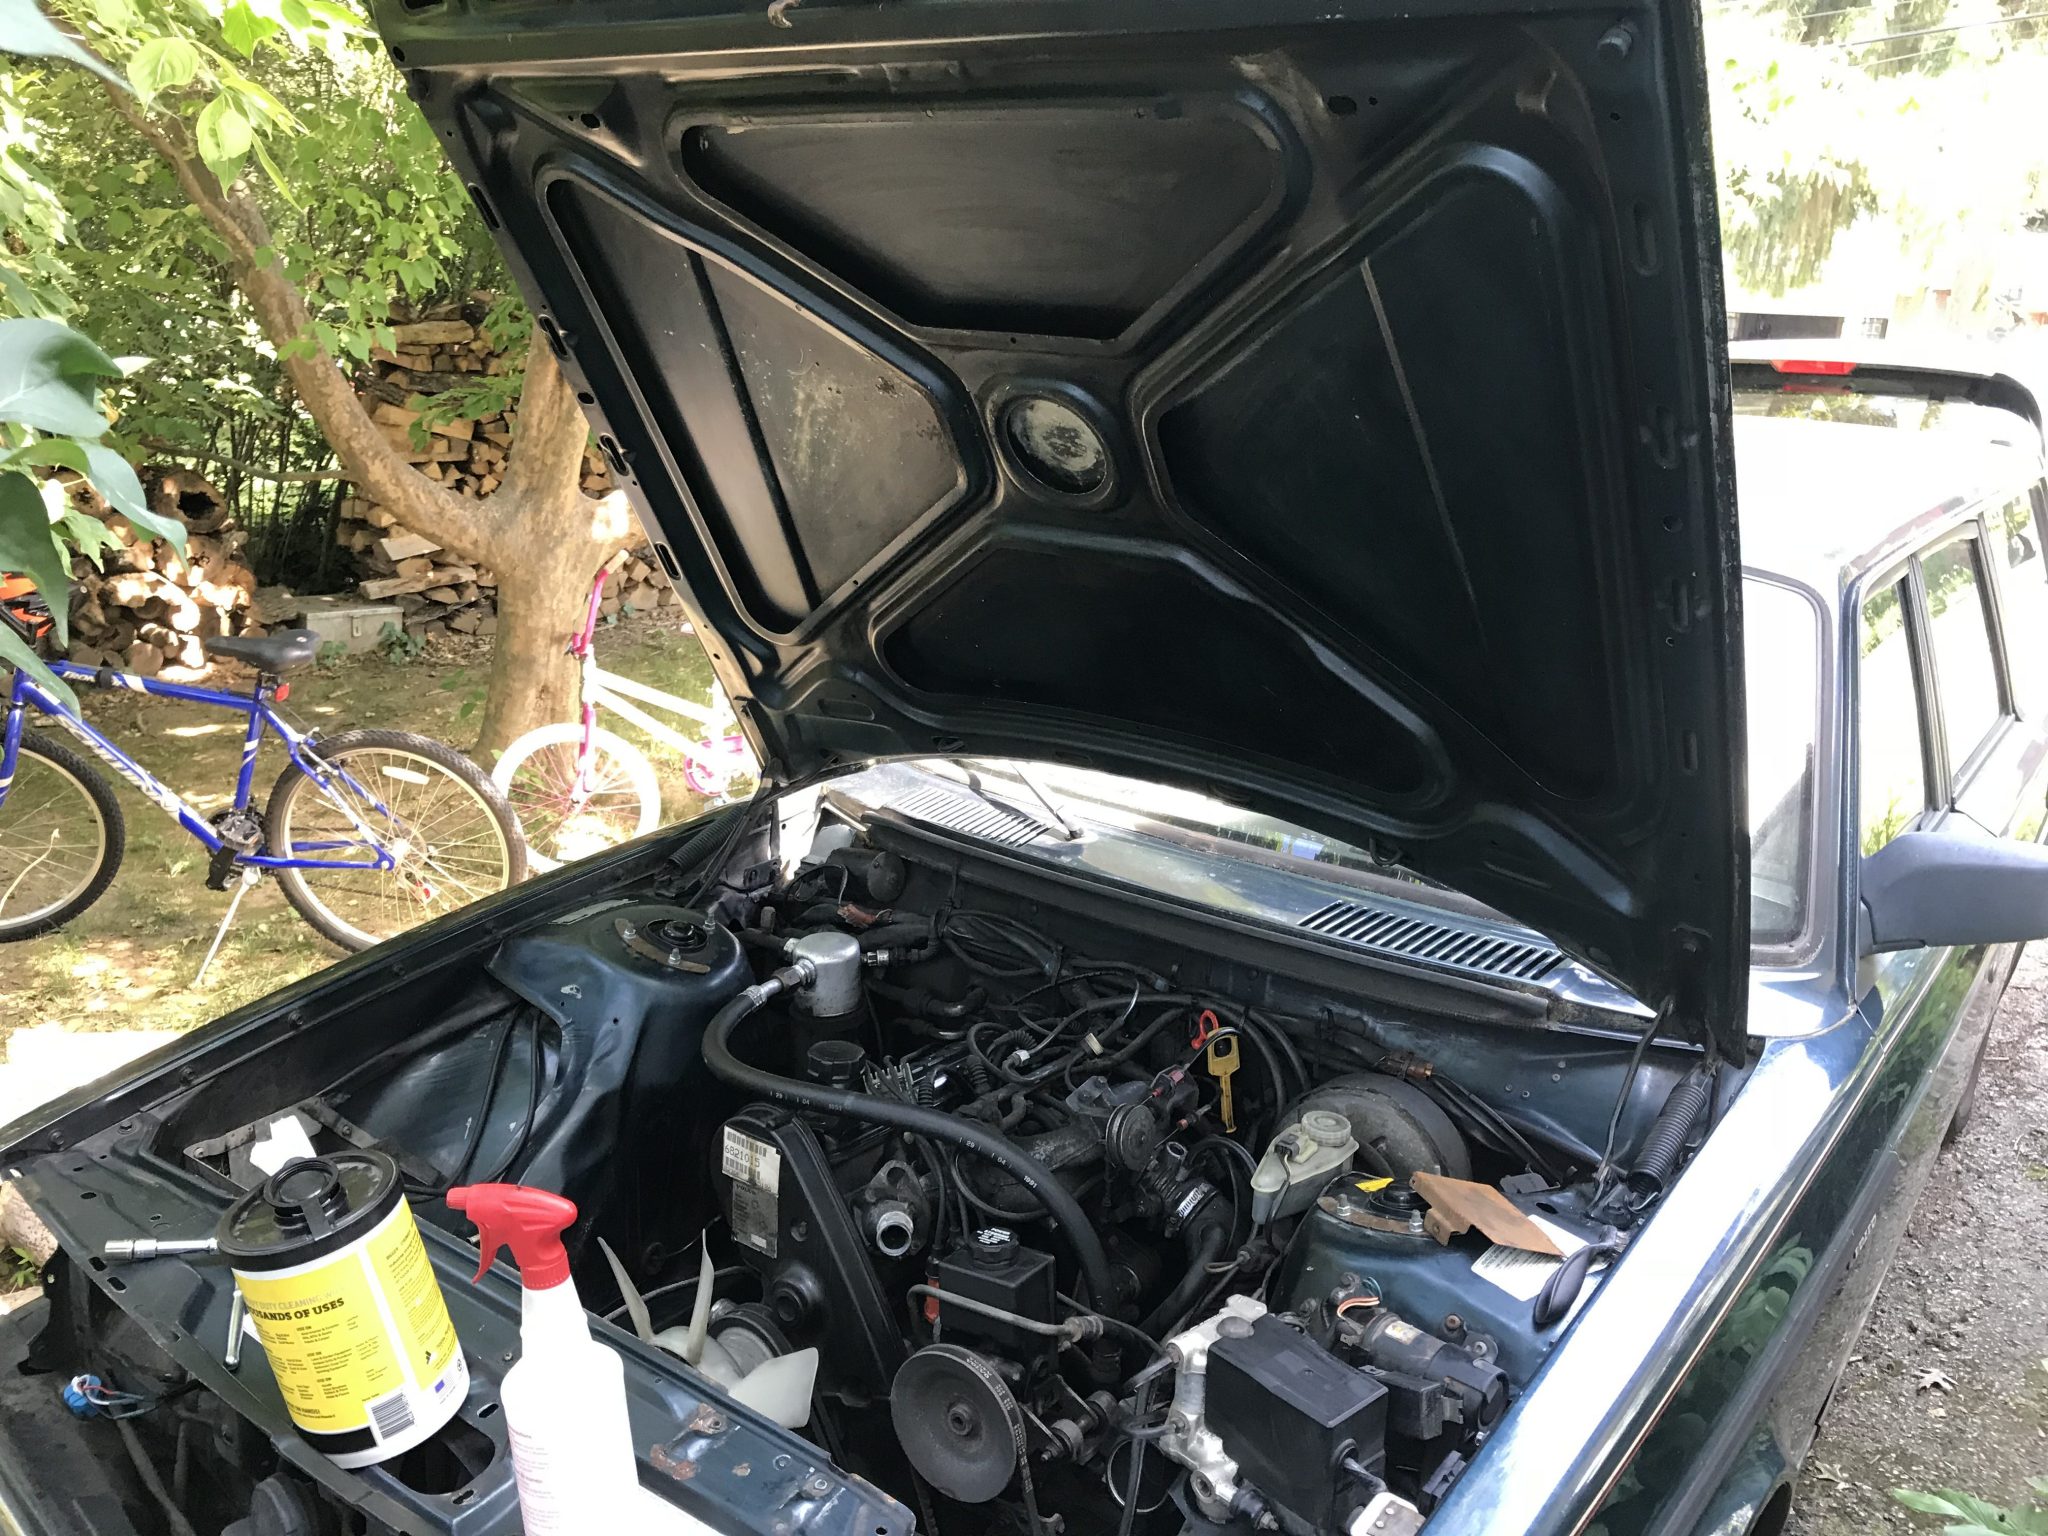
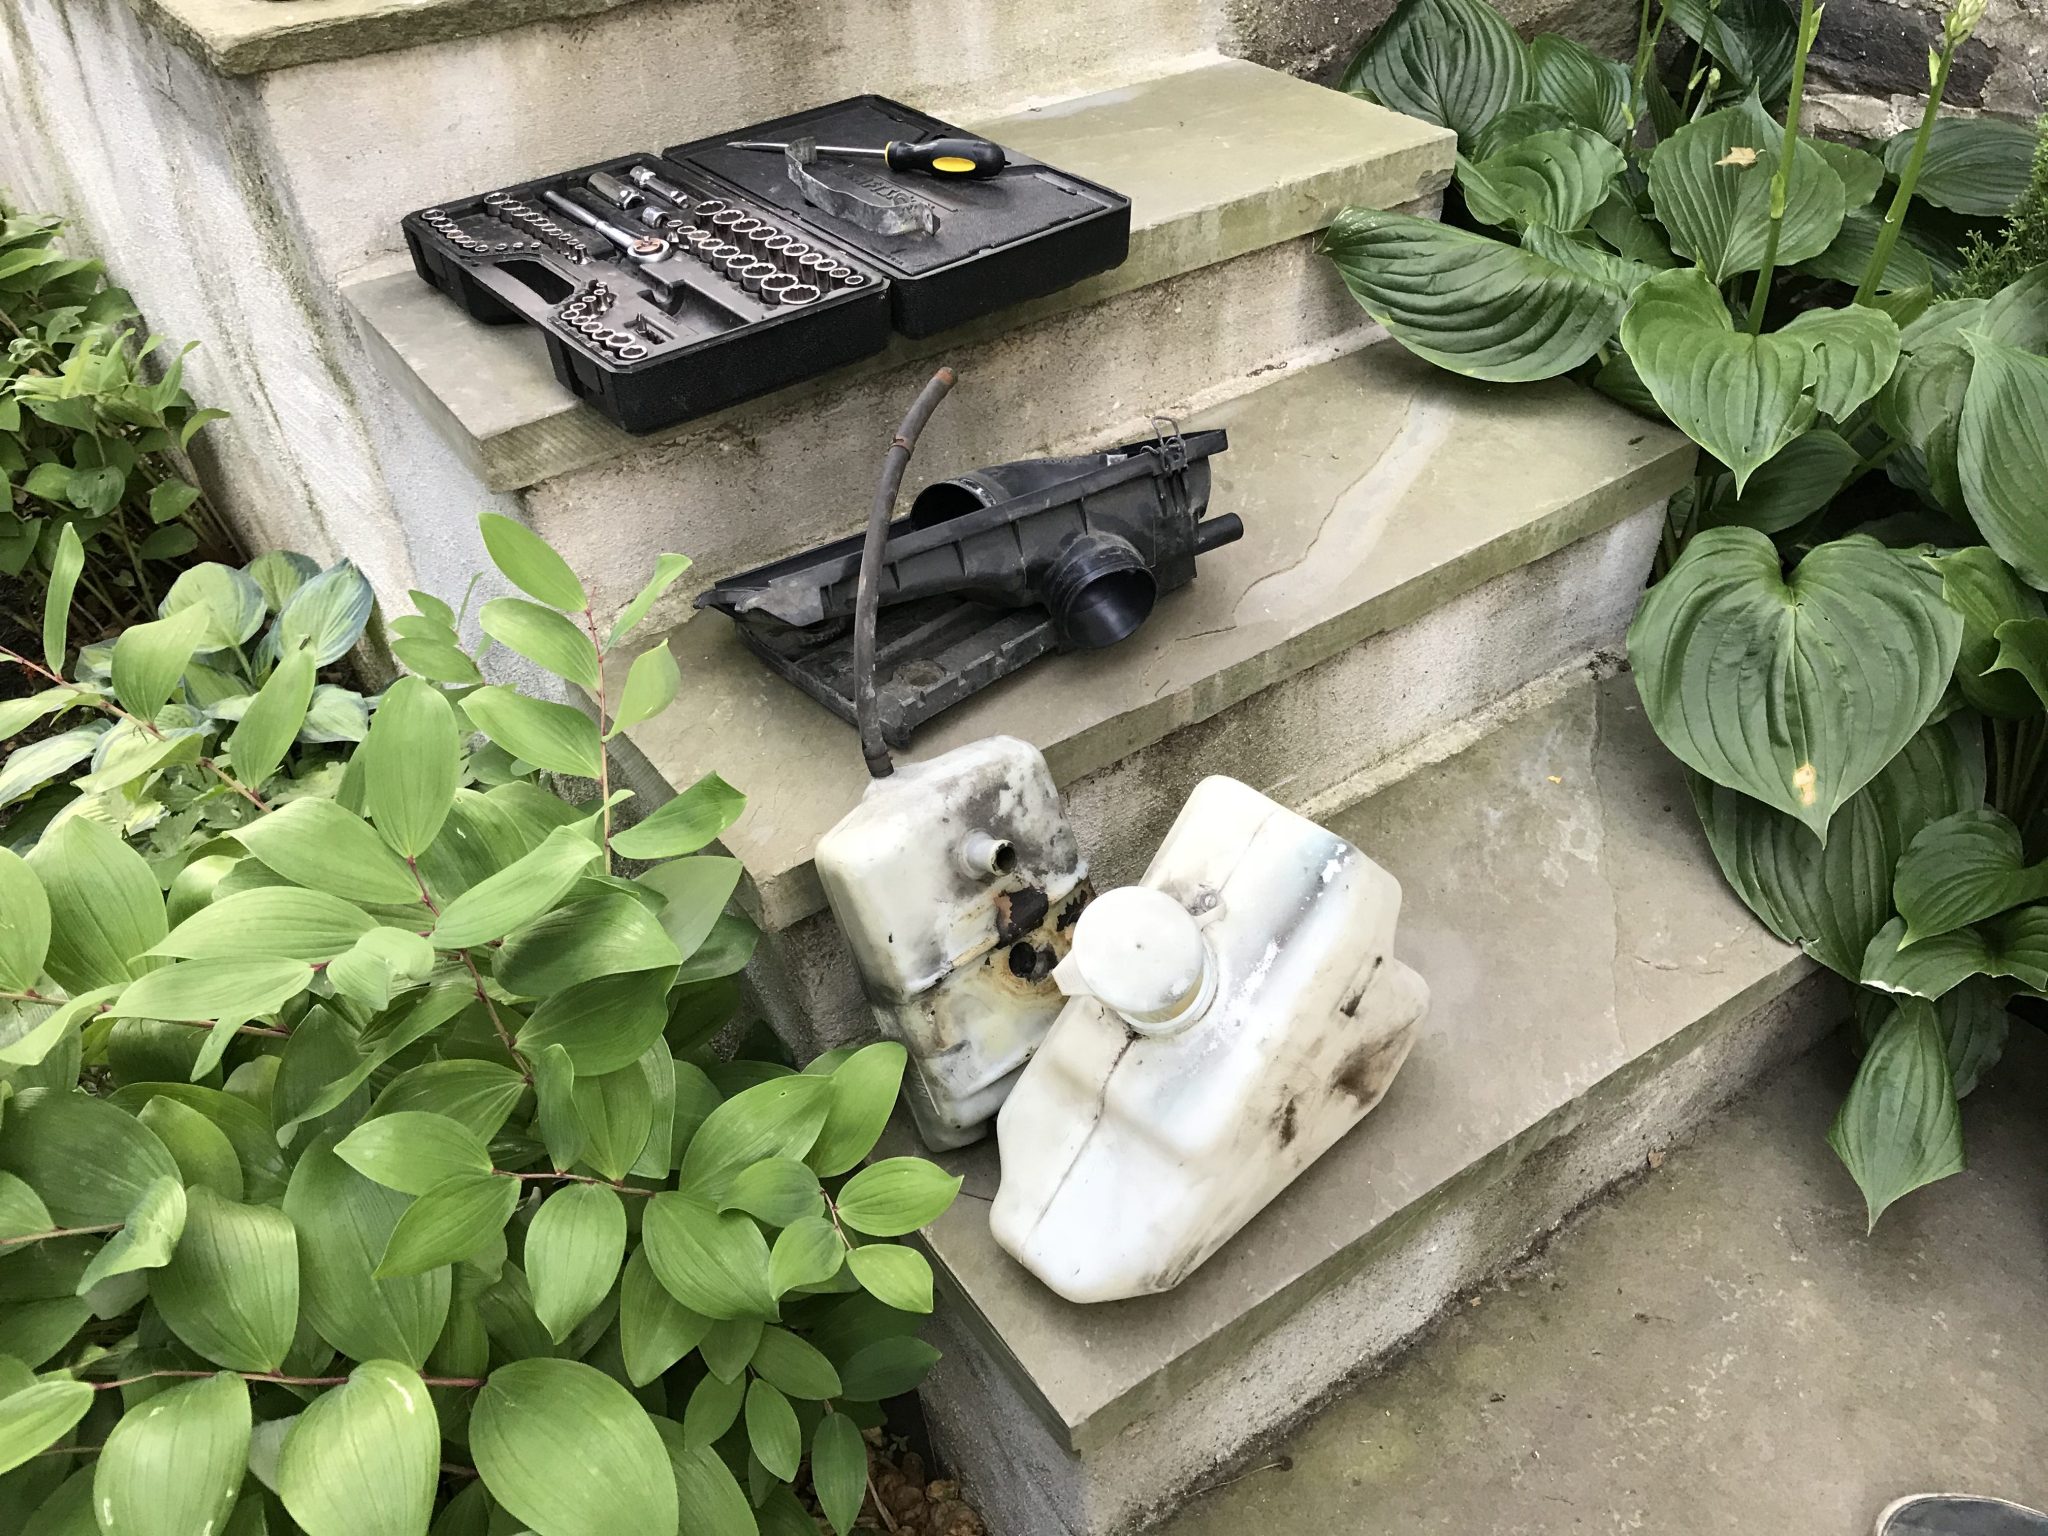
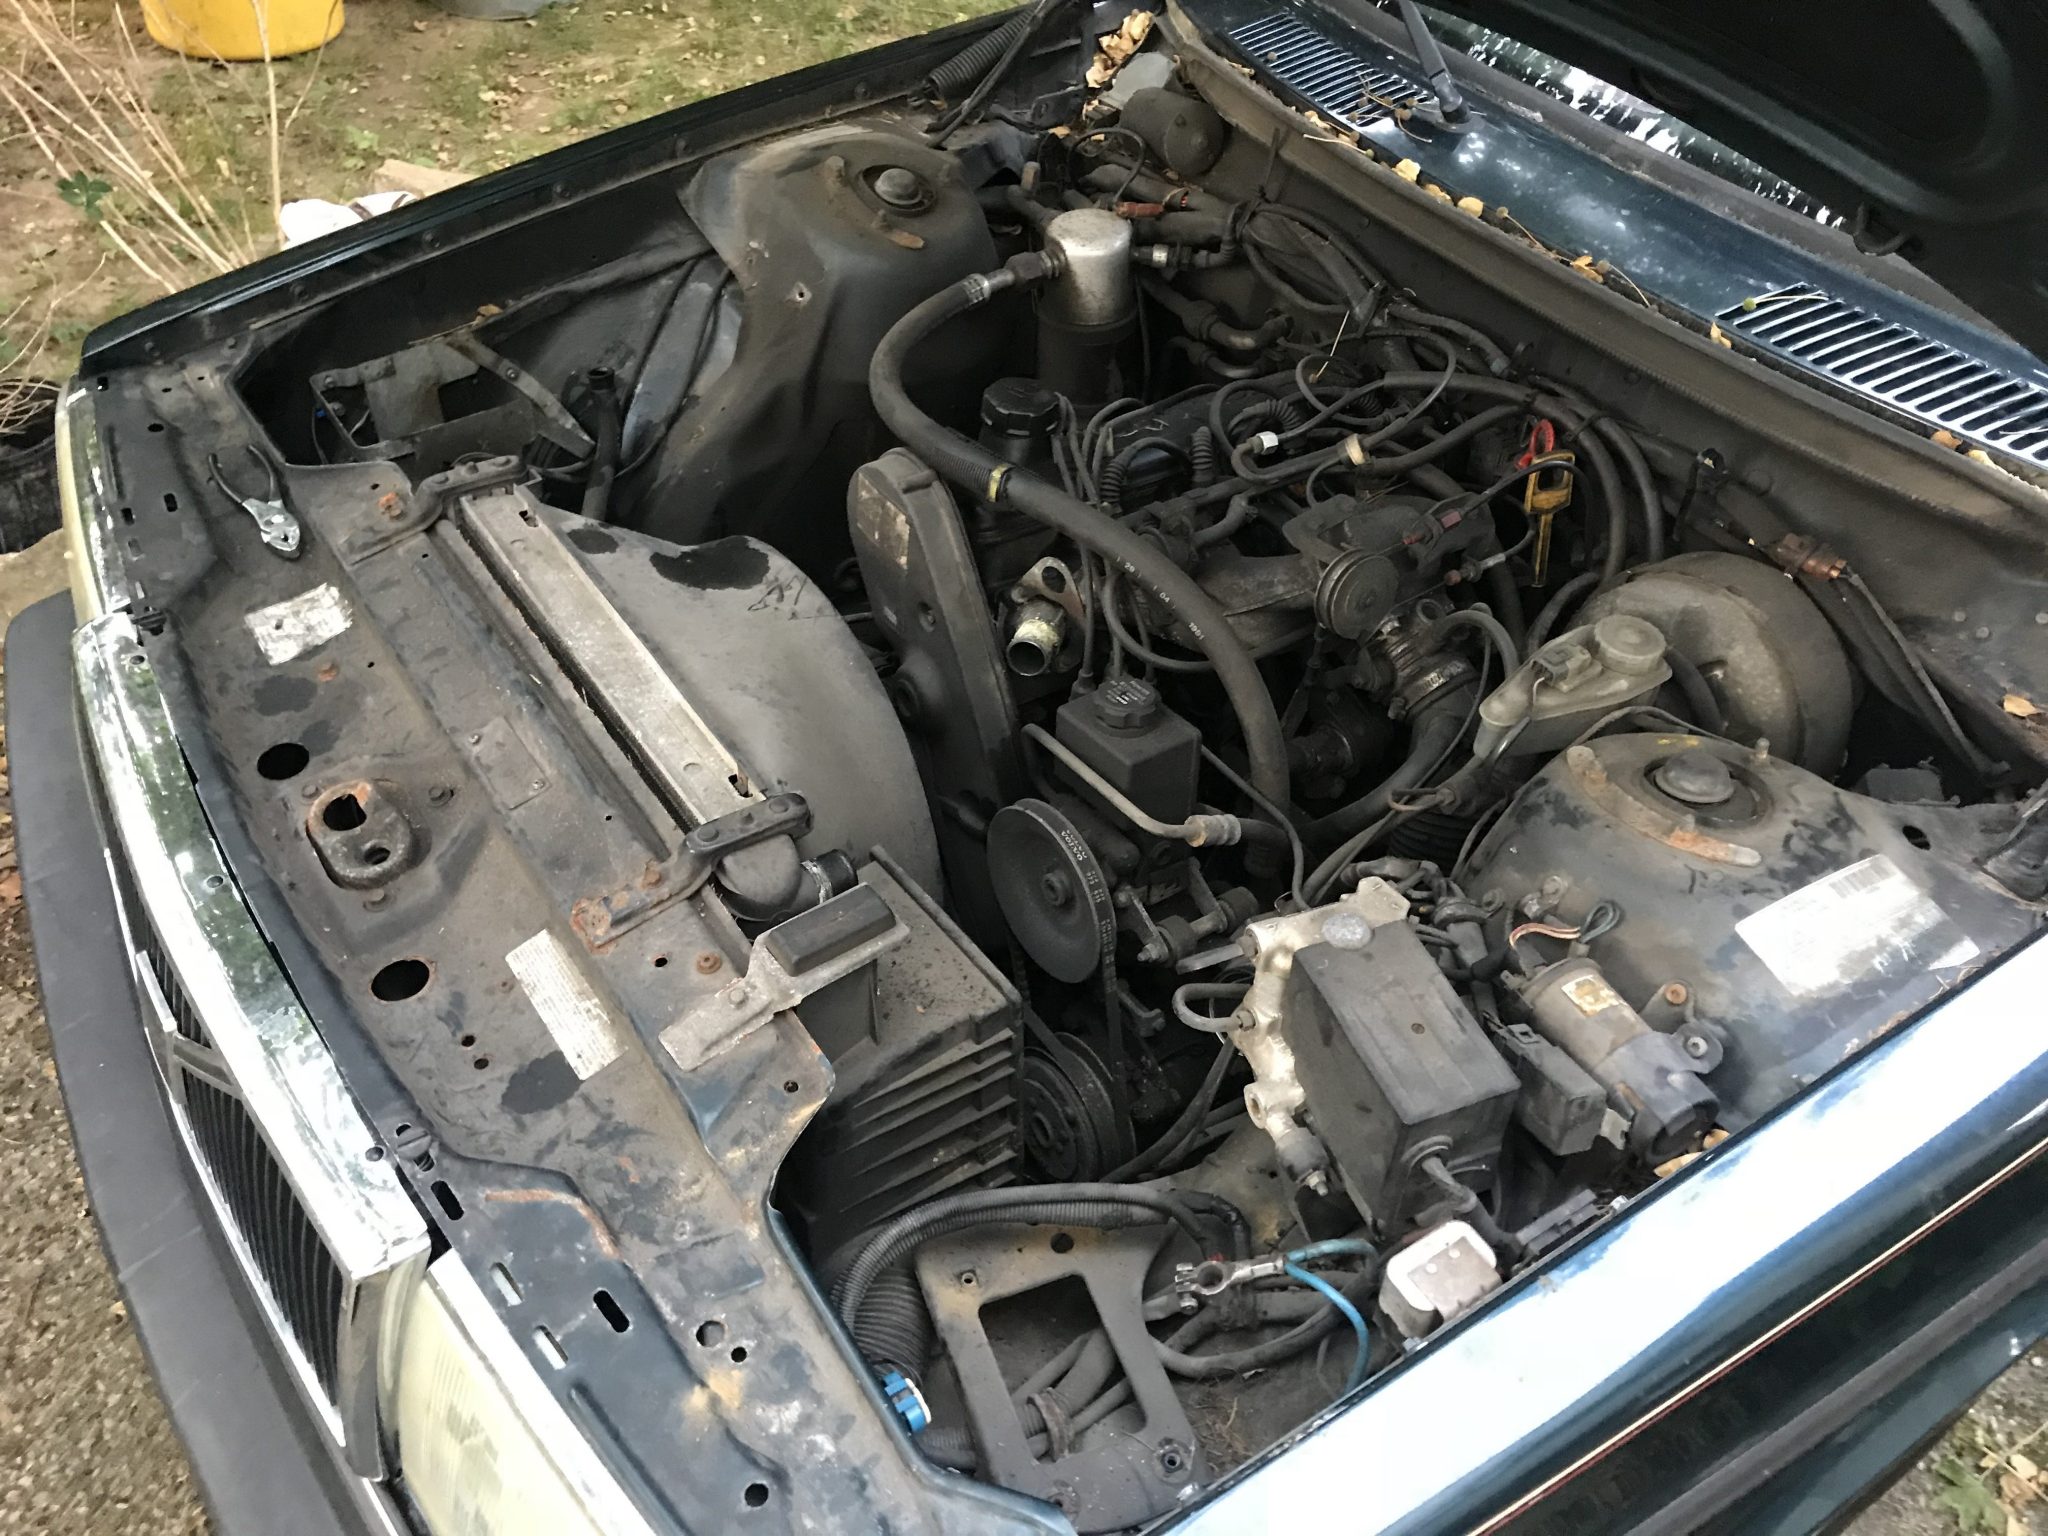
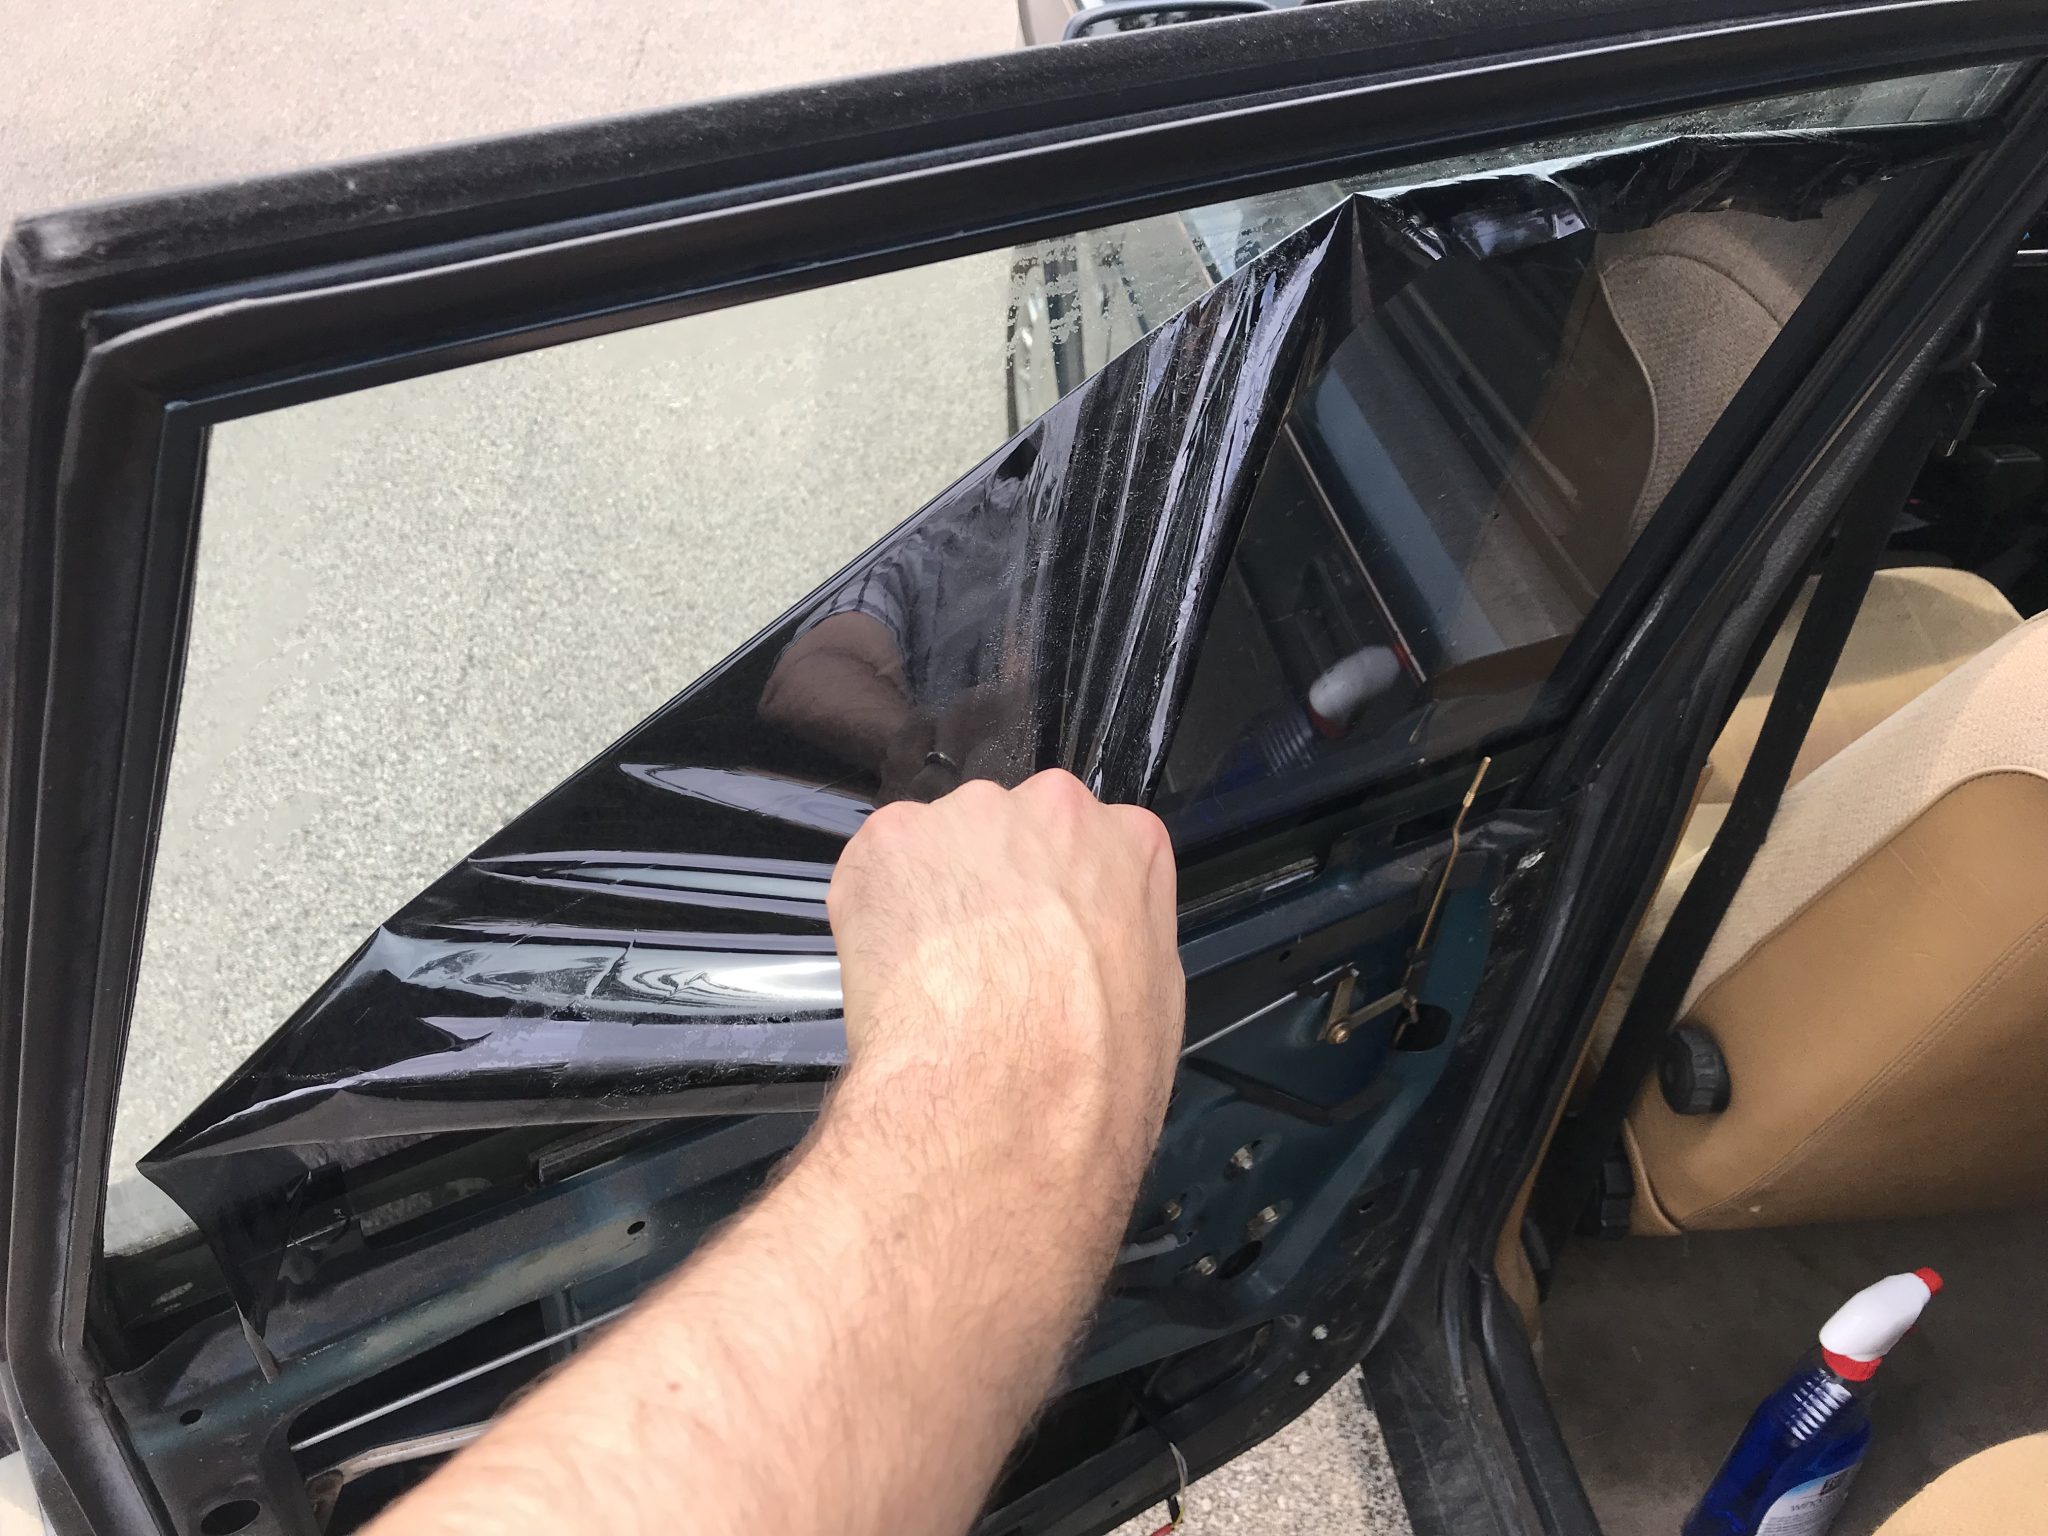
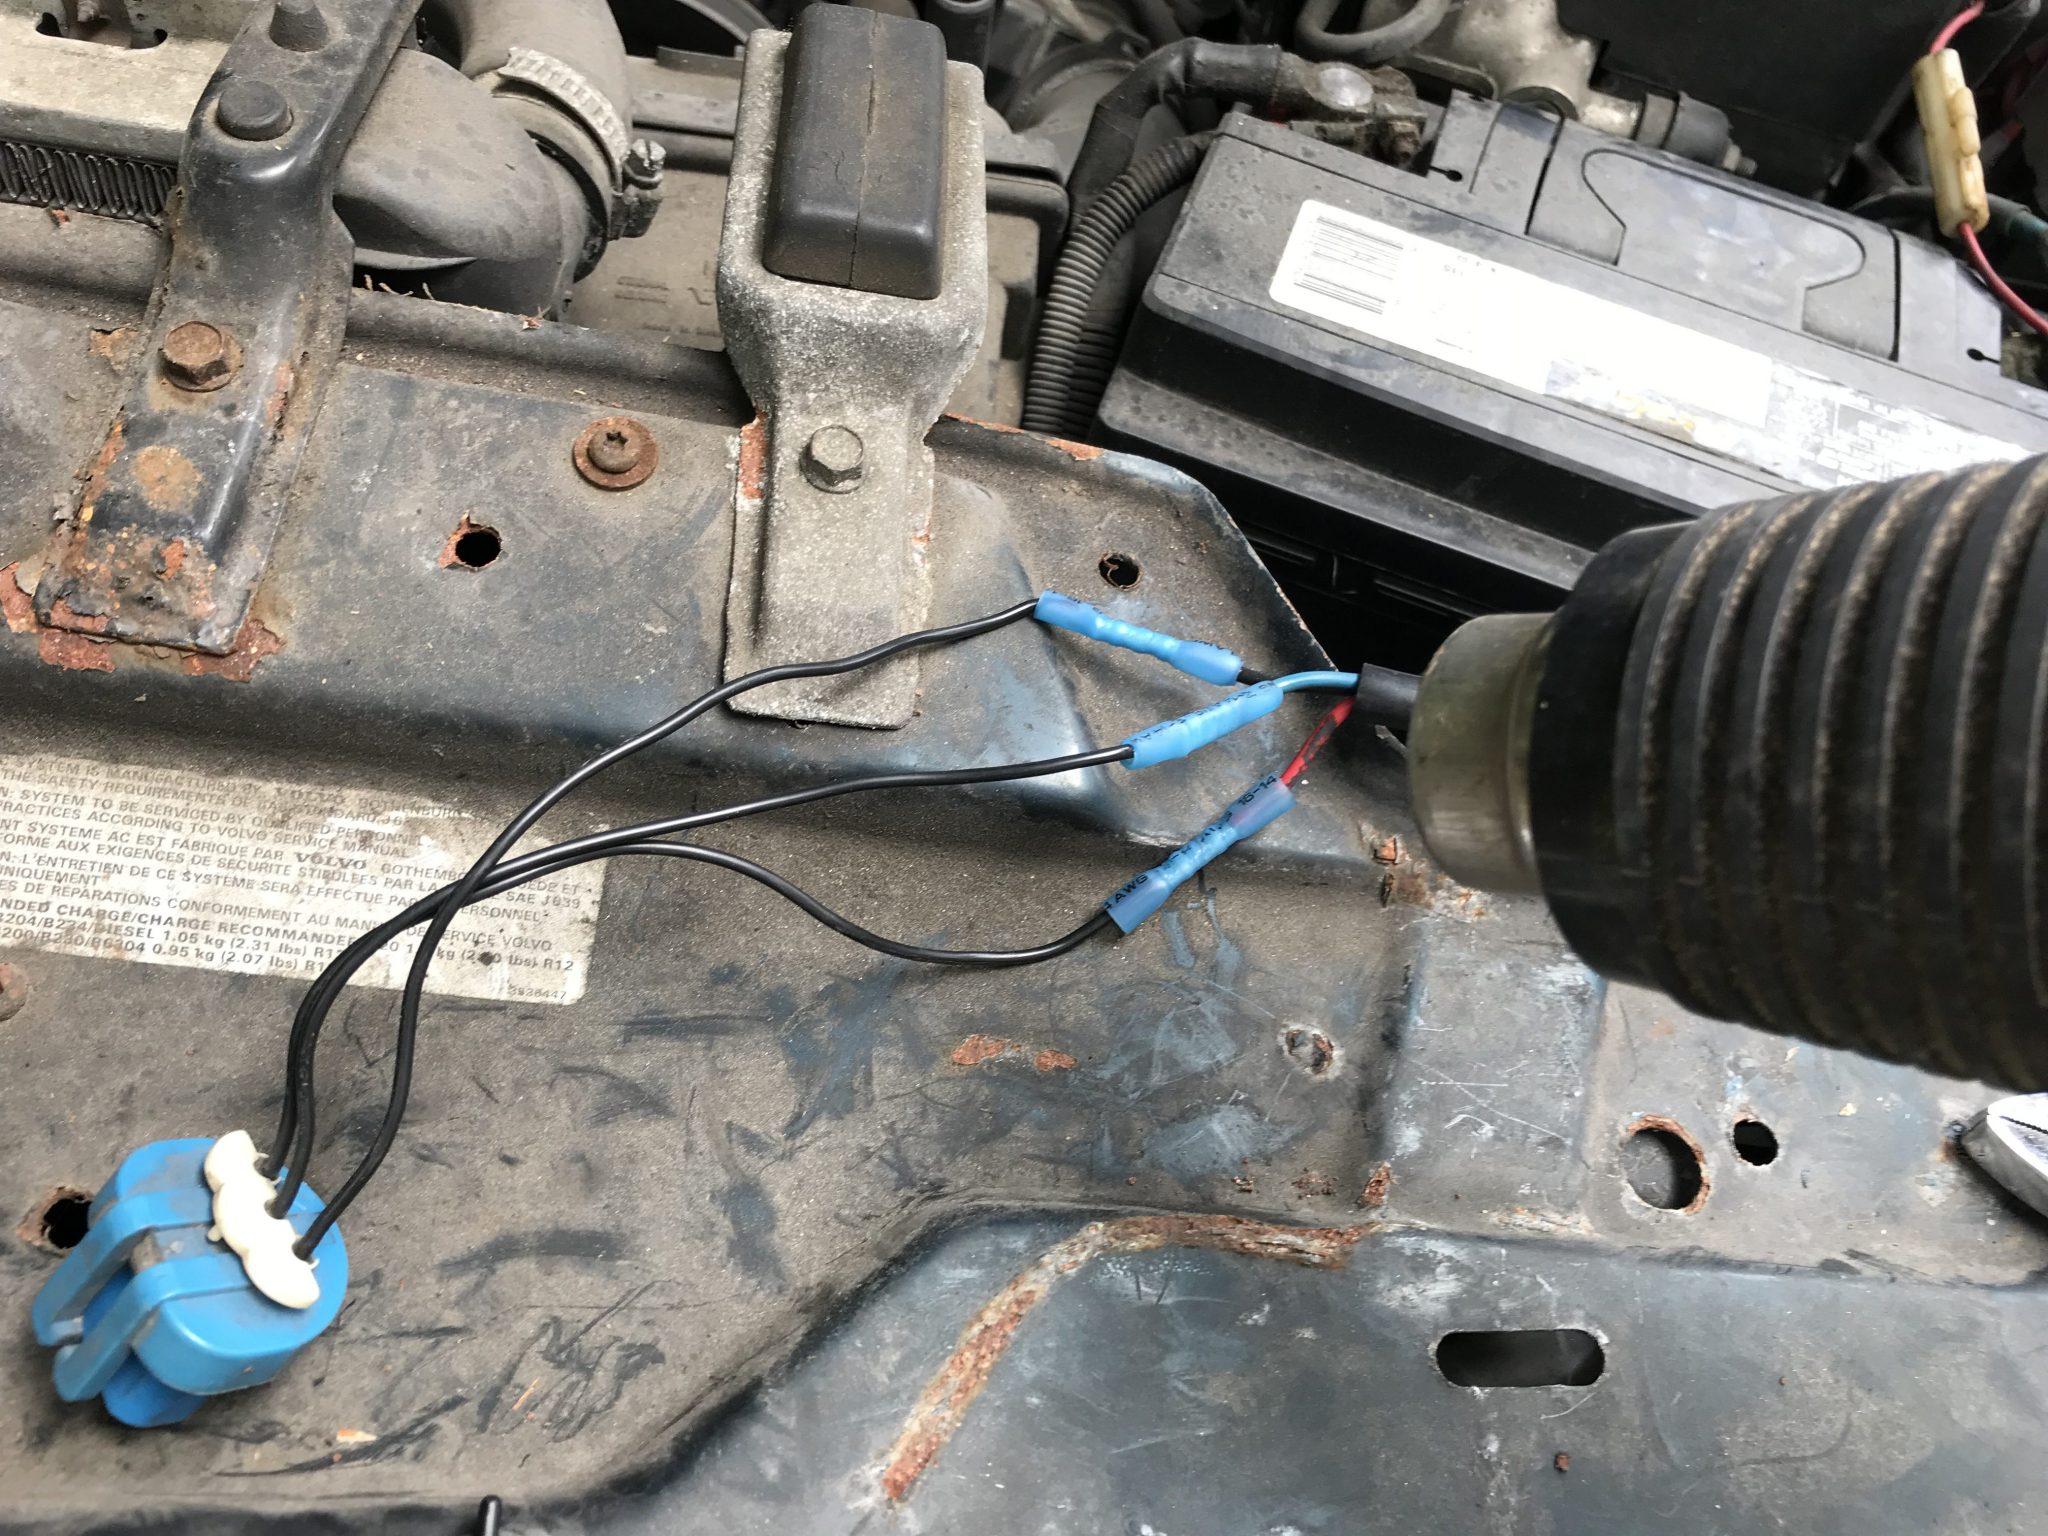
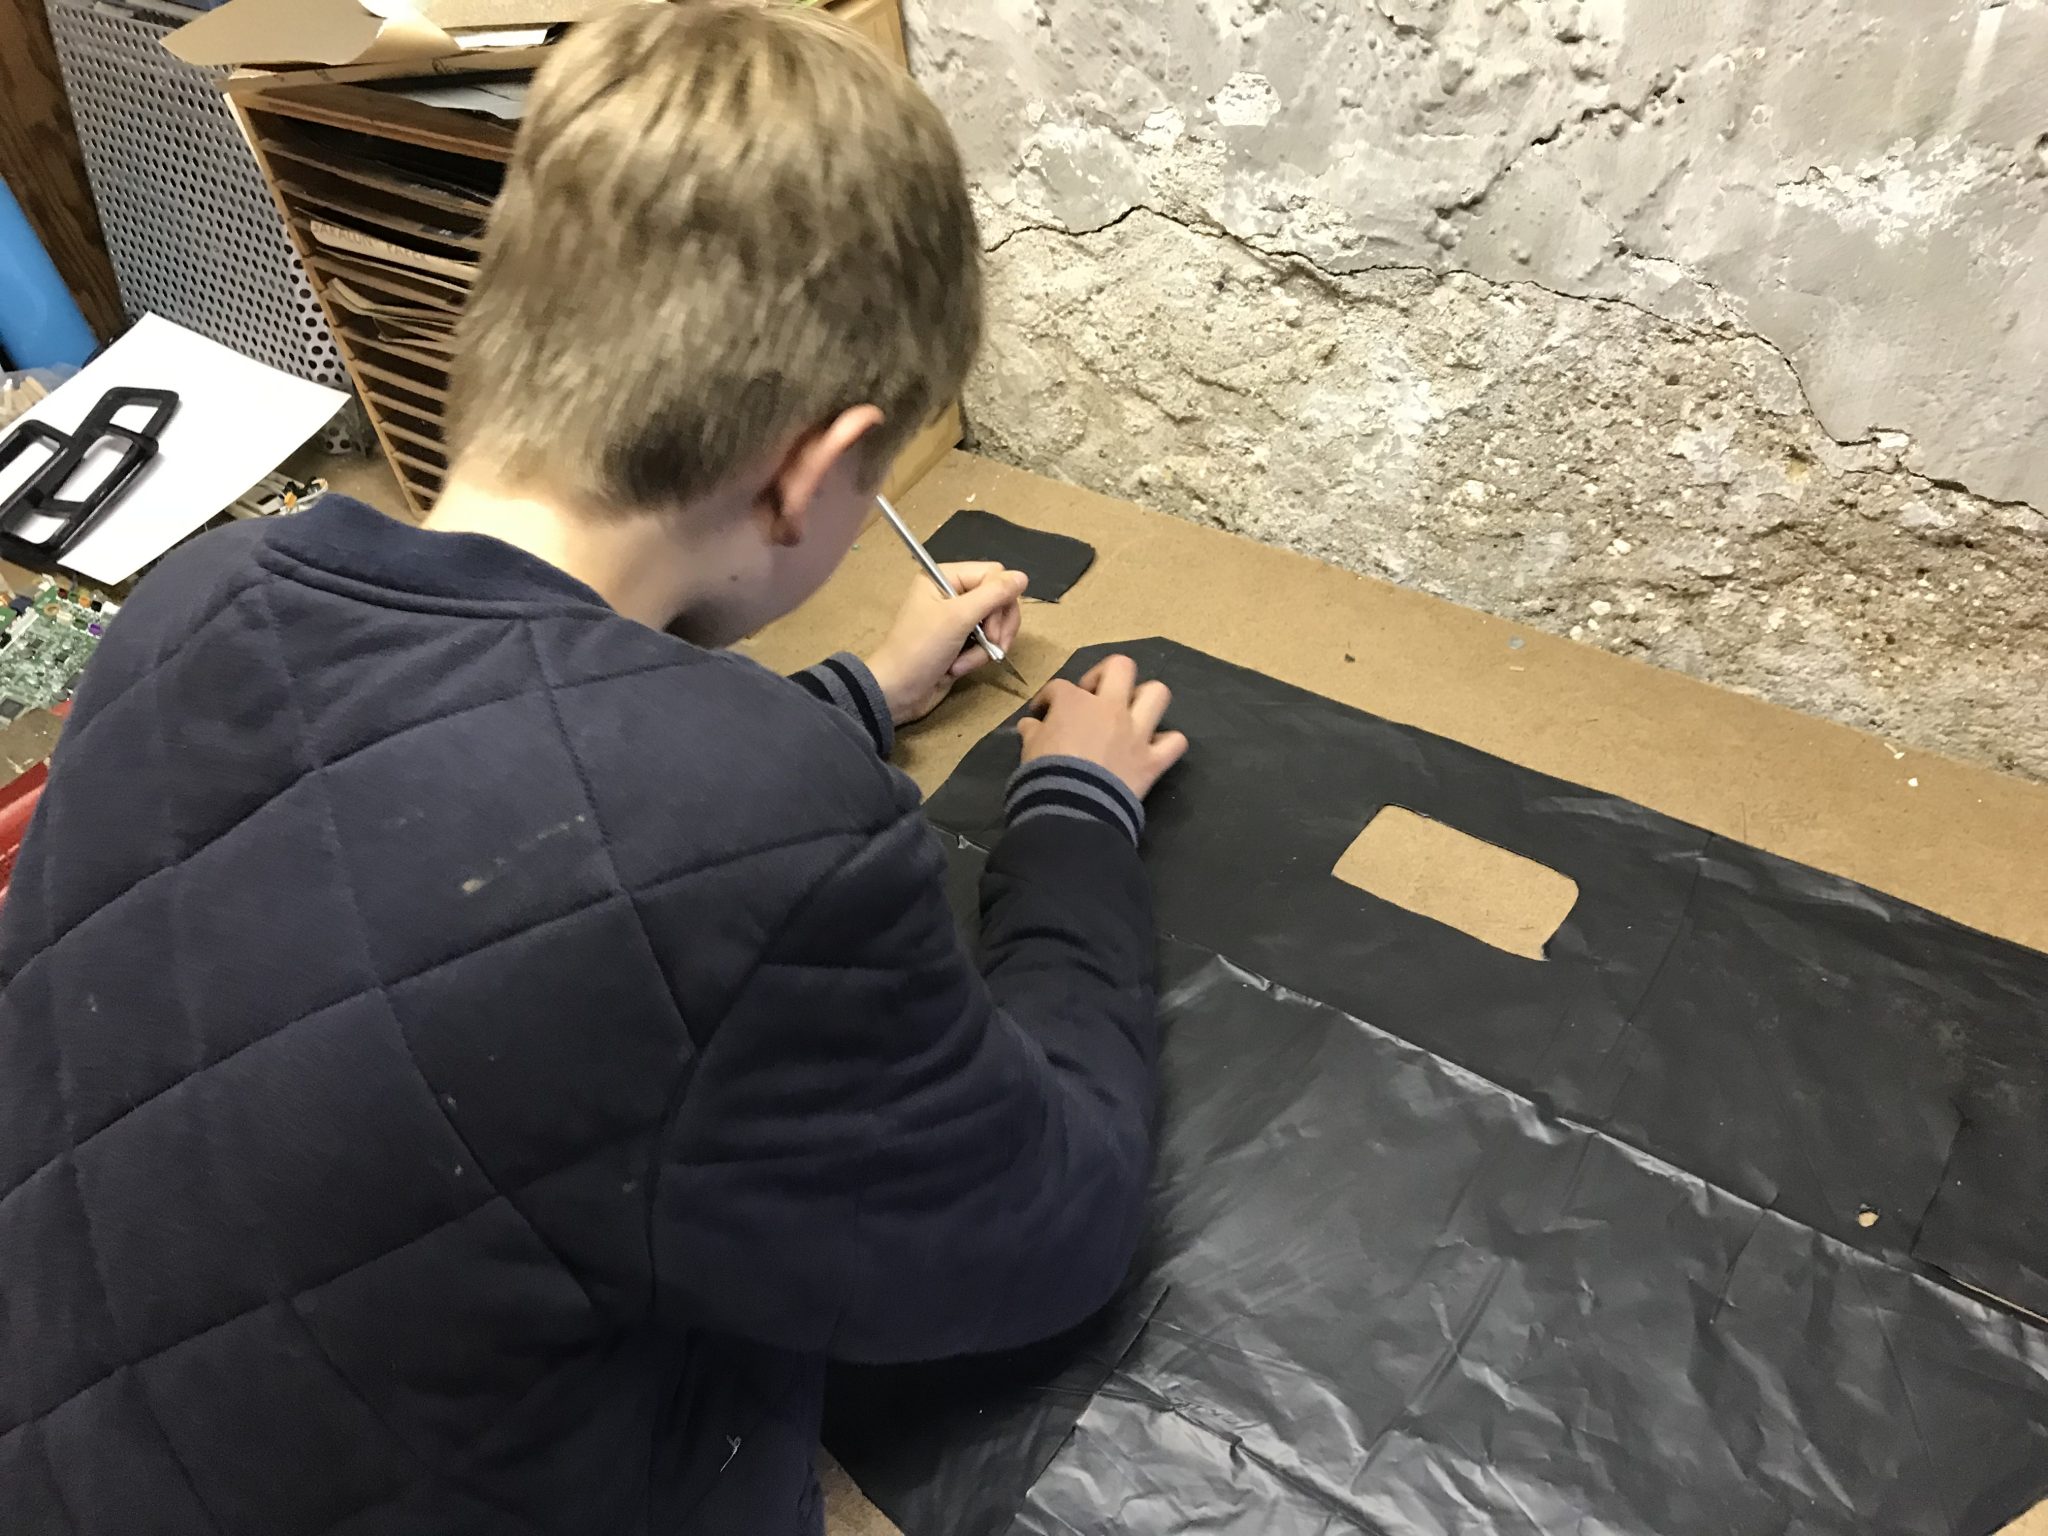
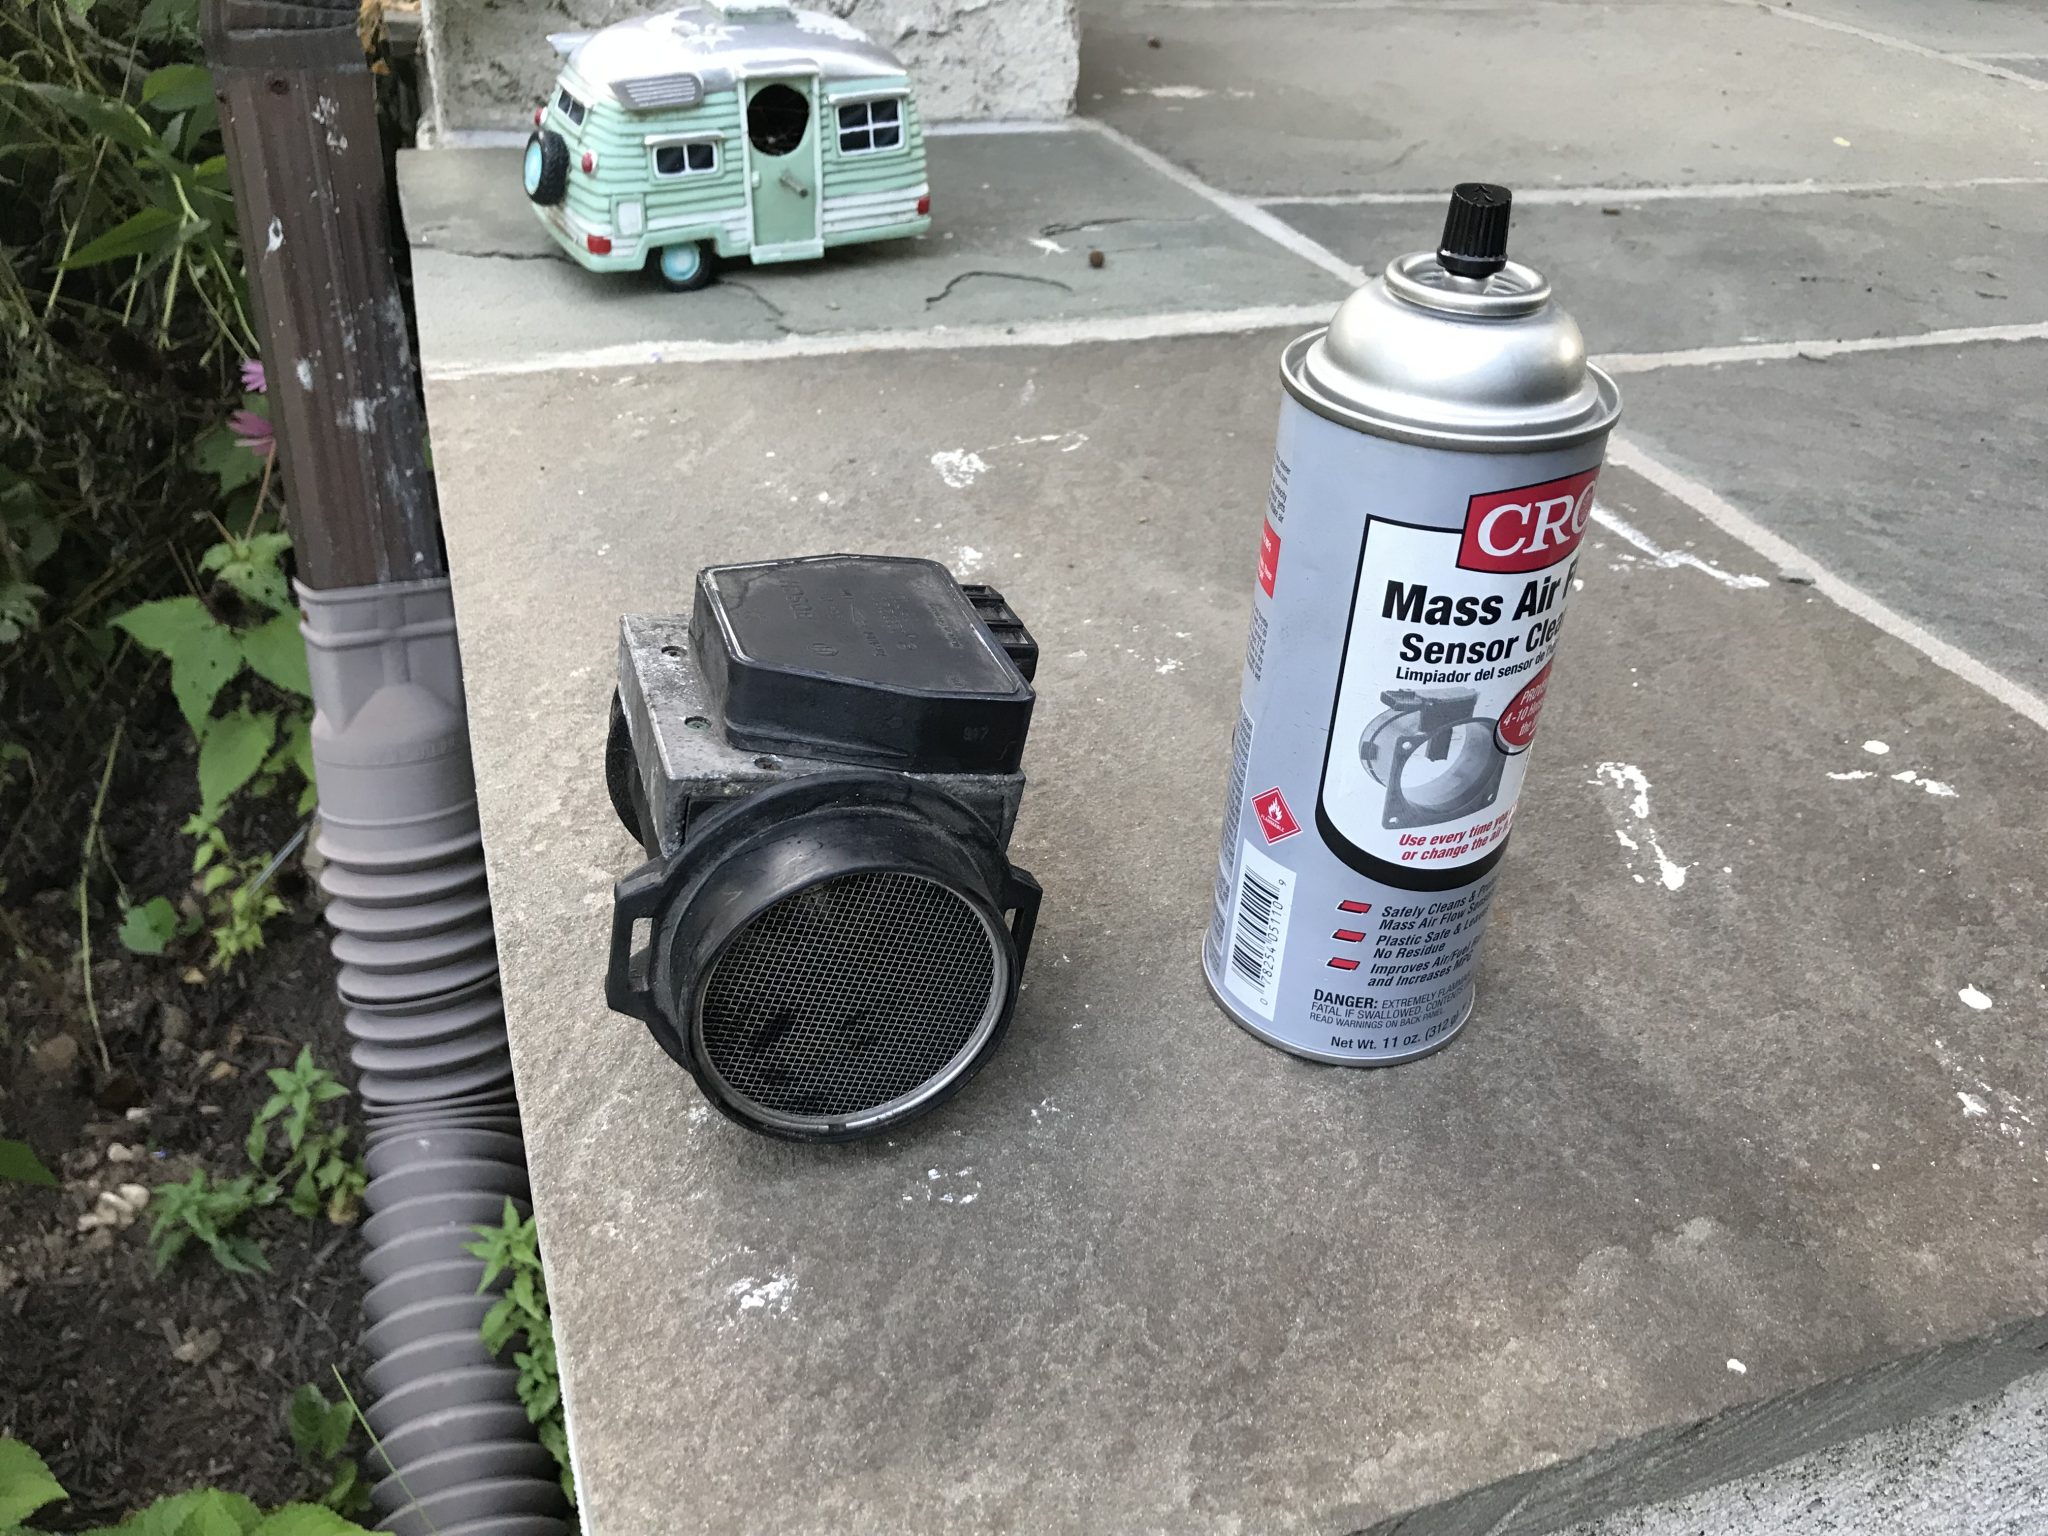
I decided it was time to start putting things back in rather than take them out. While the engine block was still beyond the normal human bounds of filthy, I did not think it prudent to try and power wash it as I’m not 100% sure where all the more sensitive sensors and other bits are on the engine and didn’t want to inadvertently break something important (and expensive) for the sake of the aesthetics of a part of the car that’s hard to see even when the trunk is open. So first back in was the air intake system. Before putting it all back together I decided to clean the MAF. A few good sprays of MAF cleaner and some brownish gunk flowed out. It obviously needed it, and I’m hoping this will help a bit with a bit of hesitation at idle I’d noticed.

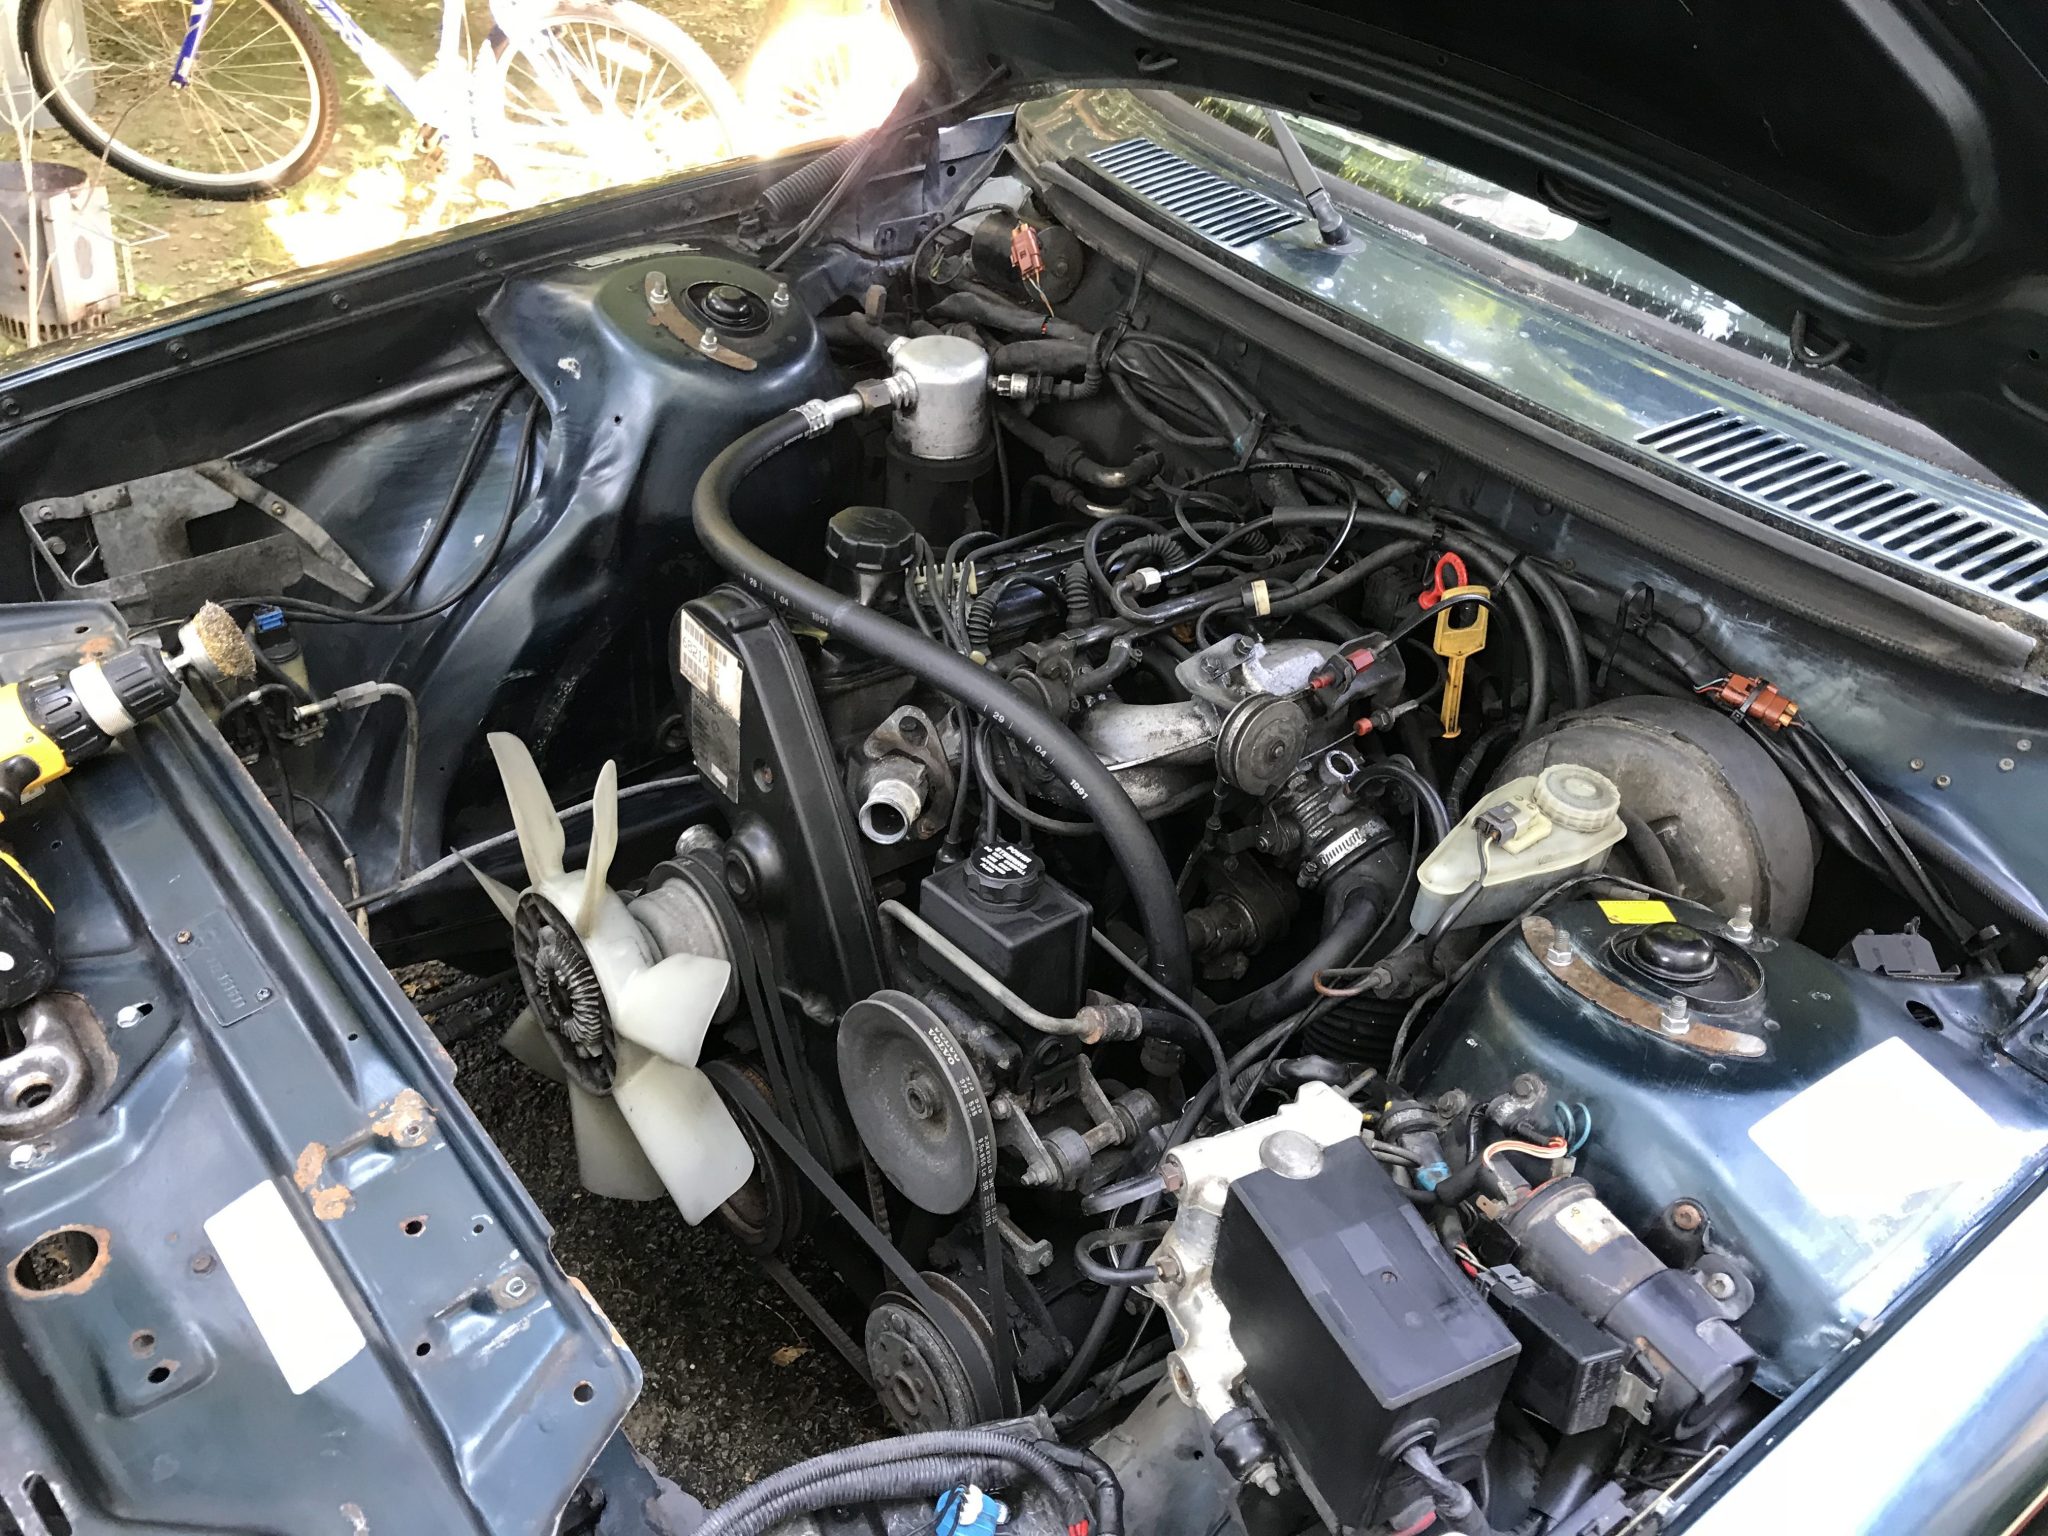
After also cleaning out the air ducts, which were also pretty filthy inside, I put everything back together with shiny new duct clamps. It was something of a wrestling match to get it all back into position, but I eventually got there.

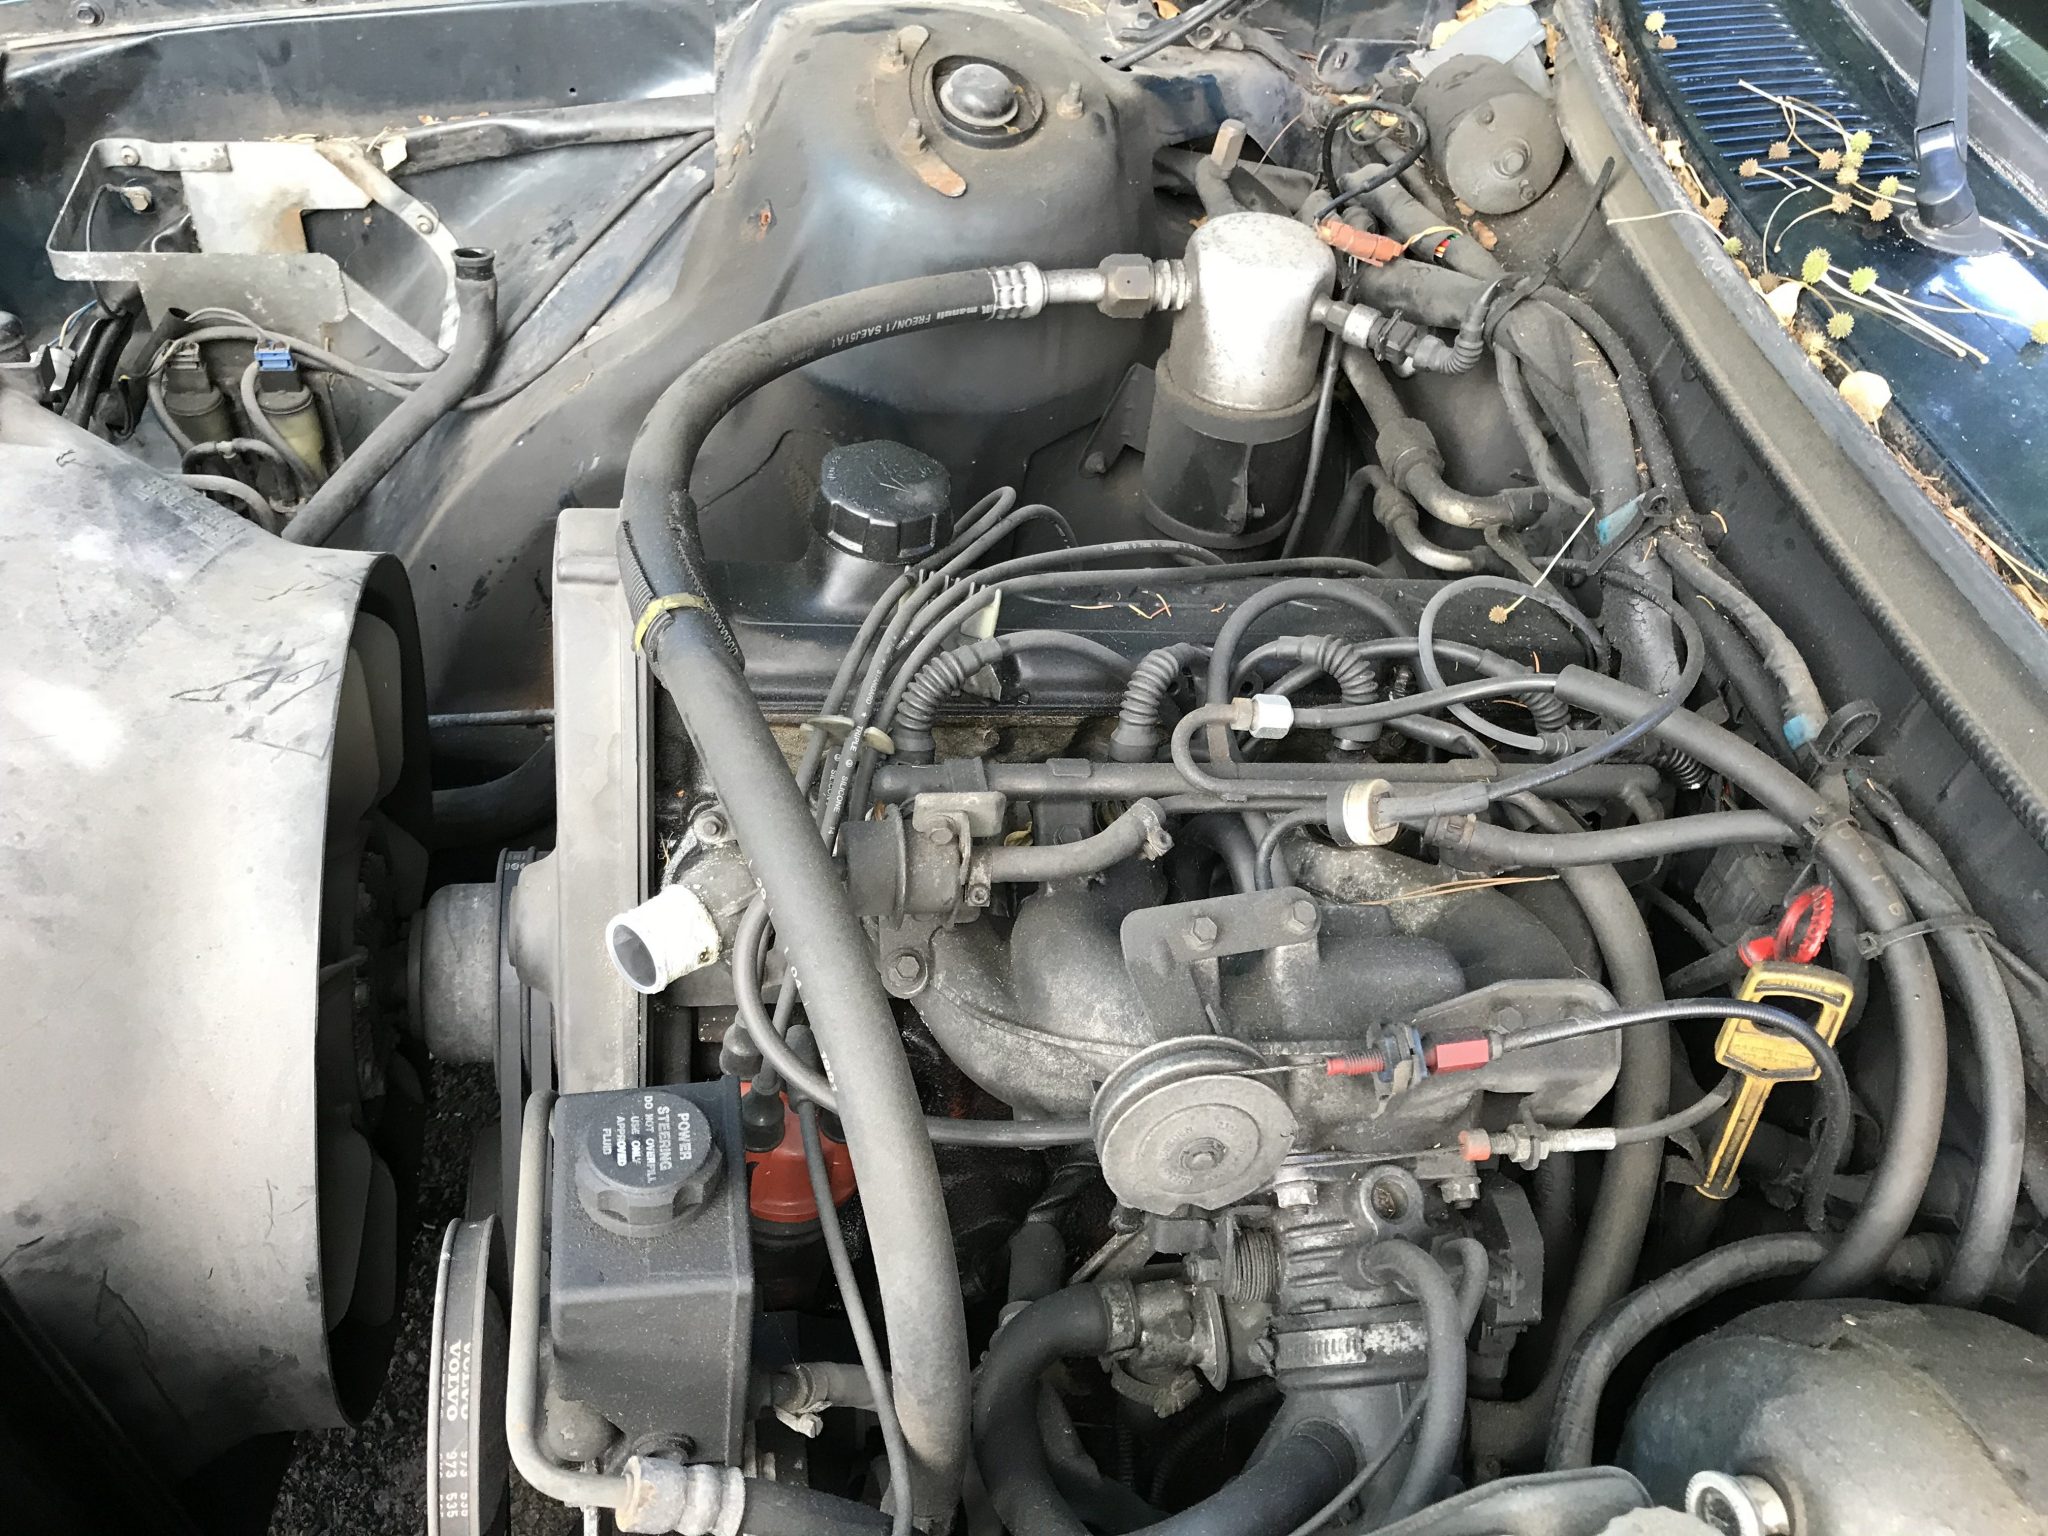
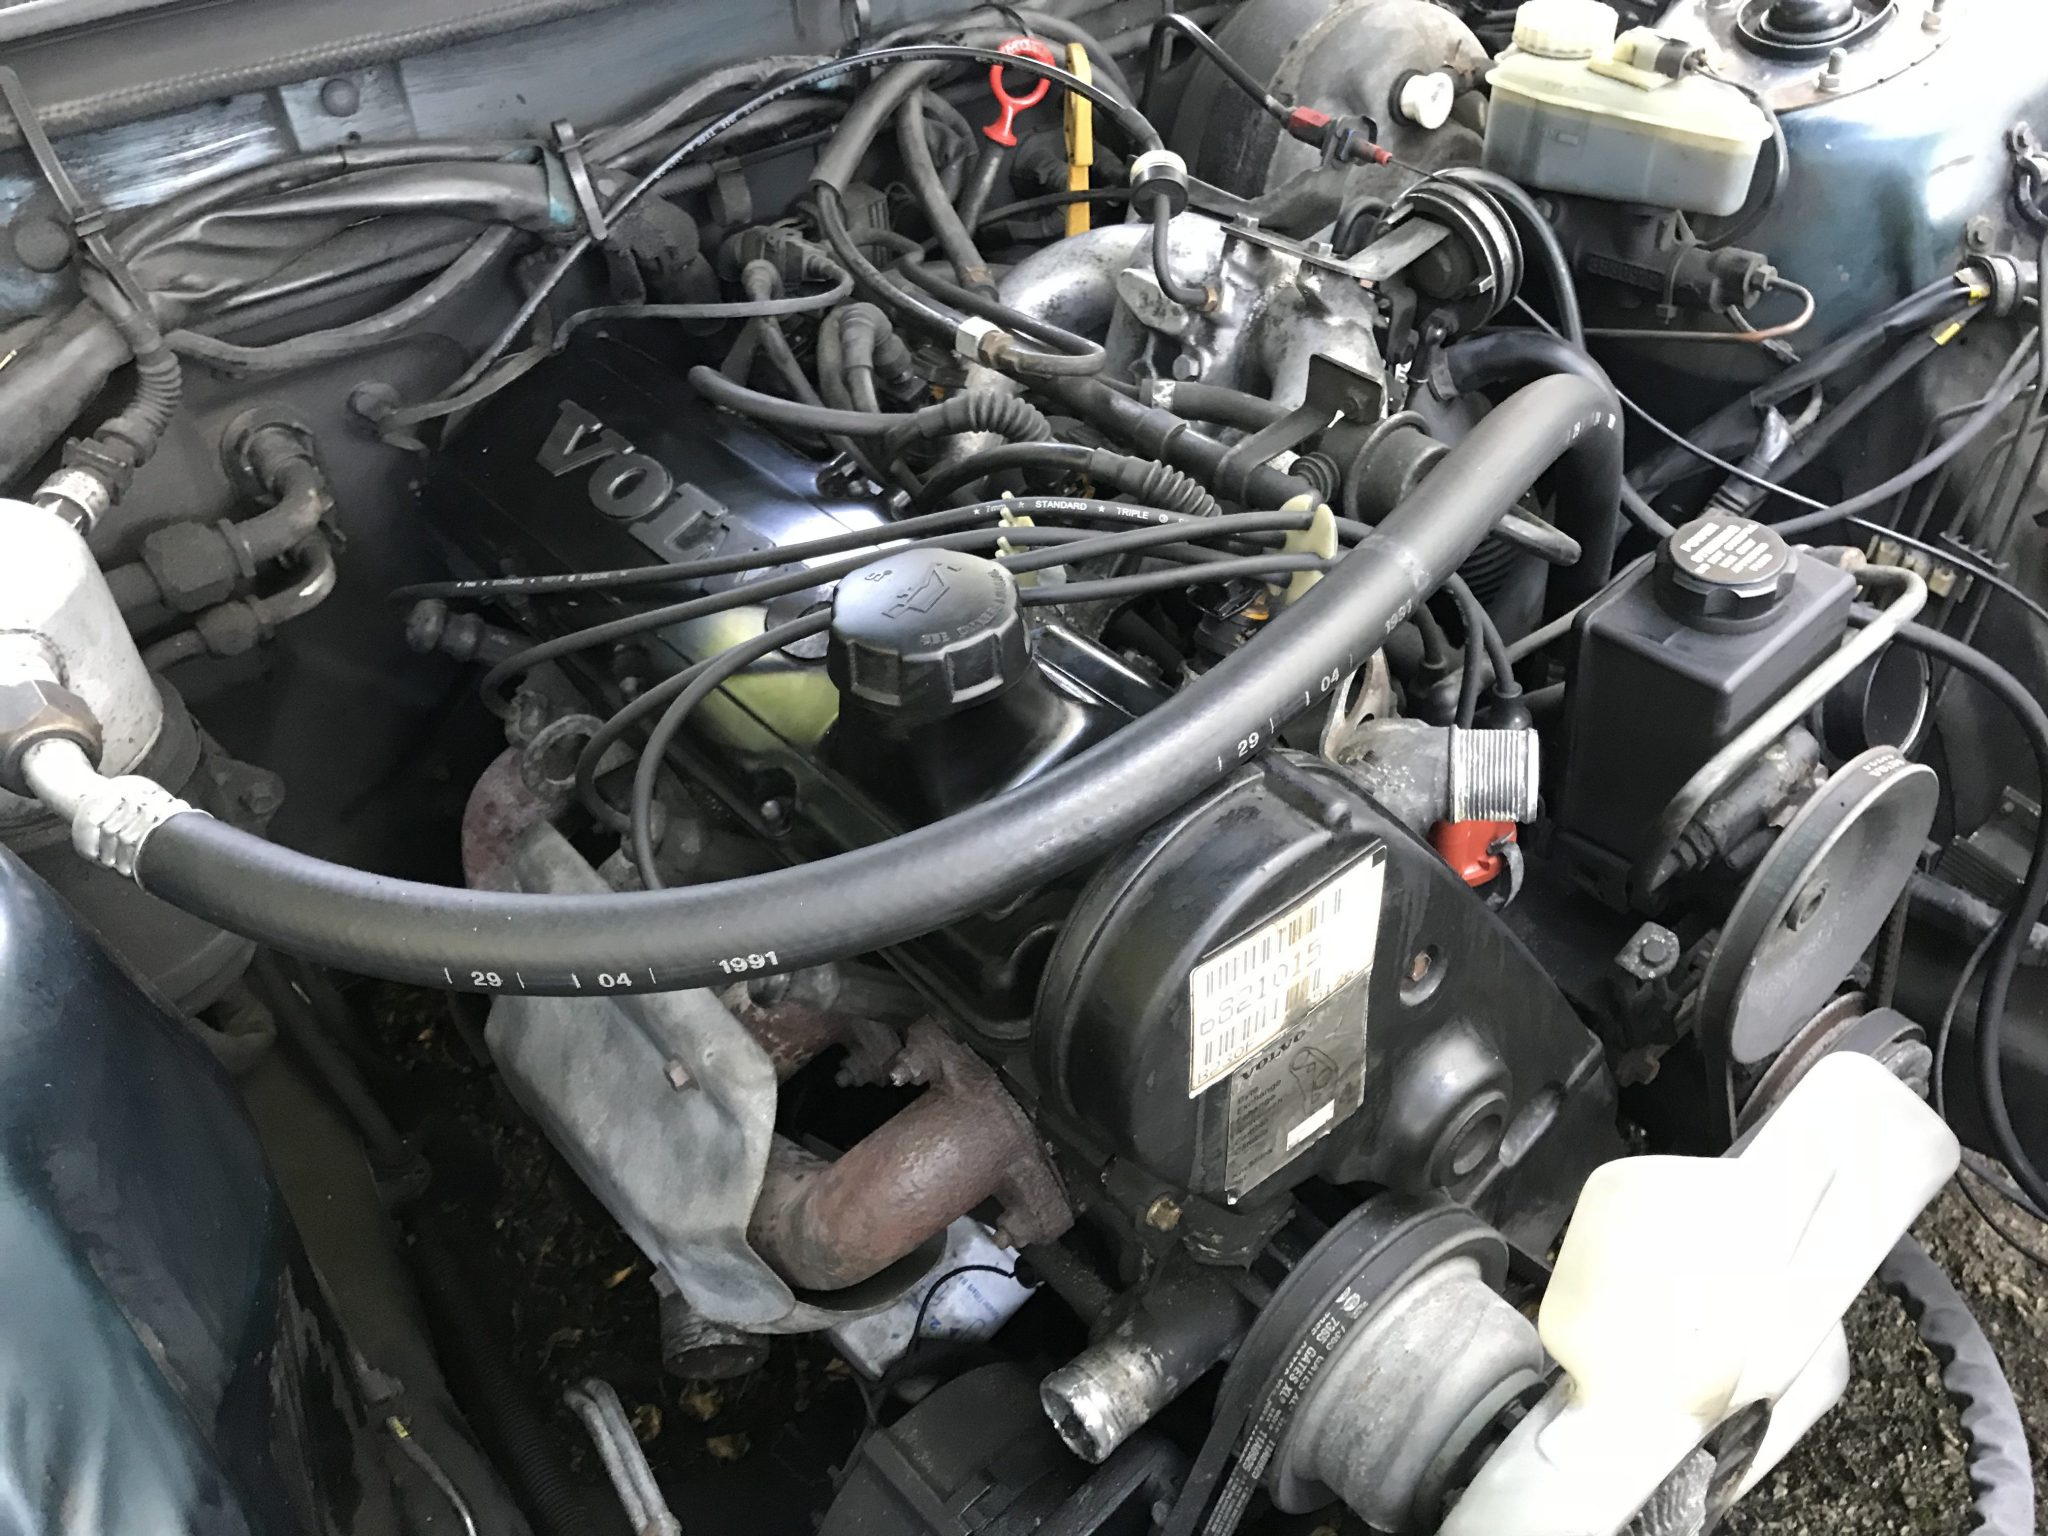
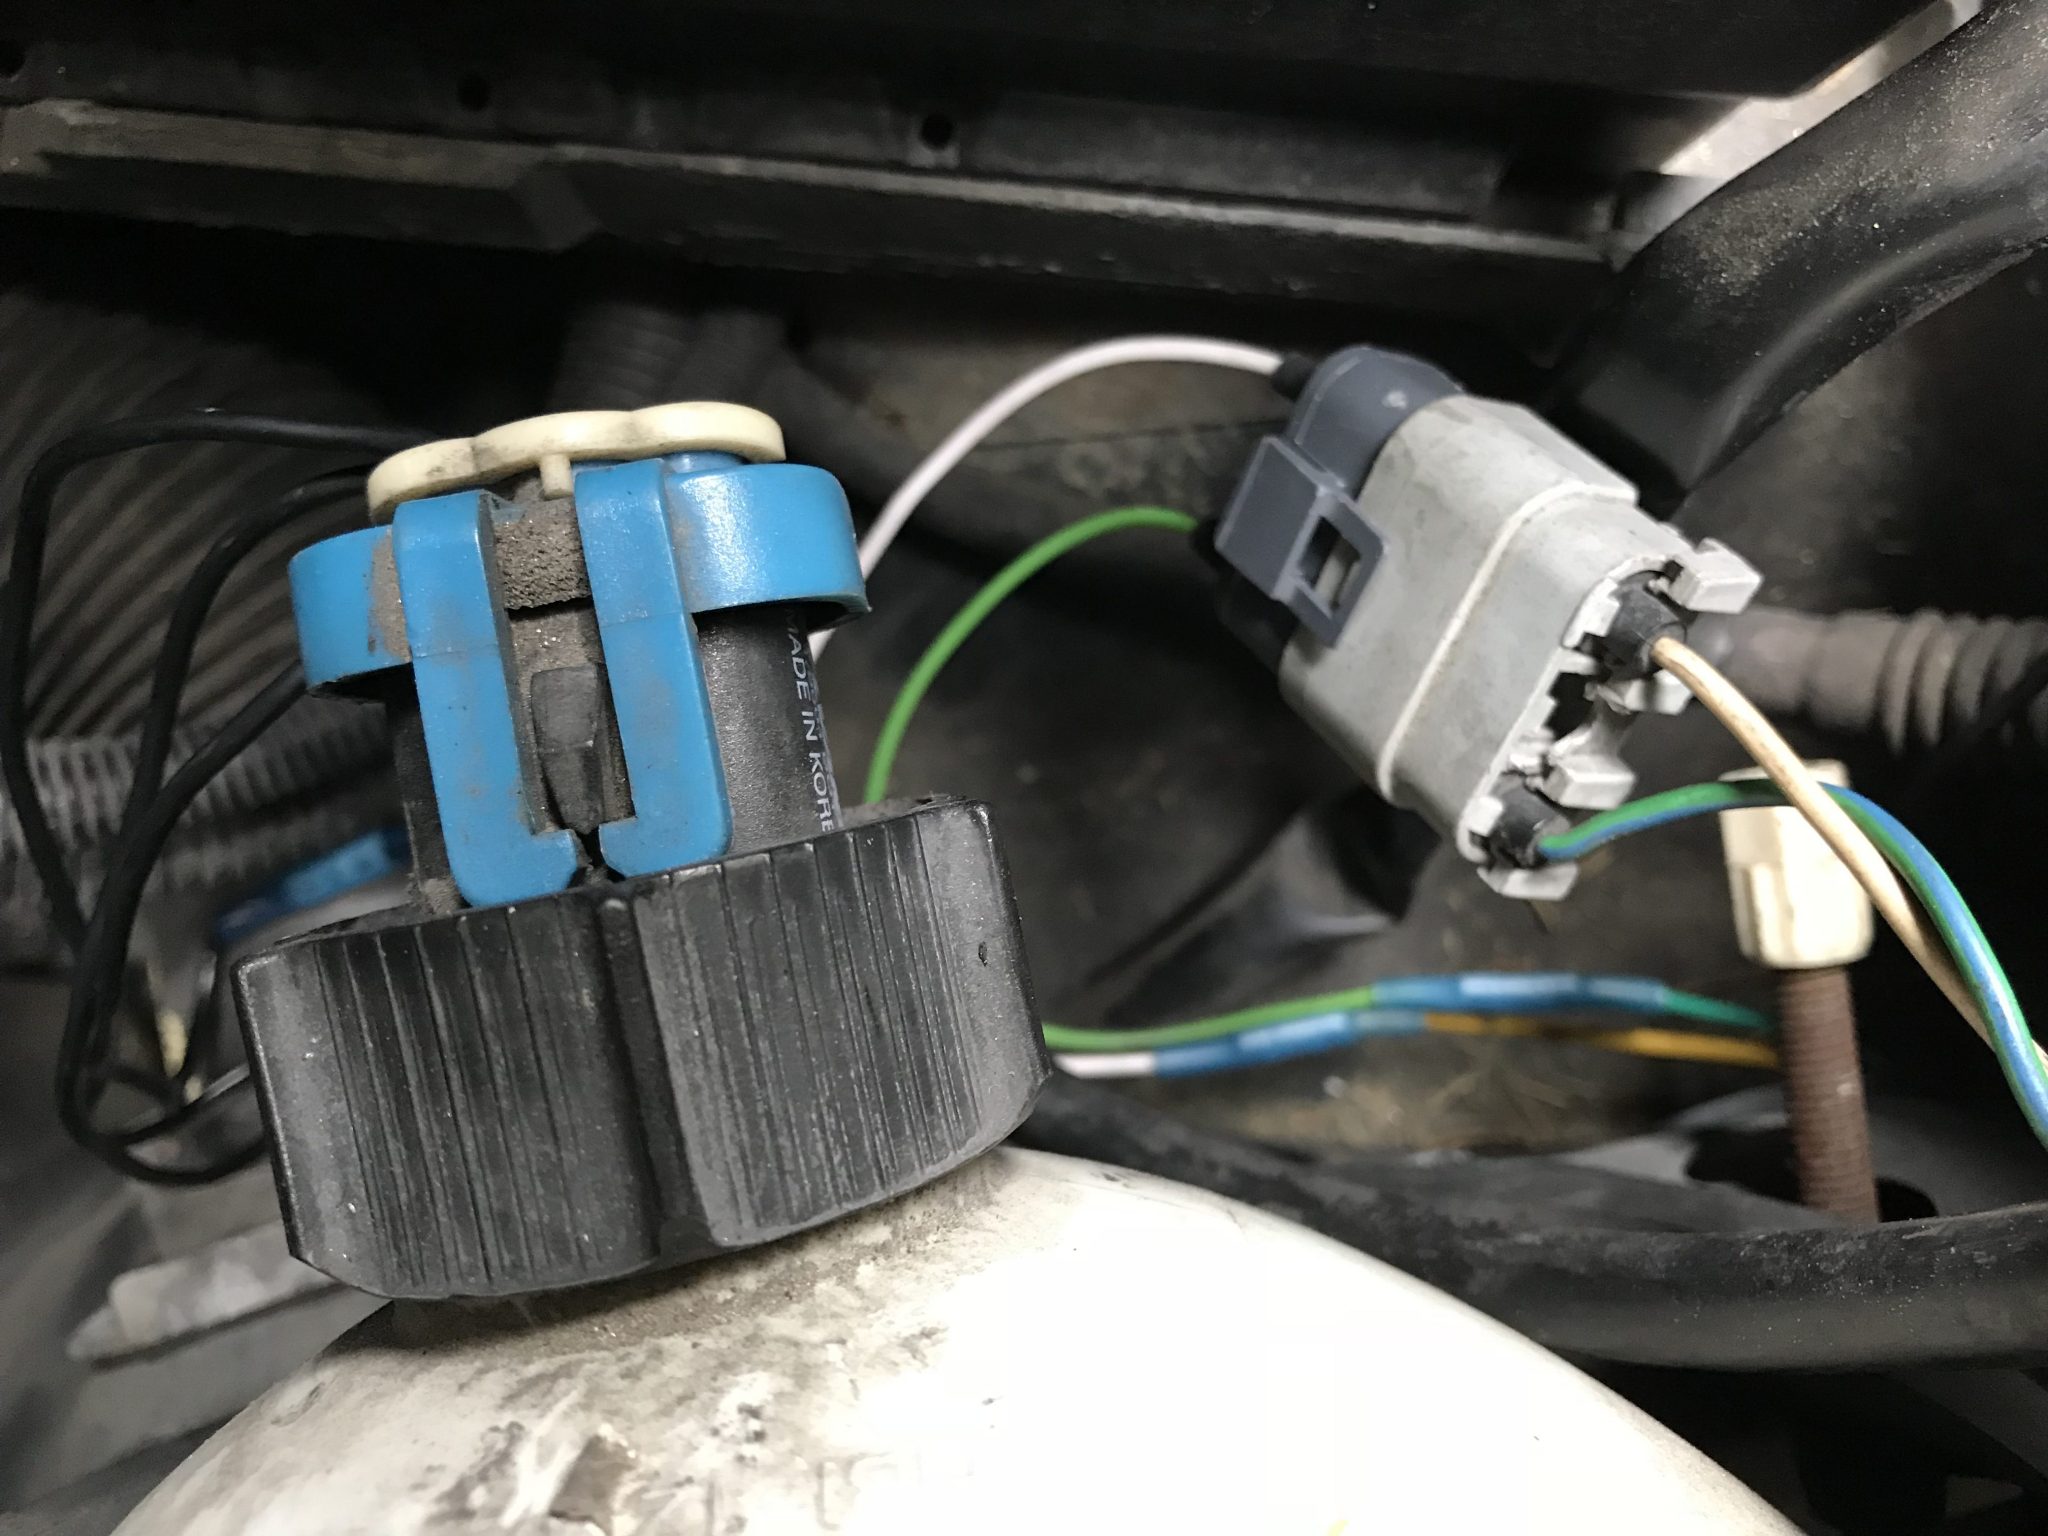
Next was the pre-heater hose, which is at the bottom of the engine and can’t really be seen here, followed by the radiator and its hoses. I have a few more radiator related bits to square away at which point I can reinstall the battery, cross my fingers, and hope the engine still starts.

Air box reassembly

When I first decided to clean out the engine bay, the first thing I took out was the air box. The air box, for those who are unfamiliar, is the plastic box where the air filter sits and delivers clean air through the Mass Air Flow (MFA) sensor and into the engine. Volvos at this time had an additional feature inside their air box in the form of a thermostat controlled flapper that covered a separate air intake hose called a pre-heater. This hose was attached to the exhaust manifold of the engine. When the air temperature was cold this thermostat would open up the flapper covering the pre-heater hose’s intake and allow air warmed by hot exhaust gasses into the system. This gave a boost in engine efficiency after cold start ups on chilly Swedish mornings.

My Air Box

I found that the thermostat on mine had become stuck at some point. Thankfully it had stuck in a way that kept the pre-heater intake closed. This was lucky as too much of this warmed air passing through the MAF is not good for it in the long term. I ordered a new and installed it. I also had to cut a new gasket for the flapper. The original was made of some sort of open cell foam rubber that had degraded considerably over the years. I cut my gasket (40mm diameter with a 20mm diameter hole in the middle) from a small sheet of 1/16th” thick neoprene I happened to have laying around my shop. This should last a lot longer than a foam one.

It is currently raining where (and when) I am writing this, so photos of the whole thing back into the bay will have to wait.

Interestingly there is a school of thought amongst 240 enthusiasts that sees the whole air box thermostat and pre-heater hose concept as unnecessary at best and potentially harmful at worst. Their solution is to remove the entire assembly, close off the pre-heater hose, and sometimes even ditch the intake snorkel so that the engine gets the maximum amount of air as is possible. A lot of these people seem to live places where it never really gets that cold so they do have a point there I guess, but it definitely does get quite cold in the winters where I live. I’m also aiming to restore this car to as near to its original state as I can manage, so for now I’m trusting in the wisdom of Volvo engineering and leaving the system in.

Glovebox is back

After many tries at buying the elusive and no longer made part “3540574 Plate” (aka the glove box latch plate) I threw my hands into the air and decided to just make my own. After working over a small pieces of sheet metal with my rotary tool and hack saw I came up with this.

It would be kind to call this “sub-optimal” but it seems to work and will do until I get around to just buying an entire intact glove box. It certainly beats the screen door latch that was there before. Here it is installed.

Bonus work: I put the passenger seat door card back on and attached the new map pocket. The painted guide casing is passible but definitely not a forever type thing. As I find ones in the actual color I’ll replace them, but for now this, like the latch, will do.

I’m waiting on a part for the air filter box to come in, and when it does I’ll finally be ready to put the cooling system back together.

Weekend Work

I didn’t have a huge amount of free time this weekend, but I did get a few things accomplished. First, having recently noticed an unsightly crack in the cover of my air bag while at the same time seeing a replacement for sale on eBay, I changed it out. Just a couple of deeply set screws in the back of the wheel and a single connector. God only knows who effective a 26 year old air bag is, but at least it looks nice now.

New Paint

I also finally received a color matched tan paint I had ordered awhile back that I wanted to use in an experiment. This experiment is called “not paying $50 for a single tan door guide casing.” The procedure was to buy cheaper blue guide casing, paint it tan and use it for the time being. I took my paints out to the ol’ paintin’ bricks in my back yard and hit them with several coats. The results looked nice, but I’m concerned about durability. We’ll see once I get them on. Since I had the bricks out, I also took a couple of rustier pieces from the engine bay and painted them black. They’ll go back on when I get the engine bay back together.

The star accomplishment of the day, though, was on the tailgate. Having had no luck finding an actual Volvo latch pin for the back door, I went to the hardware store to try and find a substitute. It turns out that a 5/16th inch diameter wire tab lock pin with the wire tab part removed works perfectly. Click the link to see the video.

Continue reading

Is Volvo trying to forget its past?

I’ve bought a few things from Dave Barton, owner of Prancing Moose, a site with a lot of various and sundry bits for old Volvos. He definitely has a love for these cars. As such offers a lot of smaller items that larger retailers maybe wouldn’t bother with. For the last 13 years and until recently this included a lot of replacement stickers and decals for people like myself that are attempting to restore their cars. However, Volvo very suddenly decided that he was some sort of threat to their IP. They ordered him to stop making anything that had their logo or the word “Volvo” on it. Here is an article on this turn of events, and here is Dave’s own take.

It’s honestly baffling. Dave was providing a service they were uninterested in providing themselves. I don’t imagine he was making a huge amount of money doing it, so why on earth would they do this? Dave suggests Volvo is trying to shed their past. They’ve already done this in the sense. It’s pretty well recognized that Volvo’s cars underwent a “shift” of sorts in styling and general direction of their cars around 1999 when the car division was sold to Ford. The brand image (if not always the cars themselves) went upscale, closer to luxury cars, and left the days of “Boxy But Good” behind. Now by shutting down guys like Barton it would seem like they really, really don’t want to be associated with the old days. This is a travesty, and I very much hope they see the error of their ways in the future. Sadly, it doesn’t seem likely.

Cleaning the engine bay

Being a 26 year old car that has obviously been driven pretty much every day of all those years, It’s not surprising that my 240’s engine bay (and the engine itself) is as dirty as flip. A picture is worth 1000 words, so I’ll just show the “before” photos:

As can be seen, the entire bay had a coating of greasy grime, the accumulated grit and oil of give or take 150k miles of chugging along. This was going to take a whole lot of soapy water and rags to get up. Not pictured are the battery and tray, the wiper fluid reservoir, and radiator coolant expansion tank. This was to allow more access the the bottom of the bay. They will be cleaned separately. There was also a significant number of small rust spots where paint had chipped off. I could clean these up, but I’m not entirely sure what I should do to prevent the rust from spreading, at least in the short term. I might end up getting some touch up paint to cover these spots until the day when I repaint the entire bay.

Next To Godliness

After going to town on the parts I could reach I decided the fan shroud, radiator hoses, radiator should come out too. This allowed me a much greater amount of access to the bottom of the bay. Now I was able to clean a lot more of the gunk from the bottom parts of the engine. The underside of the hood was super dirty to the point that as I wiped that dirt off the paint was coming off with it, and that was with only soapy water! I’m not too worried about how this looks as it’ll mostly be covered by the heat shield/sound reducer that I will eventually get to replace the missing one, so it may get some touch up using the color matched paint mentioned before or even just flat black Rust-Oleum.

So after a day of effort this is what I have now.

Definitely cleaner, but there is still a bunch left to do. I have to reassemble the radiator and the filter box and preheat hose. Interestingly I saw this post on the MVS forum about just taking the preheat thermostat out completely. He makes a compelling argument about it being just there to deliver as much air as possible to the engine, so perhaps I’ll take that advice in the future. Until then there will be some more cleaning and a reassembly to the original state. Look for that in the coming days when I 1) have more time and 2) the darn heat doesn’t make being outside for more than a few minutes utterly unbearable.

Getting ready to clean and flush

After showing my car to a friend who is a legit and long-time “car guy” who has fixed and restored many of his own cars and hearing him comment at how dirty the engine bay was, I decided that until the parts I’m waiting on arrive from the magical land of plenty known as Sweden I could start cleaning that up. I looked around on the internet for some tips and came across this video from YouTuber ChrisFix. In it he gives a step-by-step example of how to clean out the bay and improve the old, crappy stuff. In my spare moments I decided to start taking out certain bits that might be in the way. This included the windshield wiper reservoir, the radiator overflow tank, the battery and its tray, and a few other bits and bobs that either needed cleaning or replacement. I also took out a bunch of very corroded screws, bolts, and pipe clamps that I’ll replace with new, shiny ones.

When I get the opportunity I’ll bring the shop-vac and some brushes in for the dry clean and then the hose (and possibly the pressure washer) for the wet stuff. One thing this exercise has shown me is that my hood is missing the sound insulation normally found under the hood. A replacement is sort of spendy, so there’s a chance I’ll just buy the material and make my own or wait until I find a cheaper original.

Removing the tint

I’m not a big fan of window tinting. I think it makes a car (and its driver) look shady (no pun intended) and is generally sort of tacky. That being said, my car actually came with what I’d call a pretty good tint job. There were no bubbles, ripples, or any other defects commonly seen with aftermarket tints. Regardless, I had always meant to take the tint film off. I looked to YouTube for guidance. The consensus there suggested the best and easiest way to take off a tint was by using a combination of the sun and an ammonia-based window cleaner. The process is, in short, spray a whole bunch of cleaner on the inside of the window and then cover it with a black trash bag. The sun then heats up the bag and cleaner and softens the glue. After an hour or so in bright sun it’s a matter of just using a razor to get under the edge of the tint and pulling it off in (often) one go.

Using this method I was able to remove the tint film from the four passenger door windows. There was some glue left on the windows after removing the tint but it’s easily taken care of with a combination of window cleaner and a razor. Due to a lack of time and the onset of clouds and rain, I did not make an attempt to do the same to the cargo area windows. I’m sure the procedure will be about the same, the only possible complication being that the tailgate window’s film is on the outside to avoid touching the window defrosters.

A small but enlightening bit of progress

The replacement door jamb switches finally arrived. This was after they already arrived once but broken. Amazon (eventually) came through on the replacements. A quick switch later, and I have a dome light that respects the opening and closing of the doors.

WITNESS ME!

A guy out in the wilds of British Columbia, Canada took a ’79 244, rubbed a copy of Mad Max all over it, and came up with this mean machine.

Check it out here.

He also has an ‘insta’, as the kids say nowadays, showcasing his cars and his photography. That can be found here.

Let there be (head)light!

This past week I got a the headlight wiring pigtails I needed from Dave over at 240turbo.com. I was finally ready to get the headlights sorted out. Both lights went to my basement shop where I proceeded to clip out all the parts of the wiring with missing insulation, crimp the new wiring onto the end, and put heat shrink tube over the parts I couldn’t just remove. I reinstalled and, with the help of my son and a heat gun, made sure the head shrink was good and shrunk.

The end result was a pair of North American style headlights that both work and have wiring that isn’t potentially ready to short out in a light rain.

Success!


One Door Down

It dawned on me that despite still waiting on a few parts I actually had enough of them on hand to put the driver side door back together. This was the door that had suffered water damage previously, so the first step was to recreate the missing vapor barrier. My oldest son helped me out with that by copying the pattern for the existing barrier on the passenger side and cutting it out of a contractor garbage bag. Our bags were in the 5 MIL thickness range which was good enough for our purposes.

The Volvo HT-204 speaker mounts the car had come with were not in great shape. I had to glue a few things together an instead of pop rivets to hold them on I used small nuts and bolts. This would make it easier to take the off again if I ever decided to change them. Unfortunately the configuration of the screw holes that attached the actual speakers to the HT-204’s was very unusual. The original speakers were approximately 5.25″ in size but the holes for the mounting screws were in very different places. This required me to snip and bend a few pieces of the speaker’s metal. That’s always a sort of scary process, but after some fiddling and fussing I got the speaker in securely enough. After that it was just a matter of attaching the barrier, connecting the speaker, mounting the the panel, and then adding the various handles and fixtures.

And there we have it! A complete, if somewhat dirty, driver’s side door. Now to find the guide casings for the other three and I’ll be set.

Guys, I found a new addition to my funeral arrangements

As most people who are close to me know, when I go my final resting place will be within a barrow where I will be laid in a stone cyst with all the things I need for the next world set around me. I’ve thought a lot about the particulars of this (maybe a little too much) but what I’ve never really given a thought to is how I will be transported to this grand eternal repository. This is no longer a worry. I present to you, the Volvo 240 hearse!

I even found some old sales literature here. “Classic lines and dignity” – I like the sound of that!

Backorder Limbo

My efforts on the car have recently been stymied by the fact that certain parts for this car are forever on backorder. A number of things I’ve ordered have been sitting with a status of “PROCESSING” for several weeks, and while I’ve been in contact with the vendor and know they will indeed one day arrive that day is still at least a week in the future. So until then all I can do is search for things to fix. One such thing is the hole through which the radio antenna will emerge. I have the parts for that one, but a previous owner just butchered this hole.

I have little experience with fixing cars and even less with body work. Turning to a much more knowledgable friend, I asked for suggestions and he explained “dolly spoons” to me. Of course neither he nor I have a dolly spoon, so I’m going to have to get creative with how to get something of substantial mass behind that hole against which I can then hammer the edges flat. That would have been easier this past long weekend except for the fact that it rained like the dickens. So until some new parts come in and the weather improves I’m stuck just looking longingly at my car out on the curb.