By last Friday I had all the parts I’d ordered for this final push to get the car registered in hand. This included major components like the rear shocks and also a few extras like new hatch lift supports and a trim piece for the interior hatch handle (one of which I had already broken). Unfortunately I managed to aggravate a pre-existing back issue from a sports related accident I had when I was 13. I could barely walk let alone change car parts. I had to take most of the weekend to recover. Fortunately I was feeling about 90% better by Memorial Day, so I was able to get all my planned work done.
Small Things
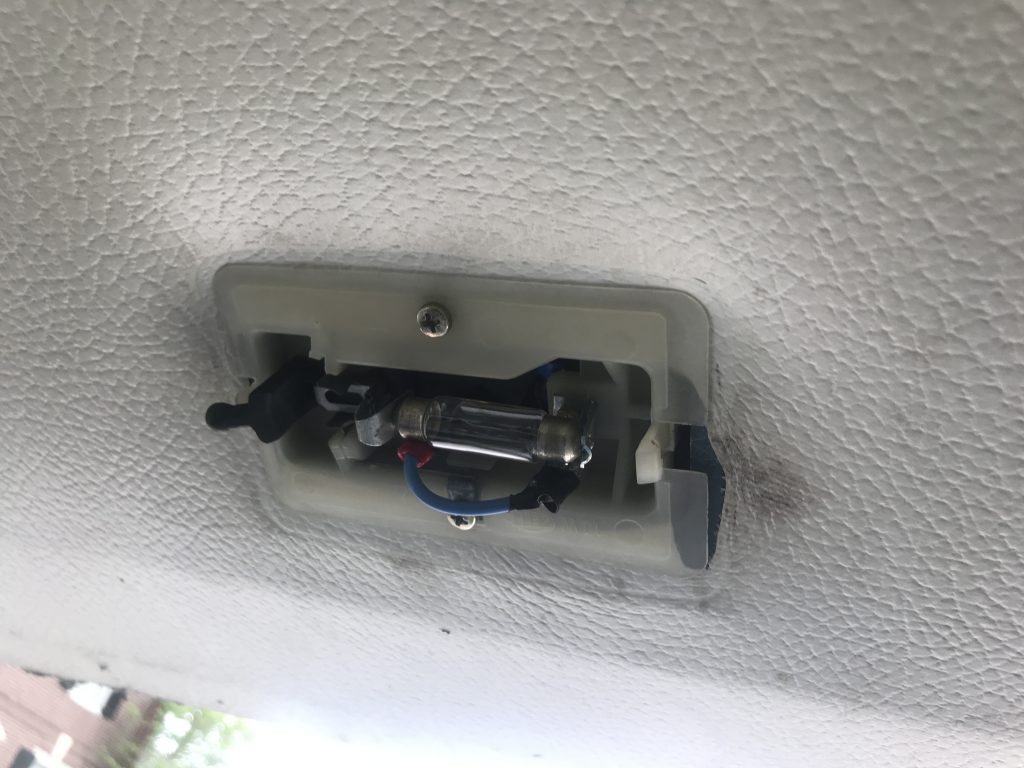
The dome light in the cargo section of my car had always been a little hinky. It tended to flicker when I hit bumps or even touched the switch. To fix this I uninstalled it and cleaned up the contacts and bent the metal out a little bit to make sure contact was kept more securely. Of course, the body of the switch is made up of old, brittle plastic. One of the mounting tabs snapped as I took the cover off. I fixed this by quickly printing up a sort of sleeve into which I could epoxy the tab back in place.
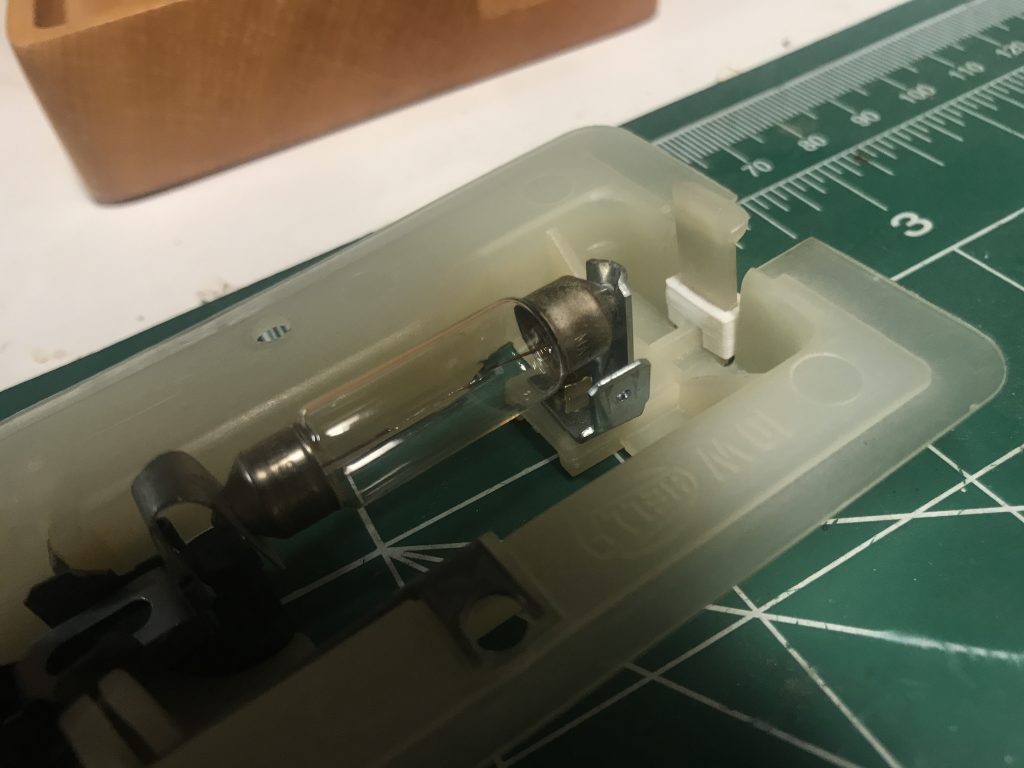
When I went to reinstall the light I found that somehow the wire leads that connect to it had retracted back into the body enough to make it so they no longer reached to where they were meant to connect. I’m not sure how this happened. It was probably an unintended consequence of my ground wire addition. I fixed this by making a few short extension wires to bridge the gap and everything went back together just fine. No more touchy switch.
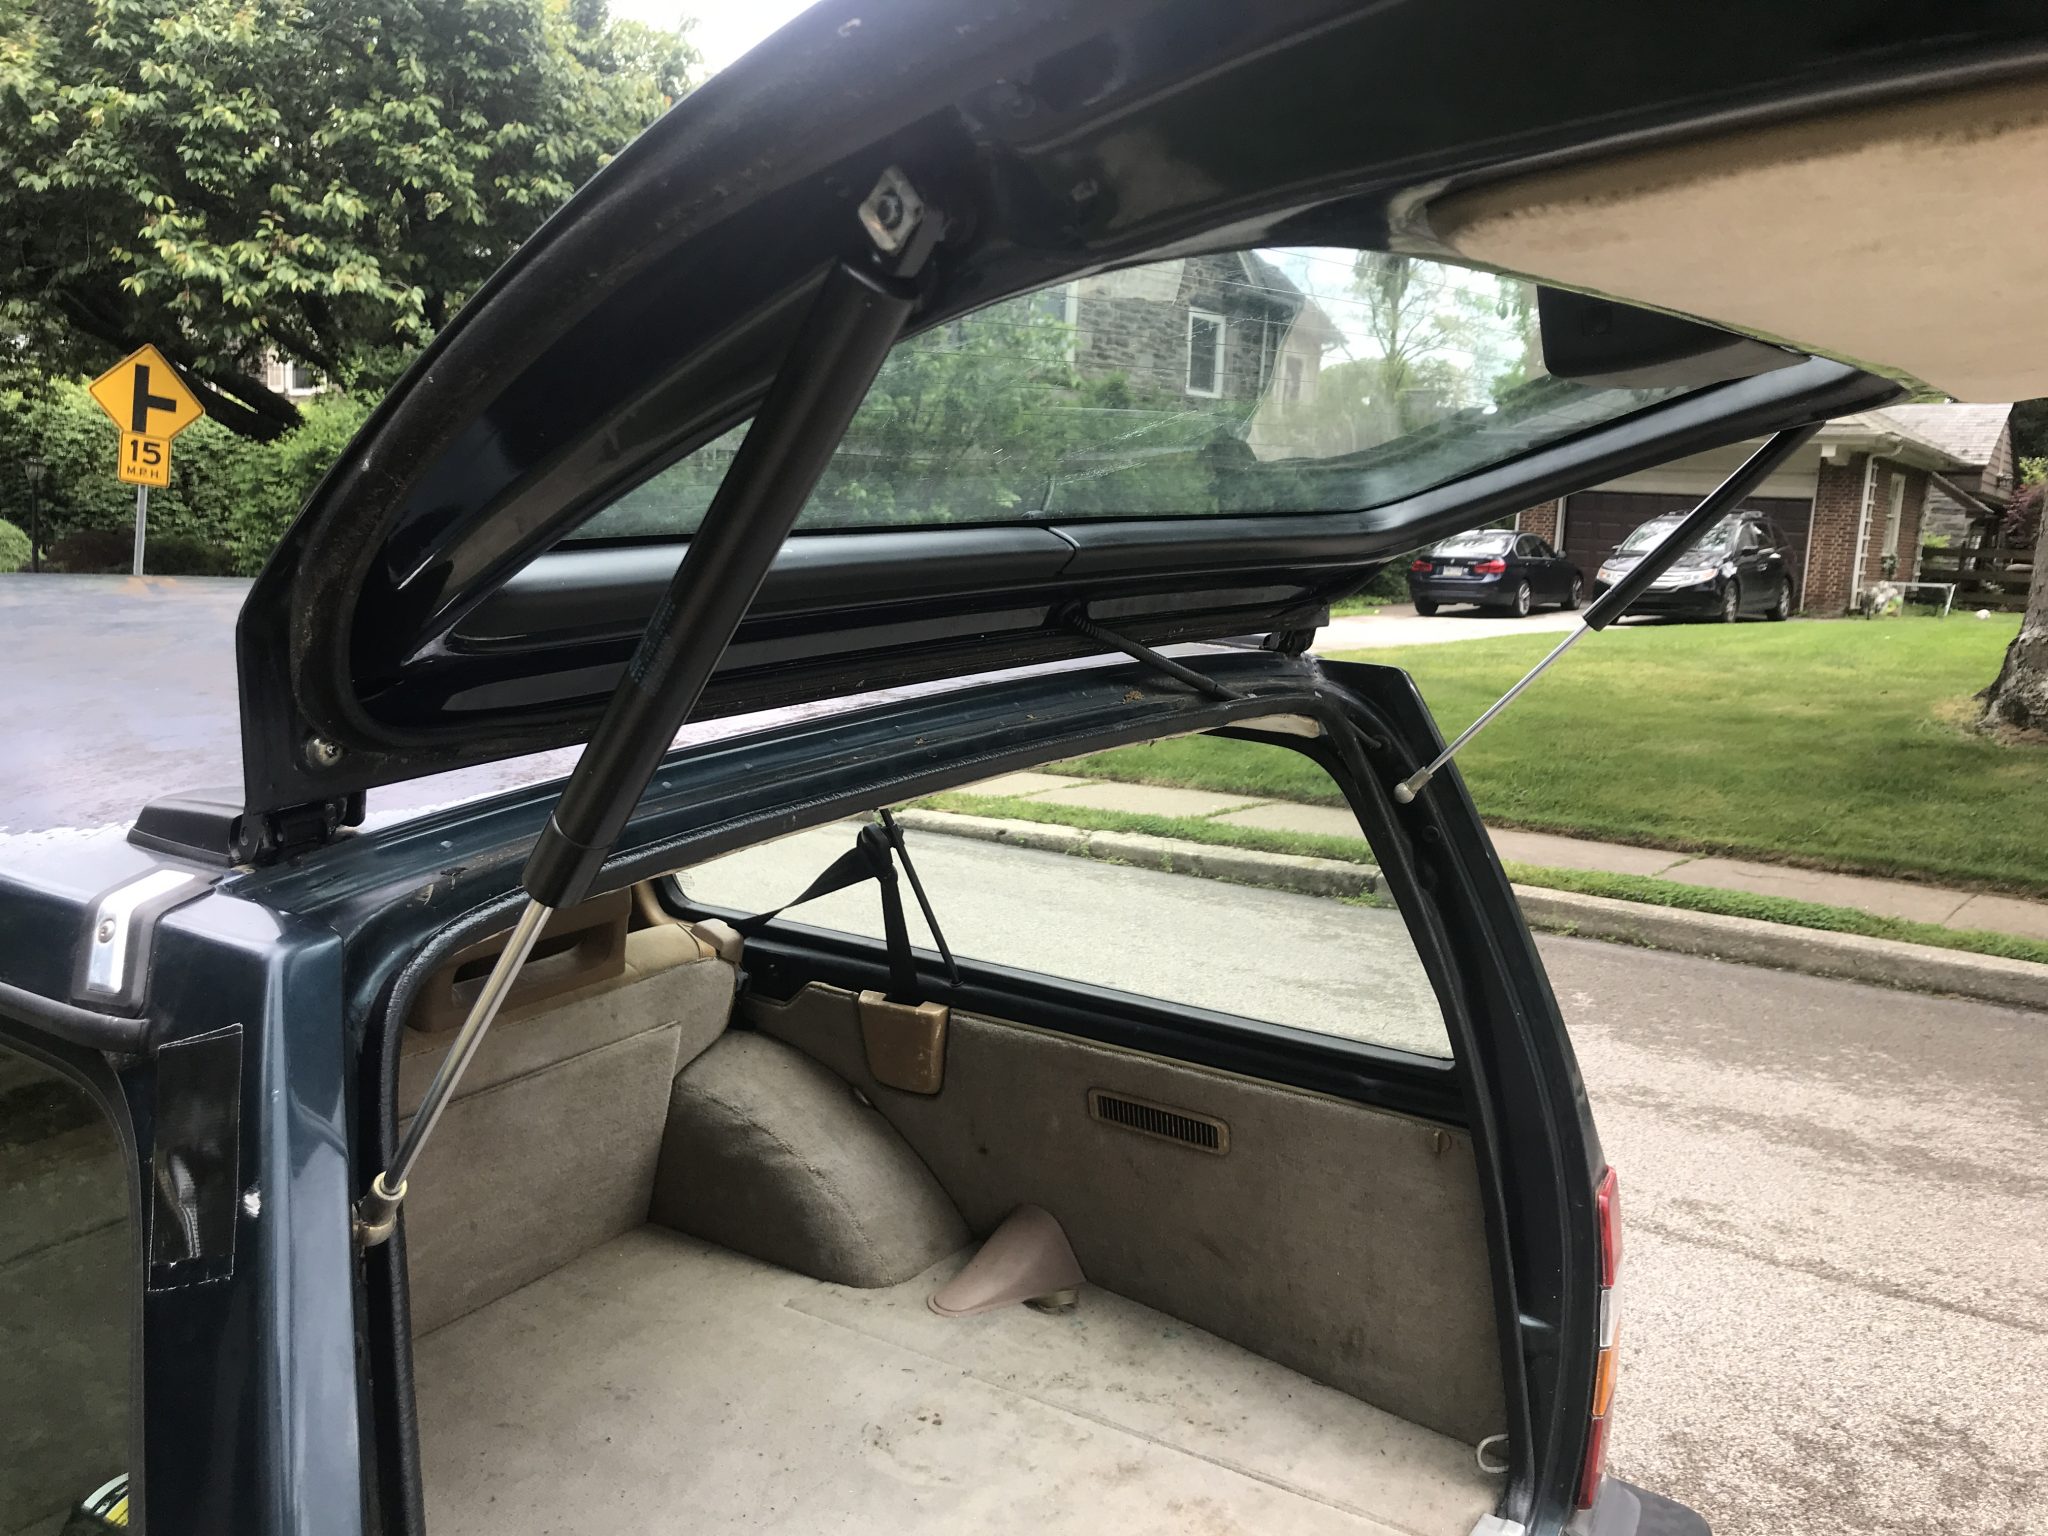
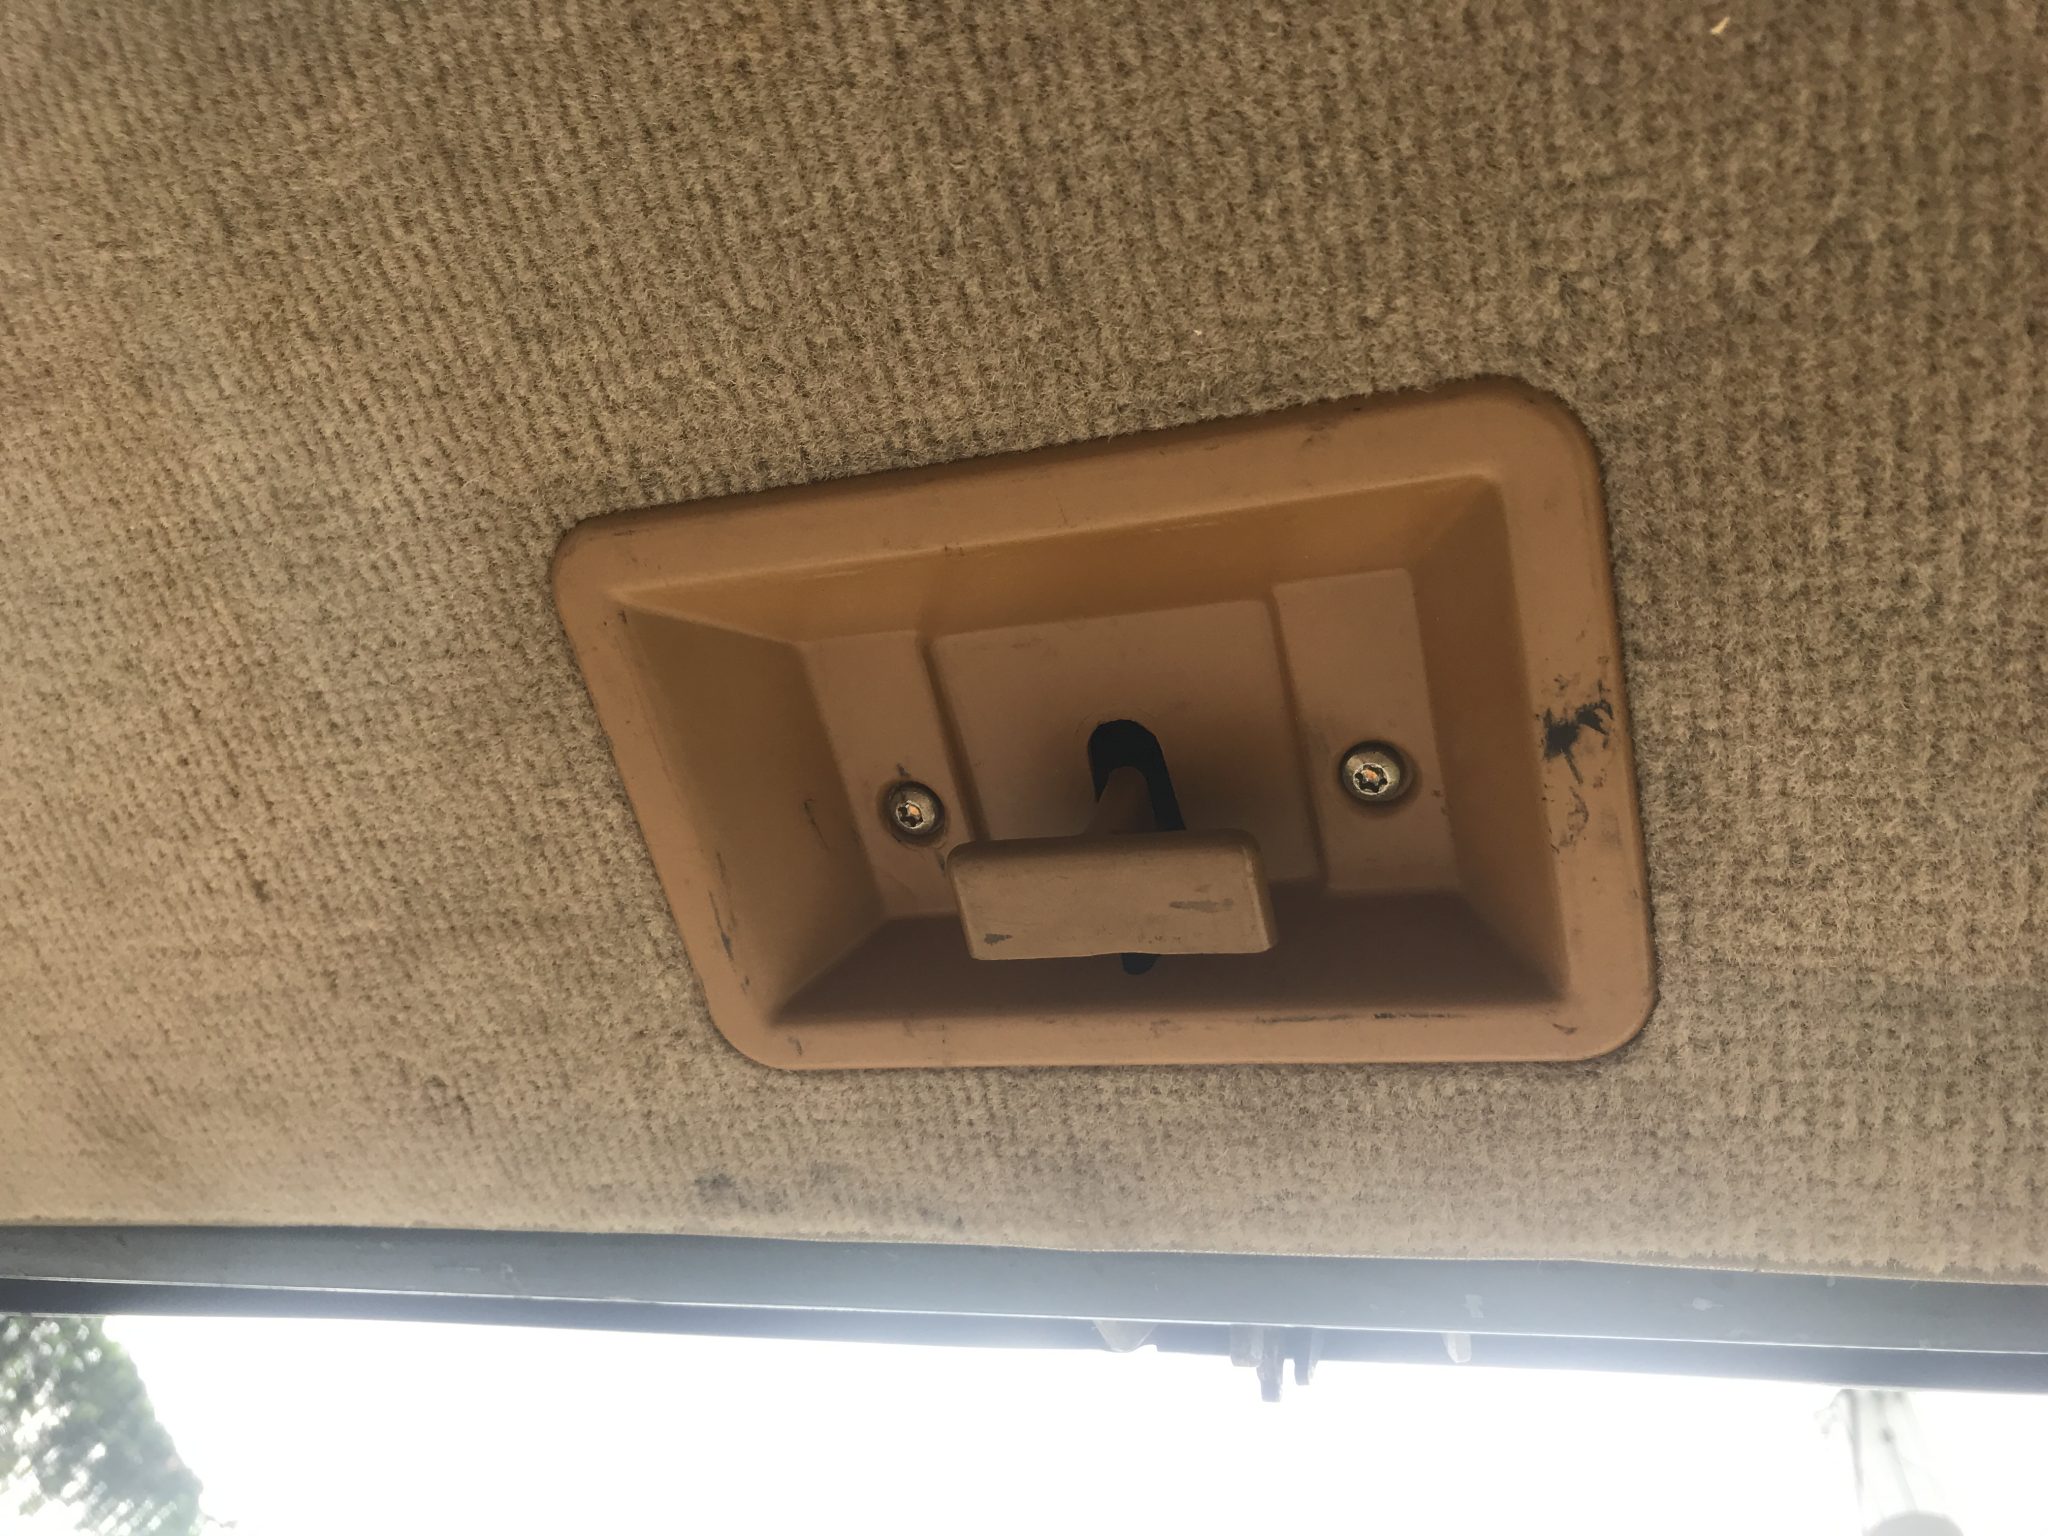
I also installed the trim piece I mentioned and replaced the hatch supports. These were just a matter of removing the old parts and screwing in the new. Now the hatch is looking and working great.
Shock Absorbers
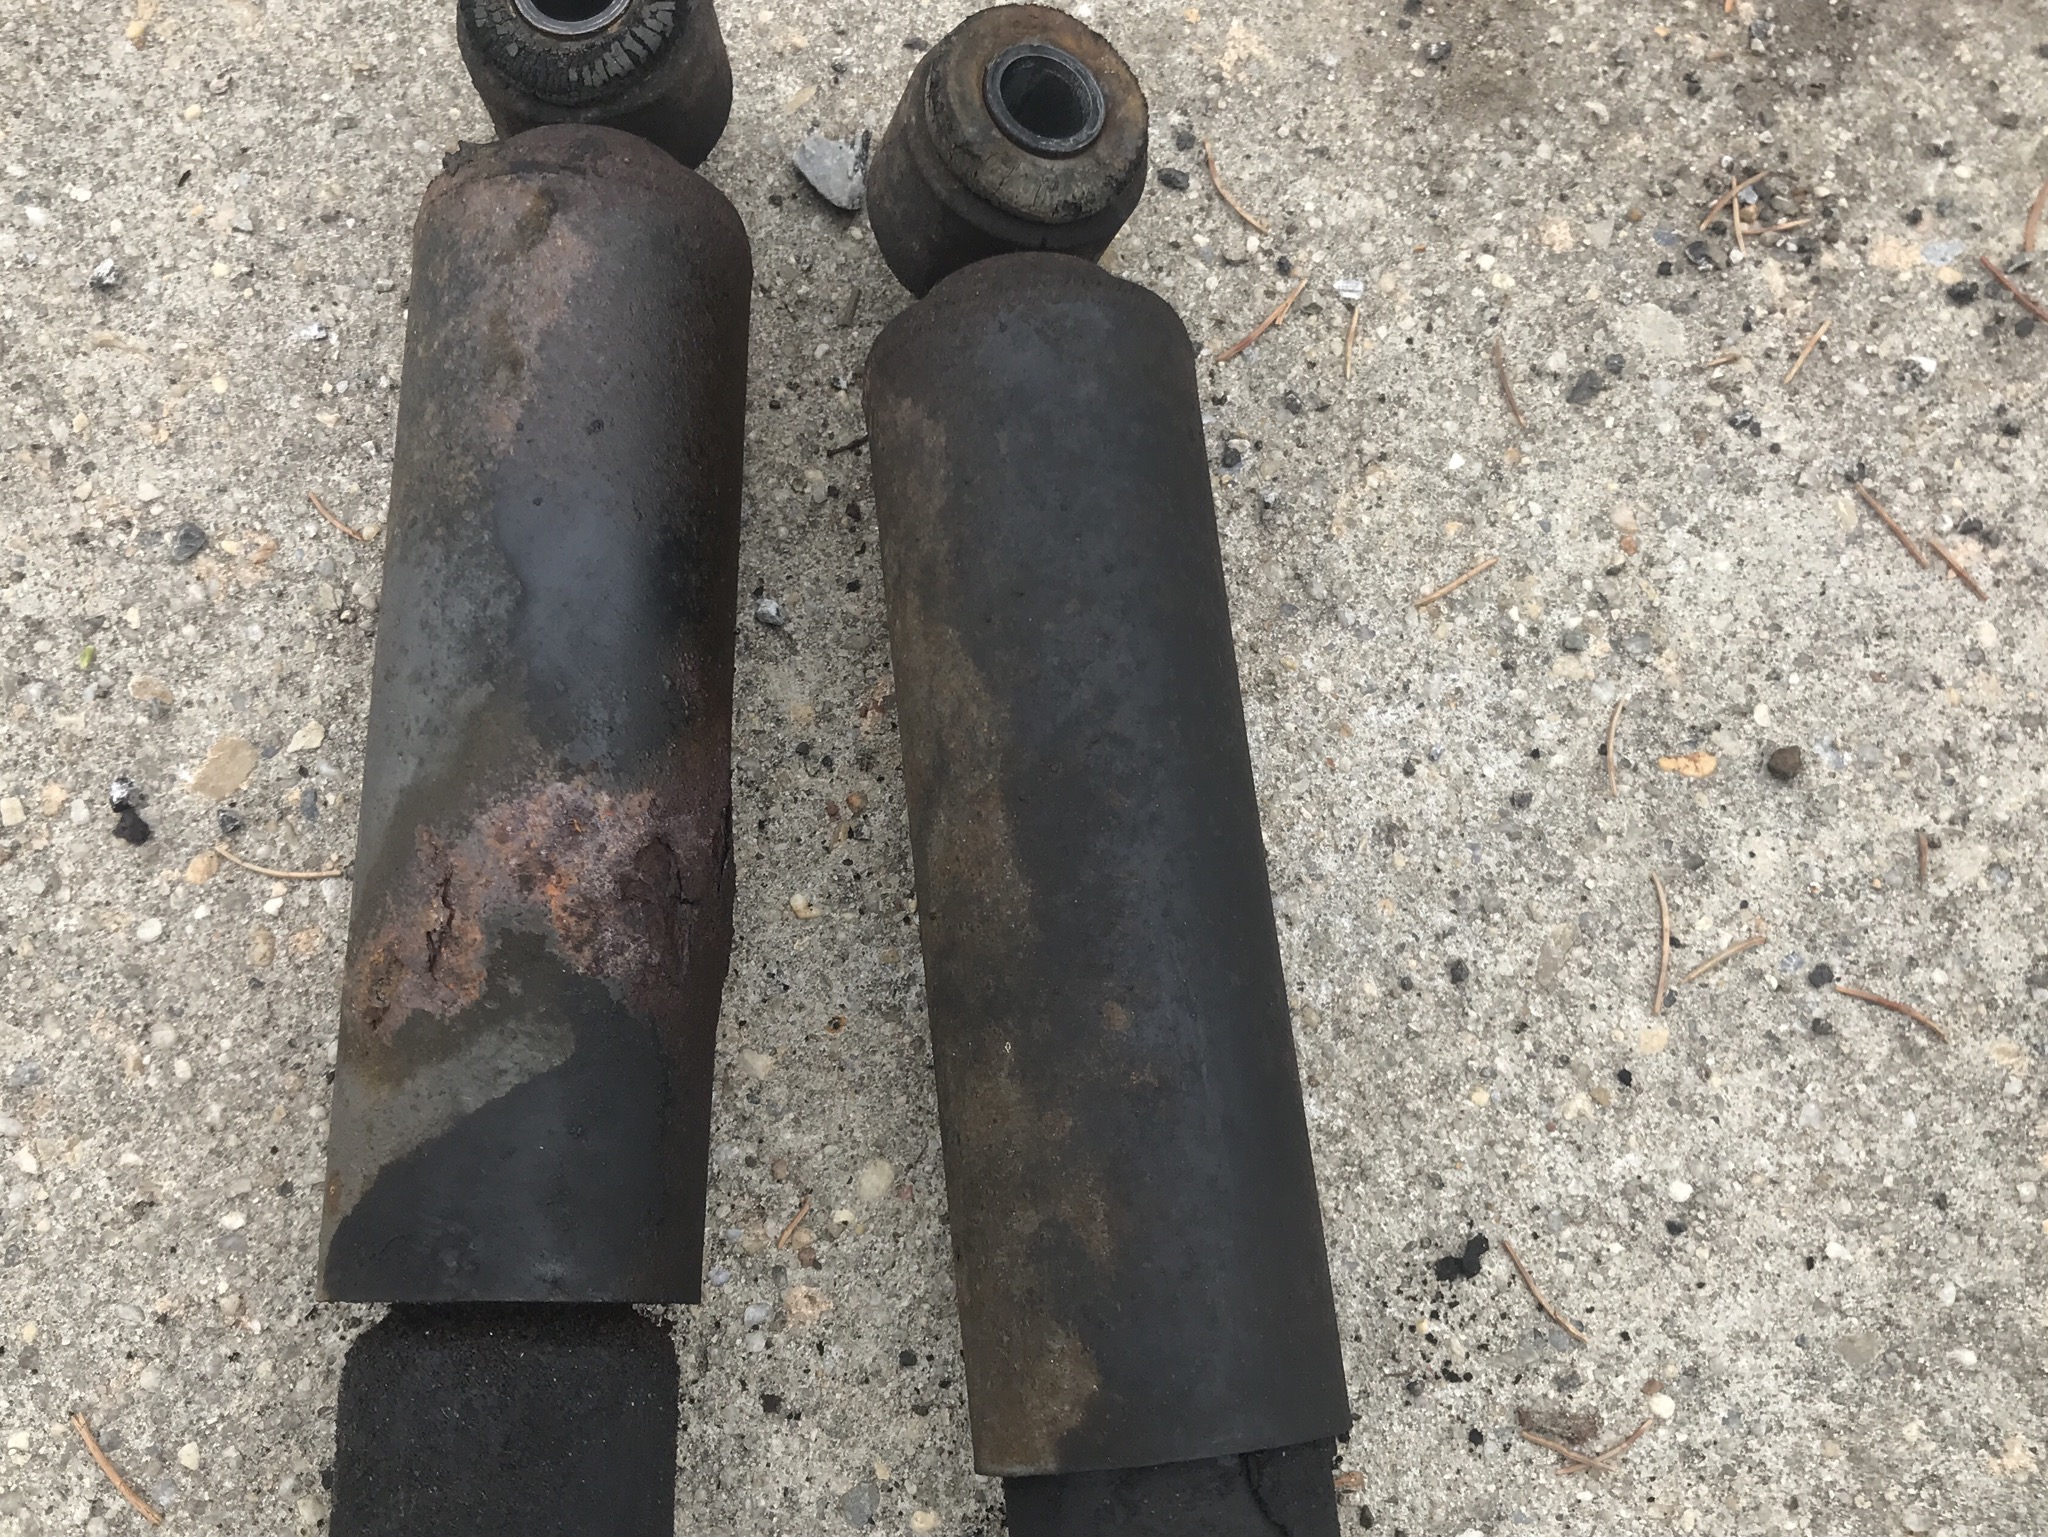
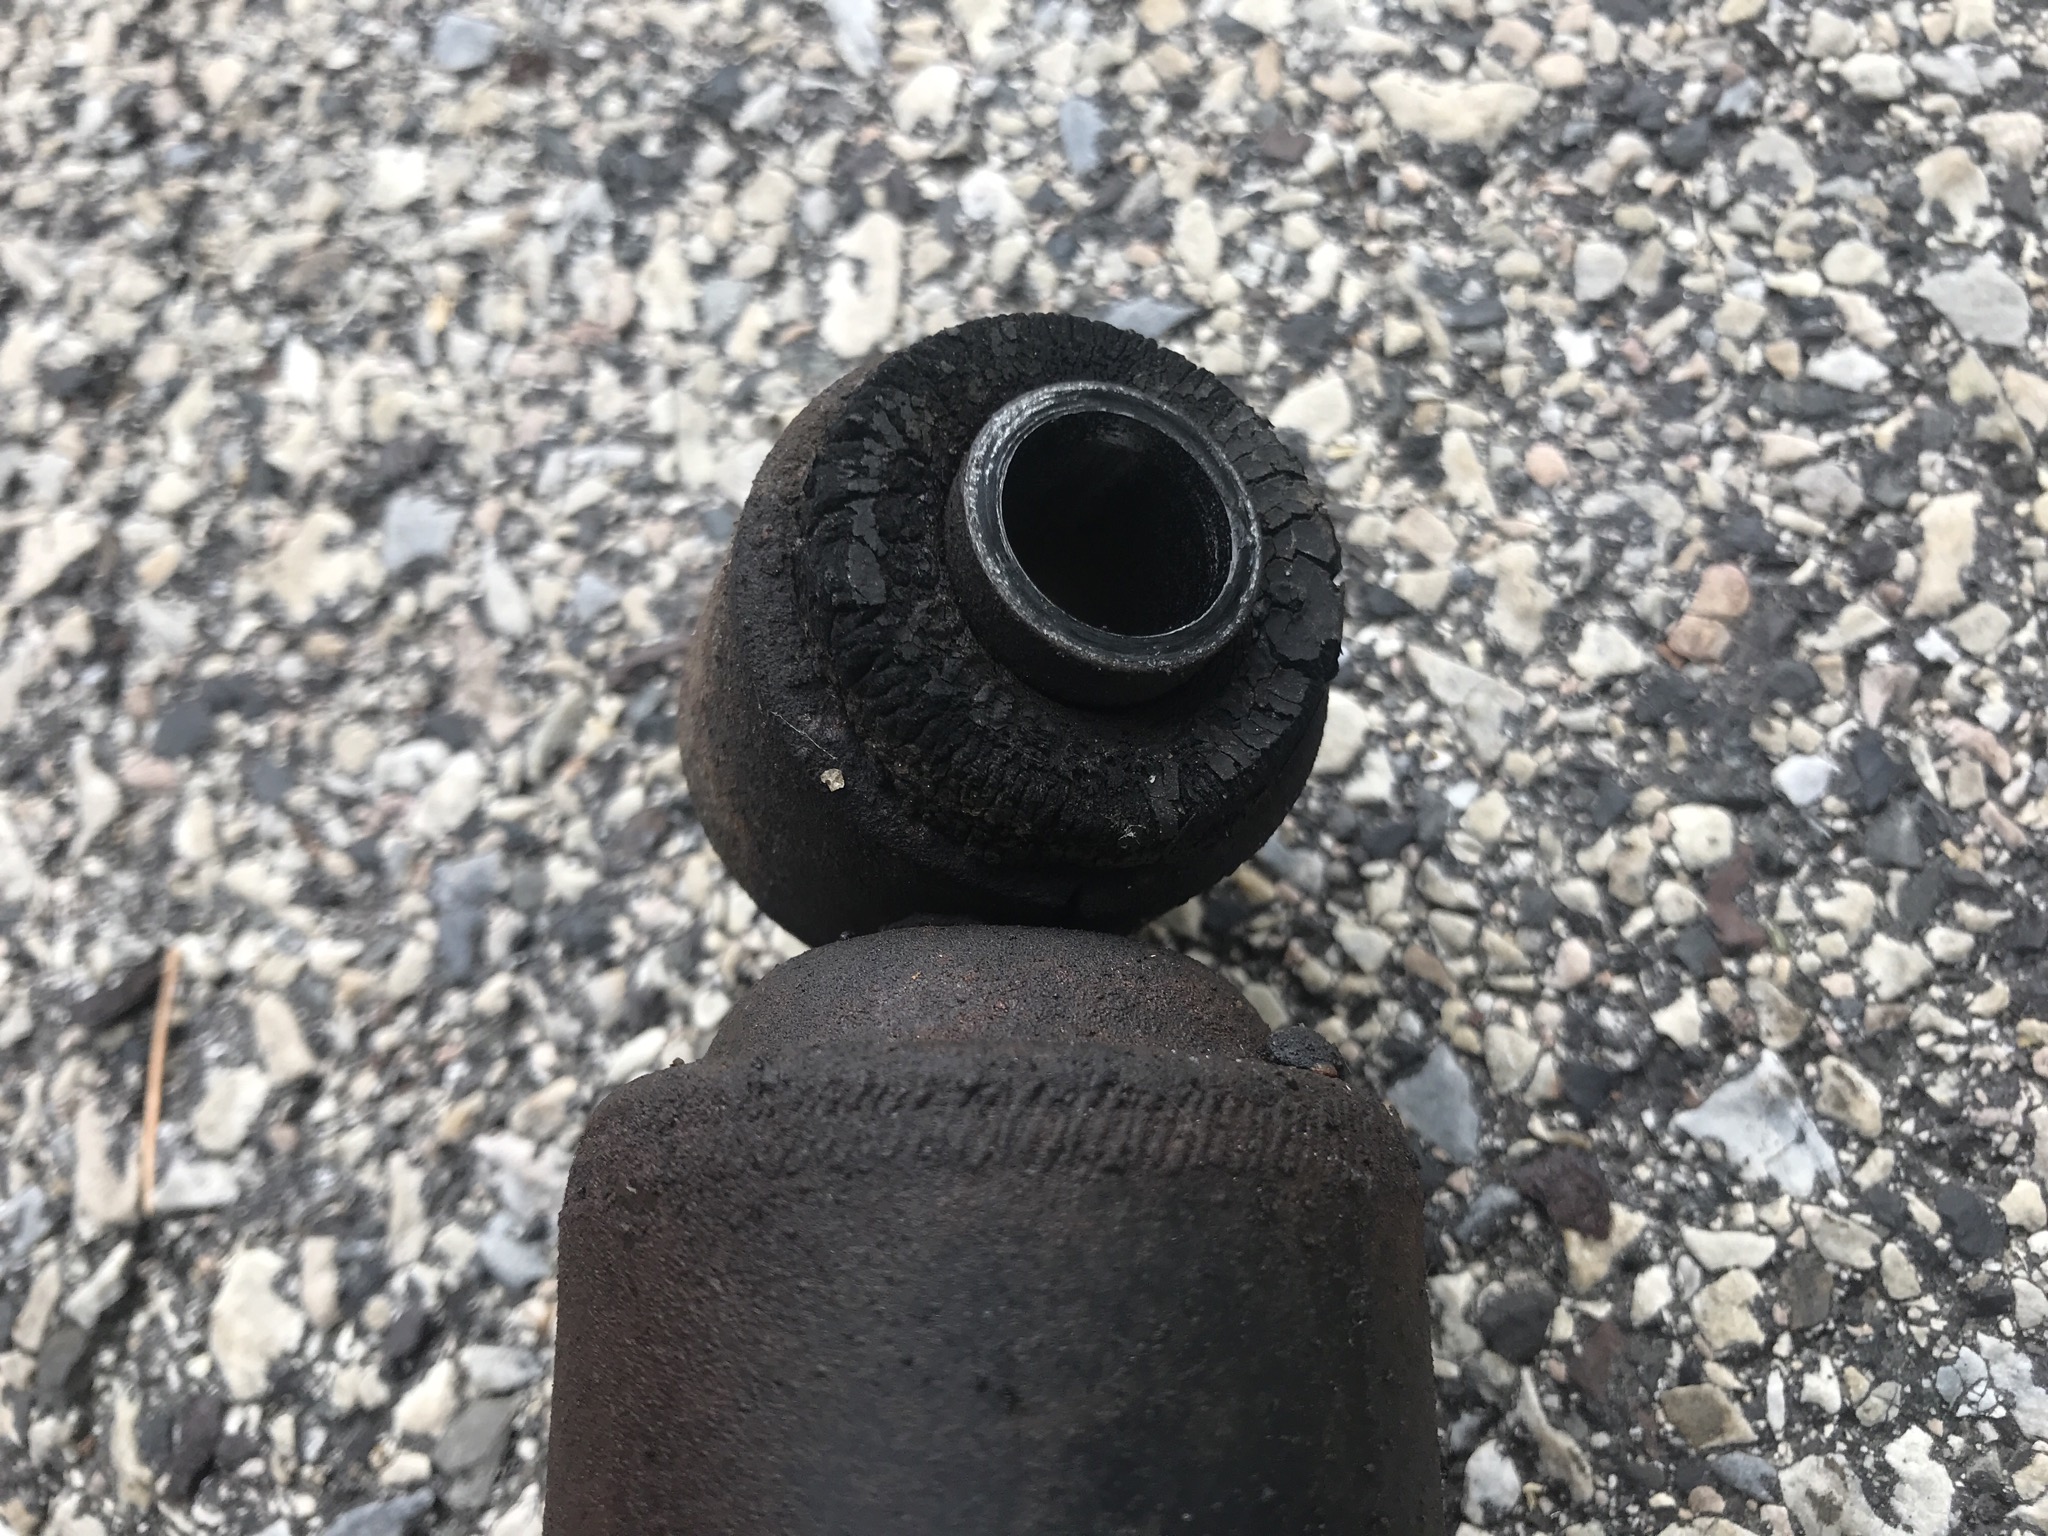
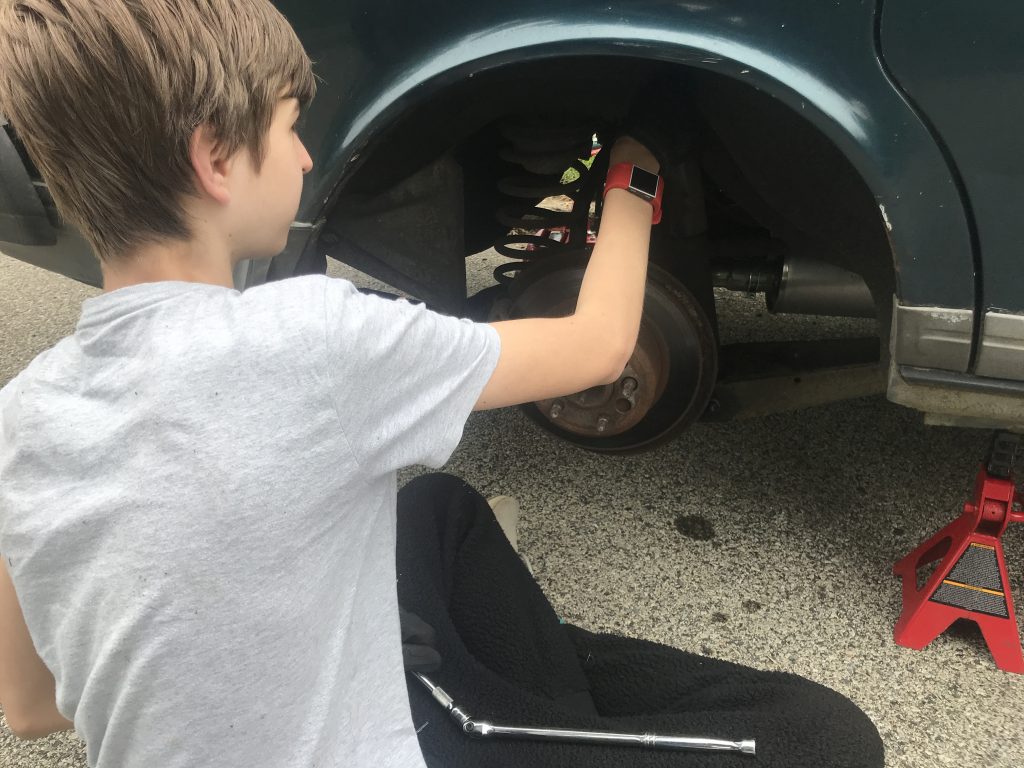
I enlisted my older son to help me with replacing the shocks, our final step to passing inspection. This was surprisingly easy. After getting the back of the cart on jack stands and removing the rear wheels to gain access to the shocks. After placing a floor jack under the spring and soaking the nuts connecting either end of the shock with Kroil removal was just a matter of getting the nuts loose and removing the old shocks. They were, as the mechanic said, in pretty bad with some rusting and cracked bushings.

Soaking in Kroil 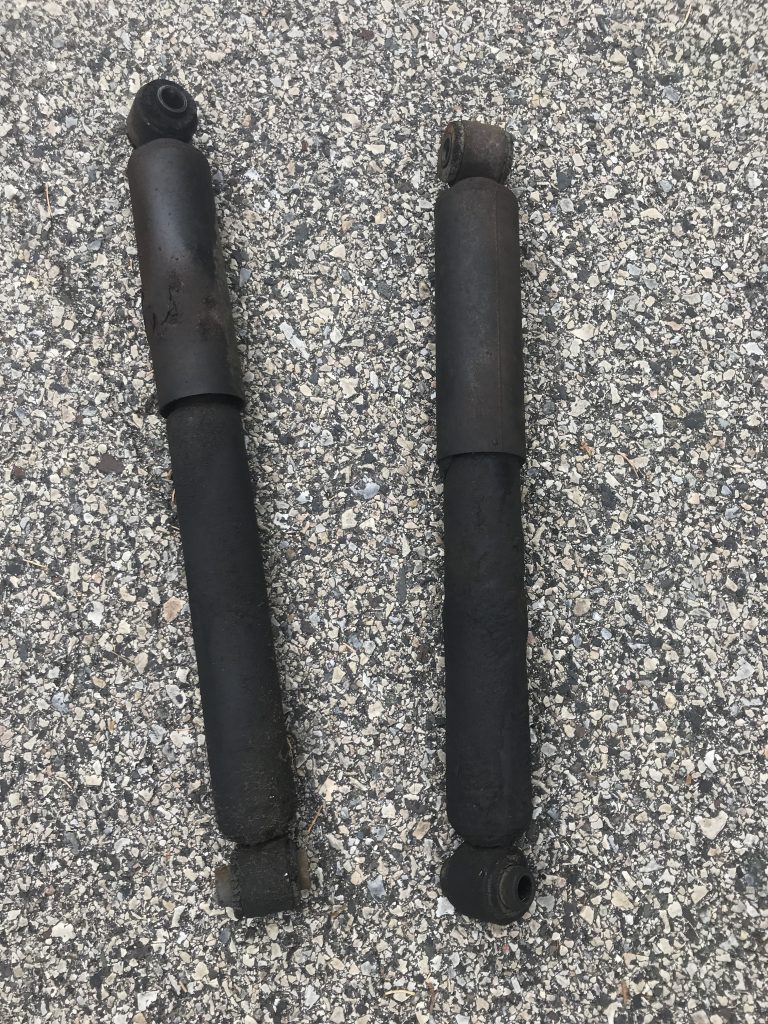
Old shocks 
Rust 
Bad bushing
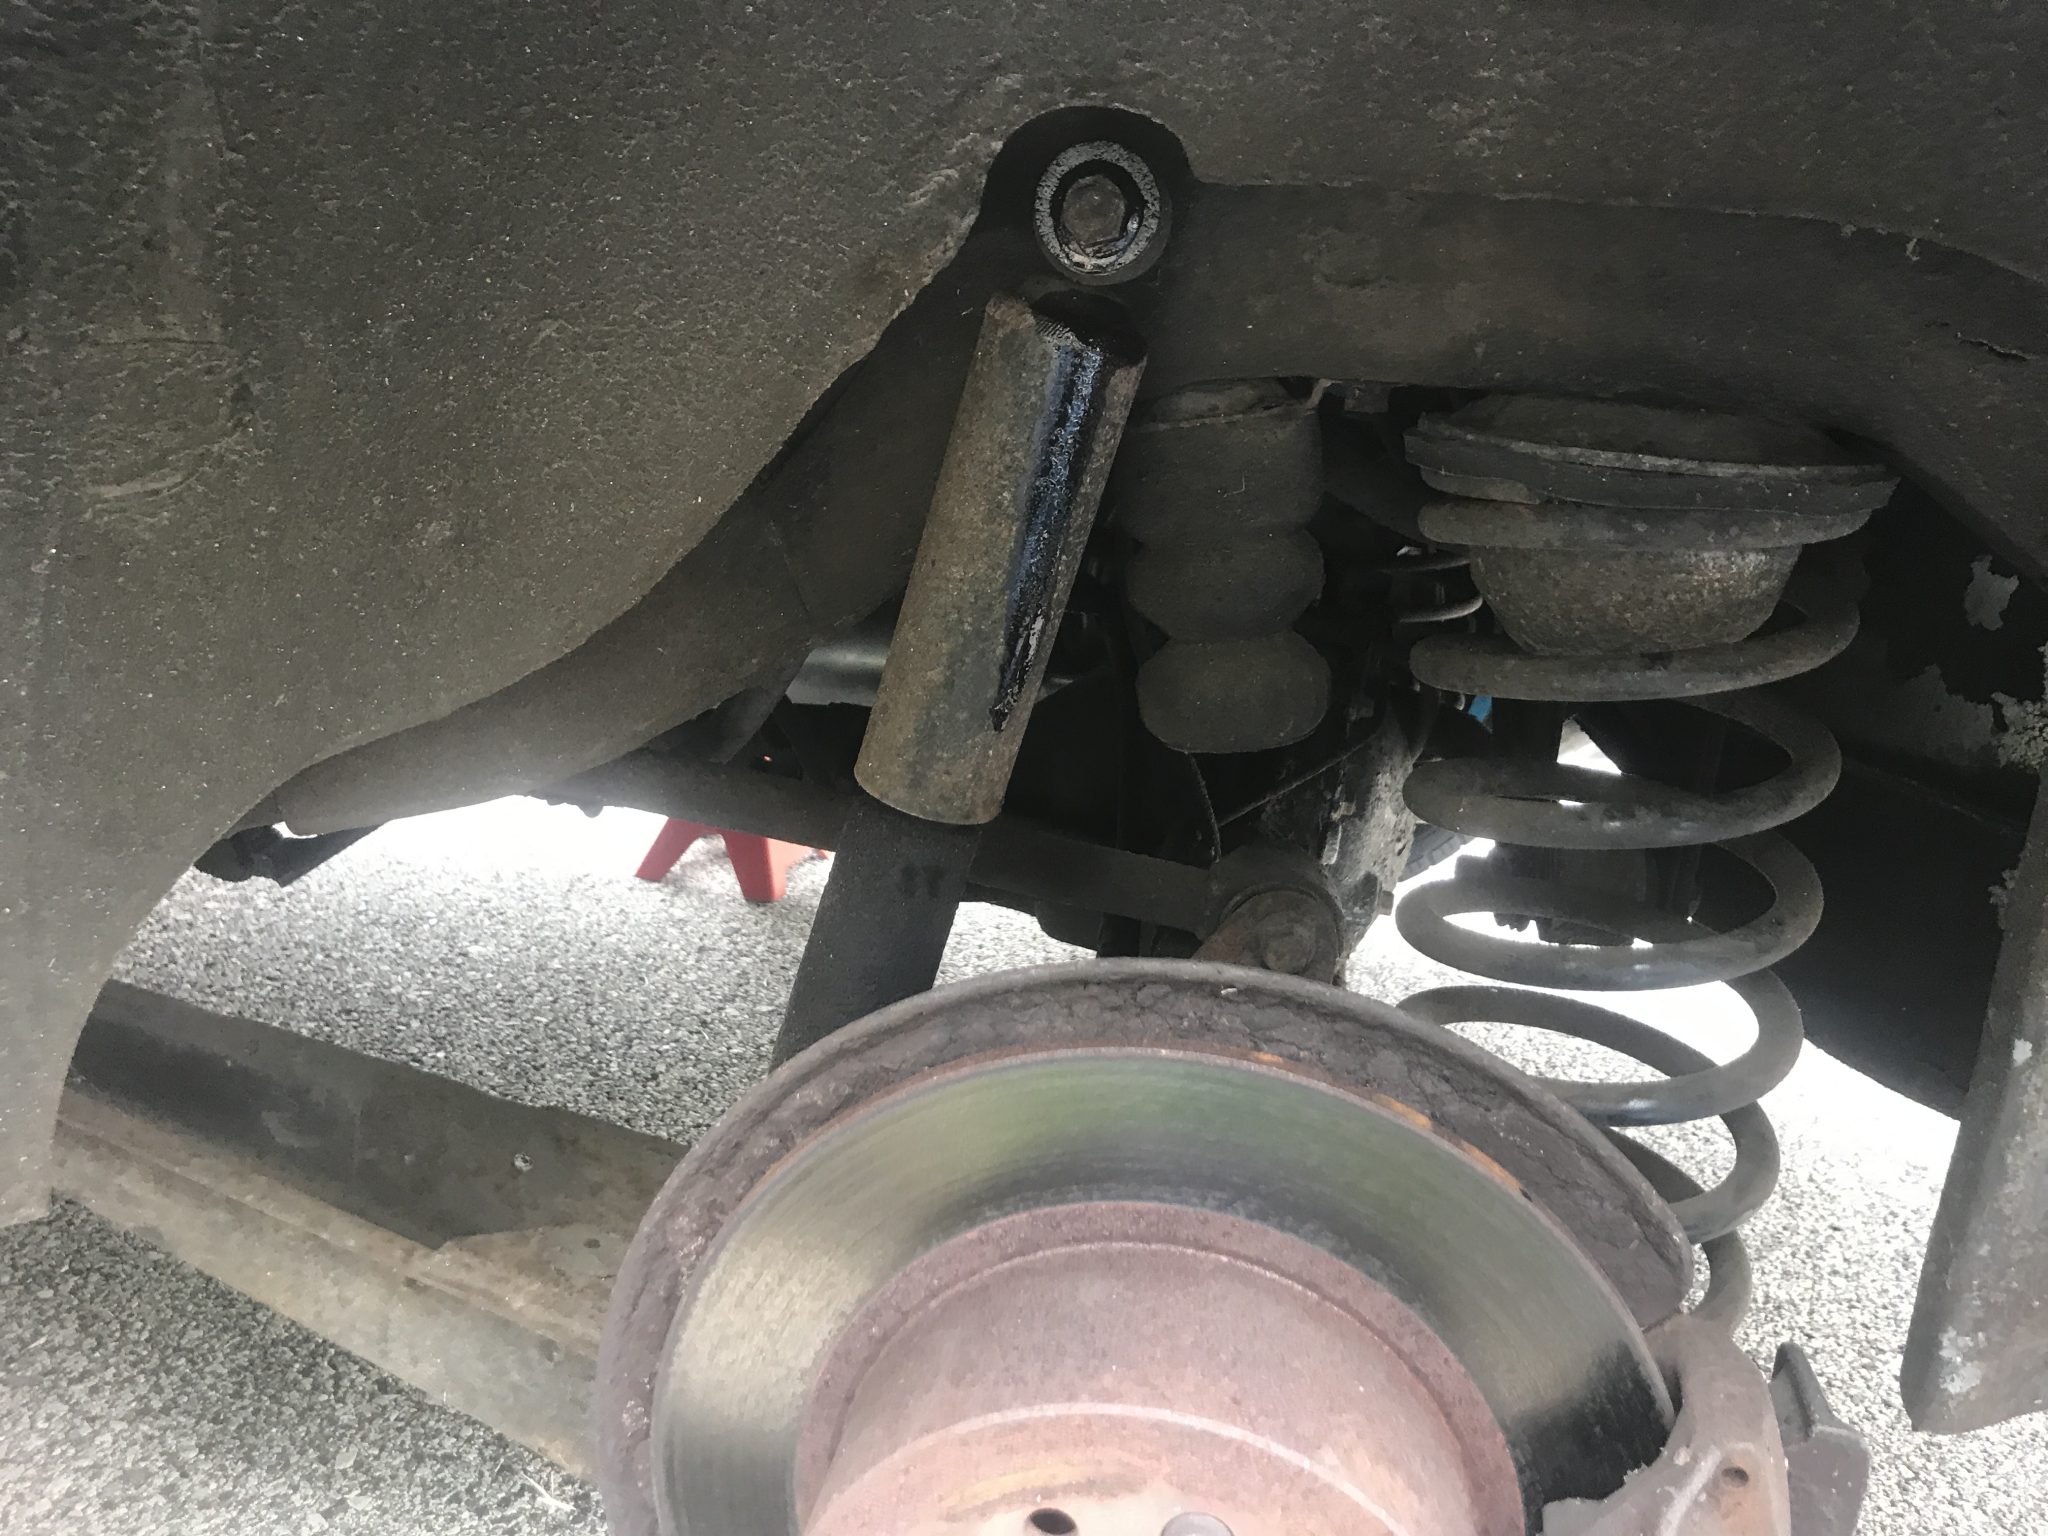

The new shocks, KYB Excel-G’s, were put on in their place. Using the jack to control it, I let the trailing arm down far enough to allow me to slip the top connector onto the body post and then jacked the trailing arm up until the bottom holes lined up and allowed the bolt to be threaded into place. Then I tightened the bolts down until snug and followed up by torquing them both to 62 foot pounds.
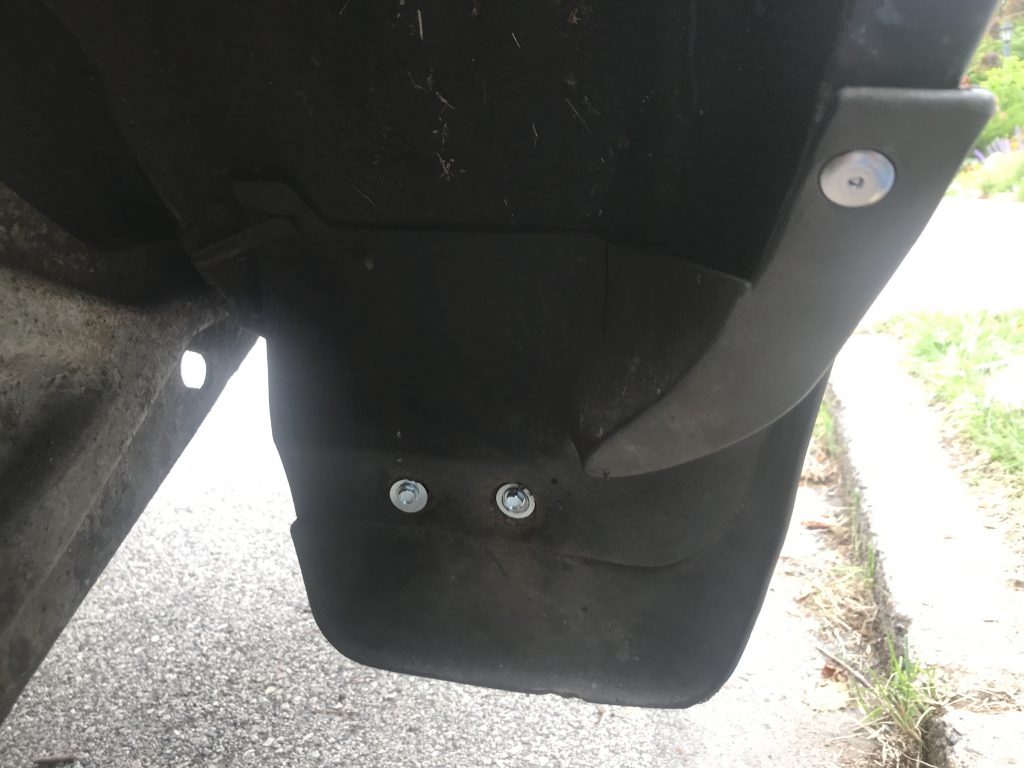
While I had the wheels off I also reattached the mudflap I had previously removed. I did this by using a pop rivet to affix the time and a couple of self tapping screws with washers below. It took a little finagling to get things to line up, and if I had to do it again I’d recommend doing the self tappers first and then the pop rivet. But I got it on and all looks pretty good.
The wheels went back on and that was that. We took a test drive and the combination of new tires and new shocks definitely made for a better ride. Now I just need to bring the car back and get my sticker!