There’s always someone more clueless than you
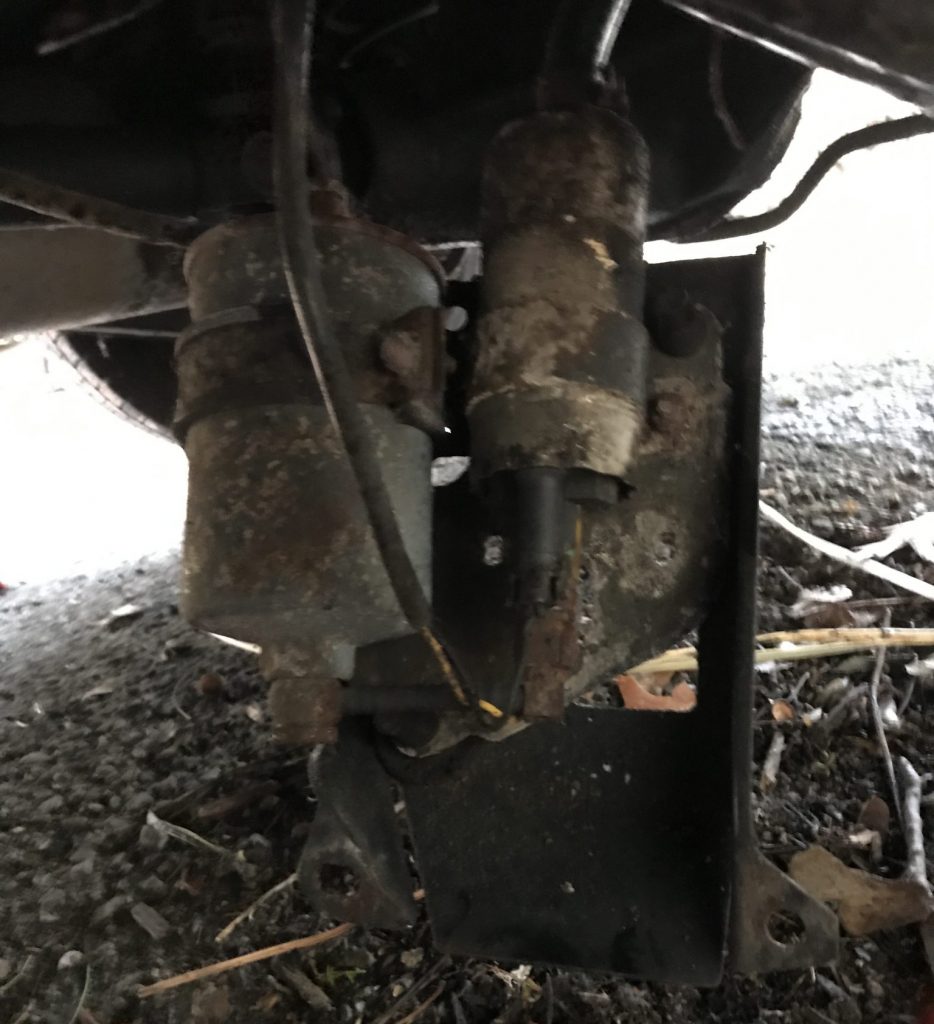
Changing the fuel filter, in my mind at least, should be a simple task. On a 240, however, I found it was a pretty big pain in the butt. The filter is located in a metal cradle of sorts just in front of the driver’s side rear tire. This cradle also holds the high pressure fuel pump and is bolted to the chassis using three bolts with 12mm hex heads. Getting them out was the easy part.
Welcome to the year 2020. I hope everyone had a good holiday season with lots of good food, friends, and fun. I found myself with a surplus of use-it-or-lose-it vacation days at the end of last year, so I’ve had a few weeks off. I used some of that time to put the finishing touches on the engine before attempting the first start in months. In anticipation of this event, I filled the cooling system with distilled water to flush any remaining sedative and gunk that might be lurking in the block and radiator. After the engine (hopefully) ran a little I’d empty that out and put in actual coolant.
With the coolant tank topped off and the battery recharged (it had been sitting in a cold garage for months, so it was stone dead) and installed, I took a moment to jump the left side of fuse four (the in-tank pre-pump) to the left side of fuse six (the high pressure fuel pump) to get them both running. This was to check for fuel leaks which, thankfully, there were none.
The moment had come. I crossed my fingers and turned the key. After a couple of seconds of turning and a stall or two, the engine hummed fantastically! I was pleased to say the least, and a little proud that I had managed to put everything back together correctly. I let the engine run until the temperature rose to a normal operating level and shut it off. After it had cooled down again I opened up the lower radiator hose and drained the water. It looked pretty clean if not a little murky. I then refilled the system with Pentofrost A3 blue premix and called it a day, happy and confident in my work.
That would soon change.
Continue readingIn preparation for the first engine restart I wanted to change the oil. This was a pretty straight forward operation. I got the front of the car up on jack stands to make accessing the oil pan easier. I then crawled under and, having pre-positioned a plastic basin to catch the oil, and used a 1″ wrench to open the plug bolt. The oil that came out was as black as pitch. I’ve read that this doesn’t necessarily indicate that your oil was worn out or too old, but it certainly doesn’t mean it’s still good. Most importantly it didn’t have little sparkles that indicate metal shavings which was my greatest concern.


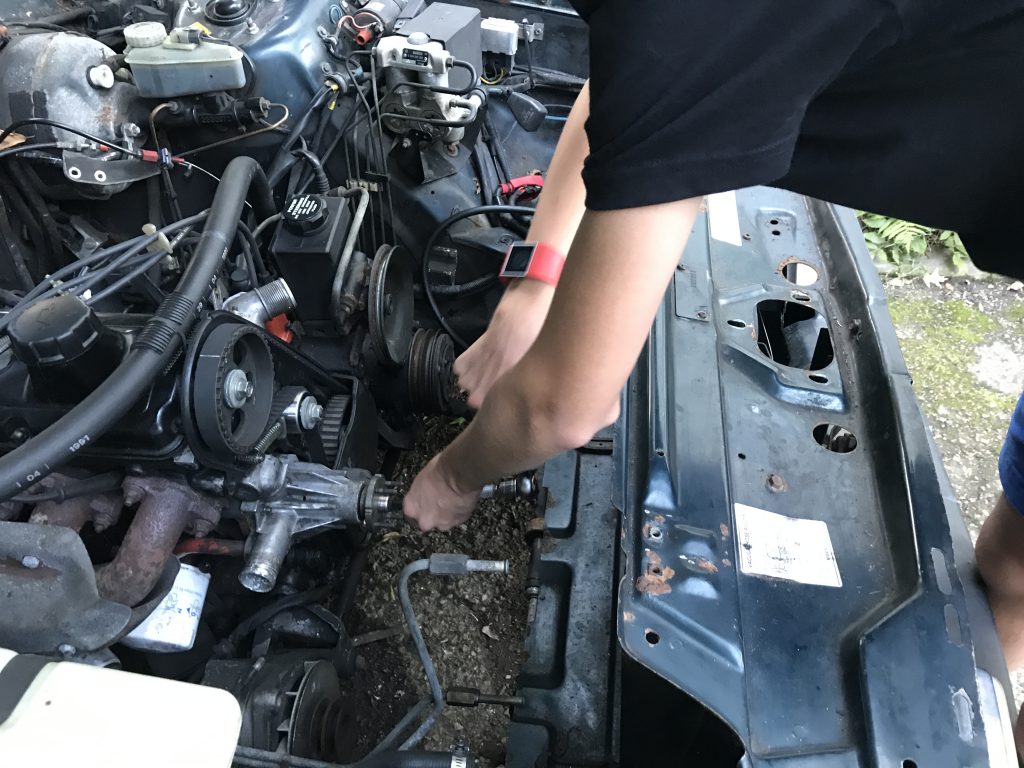
The engine is now almost completely back together. The most significant section missing is the fuel rail and injector assembly which I had put together last week. All there was left to do was put it back on. I have to admit I was a bit nervous about this. The fuel will be pumped through there at around approximately 35-40 psi (depending on engine demand). That’s about the same pressure as a garden hose nozzle. If the line leaks that’s gasoline being sprayed all over a potentially hot, sparking engine. I’d prefer to not burn this car up before I even get a chance to drive it a little, so some caution is warranted here.
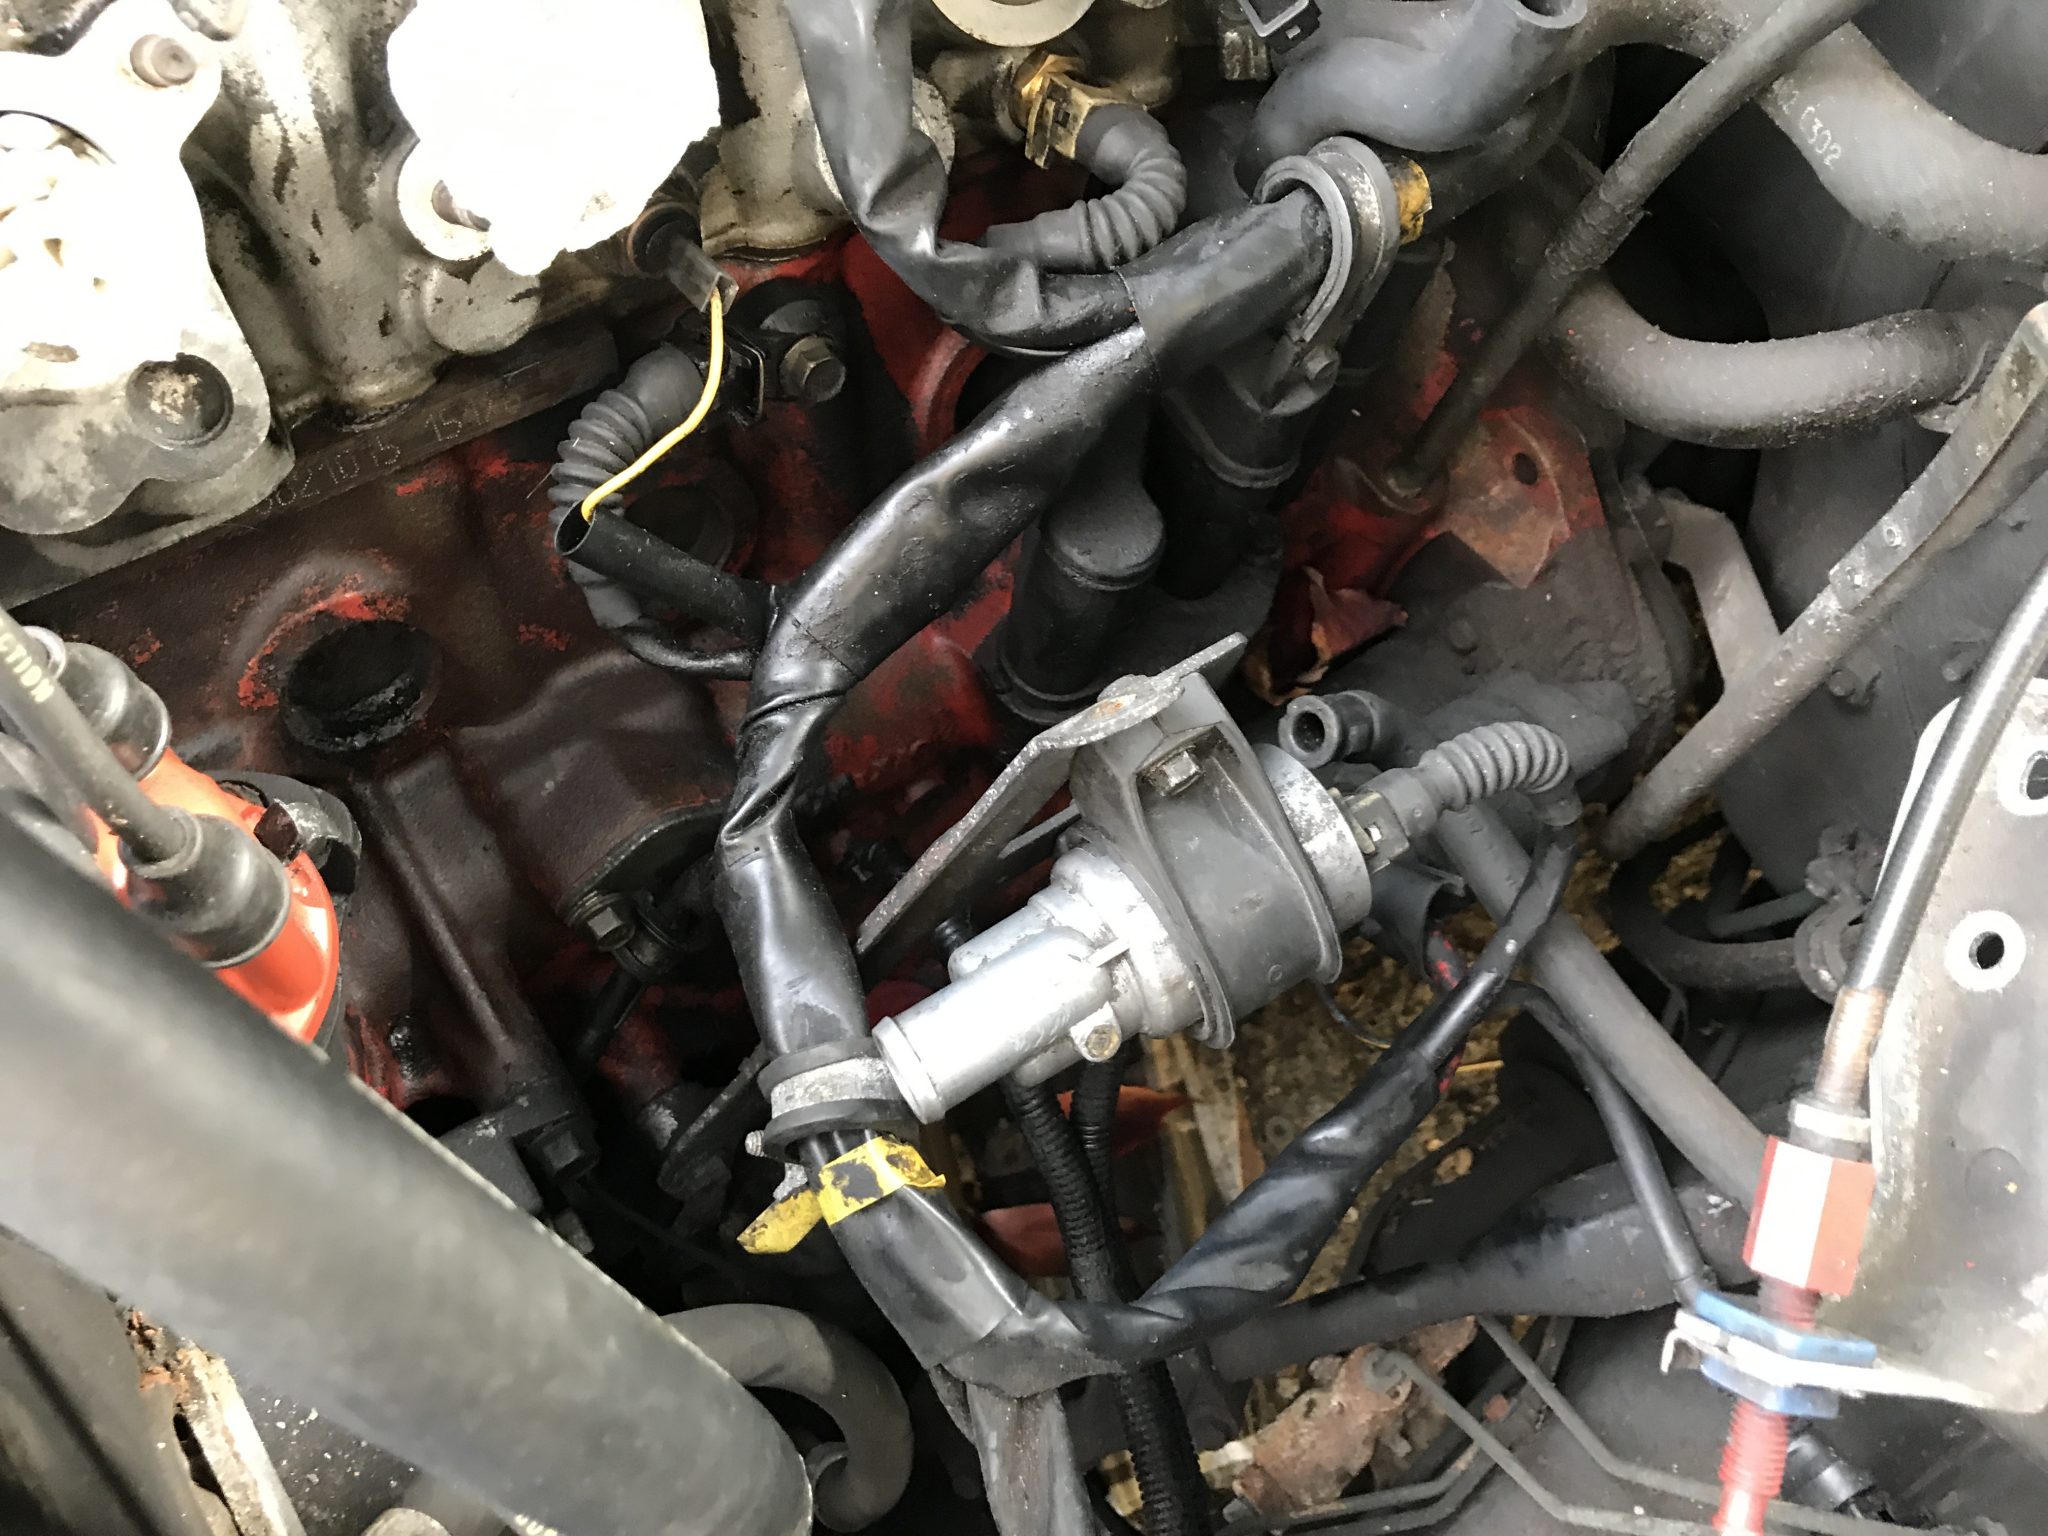
Continue readingAfter I got the air intake system back together I spent a little time pondering a few spots in the vacuum system that didn’t seem to have any connections. My library of photos was no help, and I kicked myself for not documenting all this stuff more thoroughly. Finally I got a flashlight and peered down into the innards of the engine bay and noticed a stray hose coming from the brake booster that had no place to go. Where it seemed like it should go was currently occupied by the other side of the IAC. Then it hit me: I had the IAC going to the completely incorrect place. Where the IAC was going on the side of the throttle was where the brake booster’s vacuum line was supposed to go and the open spot on the back of the intake was where the IAC was meant to connect to! I switched them around and am now confident that everything is in the right place. To help others I drew up a simple (read: crude) diagram of where the various vacuum hoses should go.
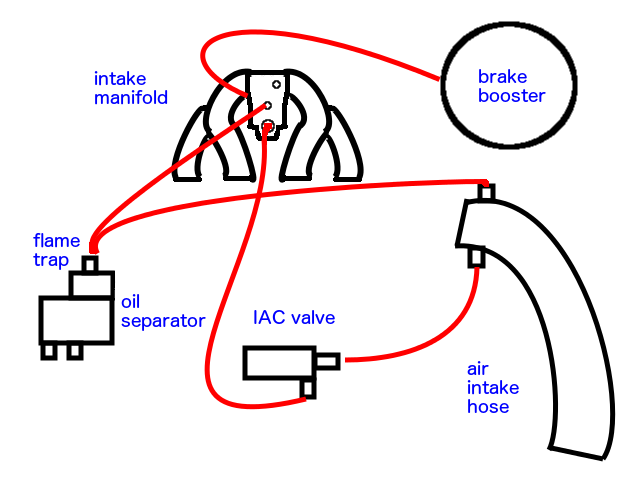
UPDATE: The vacuum hose connections featured in this entry are super wrong! Go here for the correct way to hook up the vacuum hoses.
After a delivery delay due to crappy weather and a busy weekend, I have finally been able to reassemble not just the newly cleaned oil separator but also put the intake manifold back on. The oil separator was just a matter of tightening a couple of bolt and a cable clamp. I’m sure there’s a torque setting for the two that attach it to the block, but I couldn’t find them in any of the literature I have. I tightened it to a point I like to call “not gonna fall off.”

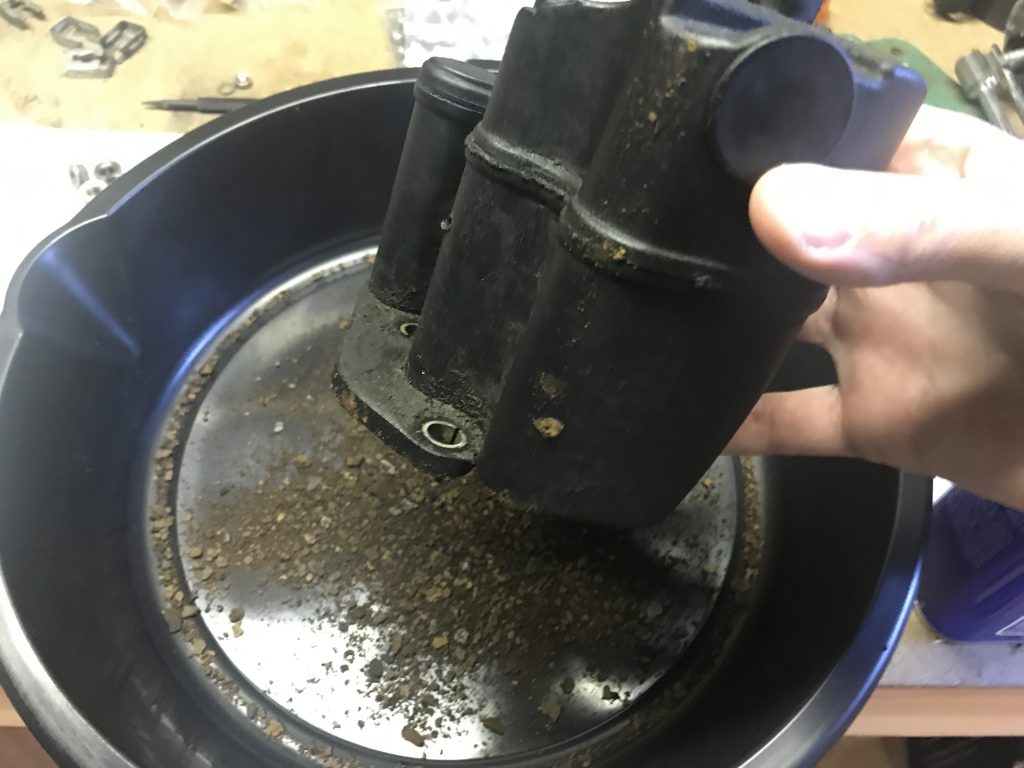
After consulting my Bentley manual and various discussions on the internet I decided on a two stage approach to cleaning out my oil separator. Step one consisted of gently tapping around the outside with a screwdriver. This immediately produced results. All that dried up carbon and oil mixture stuck to the inside began to come apart and flake off. Shaking the separator resulted in a shower of dirt and grit from the bottom ports.
As I mentioned last week, my next steps were going to be adding in all the bits that precede the final installation of in the intake manifold. Moving from the front to the back the first bit on that list will be the radiator. So that’s what I put in first.
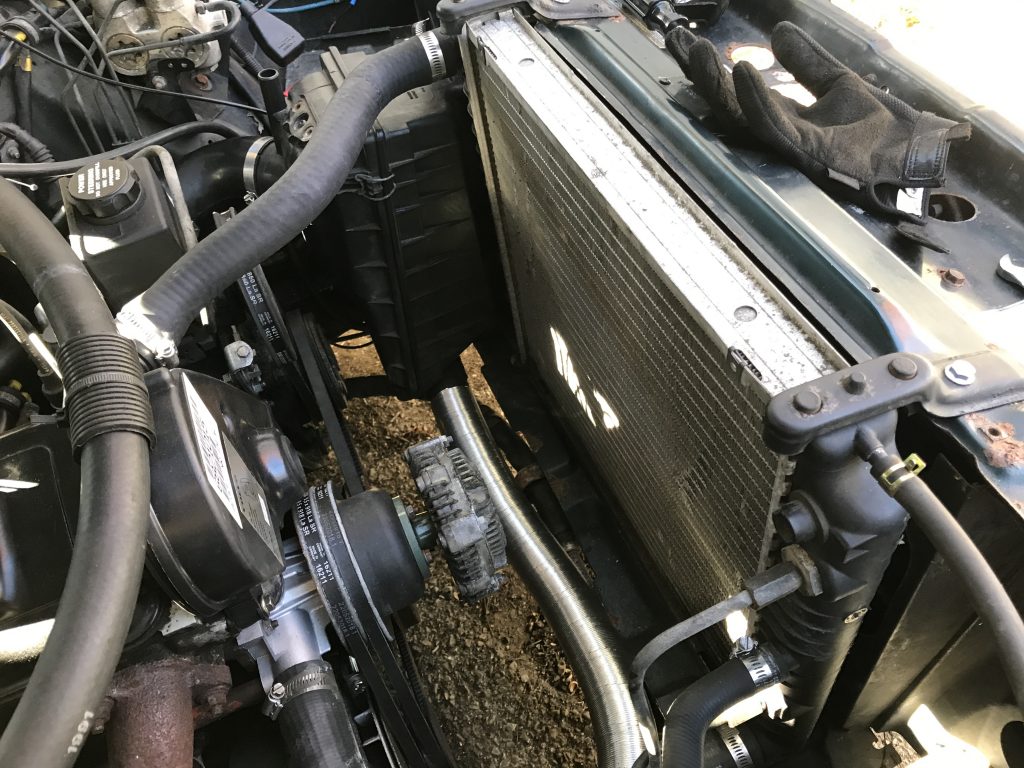
This was simply a matter of sitting the radiator back into its rubber mounts and securing the two top corner brackets. Then the two radiator hoses are attached to the thermostat housing and water pump, the feed and return lines to the coolant reservoir, and the oil lines screwed back into the oil cooler. I also ran the pre-heat duct from the outlet of the exhaust manifold to the air box.
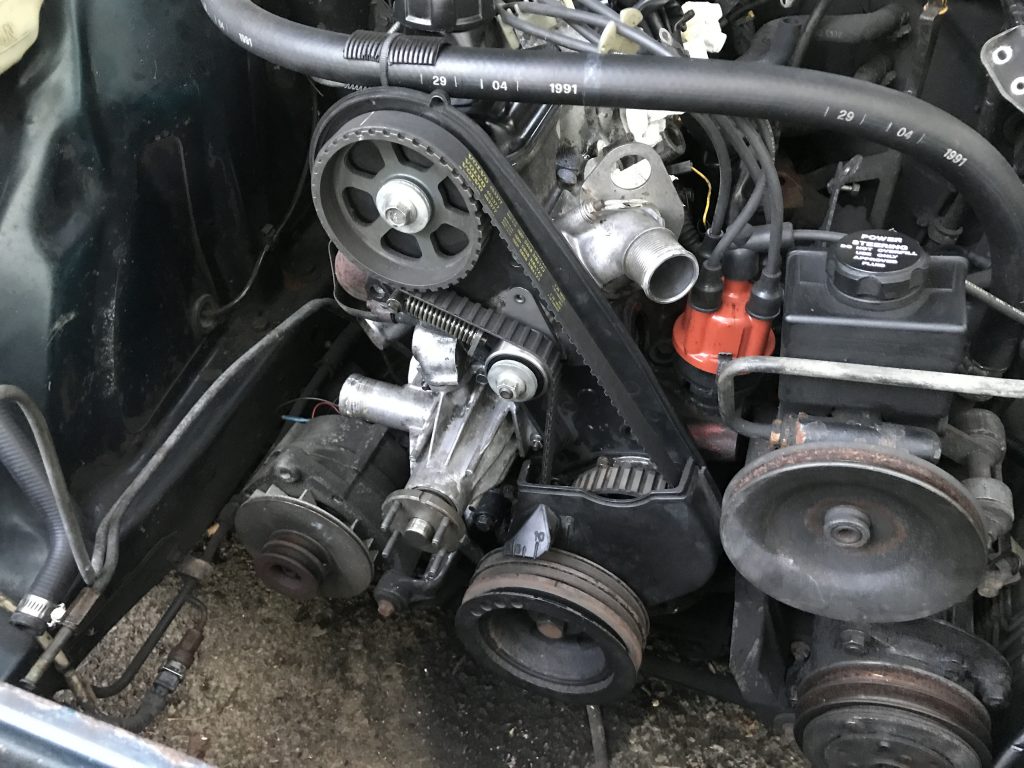
Continue readingNow that the belts are all on I can start putting back all the things that would otherwise obstruct their installation. First I should note that I had previously forgotten to install a small carriage bolt that keeps attaches the AC compressor to another bracket midway down its length. I assume this is to add reinforcement to the compressor for when the clutch engages during use. Going from standstill to full speed like that probably packs quite a bit of a shock to the compressor’s body.
Then I reattached the idle air valve back to its bracket with two bolts that anchor the valve’s rubber sleeve and plugged in the control wires. No hoses yet as they come and go from the main air intake duct which has not been installed.
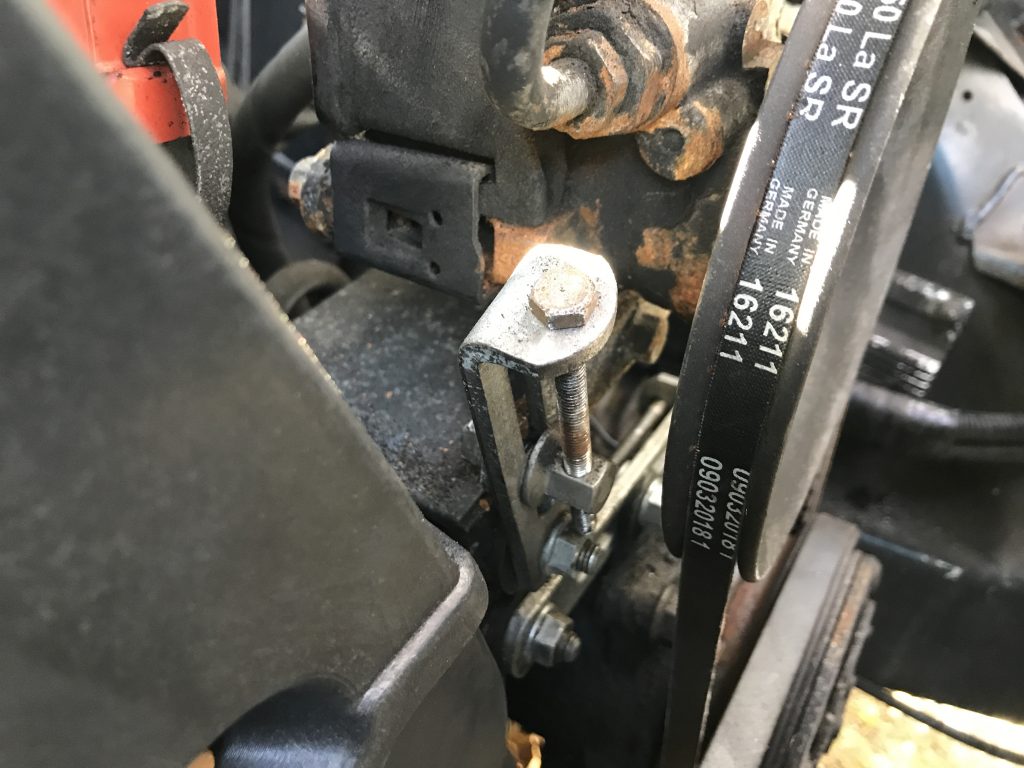
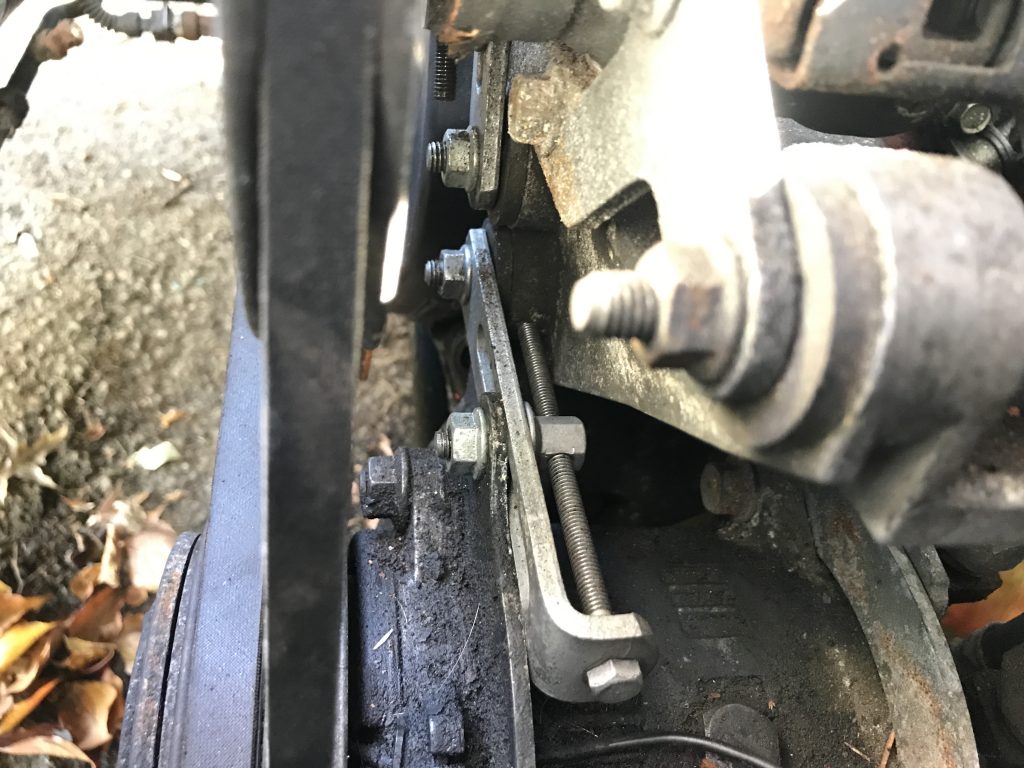
Just a quick bit of work on a busy weekend of yard maintenance and wood stacking. All I had time to do was install the tensioners for the AC compressor and power steering pump. Similar bolt-through-block mechanism as the alternator’s.
Over the last week or so the work I’ve done on the car has mostly taken the form of tinkering with the water pump and the timing belt cover to try and figure out why the one was rubbing on the other. I eventually landed on “maybe the water pump itself is somehow canted or otherwise no longer in spec”, and decided to remedy this by ordering a new, aftermarket pump.

After unbolting the original pump, replacing it with the new one, and reinstalling the timing belt cover, pulley, and fan clutch I checked the clearance and found… no change! It obviously wasn’t a problem with the pump. Since the new one was already on the car I left it there. I’ll add the pump to the list of spare parts I have to keep, trade, or sell.
Continue readingAfter previously getting the timing belt on and reinstalling the water pump the next logical step was to bolt the fan pulley and clutch. They simply attach in-line using the four stud posts on the pump. However when I put mine on I found that the pulley doesn’t quite clear the timing belt housing and rubs on it at a couple of spots. Looking at the old housing I saw significant marks from this rubbing so it’s not new, but I’m not sure why it’s happening. Perhaps the water pump shaft is bent over so slightly? Or the pulley itself is not even? I’m not quite sure yet. Before I continue putting things back together I should figure this out.
A quick bit of work after, uh… work this evening. I broke down and bought one of those crankshaft holding tools because it was on sale on Amazon. My chain-and-bracket method worked ok but I really wanted to torque the pulley on properly, and this tool really is best for doing that. It bolts to the tensioner post and holds the pulley with a set of crenelated “teeth” while you torque the bolt, in this case to 122 foot pound (164 Nm). I must admit it worked very well and was way more convenient.

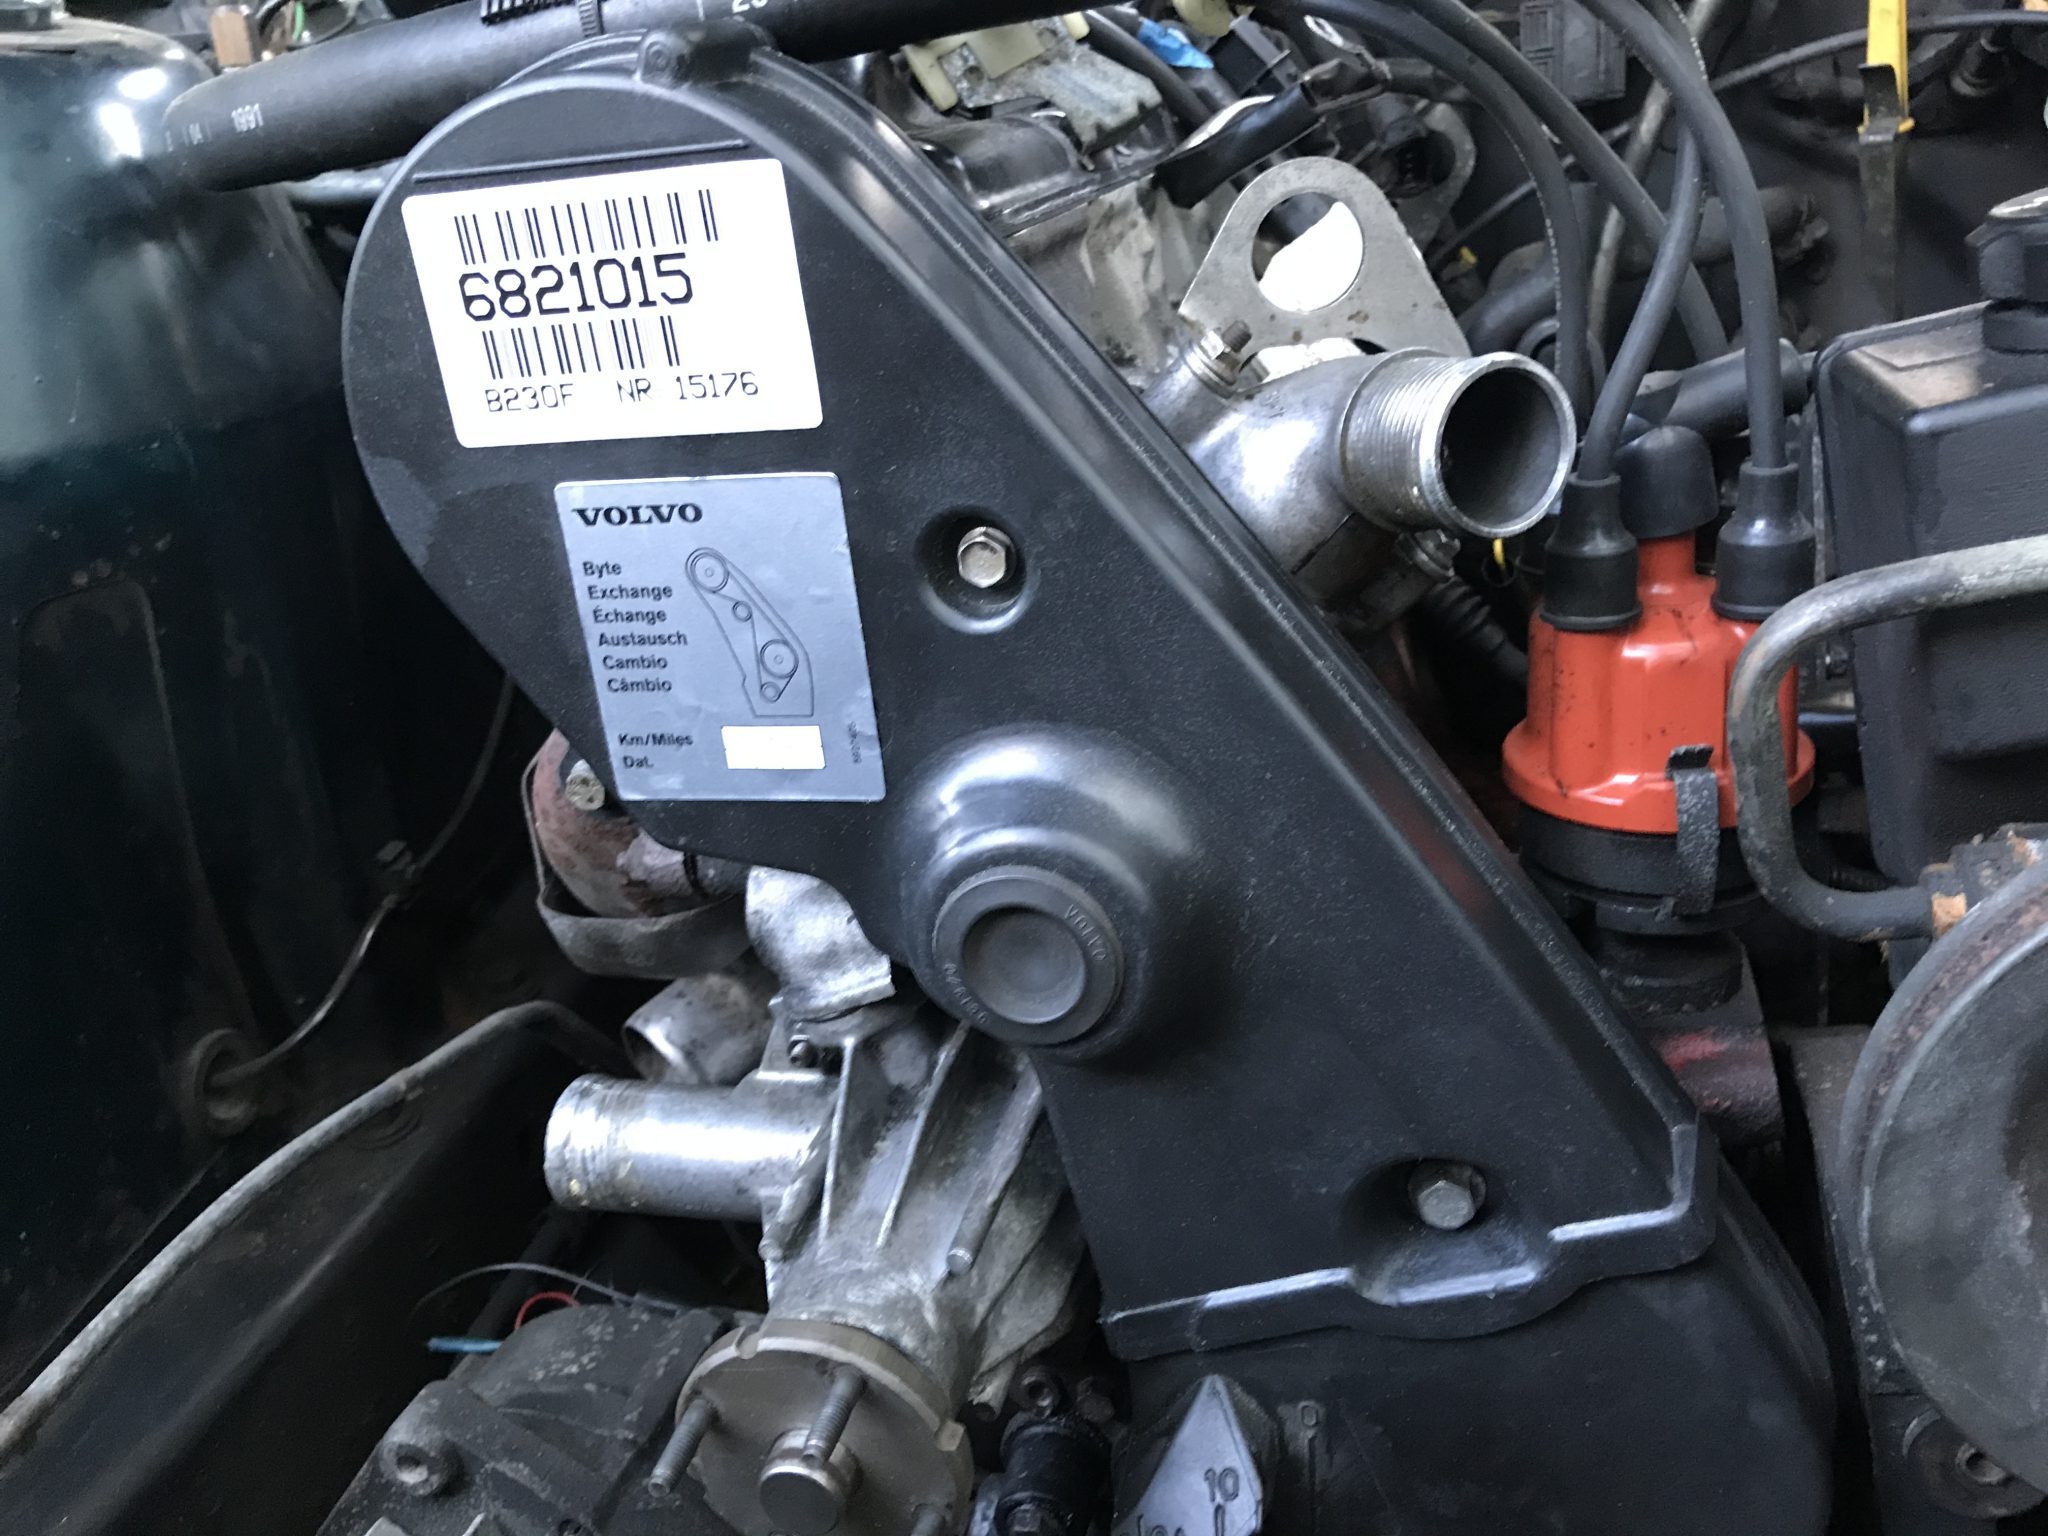
The timing belt having been set, it was now the moment to seal it all back up. I applied the reproduction timing cover informational decal I had bought from Dave Barton and the belt replacement service sticker that had come with the new timing belt, bolted it on, and called it a day.
I apologize for the break in updates, but as summer wound down, and school wound up, some work was done on my house, and, oh yeah, my oak tree decided to shed yet another gigantic branch right on top of my garage that I had the remove, there never seemed time to get back to that engine. Today I break that dry spell with two things.
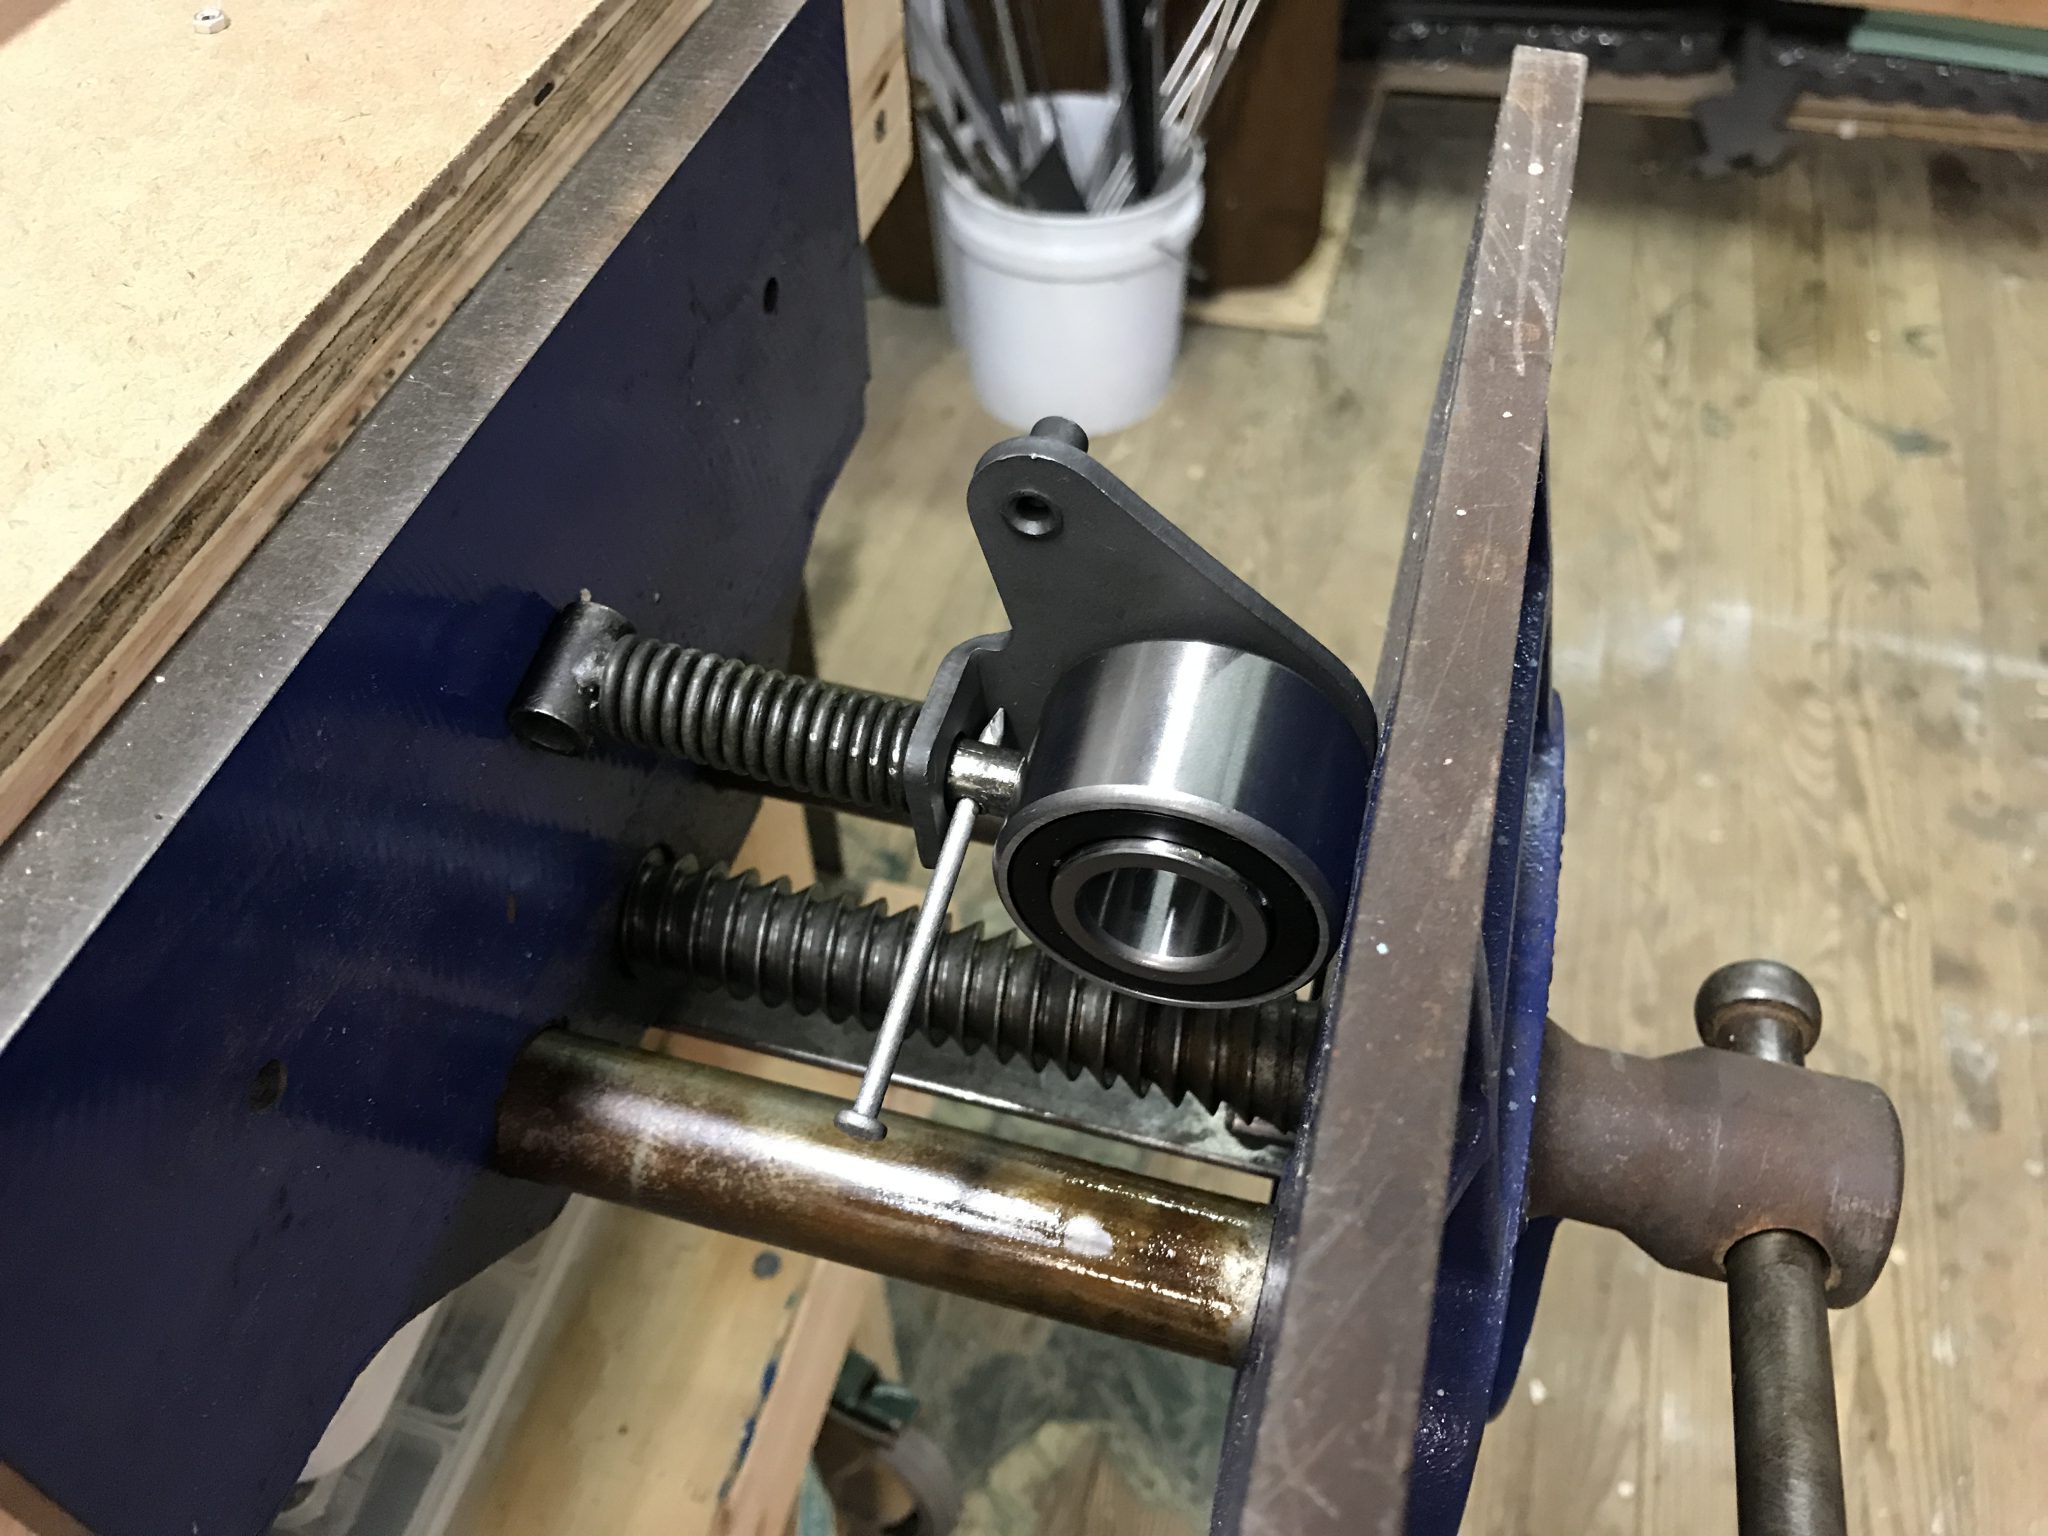
I had read somewhere that when replacing the timing belt it’s a good idea to also replace the timing belt tensioner. That’s the bit that keeps the timing belt tensioned so it won’t run off the gears. They’re not expensive and I had the timing cover off, so I figured I should do it.
The tensioner is actually two parts. The first is the roller bit that the belt rides on and the other is the spring tensioner that actually gives the assembly the ability to tension the belt. After taking it off the block, I compressed the spring in a bench vice, removed the nail I had inserted into the detent hole, and slowly opened the vice. The whole thing should pretty easily come apart, but I’d recommend wearing eye protection as the spring is pretty stout. 240s are awesome but probably not worth losing an eye. Reassembly was done in the opposite order and the whole thing reattached to the engine.
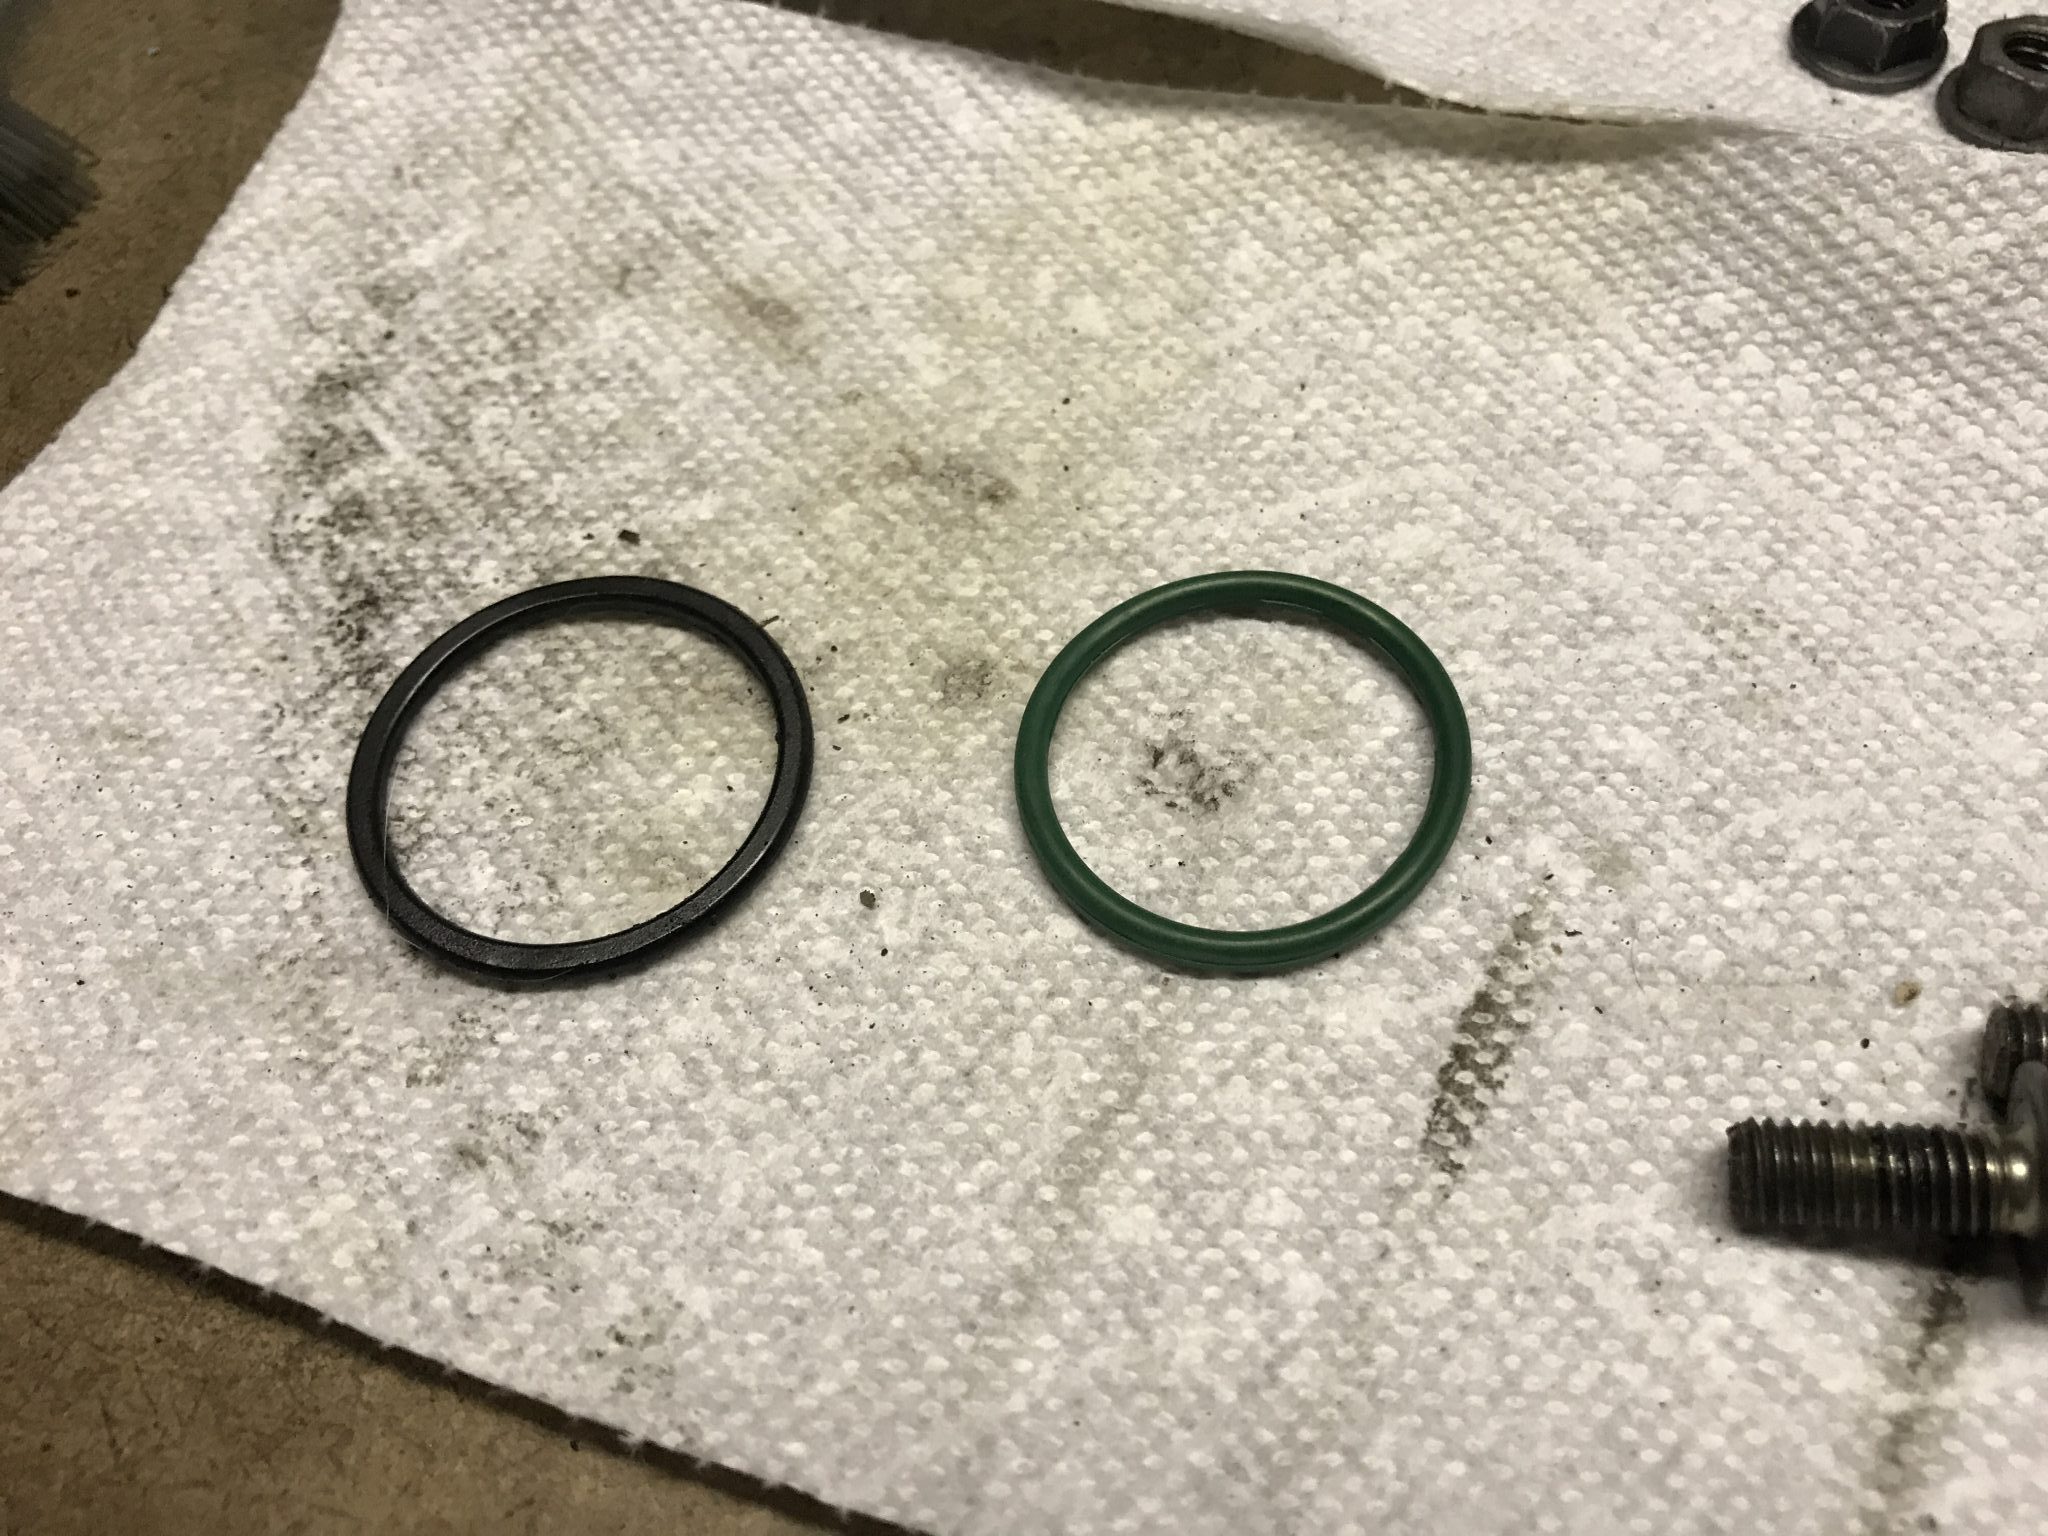
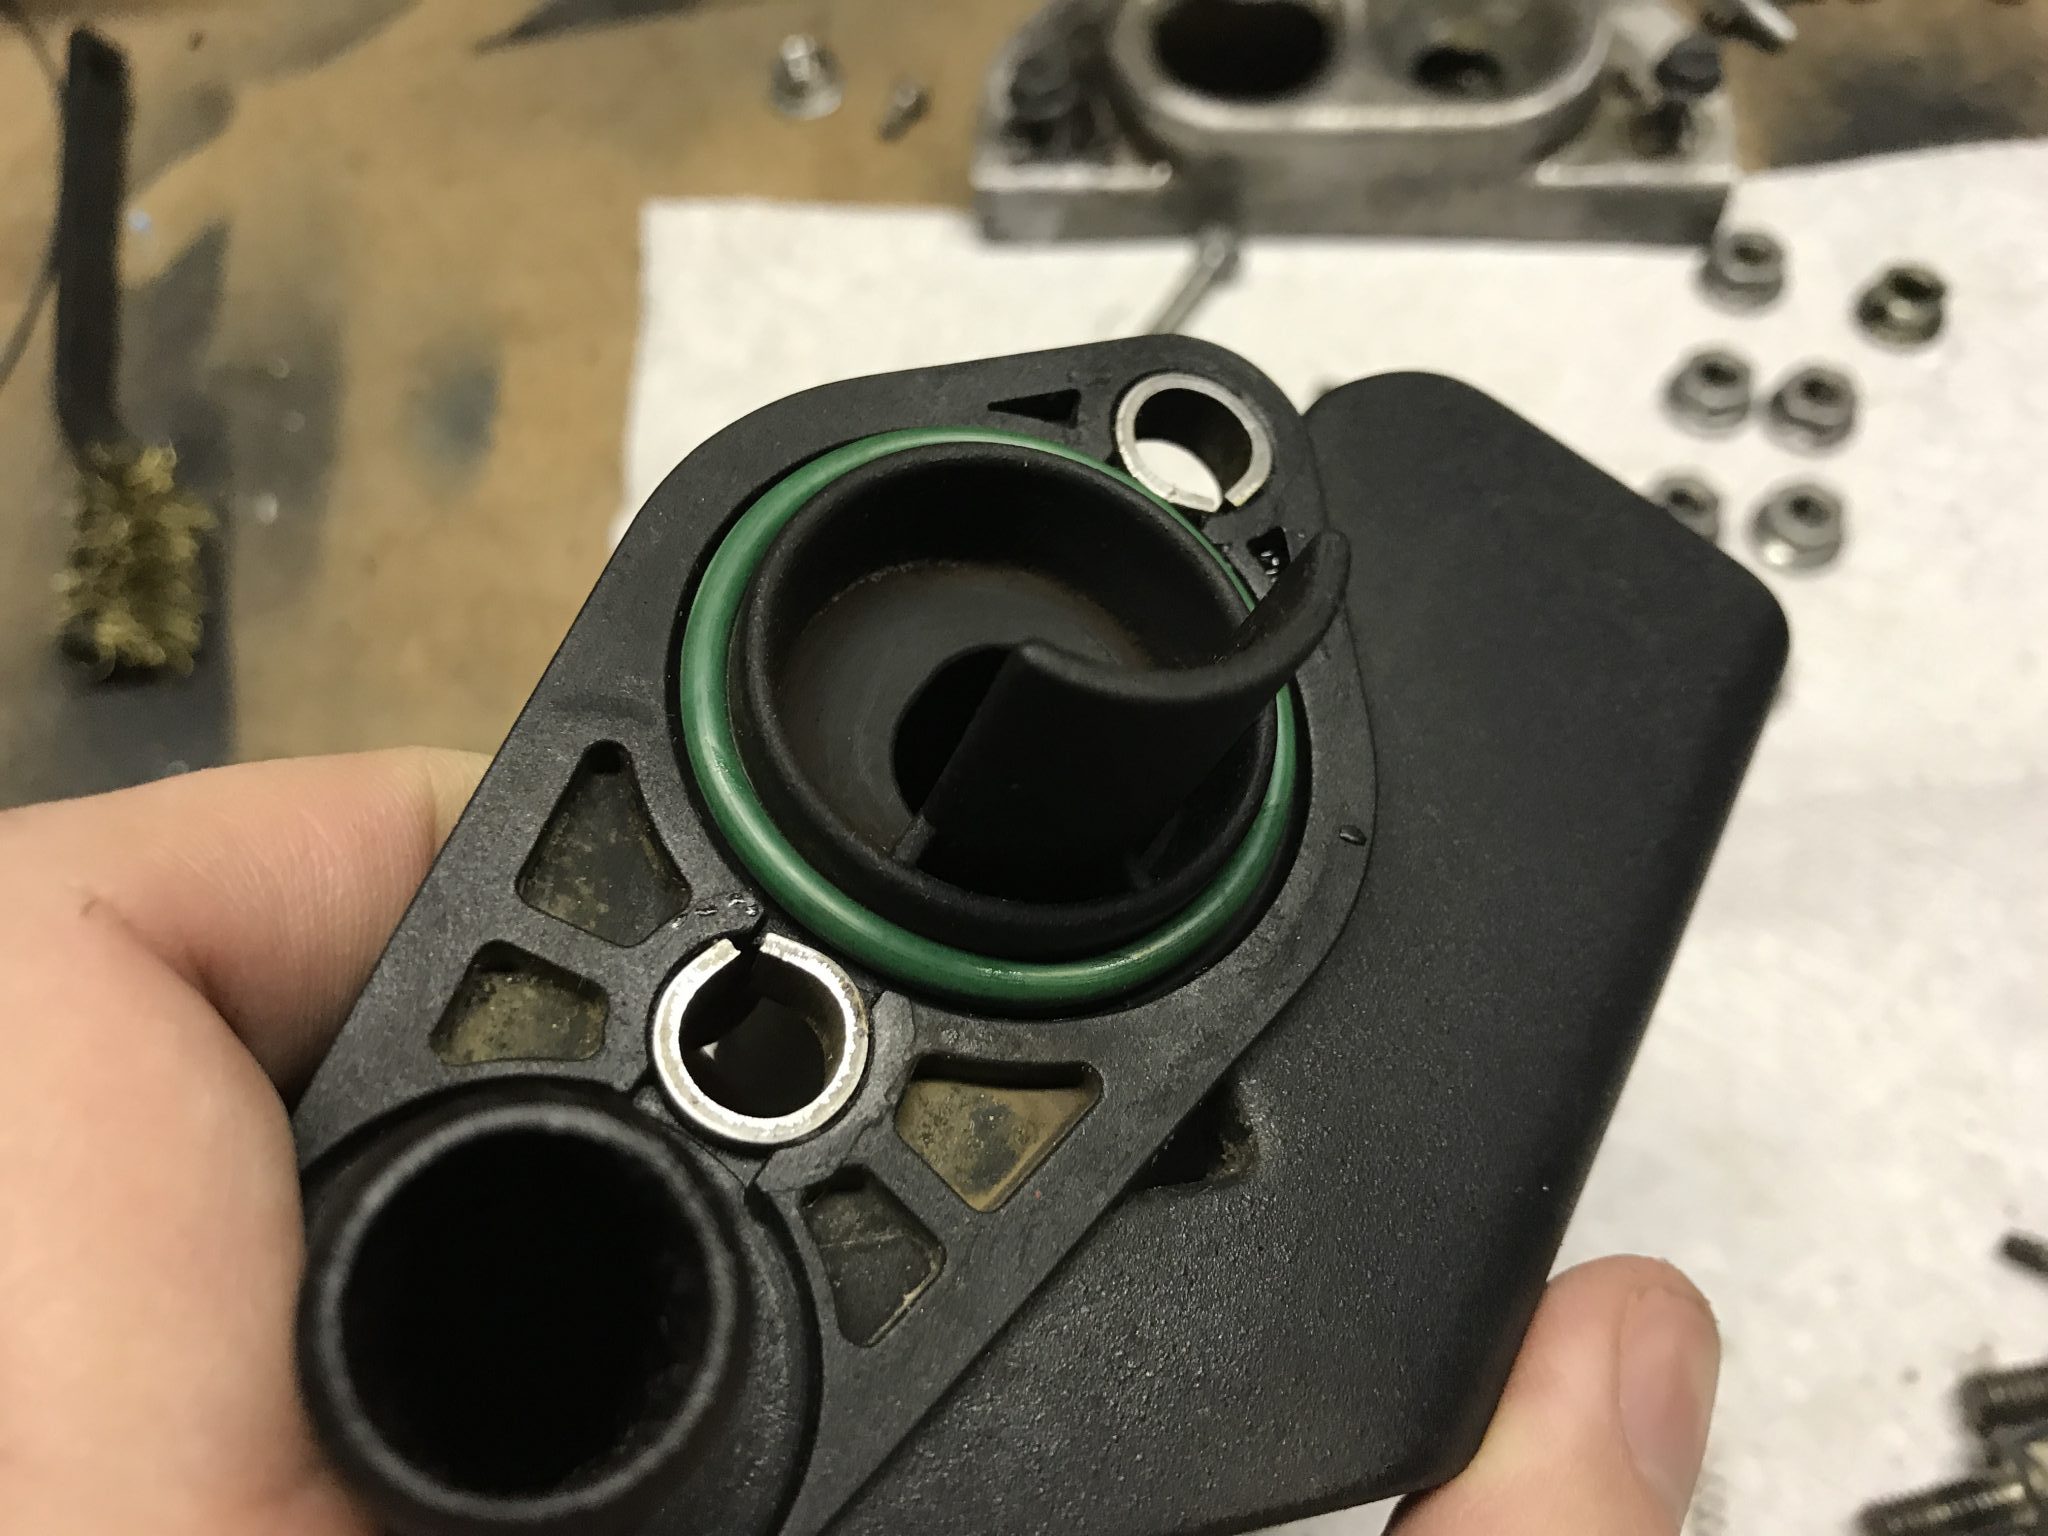
The other major part I’ve yet to reinstall on the face of the engine block is the water pump. It was in filthy condition when I took it off but otherwise in good mechanical condition. I have since cleaned it a bit and got a new gasket as well as rubber seals, all of which were on the edge of disintegration. Installation was straightforward with one catch. In order to get the bolts into their respective holes, upward pressure needs to be applied to the pump to compress the top rubber seal enough to get everything line up. Otherwise the bolt threads just won’t “bite.” I’ve seen this demonstrated by fitting the pump over the studs on the block then grasping the pump with one hand and pulling up while you fumble with the bolts with the other hand. I tried this, both alone and with the help of my son, but it never seemed to work. I eventually solved this issue with a small floor jack and a short length of 2×4.
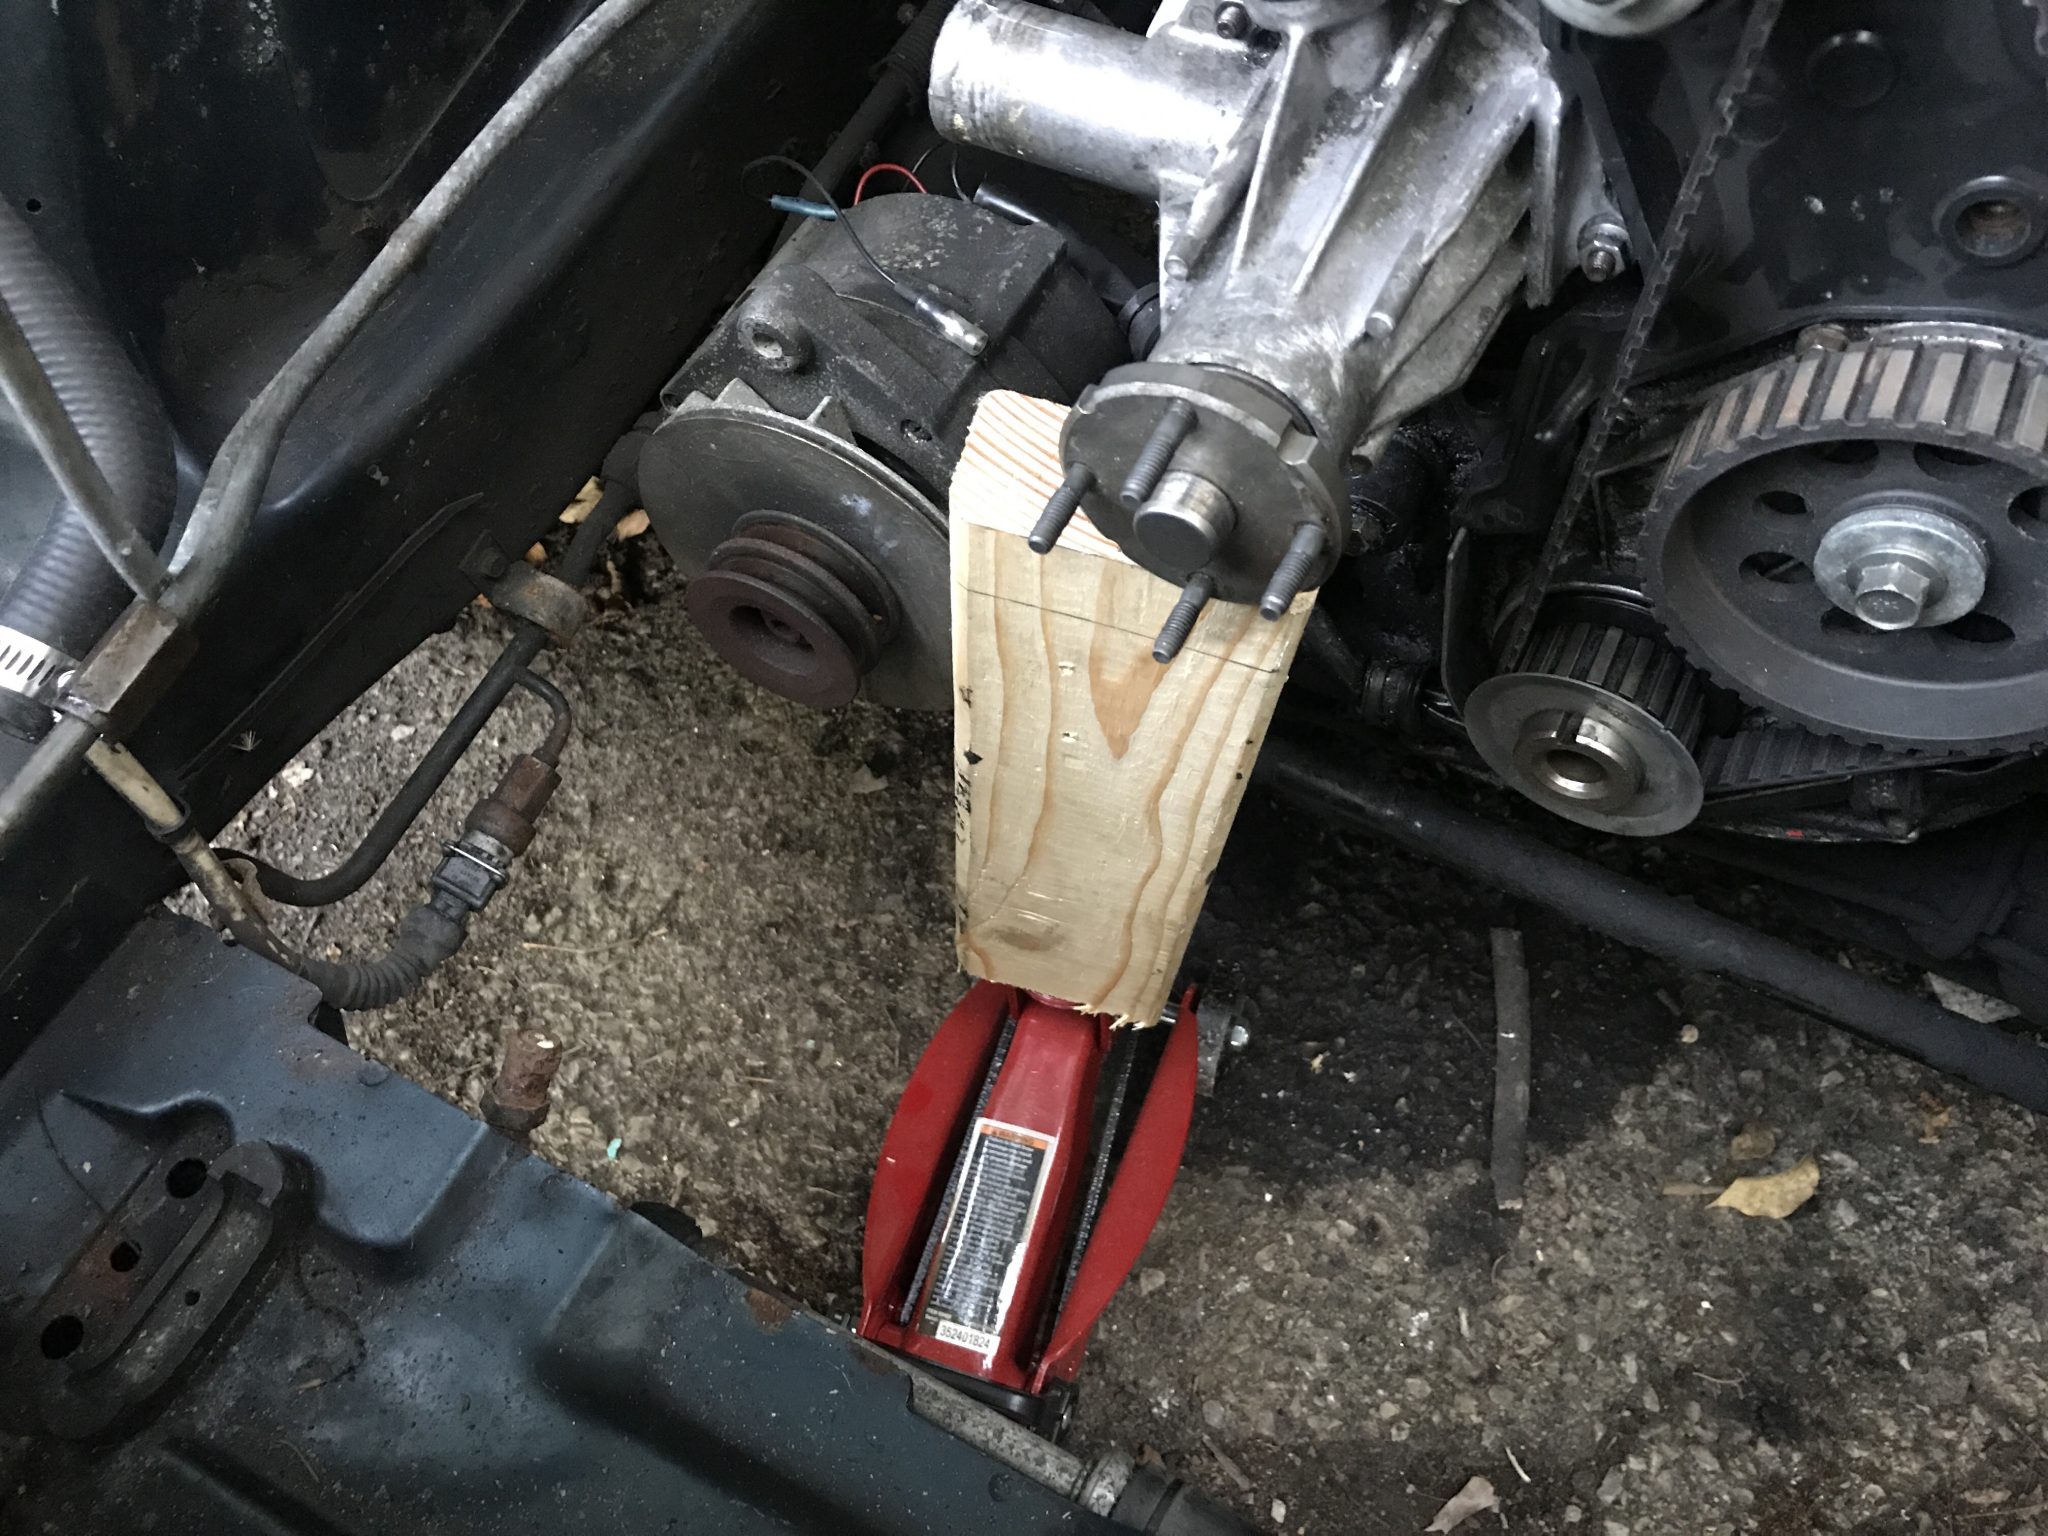
This eventually gave me enough force to line things up and get a bolt into one of the bottom holes. The rest of them followed, and the pump was back on.