Now that the wasps are dead I can get to reinstalling my timing belt. There are already a number of good videos on the subject, so I won’t bother to reexplain the procedure here, but a few notes from my experience.
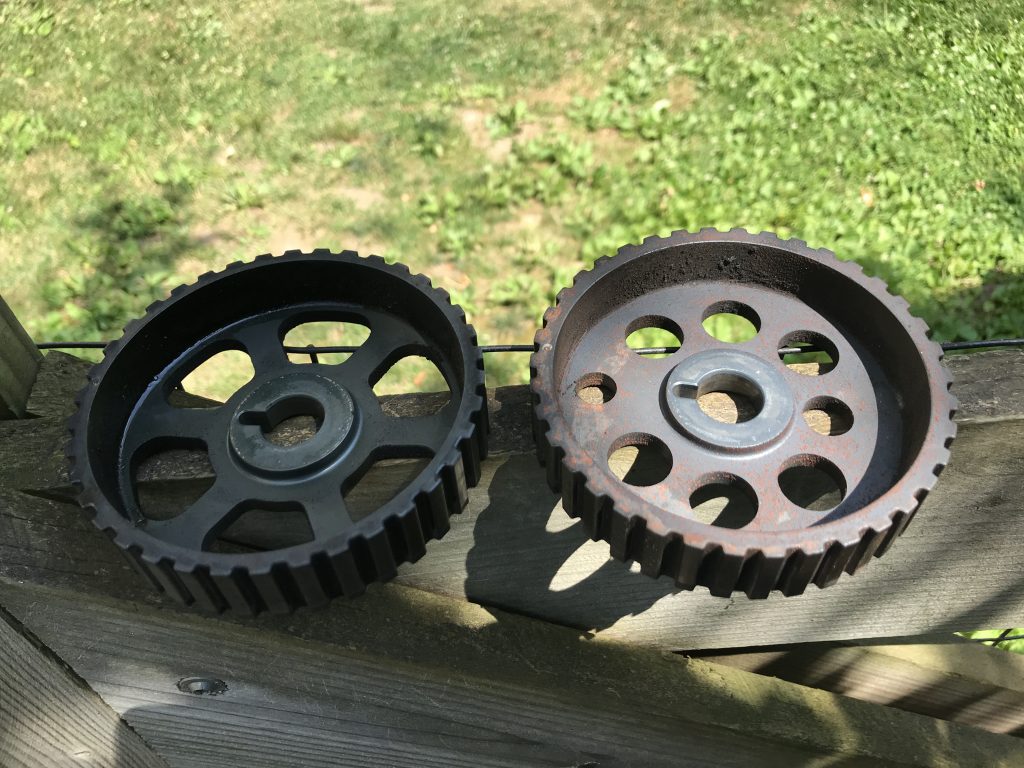
- Don’t try to move the cam gear with your hand. Unlike the intermediate gear it’s very stiff. I ended up momentarily bending my thumb a weird way while trying to nudge it a bit, and while not damaged it’s now irritatingly sore.
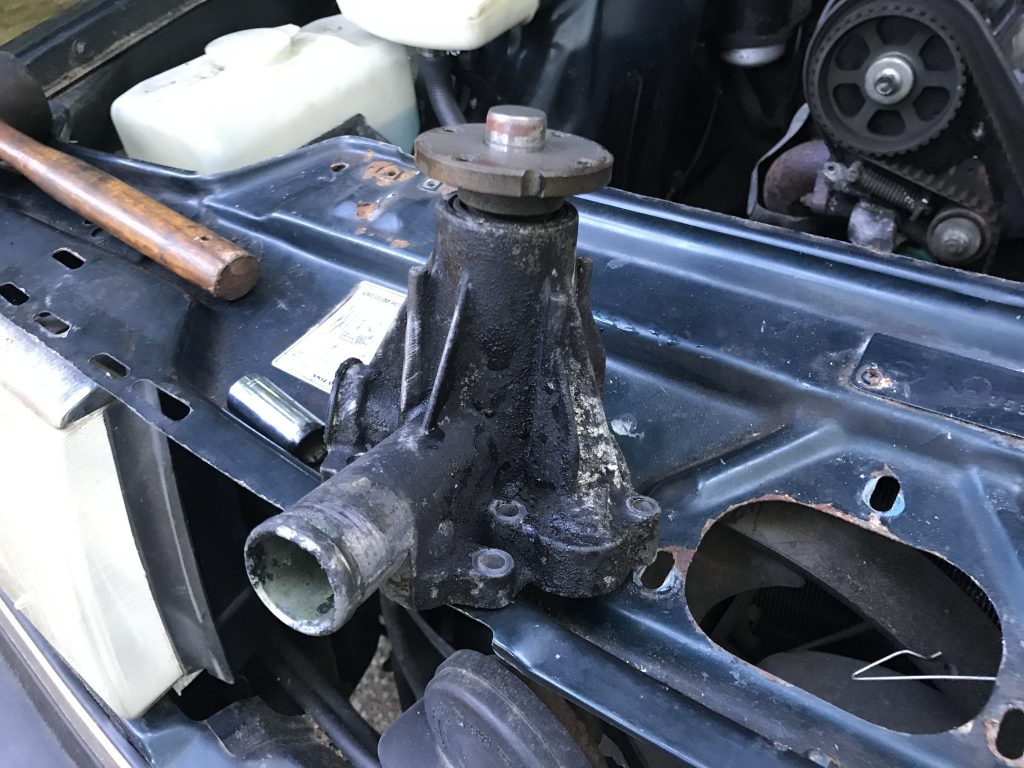
- The crank gear is relatively easy to move once the pulley is on. Larger moves require a breaker bar with a 24mm socket on the bolt.
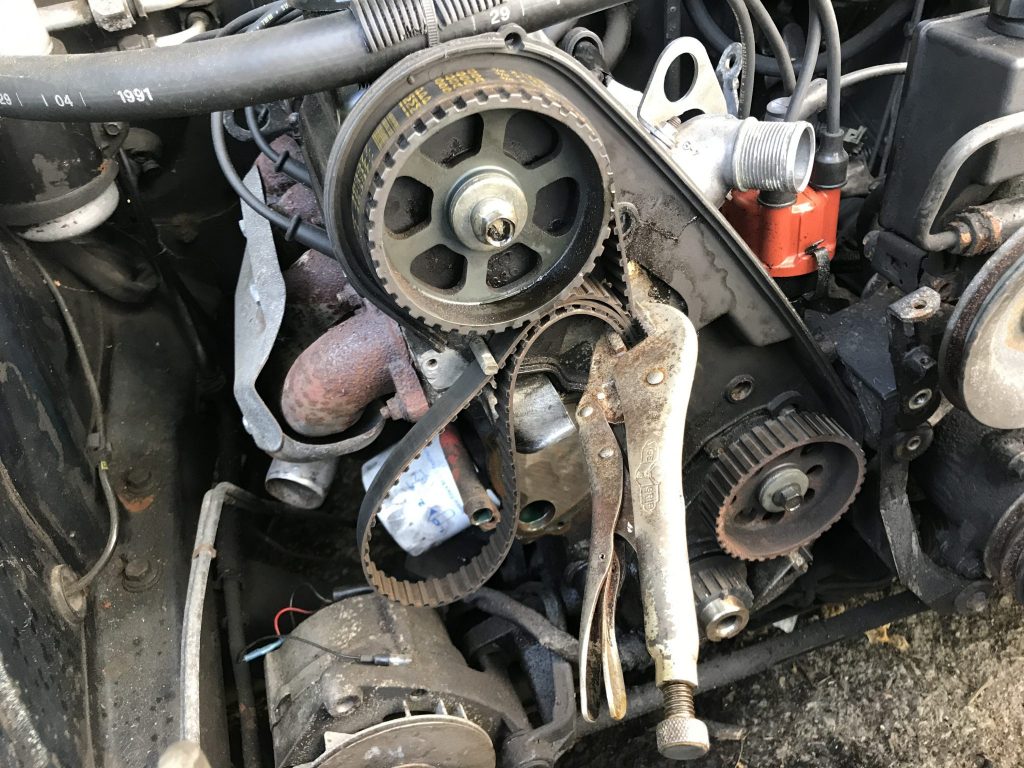
- Once all three are lined up properly getting the belt on might require some playing around with the tensioner. Mine needed to be compressed just a little but more than it was with the nail I was using to keep the spring compressed. I need to use one hand to lever the spring another 1/8 of an inch or so while pushing the belt onto the roller all while keeping it from slipping off the other gears.
To be honest, the whole affair was a bit more of a pain that I imagined it would be. I actually had to sort of back away at one point and take a break lest my frustration end in something breaking. Working while keyed up by frustration is a sure fire recipe for disaster. Anyway, everything is lined up and the new belt is on, so progress.
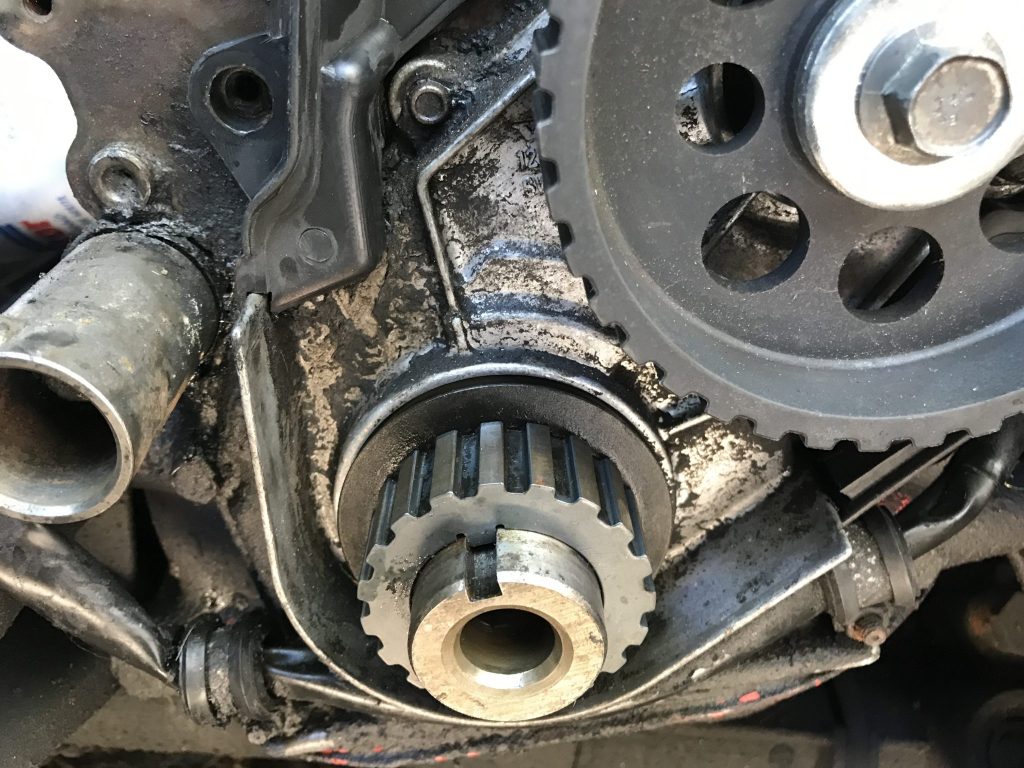
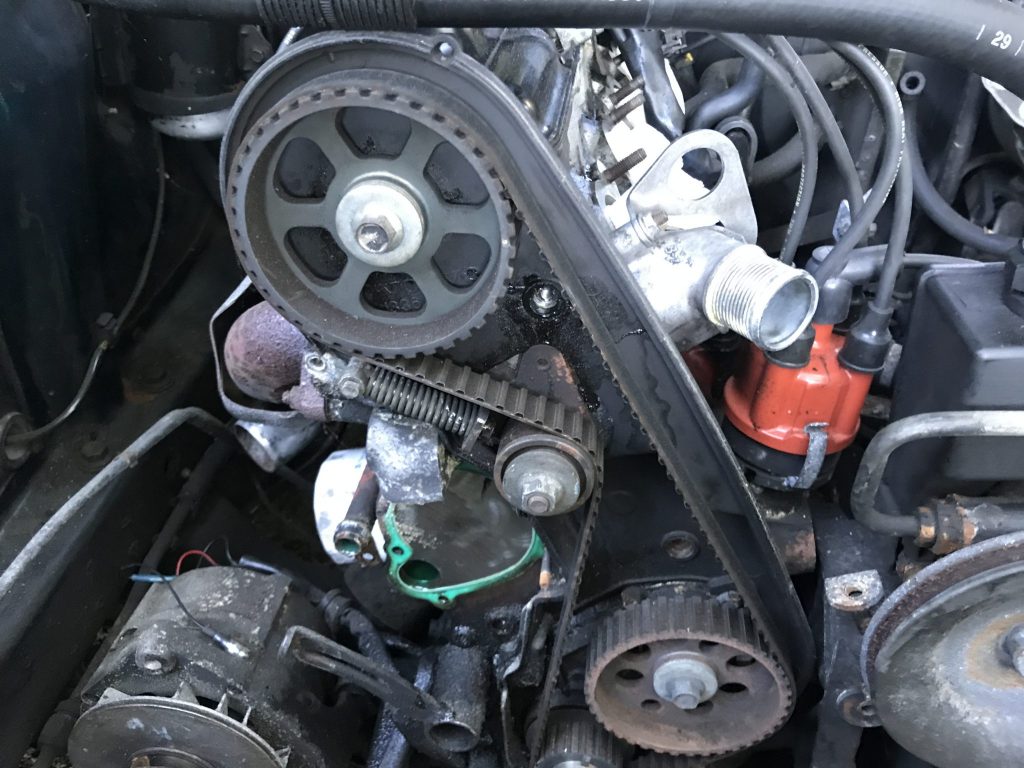
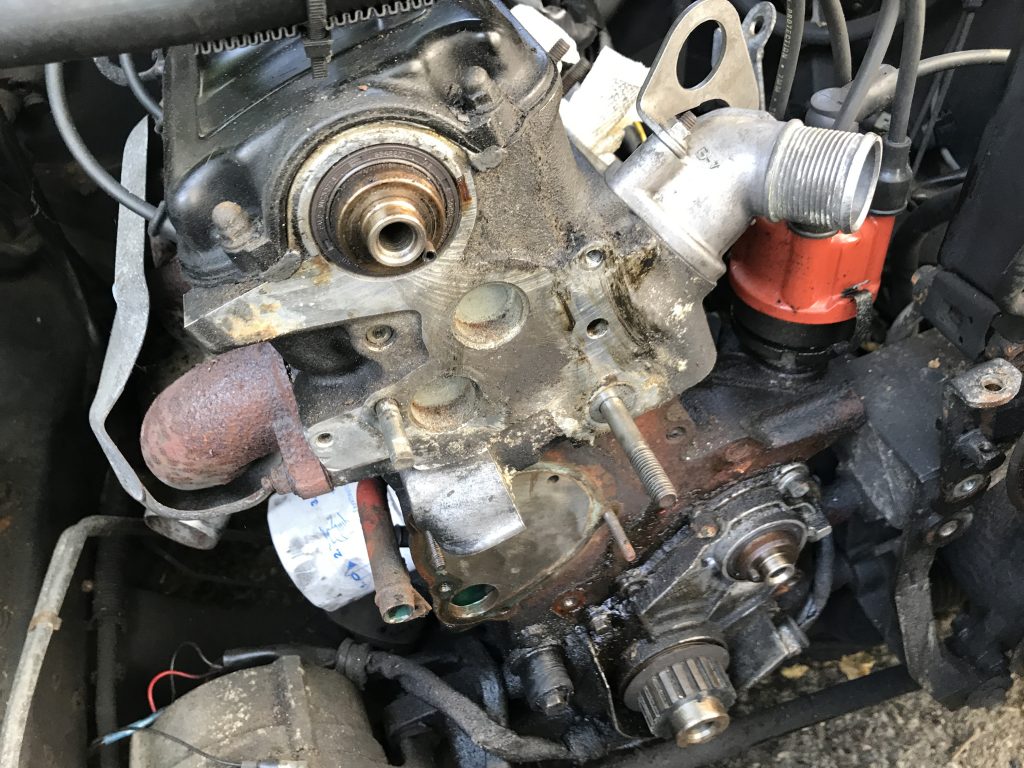
The slot on the crank gear should line up with the ridge on the plate 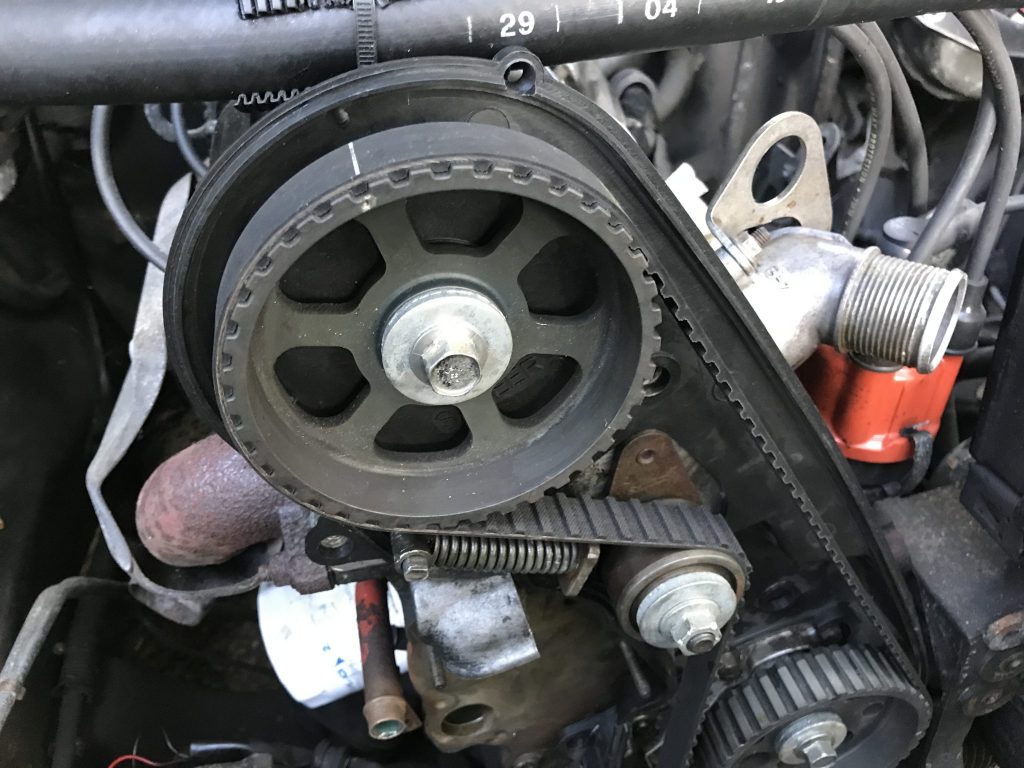
One of the single lines on the belt with the dimple on the cam gear 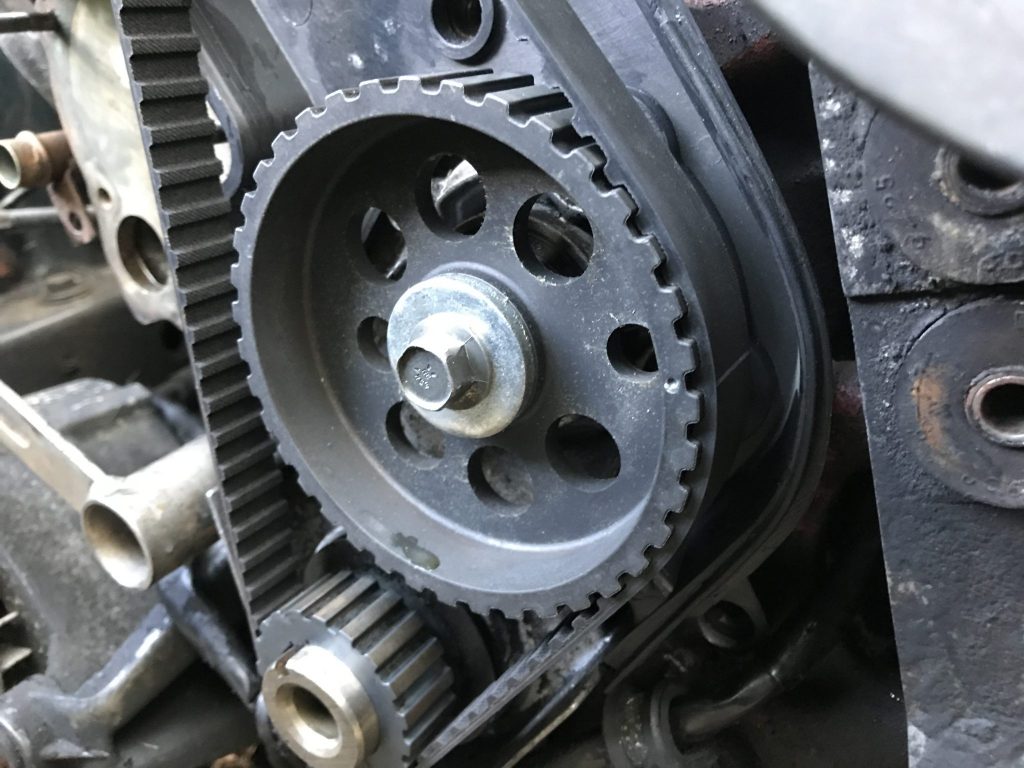
The other single line with the dimple on the intermediate gear 
The double line should fall into the tooth in line with the slot on the crank gear 
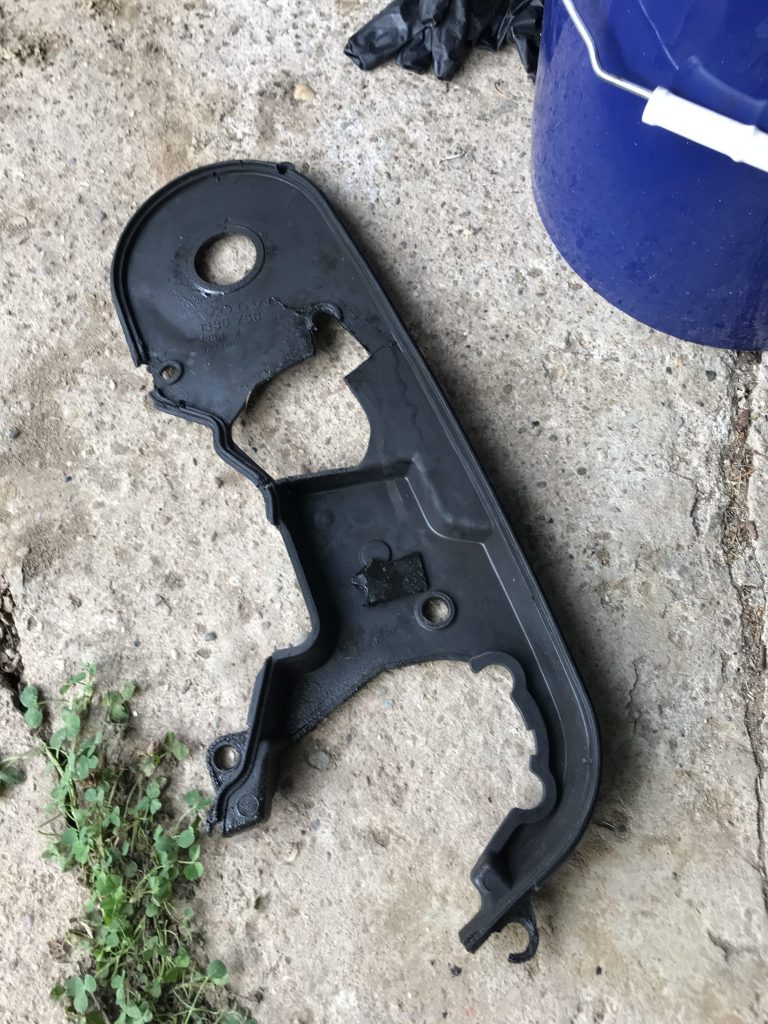
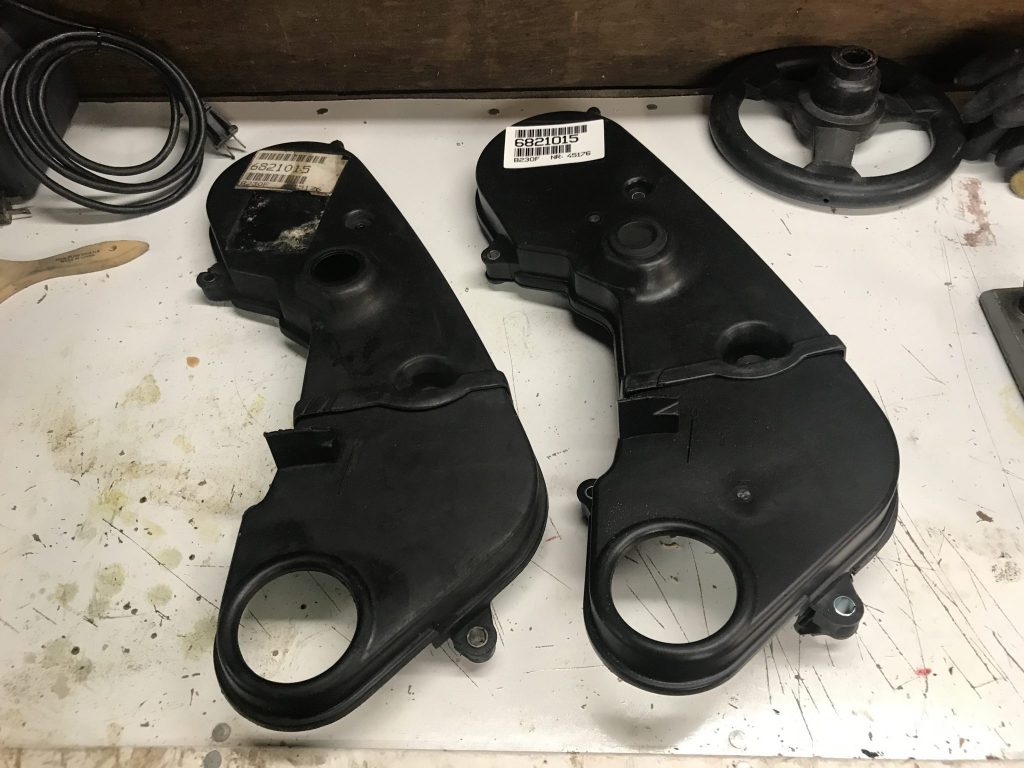
All together now with lower cover on