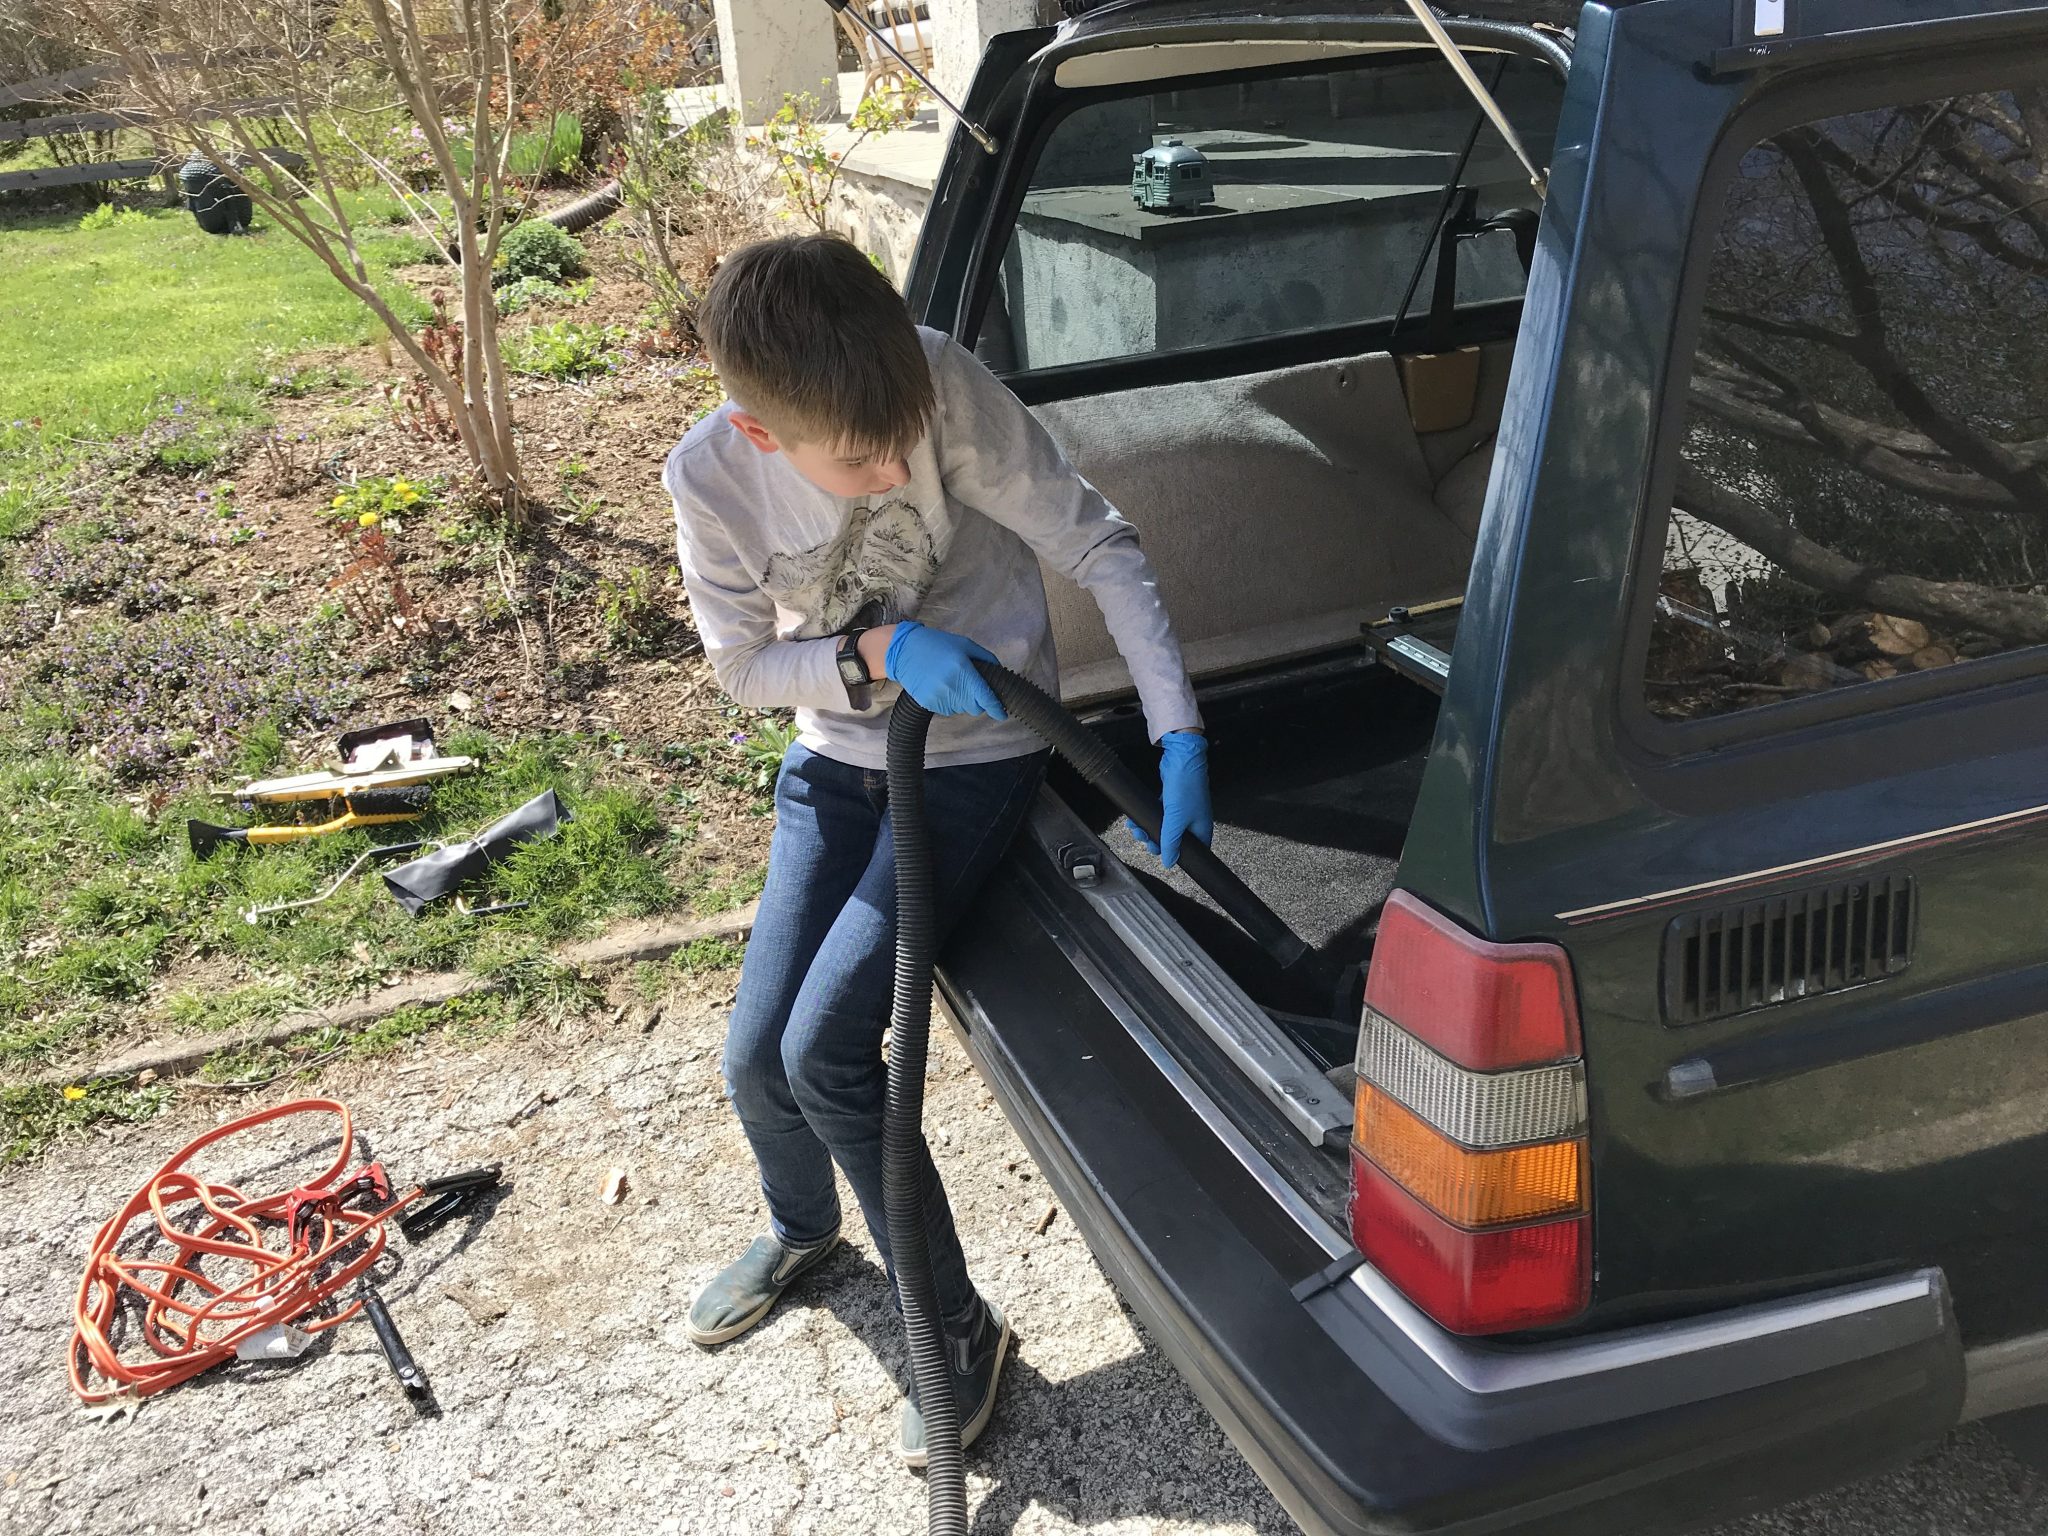
Today was the first work day! First on the list…
Vacuum
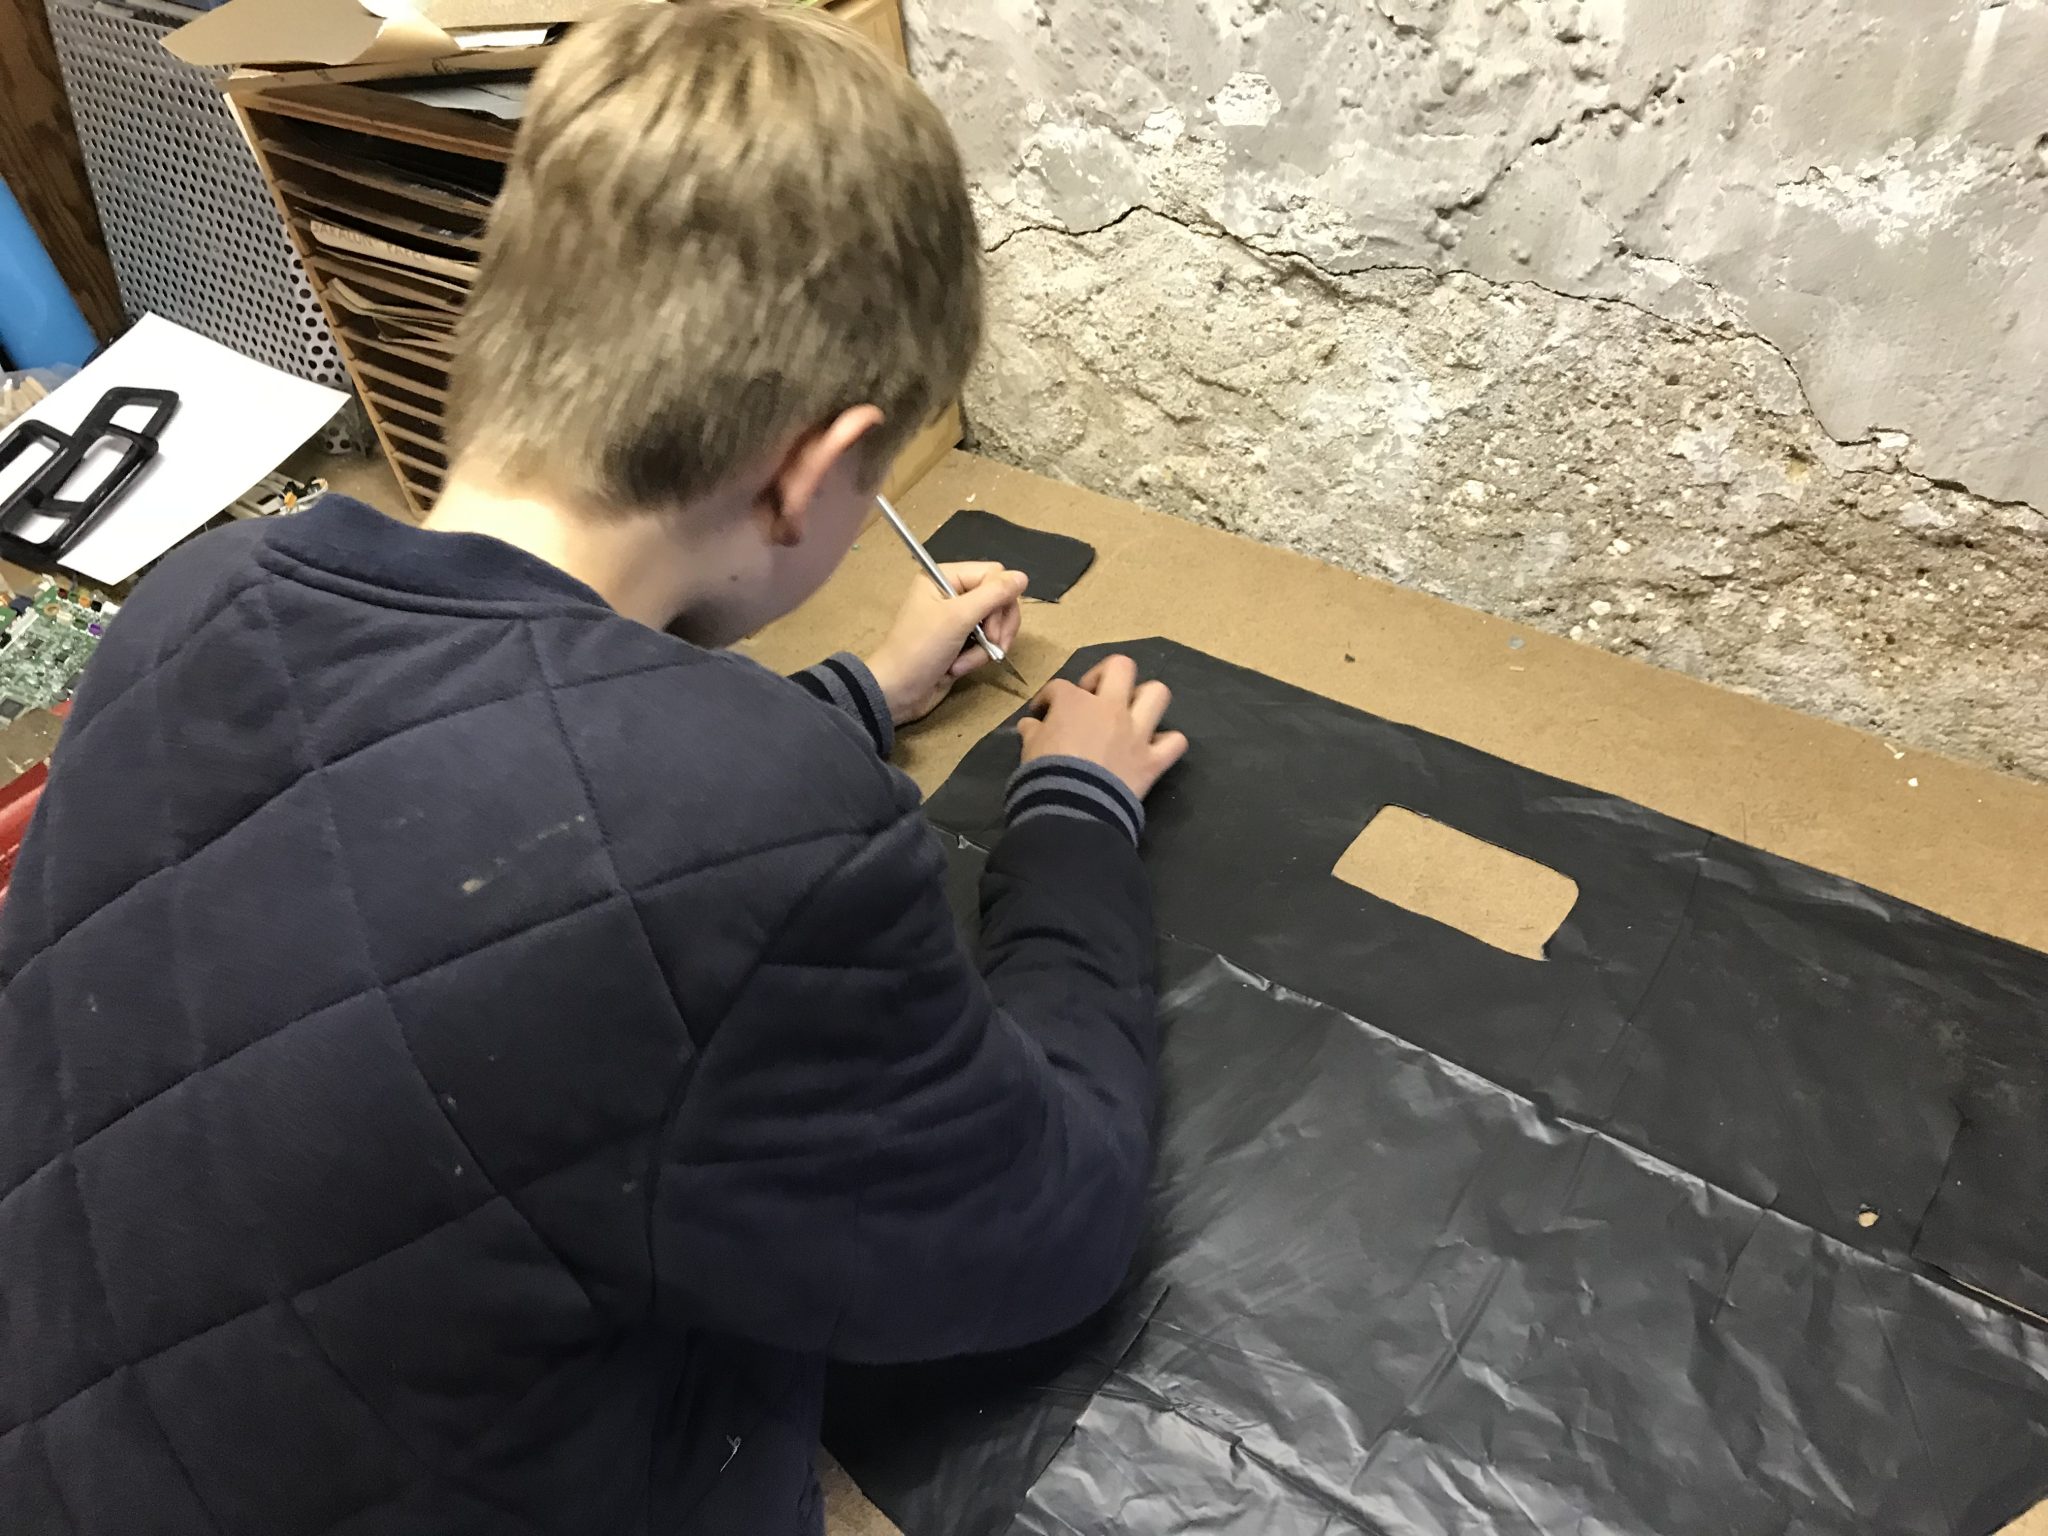
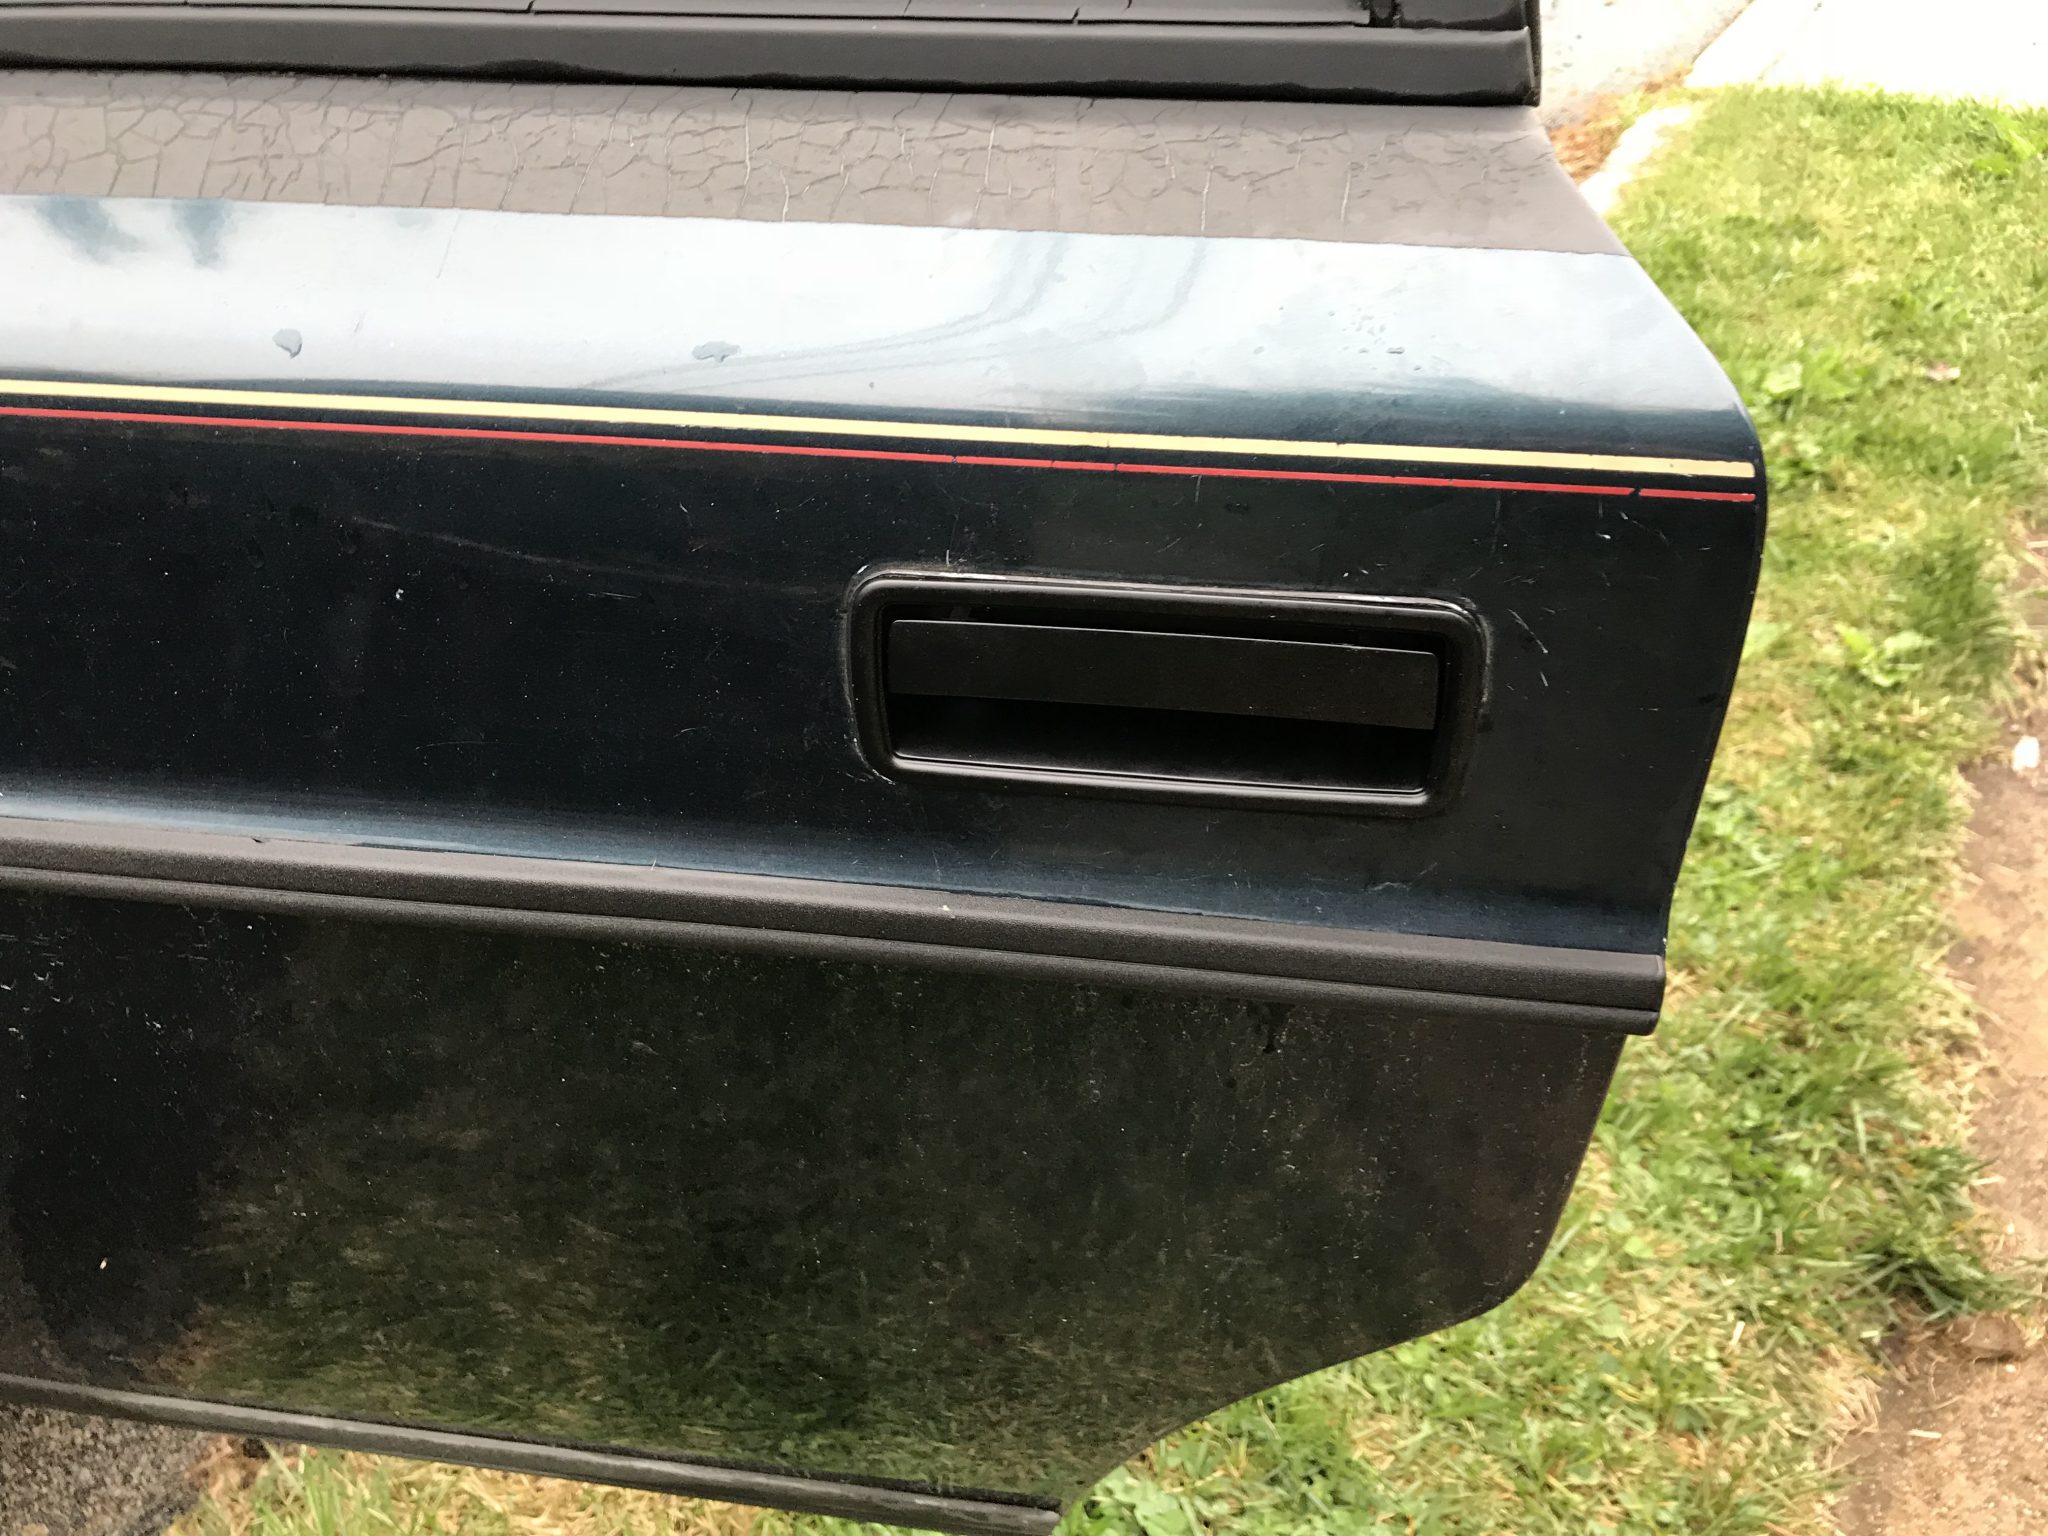
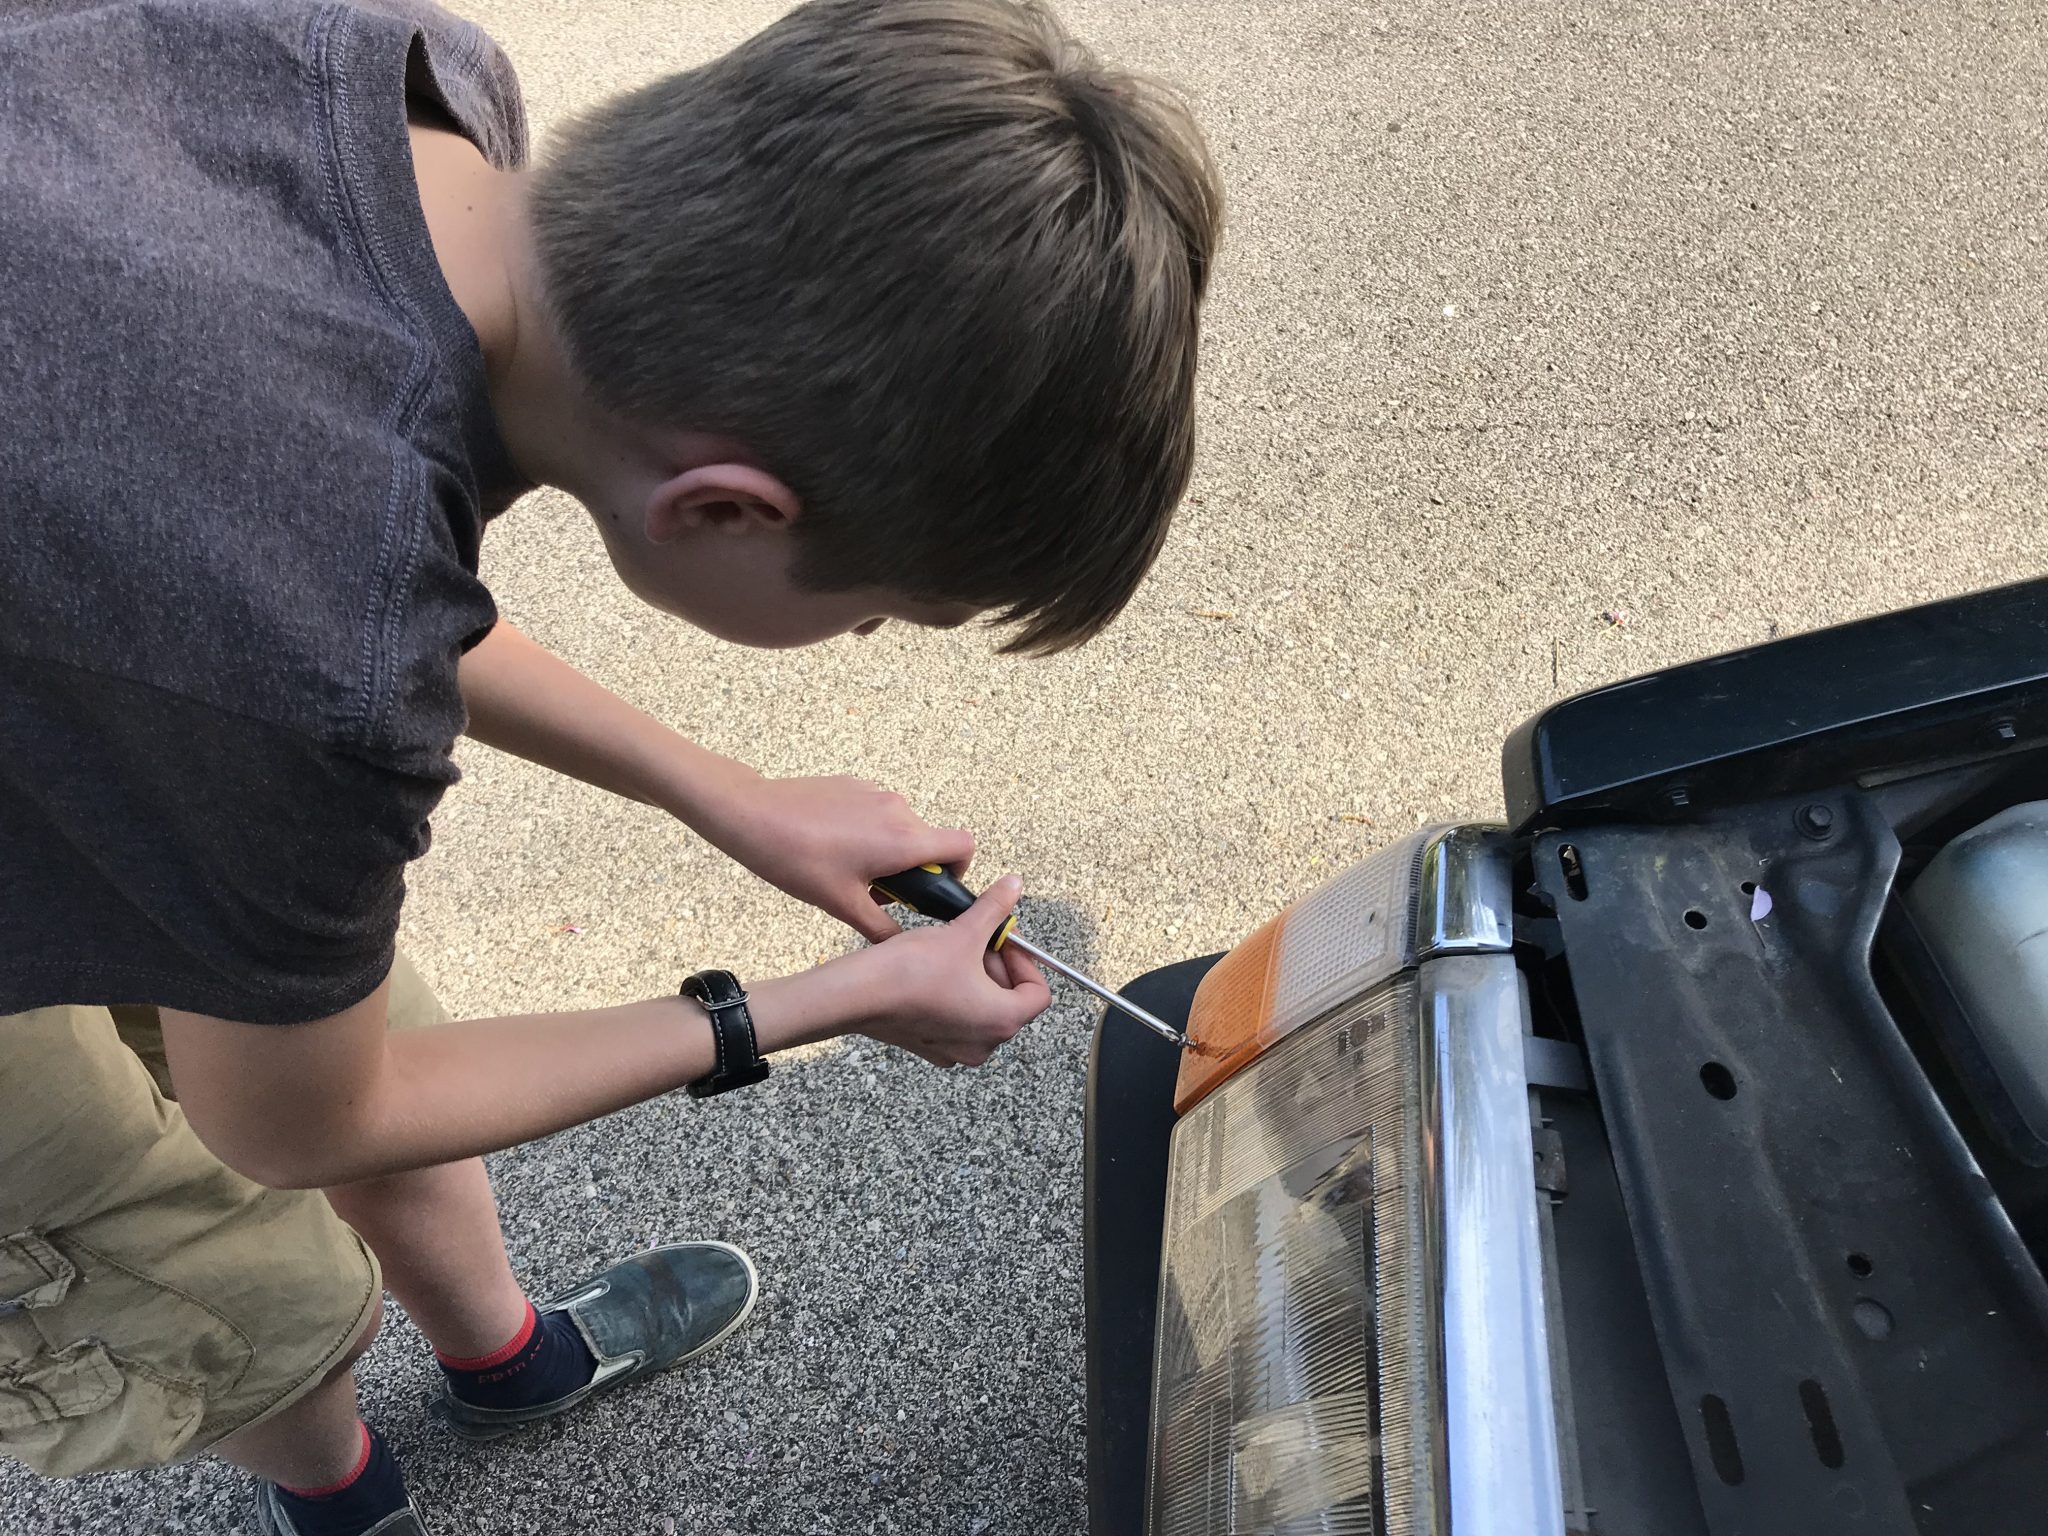
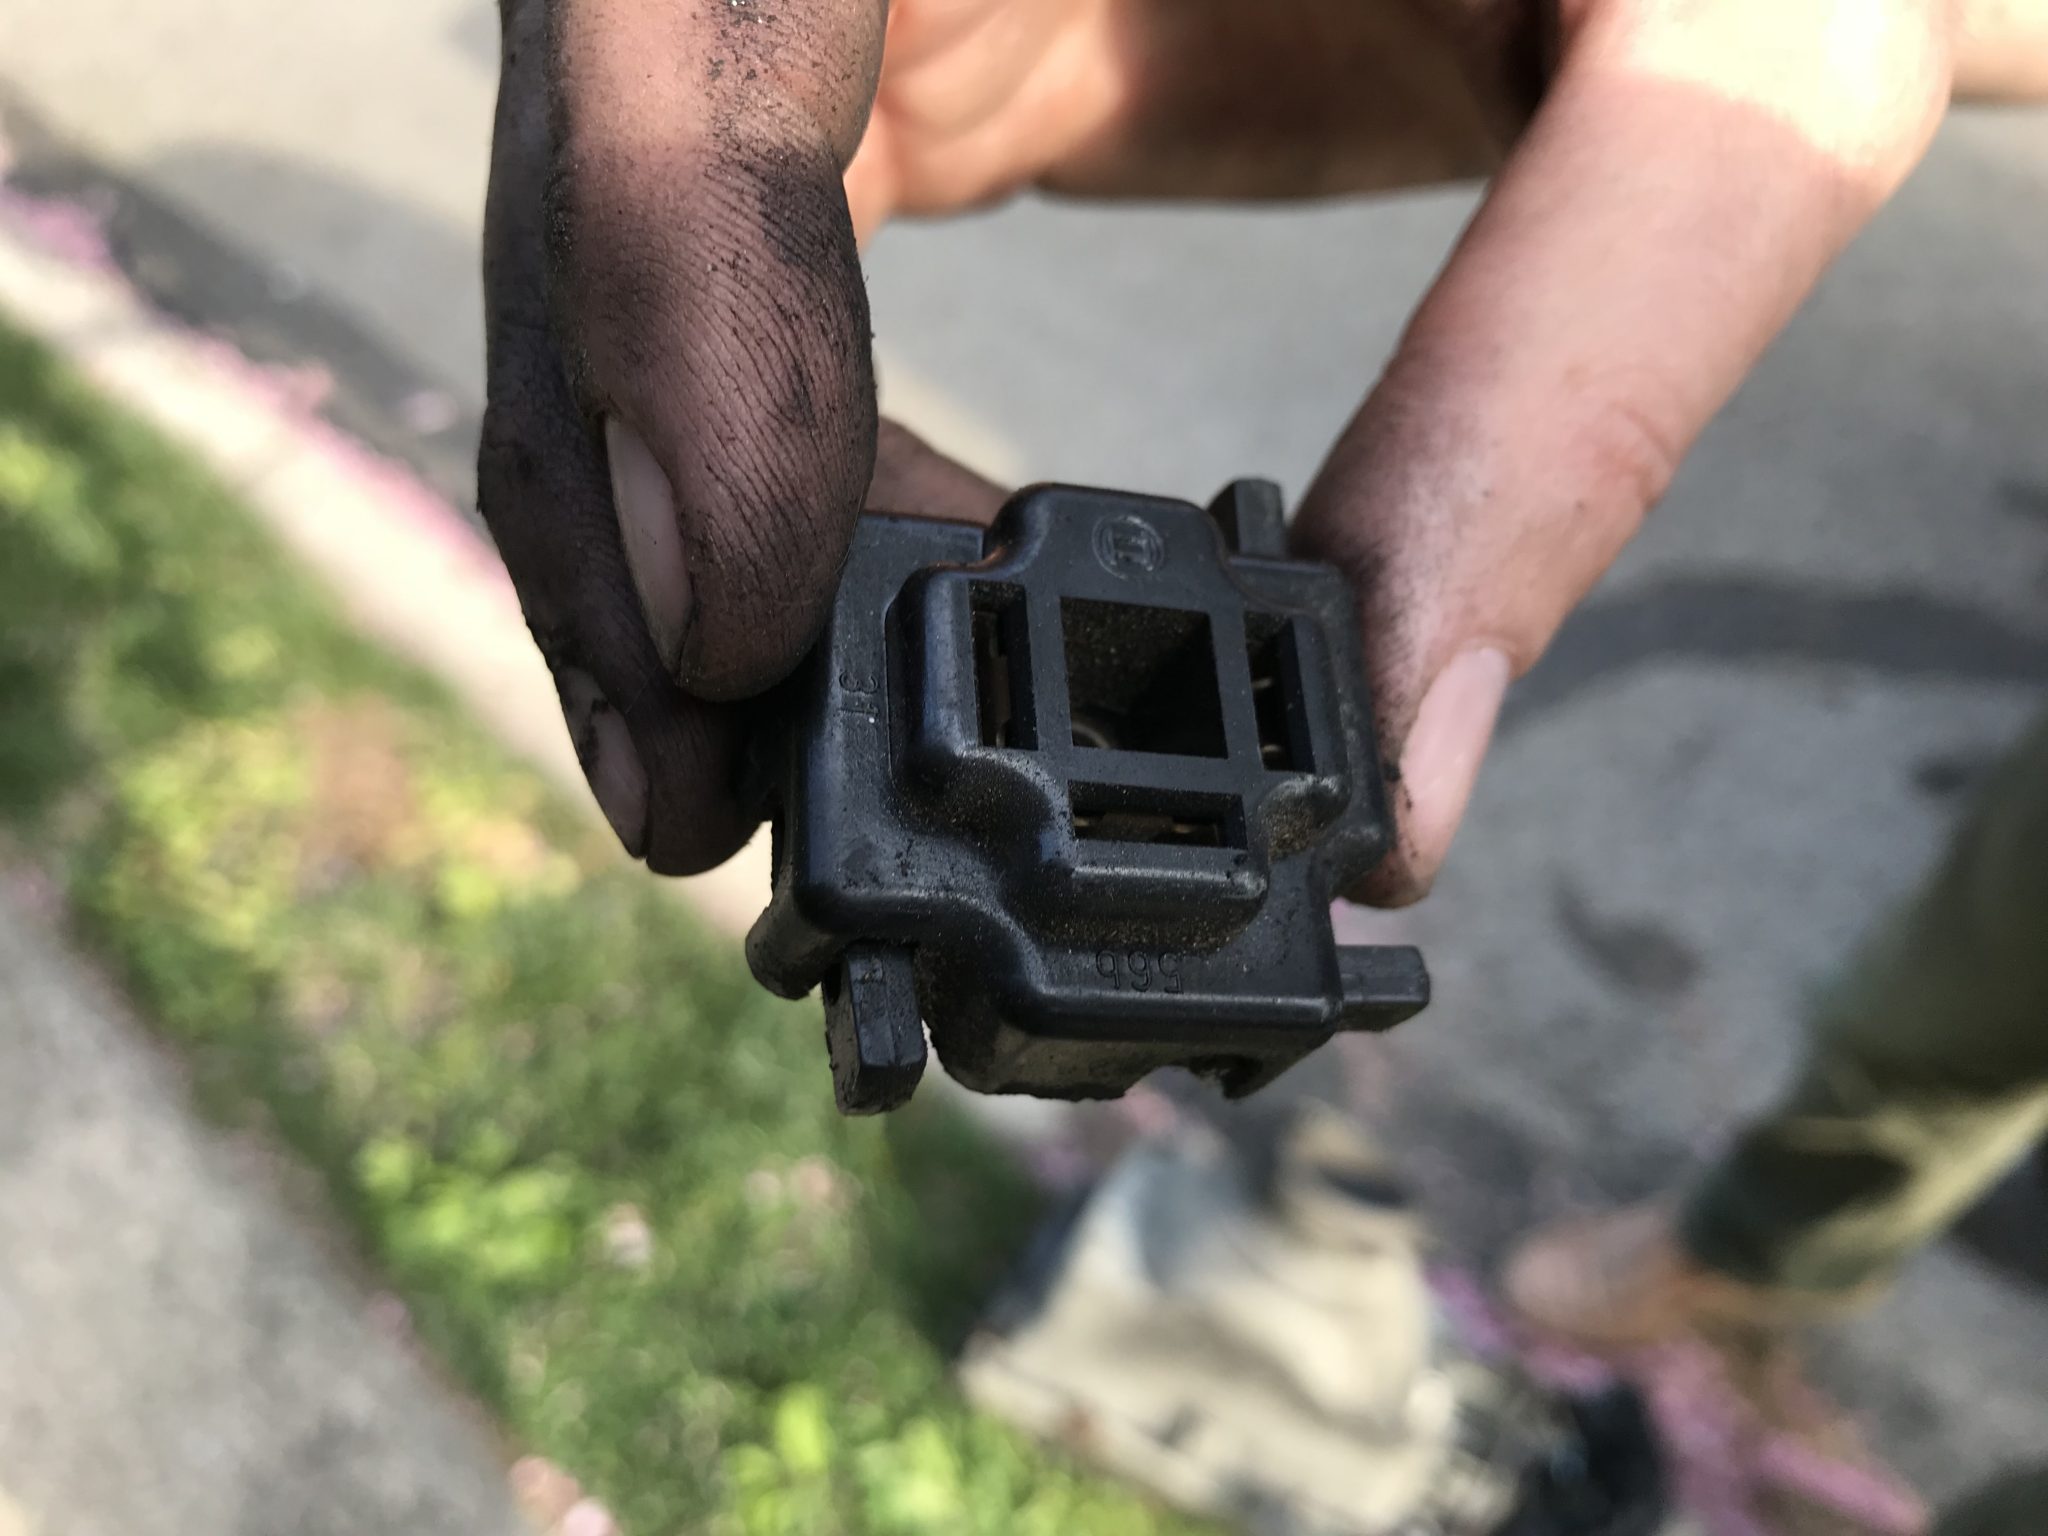
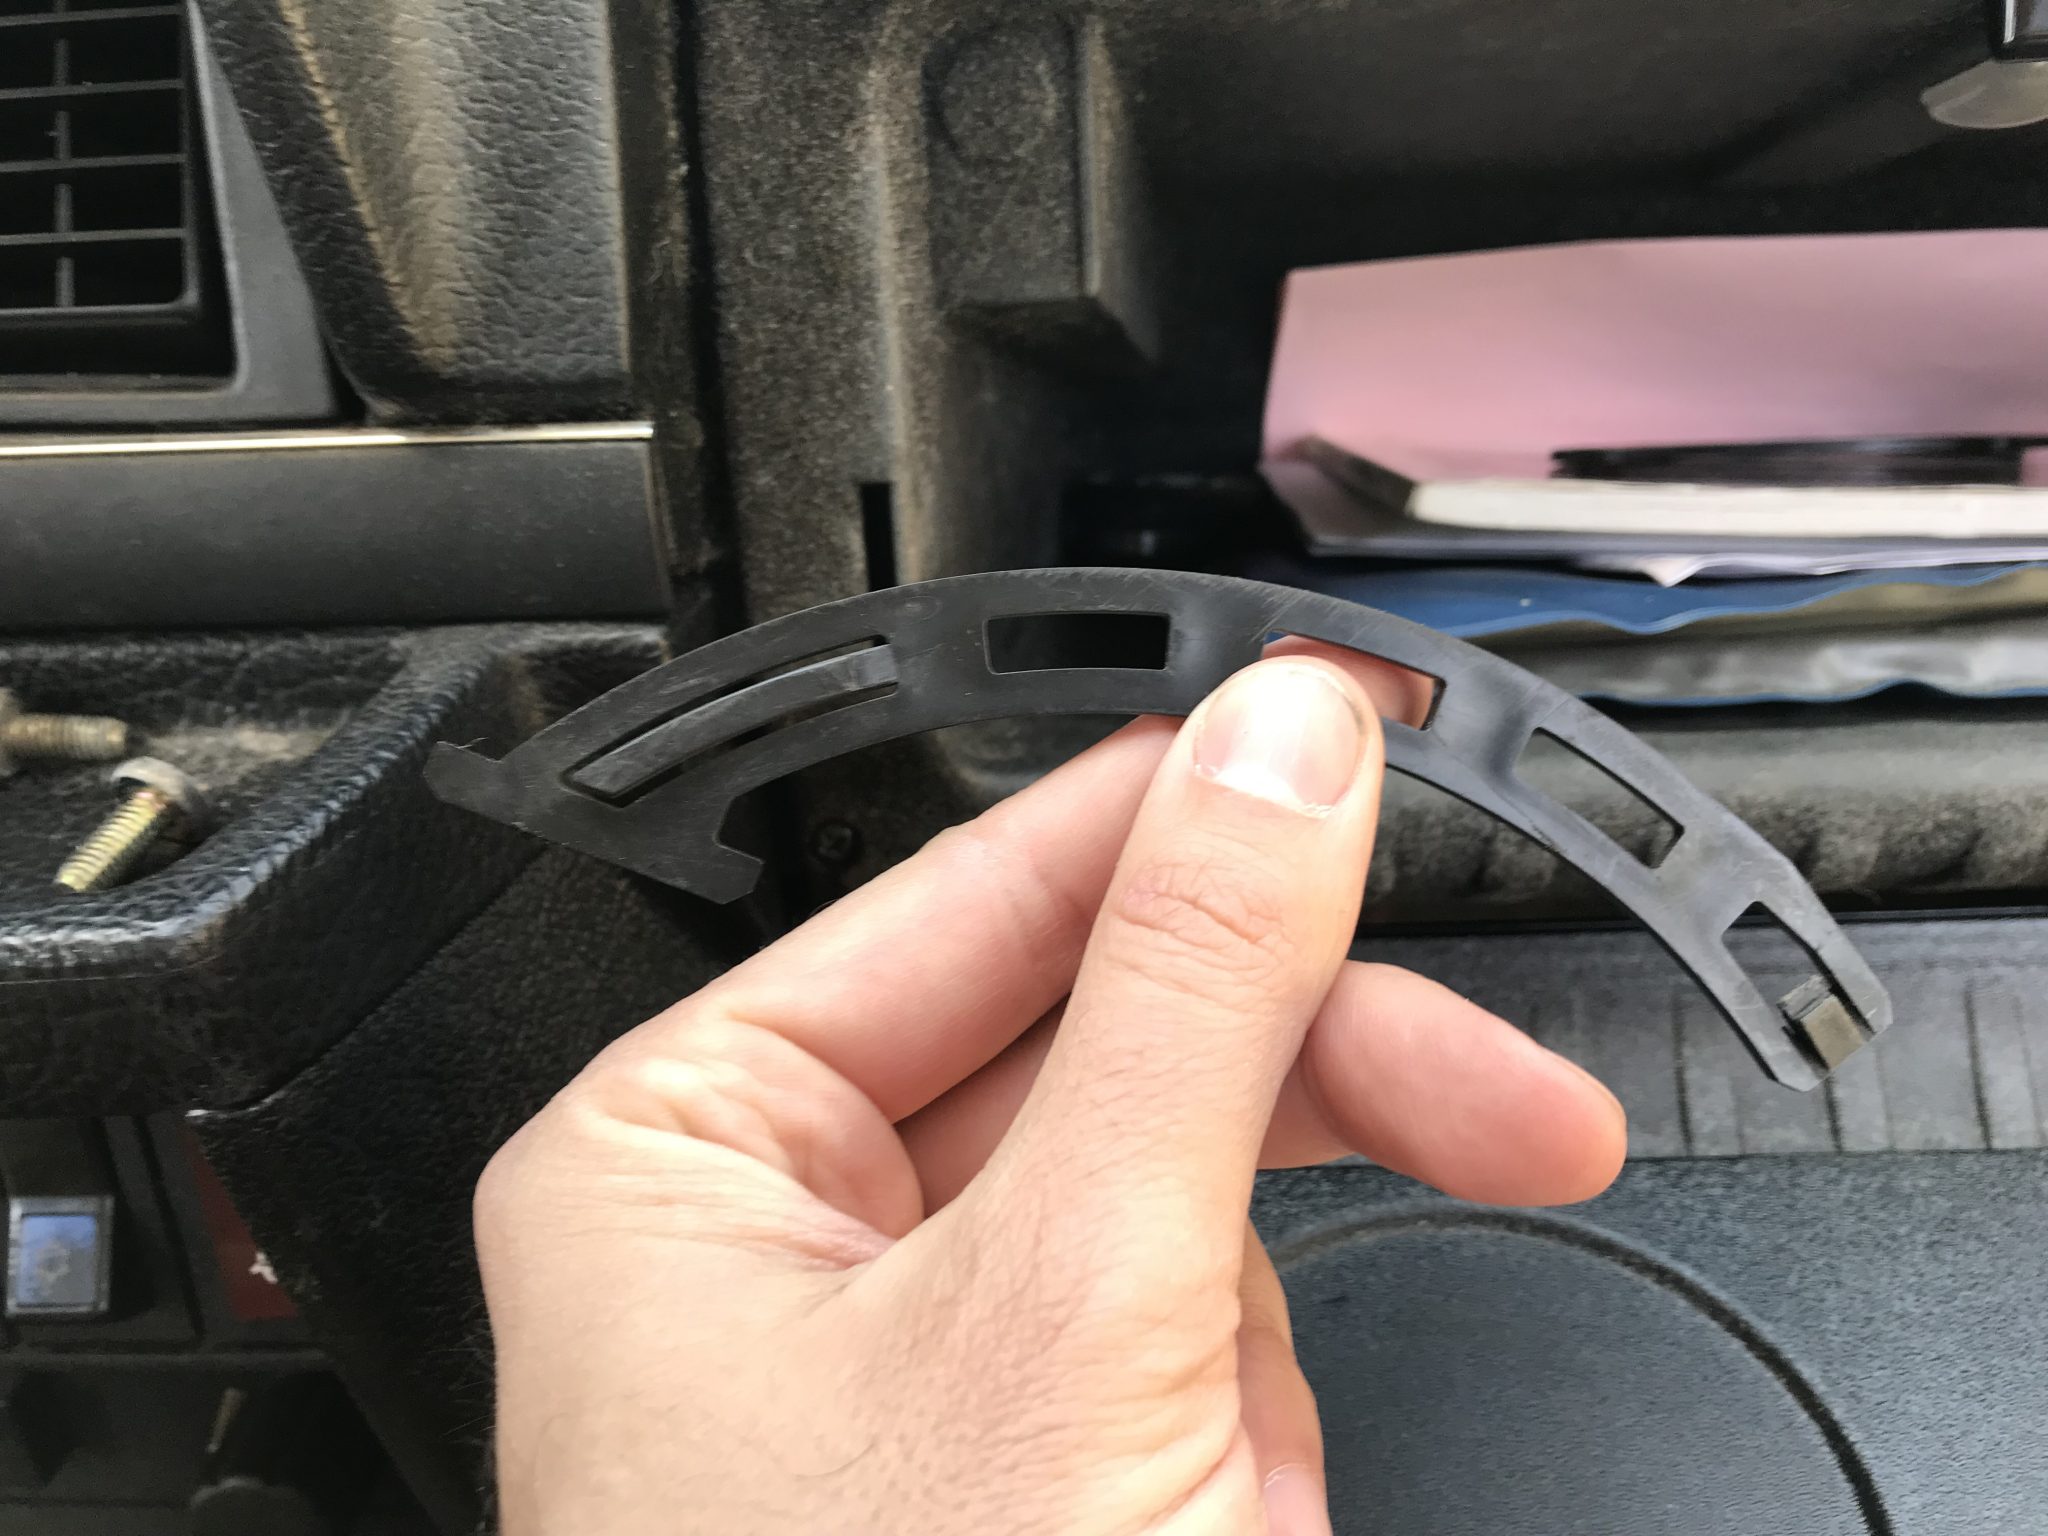
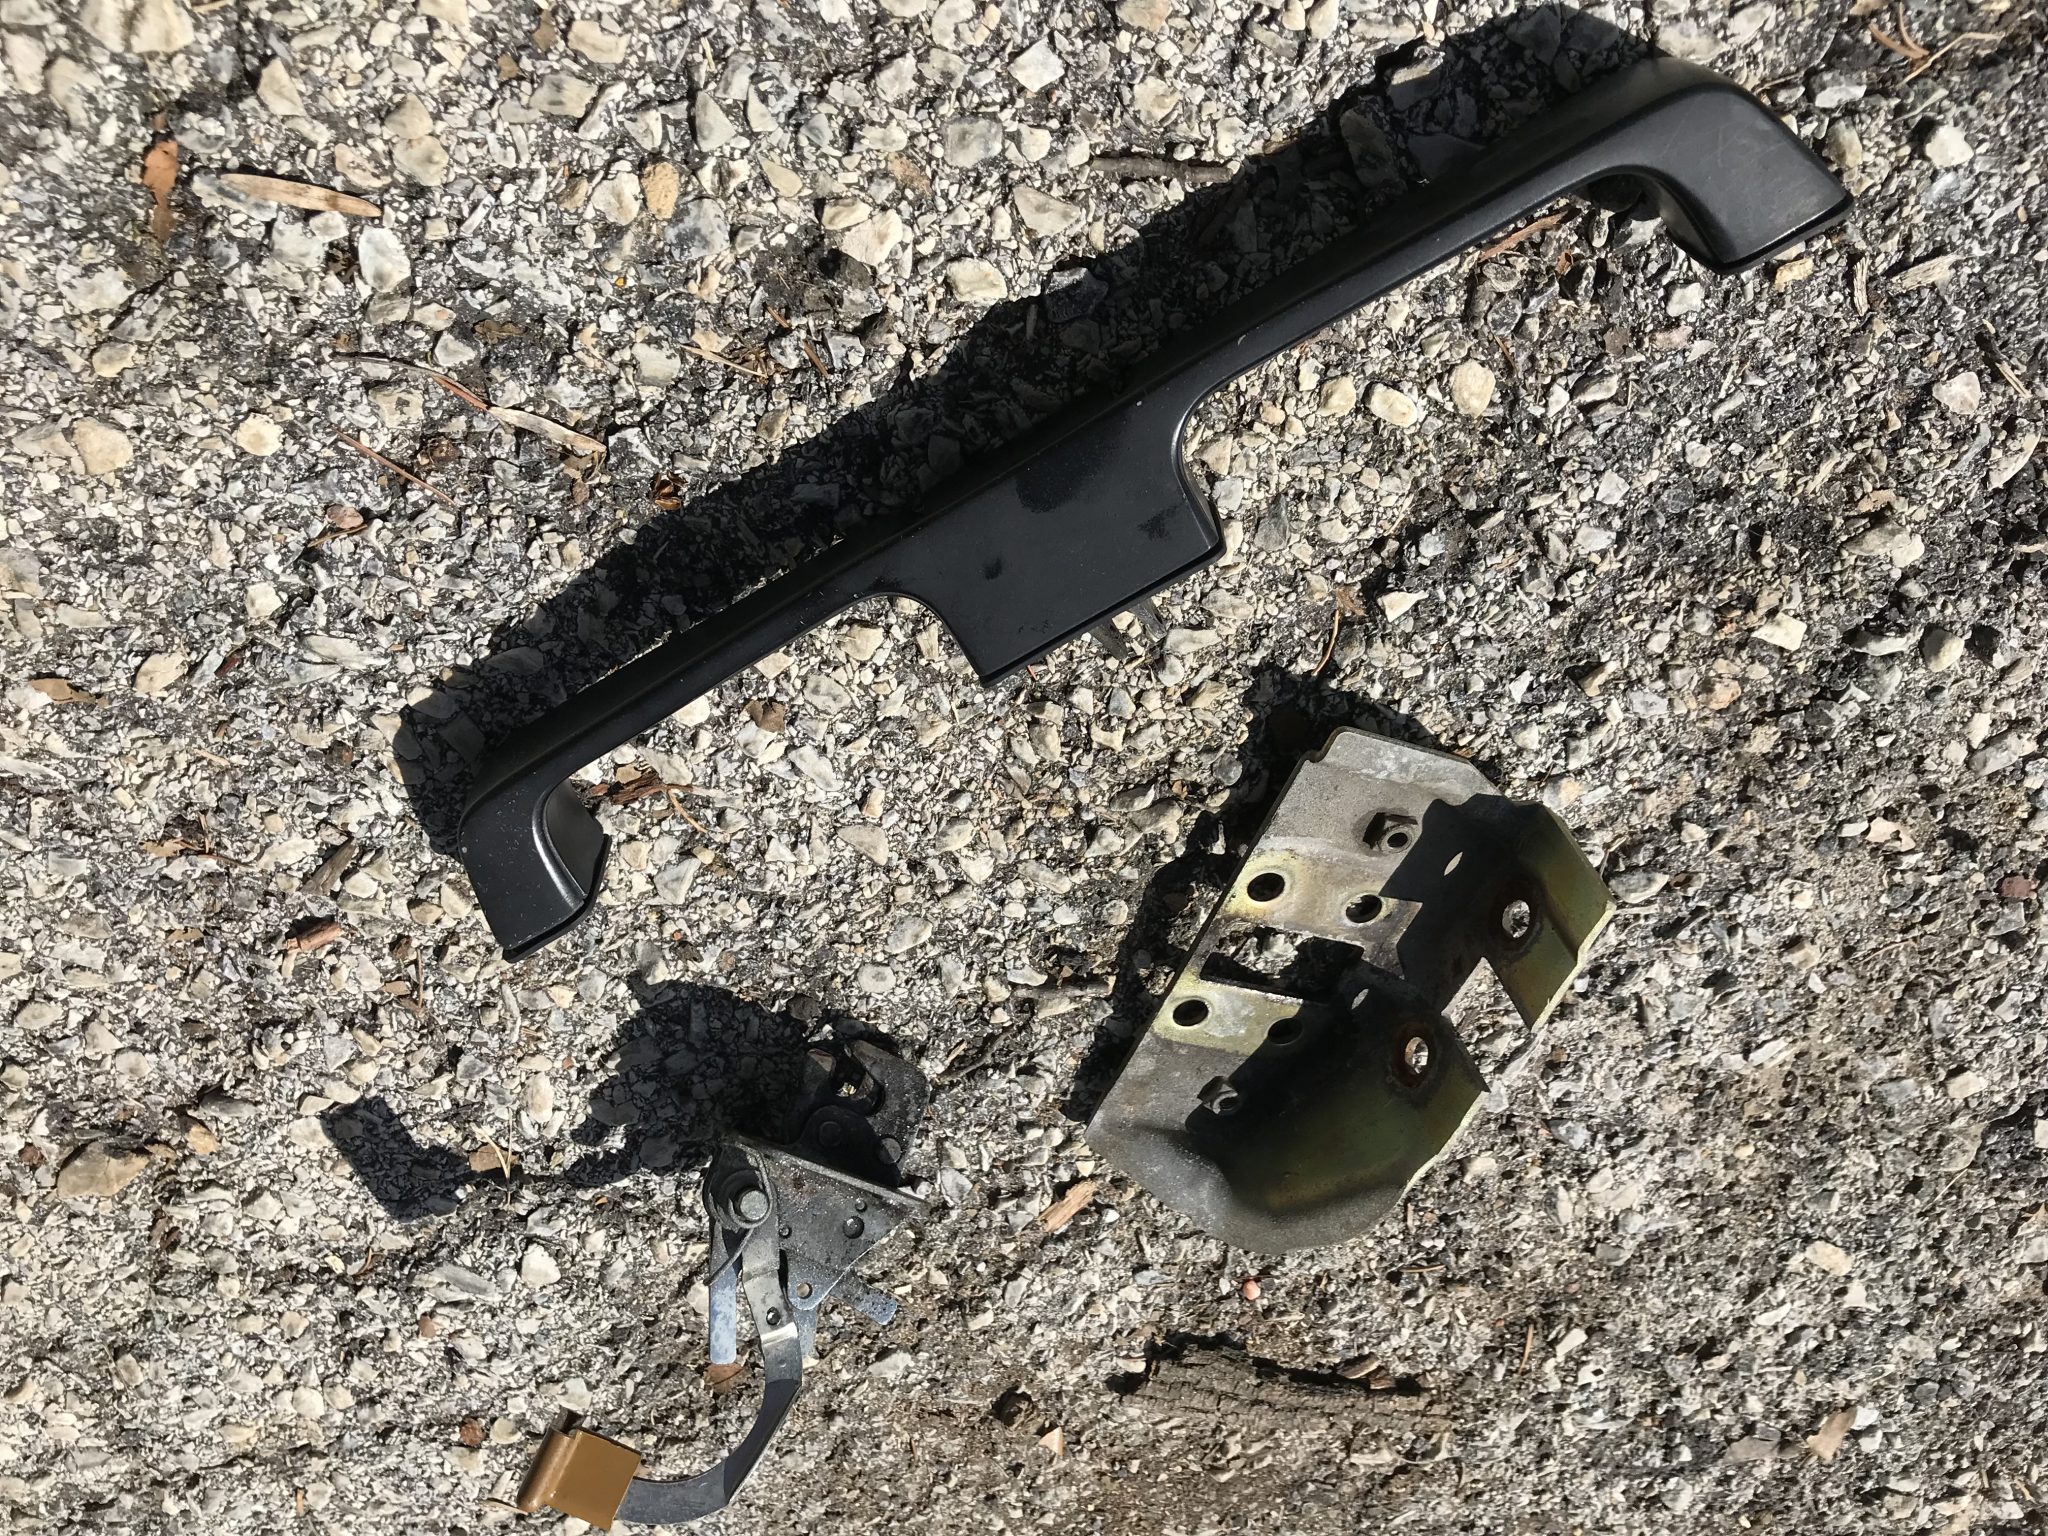
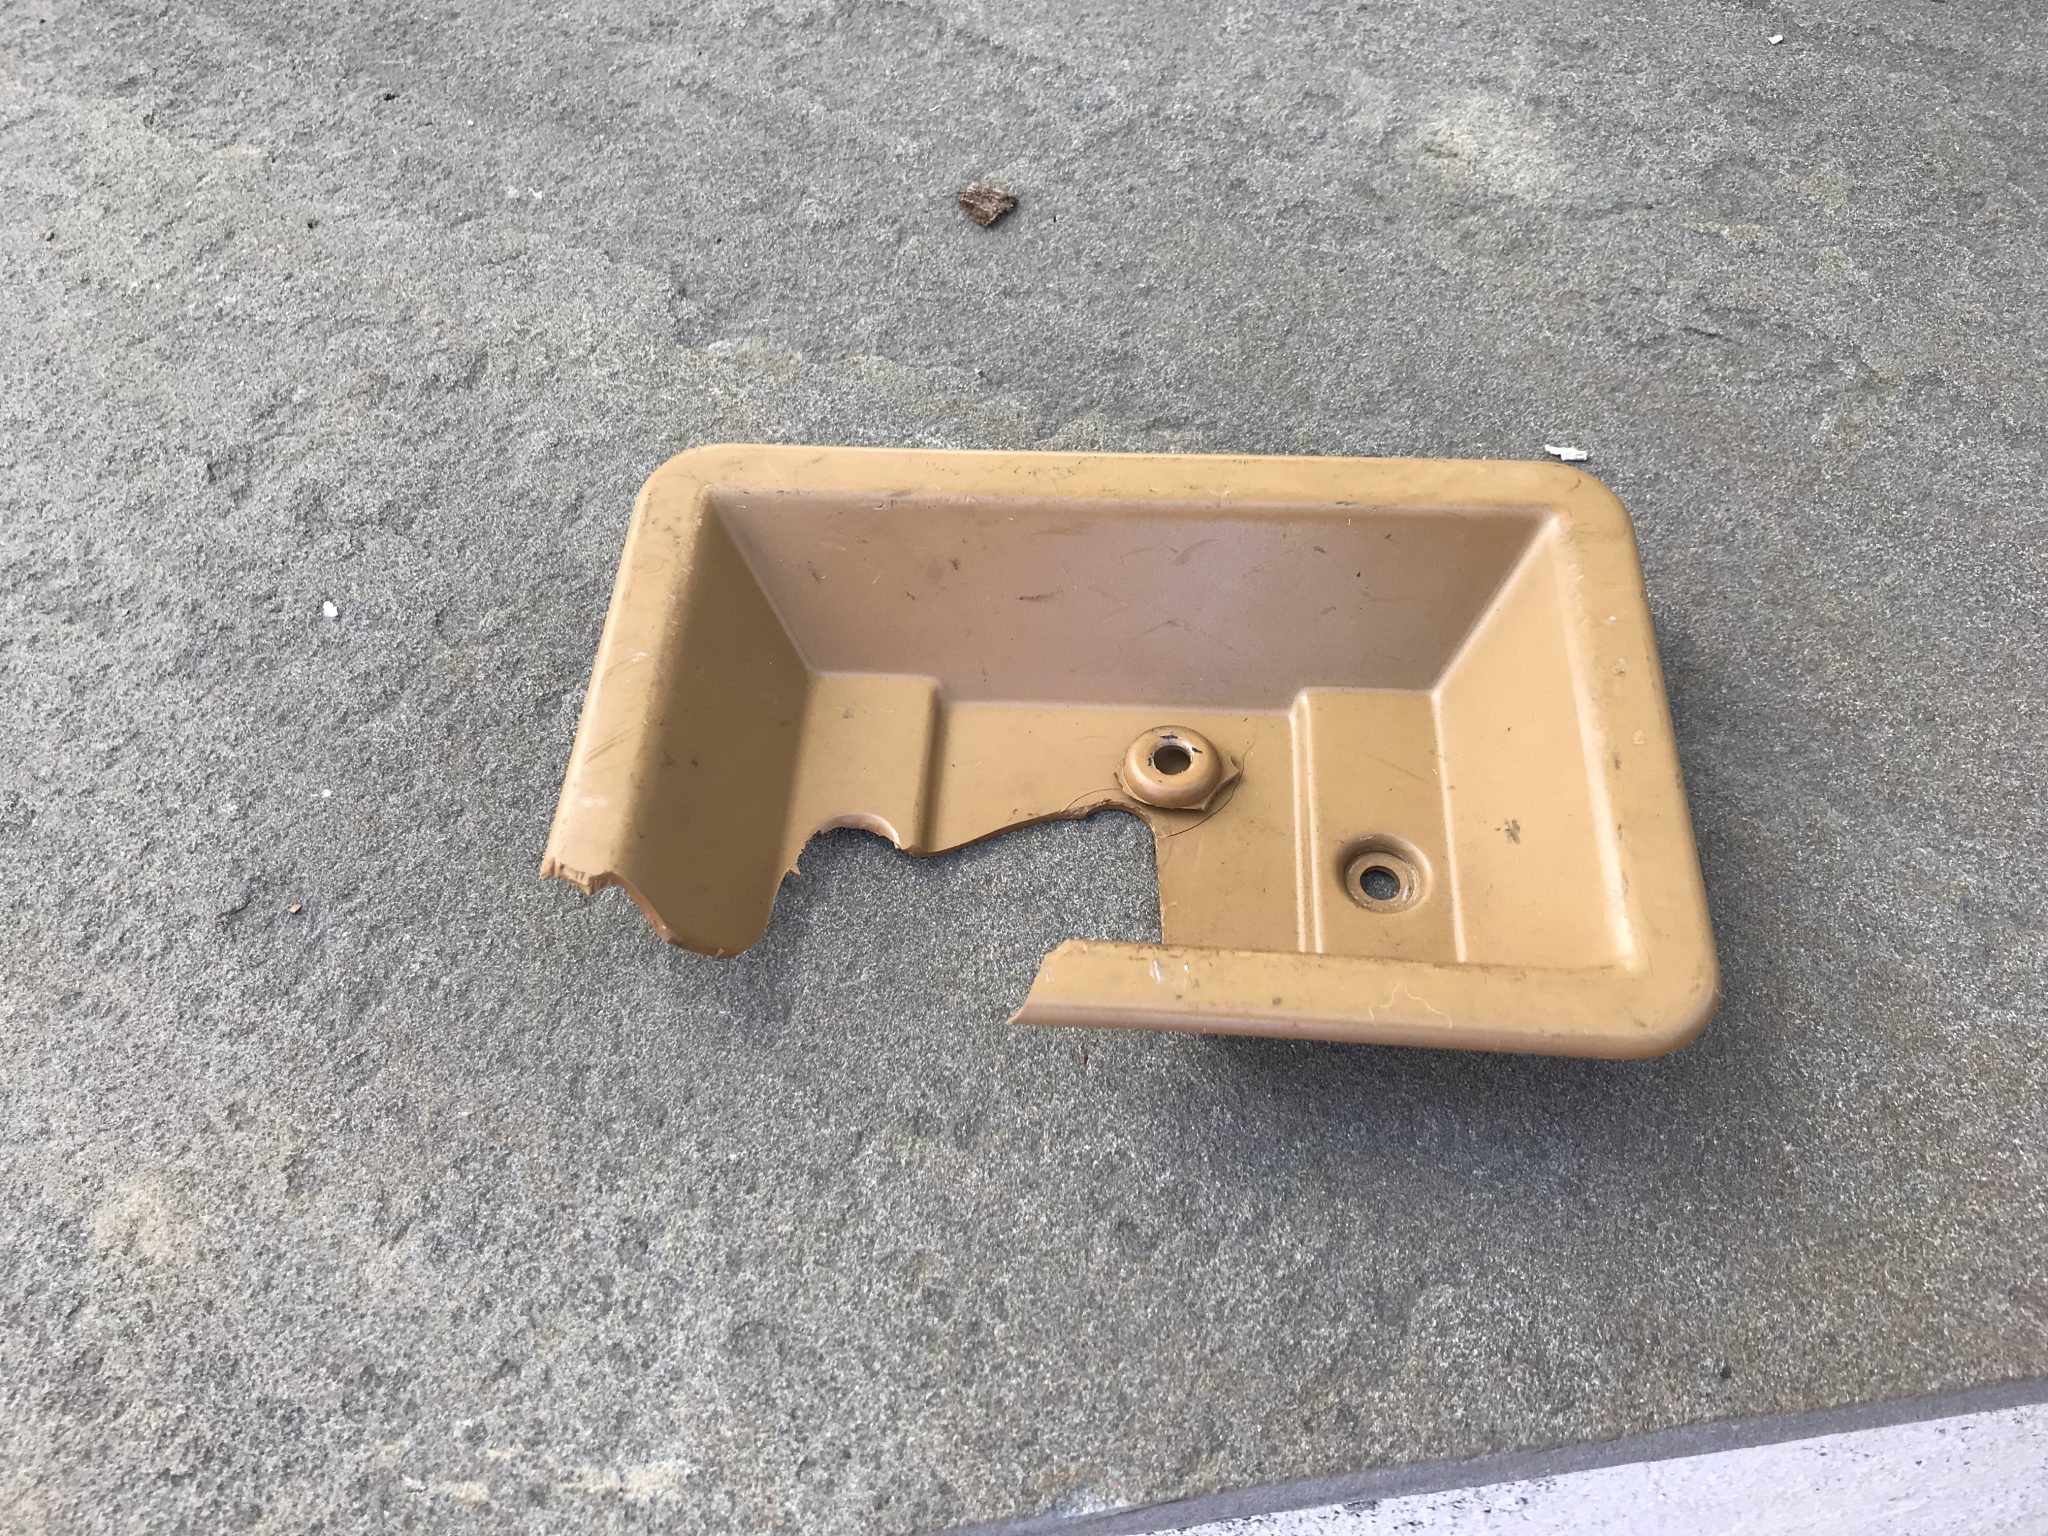
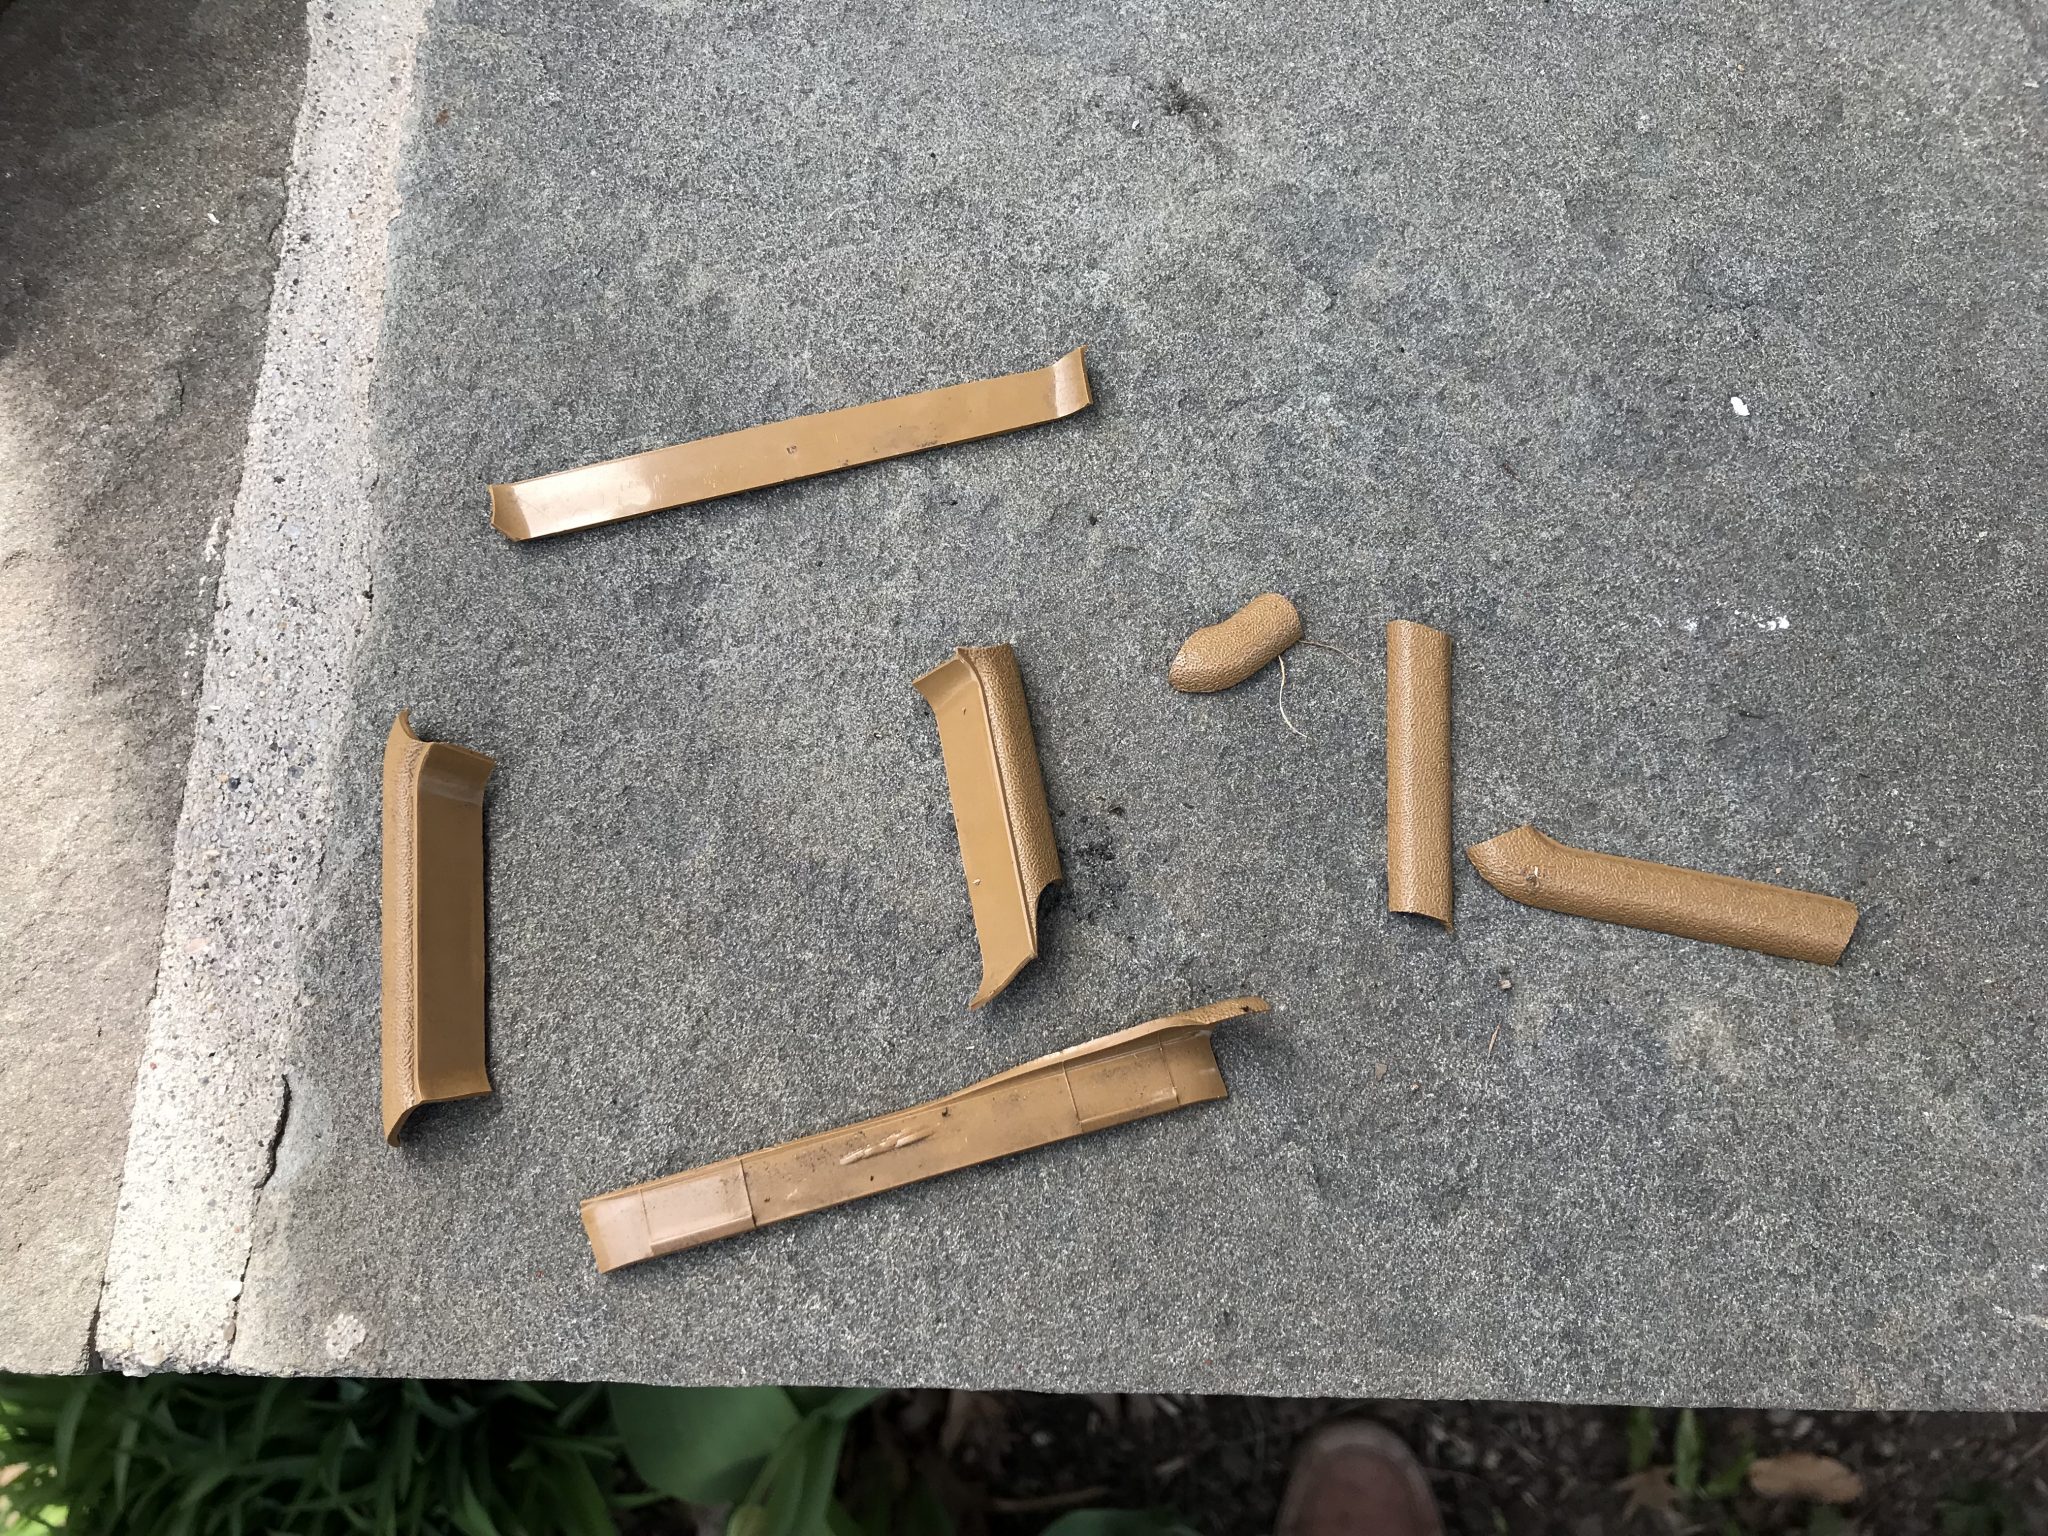
Brittle Plastic
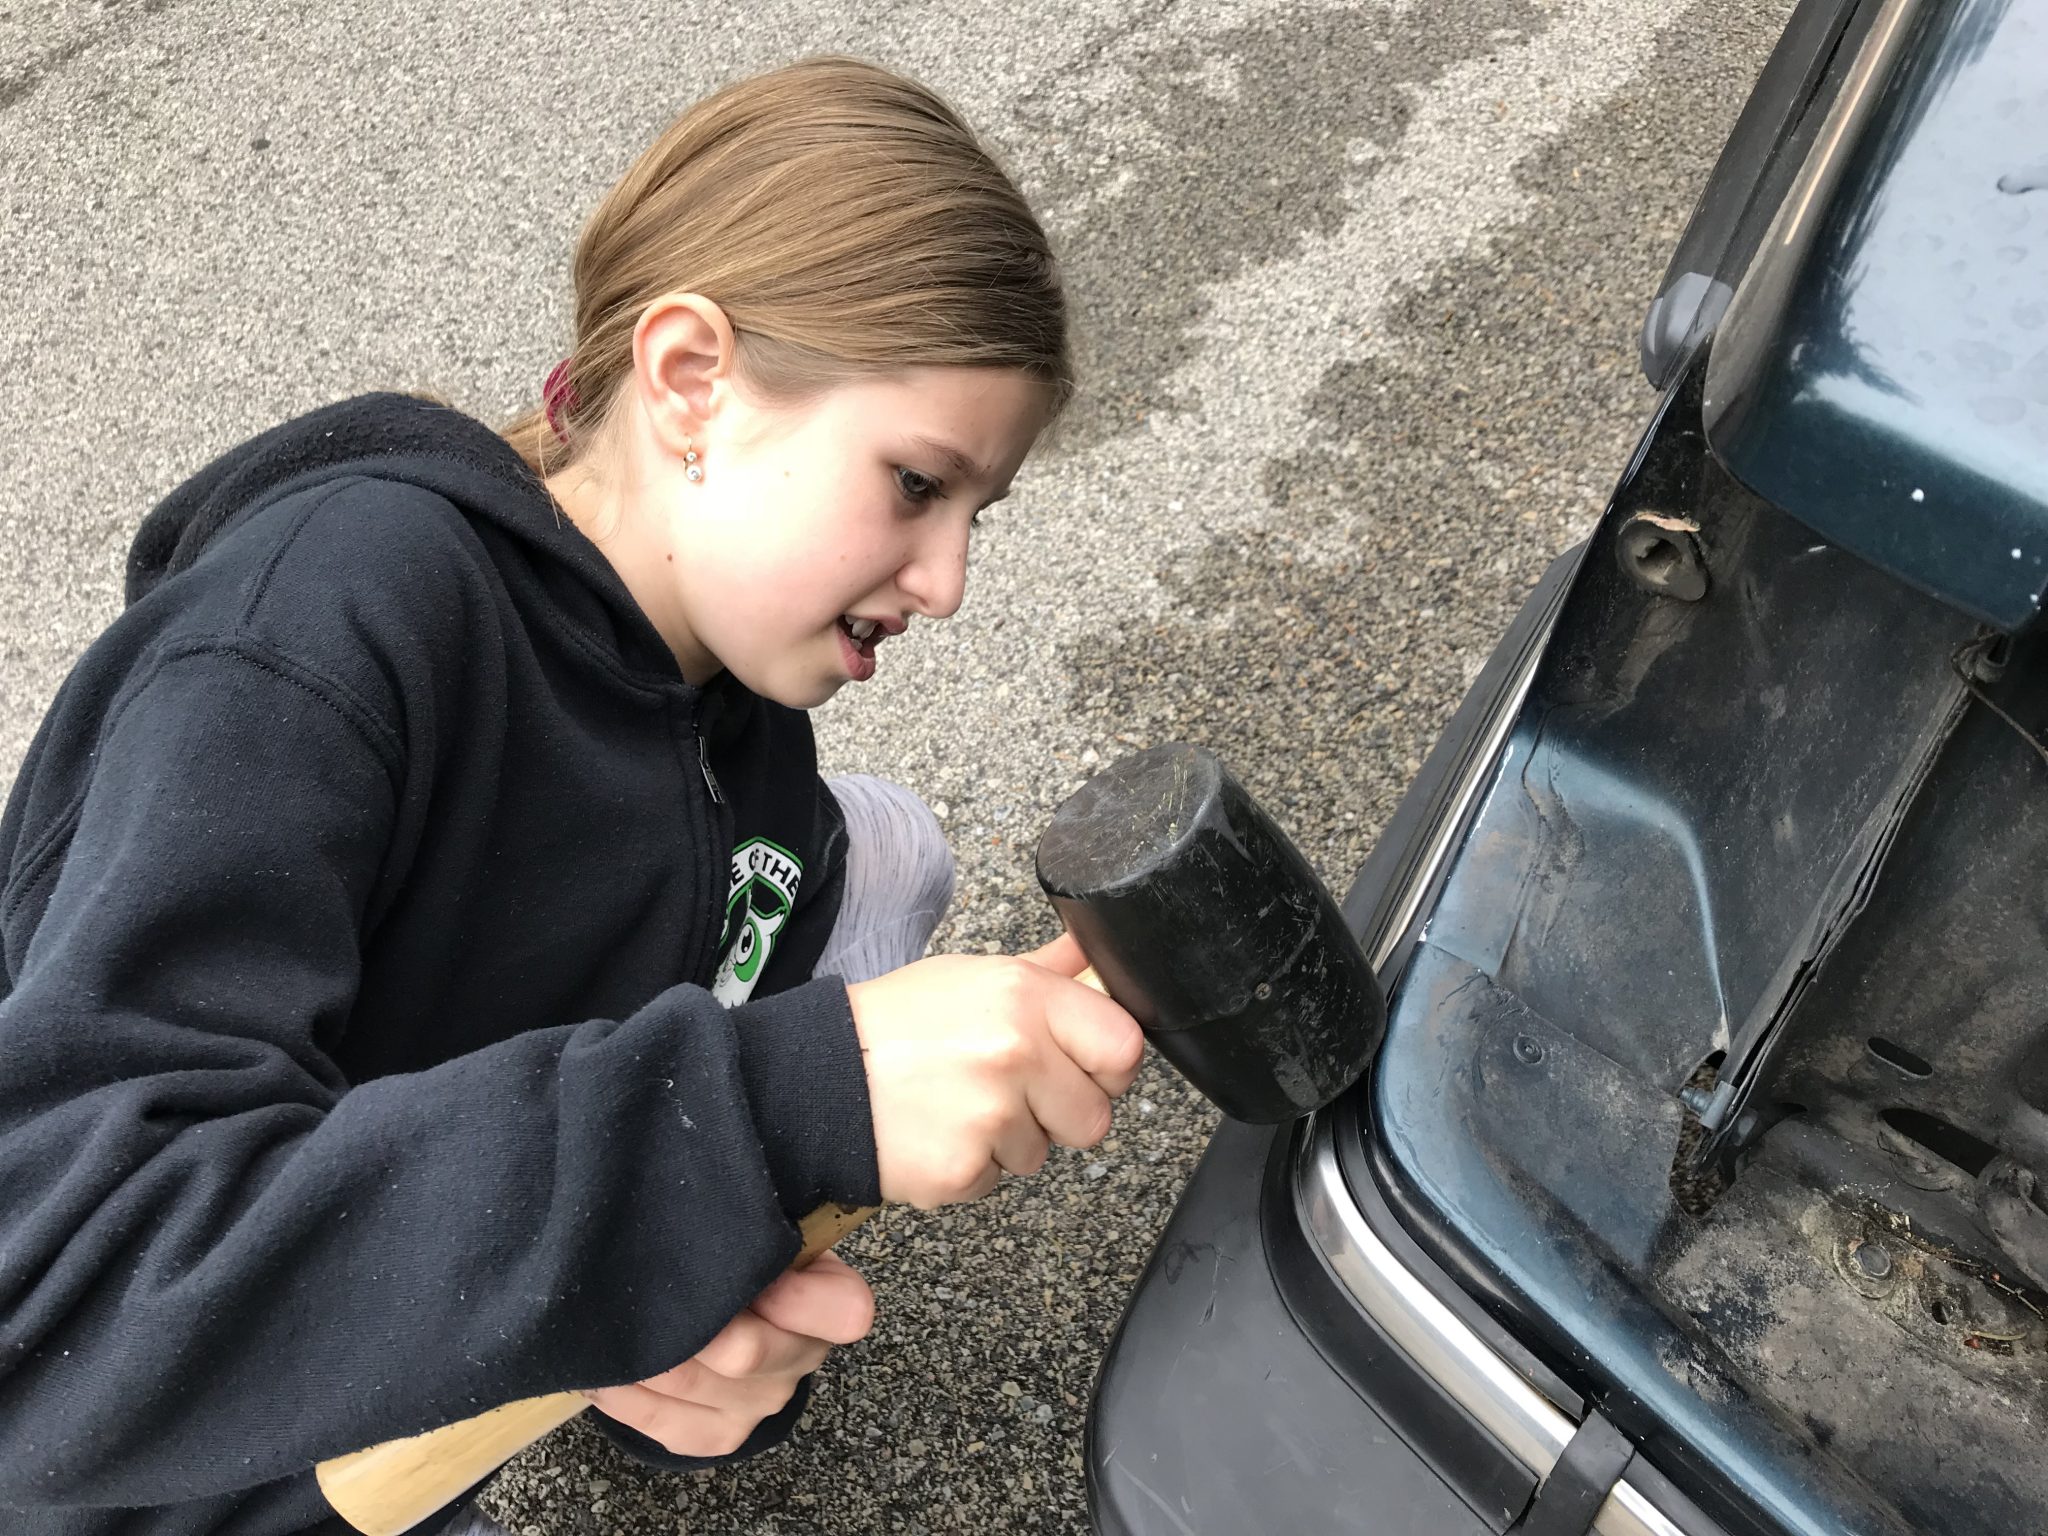
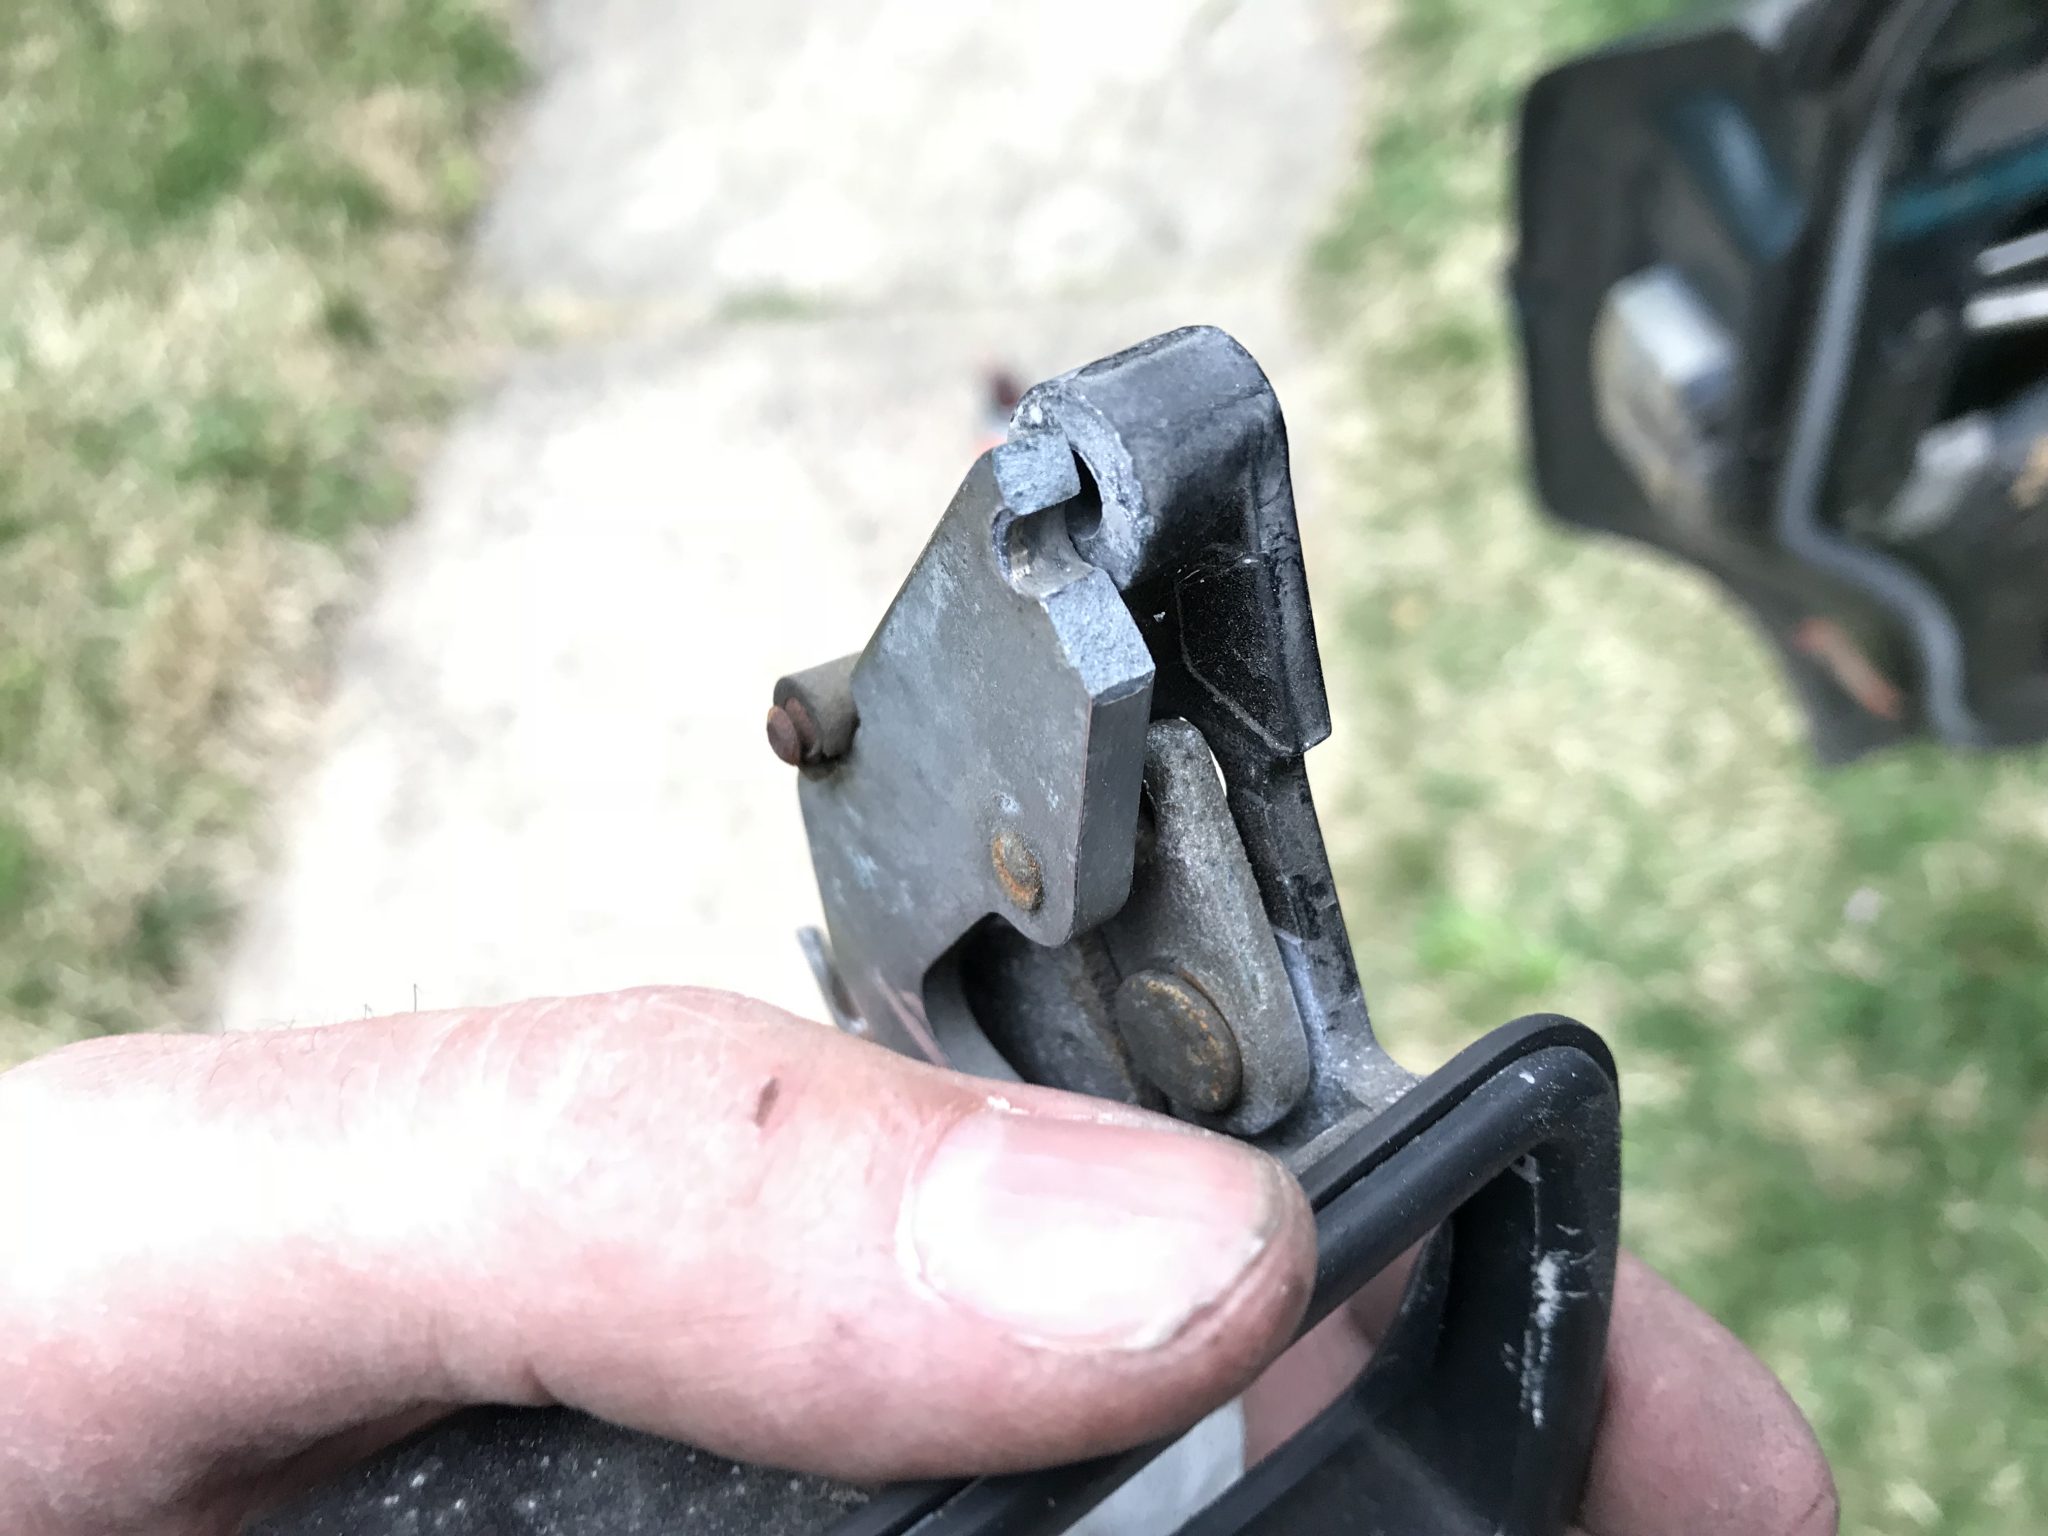
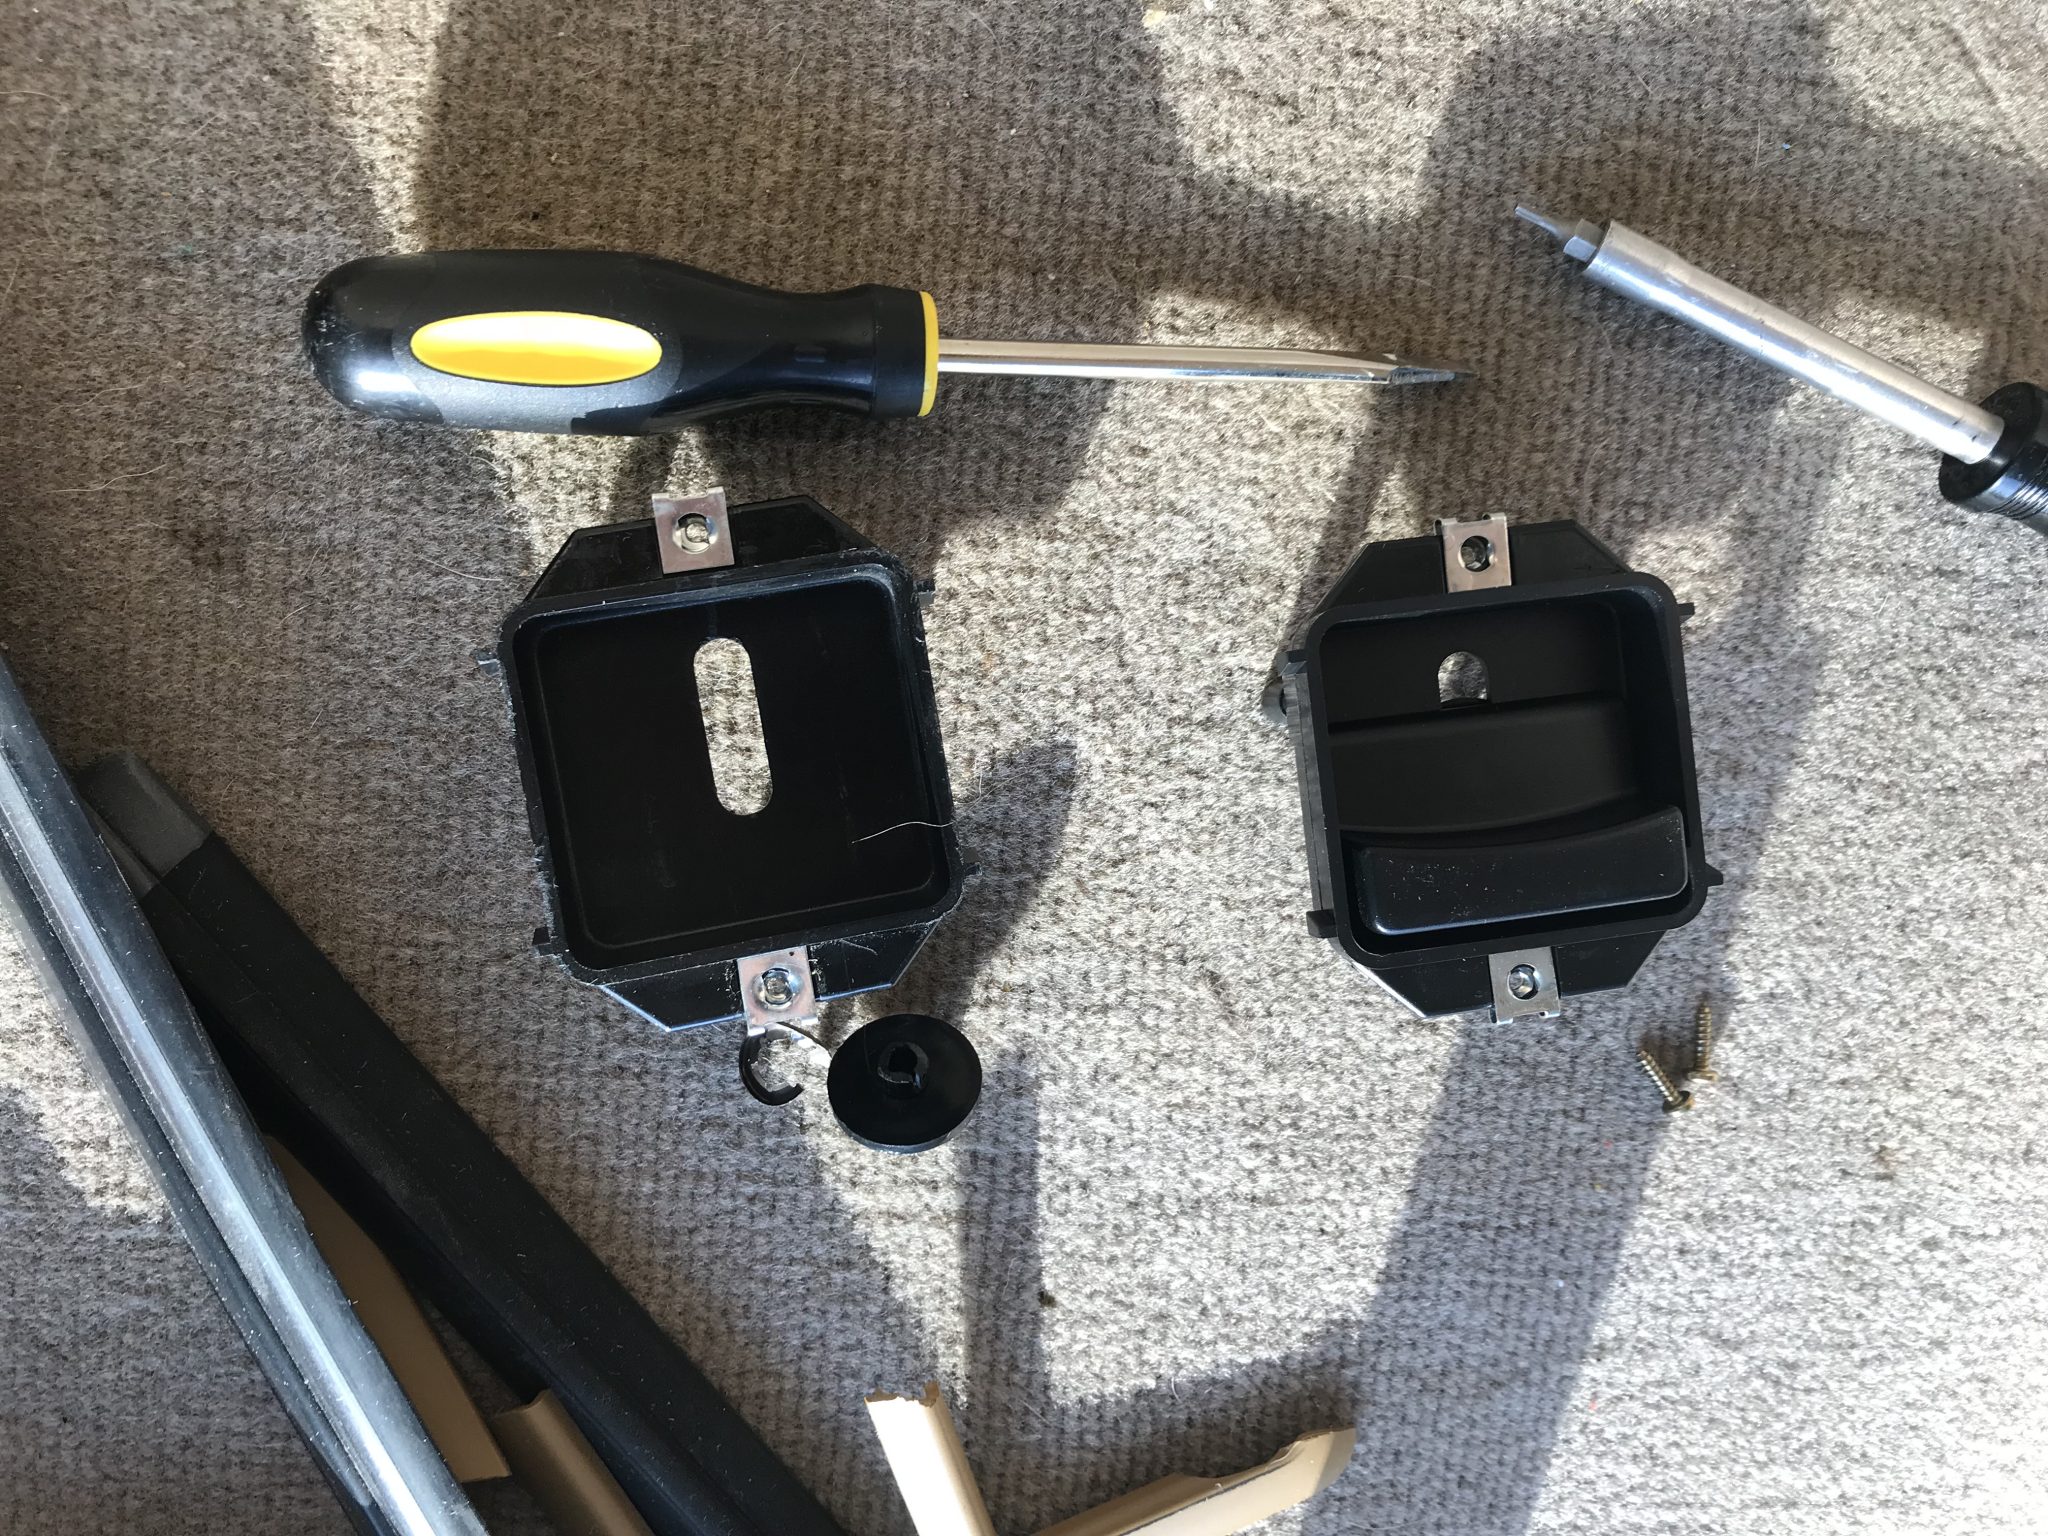
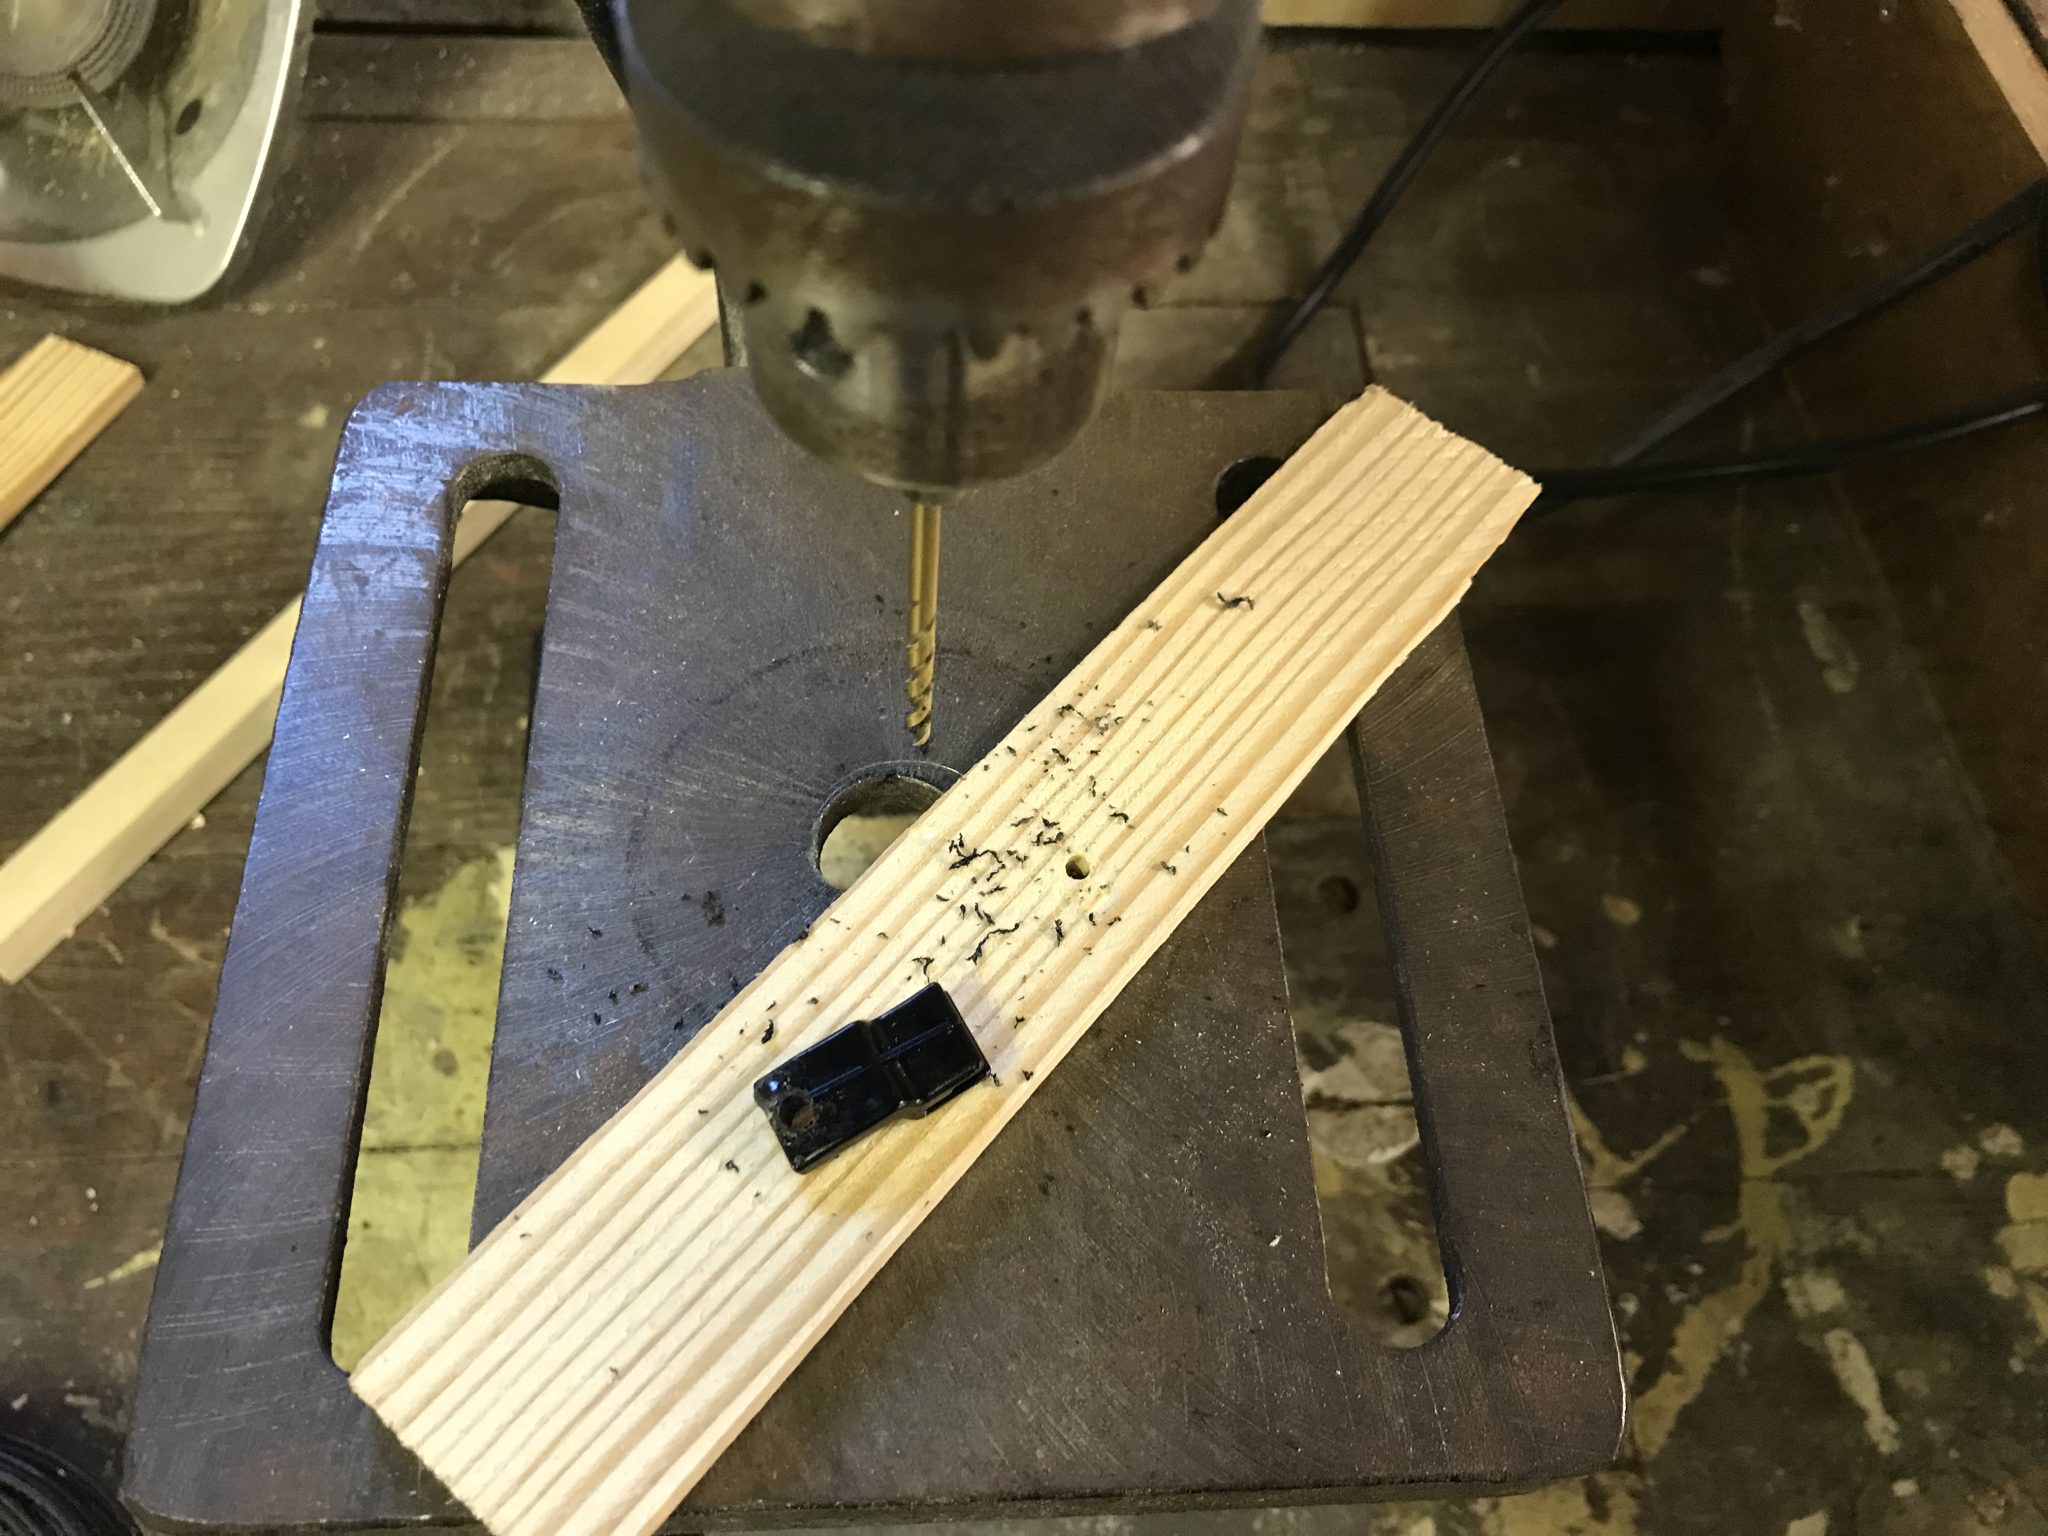
I put my son on that detail and moved on to trying to get the driver side inside latch working. It’s funny how once you start taking things apart how many more broken things you find! The first thing I learned is that 26 year old plastic is very, very brittle.
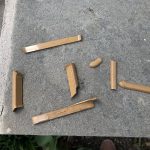
This was the trim around a door handle. Now it is just bits. Oh well.
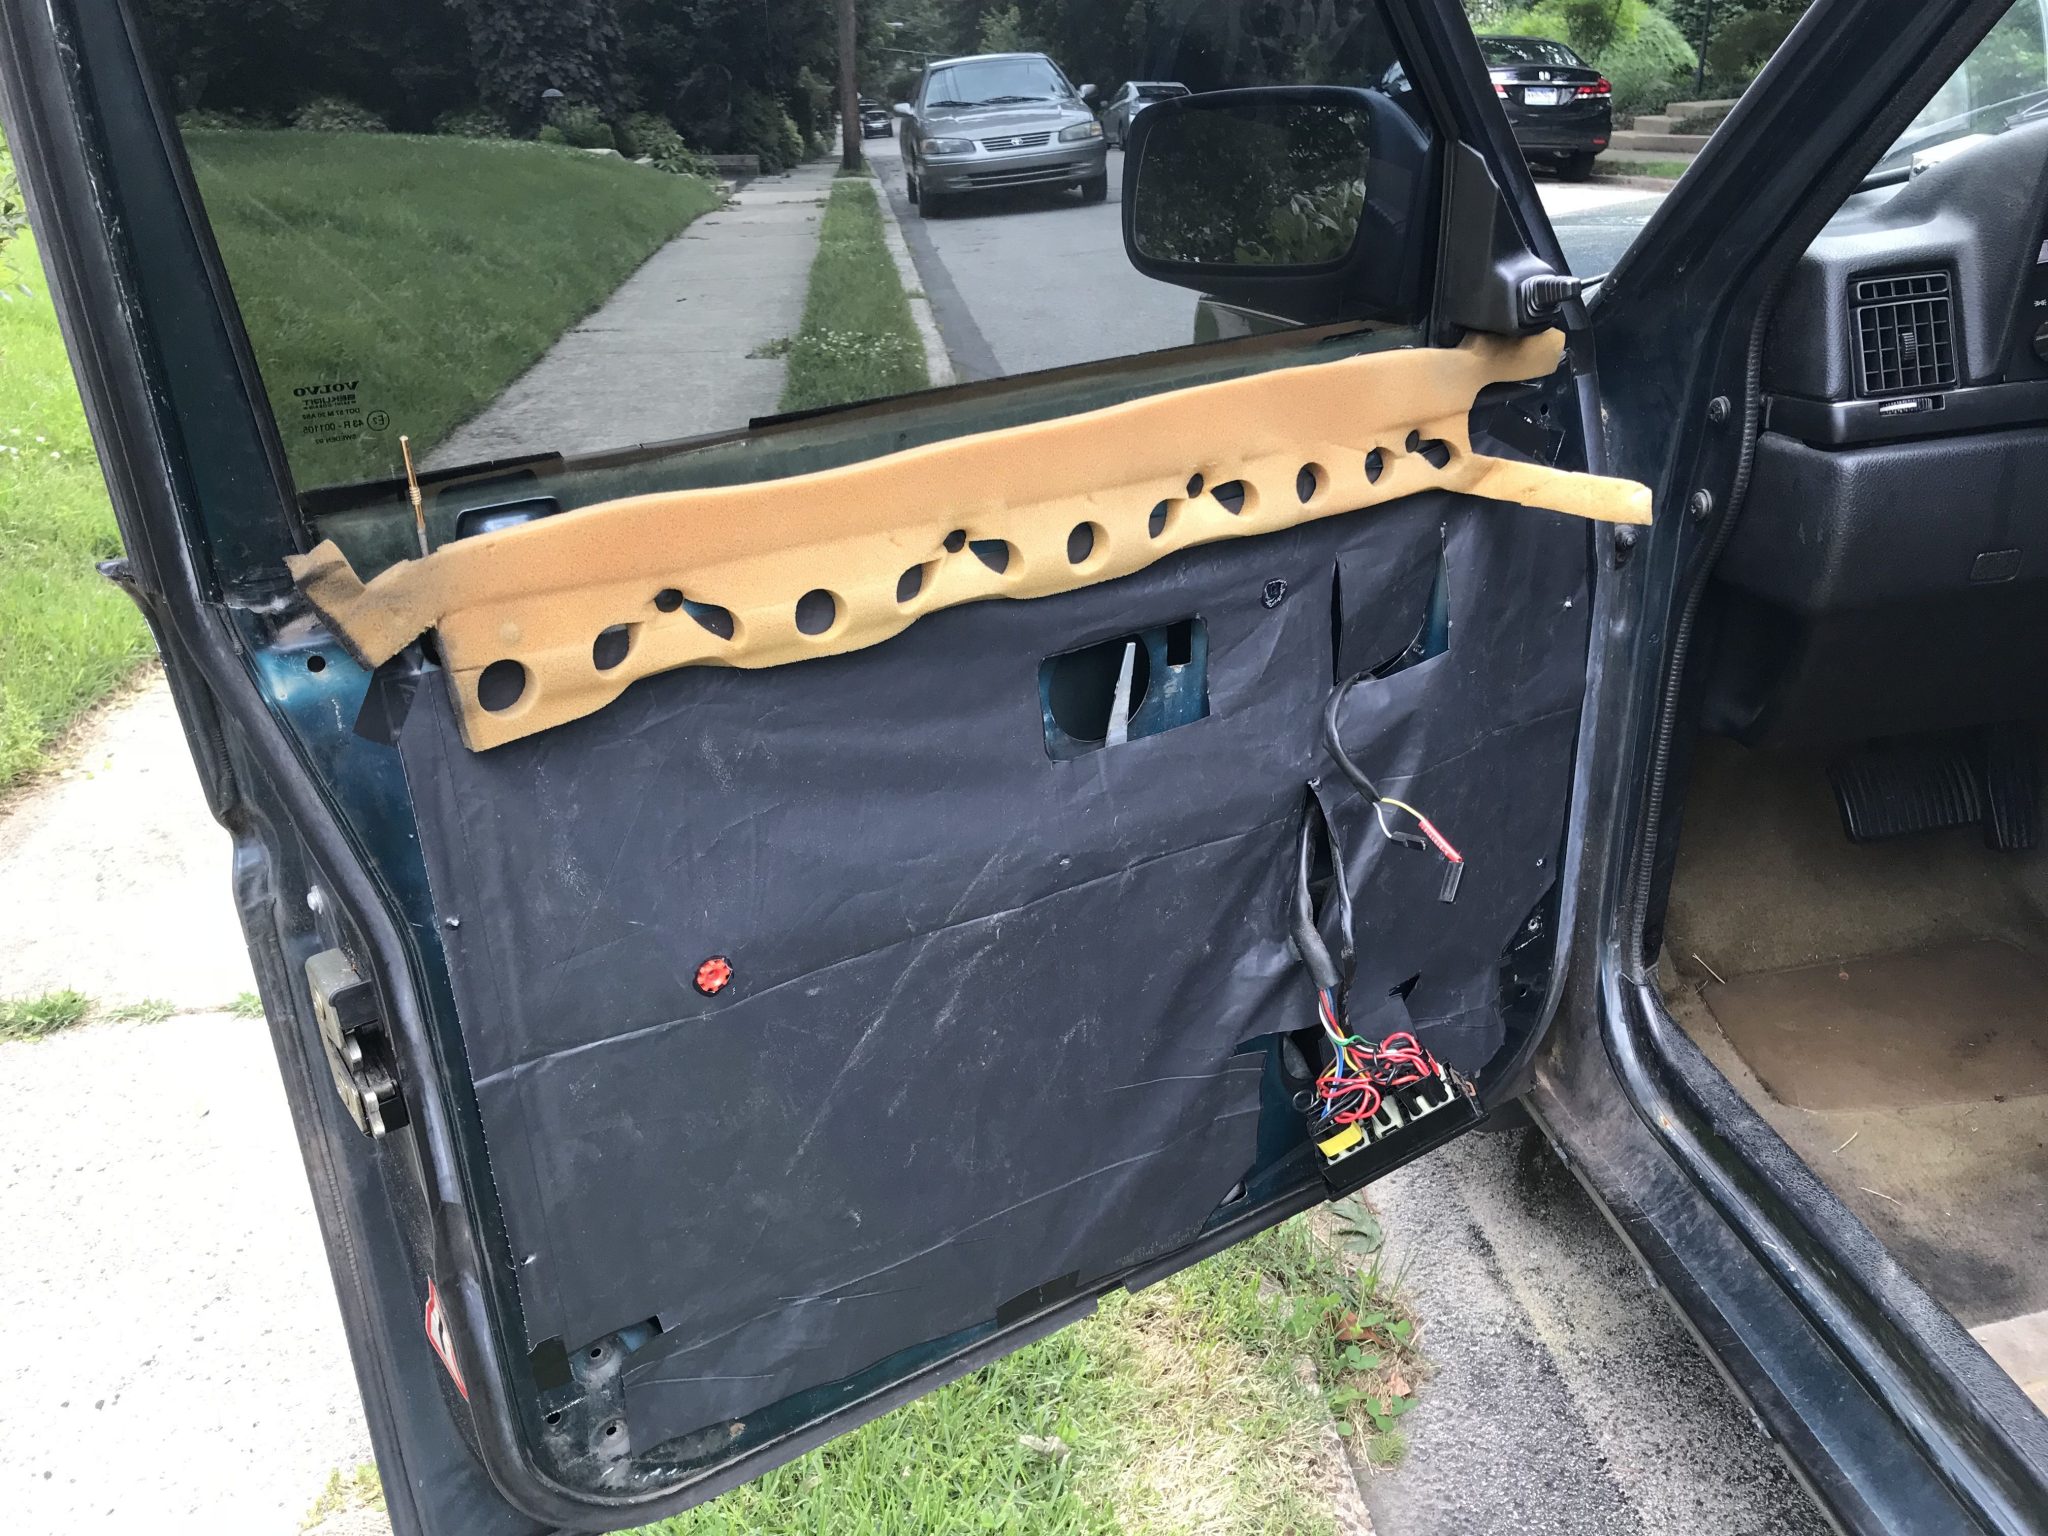
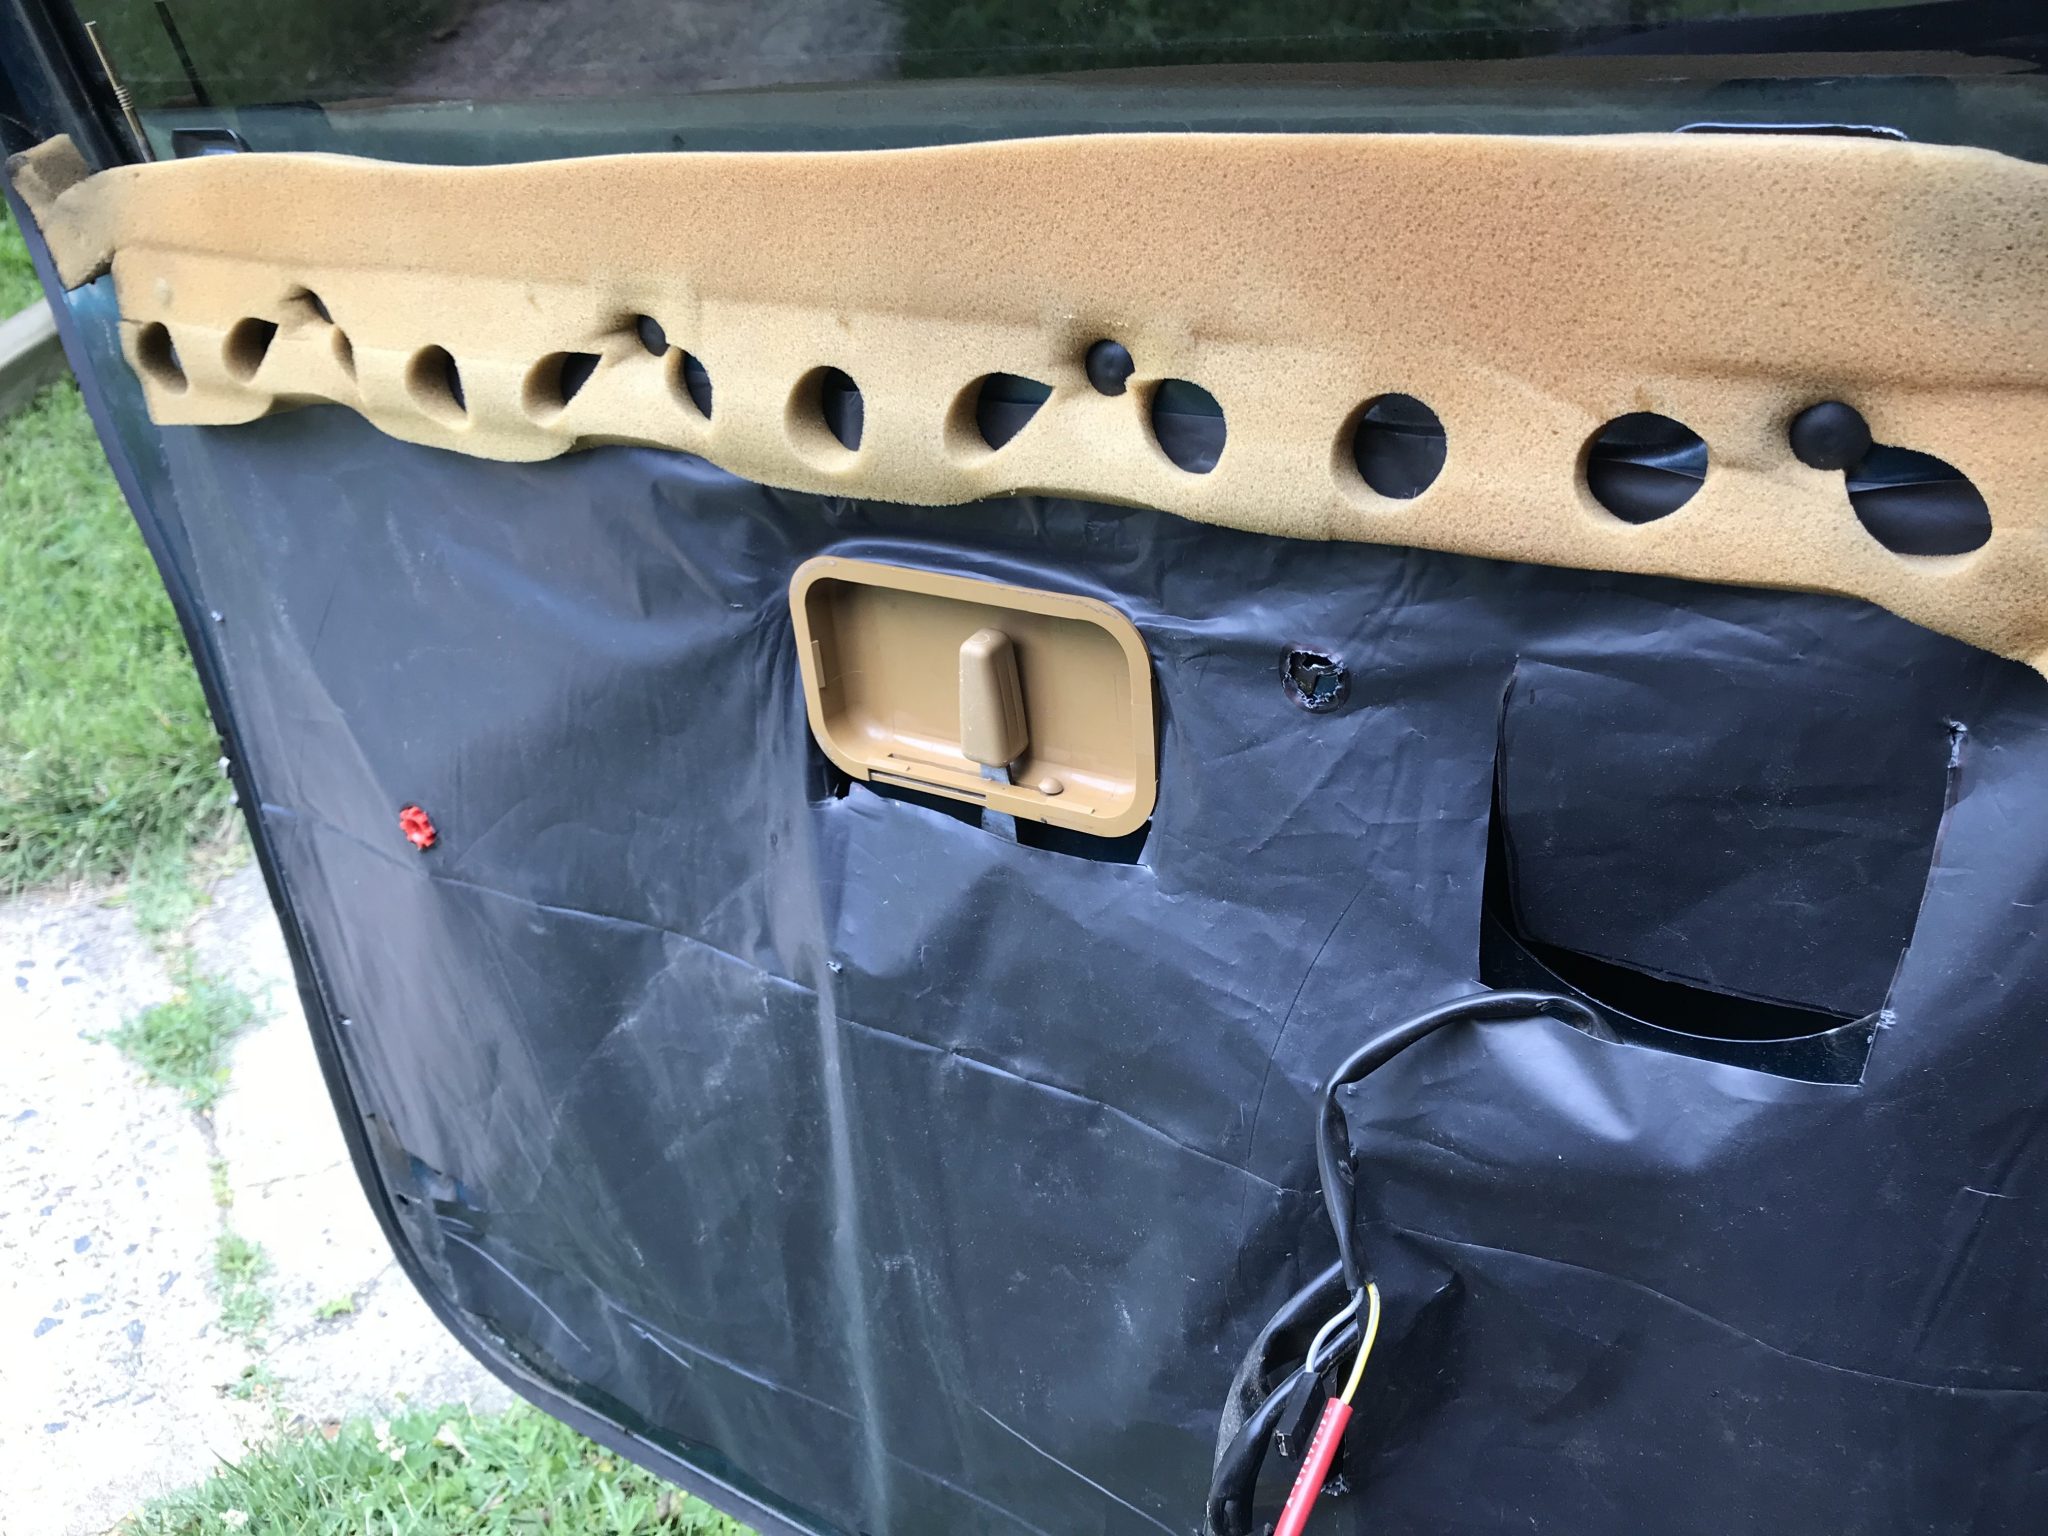
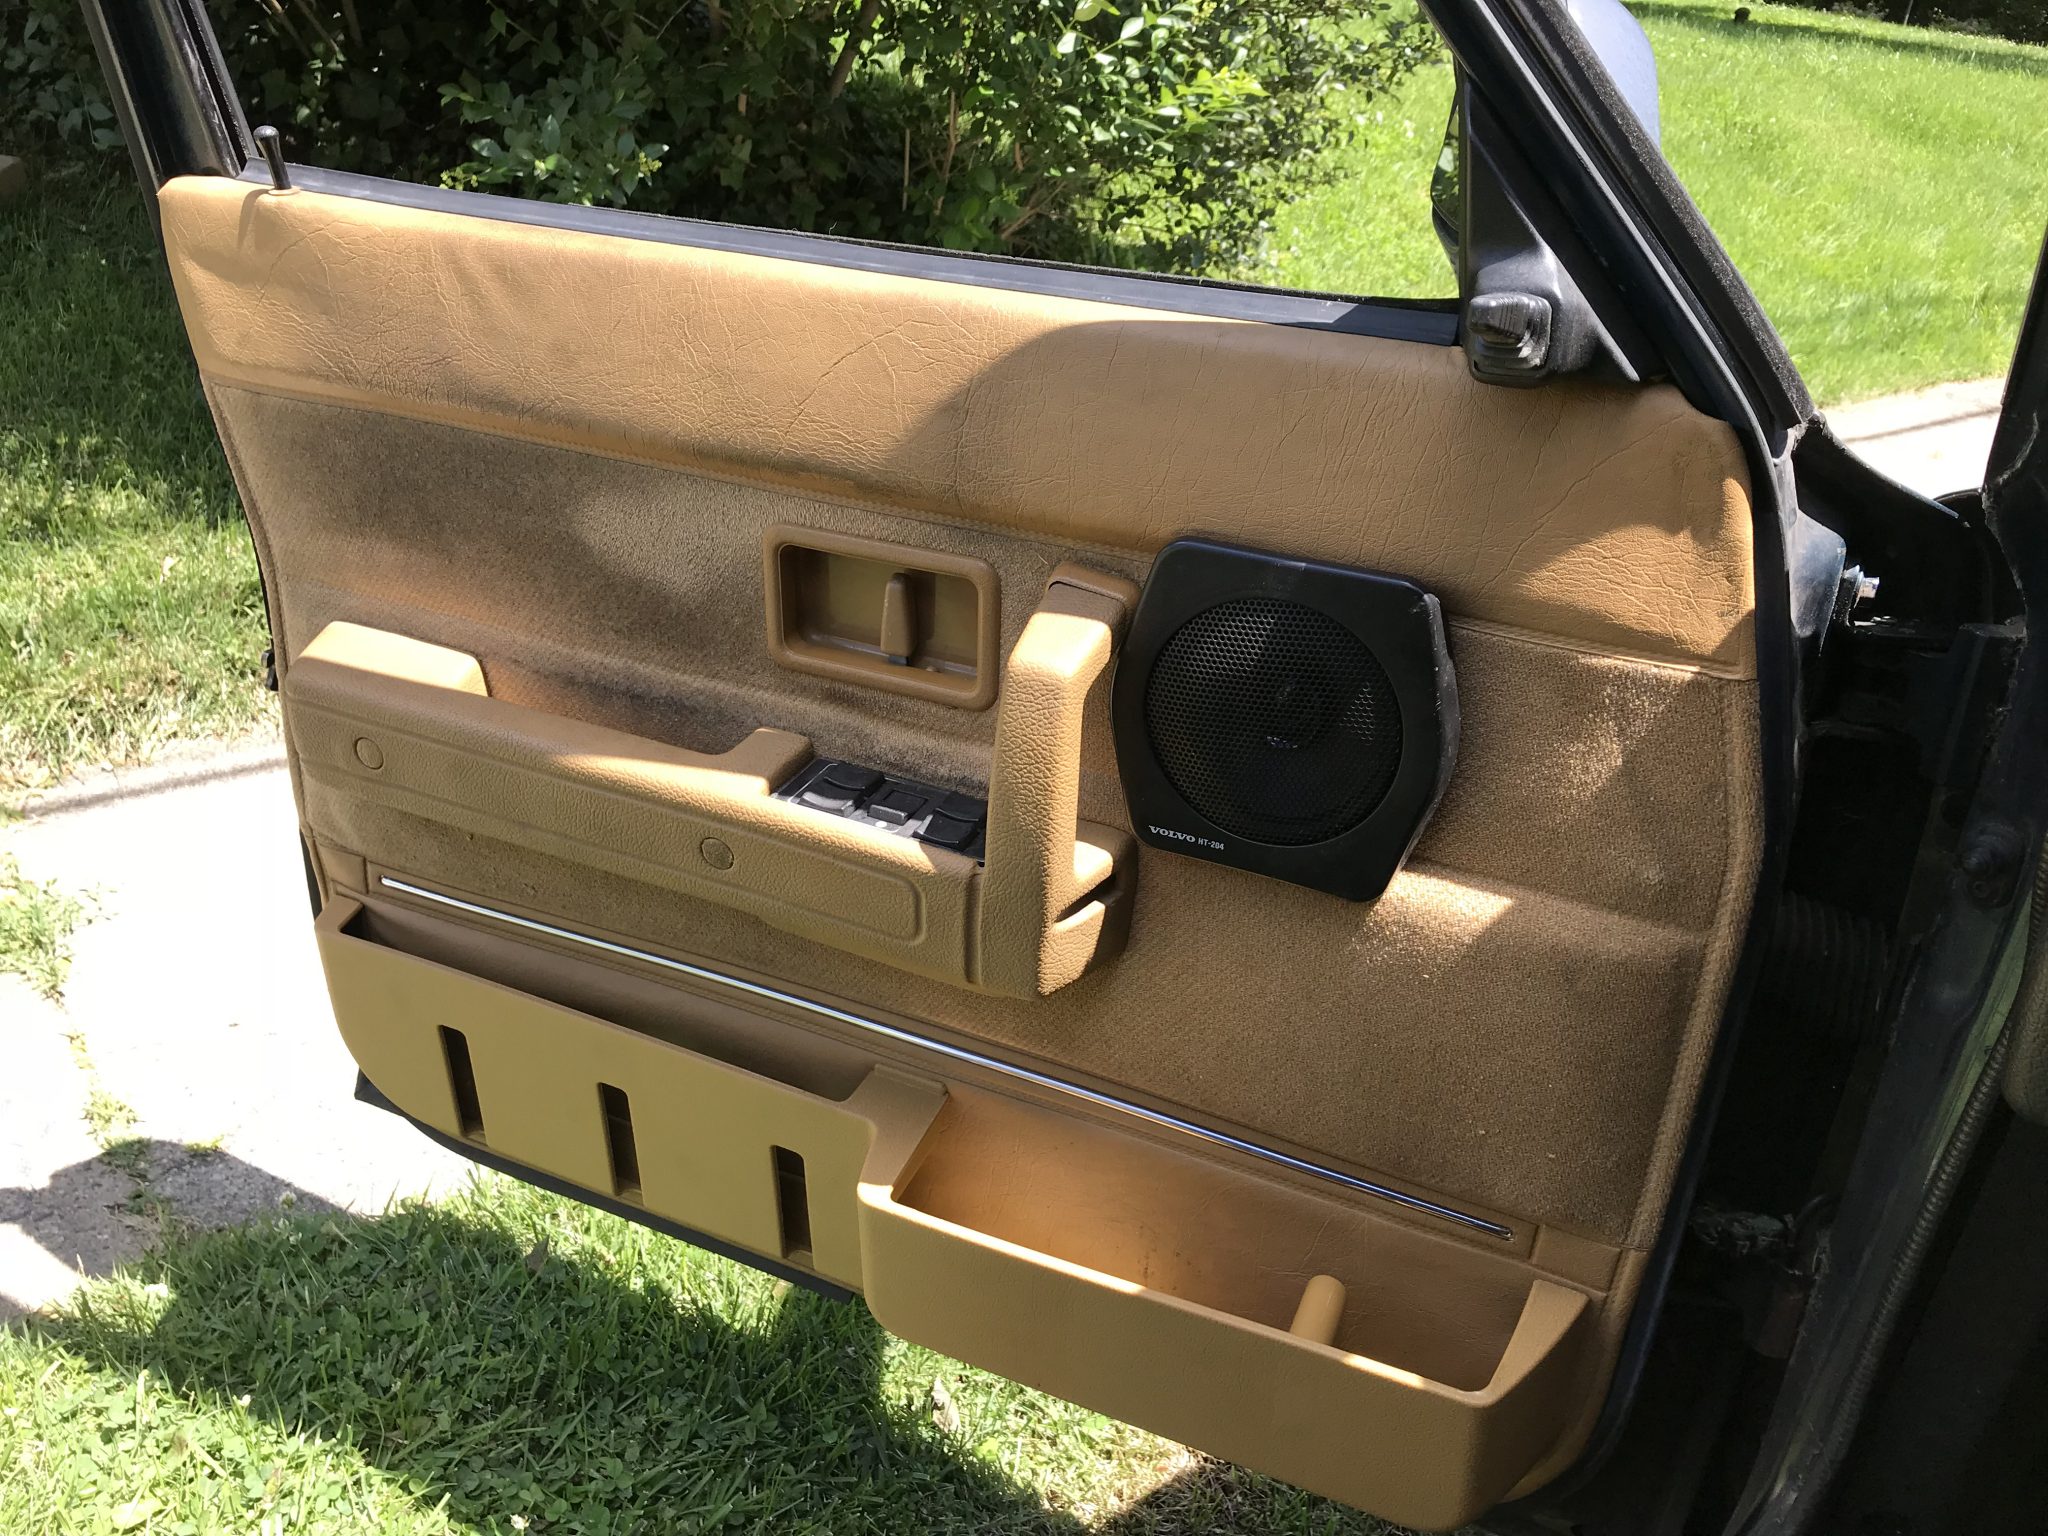
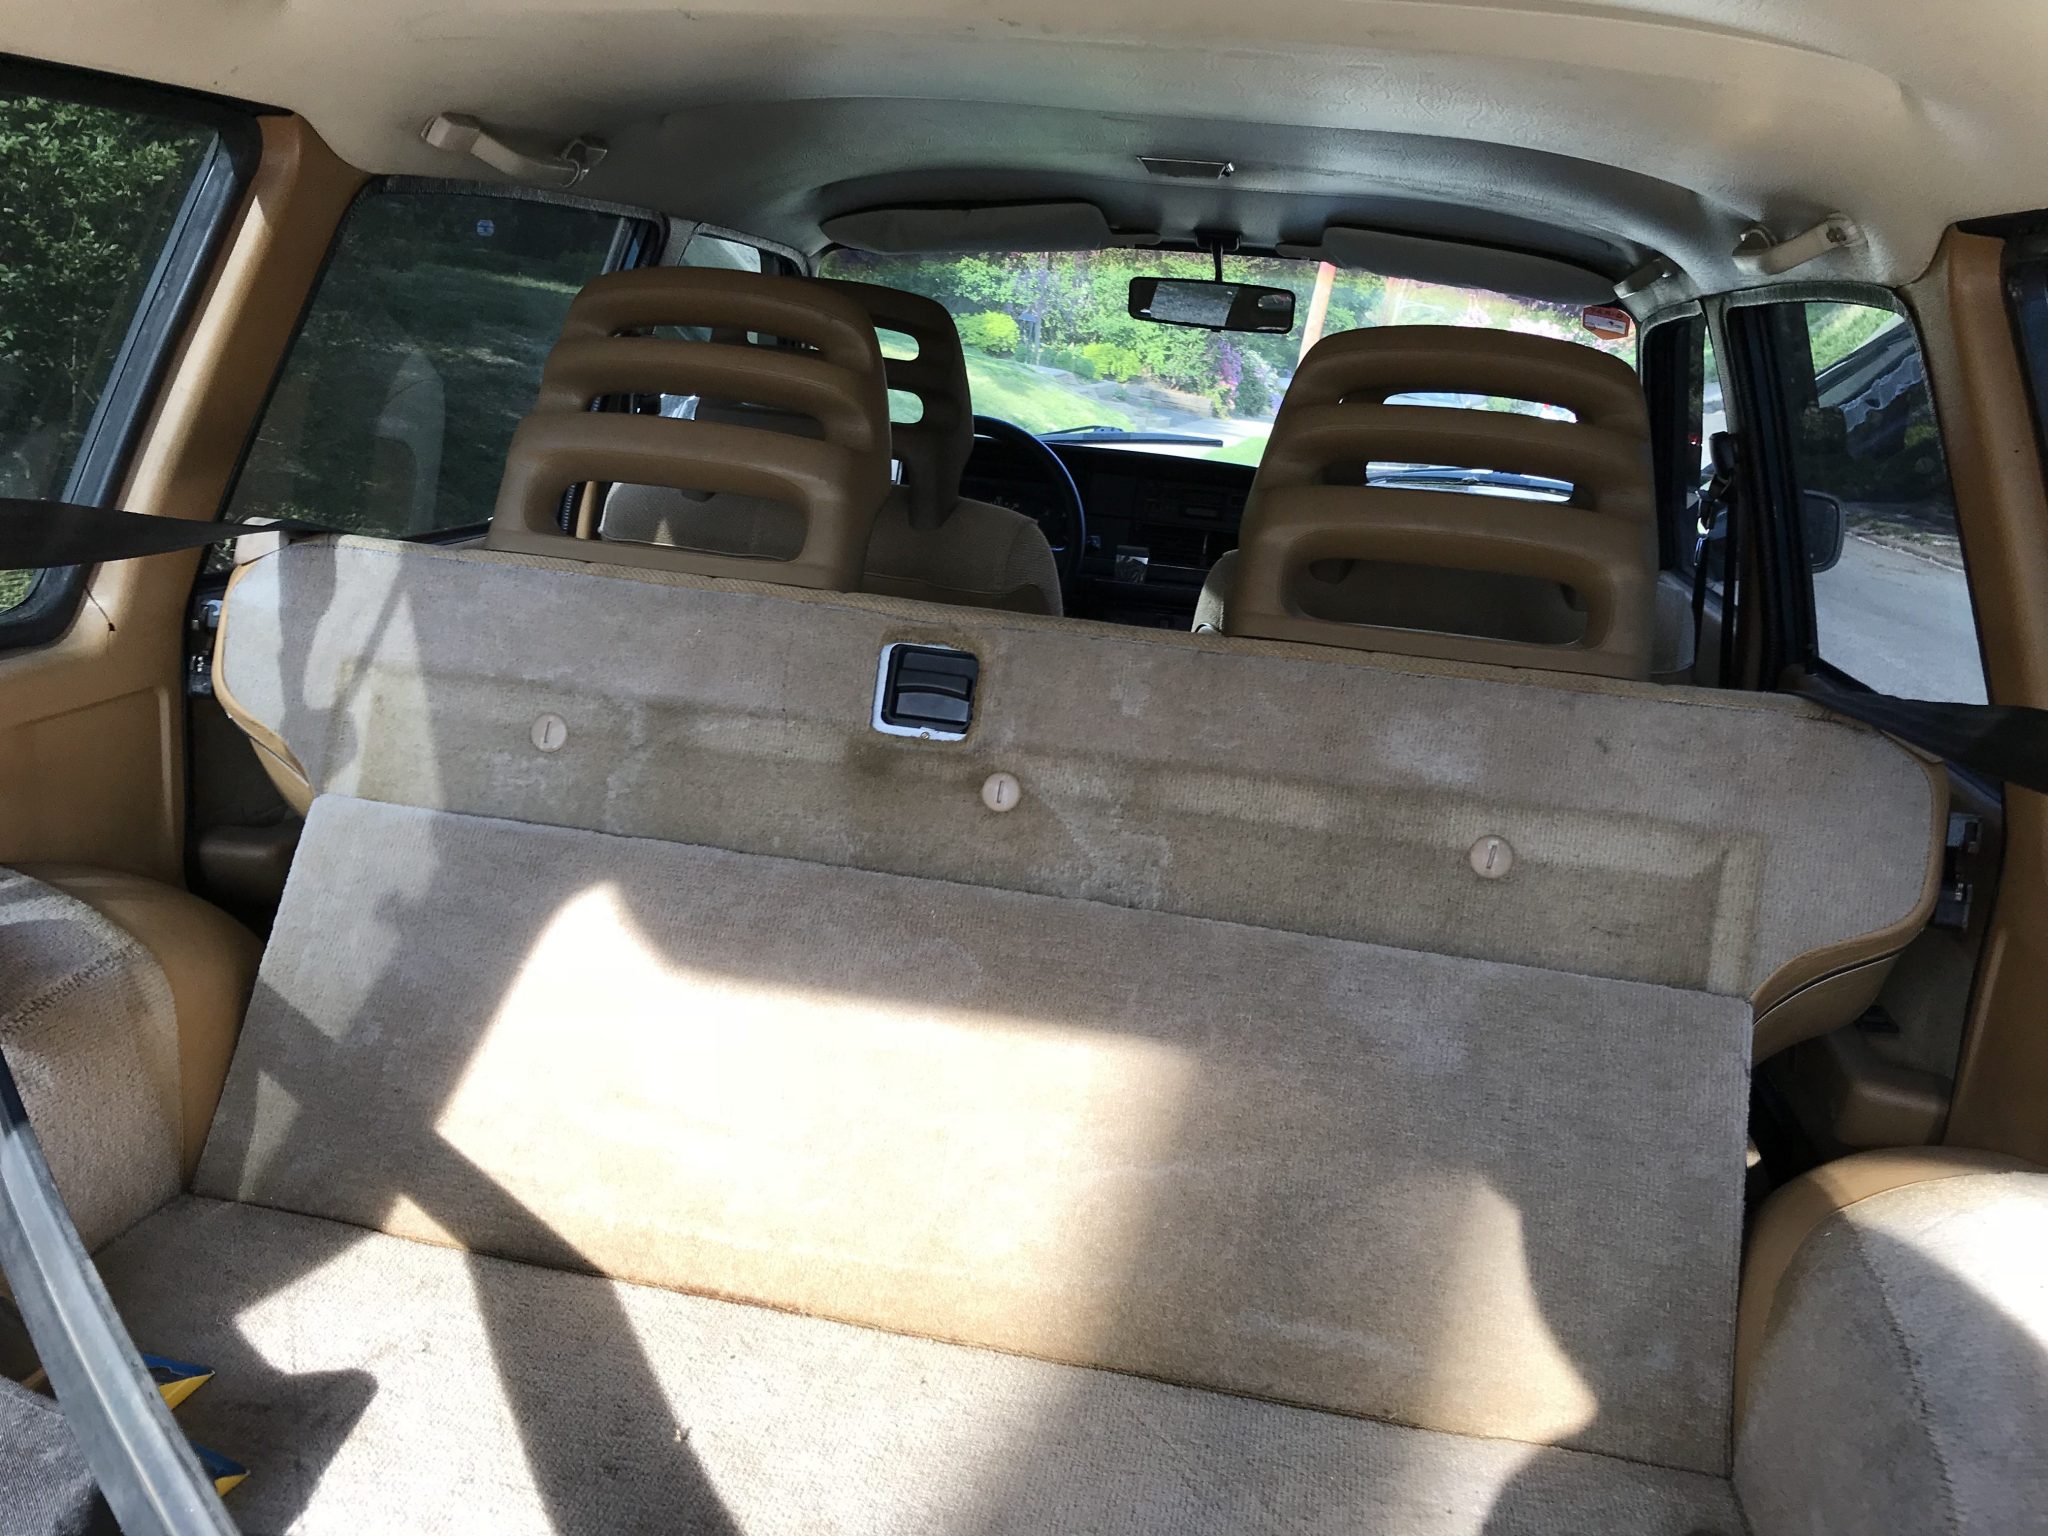
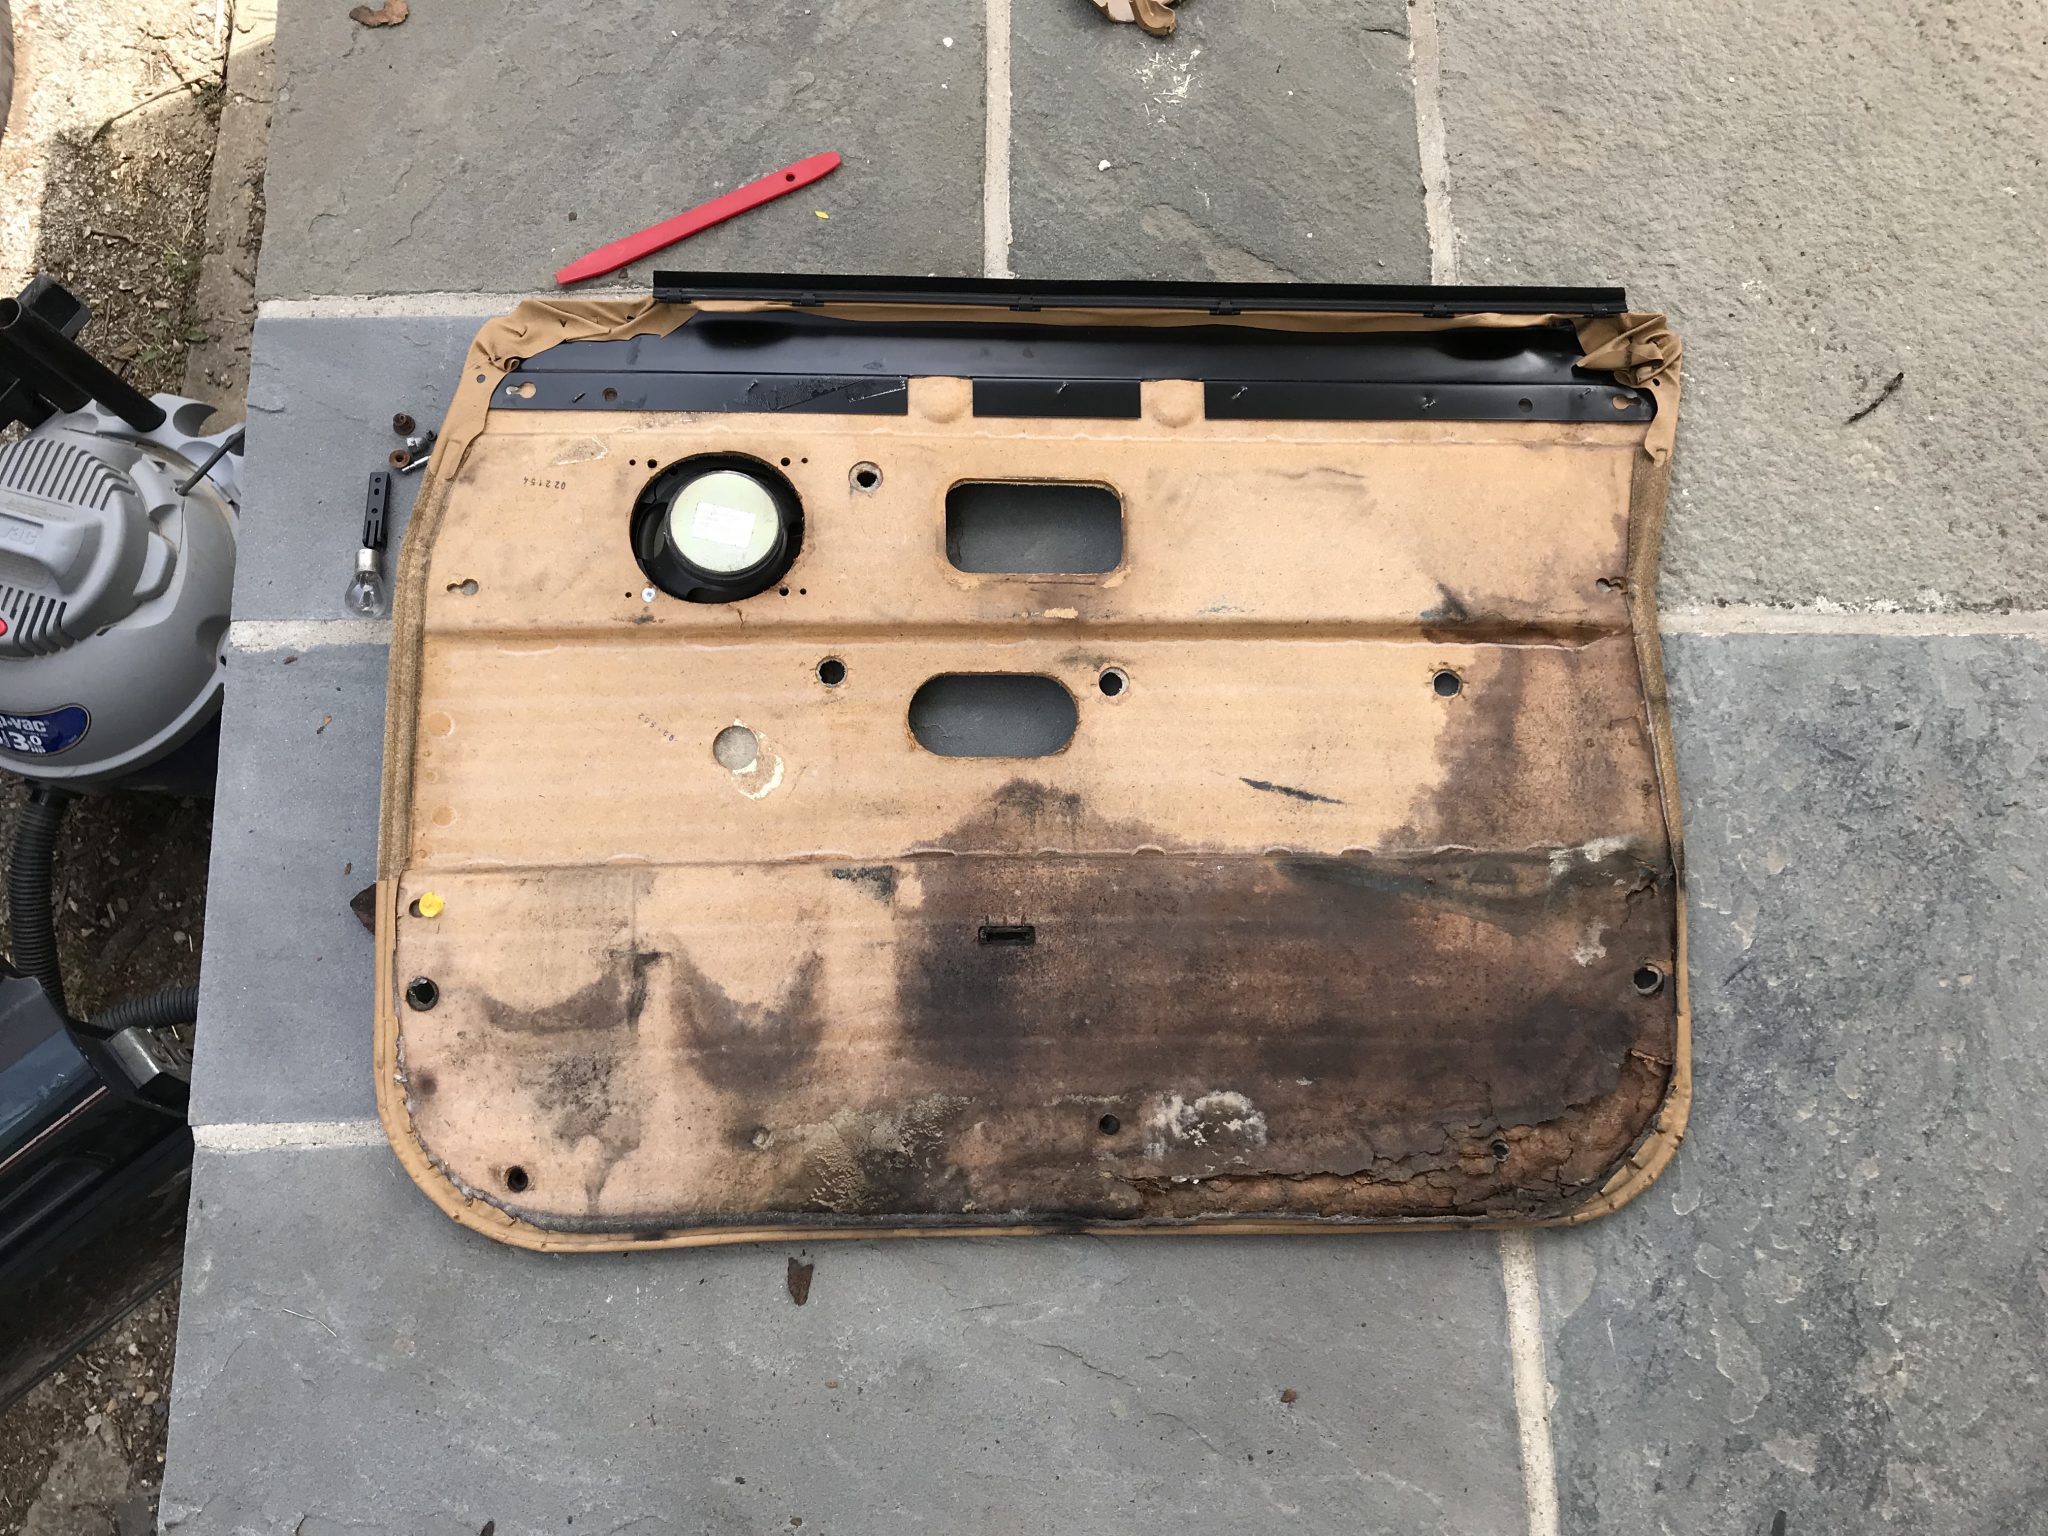
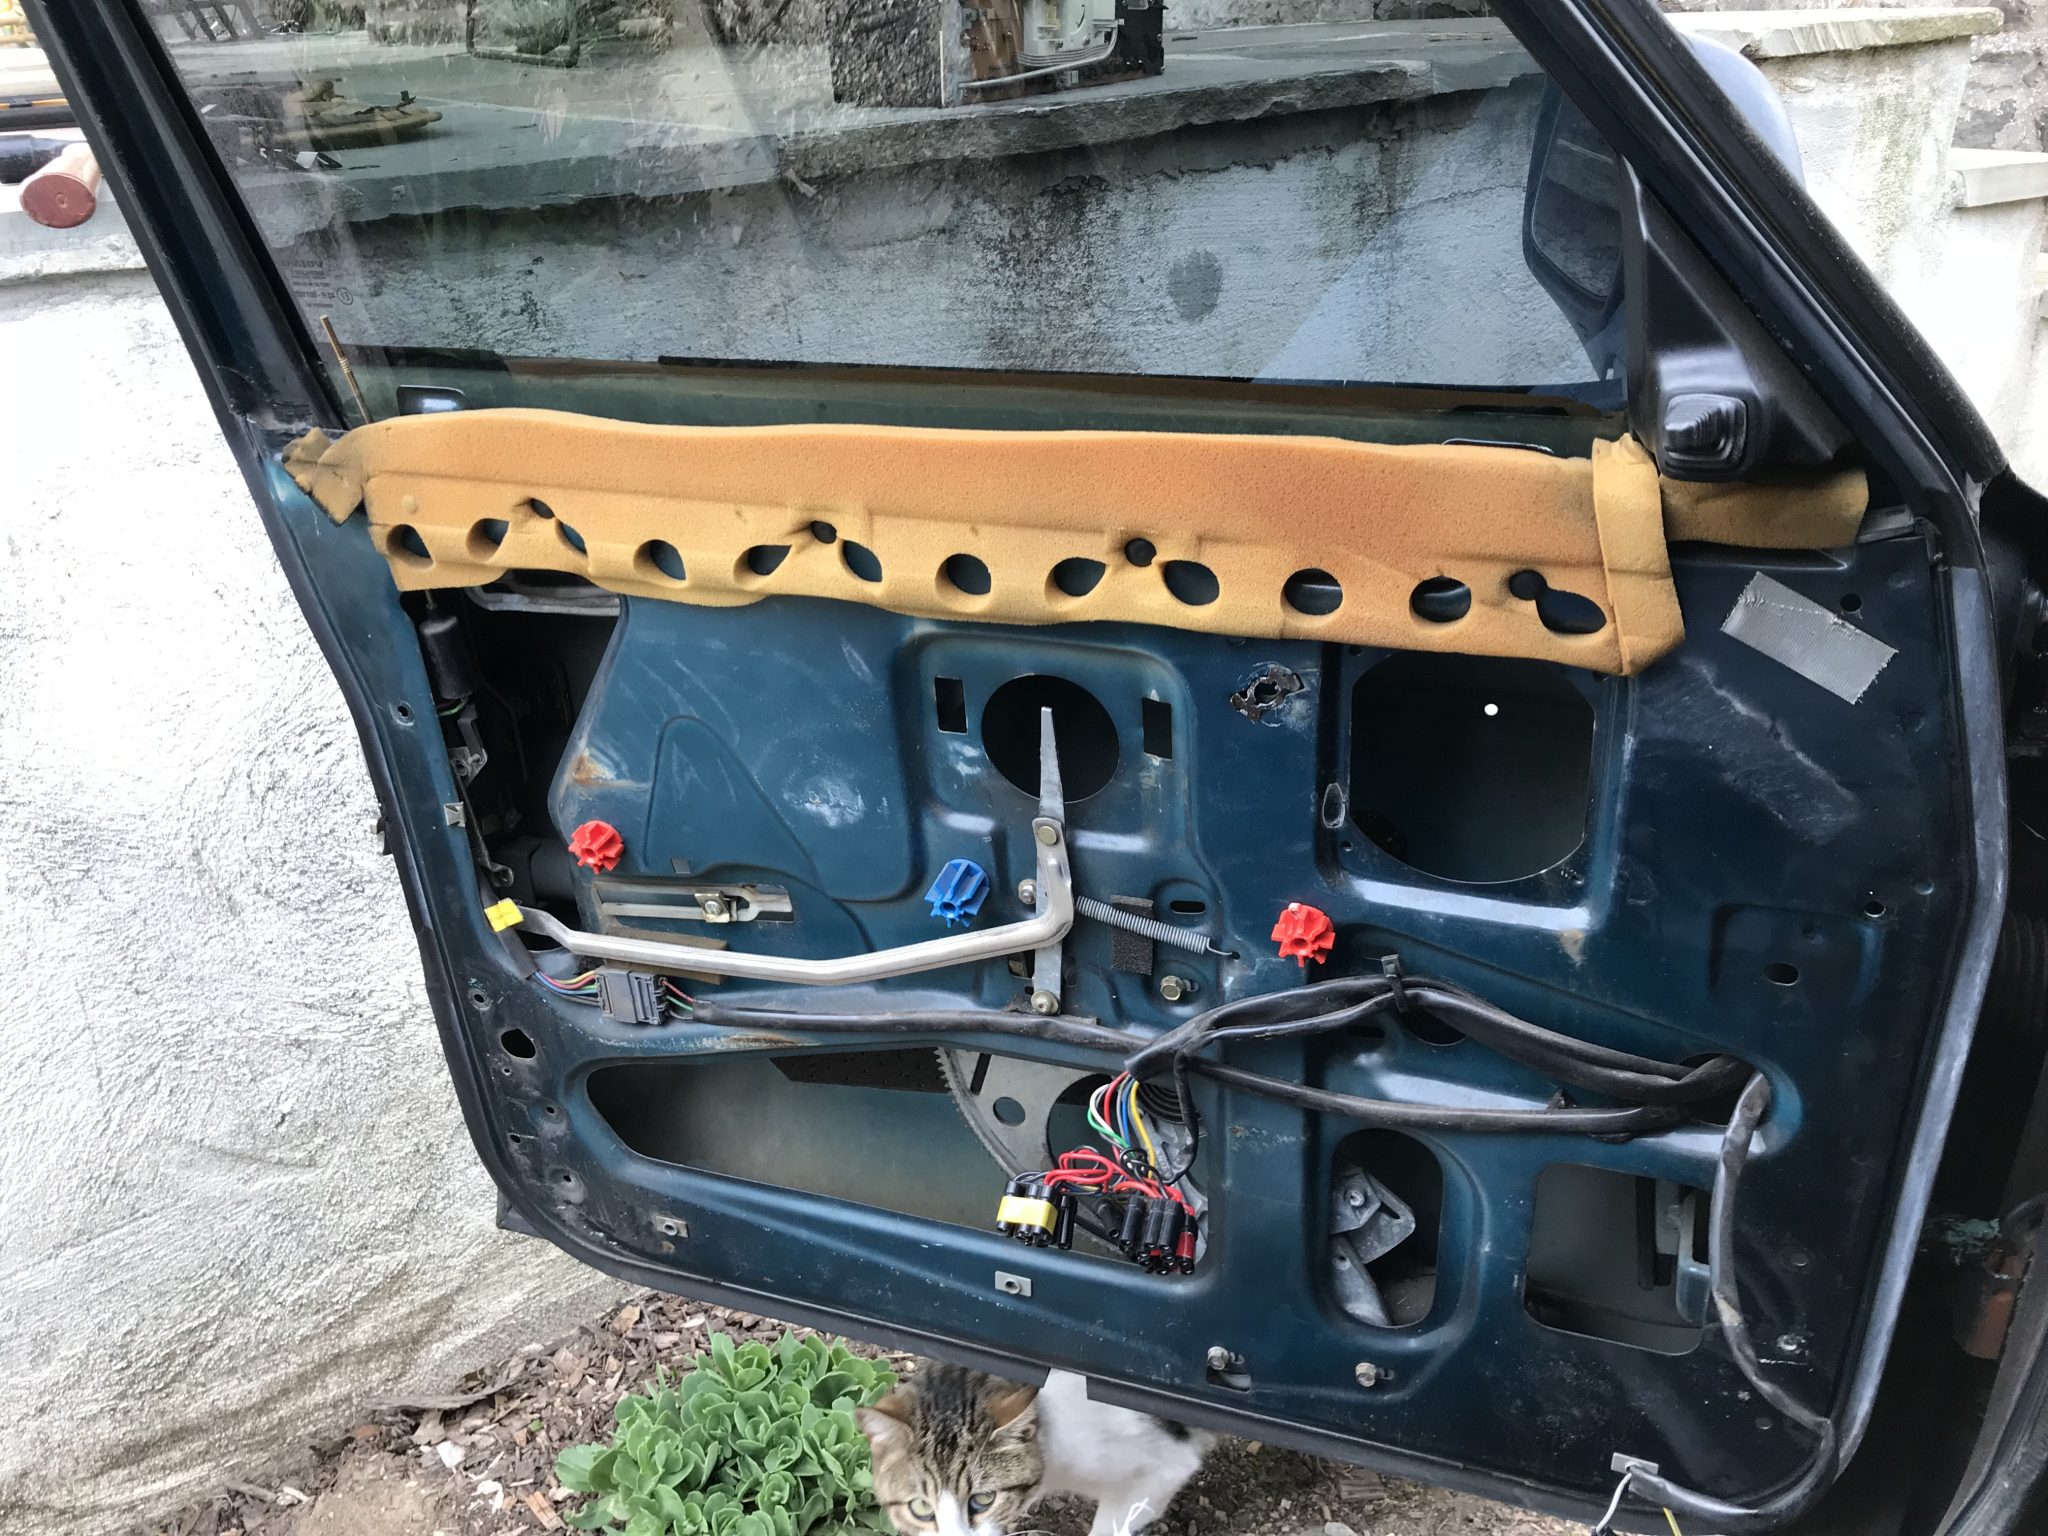
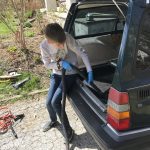
Door Cards
I got the arm rests off and then the interior door panel only to find that most of the clips had long ago broken and that the panel’s cardboard-like backing material was… not in good shape.
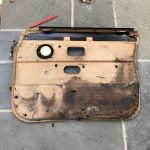
There was no vapor barrier and obviously at some point it got wet. Parts of it flaked off and disintegrated when touched. The panel is still useable but I’m wondering if I’ll eventually have to buy a replacement. I won’t be surprised of the rest of the doors are the same.
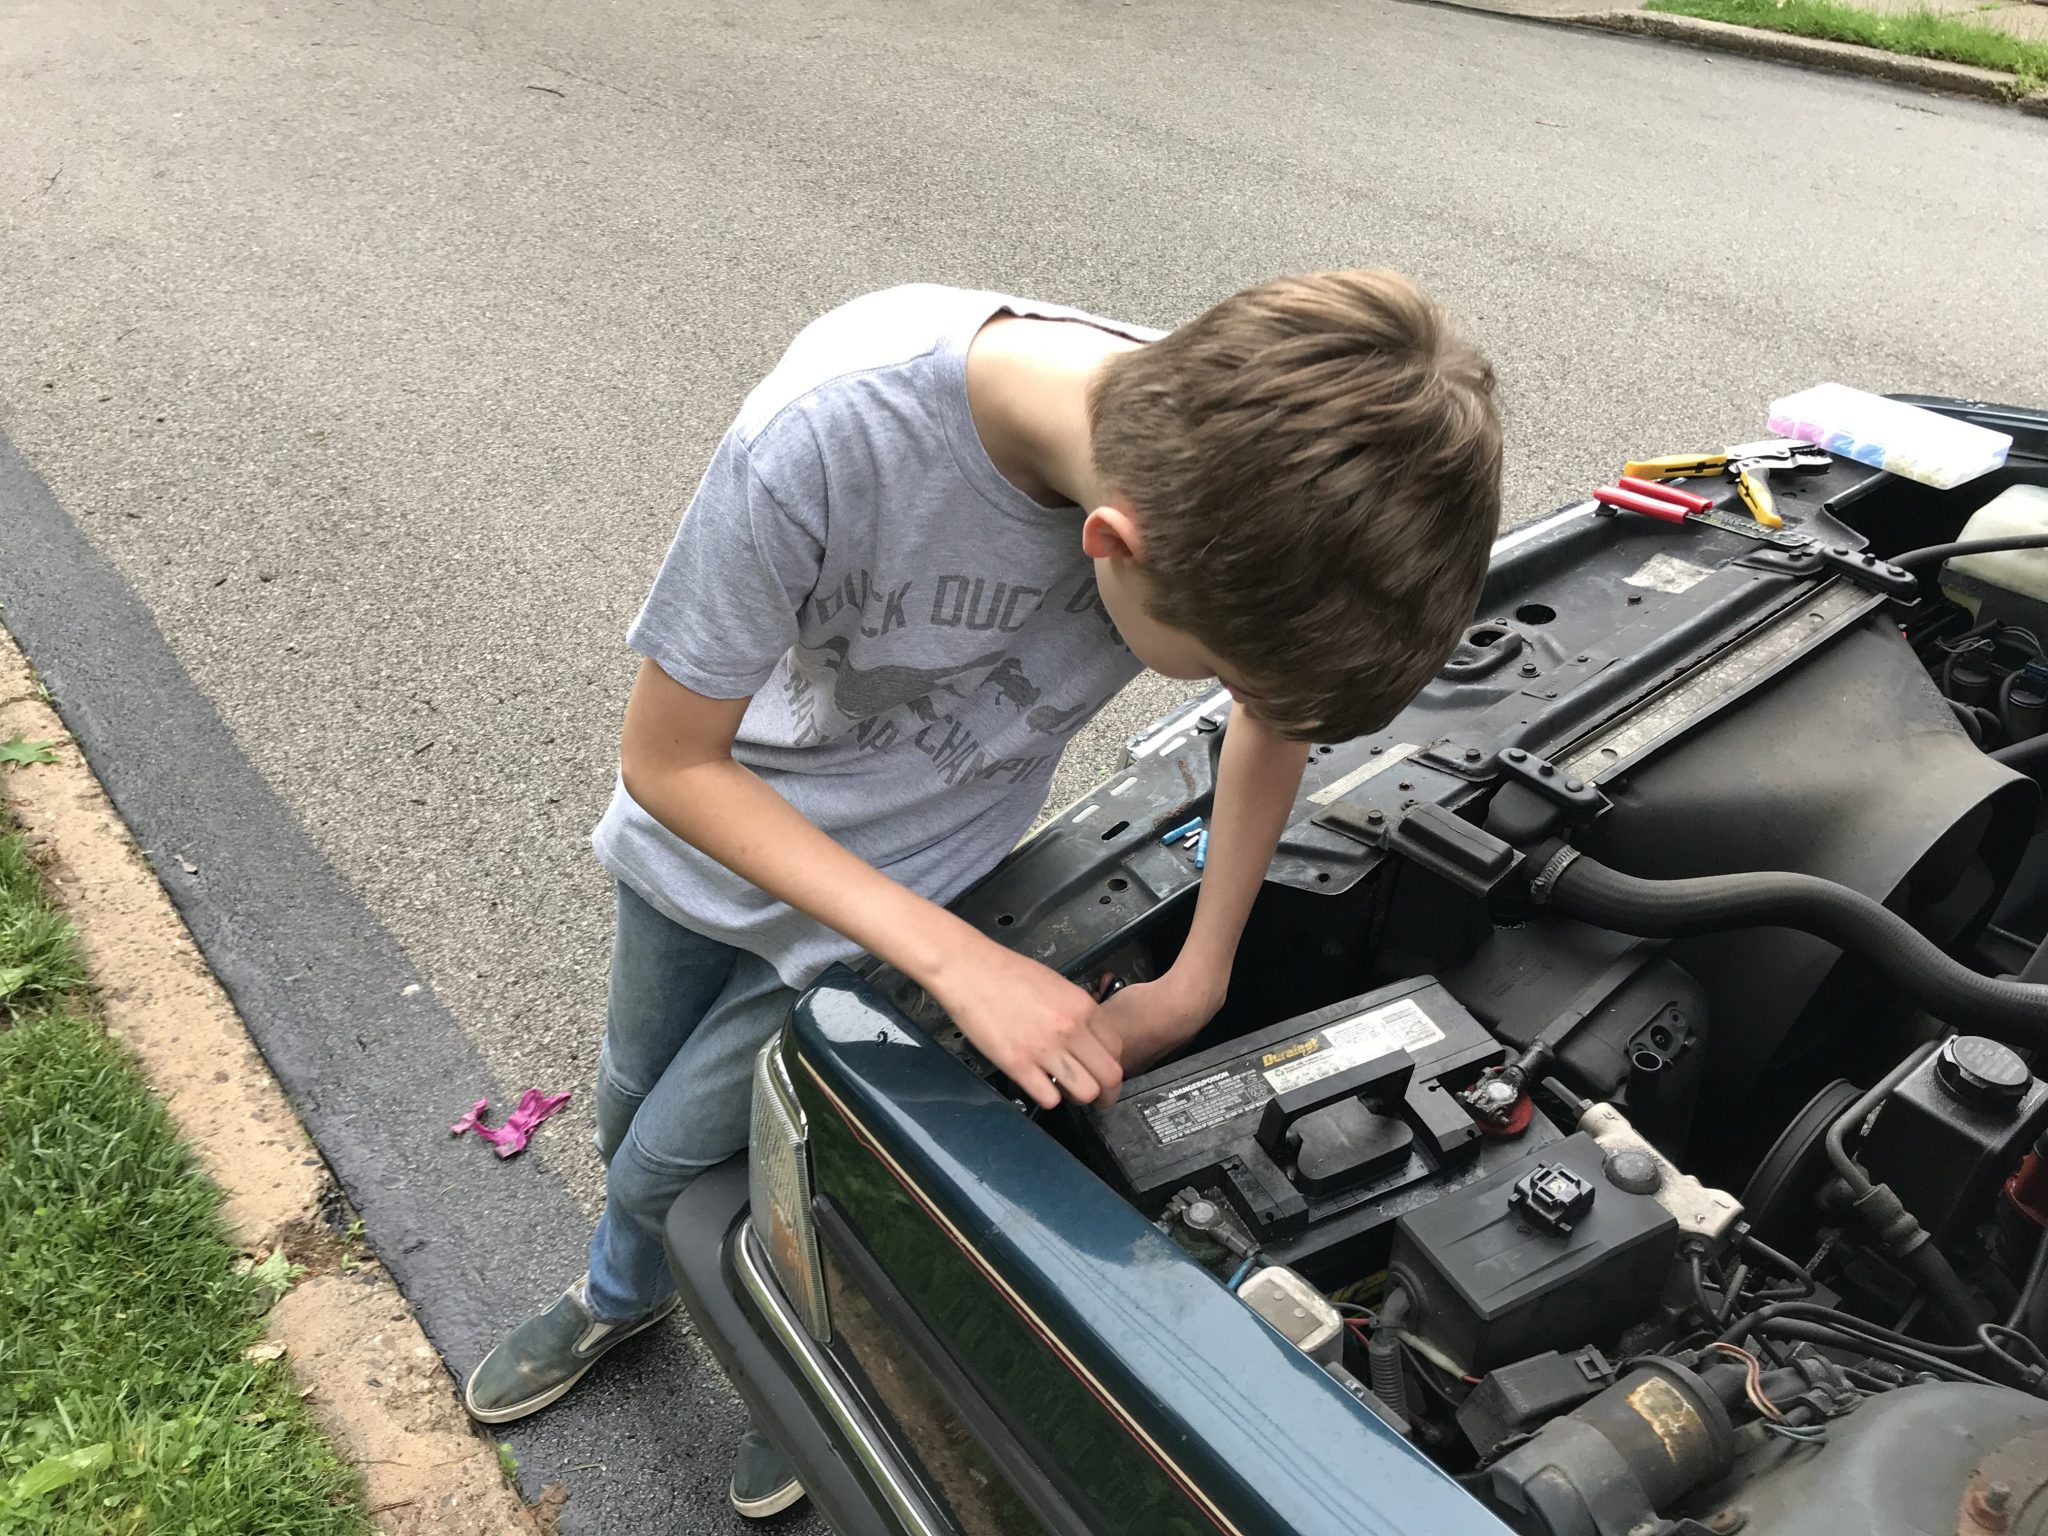
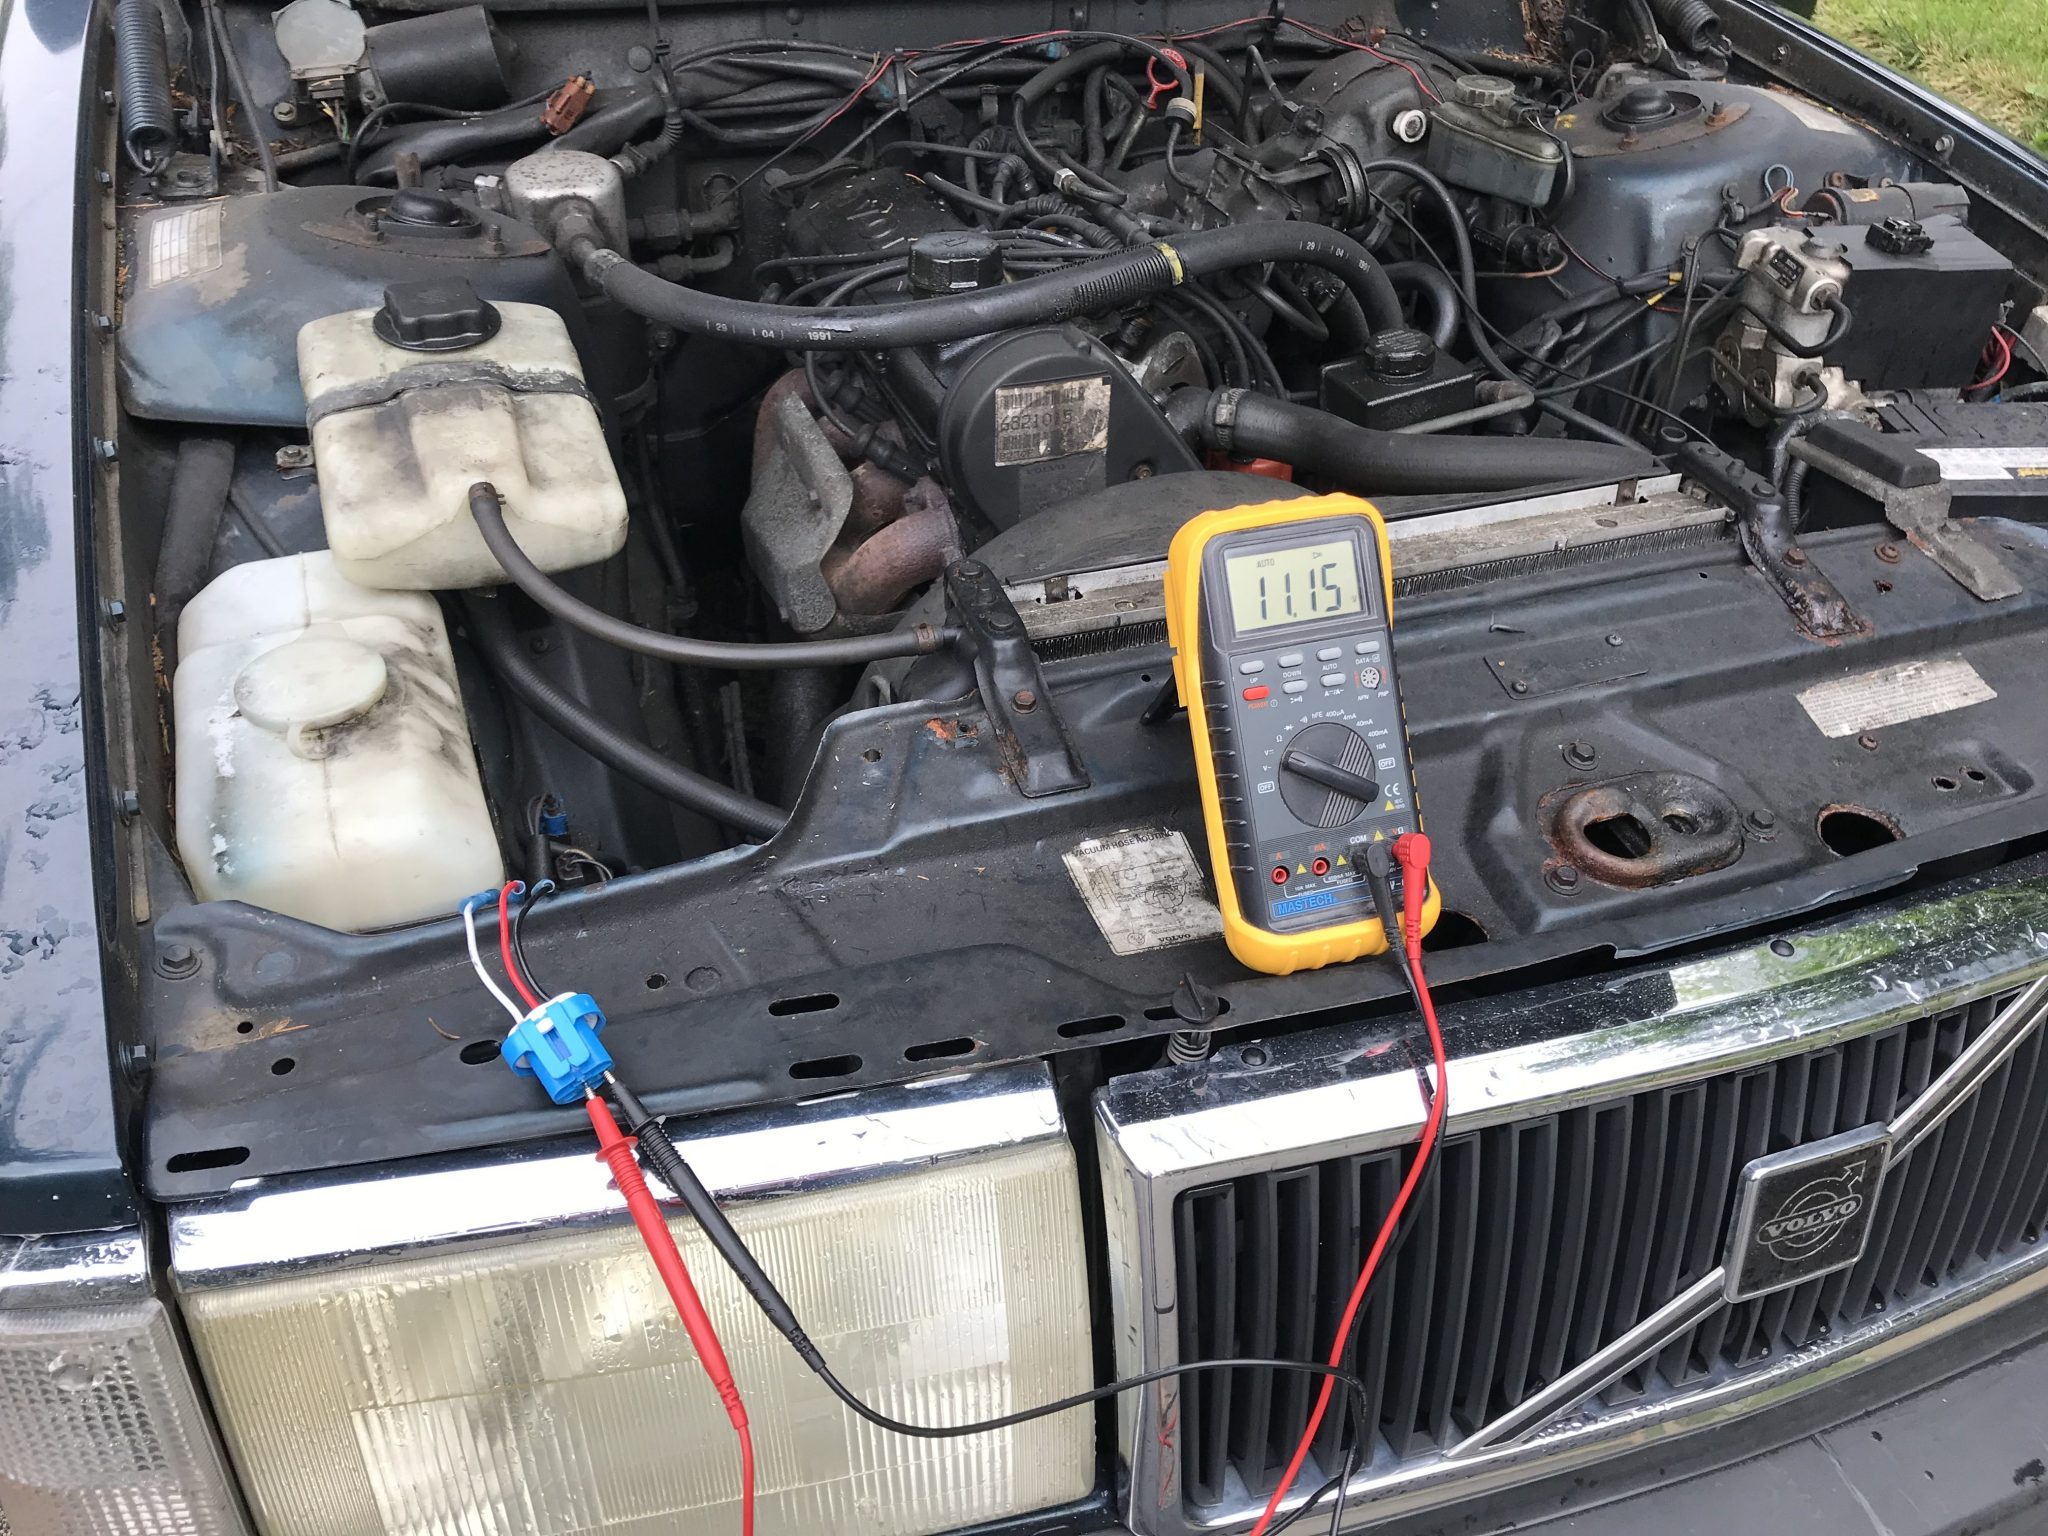
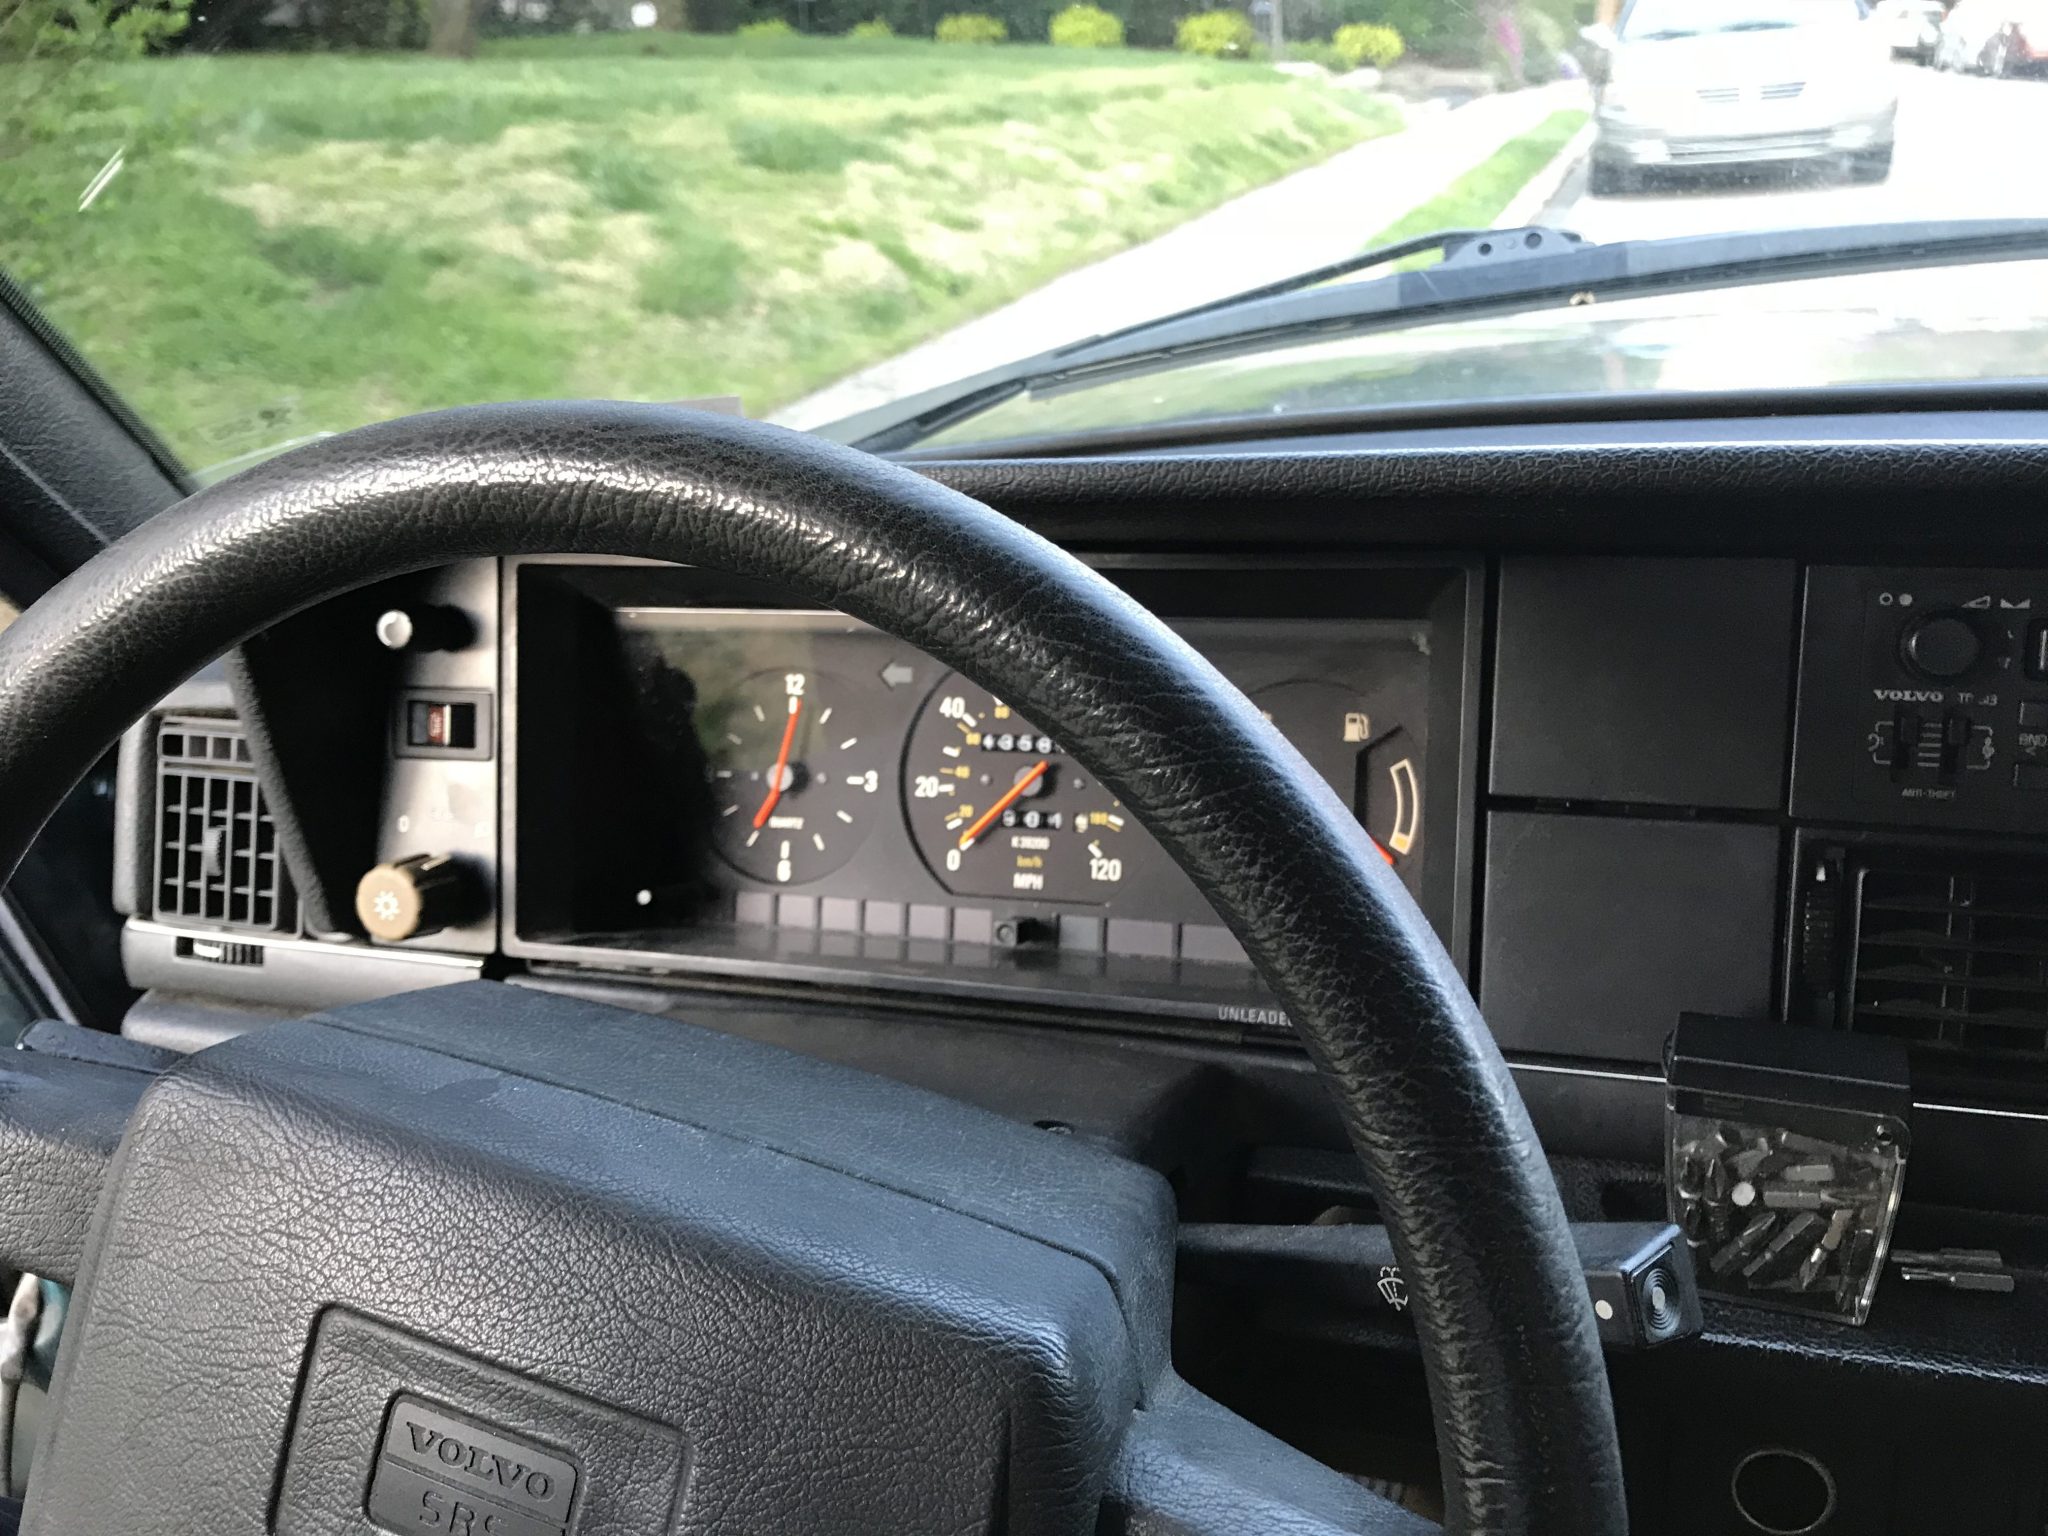
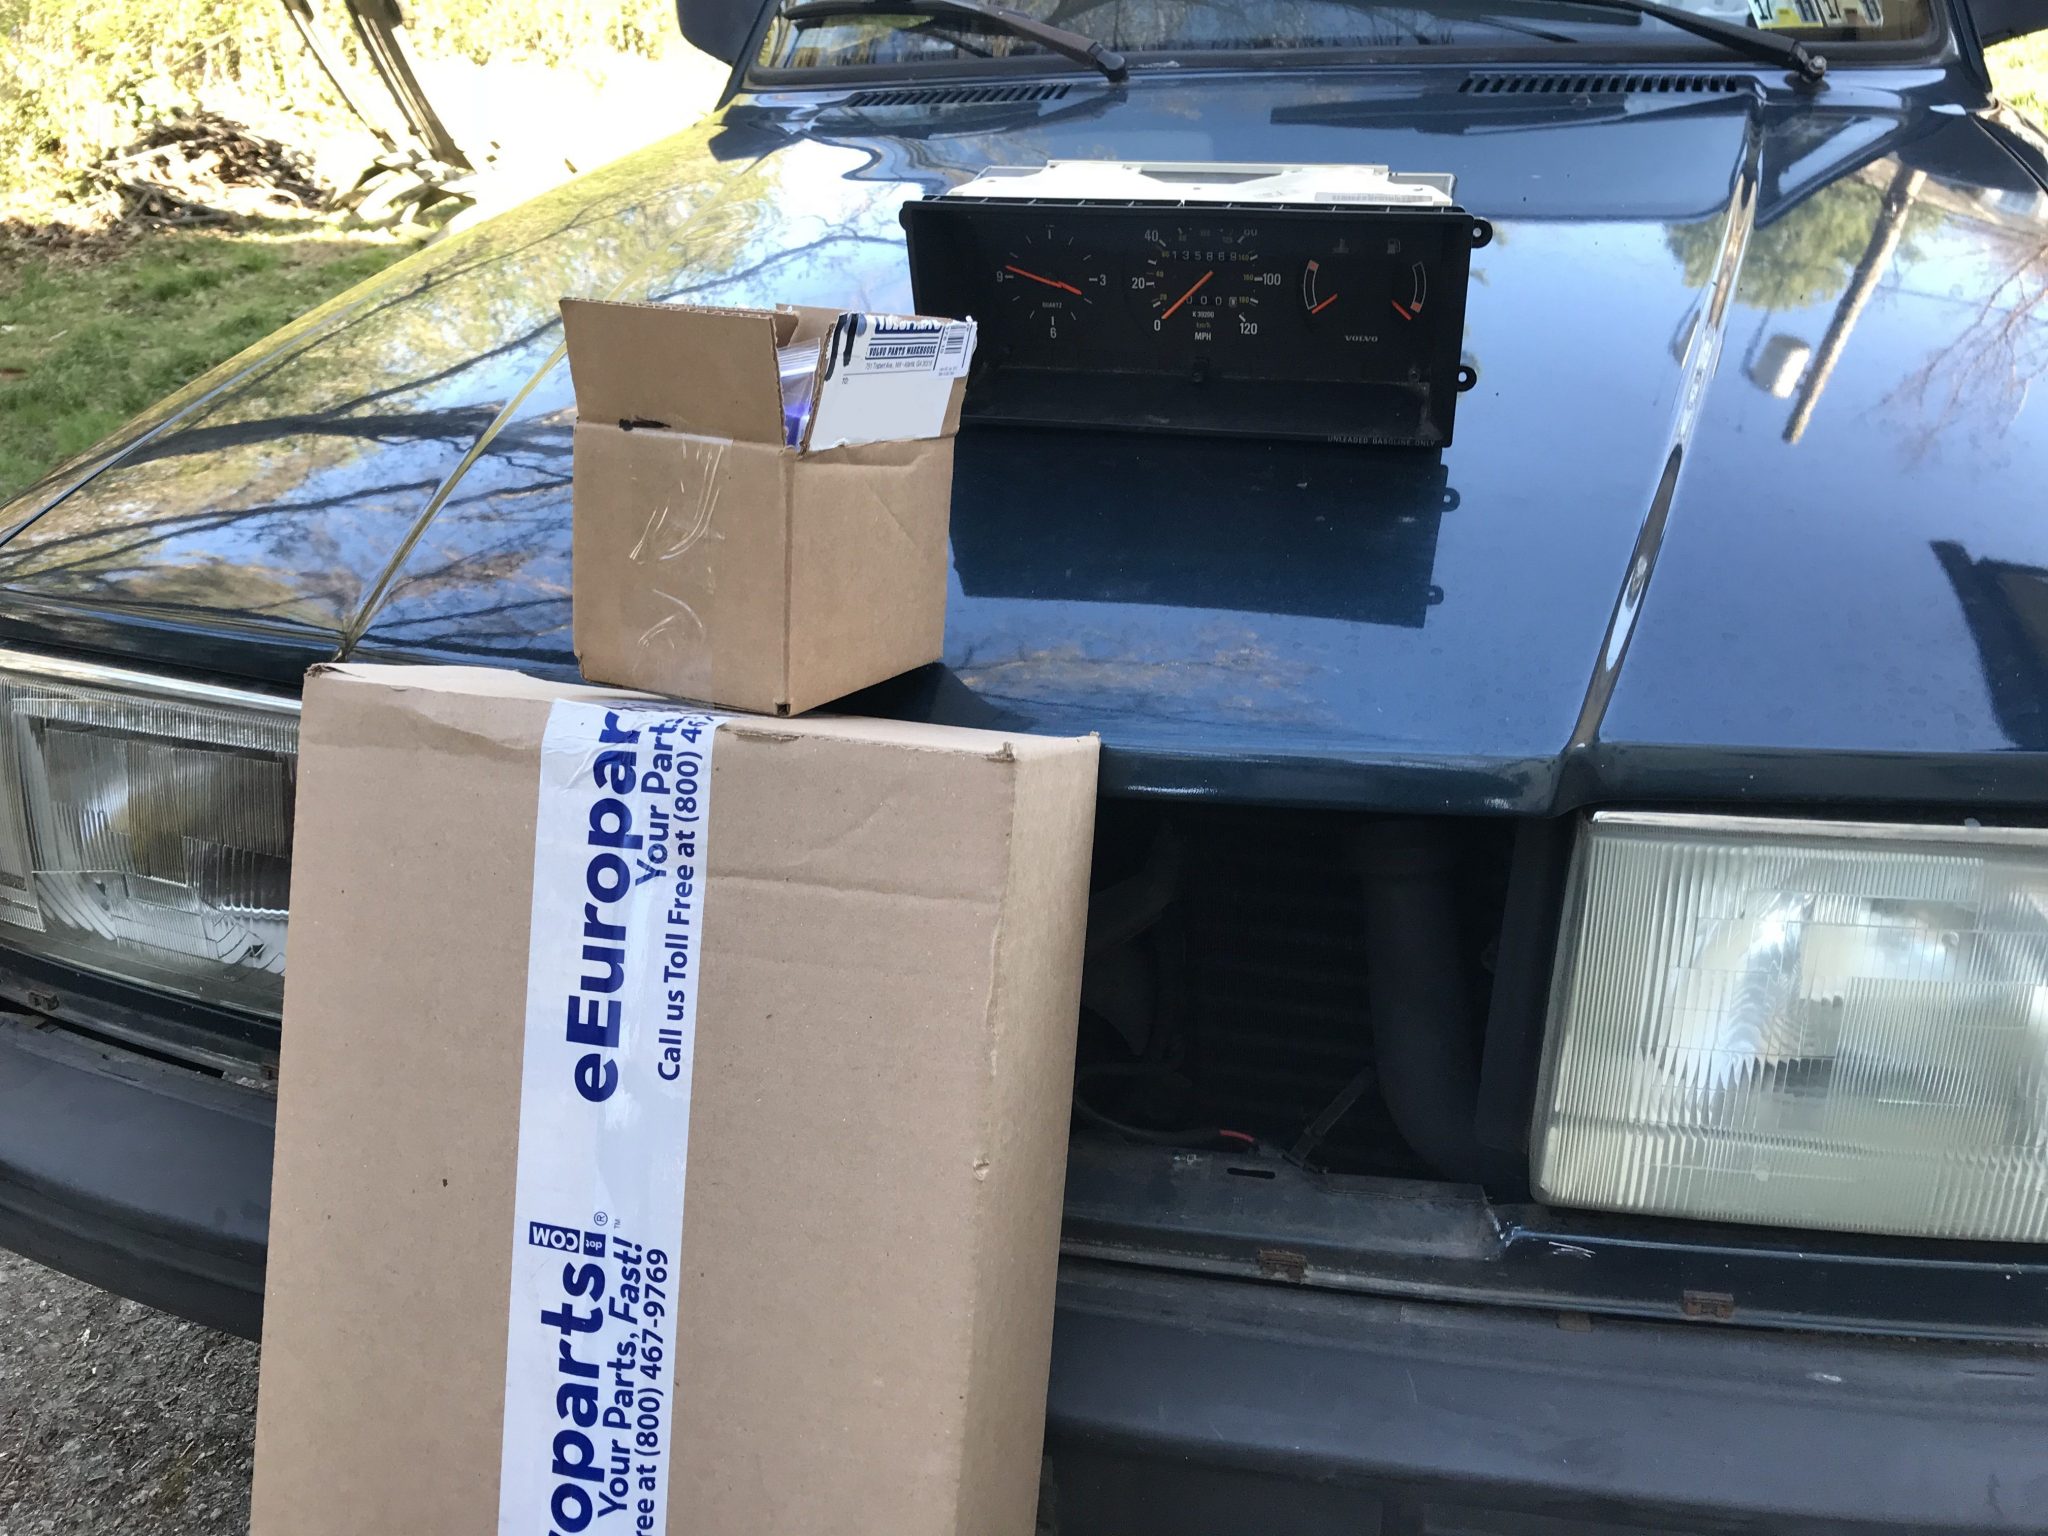
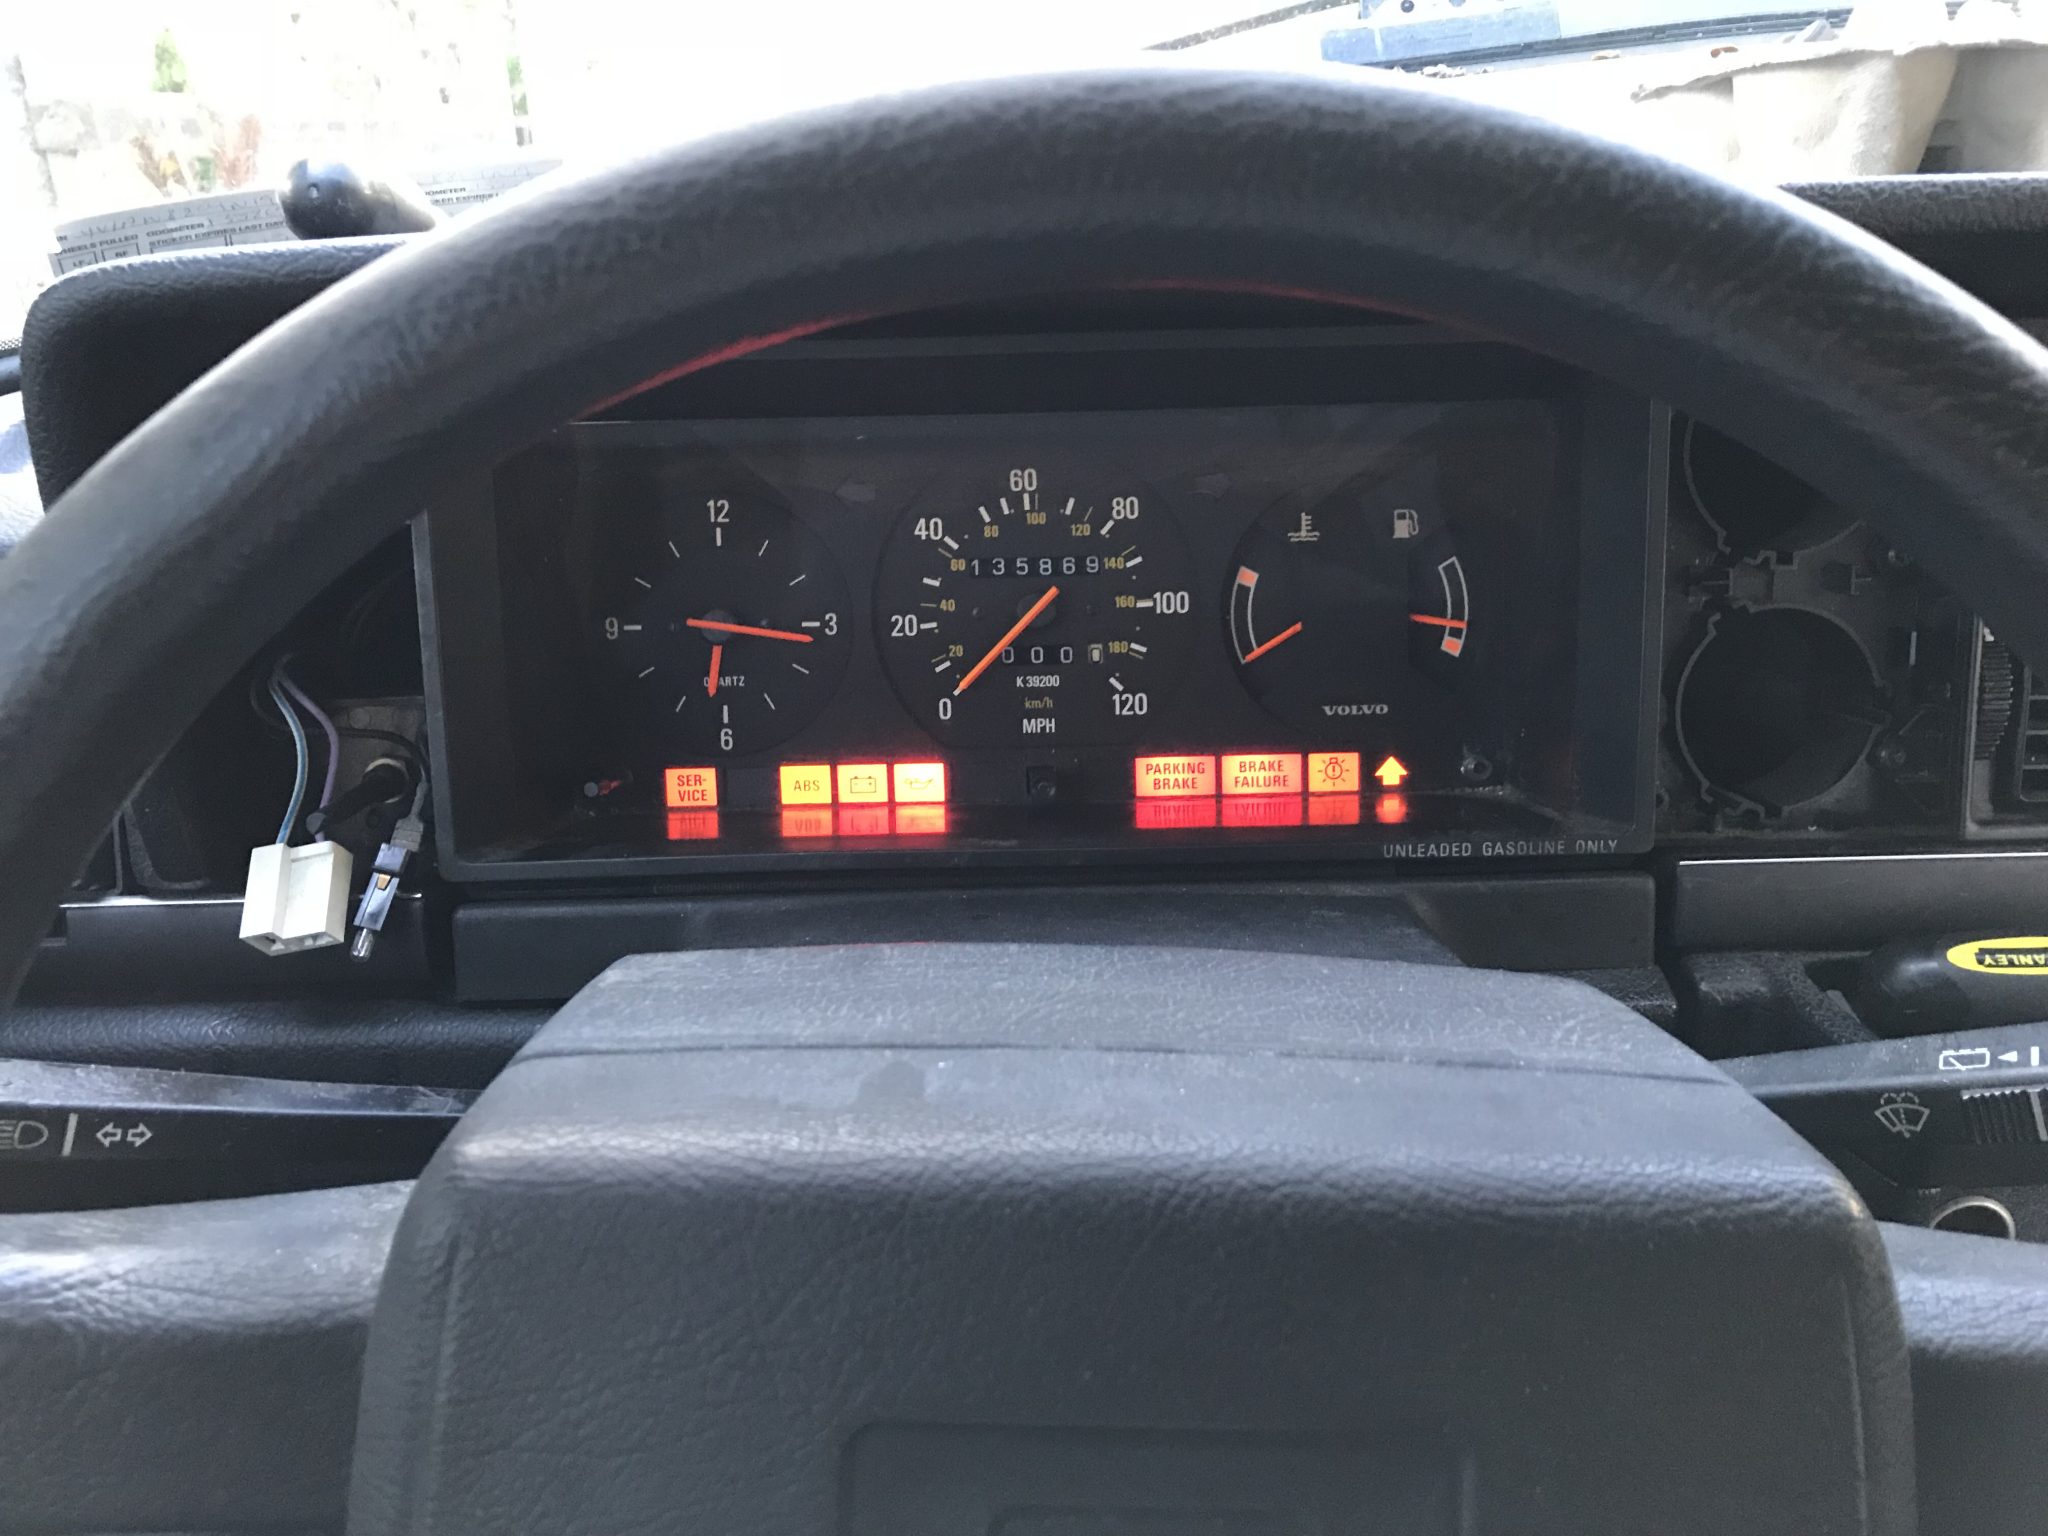
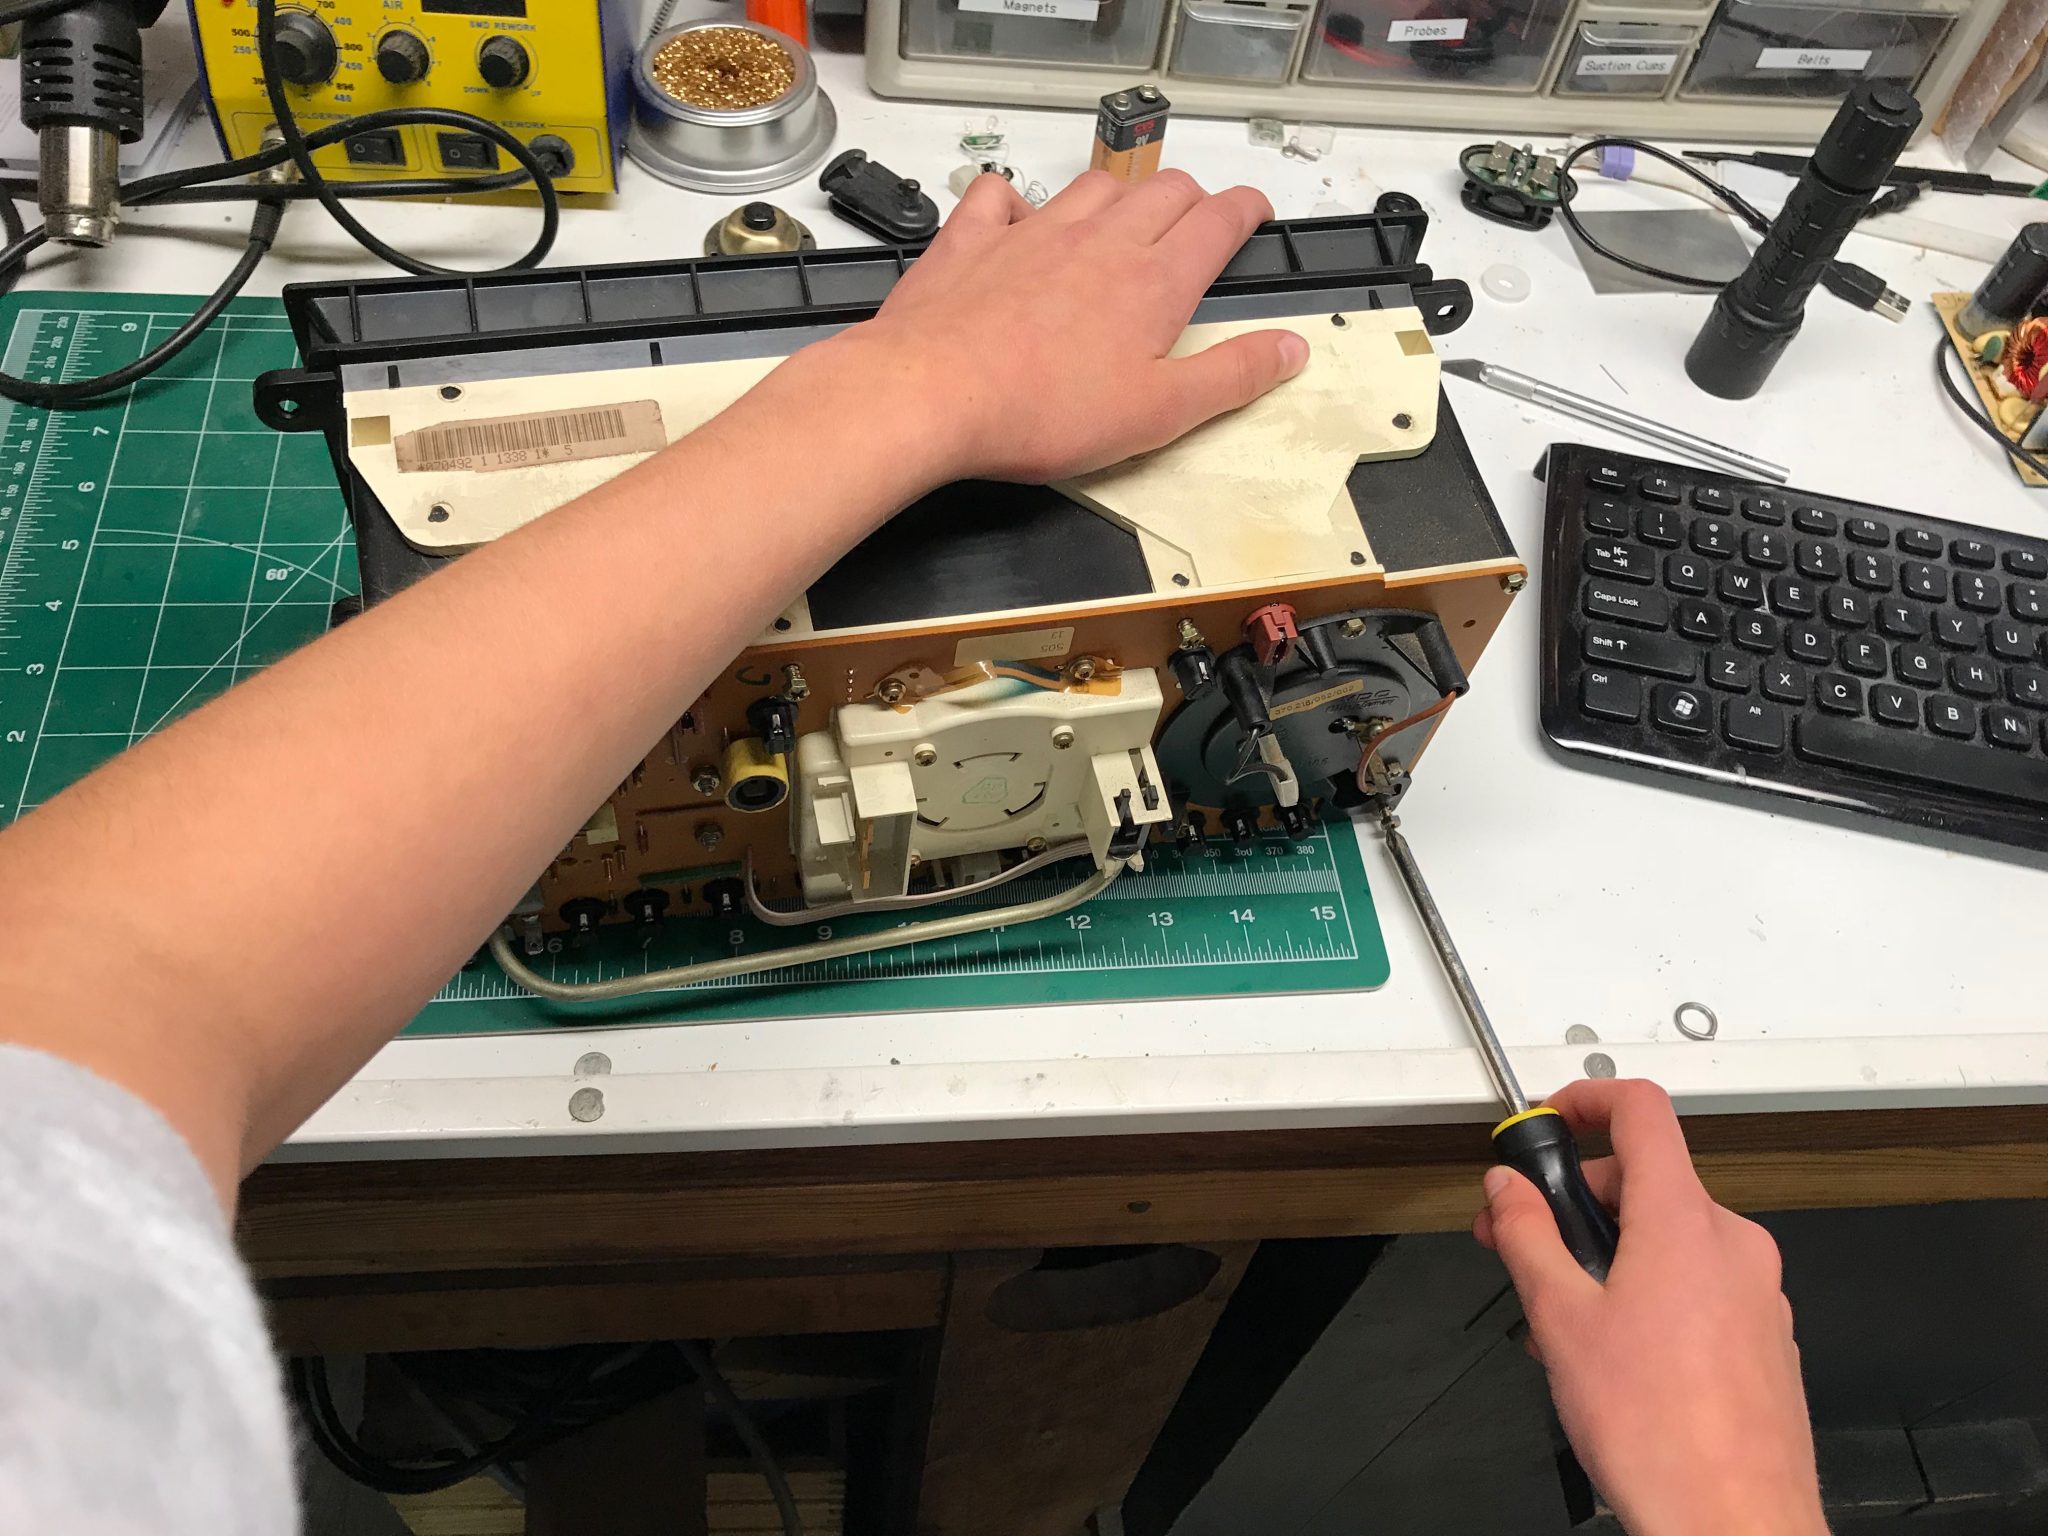
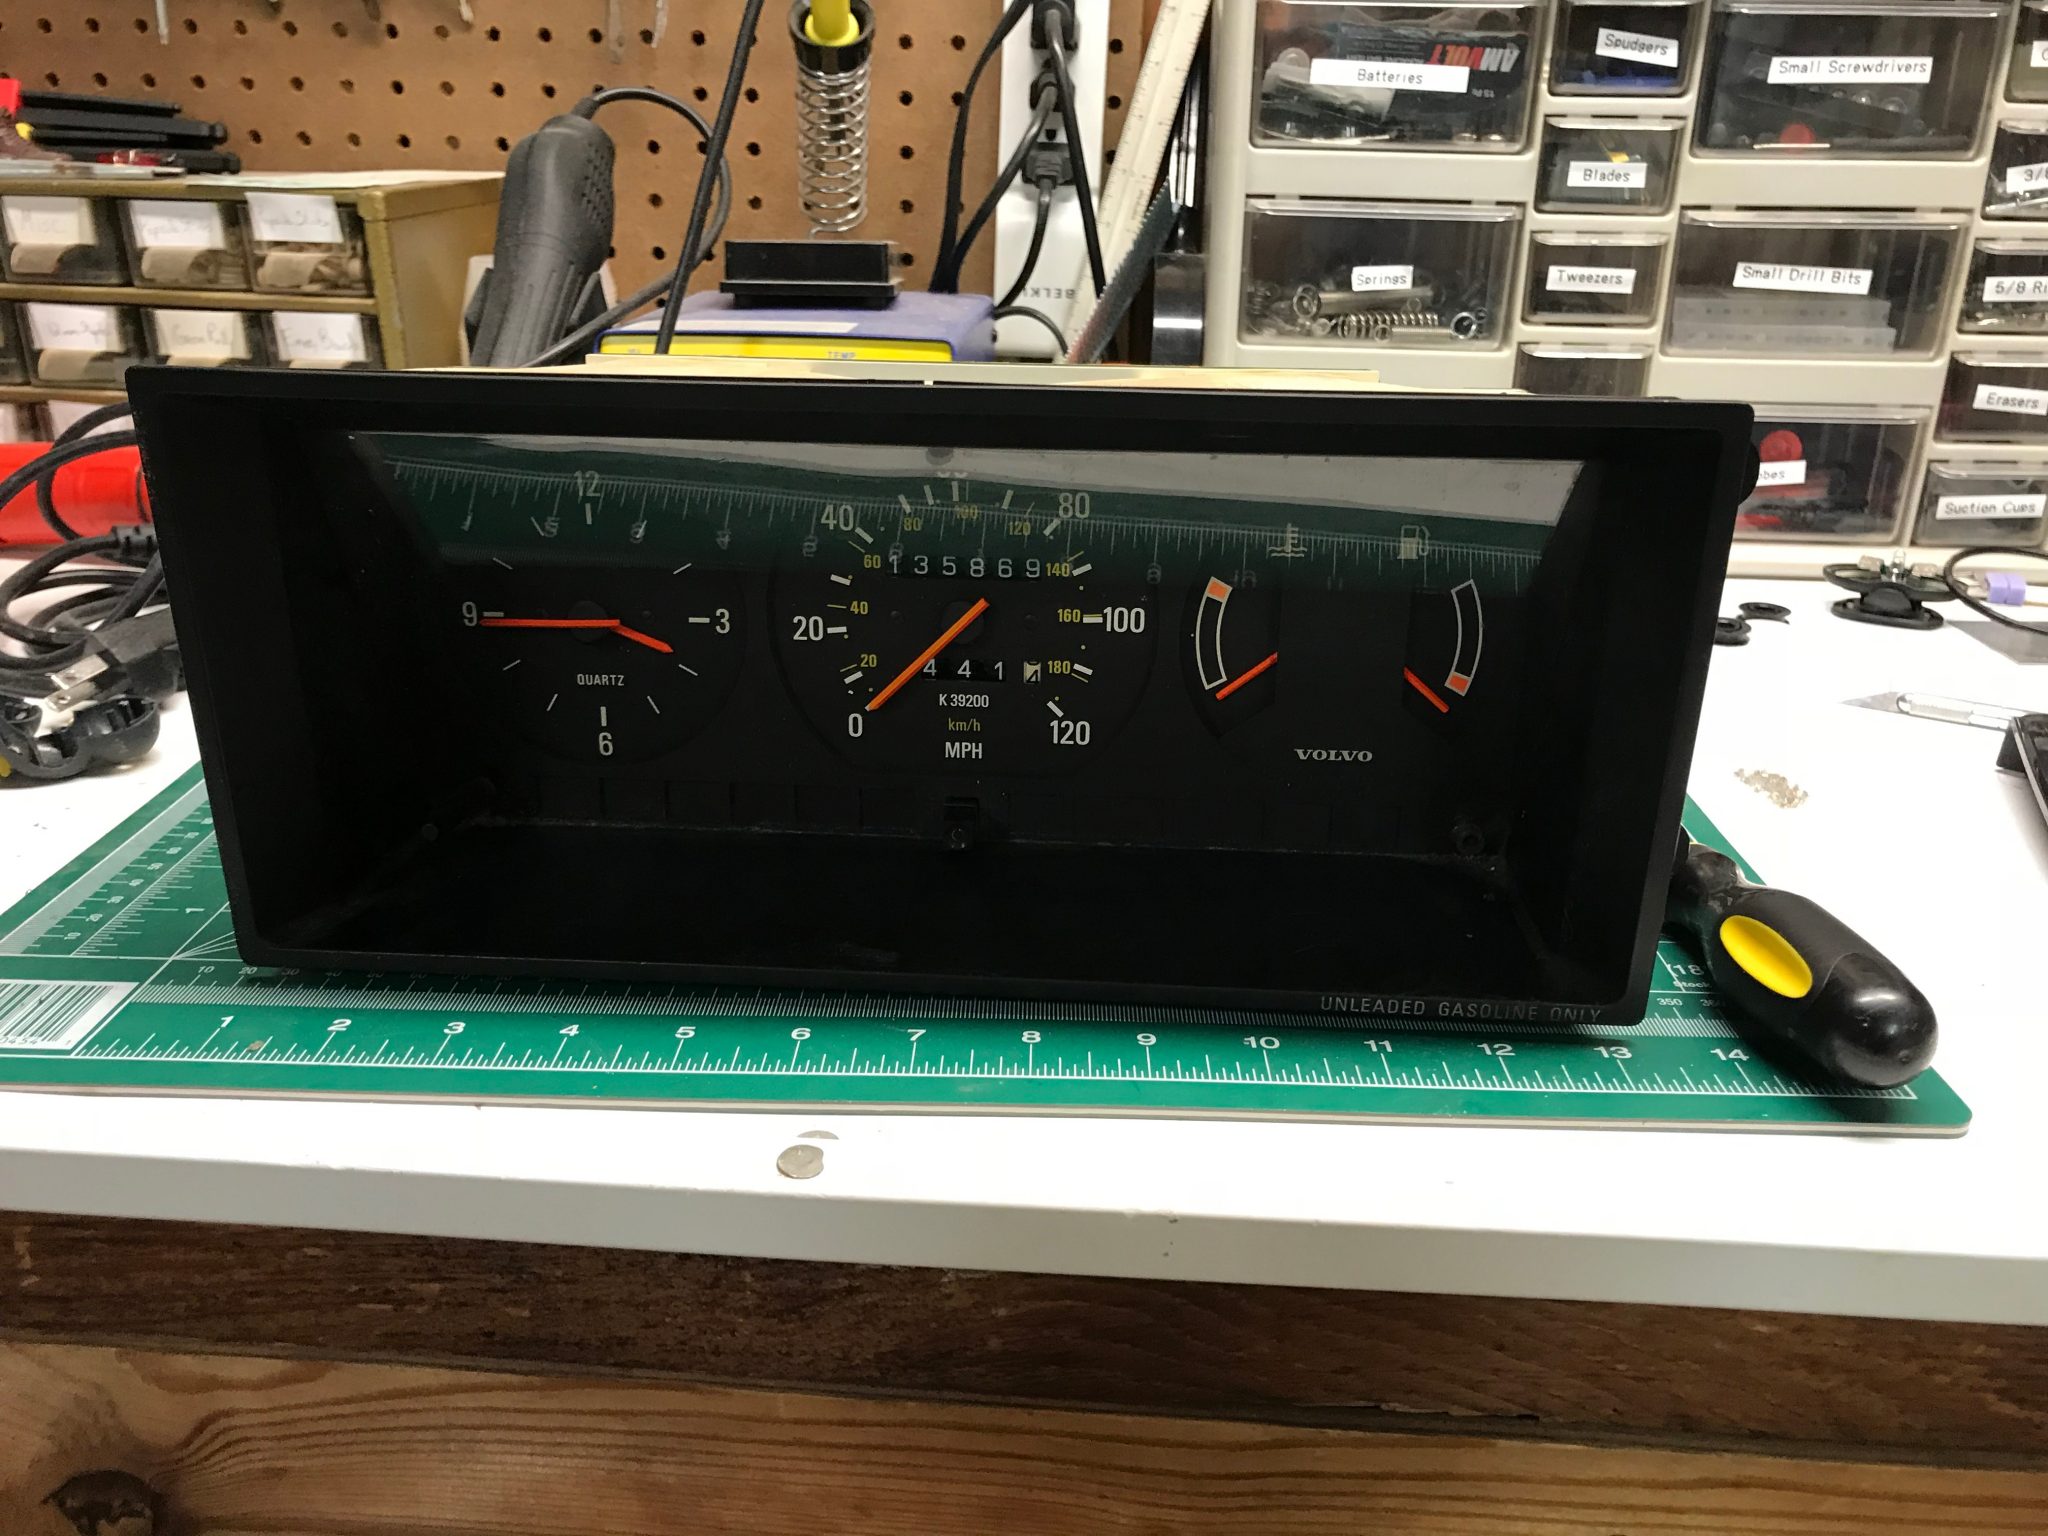
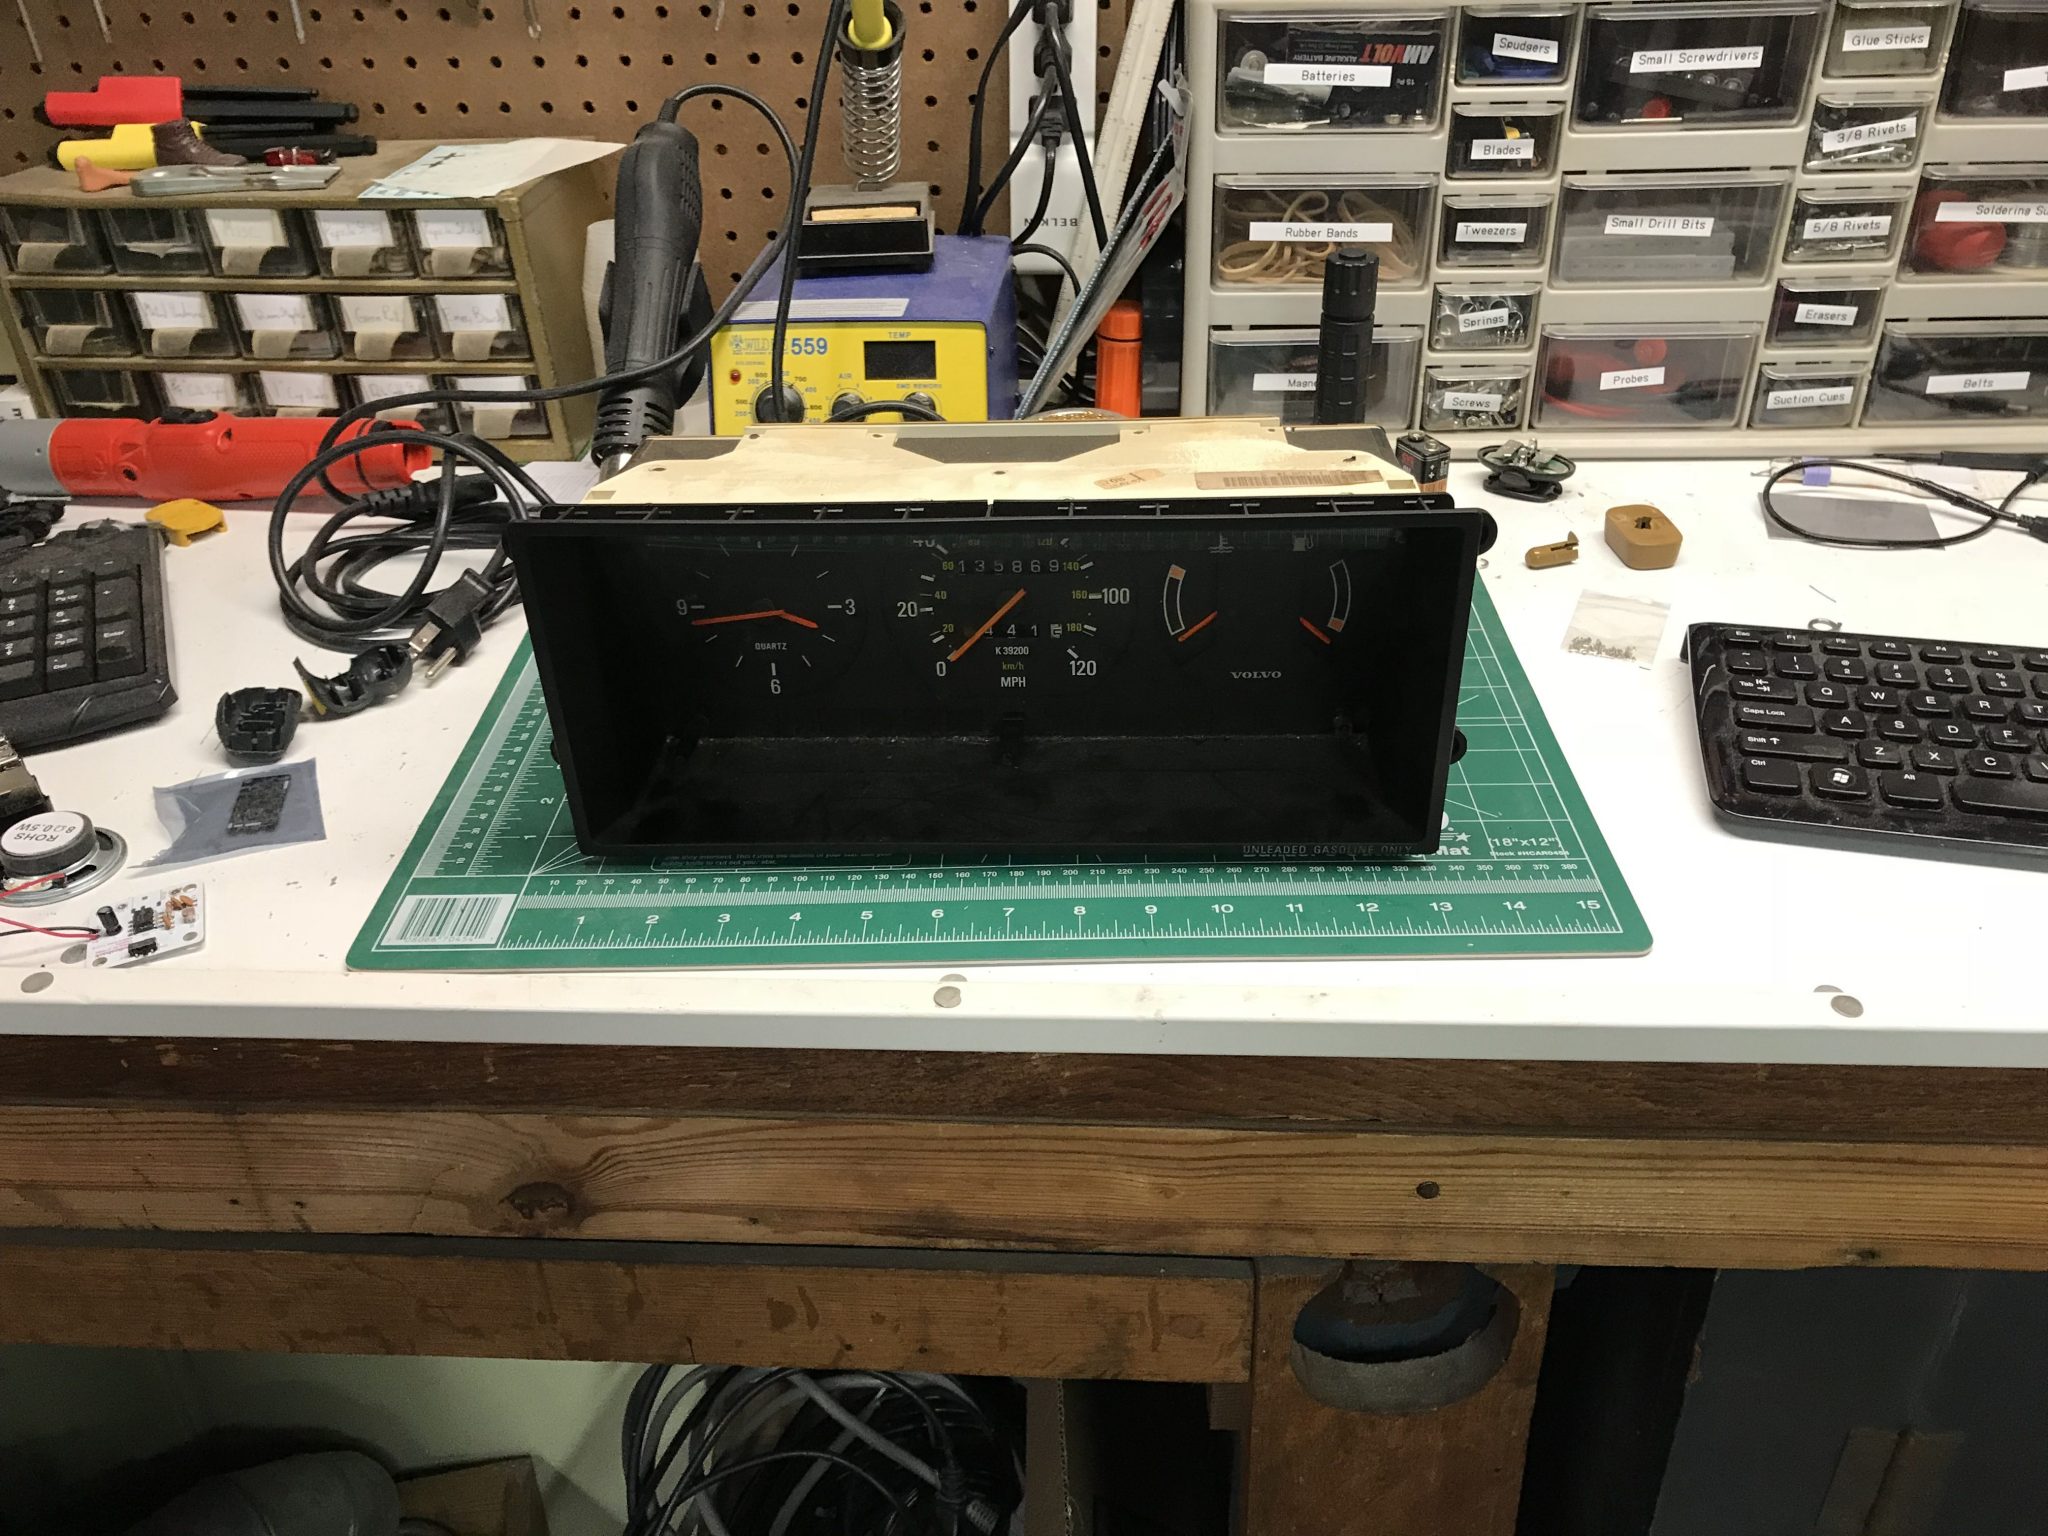
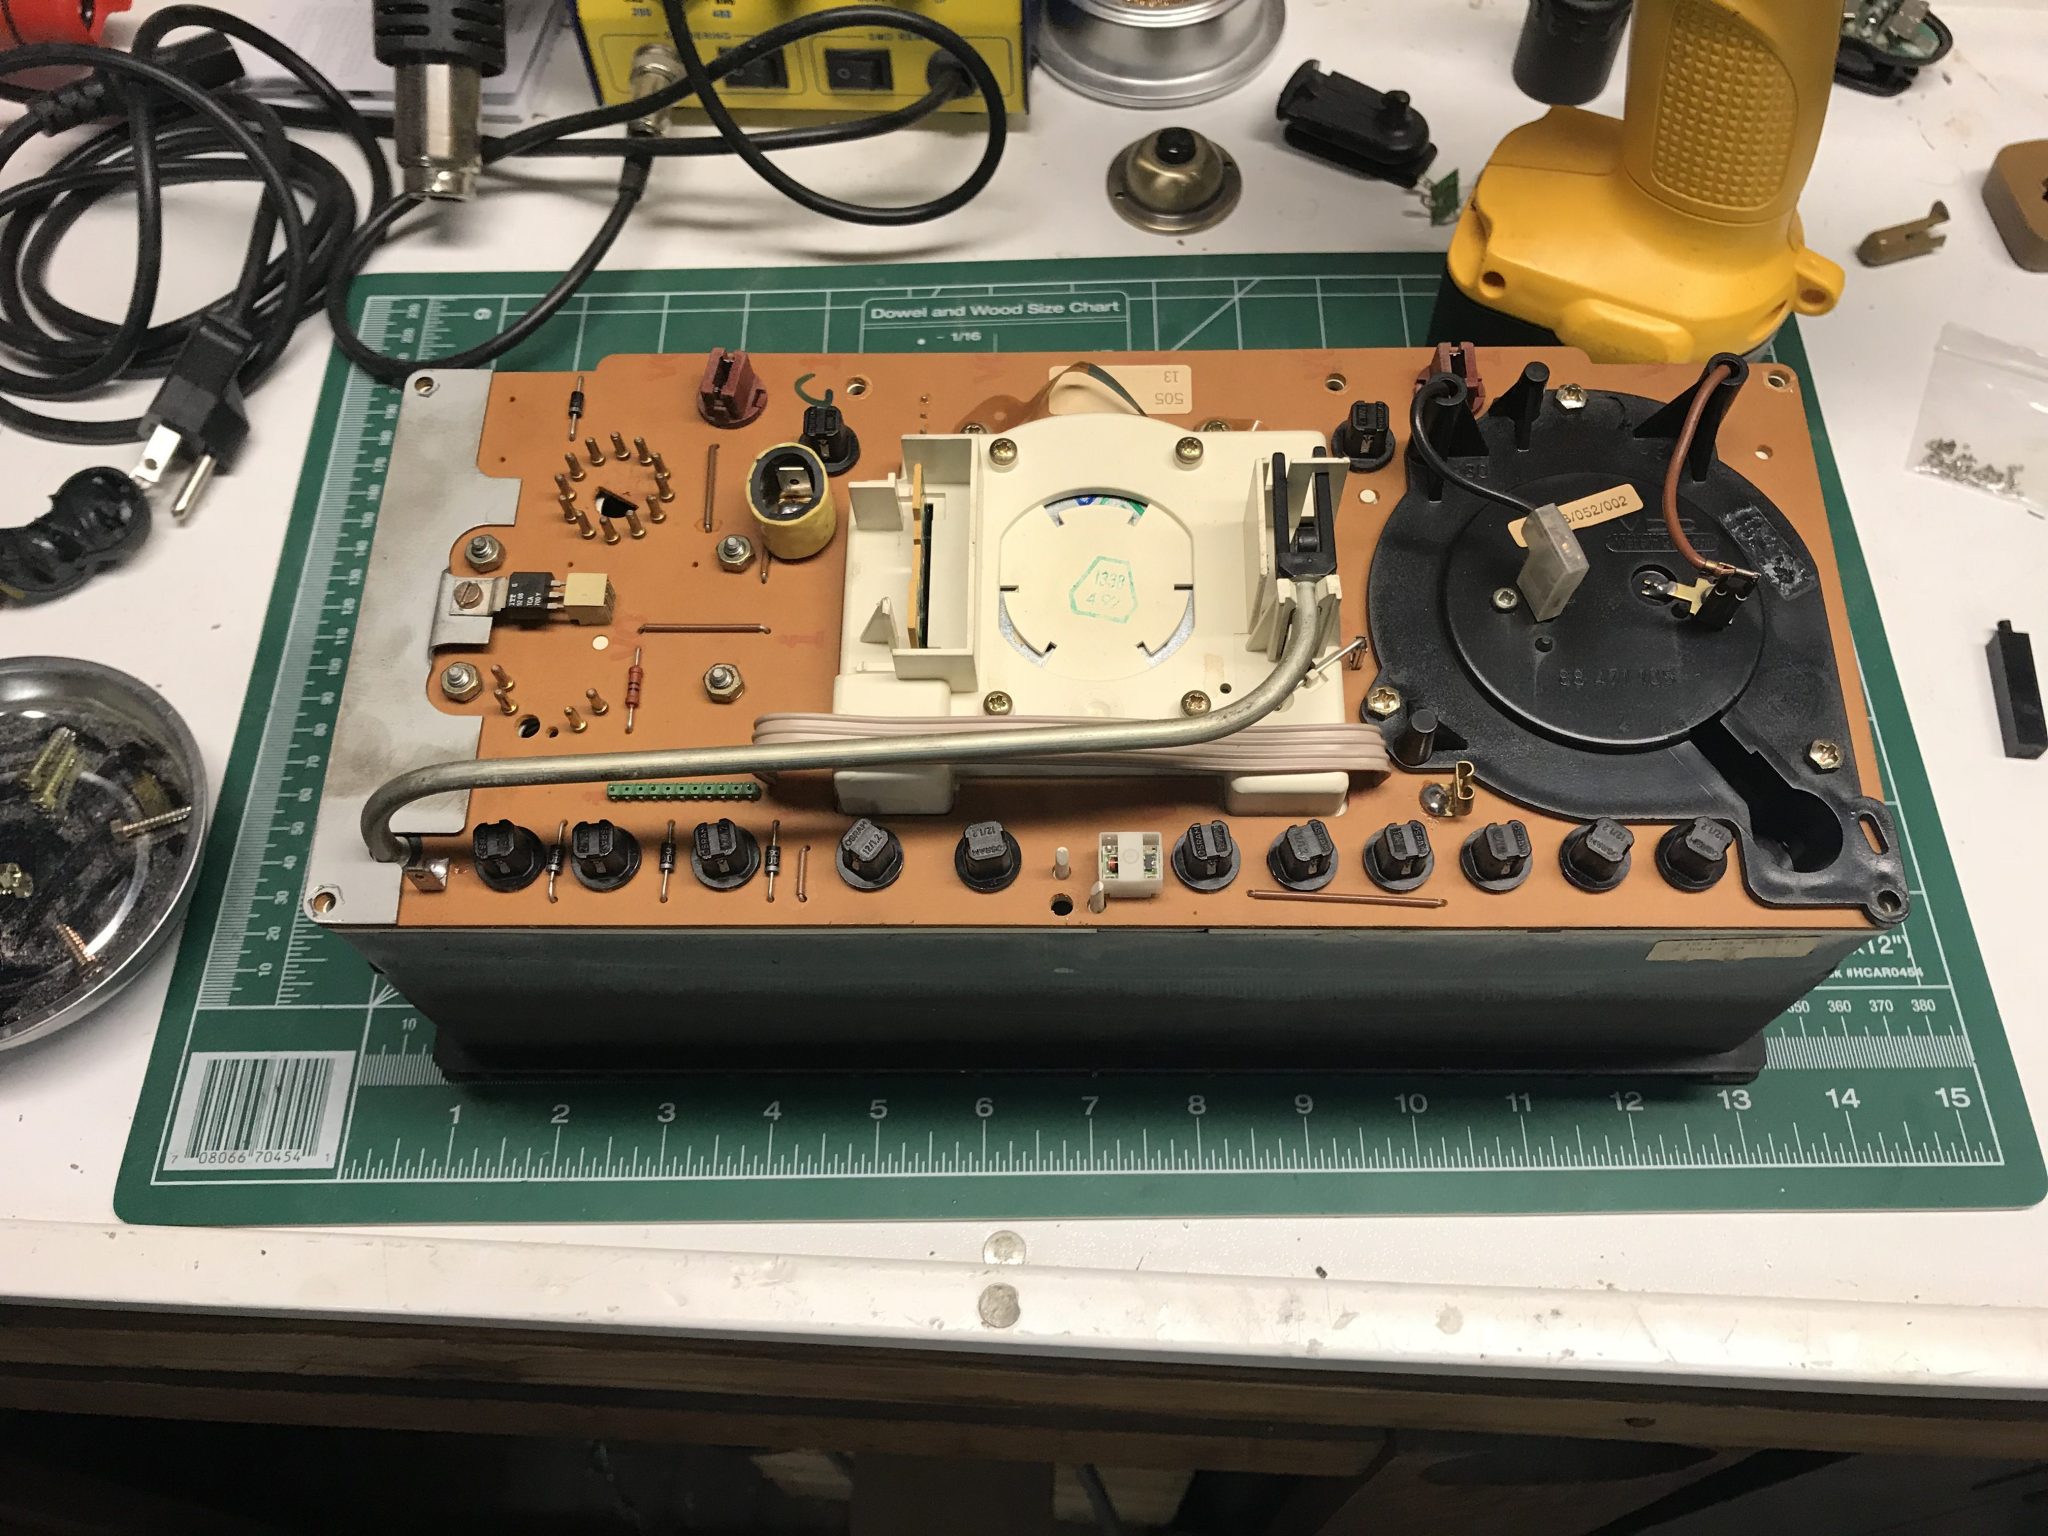
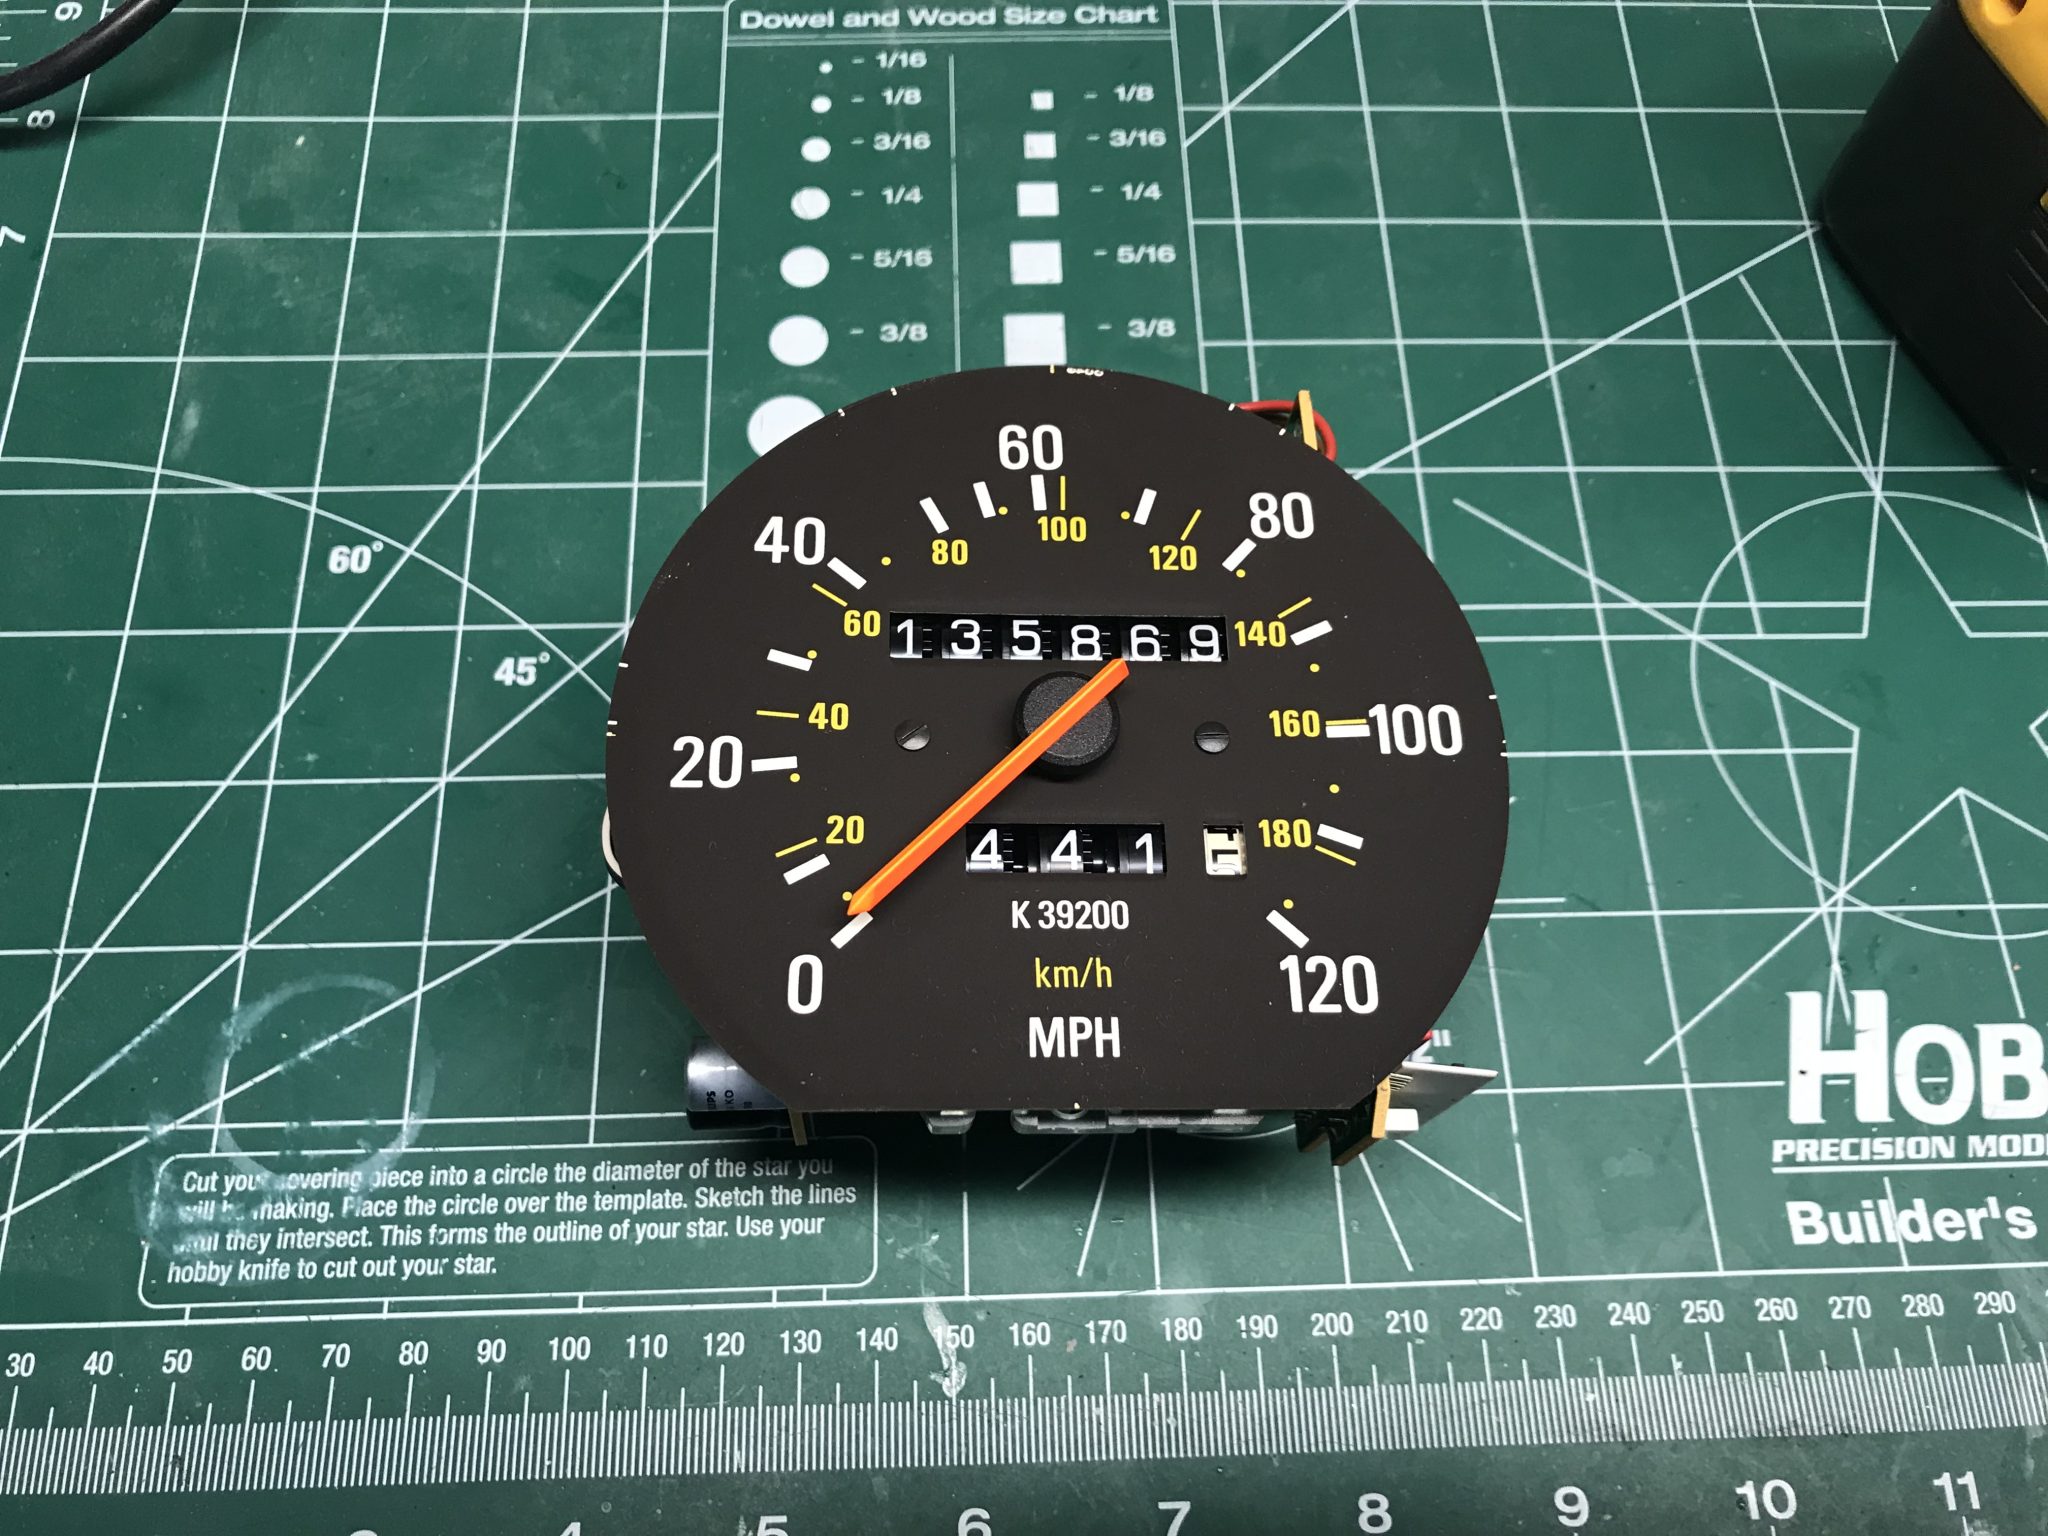
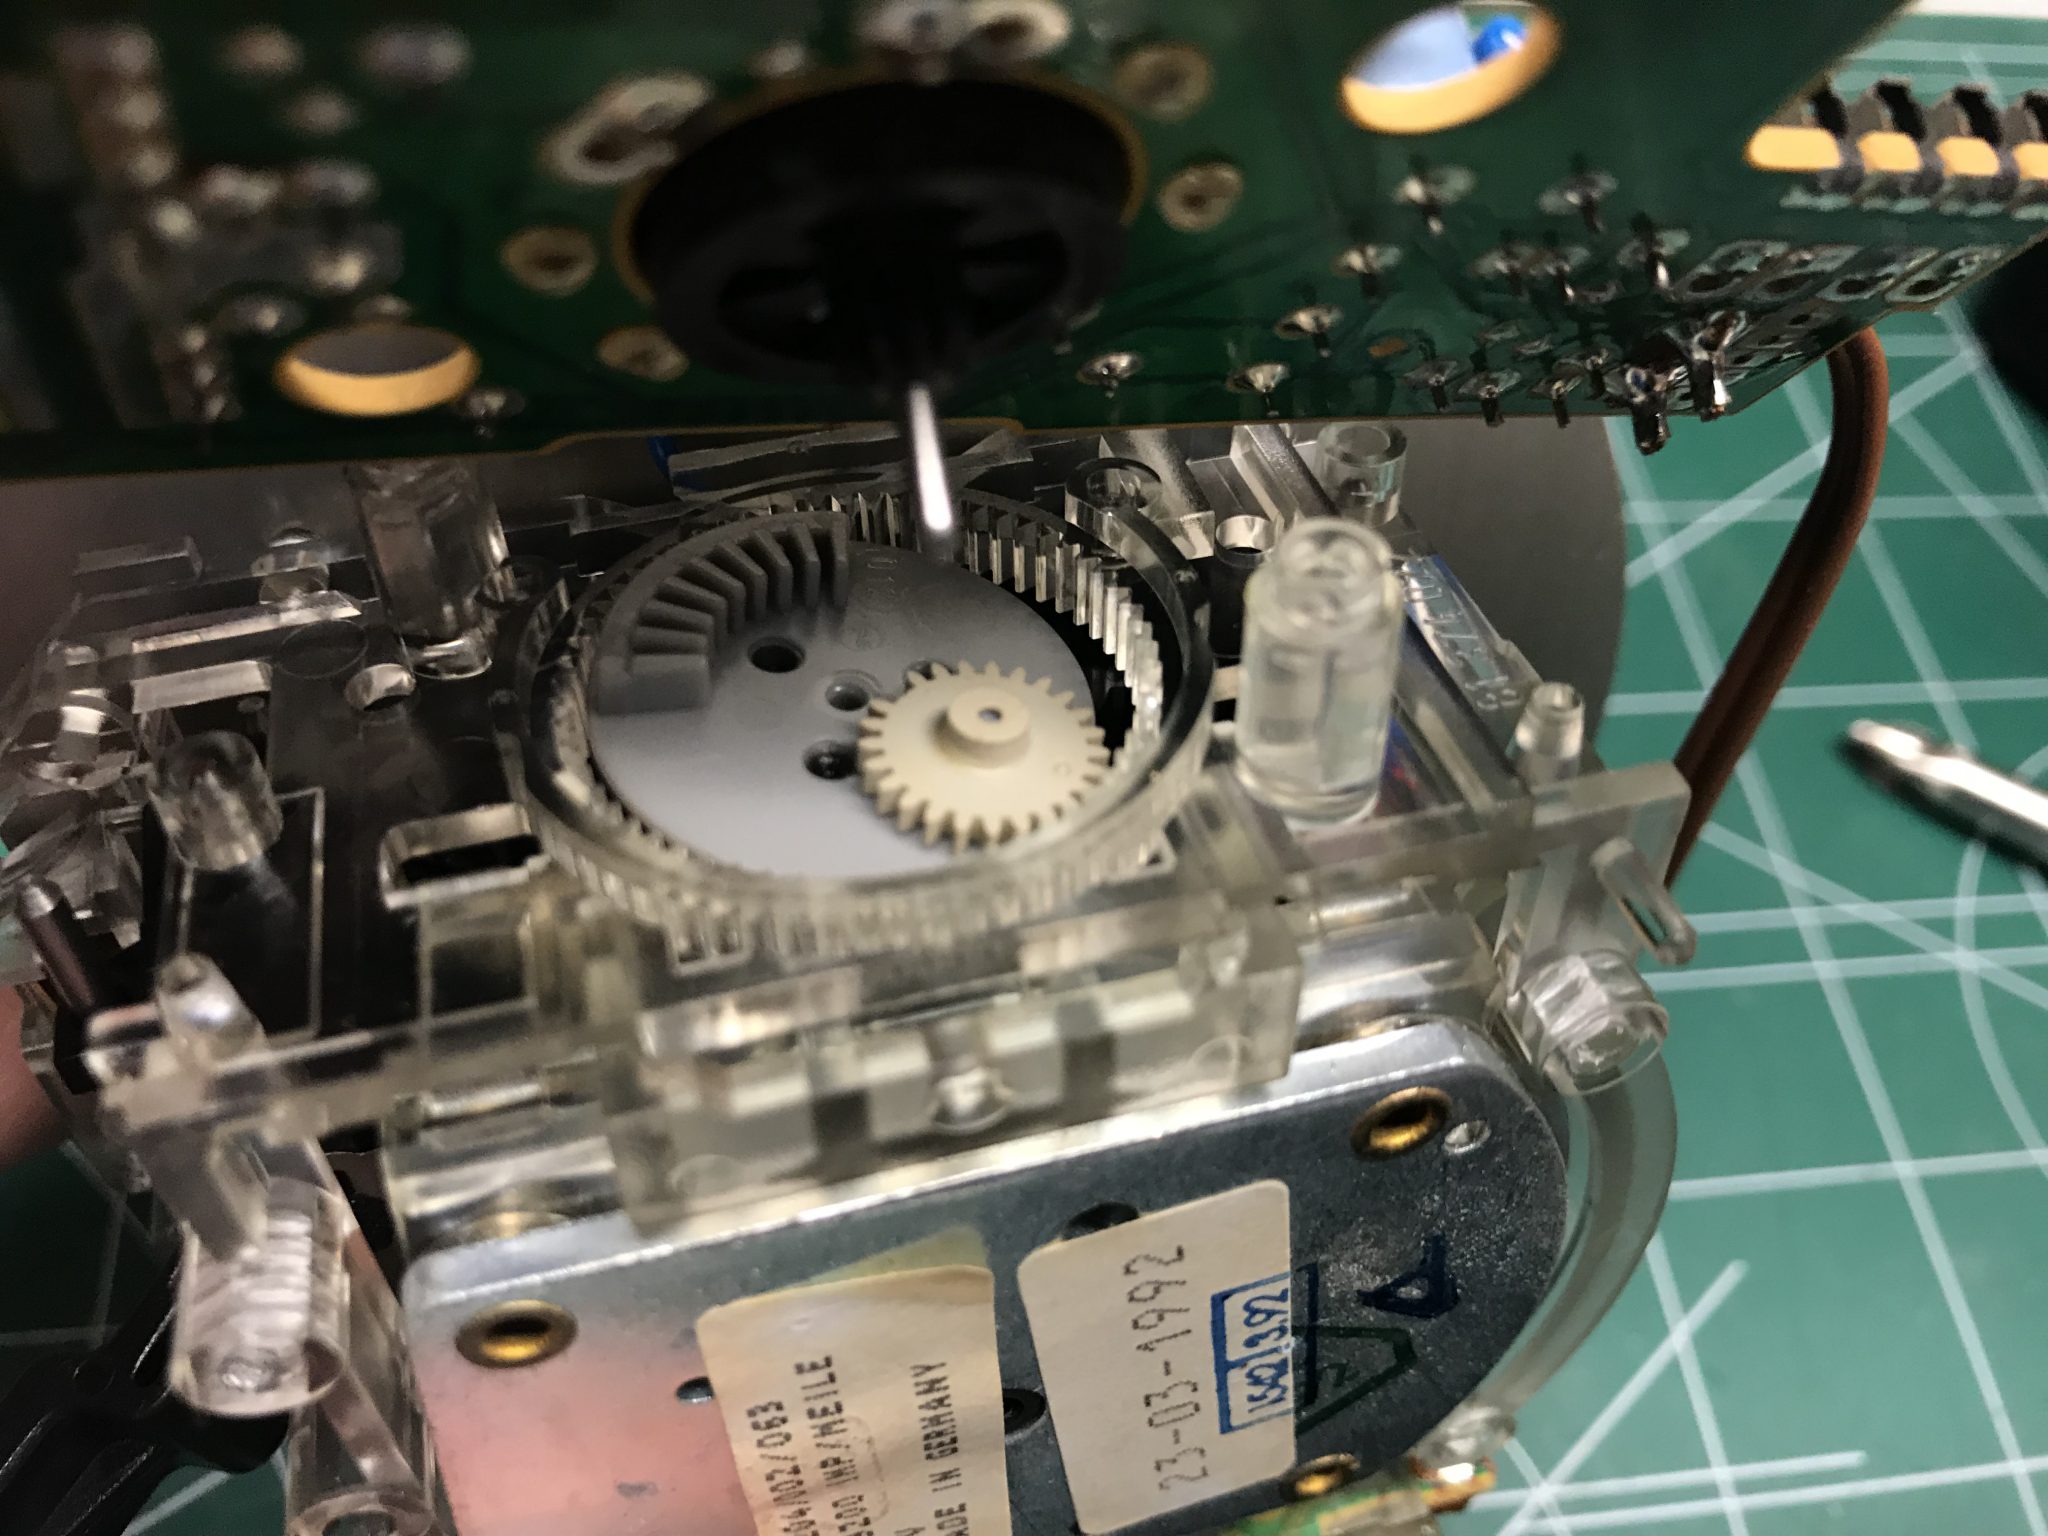
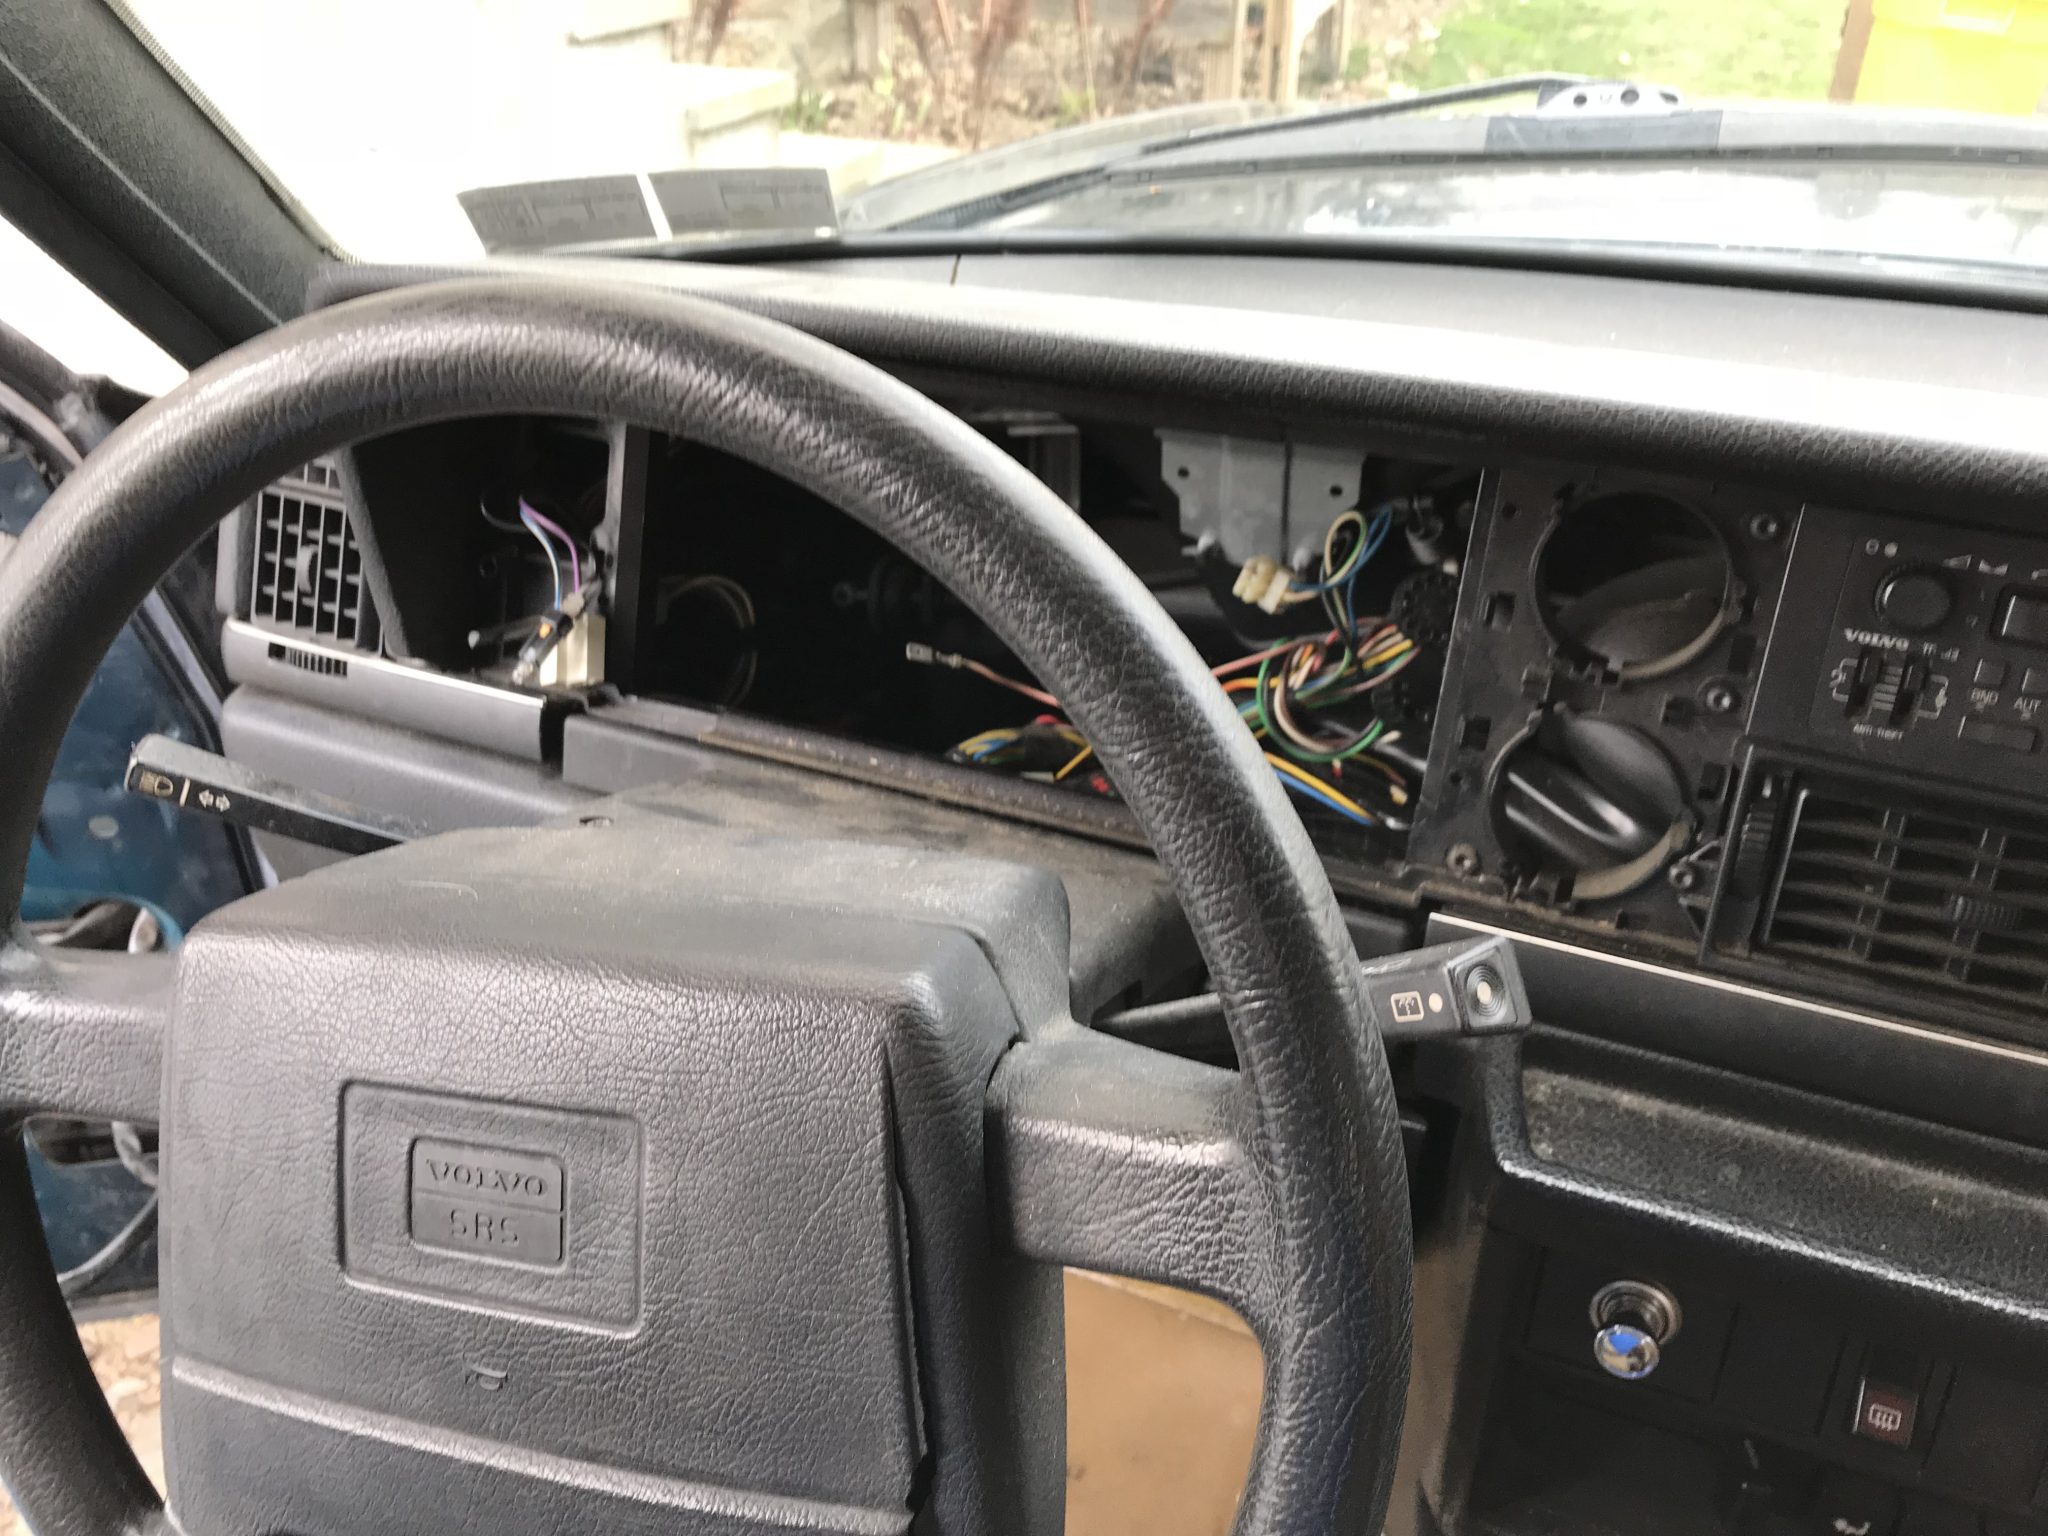
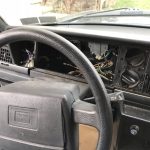
Instrument Cluster And Oil
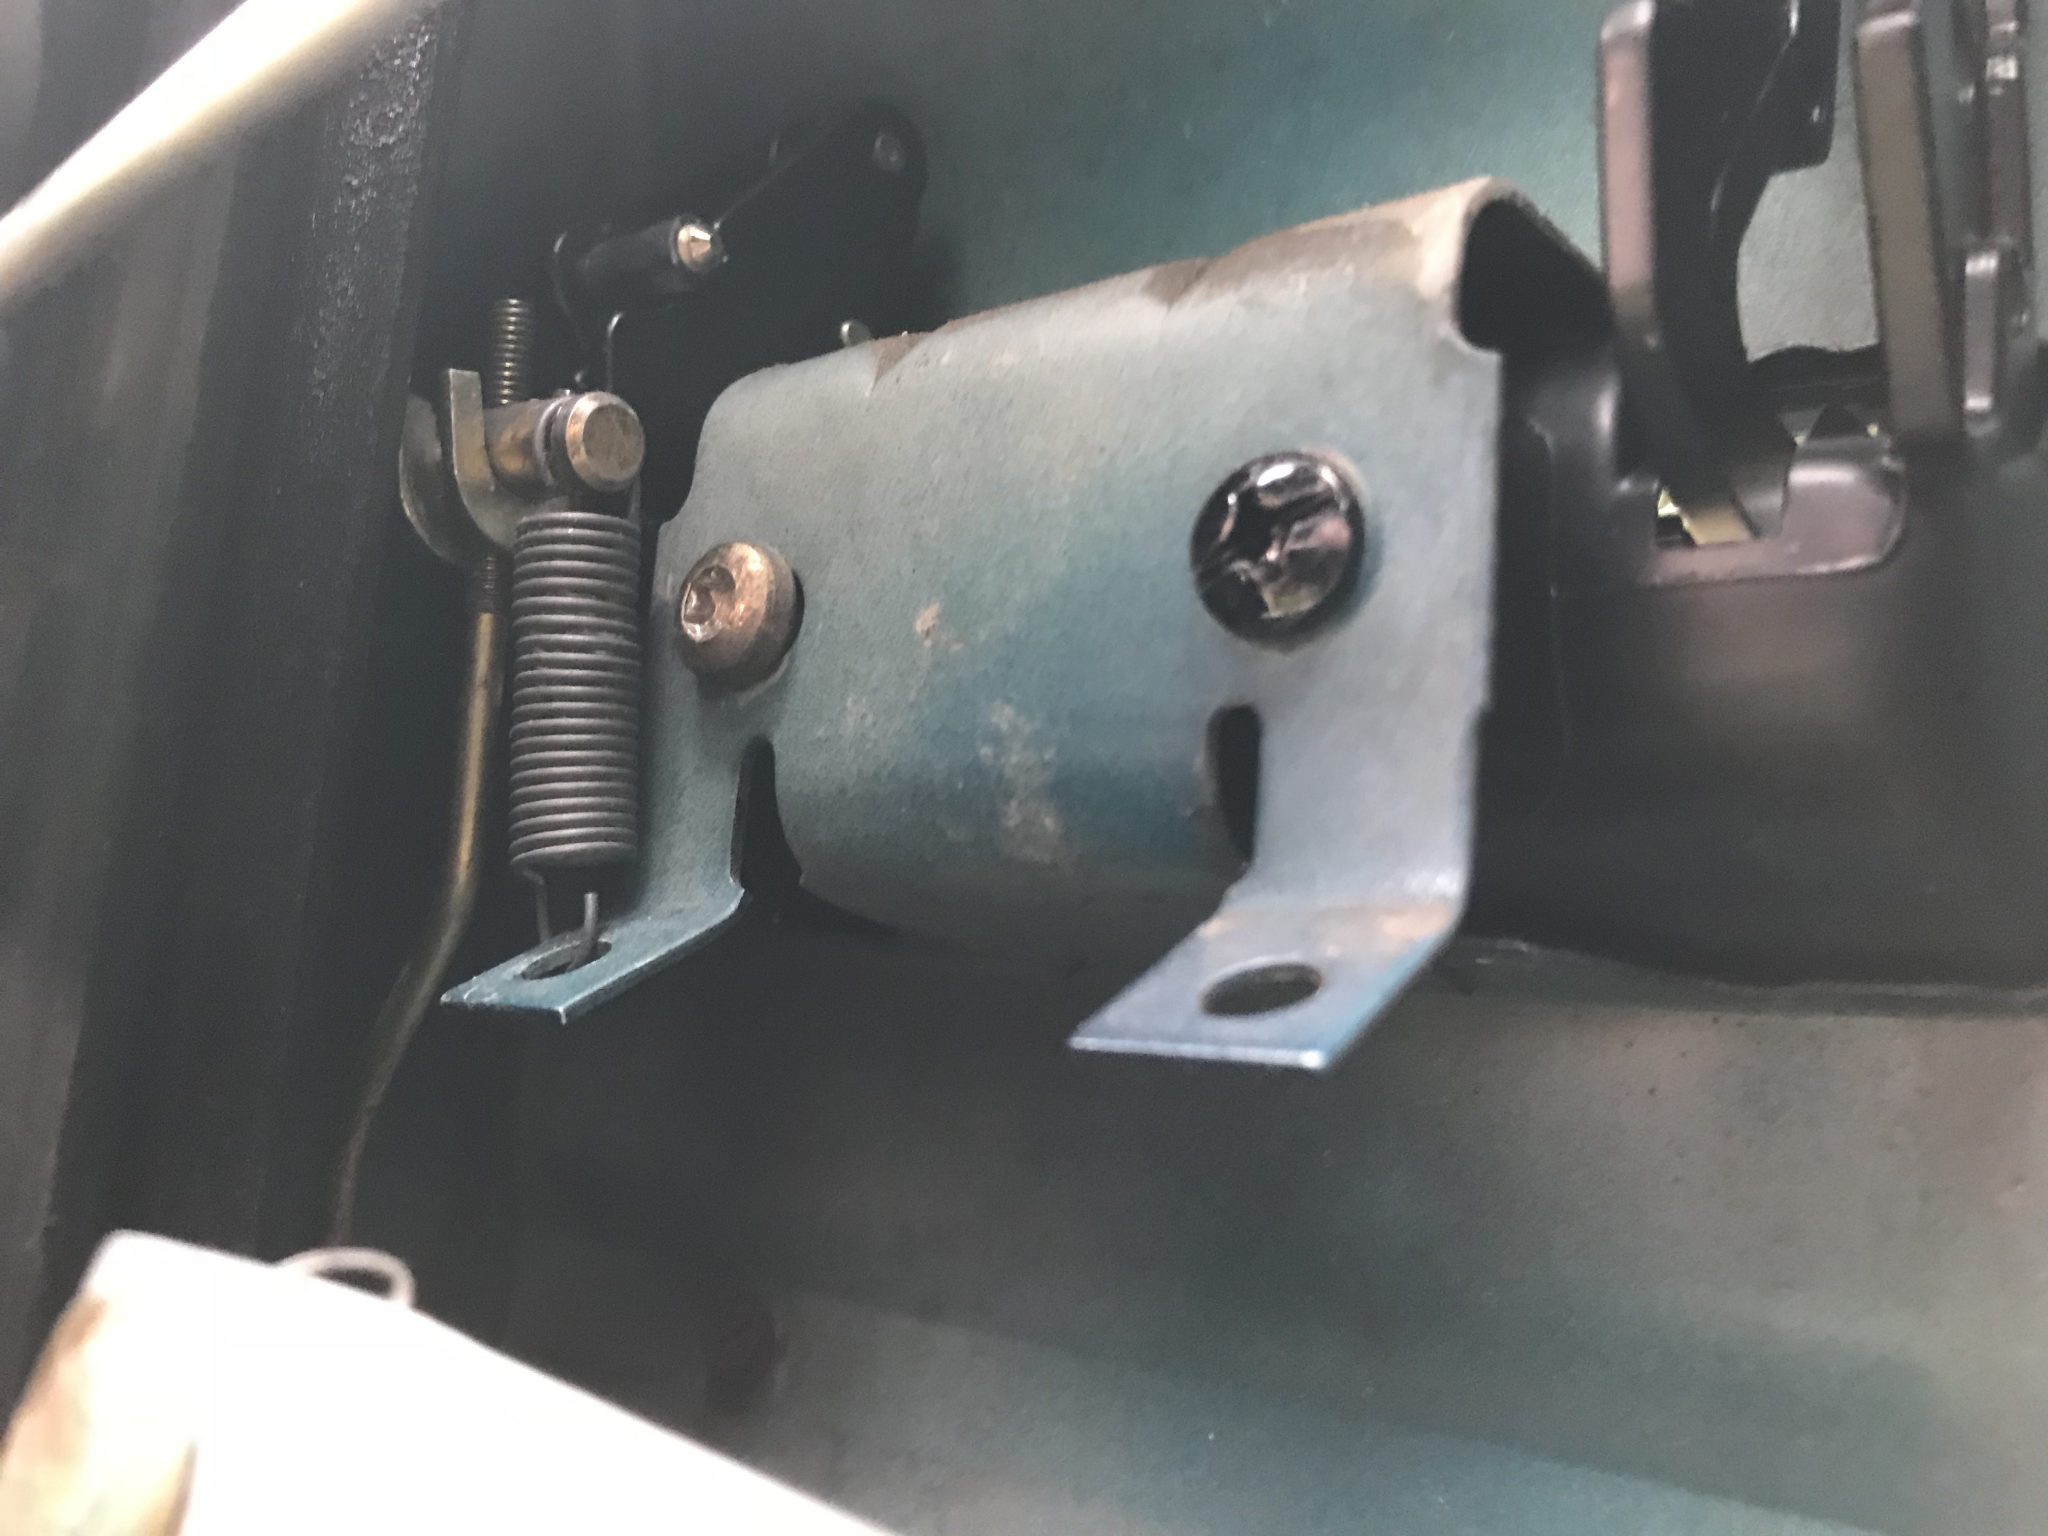
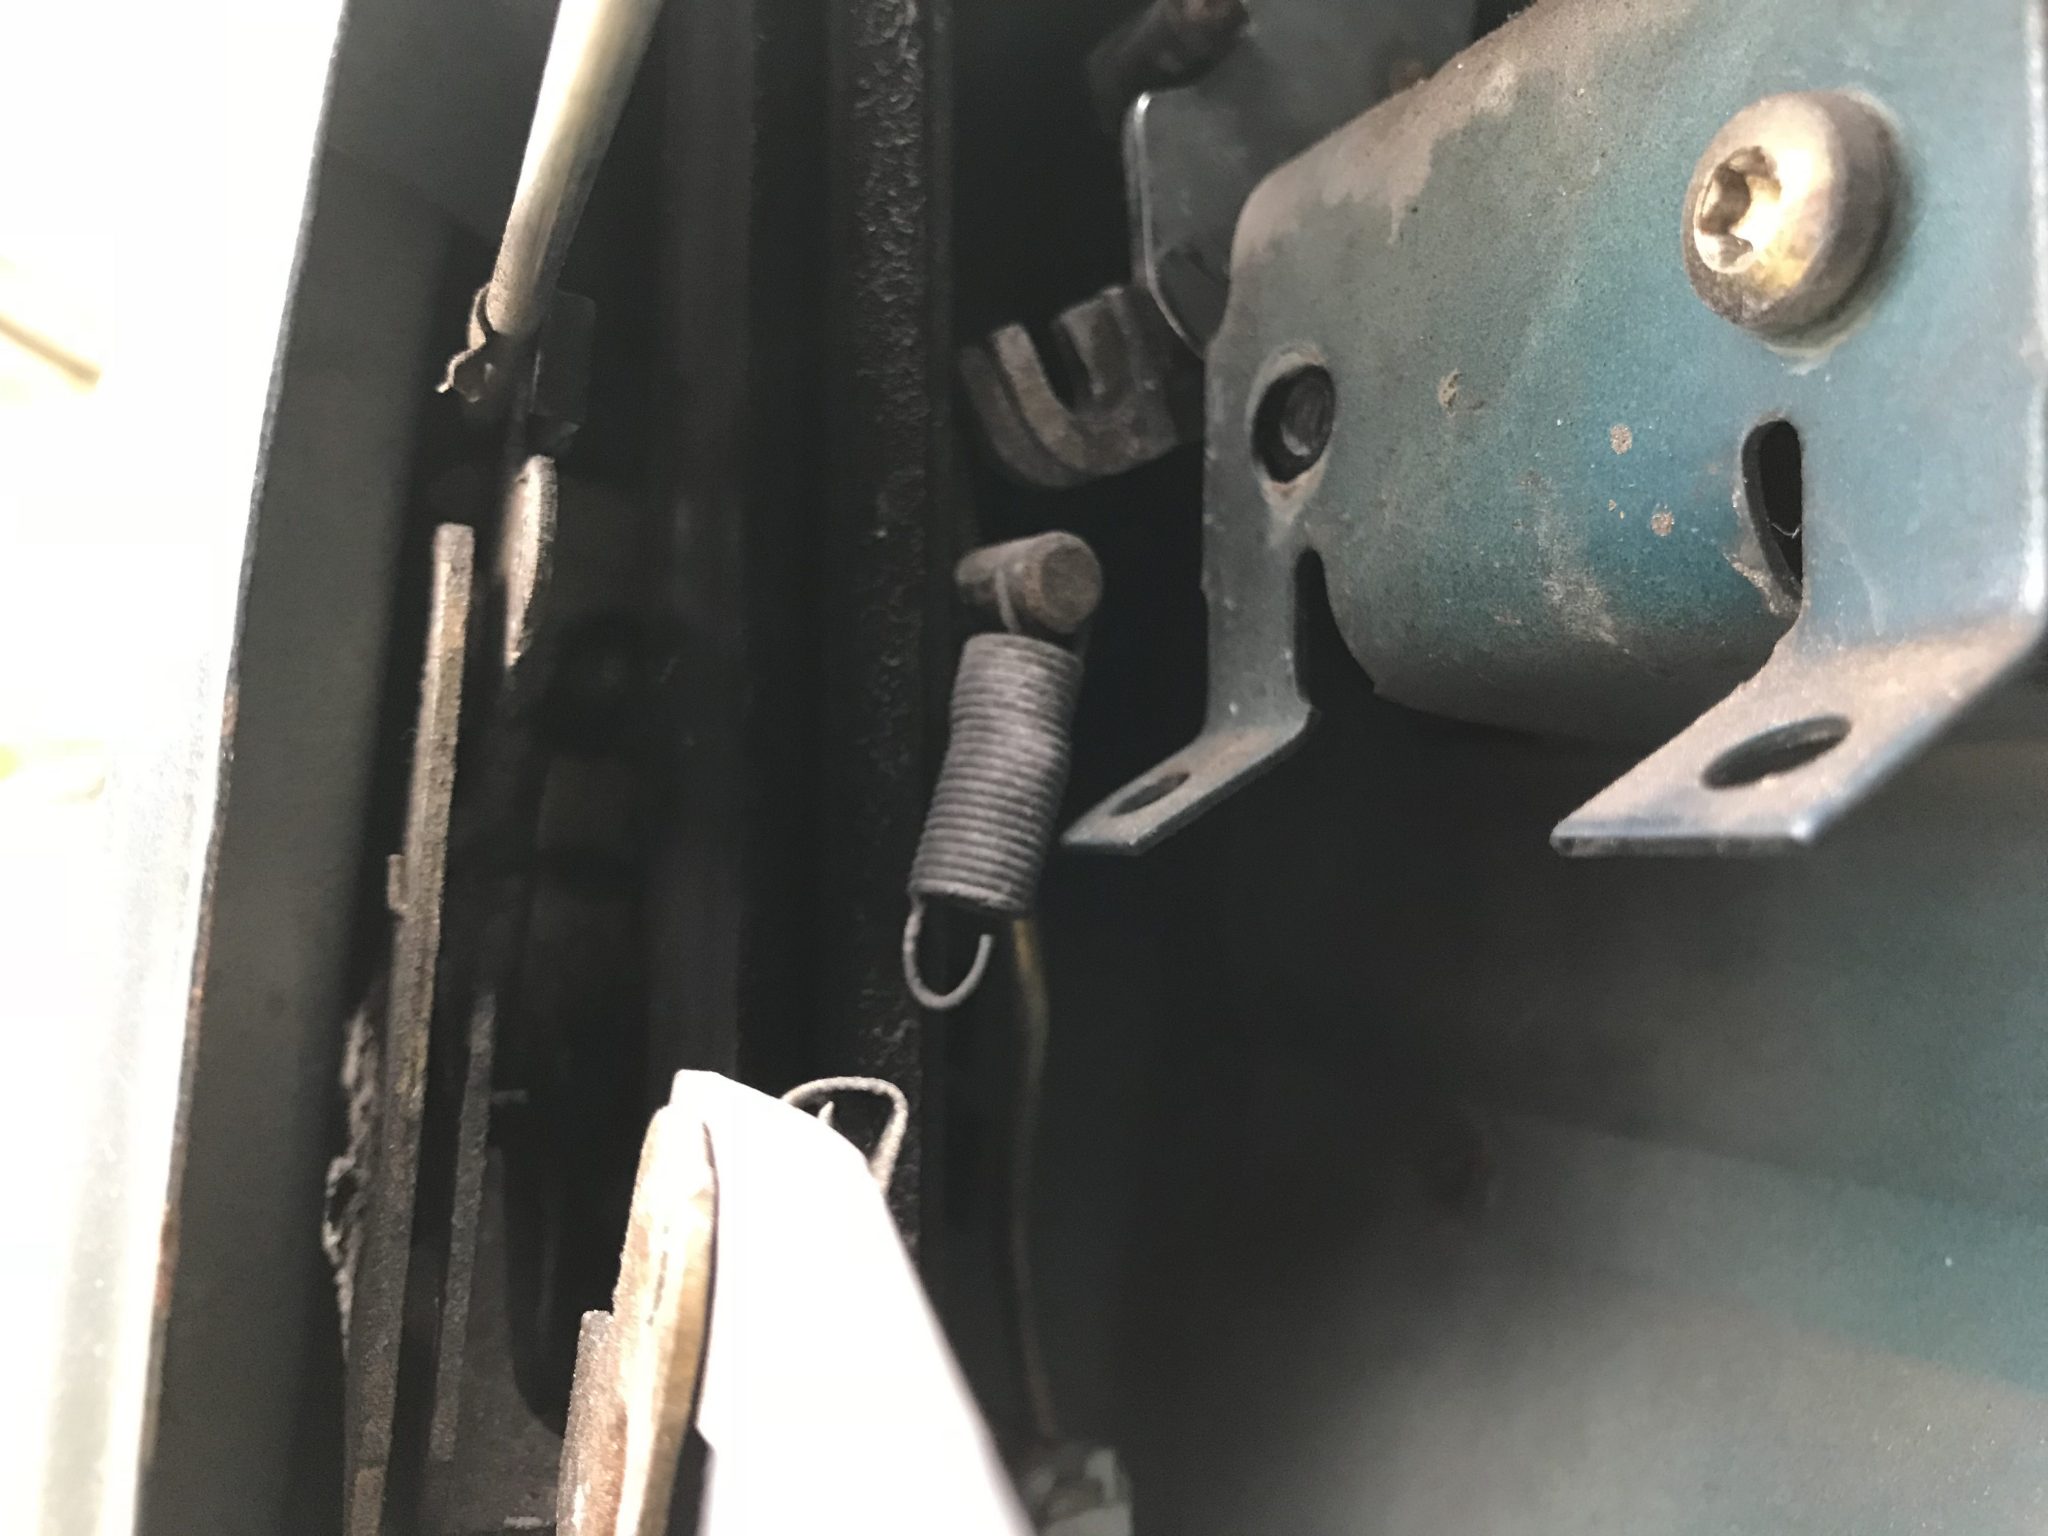
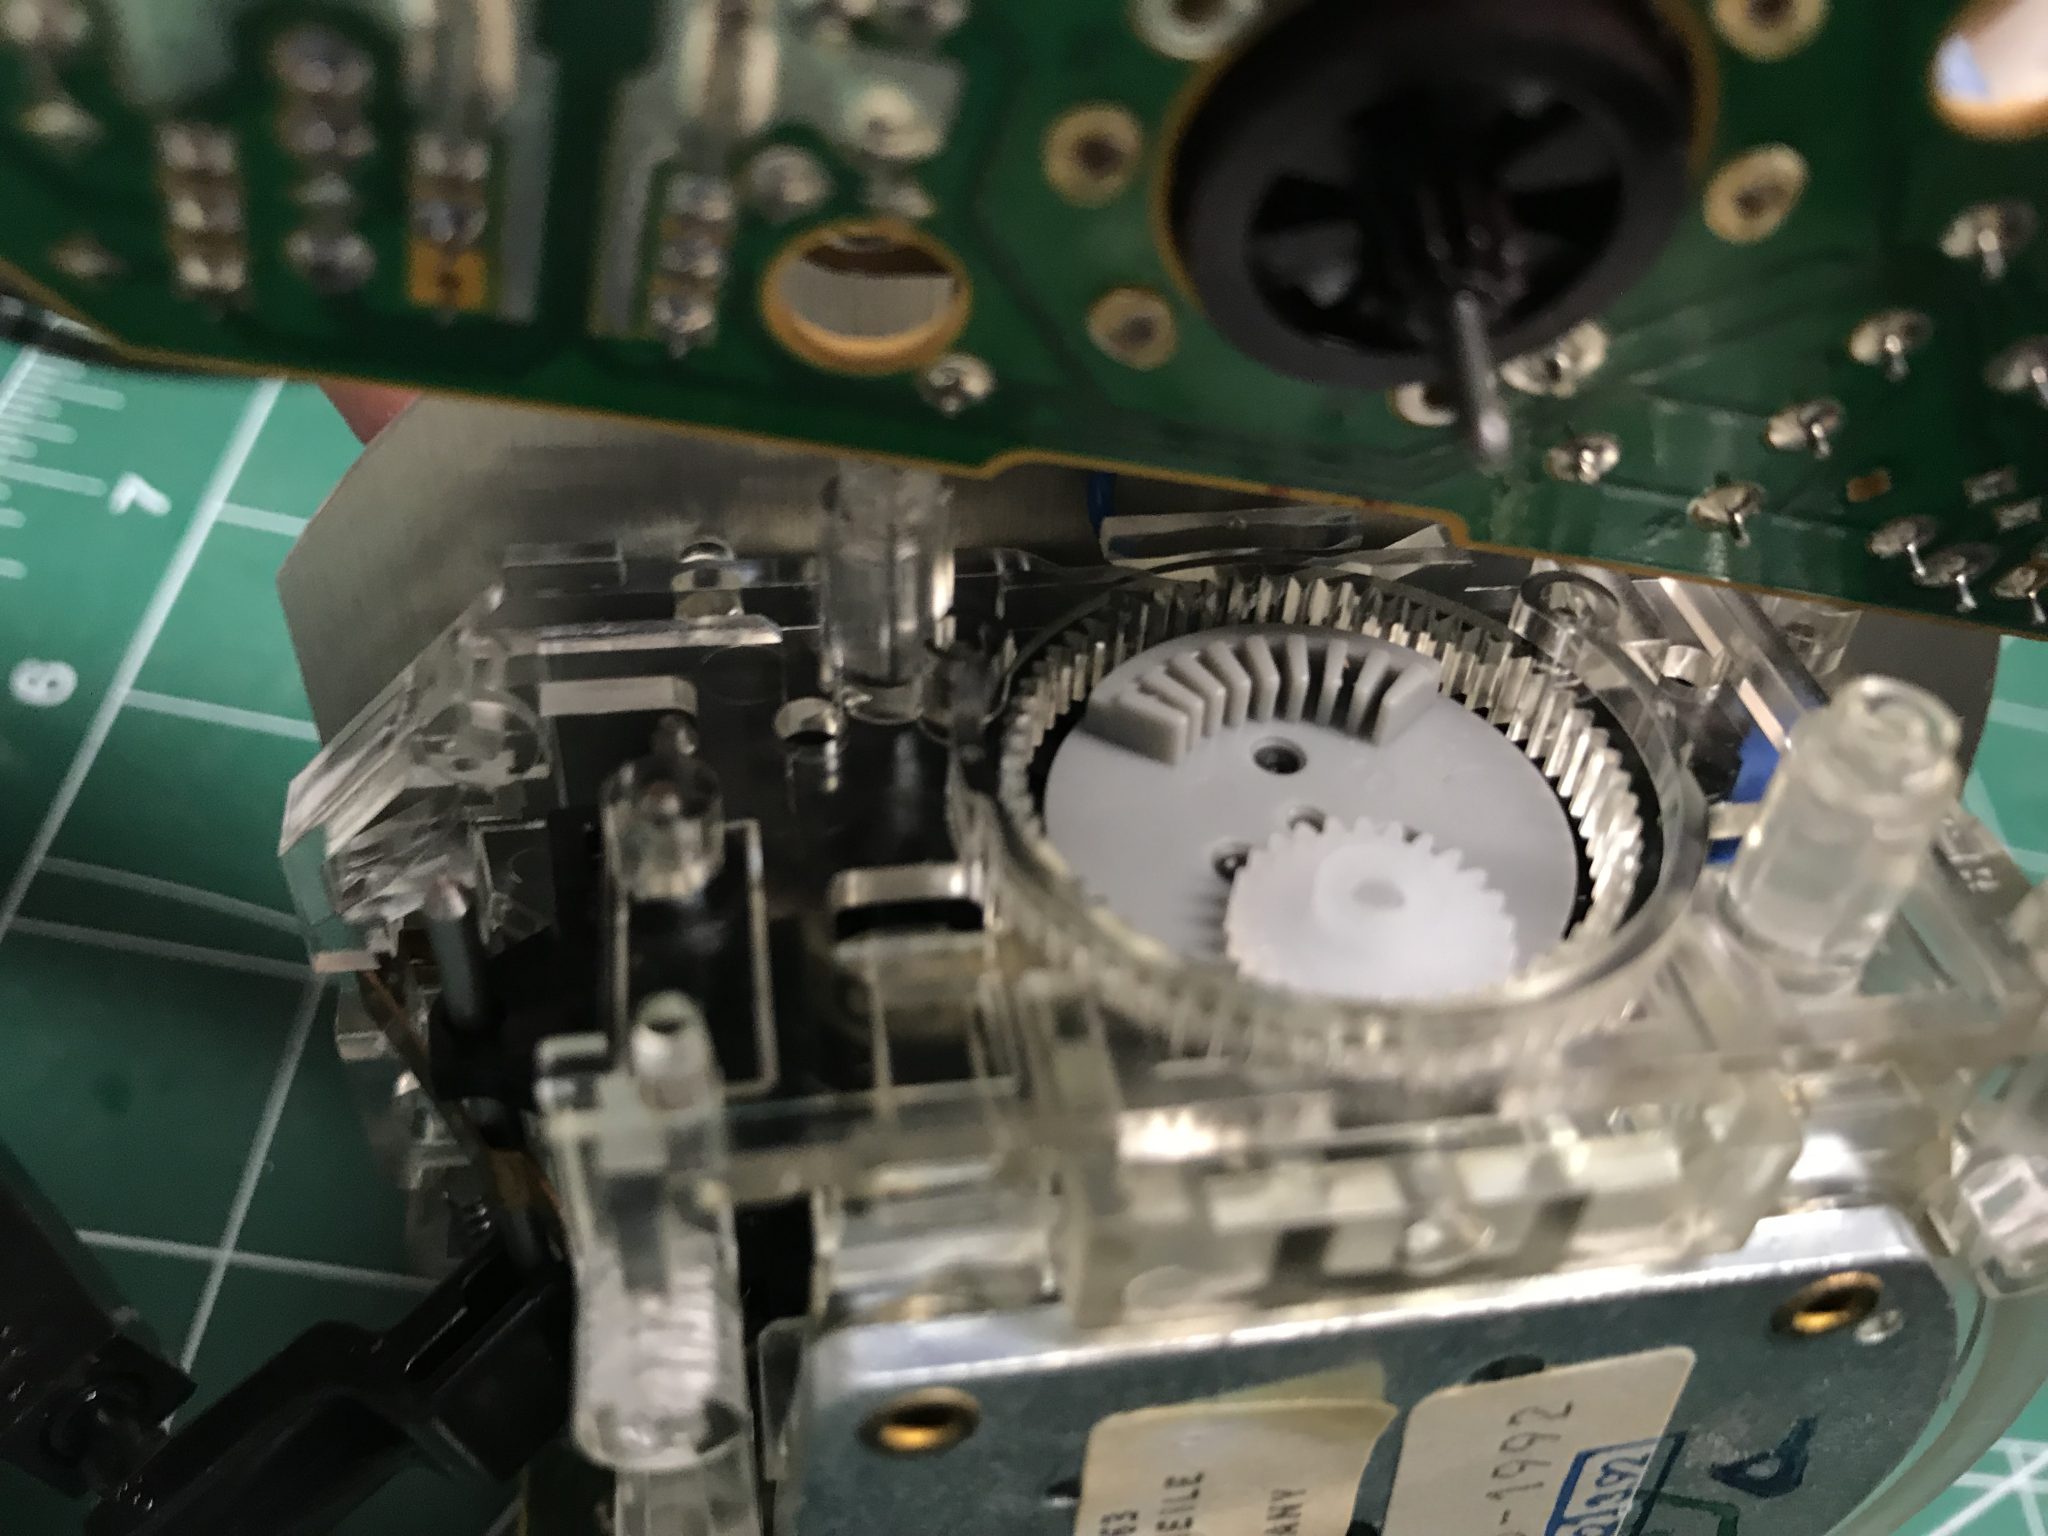
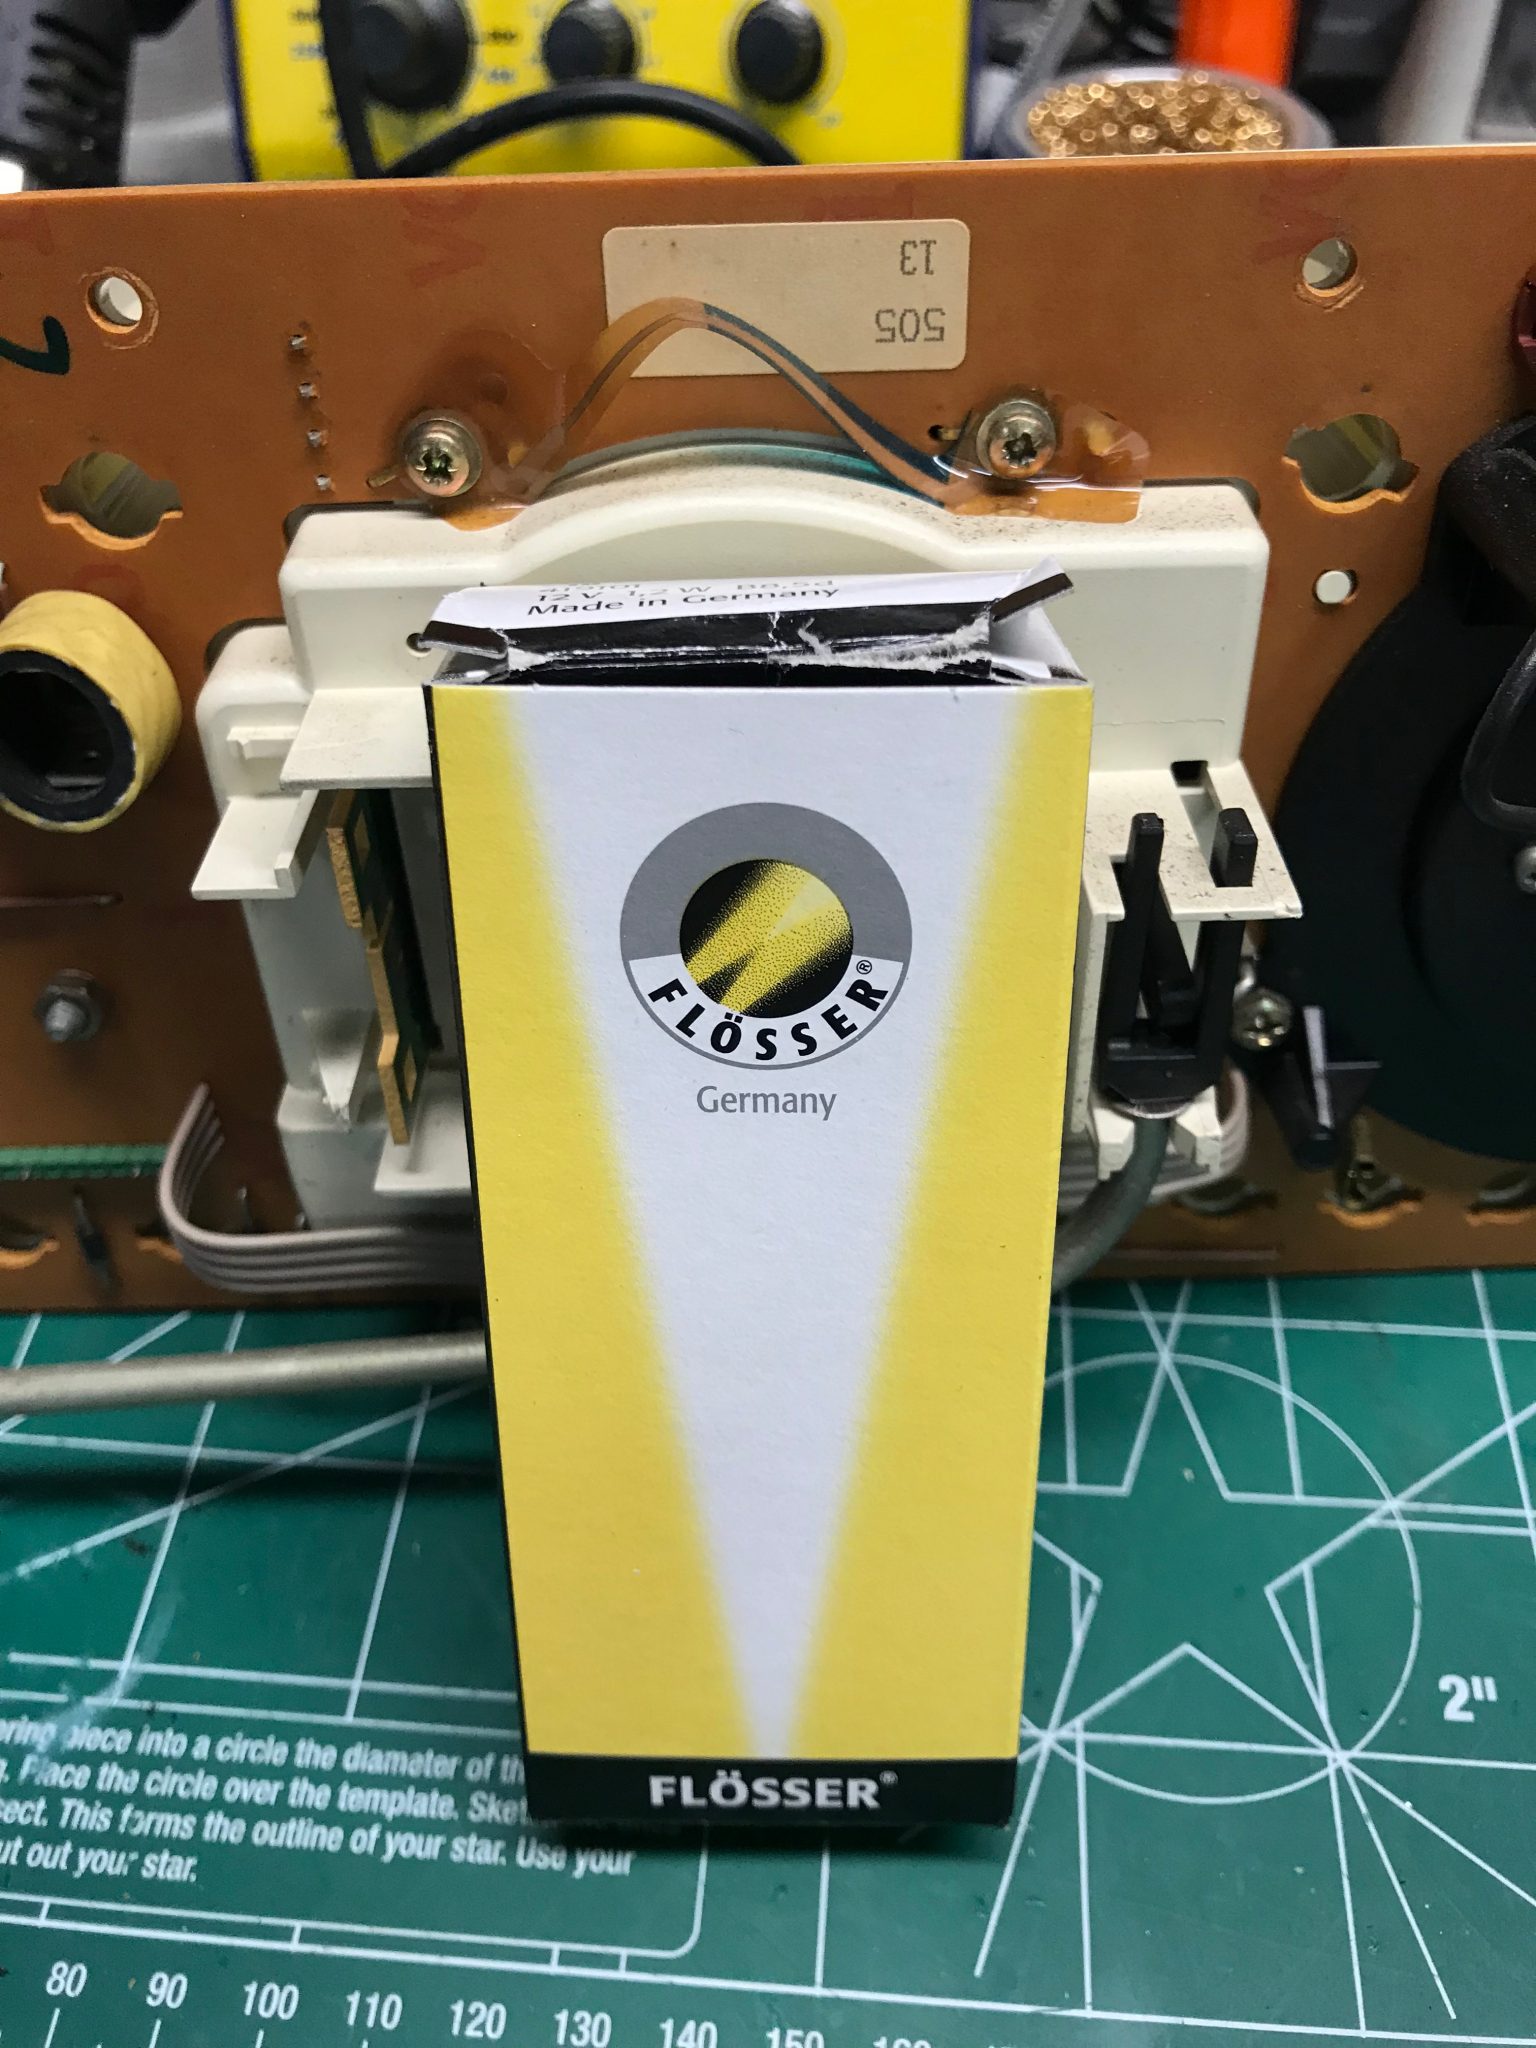
I monkeyed with the latch but couldn’t see anything obvious. Not wanting to remove the latch completely quite yet, I put that aside and instead removed the instrument cluster in preparation for repairing the odometer.

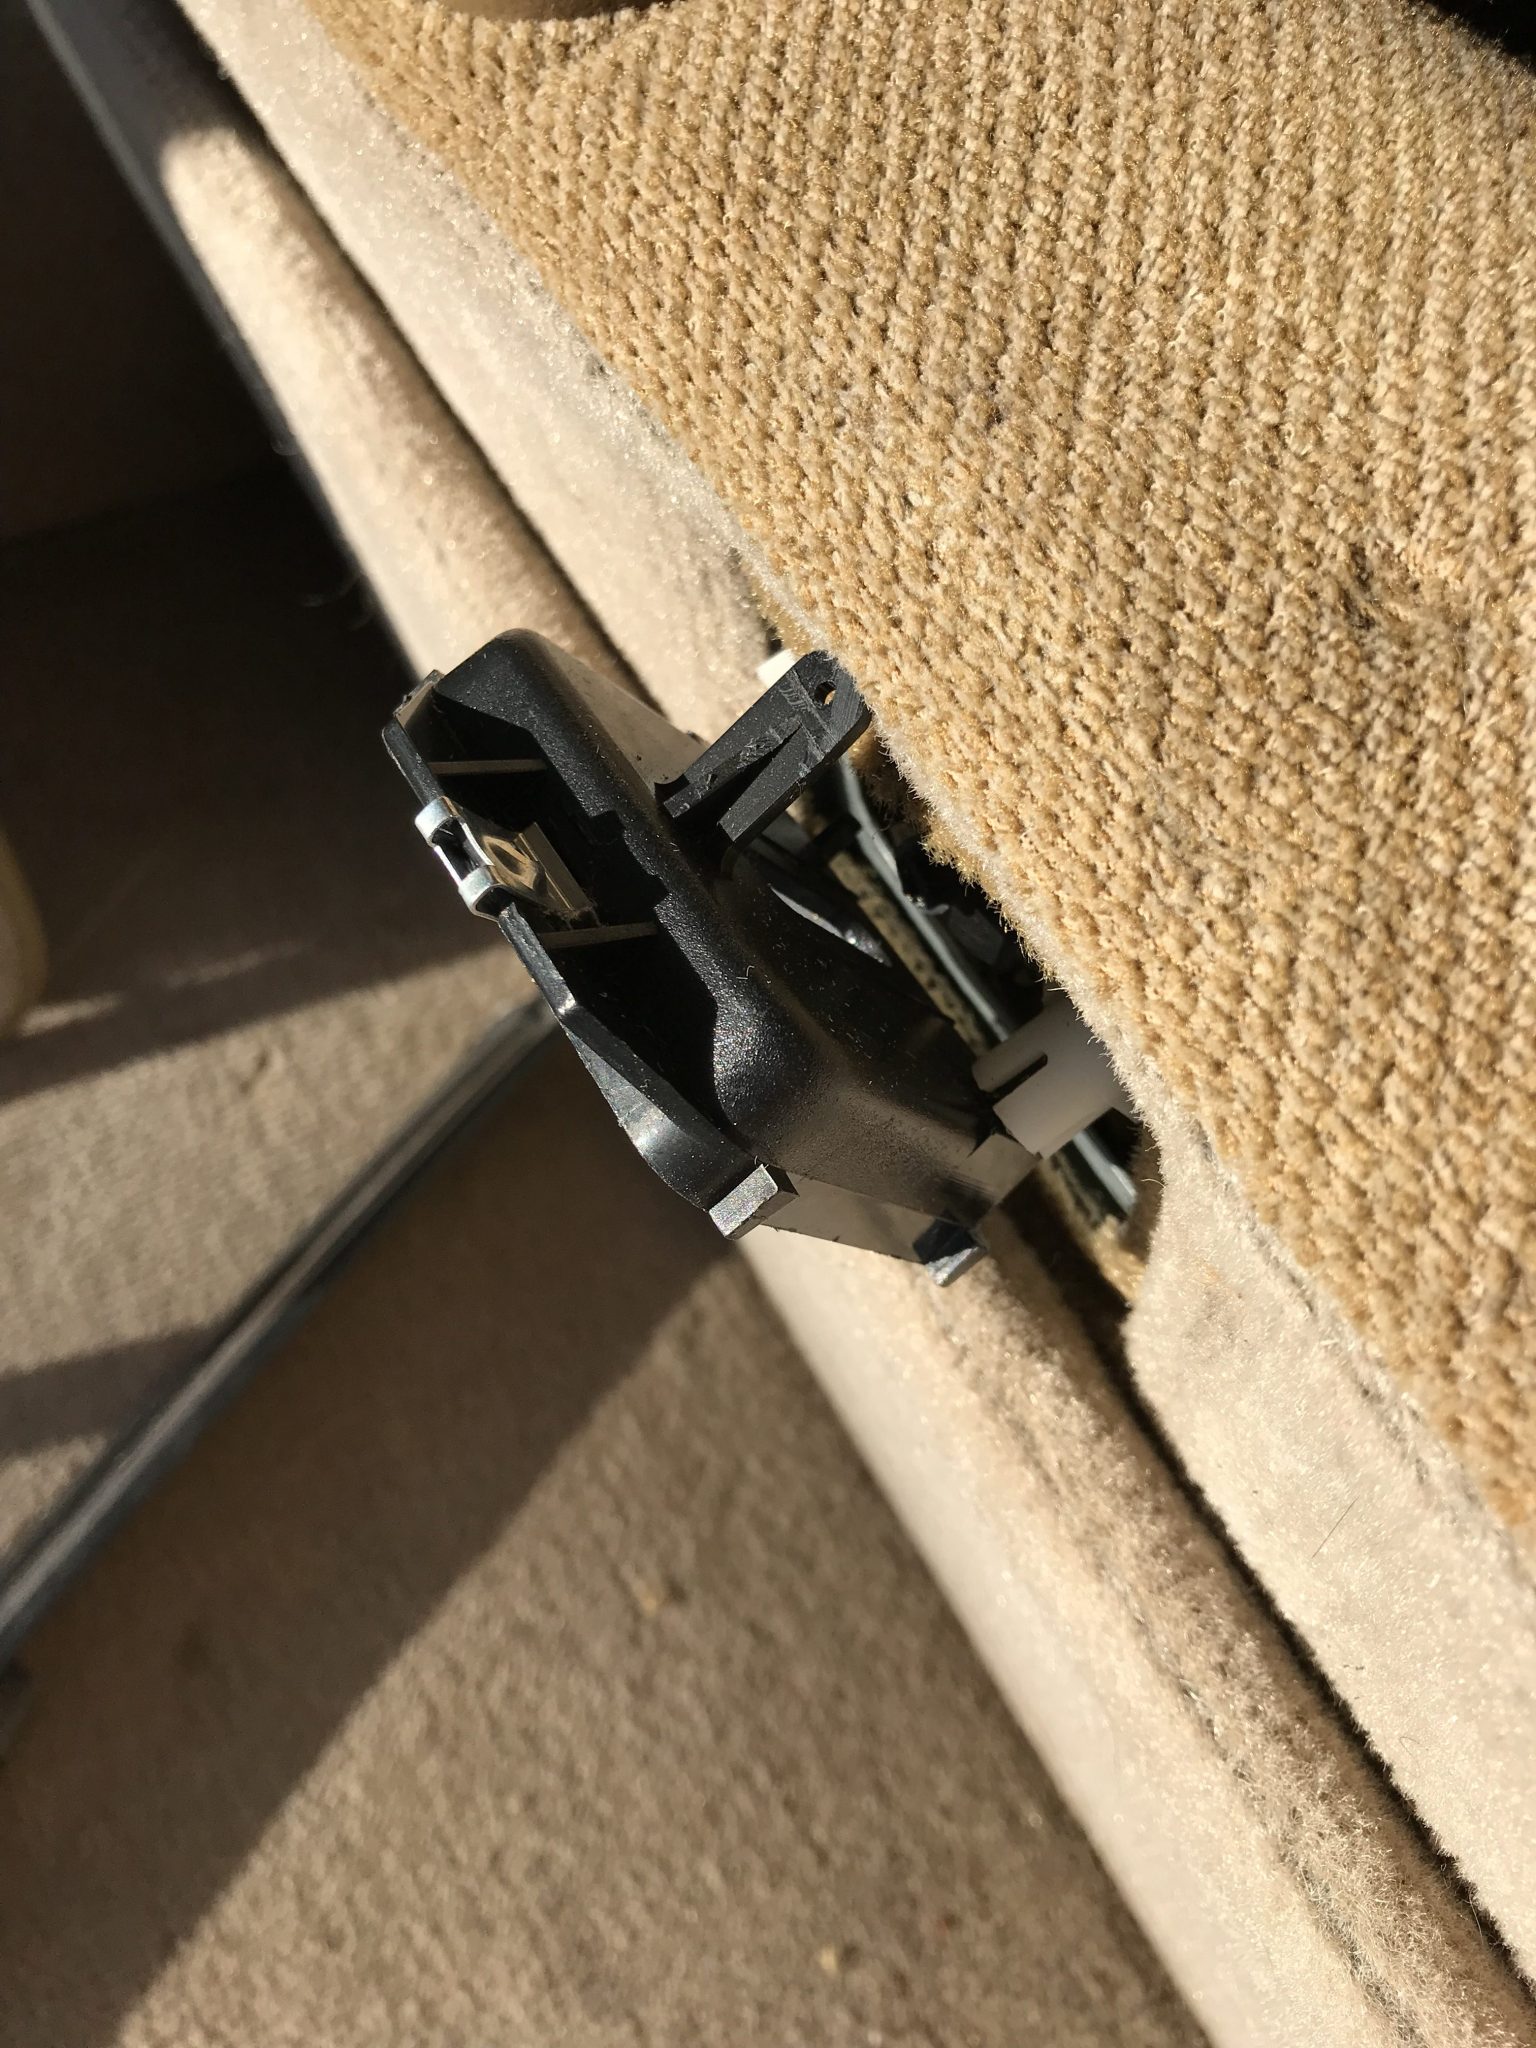
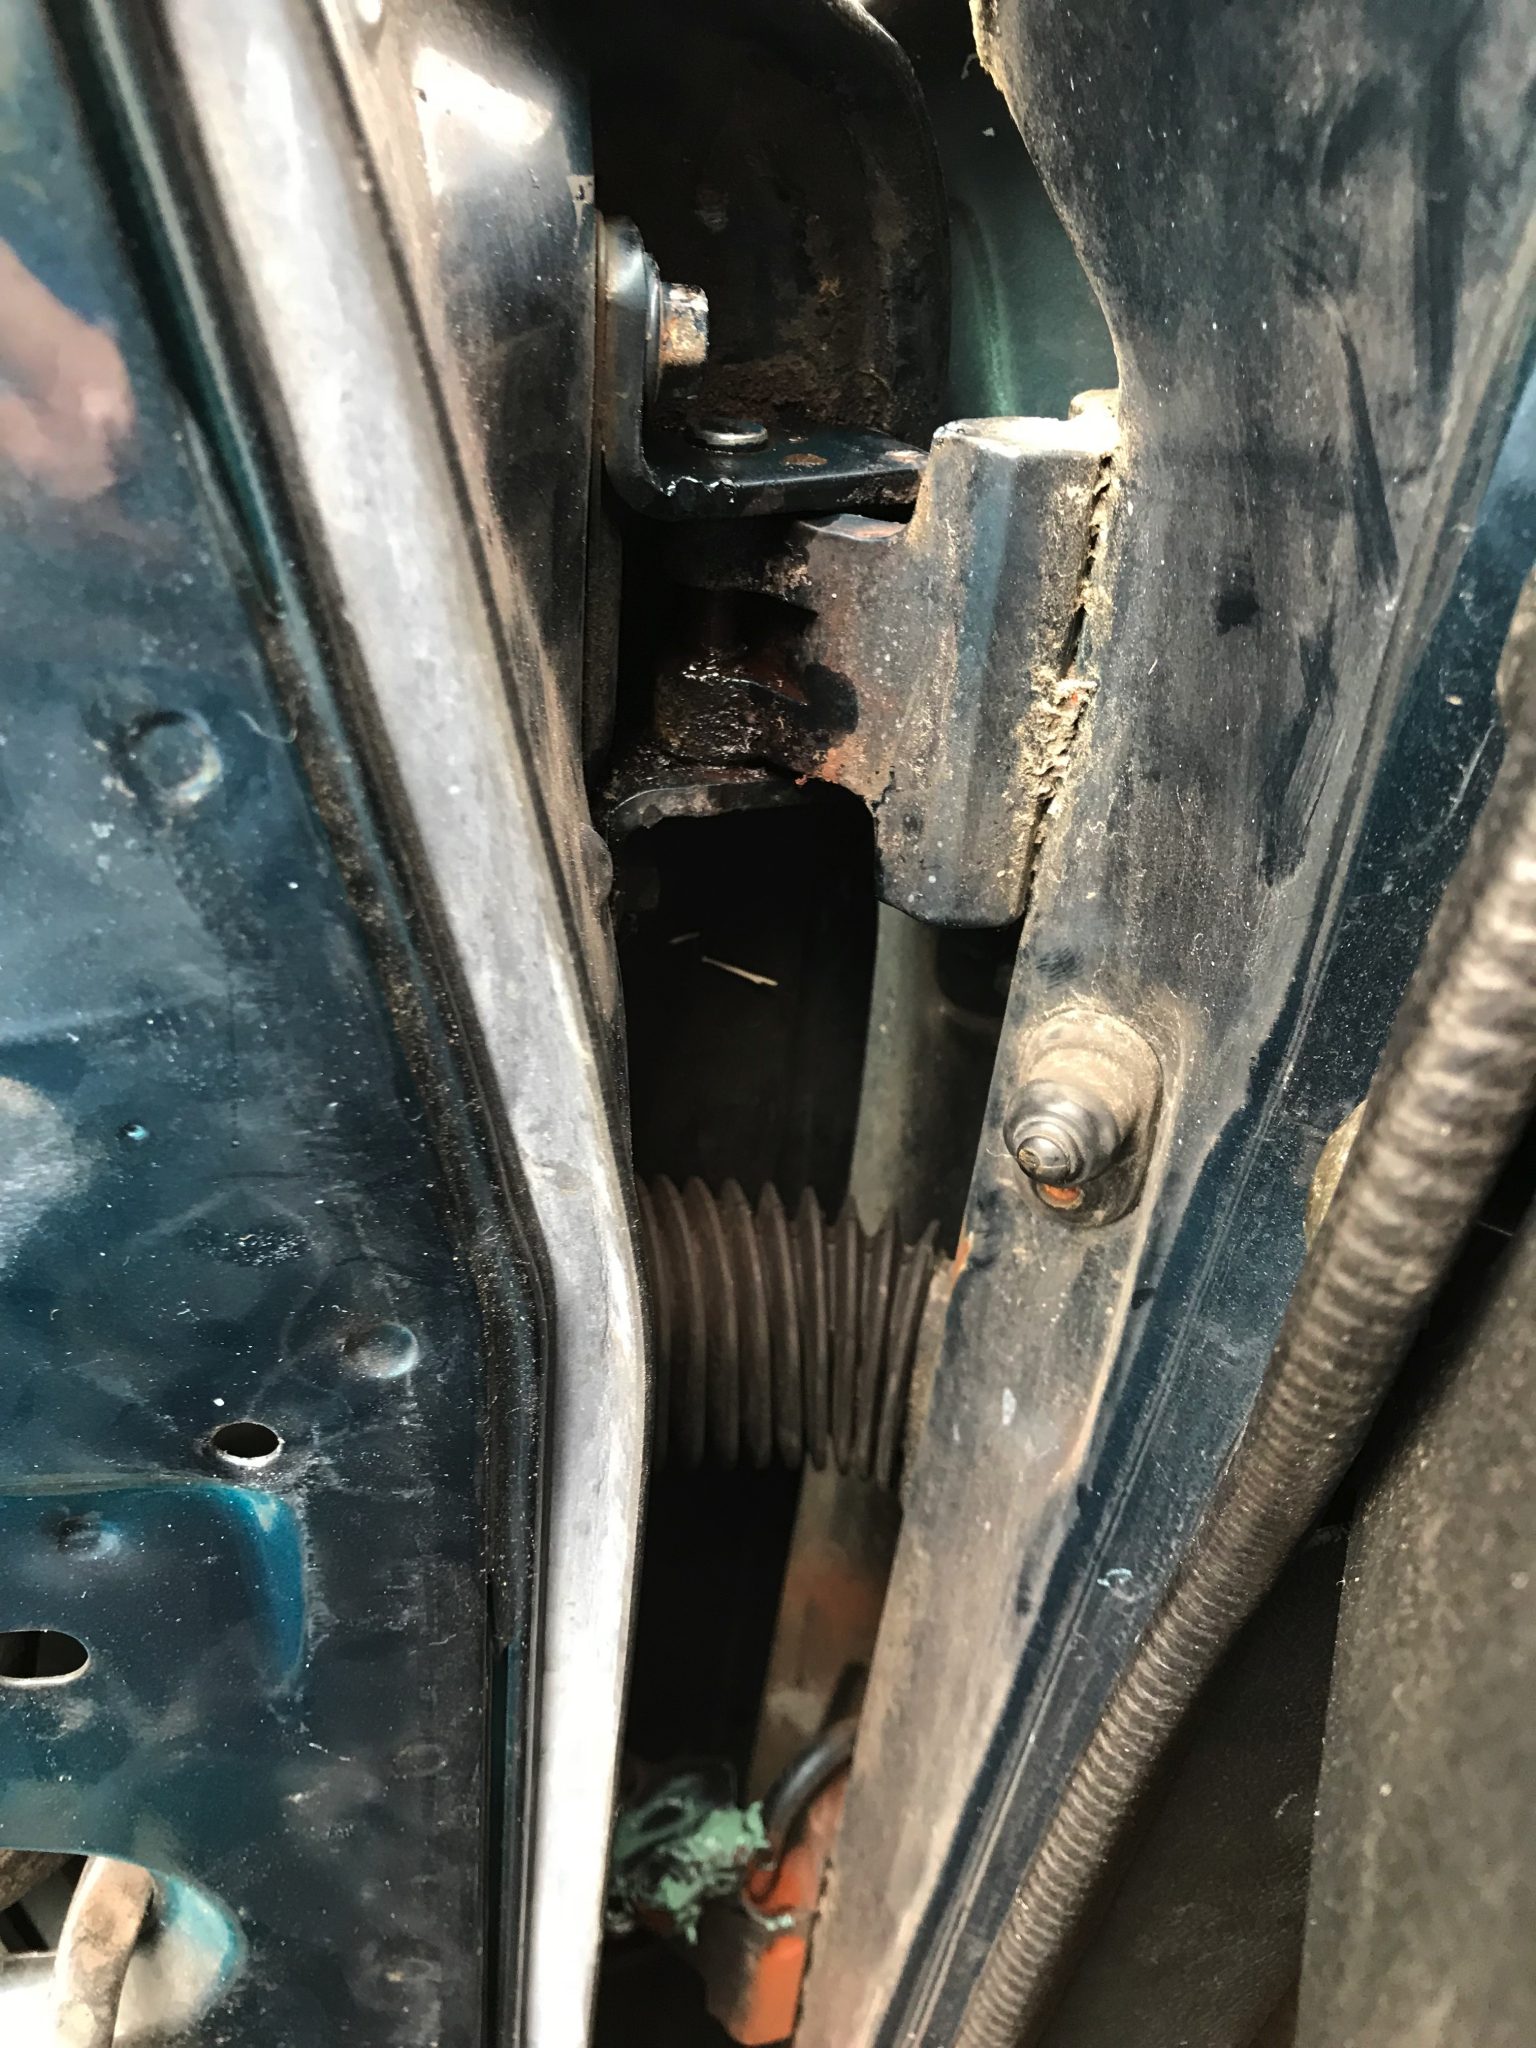
I then noticed that the pin holding the upper hinge of the door together was half way out, so I set it back into its hole and hammered it in.
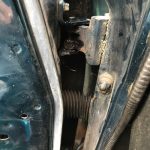
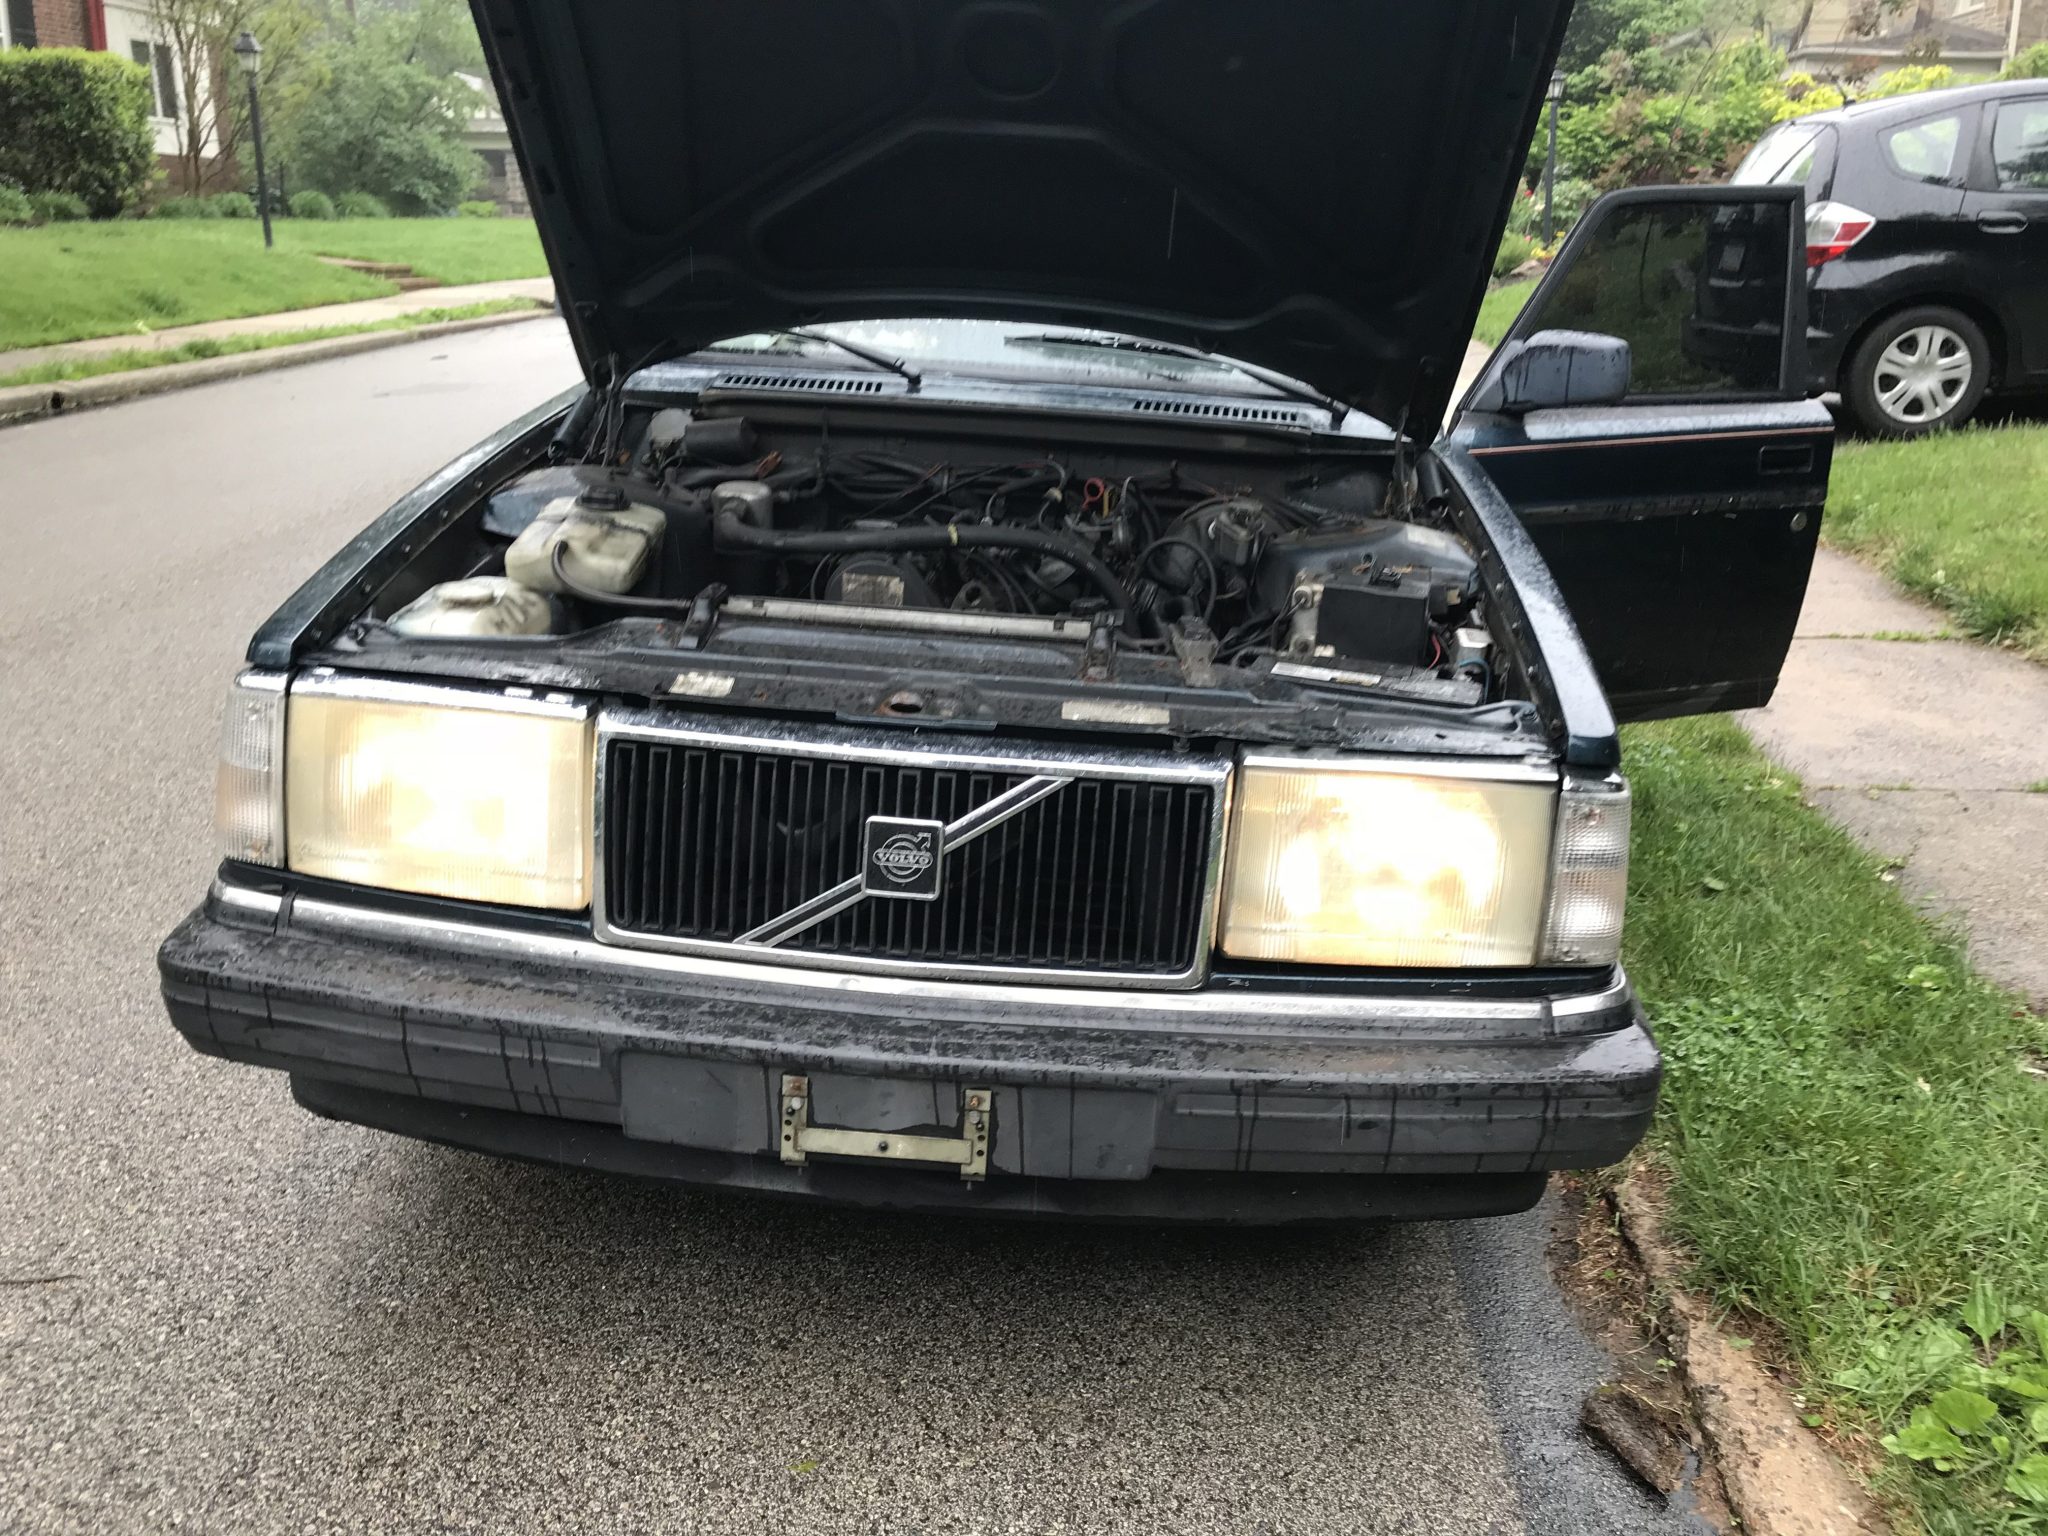
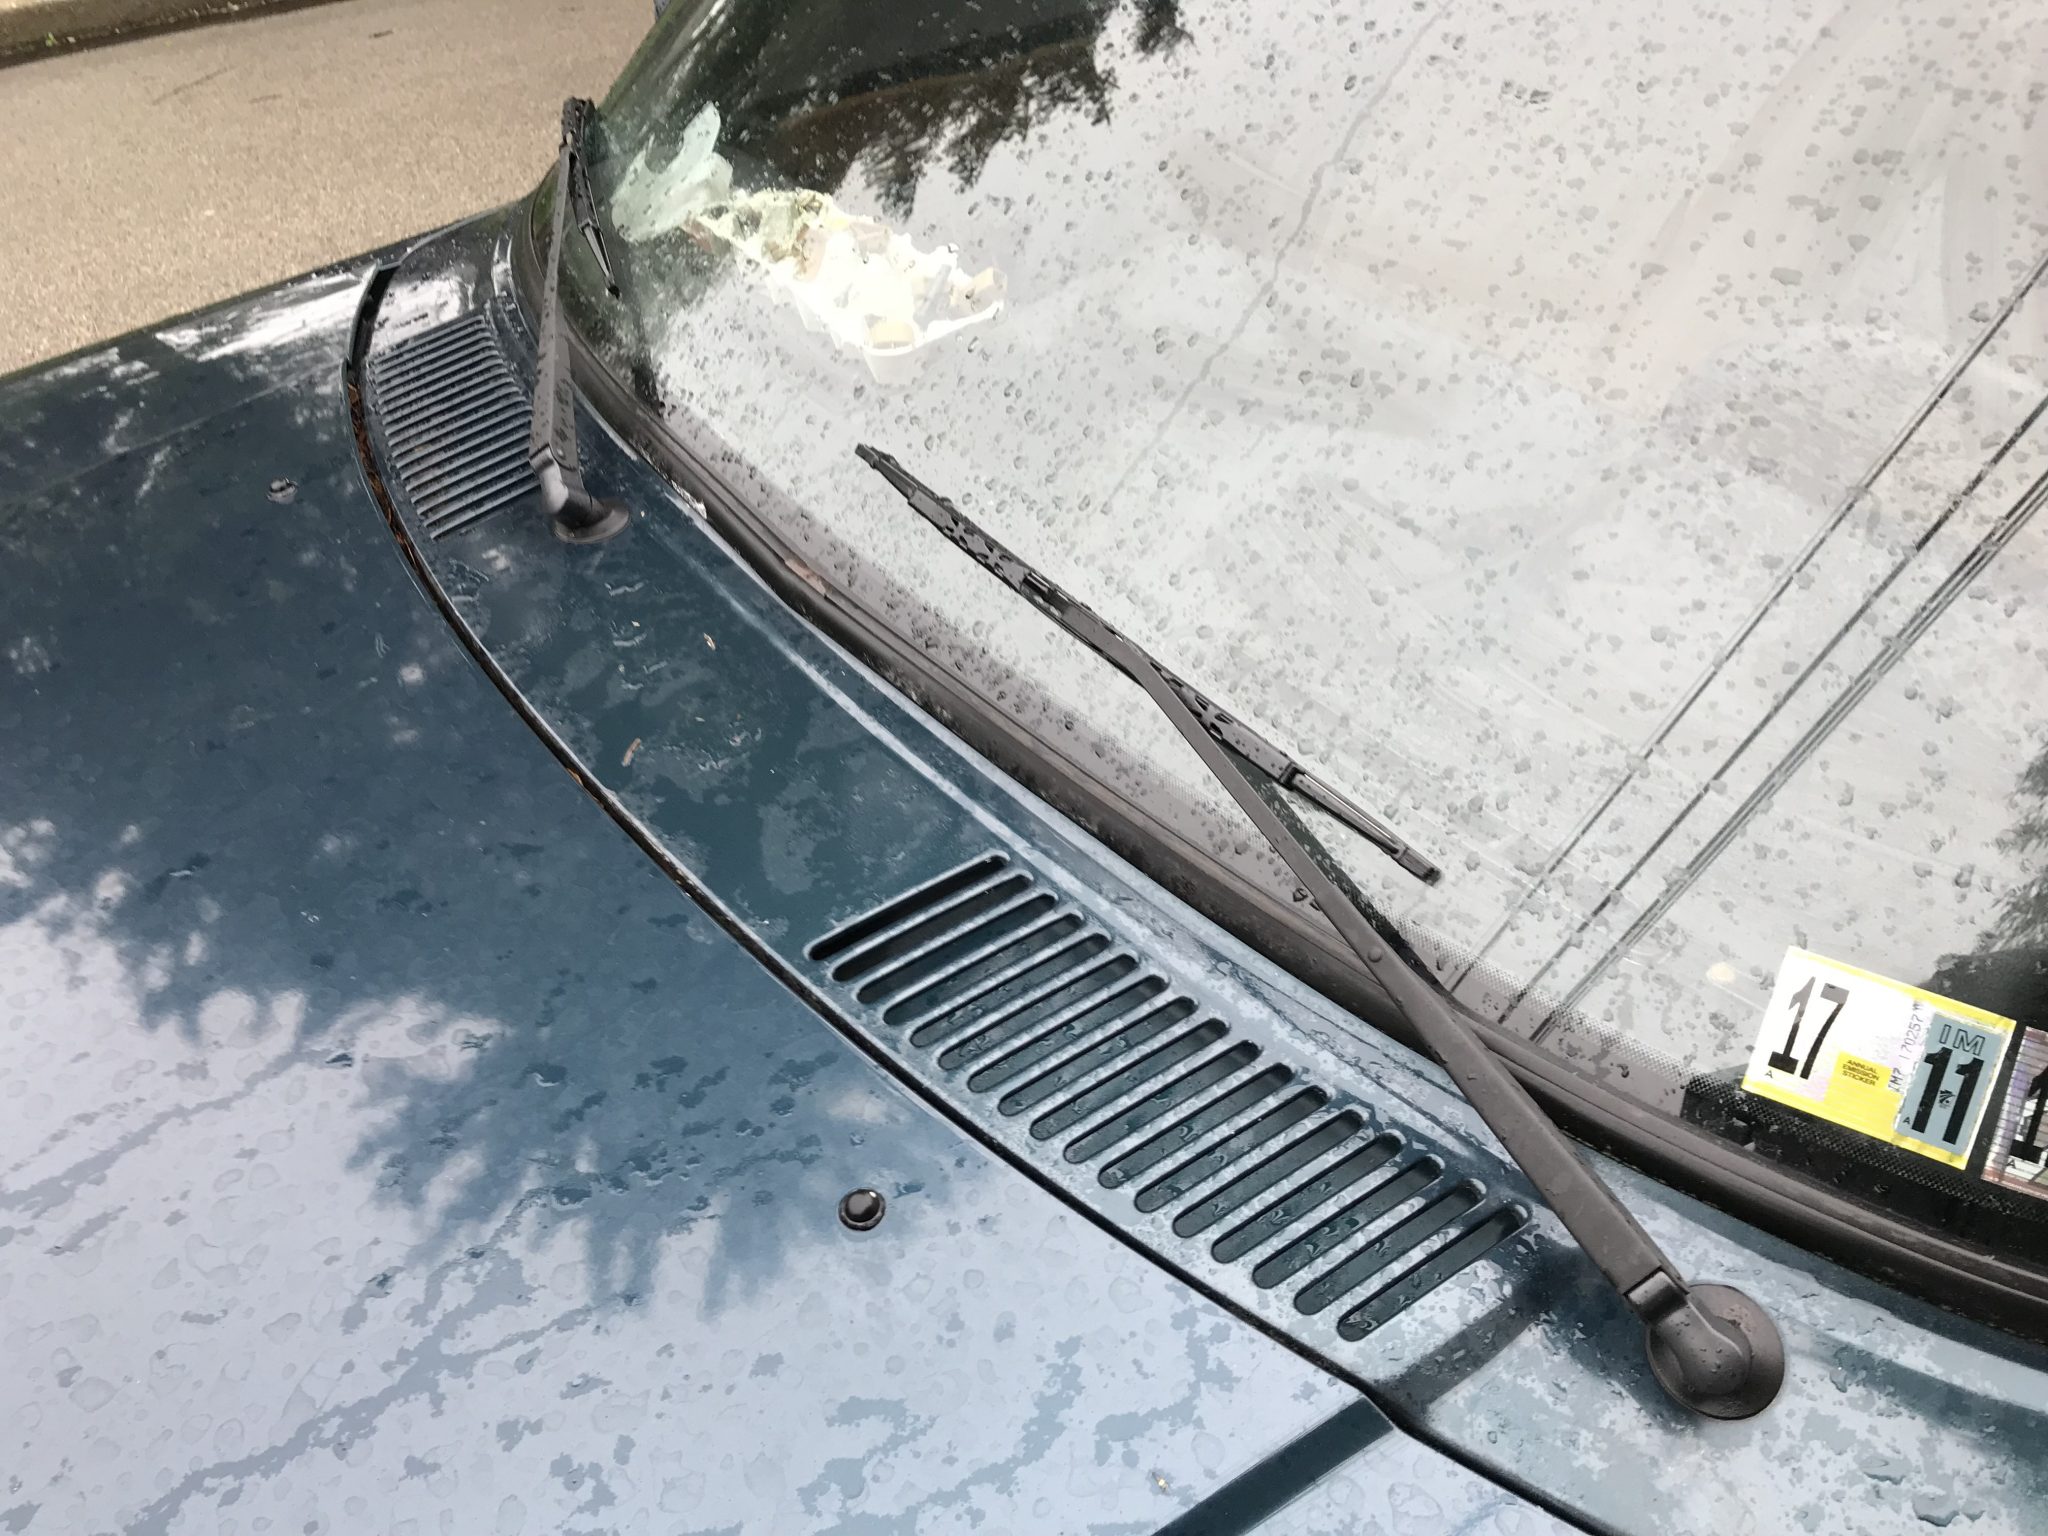
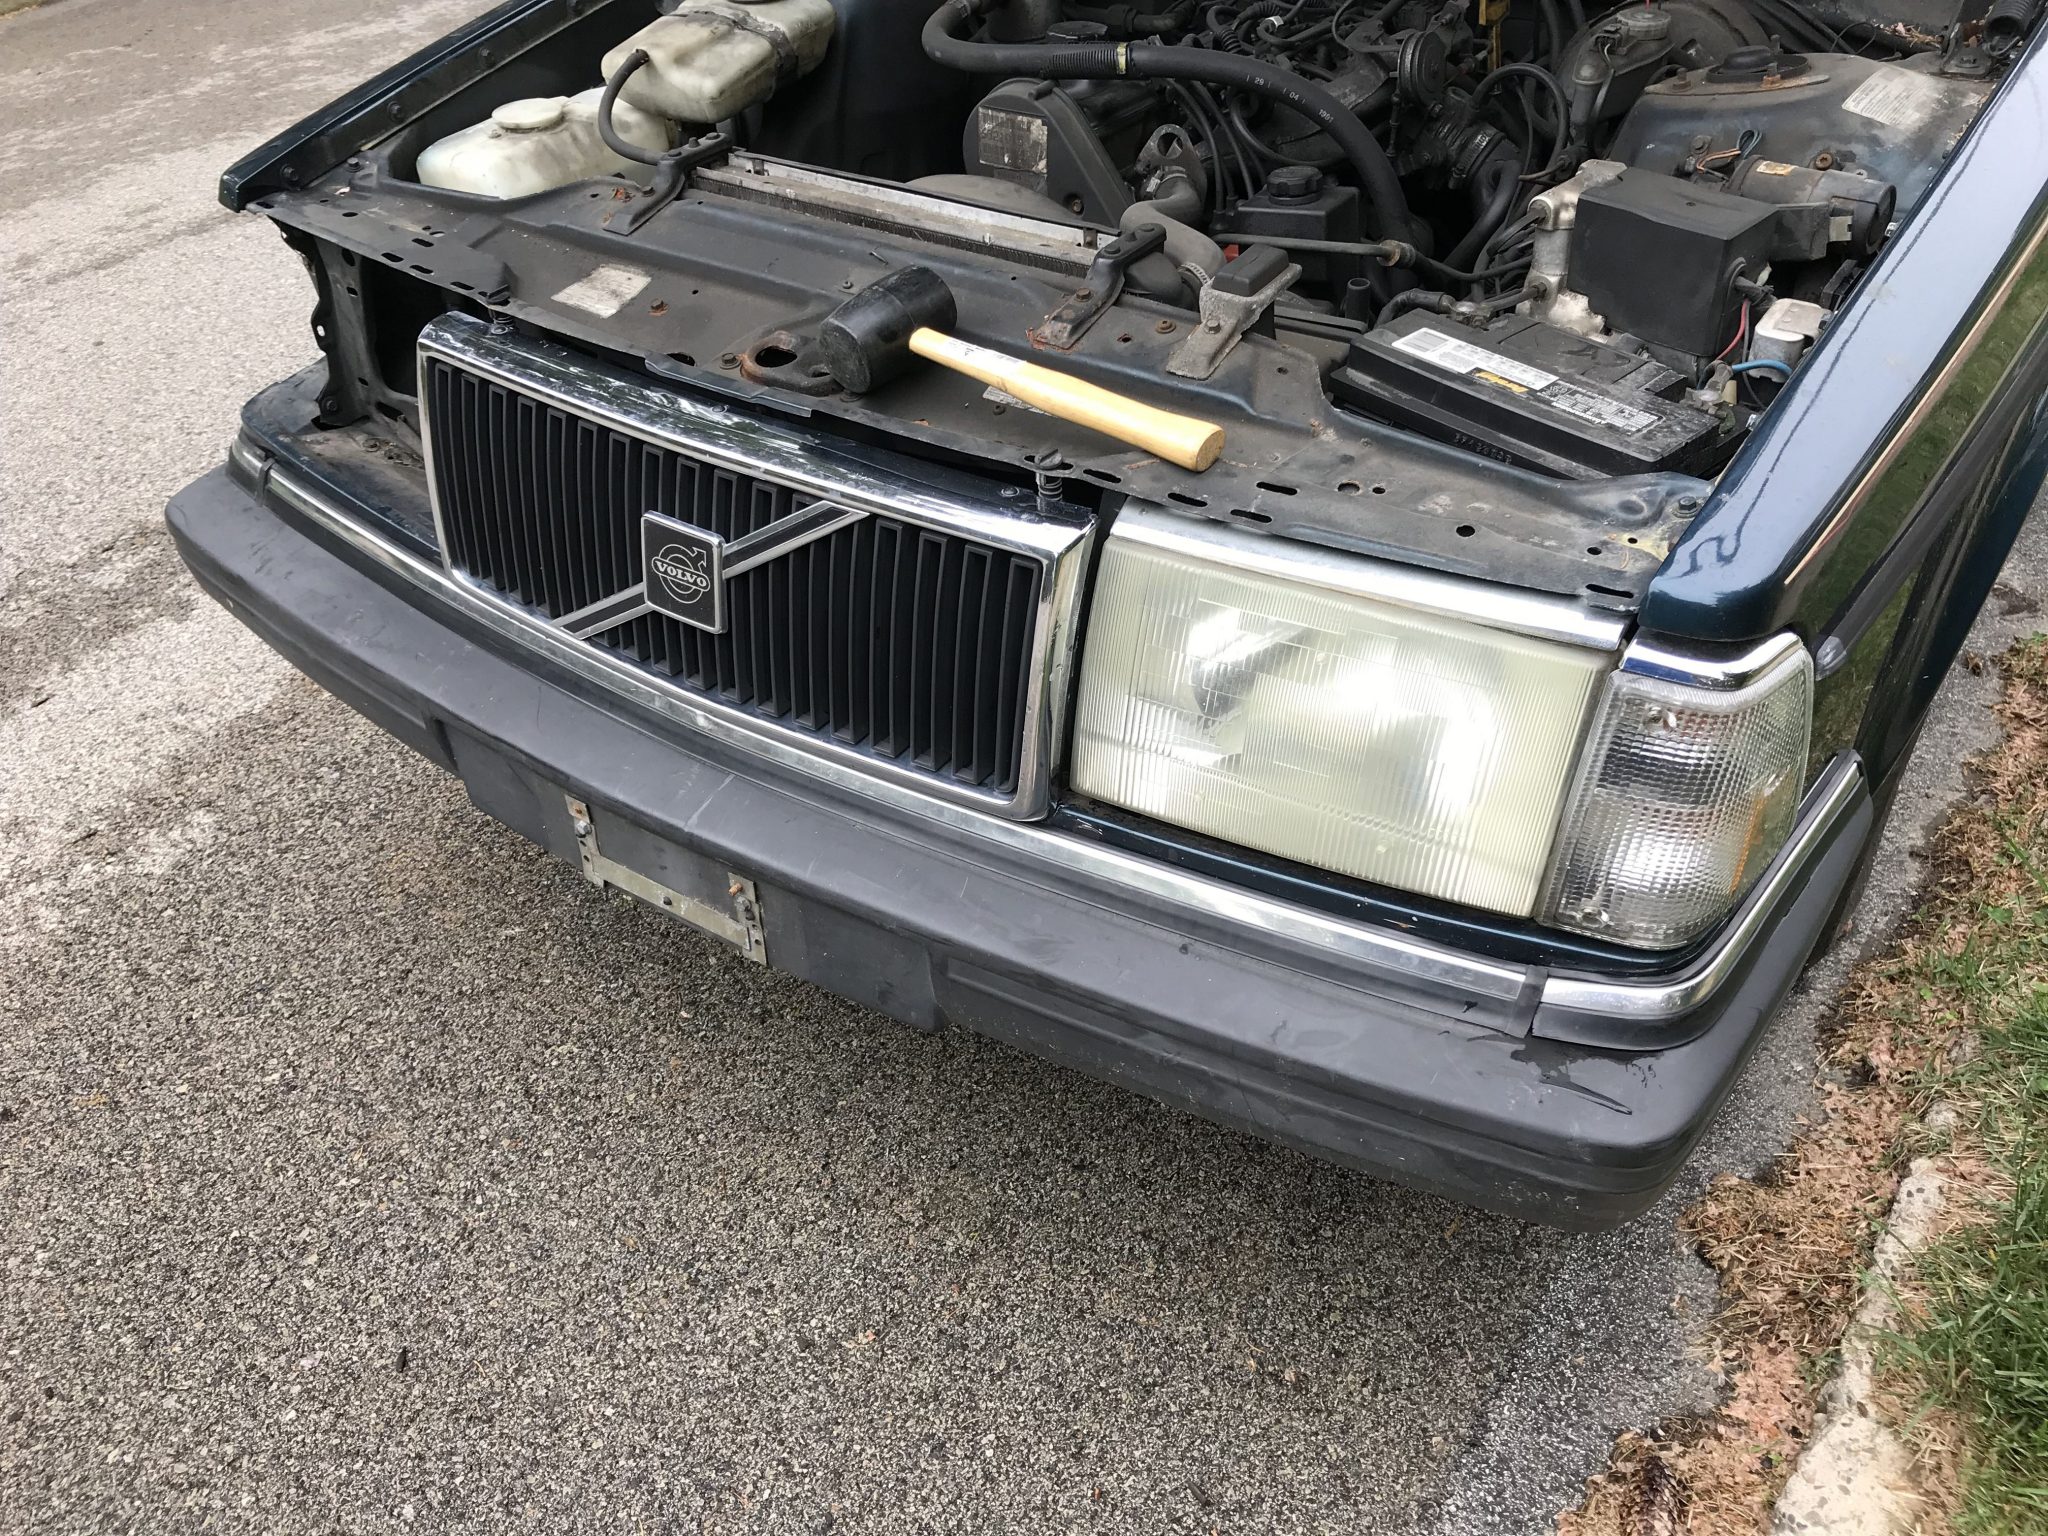
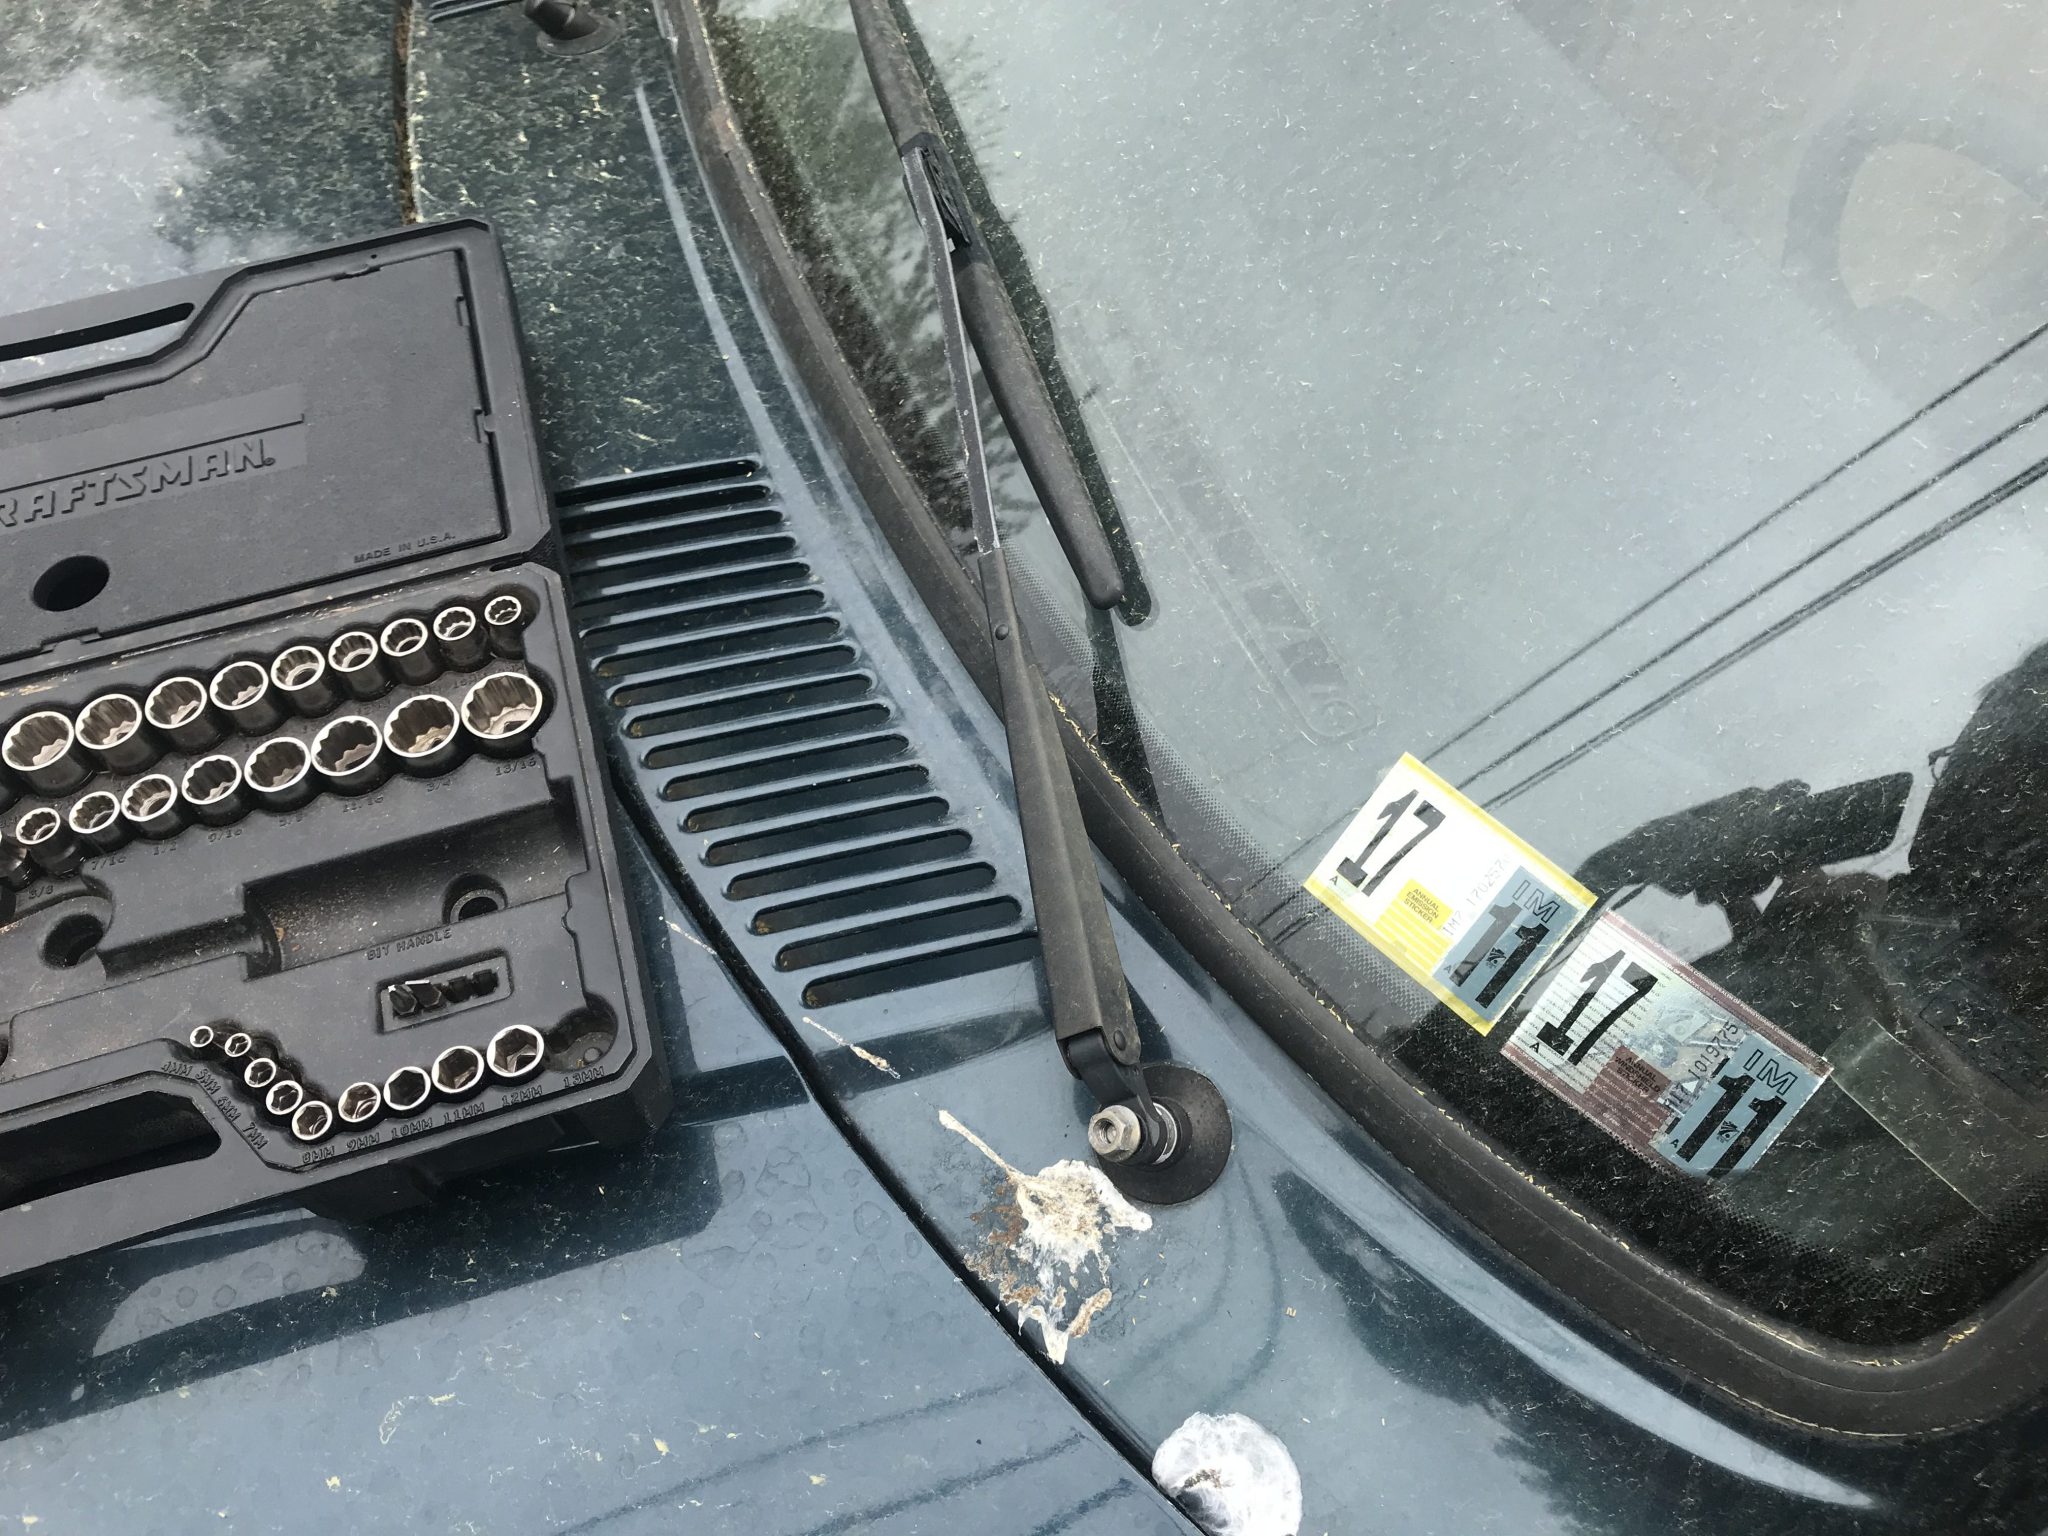
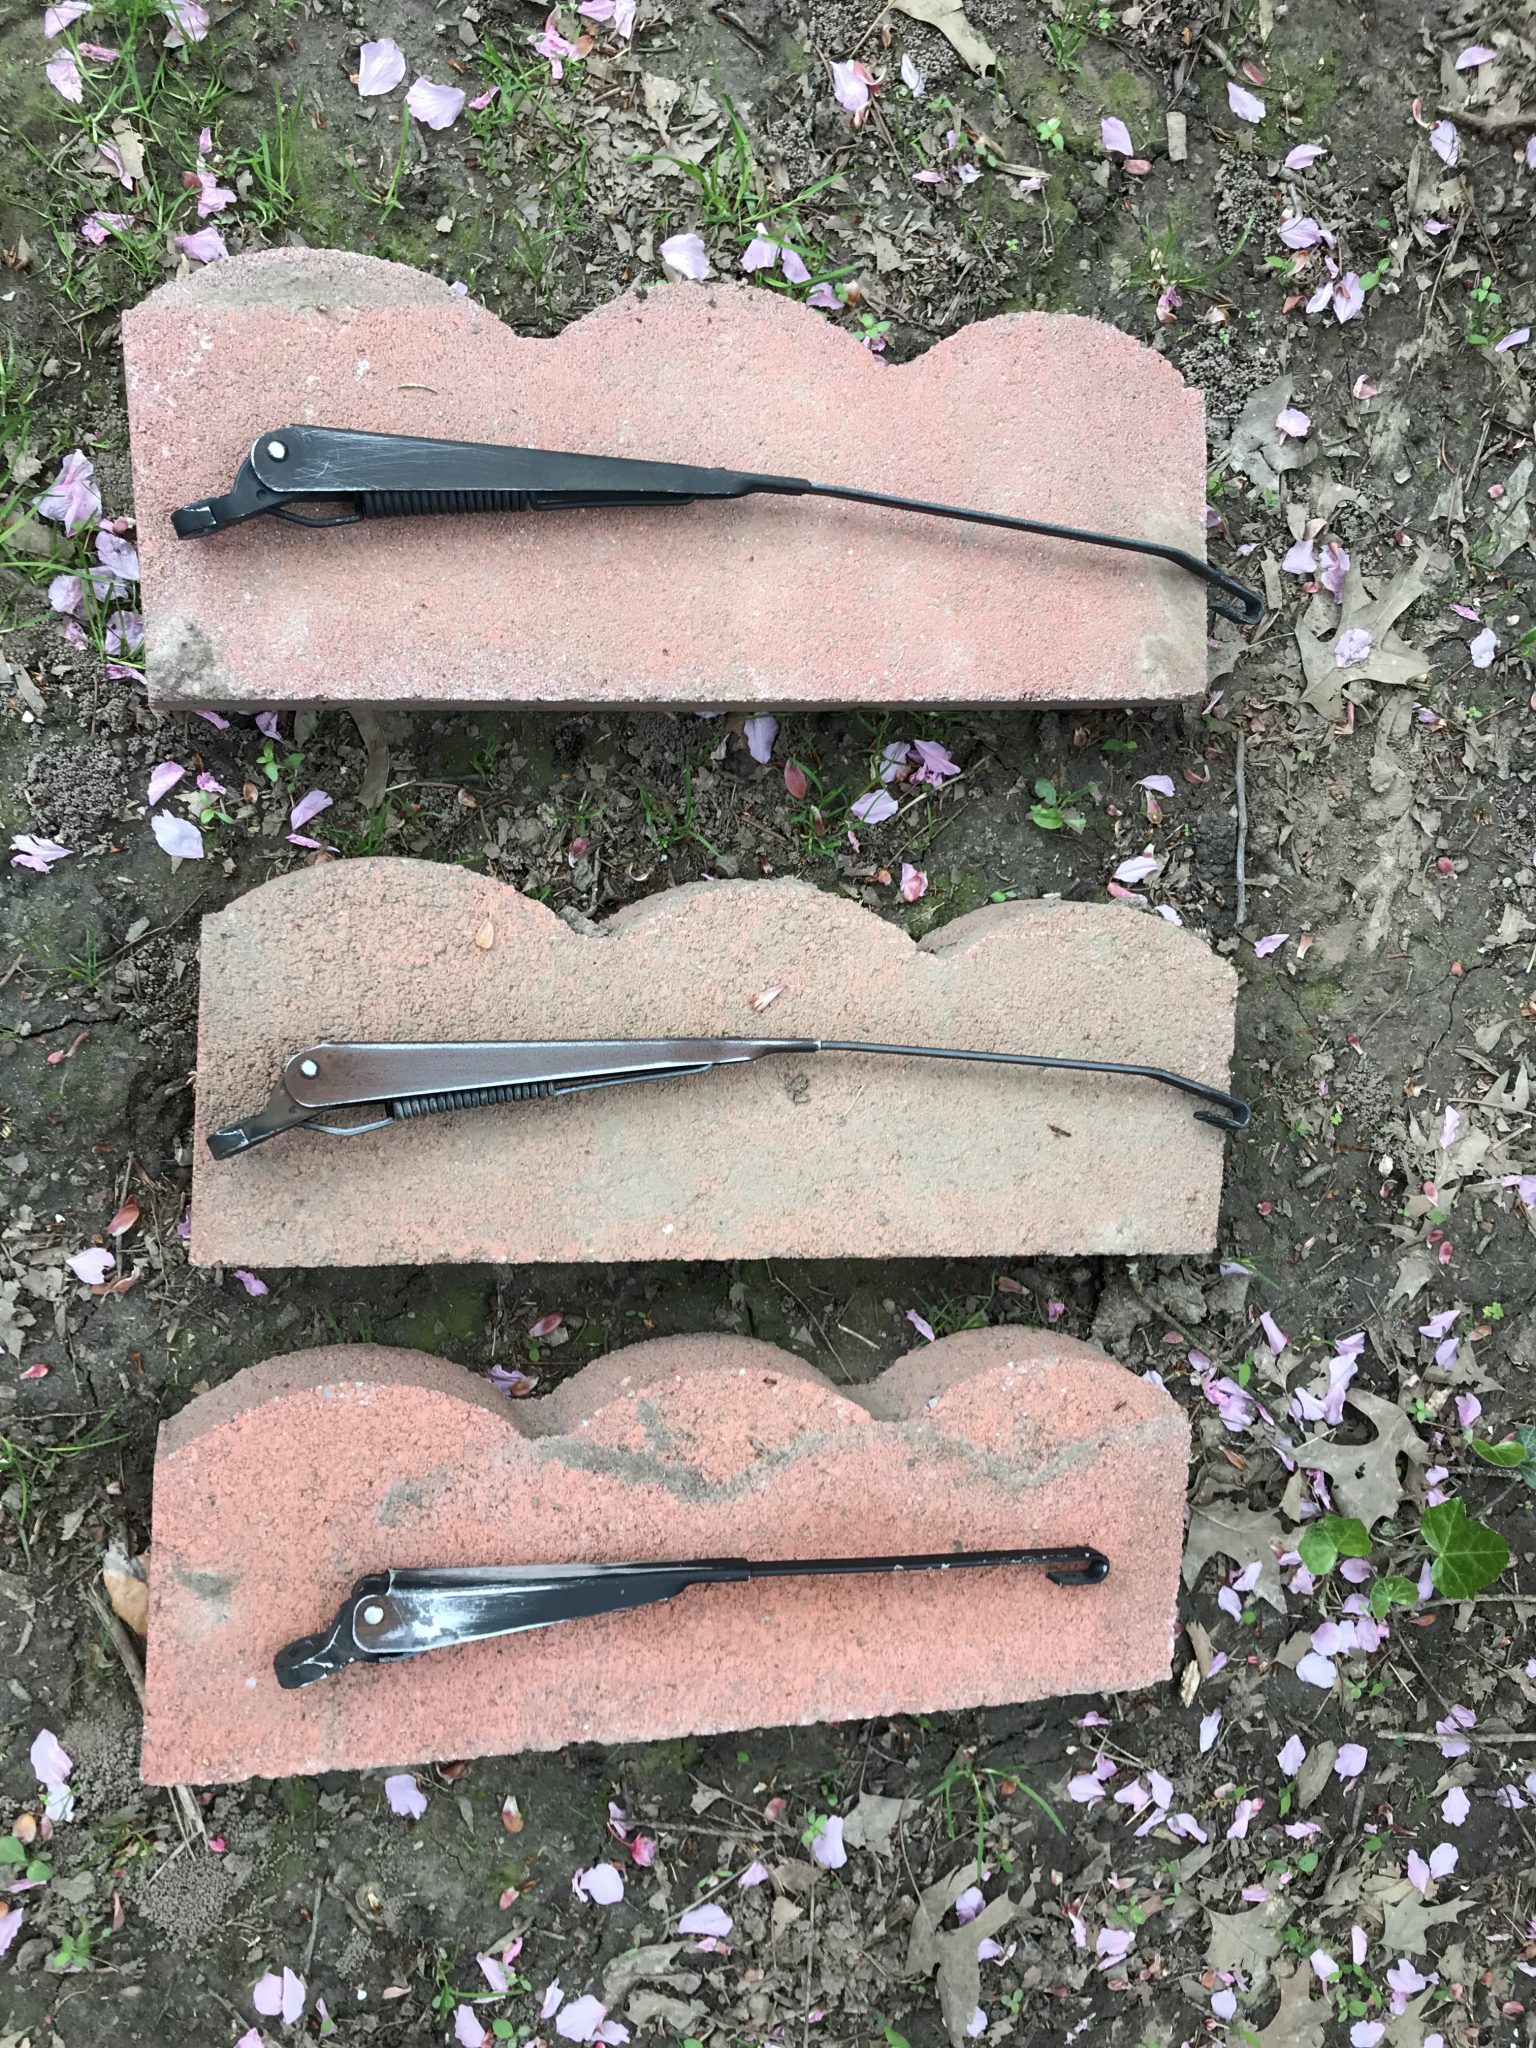
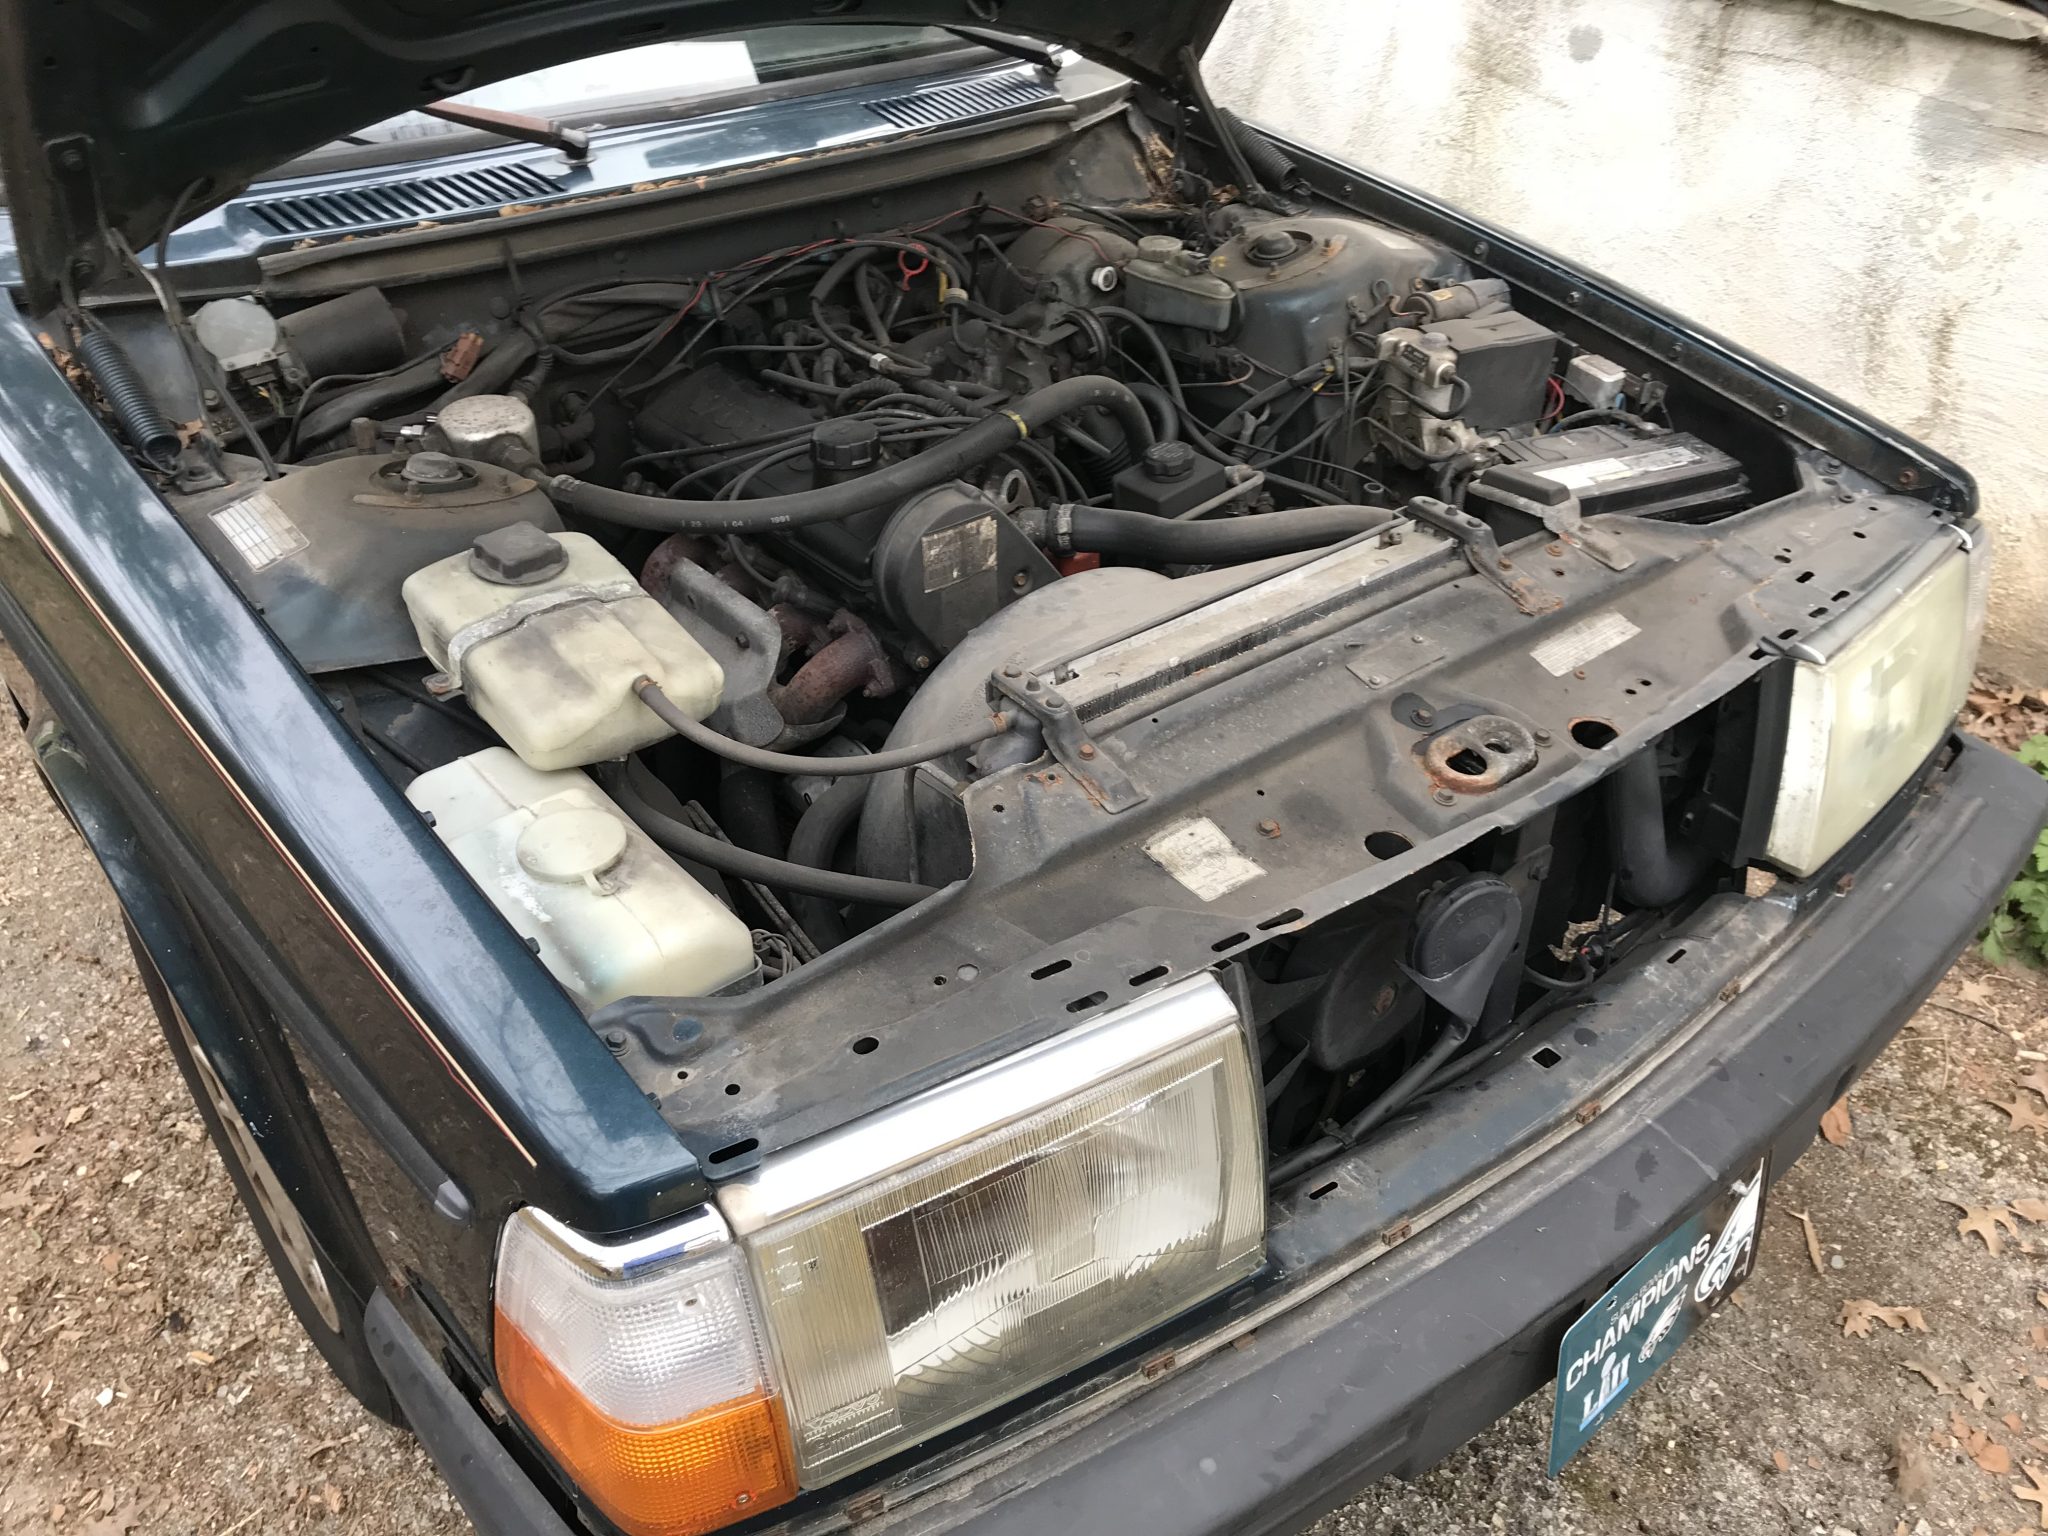
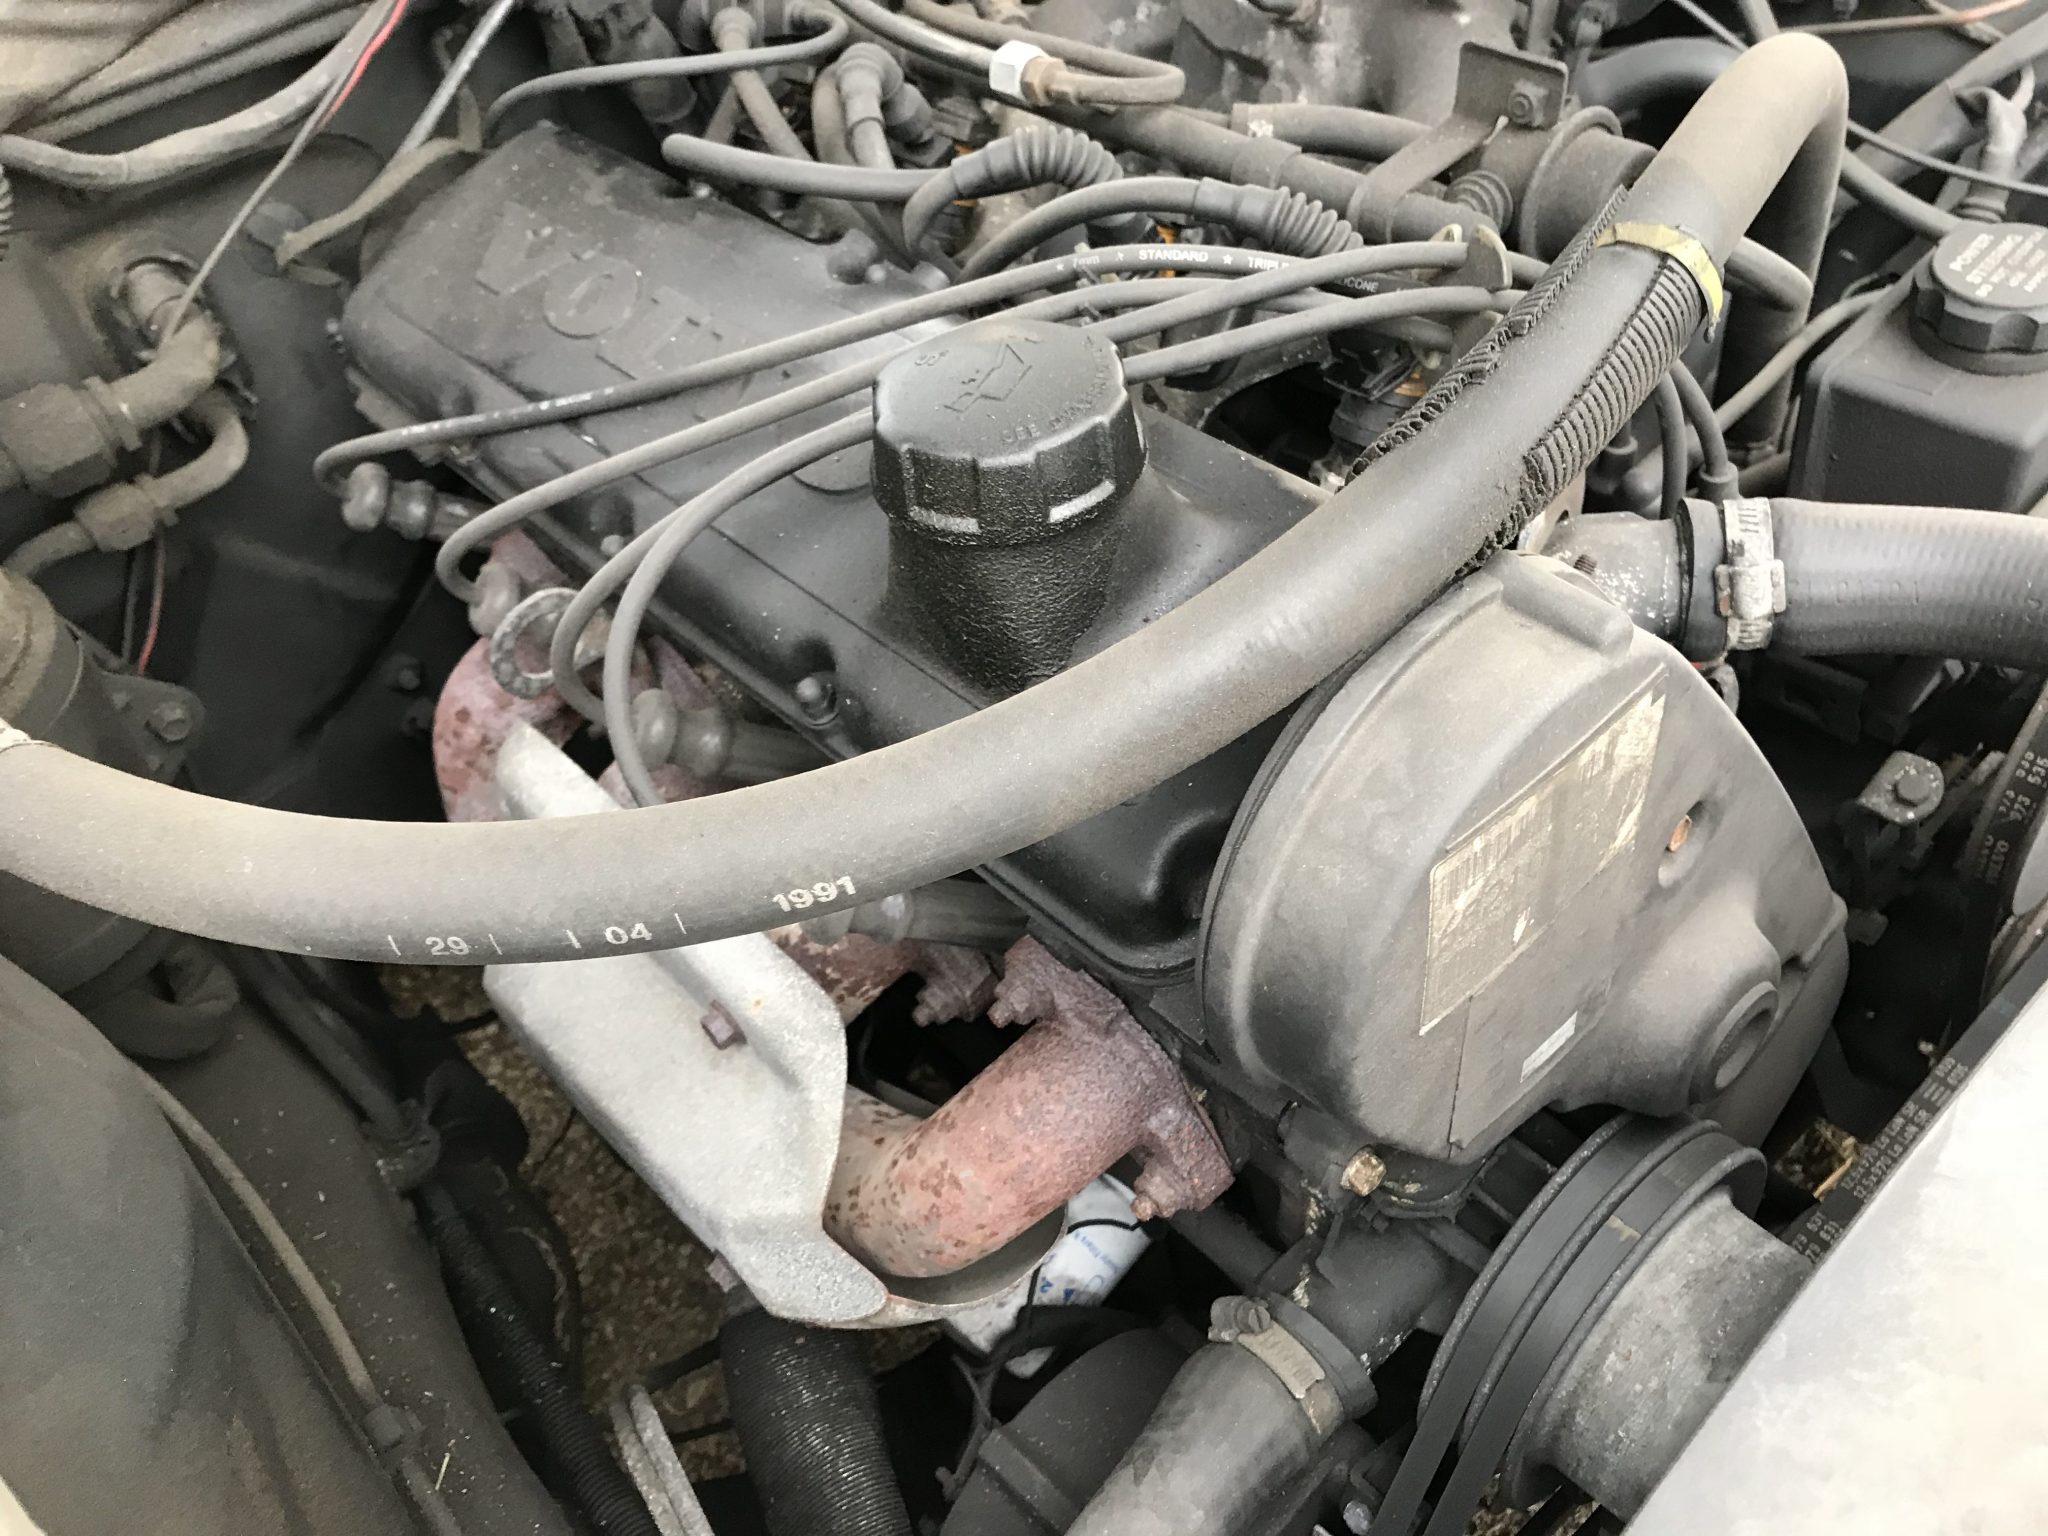
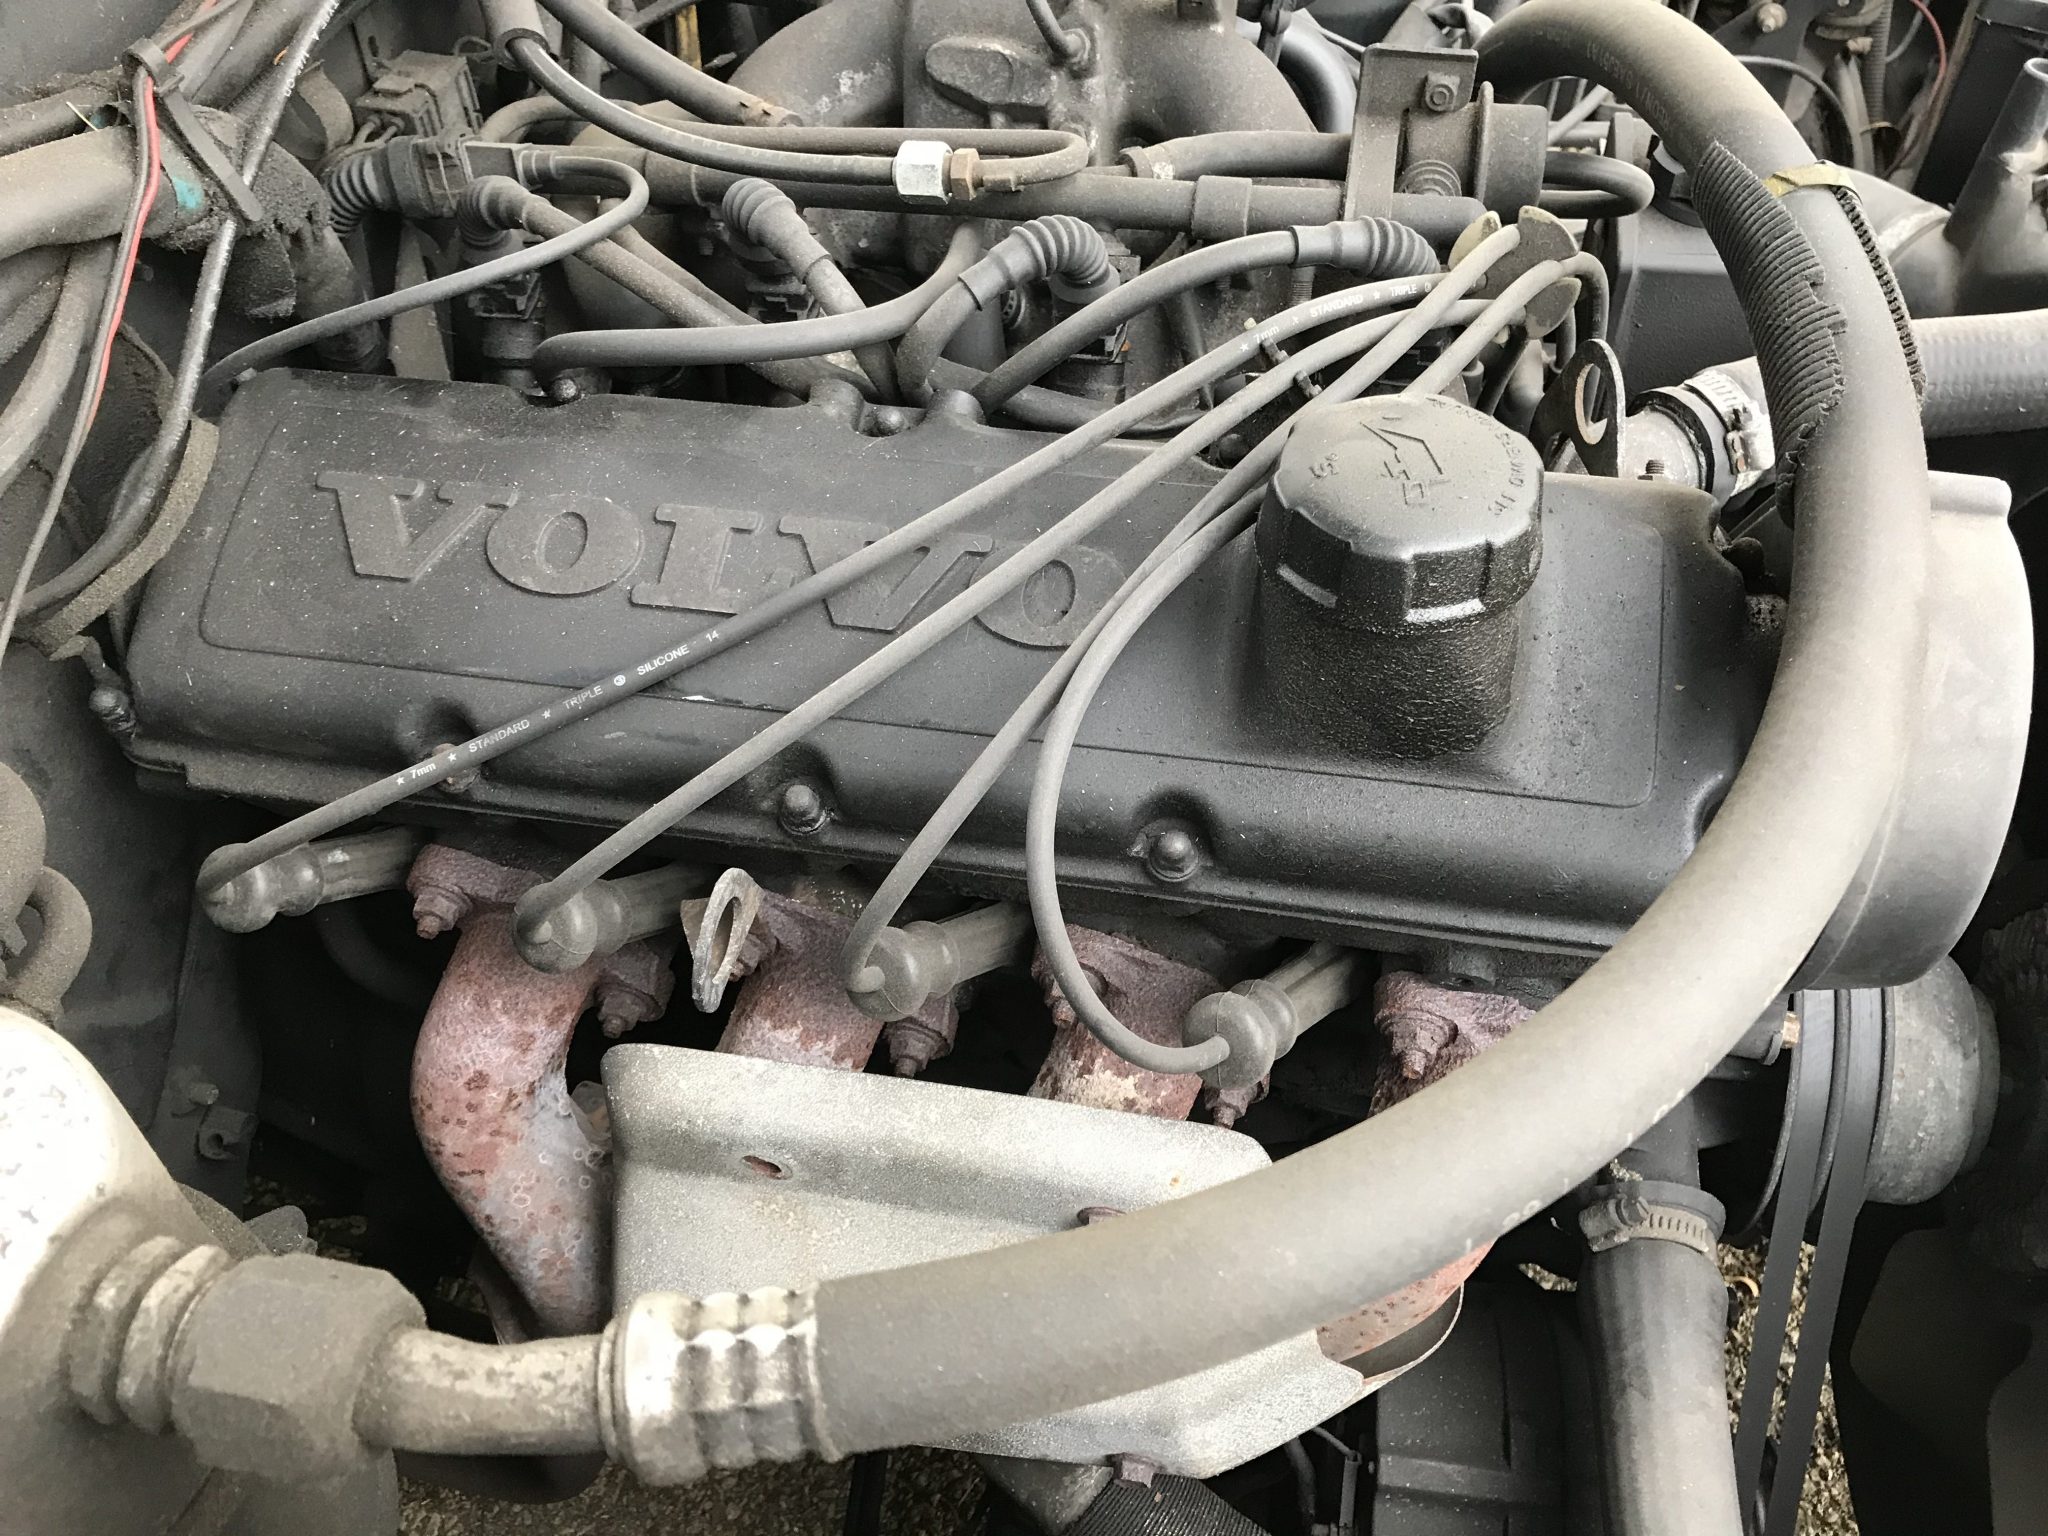
And for good measure I hit the hinges of all the doors with some grease. That made a big difference. No more rusty, clacking sound when they opened and closed. I also hit the hood lock with some Kroil and got that unstuck so now I could finally open the hood AT WILL!
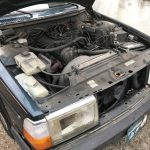

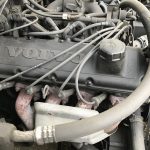
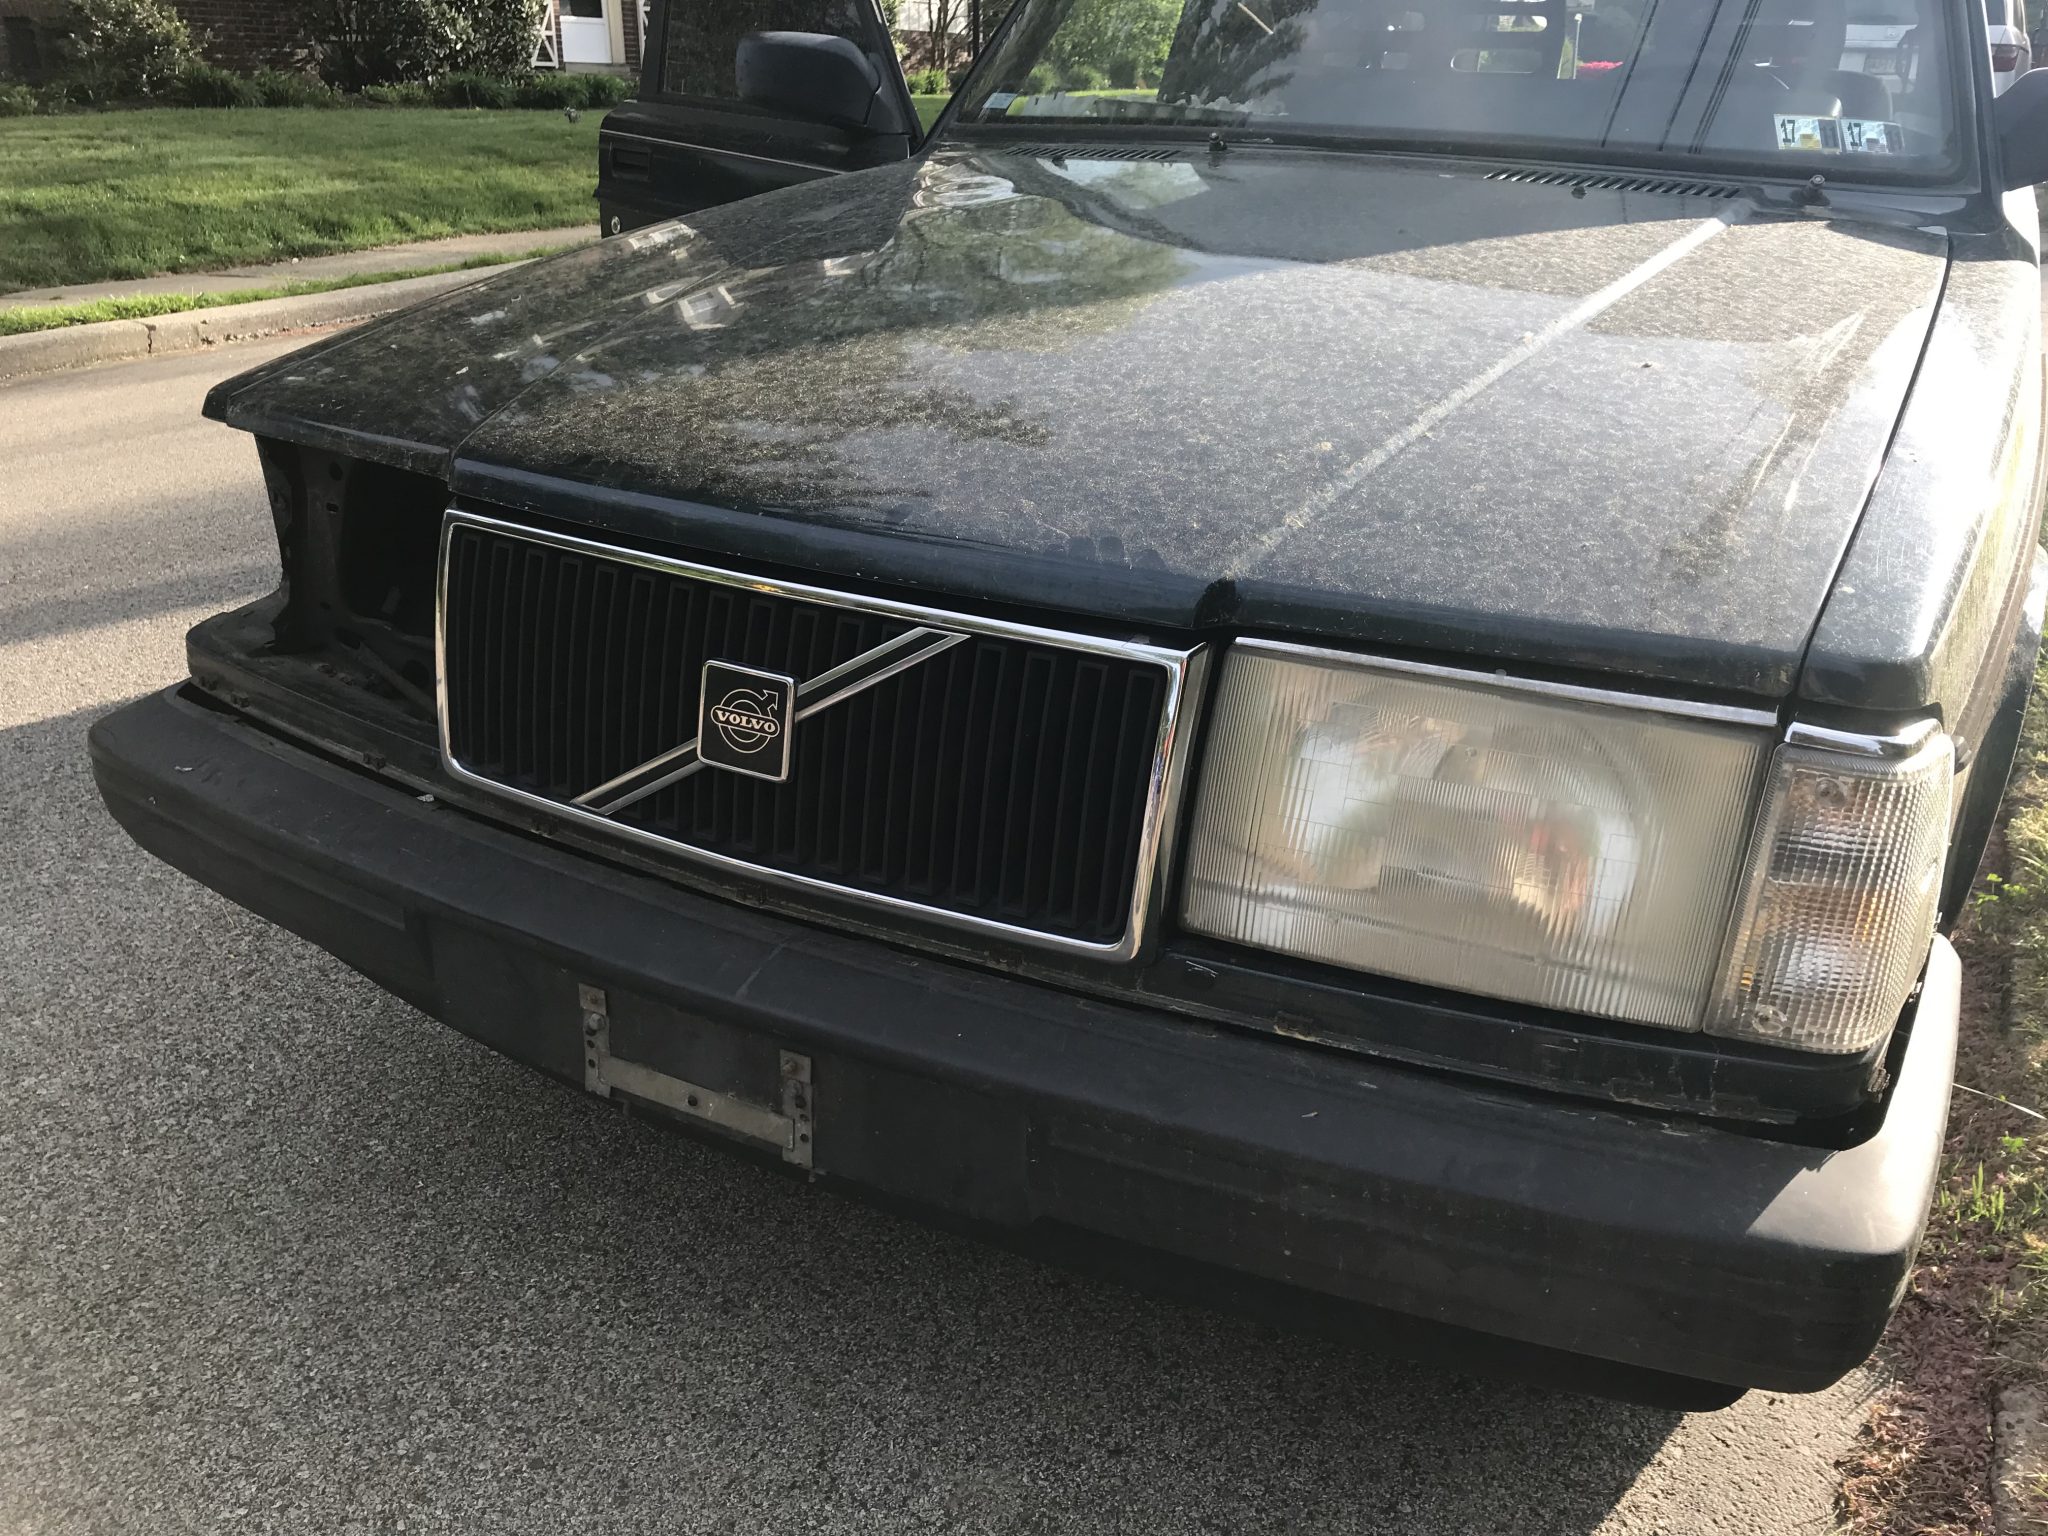
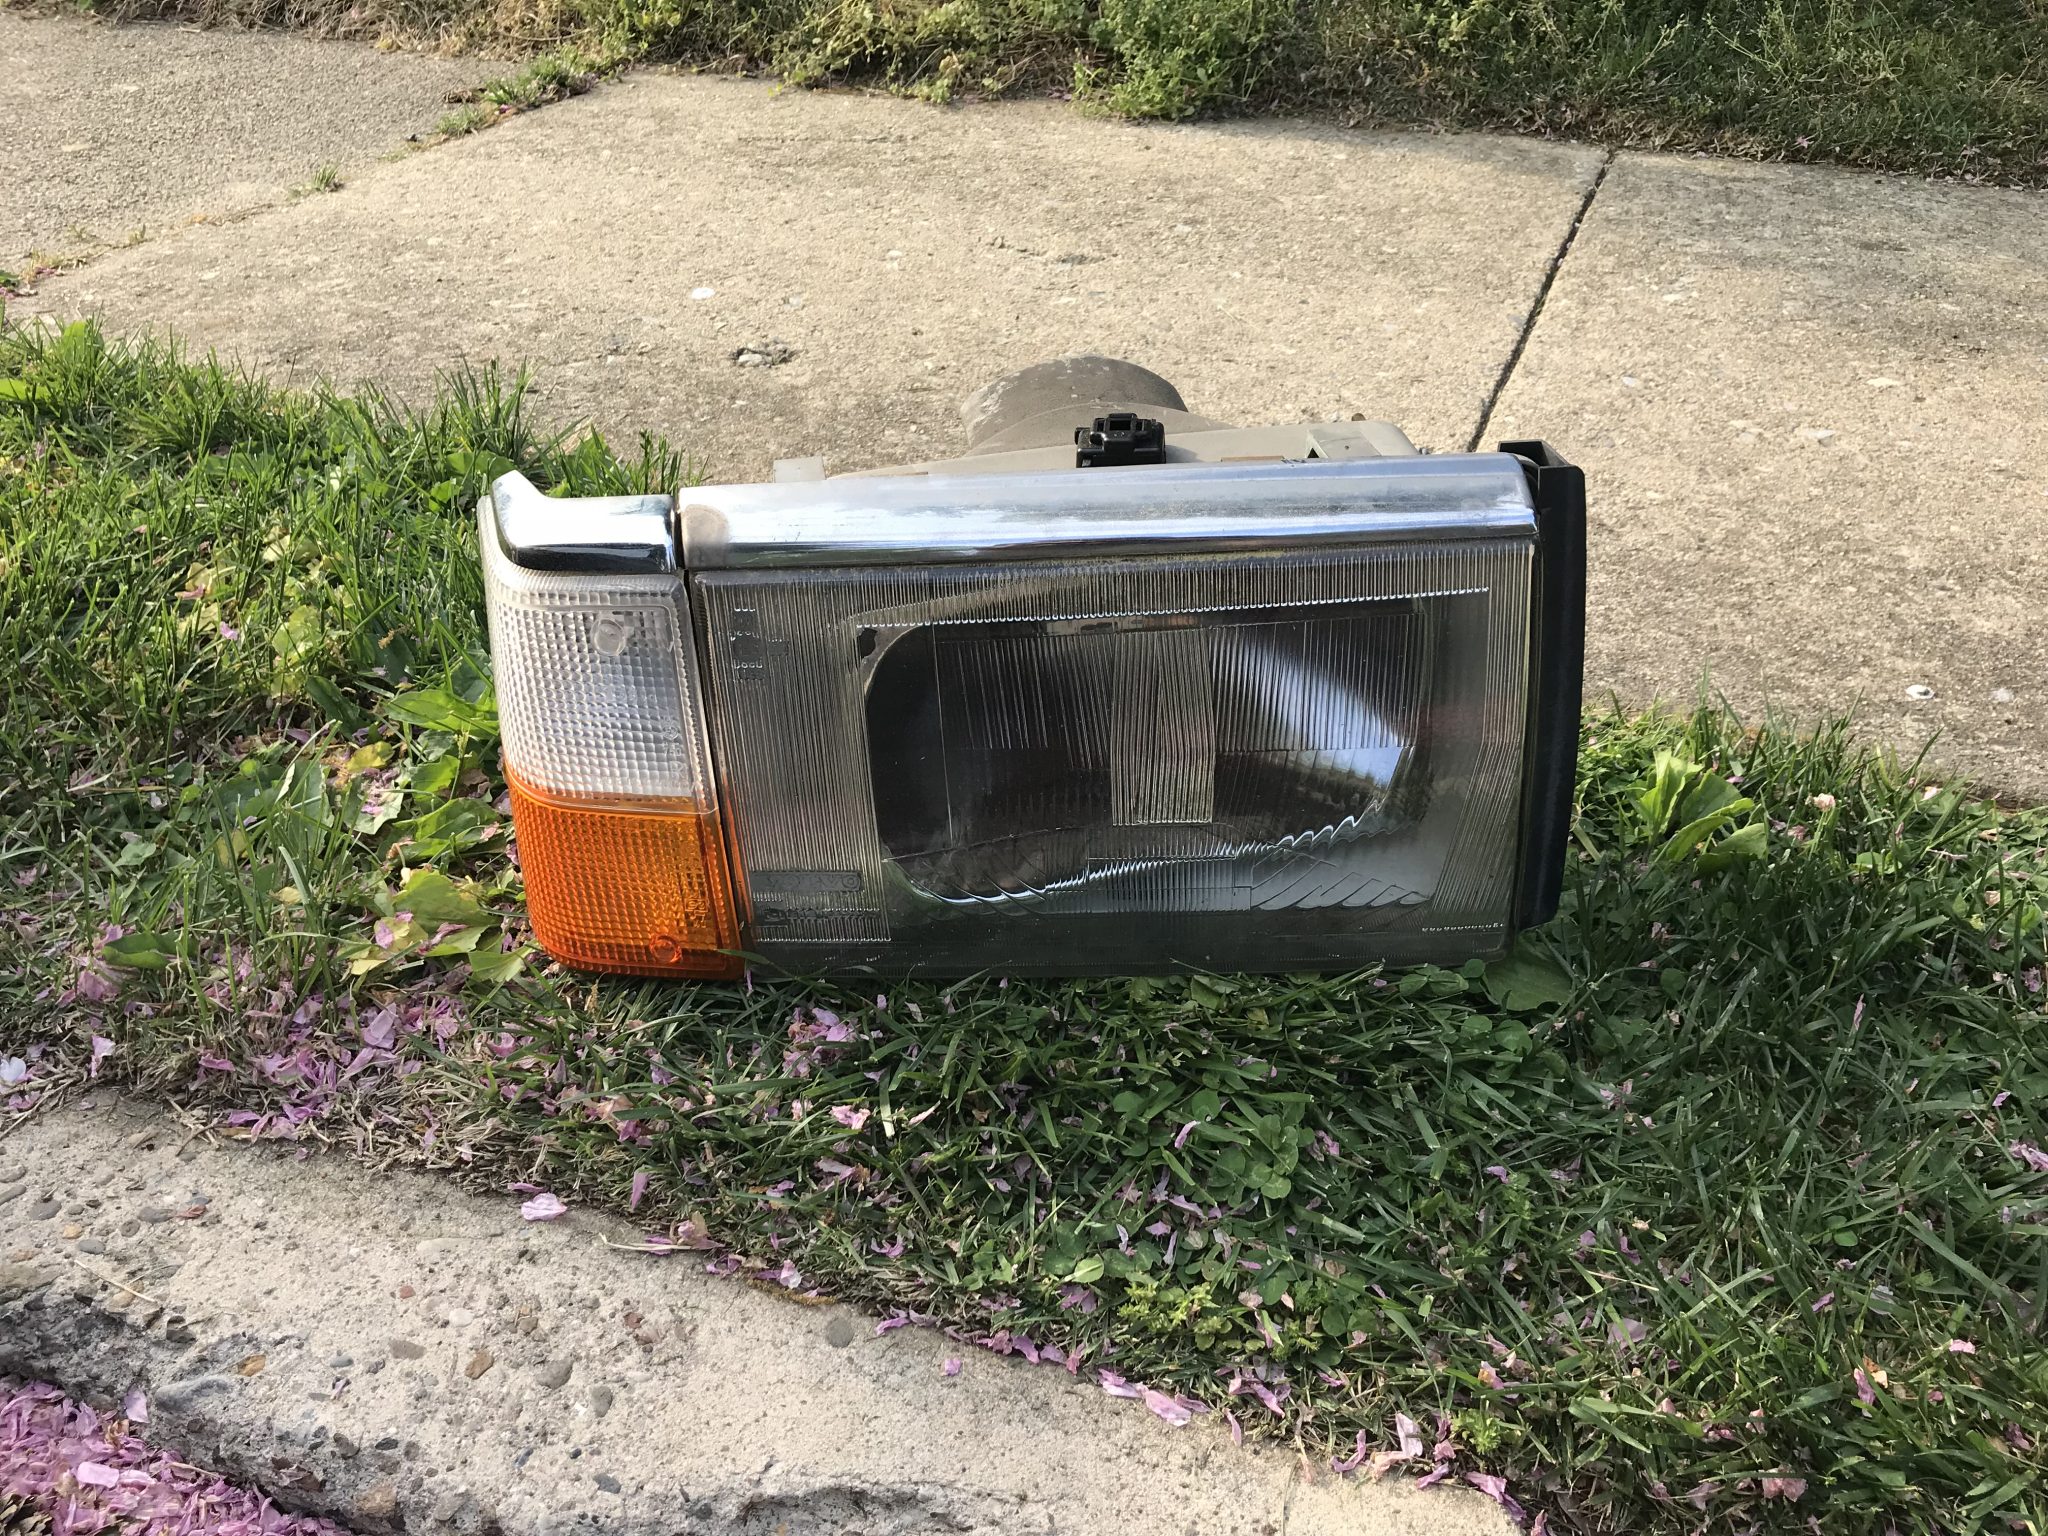
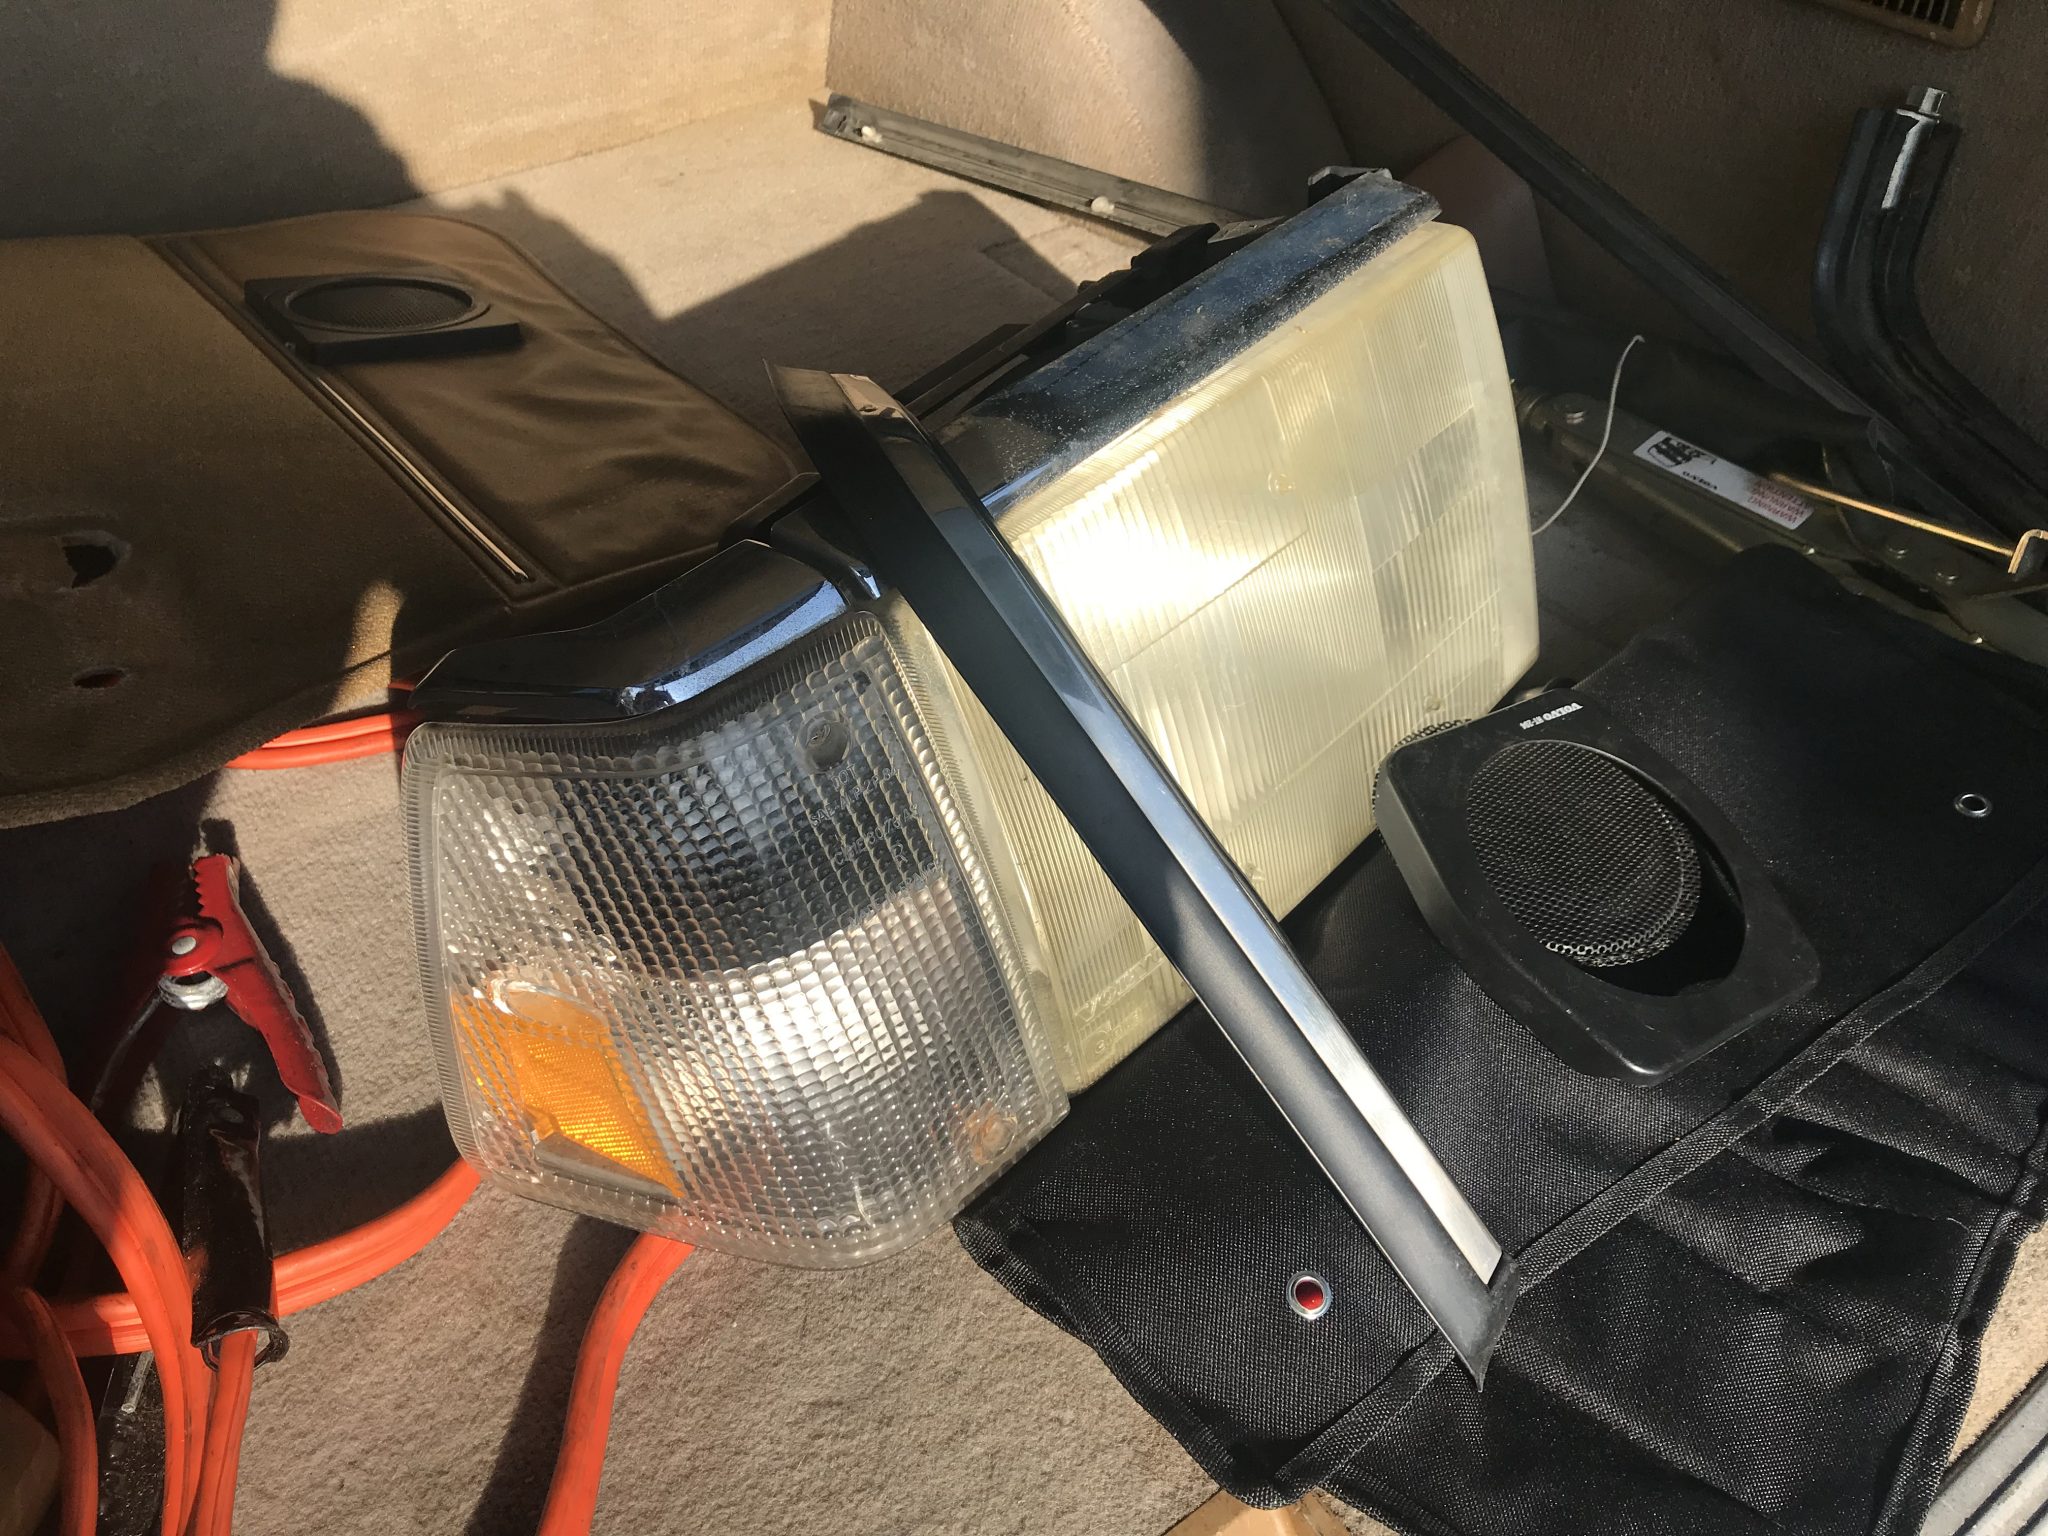
However I also found that the grill, although more or less intact-looking, was actually broken once you get the hood open and are able to examine it. It will definitely need to be replaced at some point, but it’s non-critical.
Tomorrow, time allowing, I’ll probably take a look at the instruments and get that odometer figured out. I’ve ready that a single gear in there has a tendency to fail over time and it may just be a matter of buying a new one.